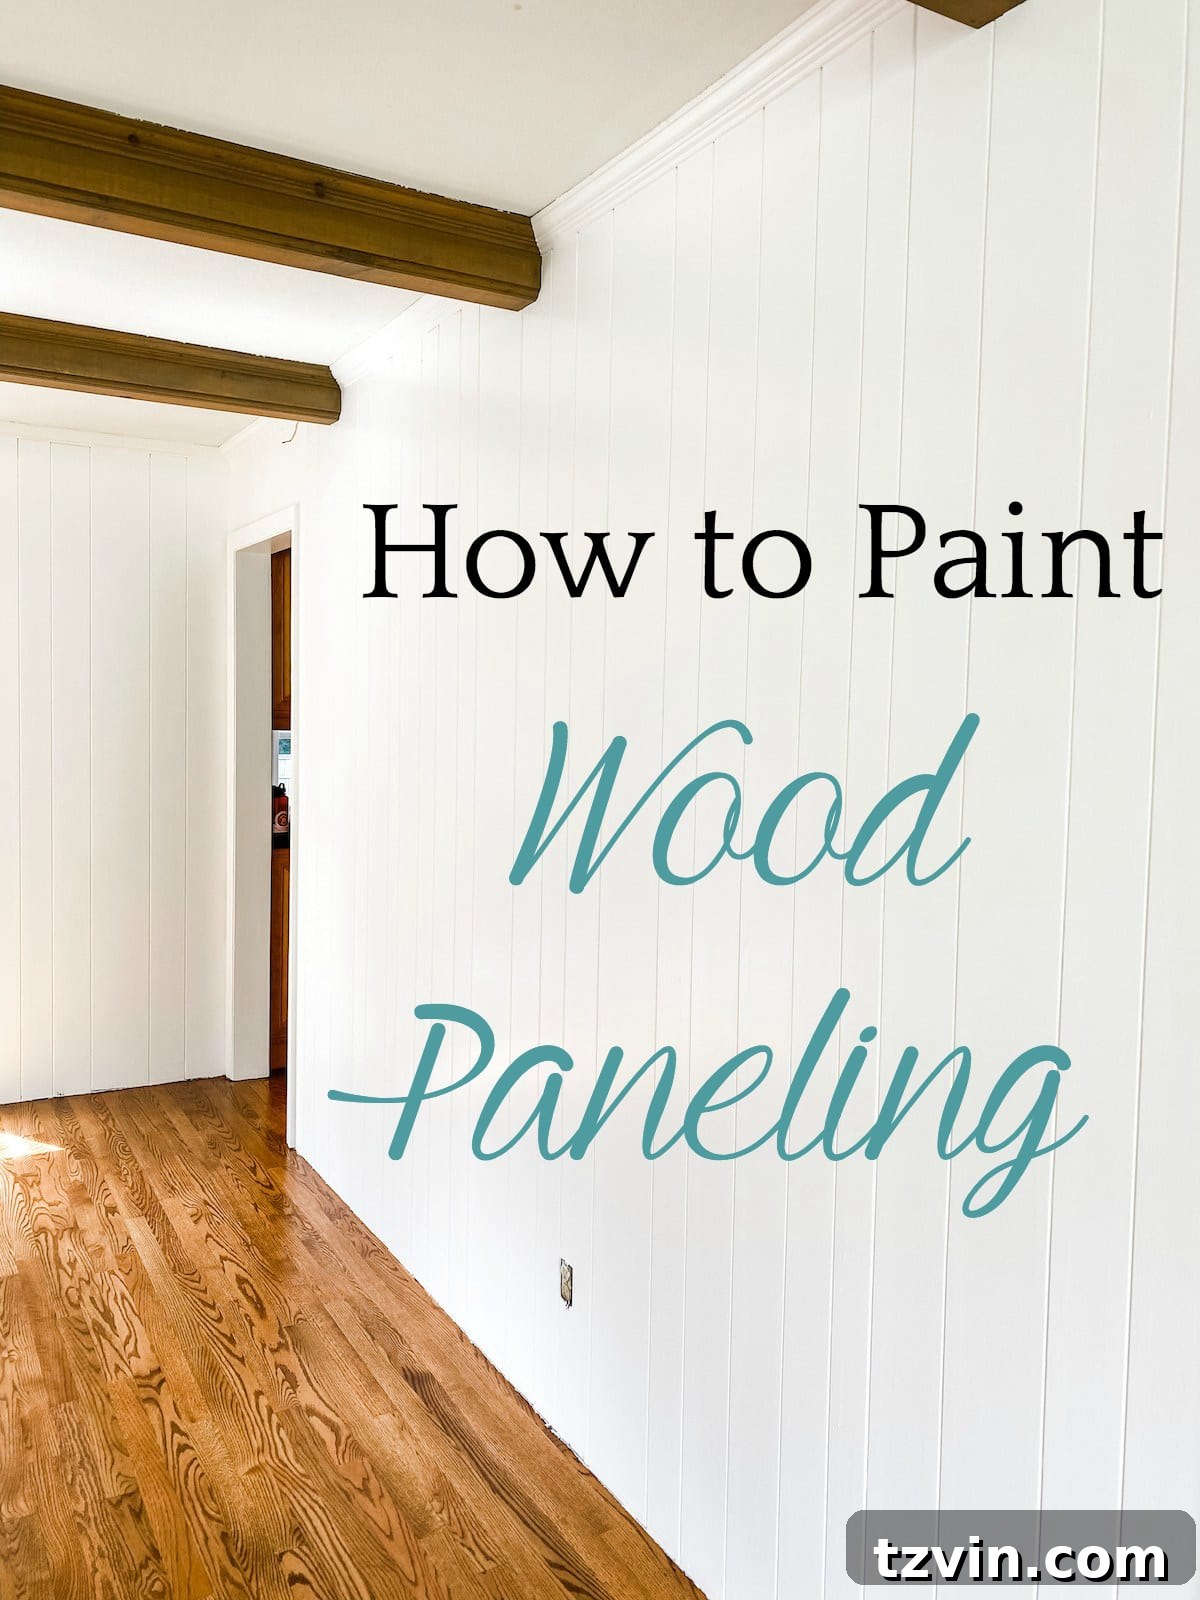
A complete step-by-step tutorial for how to paint wood paneling on walls with full supply list for a simple paint update that lasts.
Transform Your Space: The Ultimate Guide to Painting Wood Paneling
Are you looking to revitalize a dated room and breathe new life into your interiors? Painting wood paneling is a remarkably effective and budget-friendly way to achieve a stunning transformation. What might seem like a daunting task is entirely achievable with the right preparation and techniques. We’re here to guide you through every step of the process, ensuring a smooth, durable, and beautiful finish that will stand the test of time.
Once considered a staple in many homes, wood paneling often evokes strong opinions. Some view it as a charming, character-filled feature, while others see it as a design element that can make a room feel dark and outdated. Here at McNay project central, we firmly believe in the power of paint to bridge this divide. We’ve witnessed firsthand how a fresh coat of paint can dramatically lighten and modernize a space, revealing its inherent beauty and architectural charm.
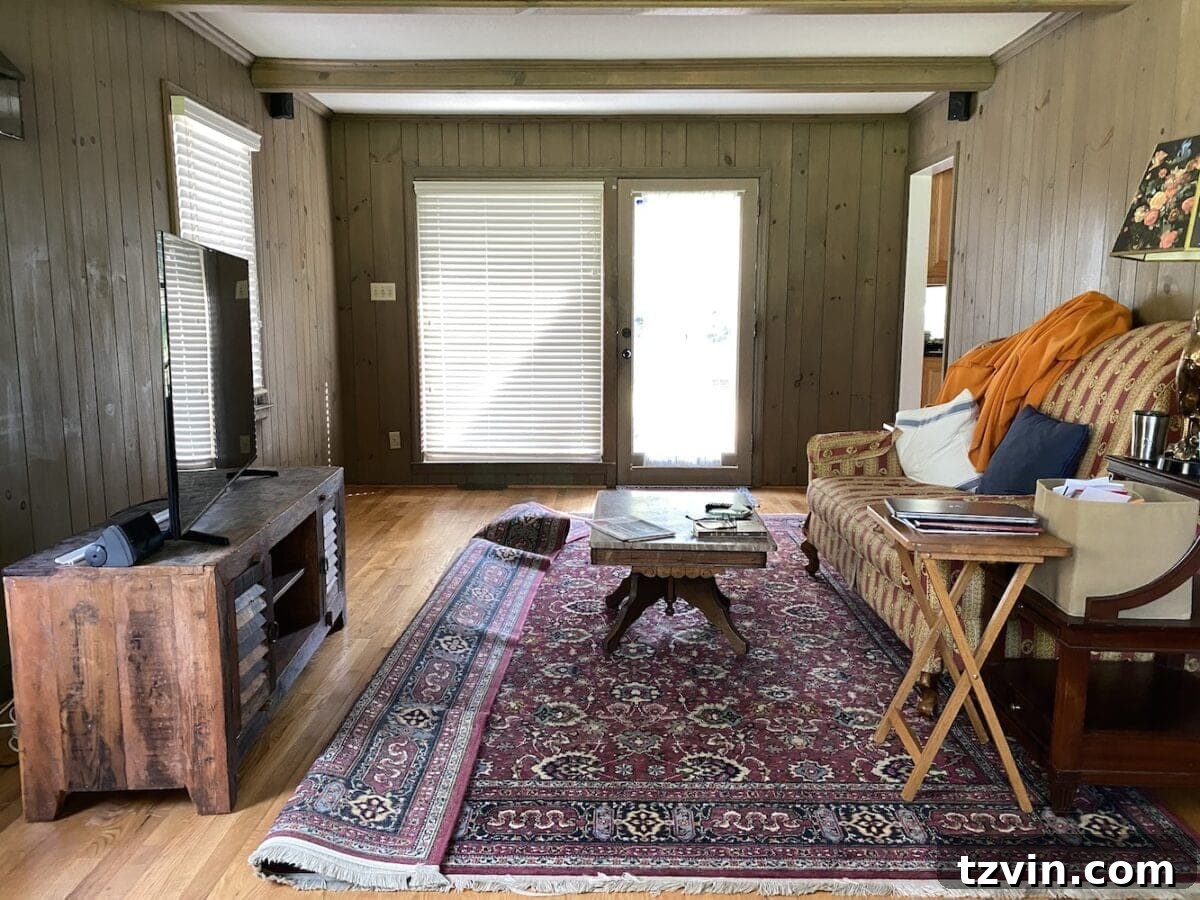
Before we dive into the details, let’s take a moment to appreciate the journey. Below, you’ll see the “before” state of our living room – a room brimming with potential, yet yearning for a brighter, more contemporary touch. Our vision for this space was a serene, coastal-inspired haven, and white planked walls were an absolute must-have to achieve that airy, beachy aesthetic.
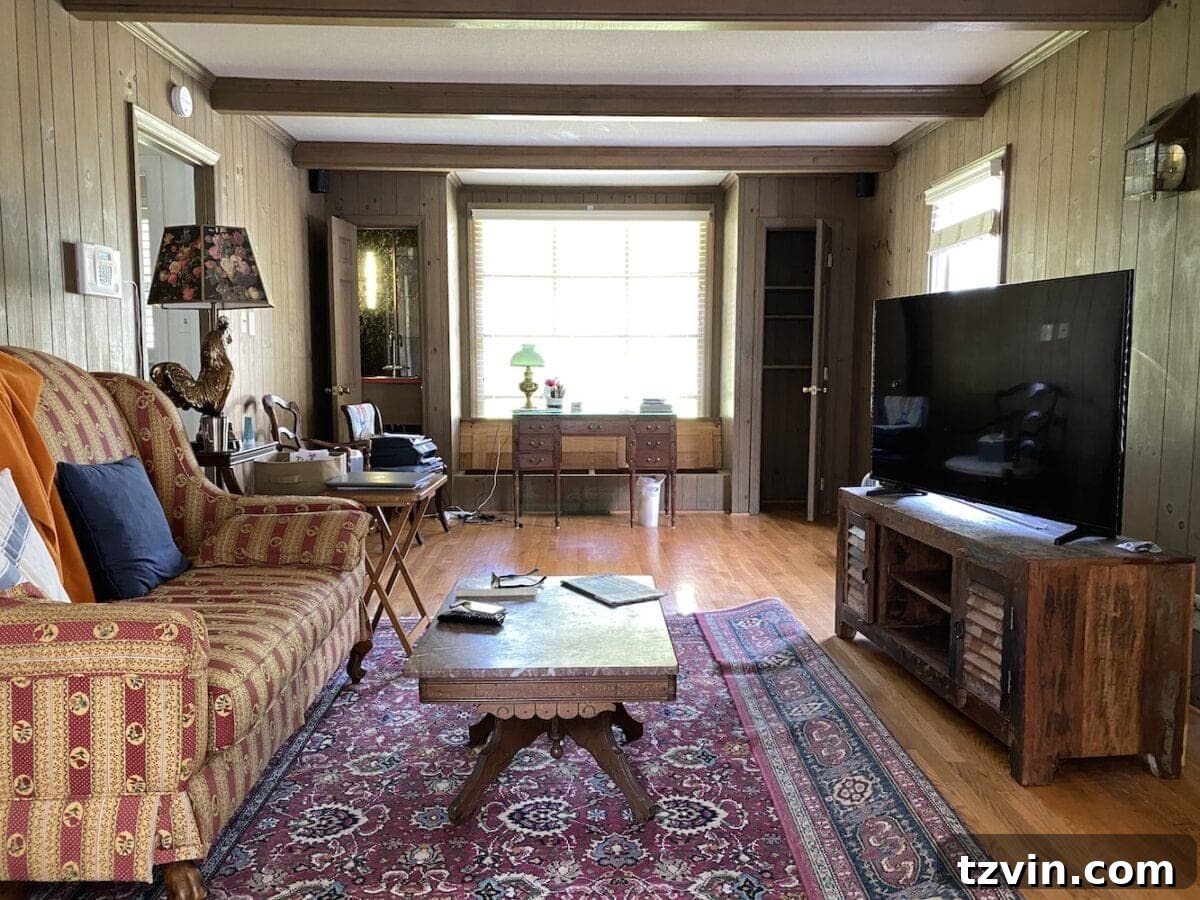
While the idea of painting wood paneling might seem as straightforward as applying paint to a wall, there’s a crucial distinction. Wood paneling, especially older varieties, requires specific preparation and products to ensure the paint adheres properly and prevents common issues like bleed-through or peeling. But don’t worry, we’ve broken down everything you need to know into an easy-to-follow guide. Get ready to witness a truly amazing transformation!
Why Paint Wood Paneling? Unleashing Its Hidden Potential
Many homeowners hesitate to paint wood paneling, fearing it might diminish the character of their home. However, painting often enhances it! Here are compelling reasons why painting your wood paneling might be the best decision for your space:
- Brightens Dark Rooms: Unpainted wood paneling, especially in darker stains, can absorb light and make rooms feel smaller and more enclosed. A lighter paint color, particularly white or a soft neutral, reflects light, instantly making the room feel larger, airier, and more inviting.
- Modernizes Dated Interiors: Wood paneling was incredibly popular in previous decades. While charming, its natural finish can sometimes look dated in contemporary homes. A fresh coat of paint instantly updates its look, allowing the texture and lines of the paneling to shine through in a modern context.
- Enhances Character: Far from hiding character, paint can accentuate the unique architectural details of your paneling. The vertical lines and grooves become more pronounced, creating a sophisticated and textured backdrop that’s reminiscent of modern shiplap or beadboard.
- Cost-Effective Renovation: Compared to removing and replacing paneling, or installing new drywall, painting is a significantly more affordable renovation option. It allows you to achieve a dramatic visual upgrade without breaking the bank.
- Personalization: Painting offers an incredible opportunity to personalize your space. Whether you’re aiming for a coastal retreat, a farmhouse aesthetic, a minimalist vibe, or a colorful statement, paint allows you to tailor the paneling to your unique style.
- Improved Durability and Maintenance: High-quality enamel paints create a durable, washable surface that can withstand daily wear and tear. This makes painted paneling easier to clean and maintain than some raw wood finishes.
Our goal for the McNay living room was a coastal ambiance. White painted paneling perfectly encapsulates this style, evoking images of seaside cottages and breezy elegance. Now, let’s gather our tools and prepare to embark on this rewarding DIY journey!
Essential Supplies for Painting Wood Paneling Like a Pro
(Some affiliate links are provided below. Full disclosure here.)
- Krud Kutter TSP Substitute: An indispensable cleaner for removing grease, grime, and residue from your paneling, ensuring optimal paint adhesion.
- Rags or Microfiber Cloths: Essential for cleaning and wiping away dust.
- Wood Filler: For seamlessly patching up nail holes, cracks, and other imperfections in the wood surface.
- Putty Knife: To apply wood filler smoothly and efficiently.
- Palm Sander with 150-grit Sandpaper: A palm sander makes quick work of smoothing filler and lightly scuffing the paneling for better primer adhesion. 150-grit is ideal for this purpose.
- Frog Tape (or painter’s tape): High-quality painter’s tape is crucial for creating crisp, clean lines and protecting adjacent surfaces.
- Masking Liquid (Liquid Masking Film): An excellent alternative to traditional tape for protecting windows, glass doors, and other intricate areas. It paints on and peels off easily.
- Drop Cloths or Plastic Sheeting: To protect your floors, furniture, and any other items you don’t want paint on.
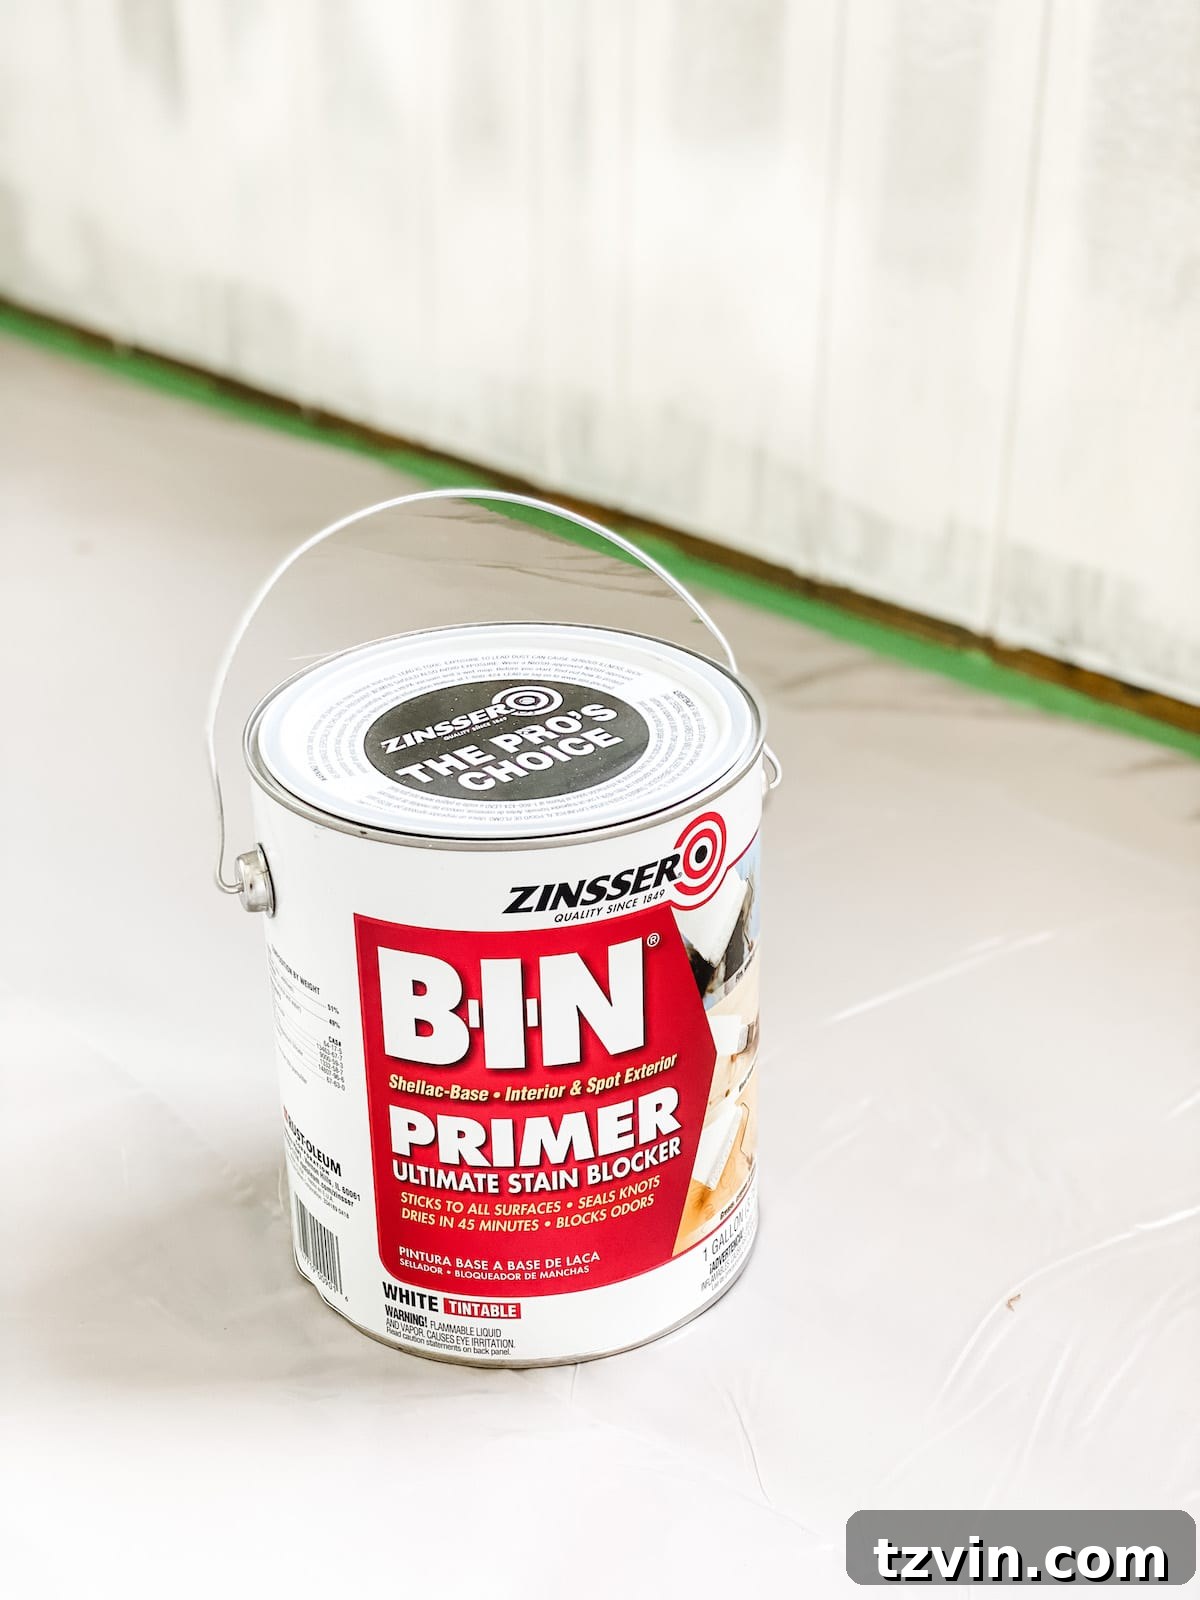
- Zinsser BIN Shellac-Base Primer: This is arguably the most critical supply. A shellac-based primer effectively blocks tannins and stains from bleeding through, ensuring your paint color remains true and vibrant. It also provides superior adhesion to slick surfaces.
- Respirator Mask: Shellac-based primers have strong fumes. A respirator mask is essential for your safety and comfort during application.
- Angled Sash Brush (1.5″ – 2.5″): Perfect for cutting in edges, painting into grooves, and reaching tight spaces.
- Roller Frame and Smooth Roller Covers (3/8″ nap): A smooth roller cover is key for achieving an even, professional finish on the flat surfaces of the paneling, minimizing texture.
- Paint Pail or Bucket: For easy portability and to hold smaller amounts of paint or primer while working.
- Paint Tray: To load your roller efficiently.
- High-Quality Enamel Paint: We used Behr Marquee Satin in the color Polar Bear. Enamel paints offer excellent durability, scrubbability, and a smooth finish, ideal for high-traffic areas or surfaces that need to be wiped clean regularly. A satin finish provides a subtle sheen that hides imperfections better than high-gloss but is still easy to clean.
The Comprehensive Step-by-Step Guide: How to Paint Wood Paneling for a Flawless Finish
Achieving a professional-looking finish when painting wood paneling involves more than just slapping on a coat of color. It’s all about meticulous preparation and proper application techniques. Follow these steps for a stunning and long-lasting result.
1. Clean the Walls Thoroughly with Krud Kutter
This initial step is non-negotiable. Over years, wood paneling can accumulate dirt, dust, grease, and grime, especially in living rooms or kitchens. Using a degreaser and cleaner like Krud Kutter TSP Substitute is vital. Dilute it according to the manufacturer’s instructions, then wipe down all surfaces of your paneling with a rag or sponge. Pay extra attention to the grooves where dust and dirt tend to settle. A clean surface ensures your primer and paint will adhere properly, preventing future peeling or bubbling. After cleaning, wipe down the walls with a damp cloth to remove any cleaner residue, then let them dry completely.
2. Repair Imperfections with Wood Filler
Inspect your wood paneling for any nail holes, cracks, dents, or other blemishes. These small imperfections can become glaringly obvious once painted. Use wood filler and a putty knife to carefully fill each imperfection. Apply the filler slightly proud of the surface, then smooth it as much as possible with the putty knife. For deeper holes, you might need to apply the filler in layers, allowing each layer to dry completely before adding the next. Let the filled areas dry fully according to the product’s instructions.
3. Sand for a Silky Smooth Surface
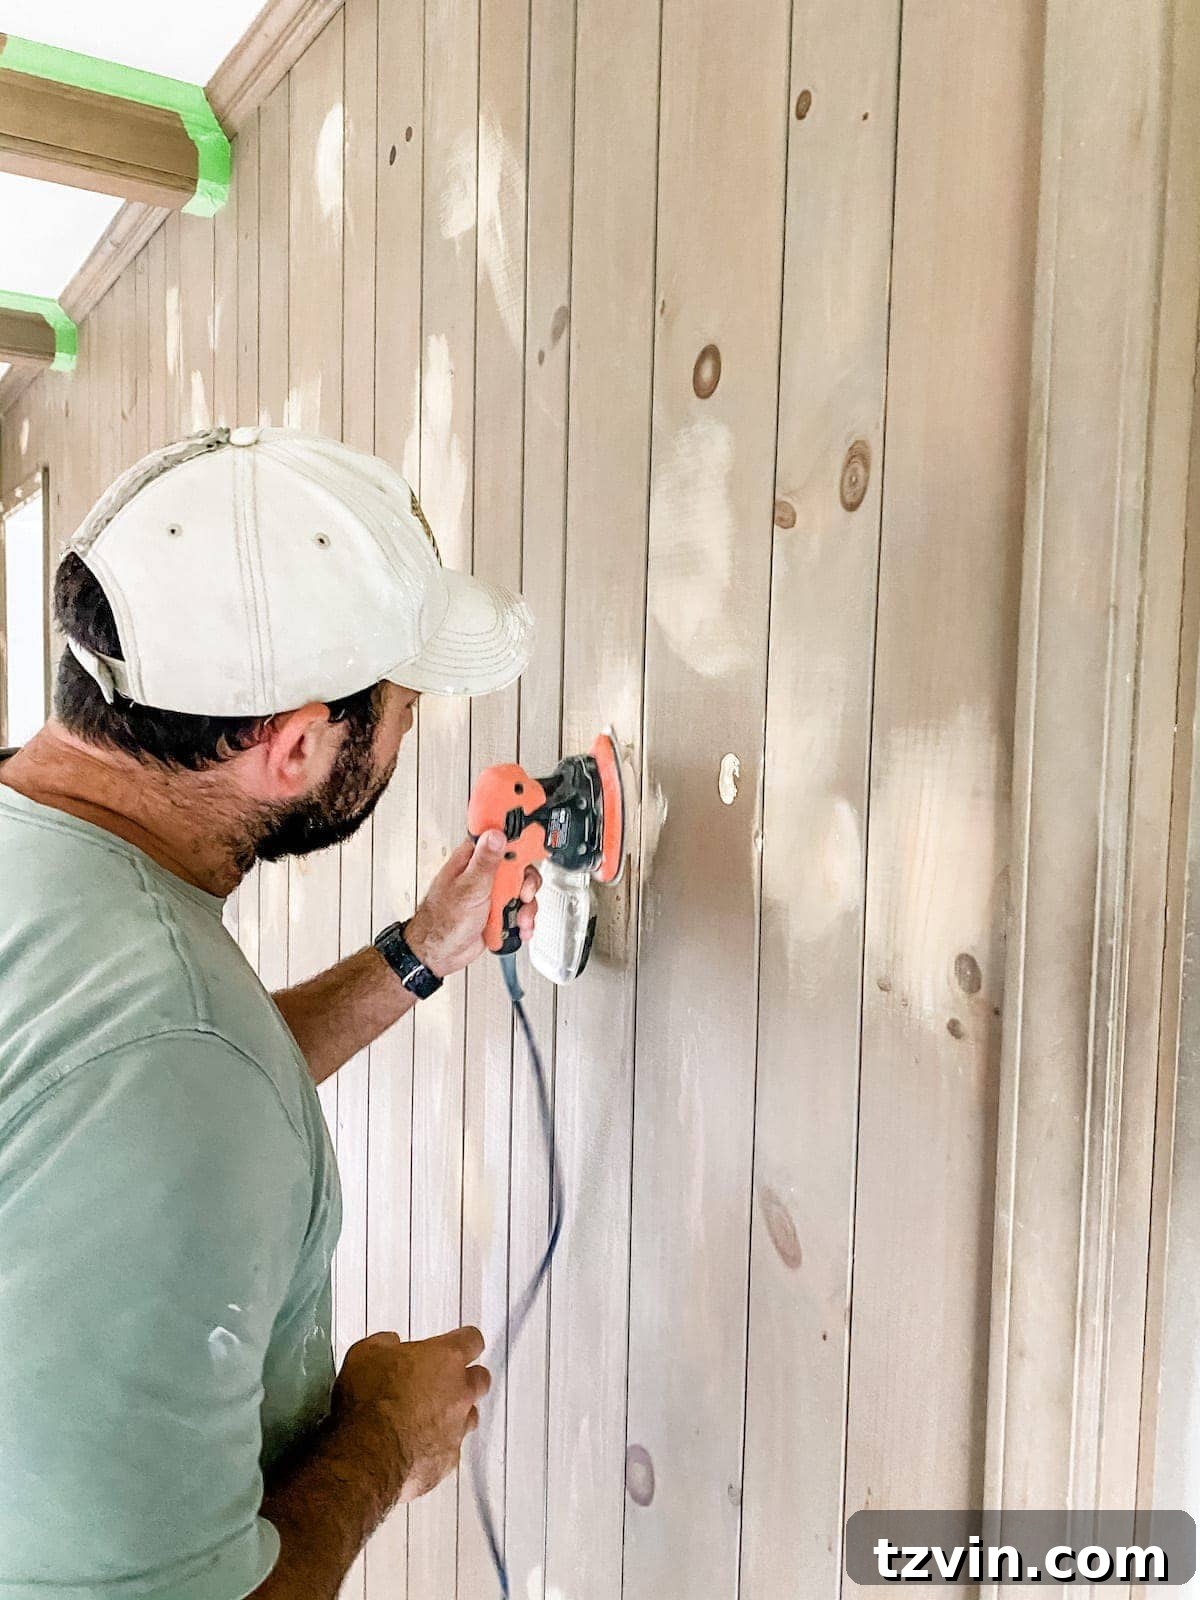
Once the wood filler is completely dry, it’s time to sand. Attach 150-grit sandpaper to your palm sander and gently sand the filled areas until they are perfectly flush and smooth with the surrounding paneling. You can also lightly scuff the entire surface of the paneling with the sander or by hand. This light sanding provides a “tooth” for the primer to grip onto, significantly improving adhesion. After sanding, use a damp rag or a tack cloth to meticulously wipe away all sanding dust. Ensure no dust particles remain, as they can create an uneven texture in your paint finish.
4. Protect Adjacent Surfaces with Tape and Drop Cloths
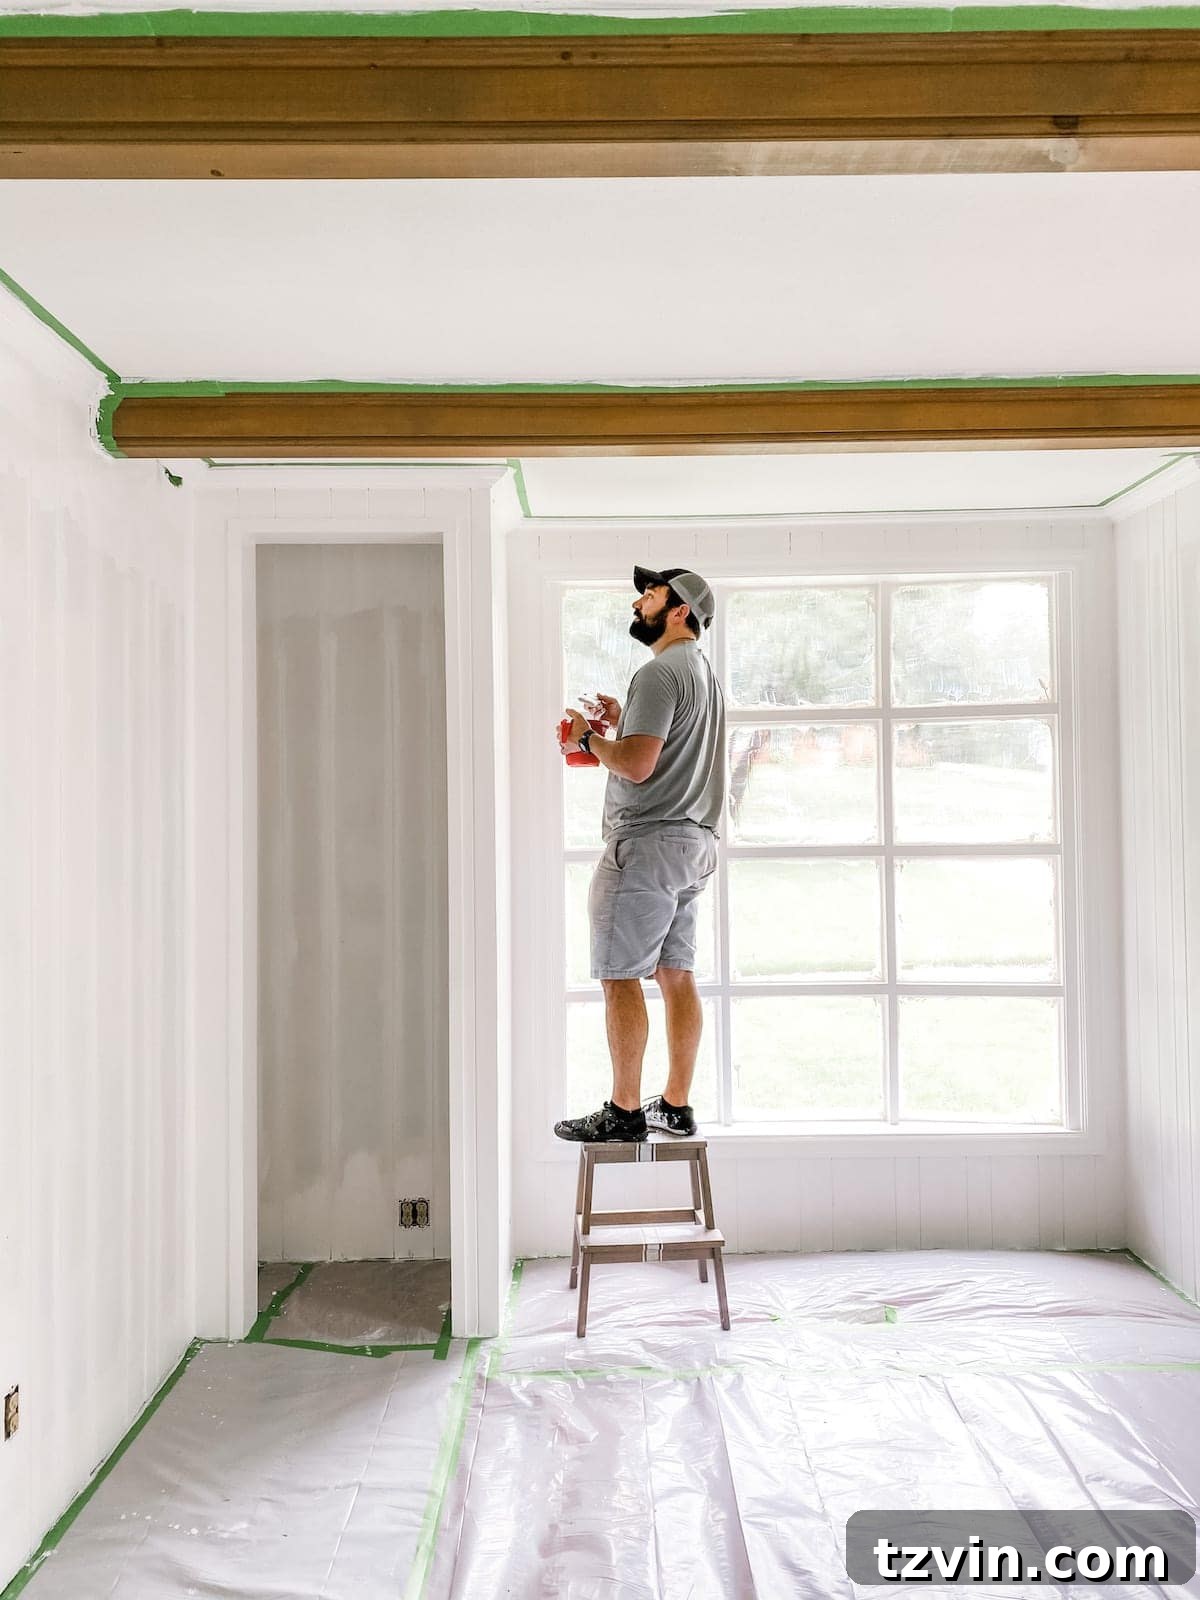
Preparation is key to a clean paint job. Carefully apply Frog Tape along the edges of any molding, ceilings, trim, or adjacent walls that you don’t want painted. Press down firmly to create a tight seal, preventing paint from seeping underneath. Next, lay down drop cloths or plastic sheeting to thoroughly protect your floors, furniture, and any other items in the room from paint splatters and drips. For glass doors and windows, a specialized product like Masking Liquid offers a superior solution.
5. Apply Masking Liquid to Glass Surfaces (Optional but Recommended)
If your paneling project includes adjacent windows or glass doors, Masking Liquid is a game-changer. Instead of tedious taping, simply brush a thick, even coat of this liquid film onto the glass surfaces. It will dry to a flexible, protective barrier. This method is especially effective for windows with many small panes or intricate designs, providing crisp, clean lines without the hassle of traditional taping. Allow the Masking Liquid to dry completely according to its instructions before proceeding.
6. Prime with Shellac-Base Primer – The Most Crucial Step!
This is where many DIY painters go wrong. Using the correct primer for wood paneling, especially older or stained wood, is absolutely critical. We highly recommend Zinsser BIN Shellac-Base Primer. Why? Wood, particularly older wood, contains tannins that can bleed through water-based or even some oil-based primers, leaving unsightly yellow or brown stains on your freshly painted walls. Shellac-based primer acts as an impenetrable barrier, effectively sealing in these tannins and preventing bleed-through. It also offers superior adhesion to slick, non-porous surfaces like finished wood paneling.
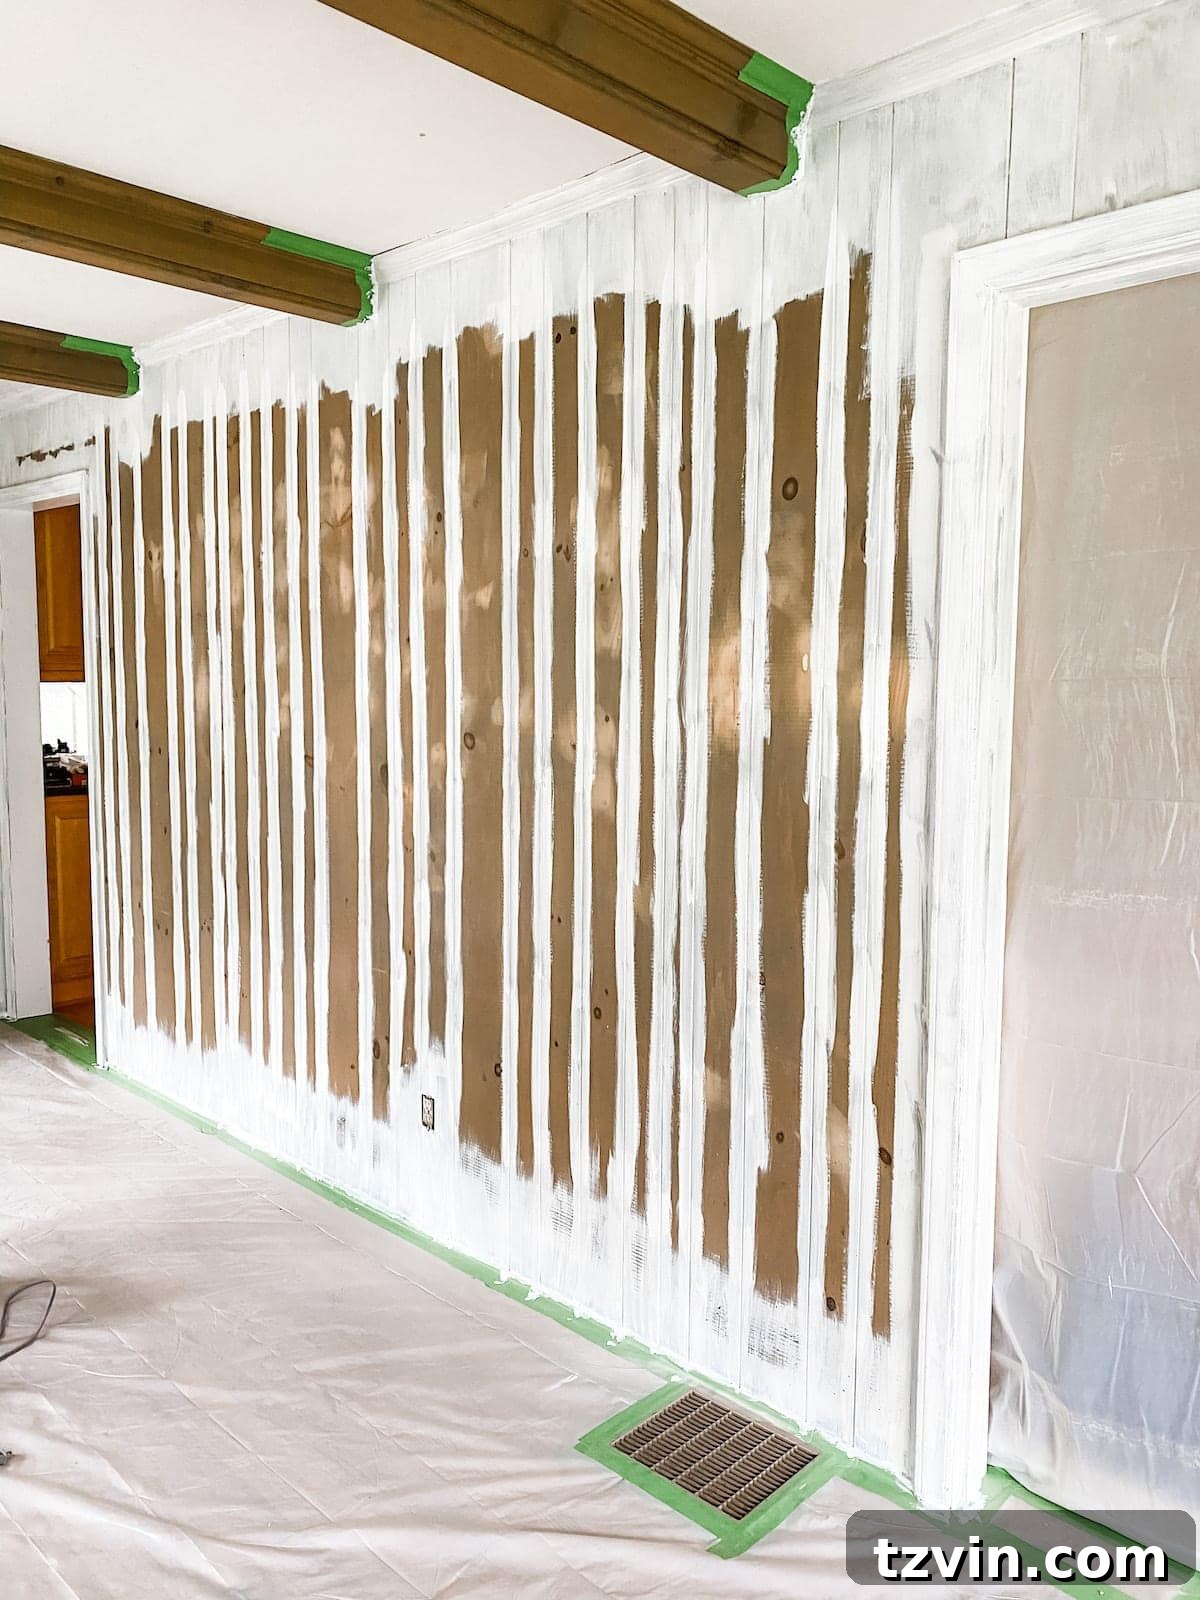
Before you begin, ensure excellent ventilation by opening doors and windows, and always wear a respirator mask to protect yourself from the strong fumes. Start by using your angled sash brush to carefully apply primer into all the grooves and along the edges of the paneling, as well as where the paneling meets taped-off areas. Once these detailed sections are covered, use your roller with a smooth roller cover to apply primer to the flat surfaces of the paneling. Roll in even, overlapping strokes to ensure full coverage and minimize brush marks. Allow the primer to dry completely. Depending on the original color of your paneling, a second coat of primer might be necessary to ensure full stain blocking. Always follow the manufacturer’s drying time recommendations.
7. Apply Your Chosen Paint Color
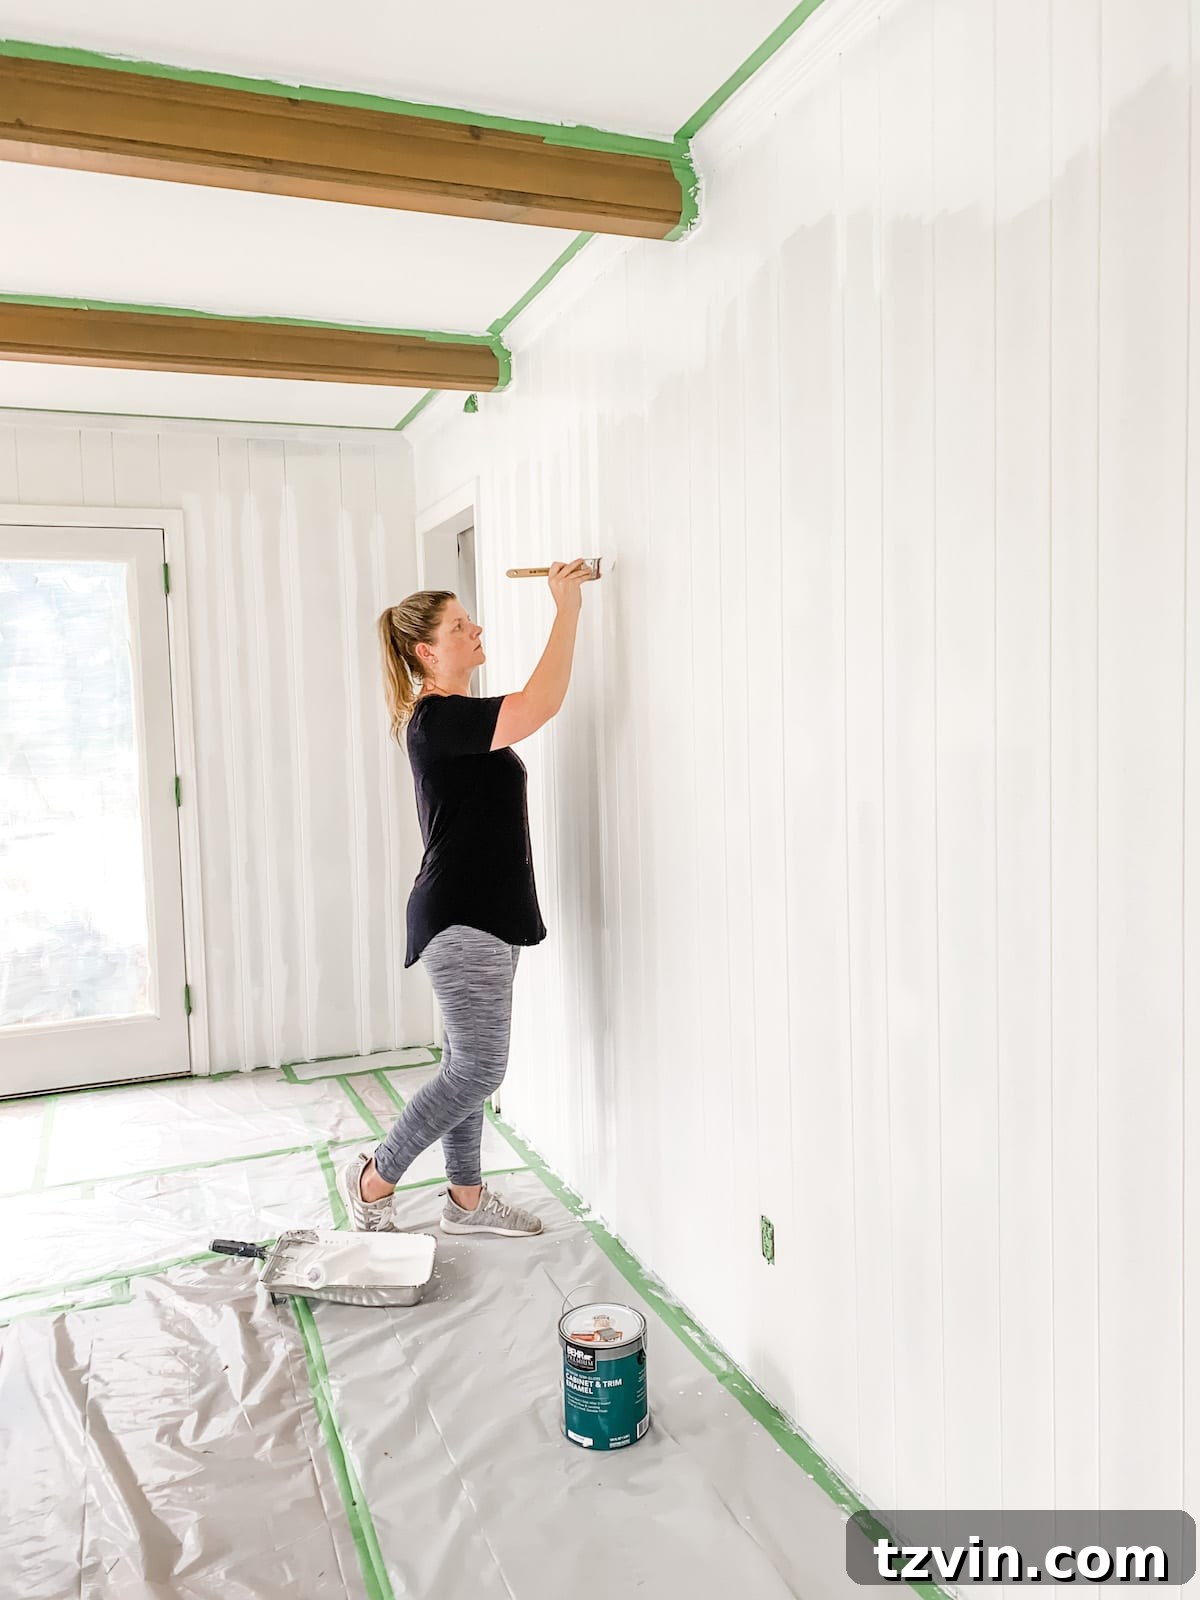
Once the primer is fully cured, it’s time for the exciting part – applying your paint! We opted for Behr Marquee Satin in Polar Bear for its bright, clean aesthetic and durable enamel finish, perfect for a coastal vibe. The application technique mirrors that of the primer: begin by using your angled sash brush to paint into all the grooves, along the edges, and around any trim or corners. This ensures thorough coverage in areas a roller can’t easily reach. Next, use your smooth roller to apply the paint to the flat surfaces of the paneling, working in sections. Roll in a consistent, even motion, overlapping your strokes slightly to blend them seamlessly and hide any potential brush marks. Aim for two thin, even coats of paint rather than one thick coat, allowing ample drying time between each application. This will provide better coverage, a more durable finish, and prevent drips or sags. For darker original paneling or if you’re painting a light color, a third coat might be beneficial.
8. The Grand Reveal: Remove Tape and Masking Liquid
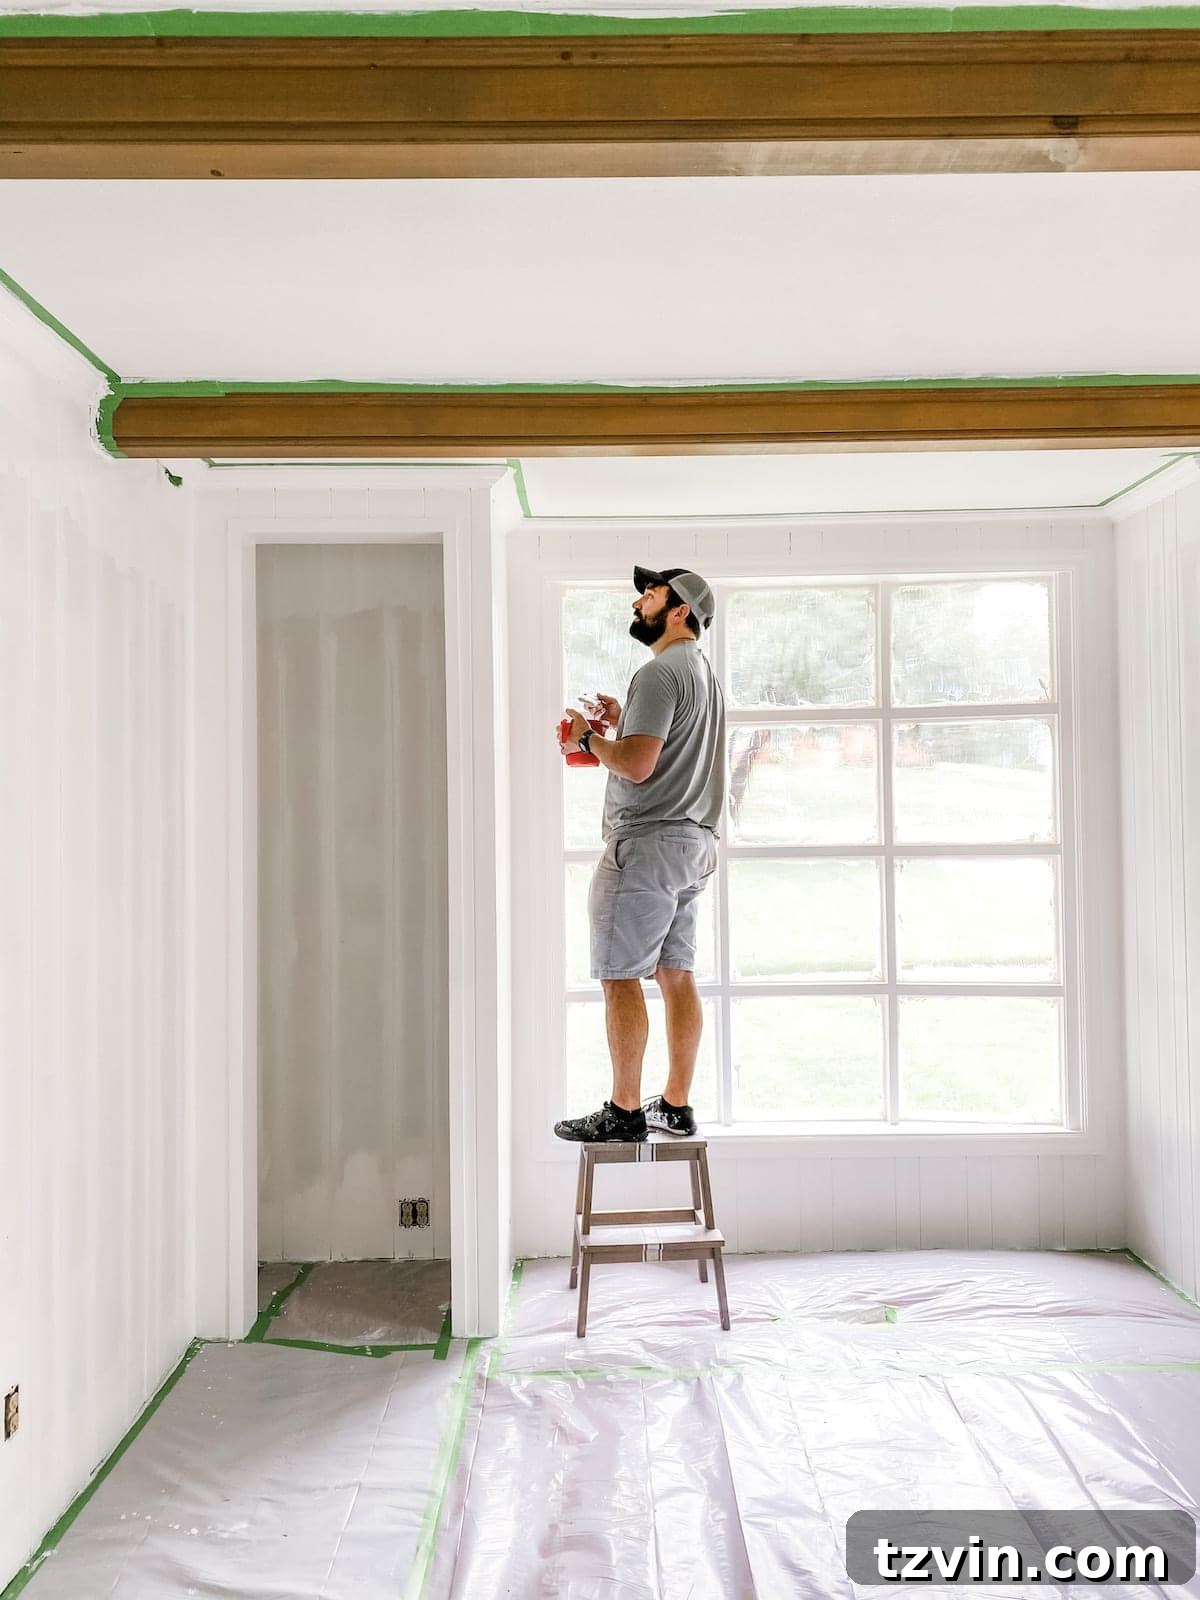
Timing is crucial for this step. As soon as the final coat of paint is dry to the touch but not fully cured (usually within a few hours), carefully peel up the Frog Tape. Before pulling, gently score the edges of the tape with a utility knife. This scoring action breaks the paint seal, preventing the paint from peeling away with the tape and ensuring those crisp, clean lines you worked so hard for. Do the same for any areas where you used Masking Liquid – score the edges, then gently peel it away to reveal perfectly clean windows and glass doors. Admire your sharp, freshly painted edges!
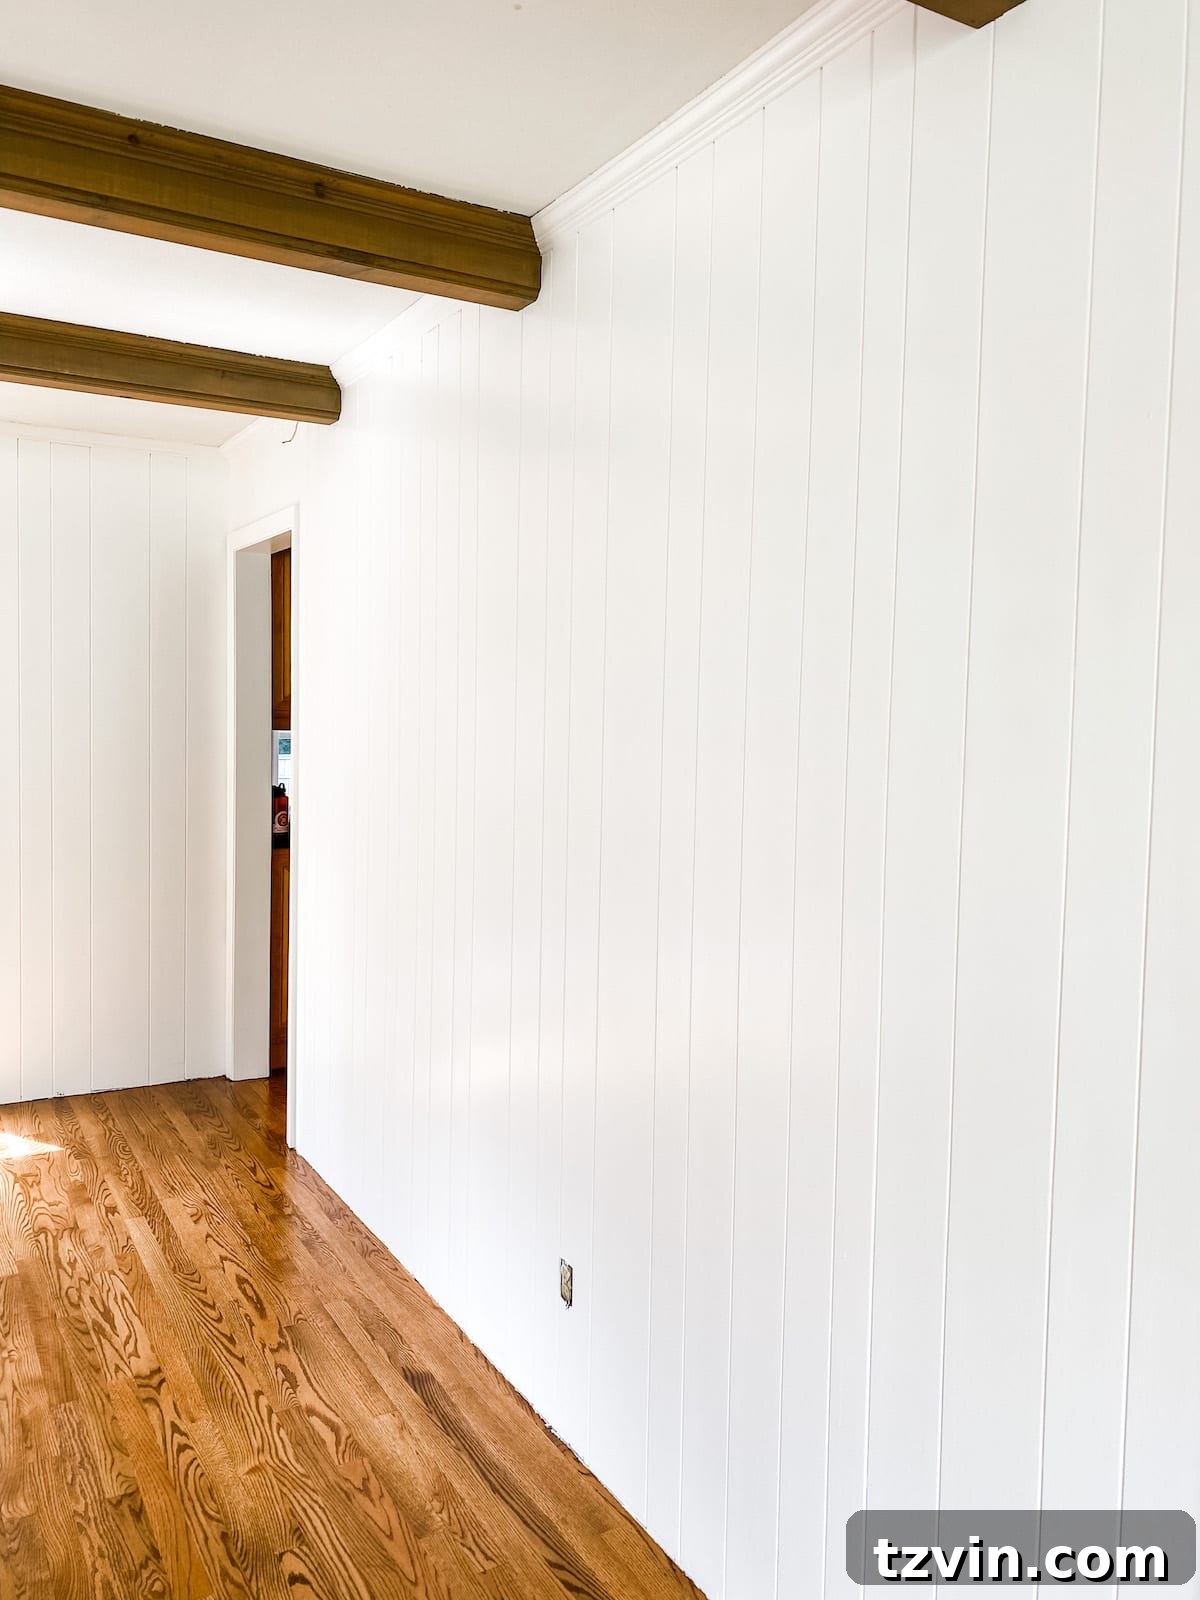
The Incredible Transformation: Enjoying Your Beautifully Painted Paneling
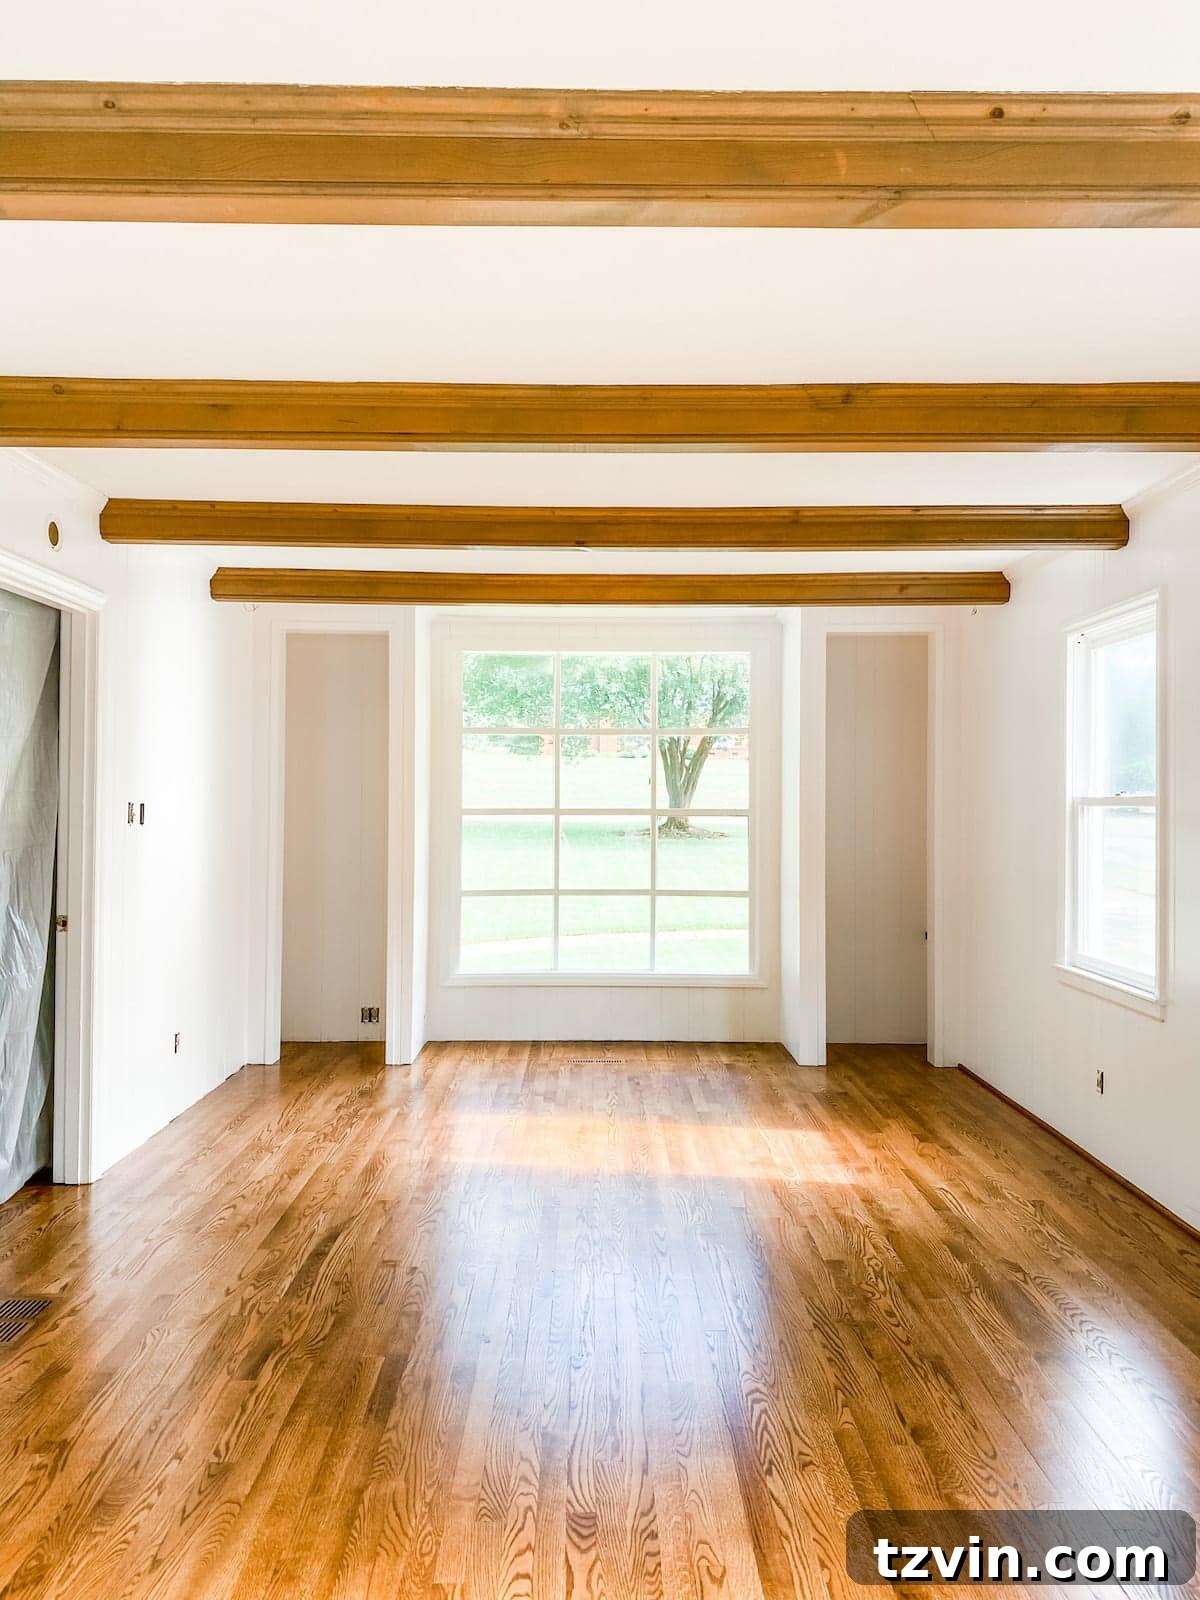
This project took us a solid four days of dedicated work for this entire room, and our bodies certainly felt the effort! But standing back and looking at the completed space, every ounce of hard work was unequivocally worth it. The transformation is nothing short of spectacular. It’s truly amazing how a few coats of paint, coupled with the right preparation, can utterly redefine a room’s character and ambiance. The once heavy and somewhat dark paneling has been reborn as bright, clean, and airy planks, perfectly setting the stage for our coastal design vision.
Compare the before and after – the difference is monumental! The room now feels open, inviting, and drenched in light, a stark contrast to its previous state. This significant change is already a huge step towards realizing our dream coastal living room.
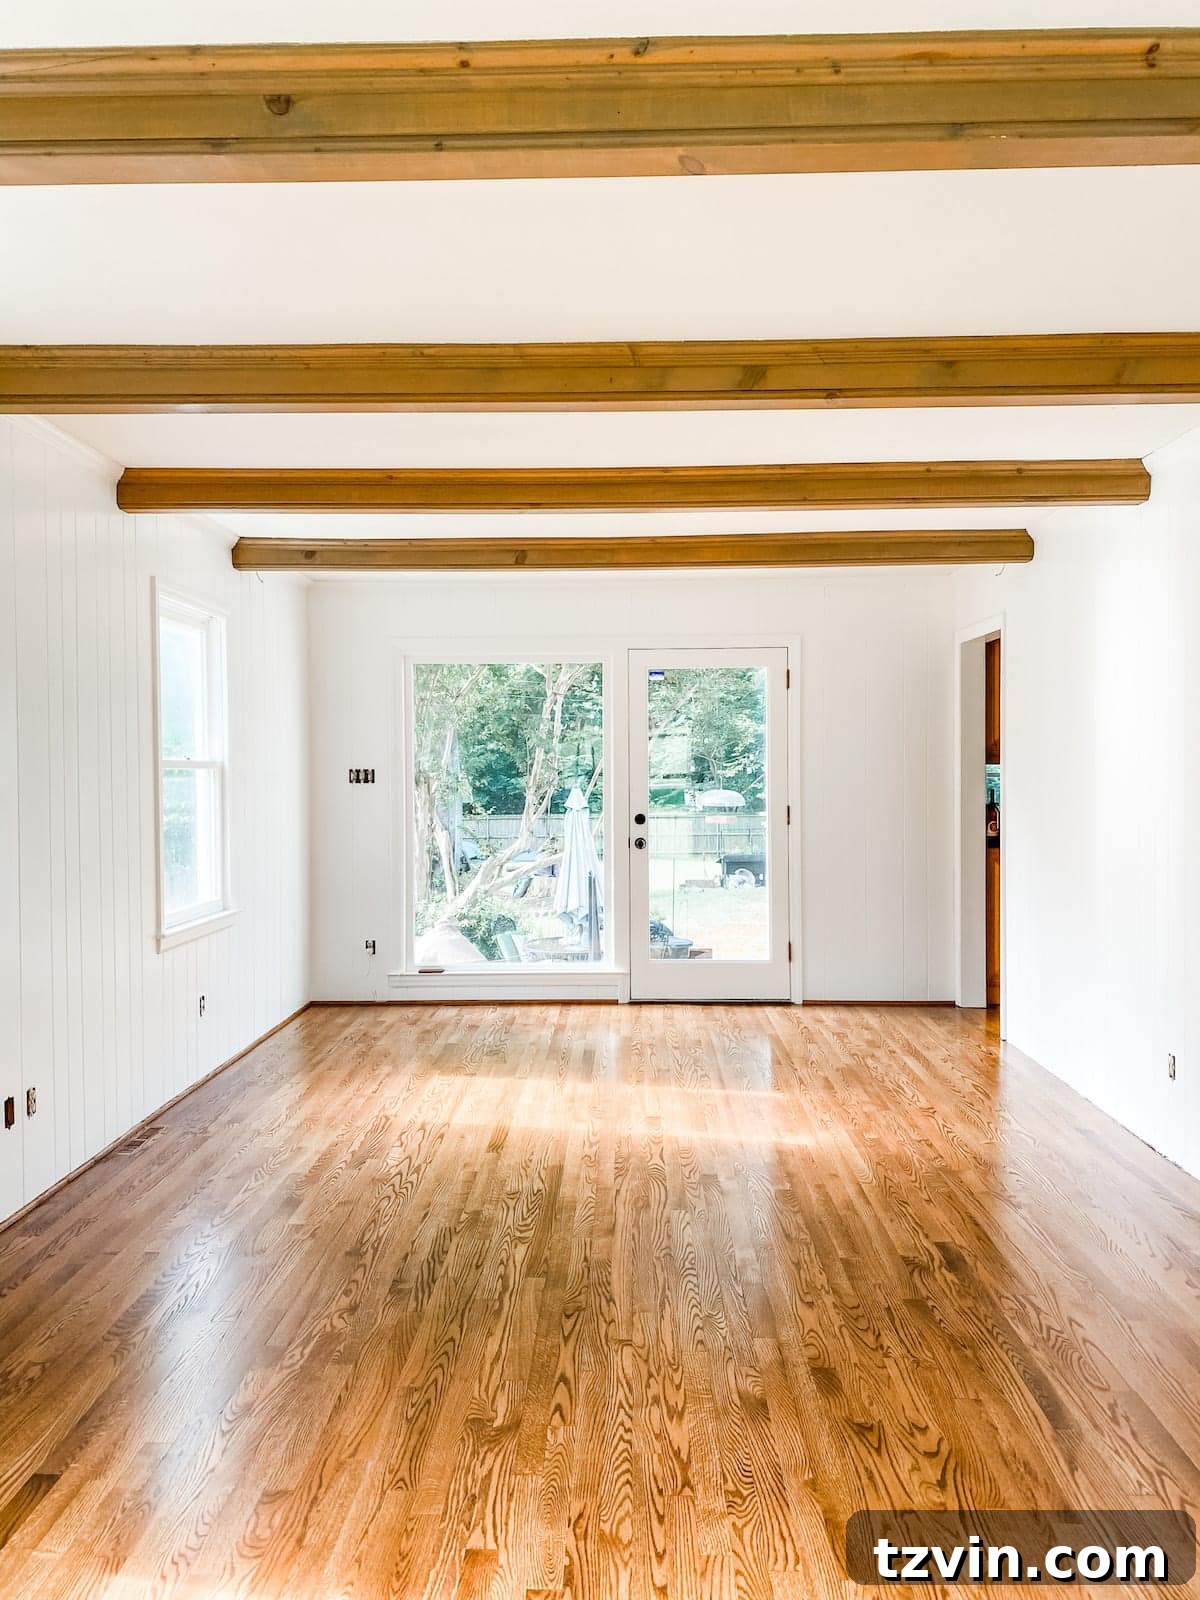
With the paneling beautifully painted, we’re eagerly anticipating the next stages of the McNay project. It will be smooth sailing from here as we hang curtains and wall sconces, bring in comfortable furniture, and carefully select coastal art pieces. These elements will complete the room’s transformation, infusing it with those coveted Charleston vibes, a loving tribute to the McNays’ deep affection for the coast. Every detail is coming together to create a space that feels both personal and profoundly refreshing.
Final Thoughts: The Enduring Power of Paint
Are you as amazed as we are by the incredible impact of painted wood paneling? Paint transformations never cease to captivate us! It’s truly incredible how a thoughtful application of color and technique can completely revolutionize a room, proving that you don’t always need a major structural overhaul to achieve a stunning new look. This project is a testament to the fact that even dated elements can be reimagined and brought into the modern era with a little vision and effort.
We hope this detailed guide on how to paint wood paneling has inspired and empowered you to tackle your own home transformation projects. Remember, patience and proper preparation are your best friends in achieving a durable and beautiful finish. Go forth and create the spaces you’ve always dreamed of!
If you want to save this post for later, you can pin it here: