
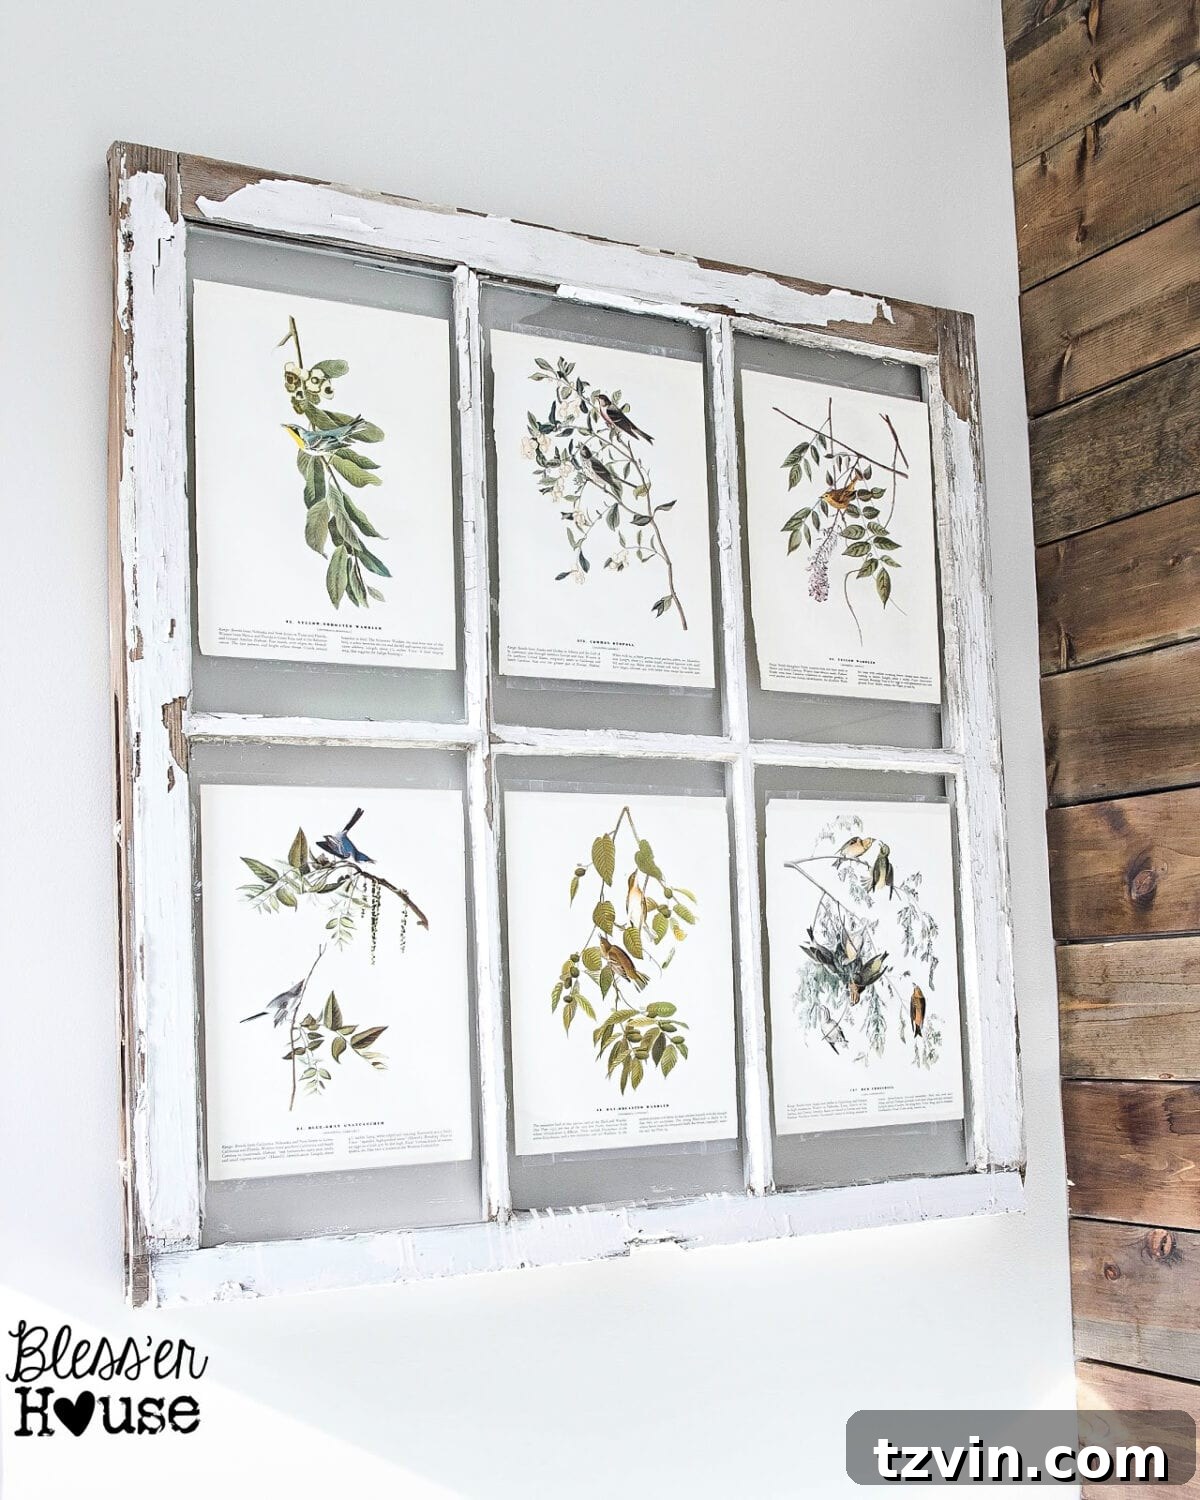
Transform Your Home: Upcycled Window Decor & Free Botanical Printables
Welcome, fellow DIY enthusiasts and home decor dreamers! Every time I share a new project, whether it’s a creative craft, a daring decor experiment, or even one of my comical DIY blunders, my heart does a little happy dance. It truly amazes me that our adventures resonate with so many of you beyond just my wonderfully supportive mother!
Your presence, your thoughtful comments, ingenious ideas, and encouraging words are the very fuel that keeps this blog vibrant and my creative momentum soaring. This incredible community inspires me daily to continue exploring, creating, and sharing the magic of transforming spaces.
As a heartfelt thank you for being such an integral part of this journey, I’m thrilled to share a special gift with you: a beautiful set of free botanical printables. You’ll find the link to download them towards the end of this post, ready to bring a touch of nature’s elegance into your home.

The Art of Upcycling: From Forgotten Finds to Fabulous Art
Today, we’re taking a delightful trip down memory lane with a “Trash to Treasure Transformation” flash-back. This particular project highlights one of my favorite and surprisingly simple wall decor ideas. It’s a testament to the power of upcycling – taking something discarded and giving it a new life, turning forgotten relics into cherished pieces of art. Upcycling isn’t just about saving money; it’s about infusing your home with unique character and contributing to a more sustainable lifestyle. Each repurposed item tells a story, adding layers of charm and history that mass-produced decor simply can’t replicate. This project truly embodies that spirit, demonstrating how a little vision can transform the mundane into magnificent.
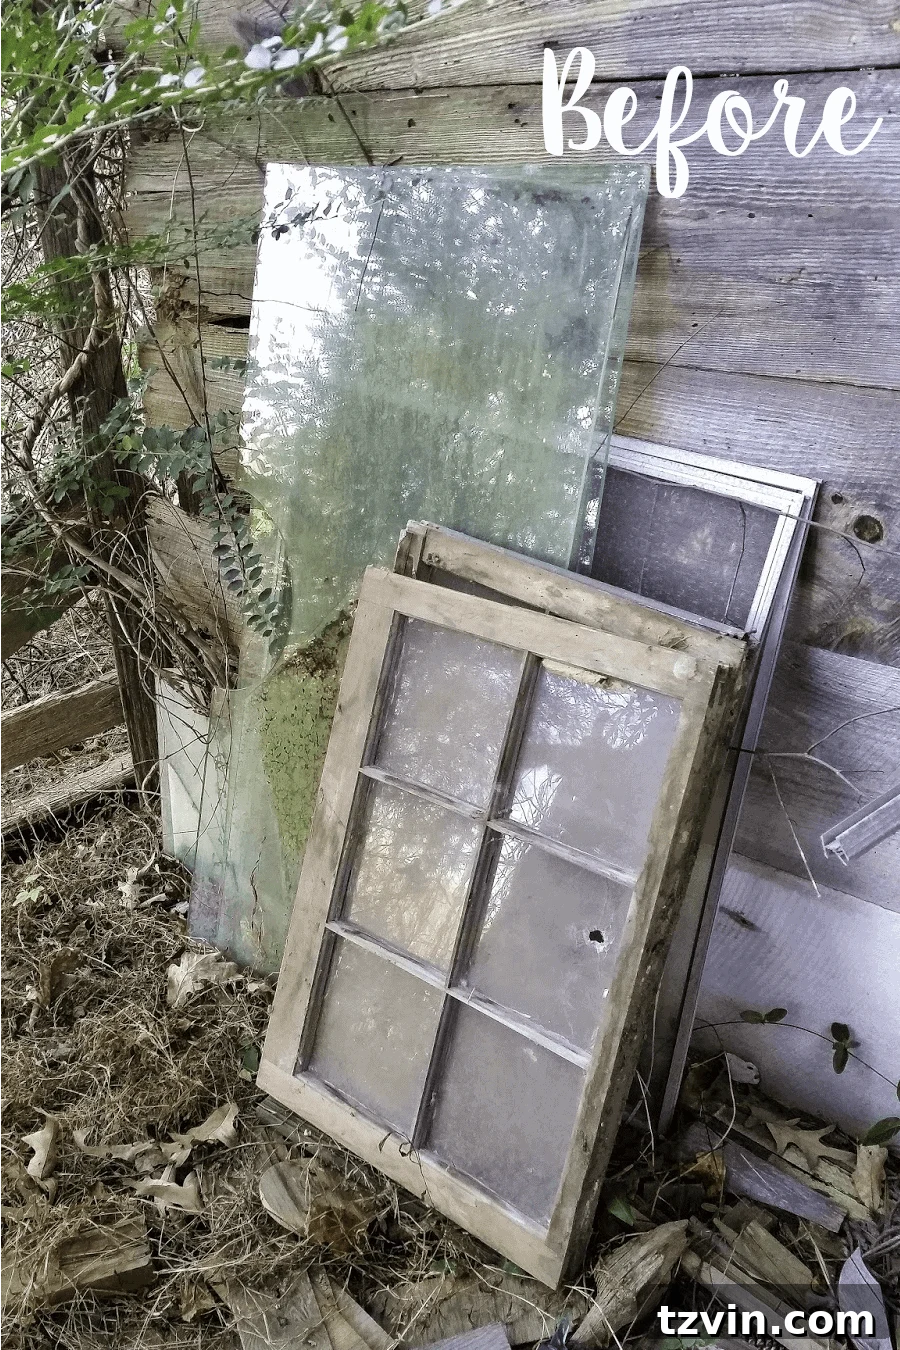
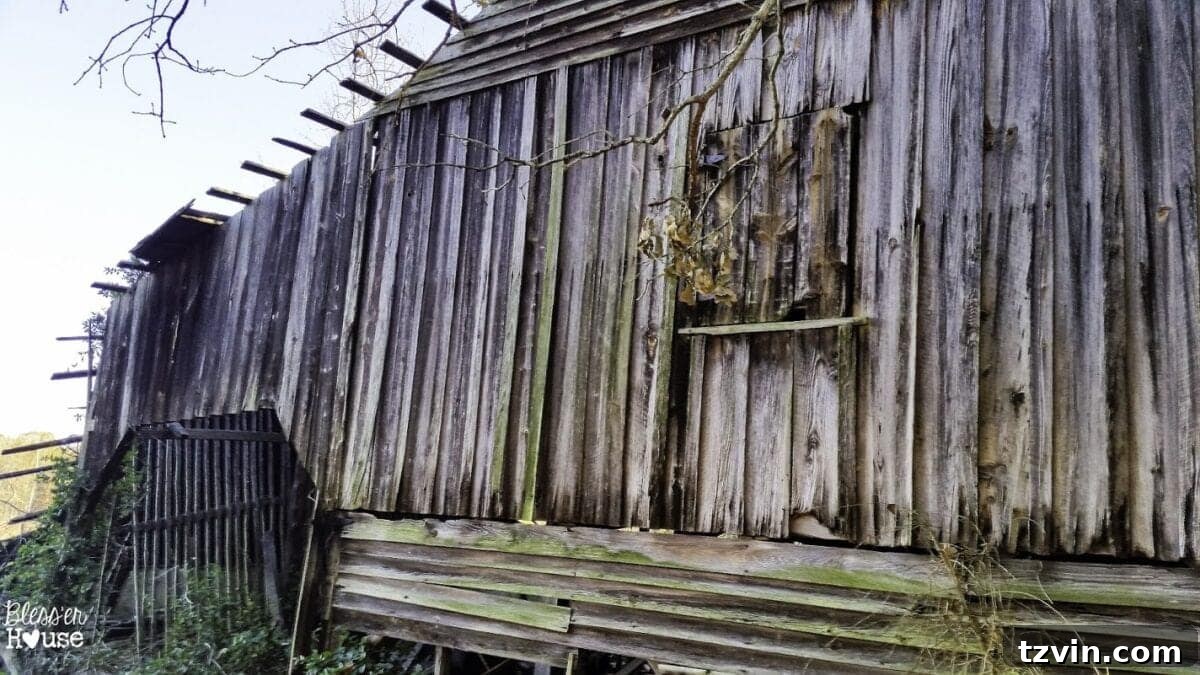
Our adventure began, as many great DIY stories do, with an unexpected find. These were not just any old windows; they were abandoned, forgotten relics discovered tucked away in my in-laws’ old barn, nestled behind their house. These windows, scarred by time and weather, held an inherent beauty, hinting at stories from generations past. They weren’t just panes of glass and wood; they were canvases waiting for a new purpose, perfect candidates for a creative transformation.
The Treasure Hunt: Rescuing Vintage Windows for DIY Wall Art
Among the various windows, I carefully selected the one that was structurally sound and unbroken for this particular project. The thrill of discovering such incredible reclaimed goodies in an old barn is truly exhilarating! Don’t you wish you had access to a magical trove of vintage treasures like that? I’d probably spend even more time diving through my in-laws’ barn, if not for my healthy aversion to the various critters that call it home. (Ack!) Finding reclaimed windows is easier than you might think; check local salvage yards, antique shops, flea markets, or even online marketplaces. Always prioritize safety when scavenging: wear sturdy gloves, long sleeves, and closed-toe shoes. Inspect any potential finds for severe damage, rot, or active pest infestations before bringing them home. The character of an old window is unmatched, offering a rustic charm perfect for a myriad of decor styles, from farmhouse to bohemian chic.
From Grimy to Grand: Preparing Your Upcycled Window Frame
Once I brought my chosen window home, the real work began, starting with crucial preparation steps to ensure it was safe and ready for its new life as a stunning piece of wall art. Old windows, especially those from decades past, can sometimes harbor hidden dangers, so taking the time for proper preparation is paramount.
1. Safety First: Lead Paint Testing
My very first step was to perform a lead paint test. This is incredibly important when dealing with vintage items, as lead-based paint was common before 1978. Lead test kits are inexpensive and easy to use, providing peace of mind. Simply follow the instructions on the kit, usually involving swabbing a discreet area of the paint. If the test indicates the presence of lead, it’s crucial to take extra precautions. You might choose to encapsulate the lead paint with a specialized sealant or, if you decide to remove it, do so carefully in a well-ventilated area with proper protective gear, or consider professional help. For this project, thankfully, the test came back negative, allowing us to proceed without additional lead abatement steps.
2. Thorough Cleaning & Restoration
Next, it was time for a deep clean. Years of barn dust and grime had accumulated on the frame, so I started by vacuuming it thoroughly with a brush or wand attachment to remove loose debris. This prevents scratching the surface during wet cleaning. After vacuuming, I sprayed the entire frame, including the glass panes, with an all-purpose cleaner and wiped it down diligently with a clean cloth. For stubborn dirt, a stiff brush or a magic eraser can work wonders. Ensure the window is completely dry before moving on to the next step, as any residual moisture can compromise the sealant’s adhesion.
3. Preservation and Sealing
To protect the wood and glass from future damage and to give it a durable finish, I sealed the entire window frame with a coat of matte Rustoleum spray polyurethane. This step is vital for longevity, especially for an item that might be exposed to varying humidity levels or even just everyday dust. The matte finish helps to preserve the rustic, vintage aesthetic of the window, rather than making it look overly glossy or new. When applying spray polyurethane, always work in a well-ventilated area, use smooth, even strokes, and apply multiple thin coats rather than one thick one to avoid drips and ensure a consistent finish. Allow adequate drying time between coats as specified by the product instructions.
Strategic Placement: Showcasing Your Upcycled Window Art
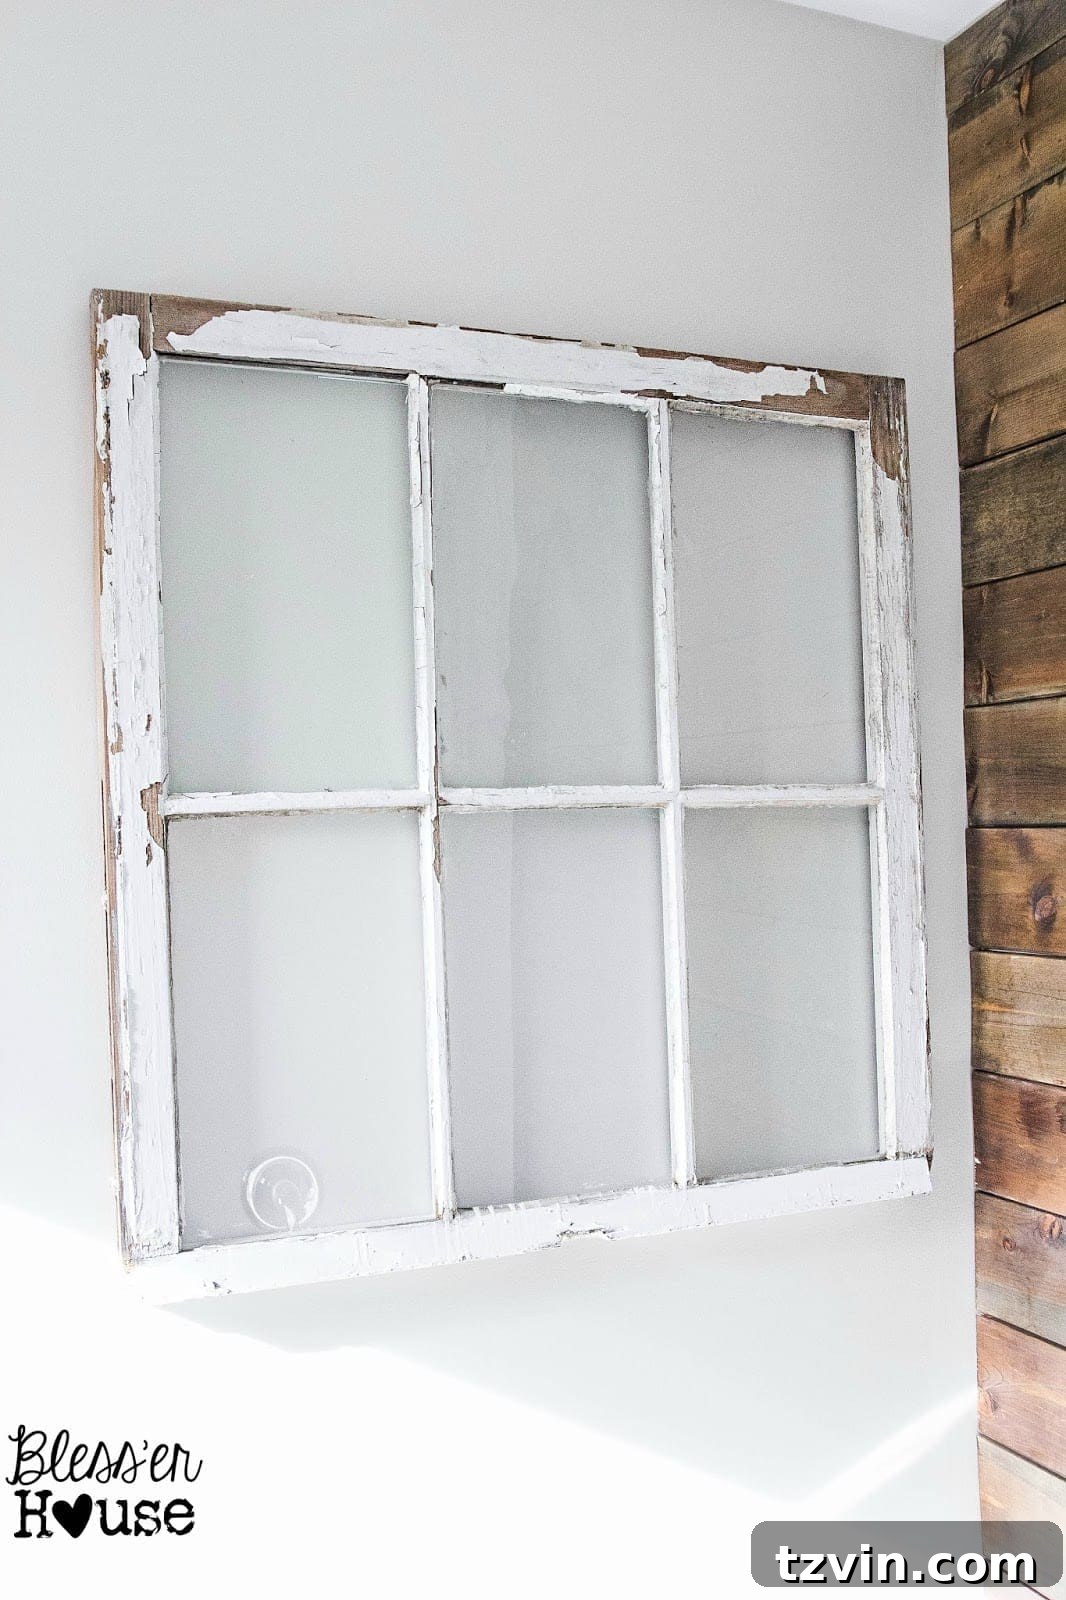
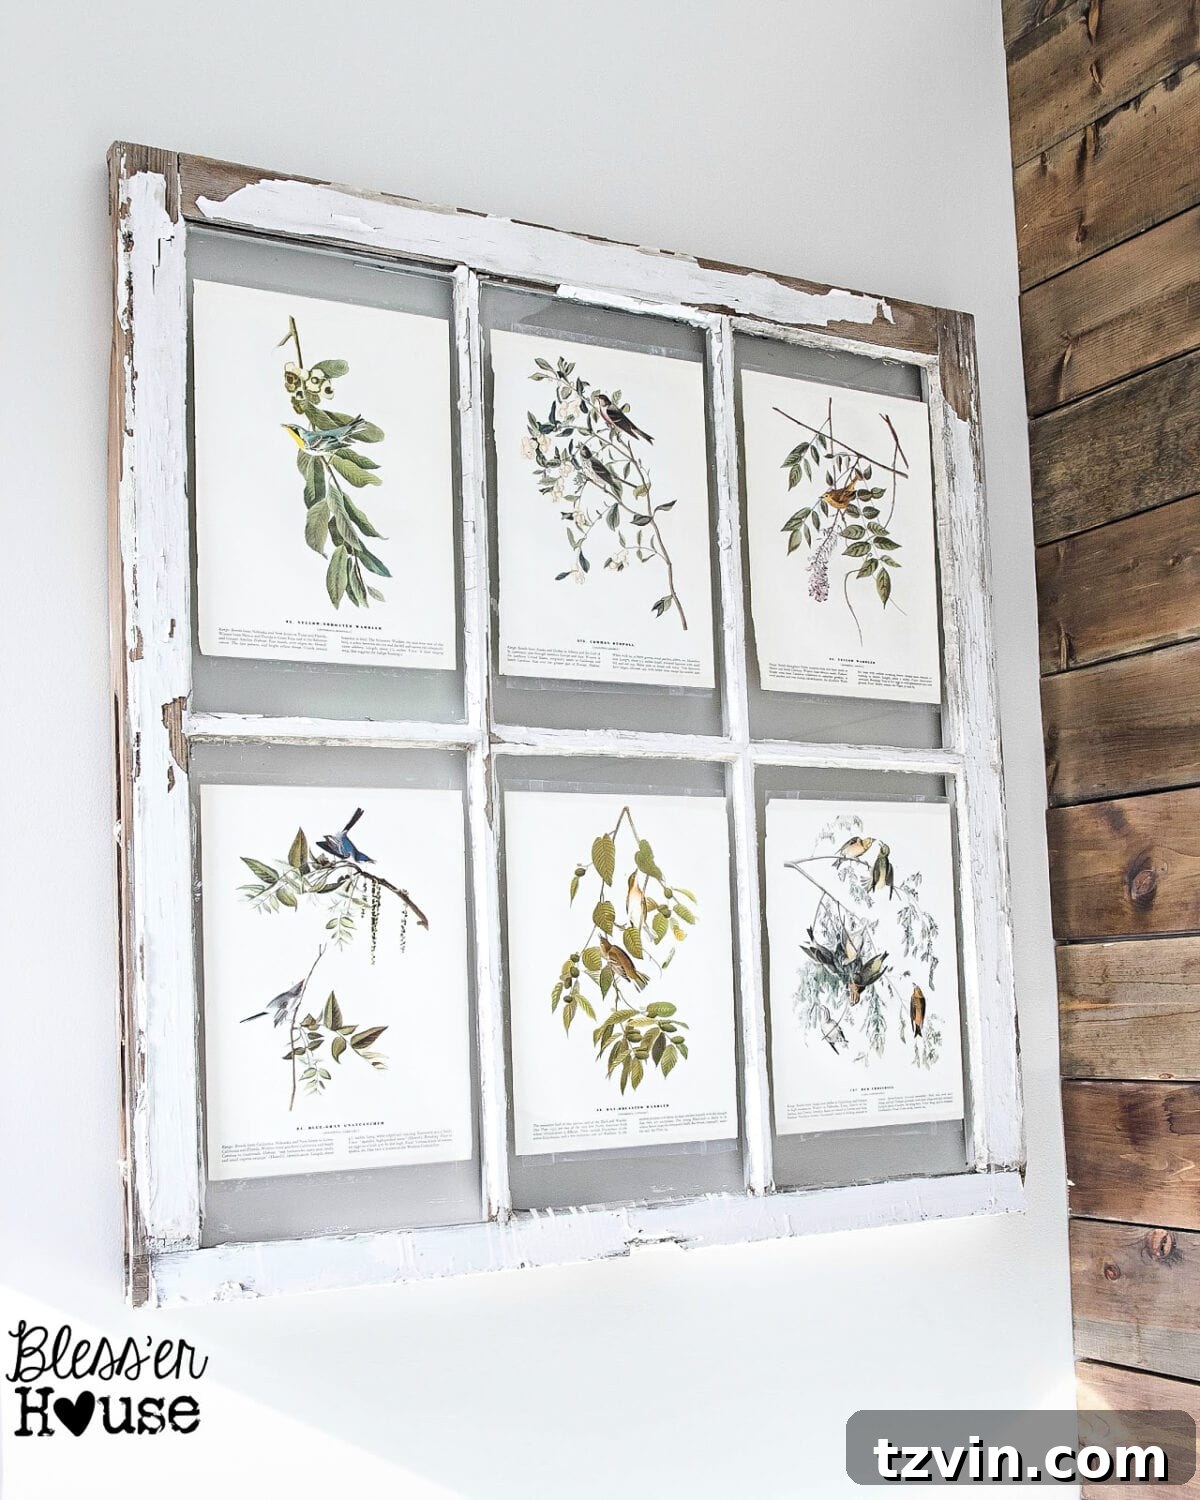
With the window prepped and sealed, it was ready for its starring role. I decided to hang it behind our tub in the master bathroom, creating a stunning focal point. The choice of a bathroom might seem unconventional for an old window, but it adds a unique architectural element and a touch of vintage charm to an otherwise functional space. For secure and easy installation, I used a Hangman hanger. These hangers are fantastic for anything you want to make super duper secure, as they distribute weight evenly and provide a flush mount against the wall. They are perfect for heavier items like this reclaimed window. When hanging any substantial wall art, always locate wall studs or use appropriate heavy-duty drywall anchors to ensure stability and prevent accidents.
Curating Your Art: The Botanical Touch
The next step was to fill the window panes with art. For this, I had the perfect material: a thrifted Audubon Birds of America book that was, sadly, completely falling apart. While its structural integrity as a book was compromised, its beautiful illustrations remained intact, destined to become stunning art pieces. Vintage botanical and natural history prints have an timeless elegance that complements almost any decor style. The intricate details, vibrant colors, and scientific accuracy of Audubon’s illustrations make them particularly captivating. I knew from the moment I found it that this book would one day be transformed into something truly special.
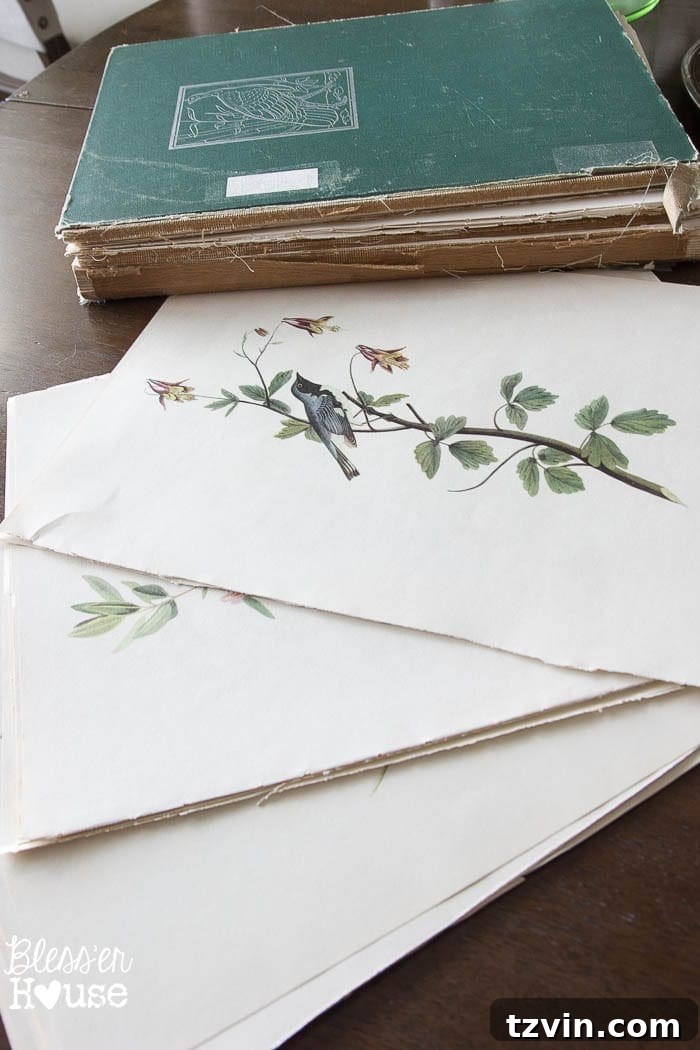
Assembling Your Masterpiece: Easy Steps to Elegance
The assembly was incredibly straightforward. I carefully selected a few of my favorite pages from the Audubon book, each featuring a unique bird or botanical illustration, and simply taped them to the back of the window panes. The simplicity of this method is part of its charm; it allows the vintage prints to shine without overcomplicating the display. I used clear, acid-free tape to ensure the prints were securely held in place and wouldn’t yellow or damage over time. The key is to position each print carefully, aligning it within the pane for a polished look. And that was it! Instant, high-impact wall art created with minimal effort and maximum charm.
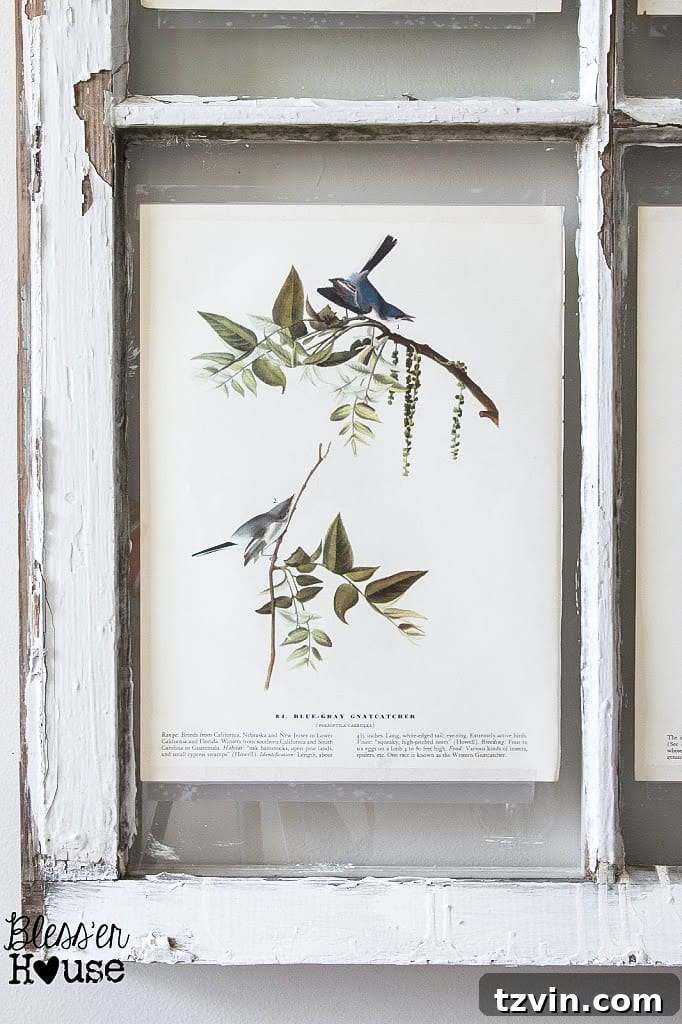
If you decide to hang your repurposed window art in a bathroom, or any other high-humidity environment like a kitchen or laundry room, an extra protective step is highly recommended. To prevent moisture damage and ensure the longevity of your beautiful prints, you should also seal the pages with Scotch laminating sheets. These self-adhesive sheets are easy to apply and provide an invisible barrier against humidity, steam, and splashes. Simply place your botanical prints on the adhesive side of the sheet, smooth out any bubbles, and trim the excess. This small effort will protect your art for years to come, allowing you to enjoy your unique decor worry-free.
Expanding the Vision: Botanical Art Throughout Your Home
The beauty of botanical art isn’t confined to a single window or room. I loved the look so much that I used more sheets from my Audubon book to create additional book page botanical art for our foyer. For these, I simply placed the prints inside inexpensive poster frames from Walmart, instantly elevating a blank wall. This demonstrates the versatility of this decor style – it can be adapted to various frame types and sizes, fitting seamlessly into different spaces throughout your home. Botanical prints, with their refreshing imagery and connection to nature, are absolutely perfect for brightening up your home, especially during spring and summer. They evoke a sense of calm and natural beauty that can transform any area into a serene sanctuary.
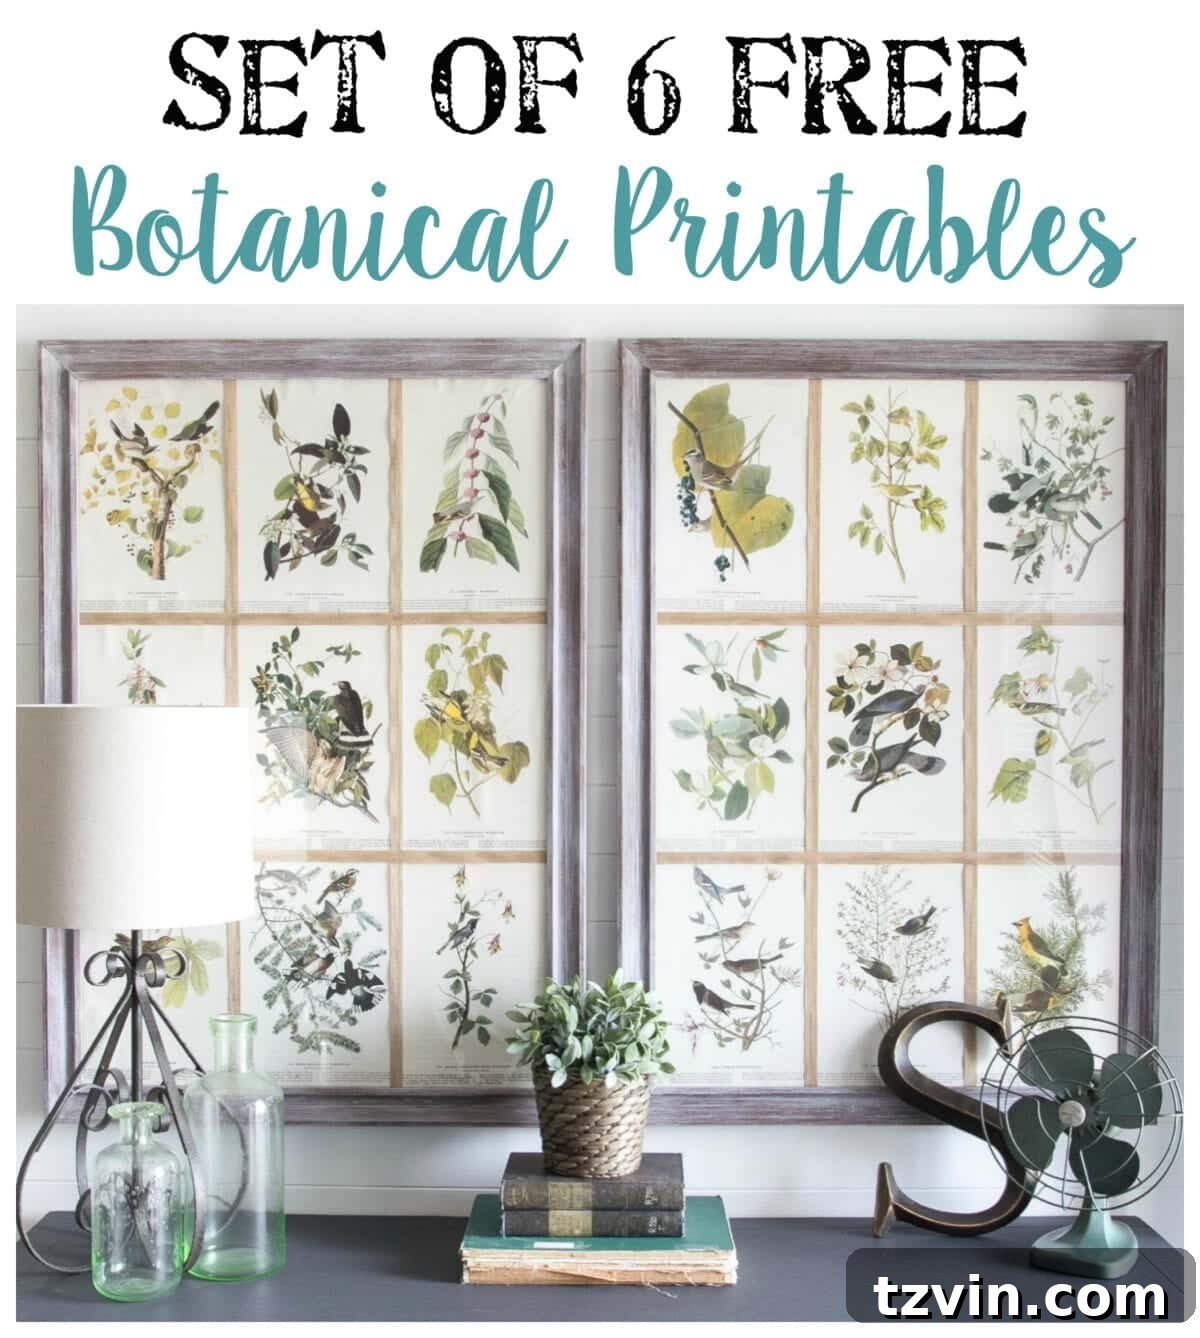
If you’re inspired to create your own book page botanical art but don’t have an old Audubon book lying around, don’t worry! You can find similar Audubon books on Amazon or at local second-hand stores. Look for editions with full-page color plates, which offer hundreds of beautiful illustrations to choose from for repurposing into stunning wall art. Alternatively, the internet is a treasure trove of public domain botanical illustrations that you can print at home.
And speaking of treasures, remember my thank you gift? You can download your exclusive set of 6 high-quality botanical printables right here:
Yay, freebies! I hope these prints bring as much joy to your home as this upcycled window project brought to mine. Don’t hesitate to download them and start your own botanical art journey today!
Join the Movement: Explore More Trash to Treasure Transformations!
The beauty of upcycling is its endless possibilities, and there’s a whole community dedicated to this creative pursuit. I’m thrilled to be part of a vibrant group of “Trash to Treasure” bloggers who consistently turn discarded items into incredible home decor. Their ingenuity and unique perspectives are truly inspiring. I encourage you to pop over to my T2T blogger friends’ posts to check out their latest and greatest trash to treasure transformations. You’ll find a wealth of ideas, tips, and inspiration to spark your next DIY project!
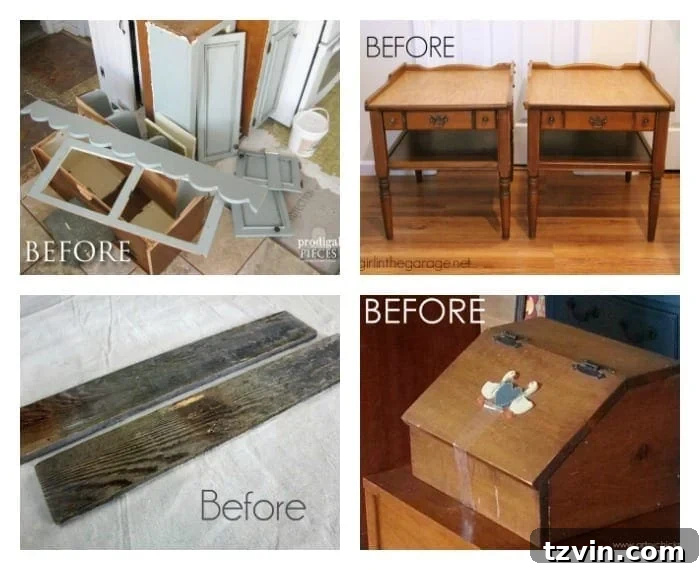
(Clockwise from top left) Discover more amazing makeovers from these talented creators:
- Prodigal Pieces – Repurposed Kitchen Cabinets into Home Decor
- Girl in the Garage – French Advertisement Tables
- Confessions of a Serial Do-It-Yourselfer – DIY Easter Sign
- Artsy Chicks Rule – Old Bread Box Transformed

Thank you again for joining me on this creative journey. I hope this project inspires you to look at everyday objects with a new perspective and discover the hidden potential in forgotten treasures. Don’t forget to download your free botanical printables, and happy crafting!
* Affiliate links are provided in this post. For more information, please see my full disclosure here.