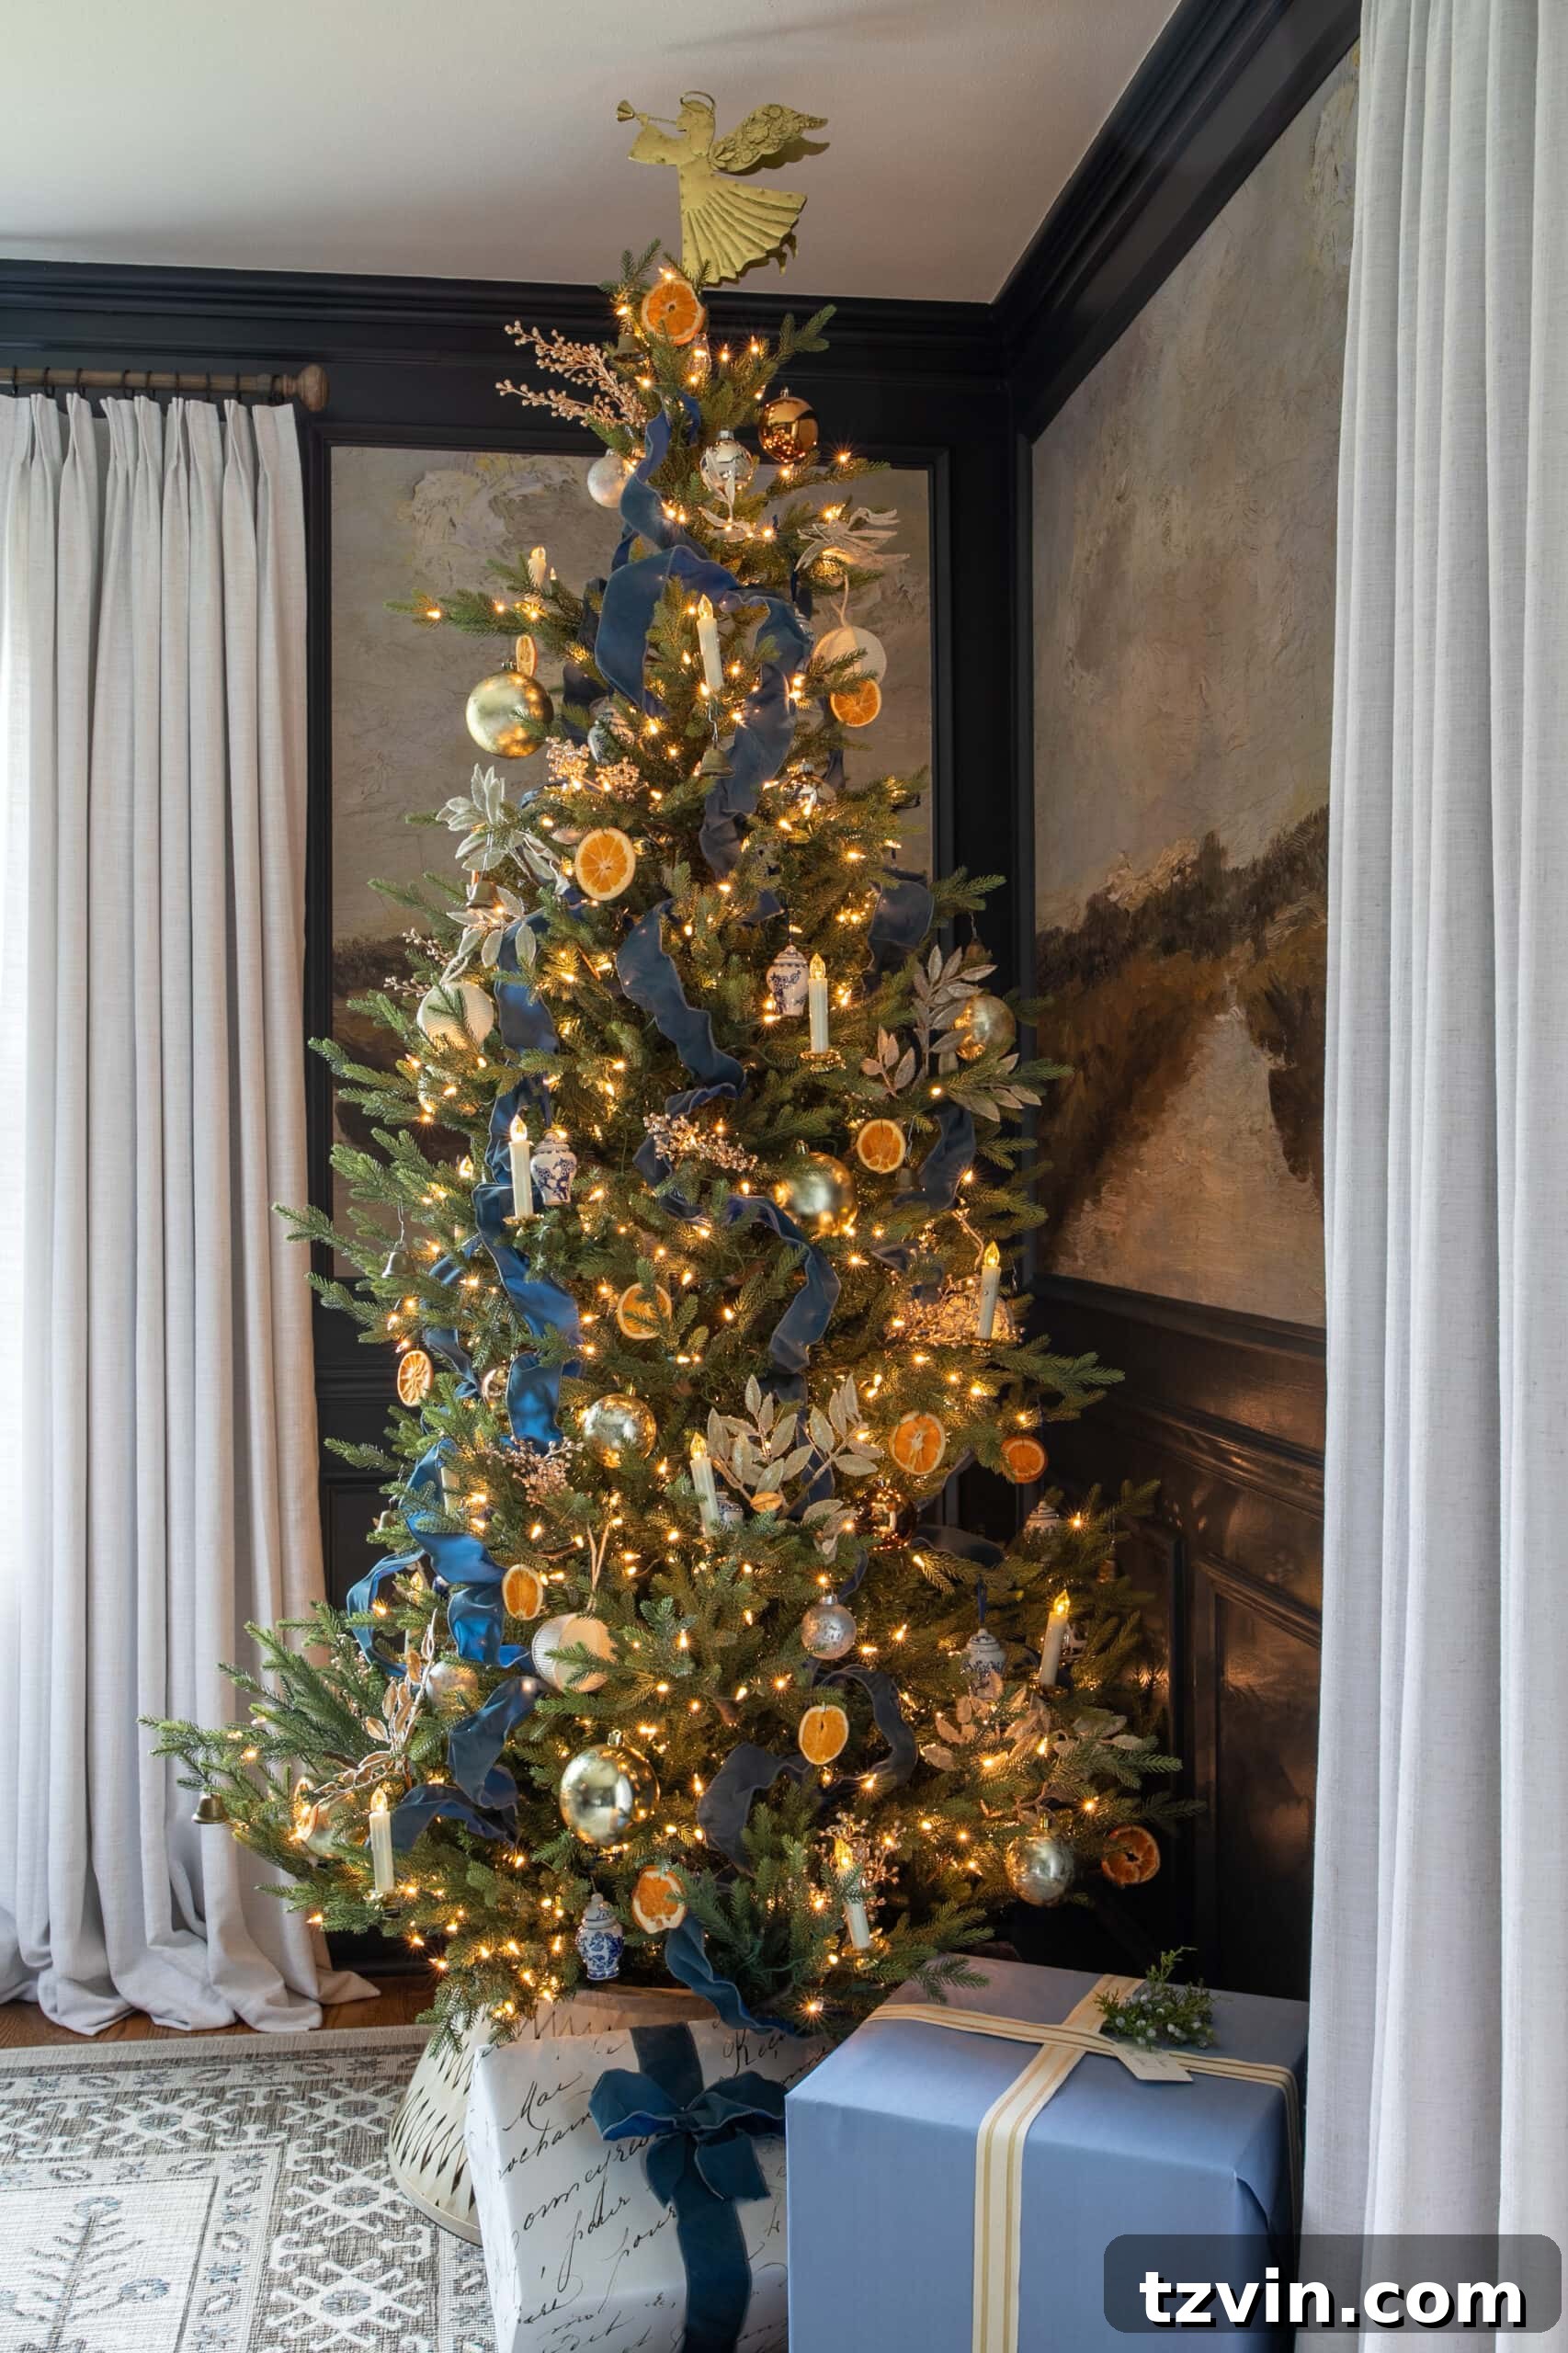
Transform your Christmas tree into a festive masterpiece with these step-by-step tutorials, mastering three distinct ribbon decoration styles: the elegant waterfall, charming feminine bows, and rustic vintage crumpled look. Elevate your holiday decor like a true professional.
Every year, as the festive season approaches, I find myself in a delightful decorating frenzy. And without fail, after our Christmas trees are fully adorned, I remember I meant to document the process of adding Christmas tree ribbon. It’s a recurring thought, especially since the question of “how do you put ribbon on a Christmas tree?” pops up almost constantly. This year, I made sure to capture all the details, offering a comprehensive guide to three unique methods for applying ribbon, catering to various holiday decor styles.
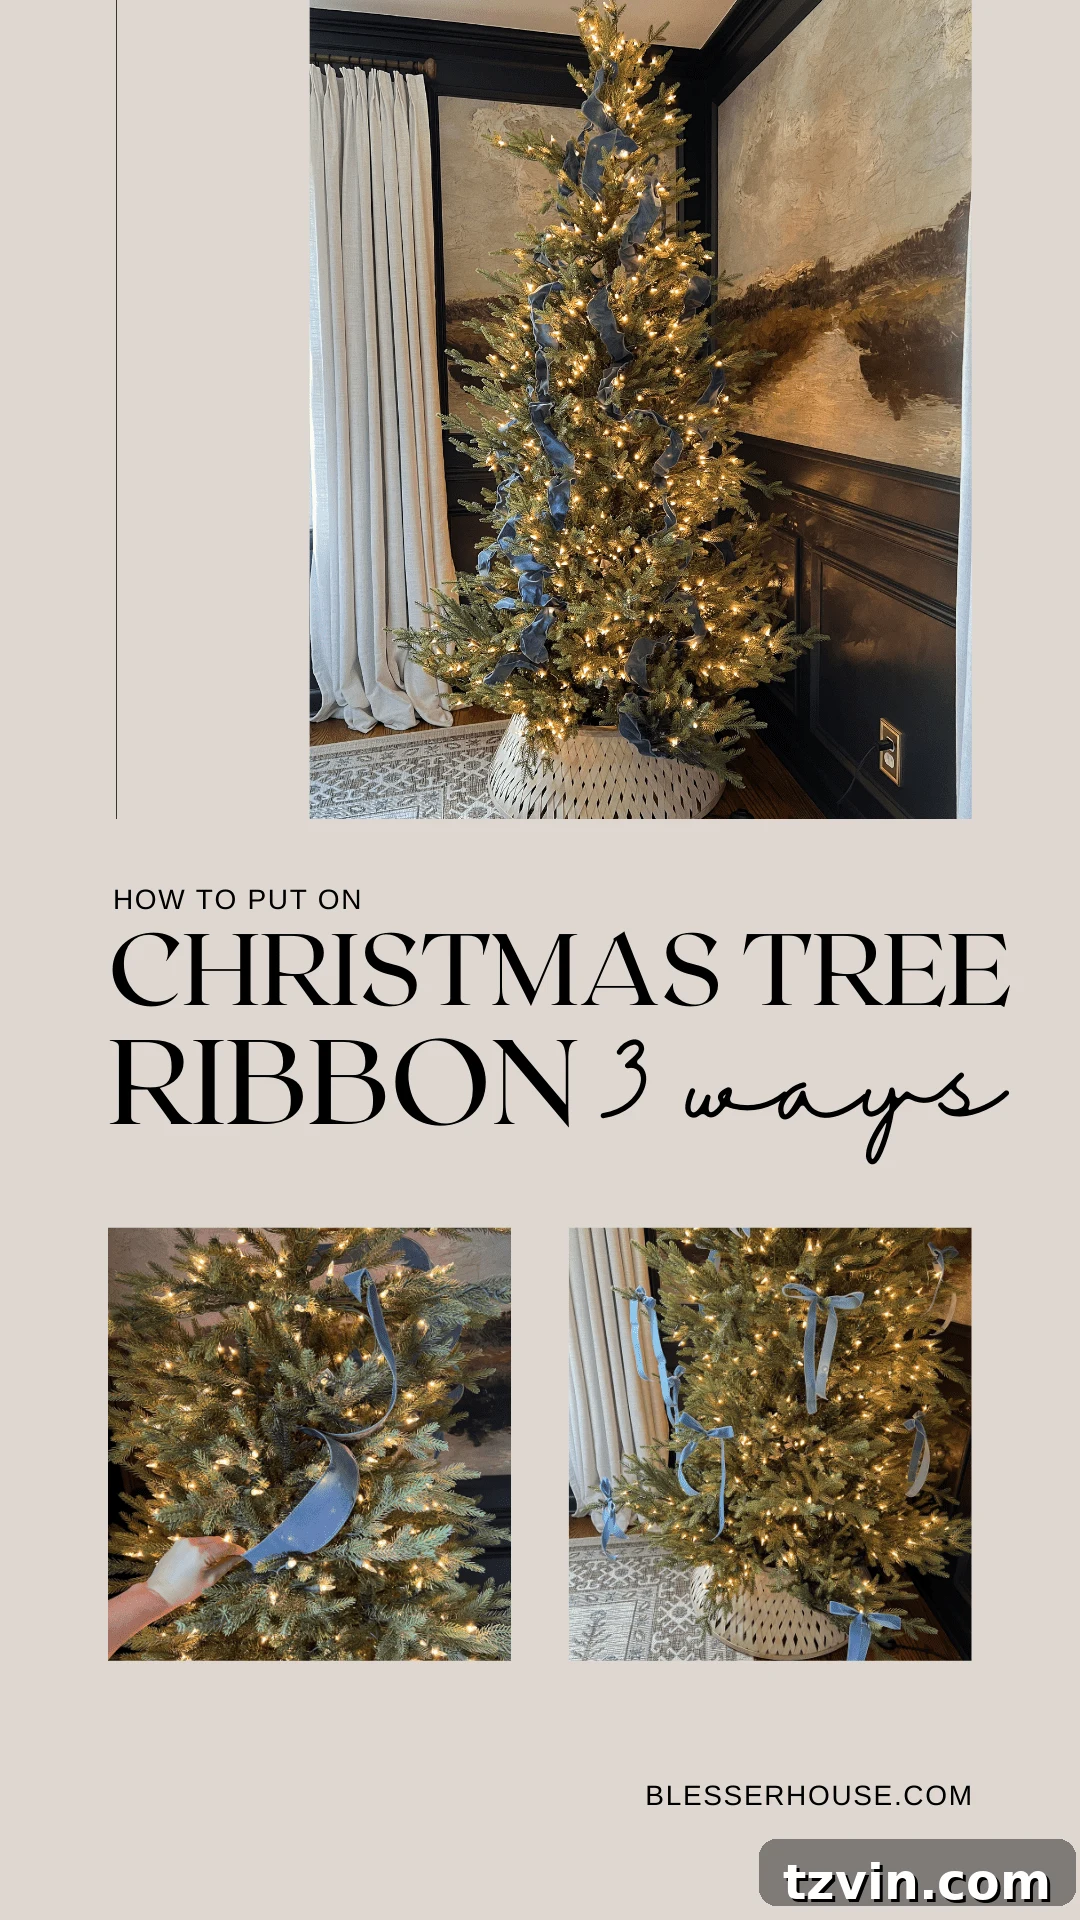
Mastering the art of Christmas tree ribbon decoration can seem surprisingly complex for something that looks so simple. For a long time, I struggled to achieve that perfect, flowing look. But what I’ve learned is that perfection isn’t the goal; rather, it’s about creating a beautifully imperfect application that adds character and depth. If you’ve ever felt baffled by ribbon, these simplified tutorials are designed to guide you, allowing you to personalize your Christmas tree with your preferred decorating style this holiday season.
Ribbon isn’t just an accessory; it’s a foundational element that can define the entire aesthetic of your tree. It fills in gaps, adds texture, and provides a continuous flow that ties all your ornaments together. By understanding these techniques, you’ll be able to create a cohesive and stunning display that truly stands out.
Psst… Don’t miss my top recommended realistic artificial Christmas trees. You can also discover our beloved dining room Christmas tree in this detailed post.
3 Expert Ways for Putting on Christmas Tree Ribbon Decorations
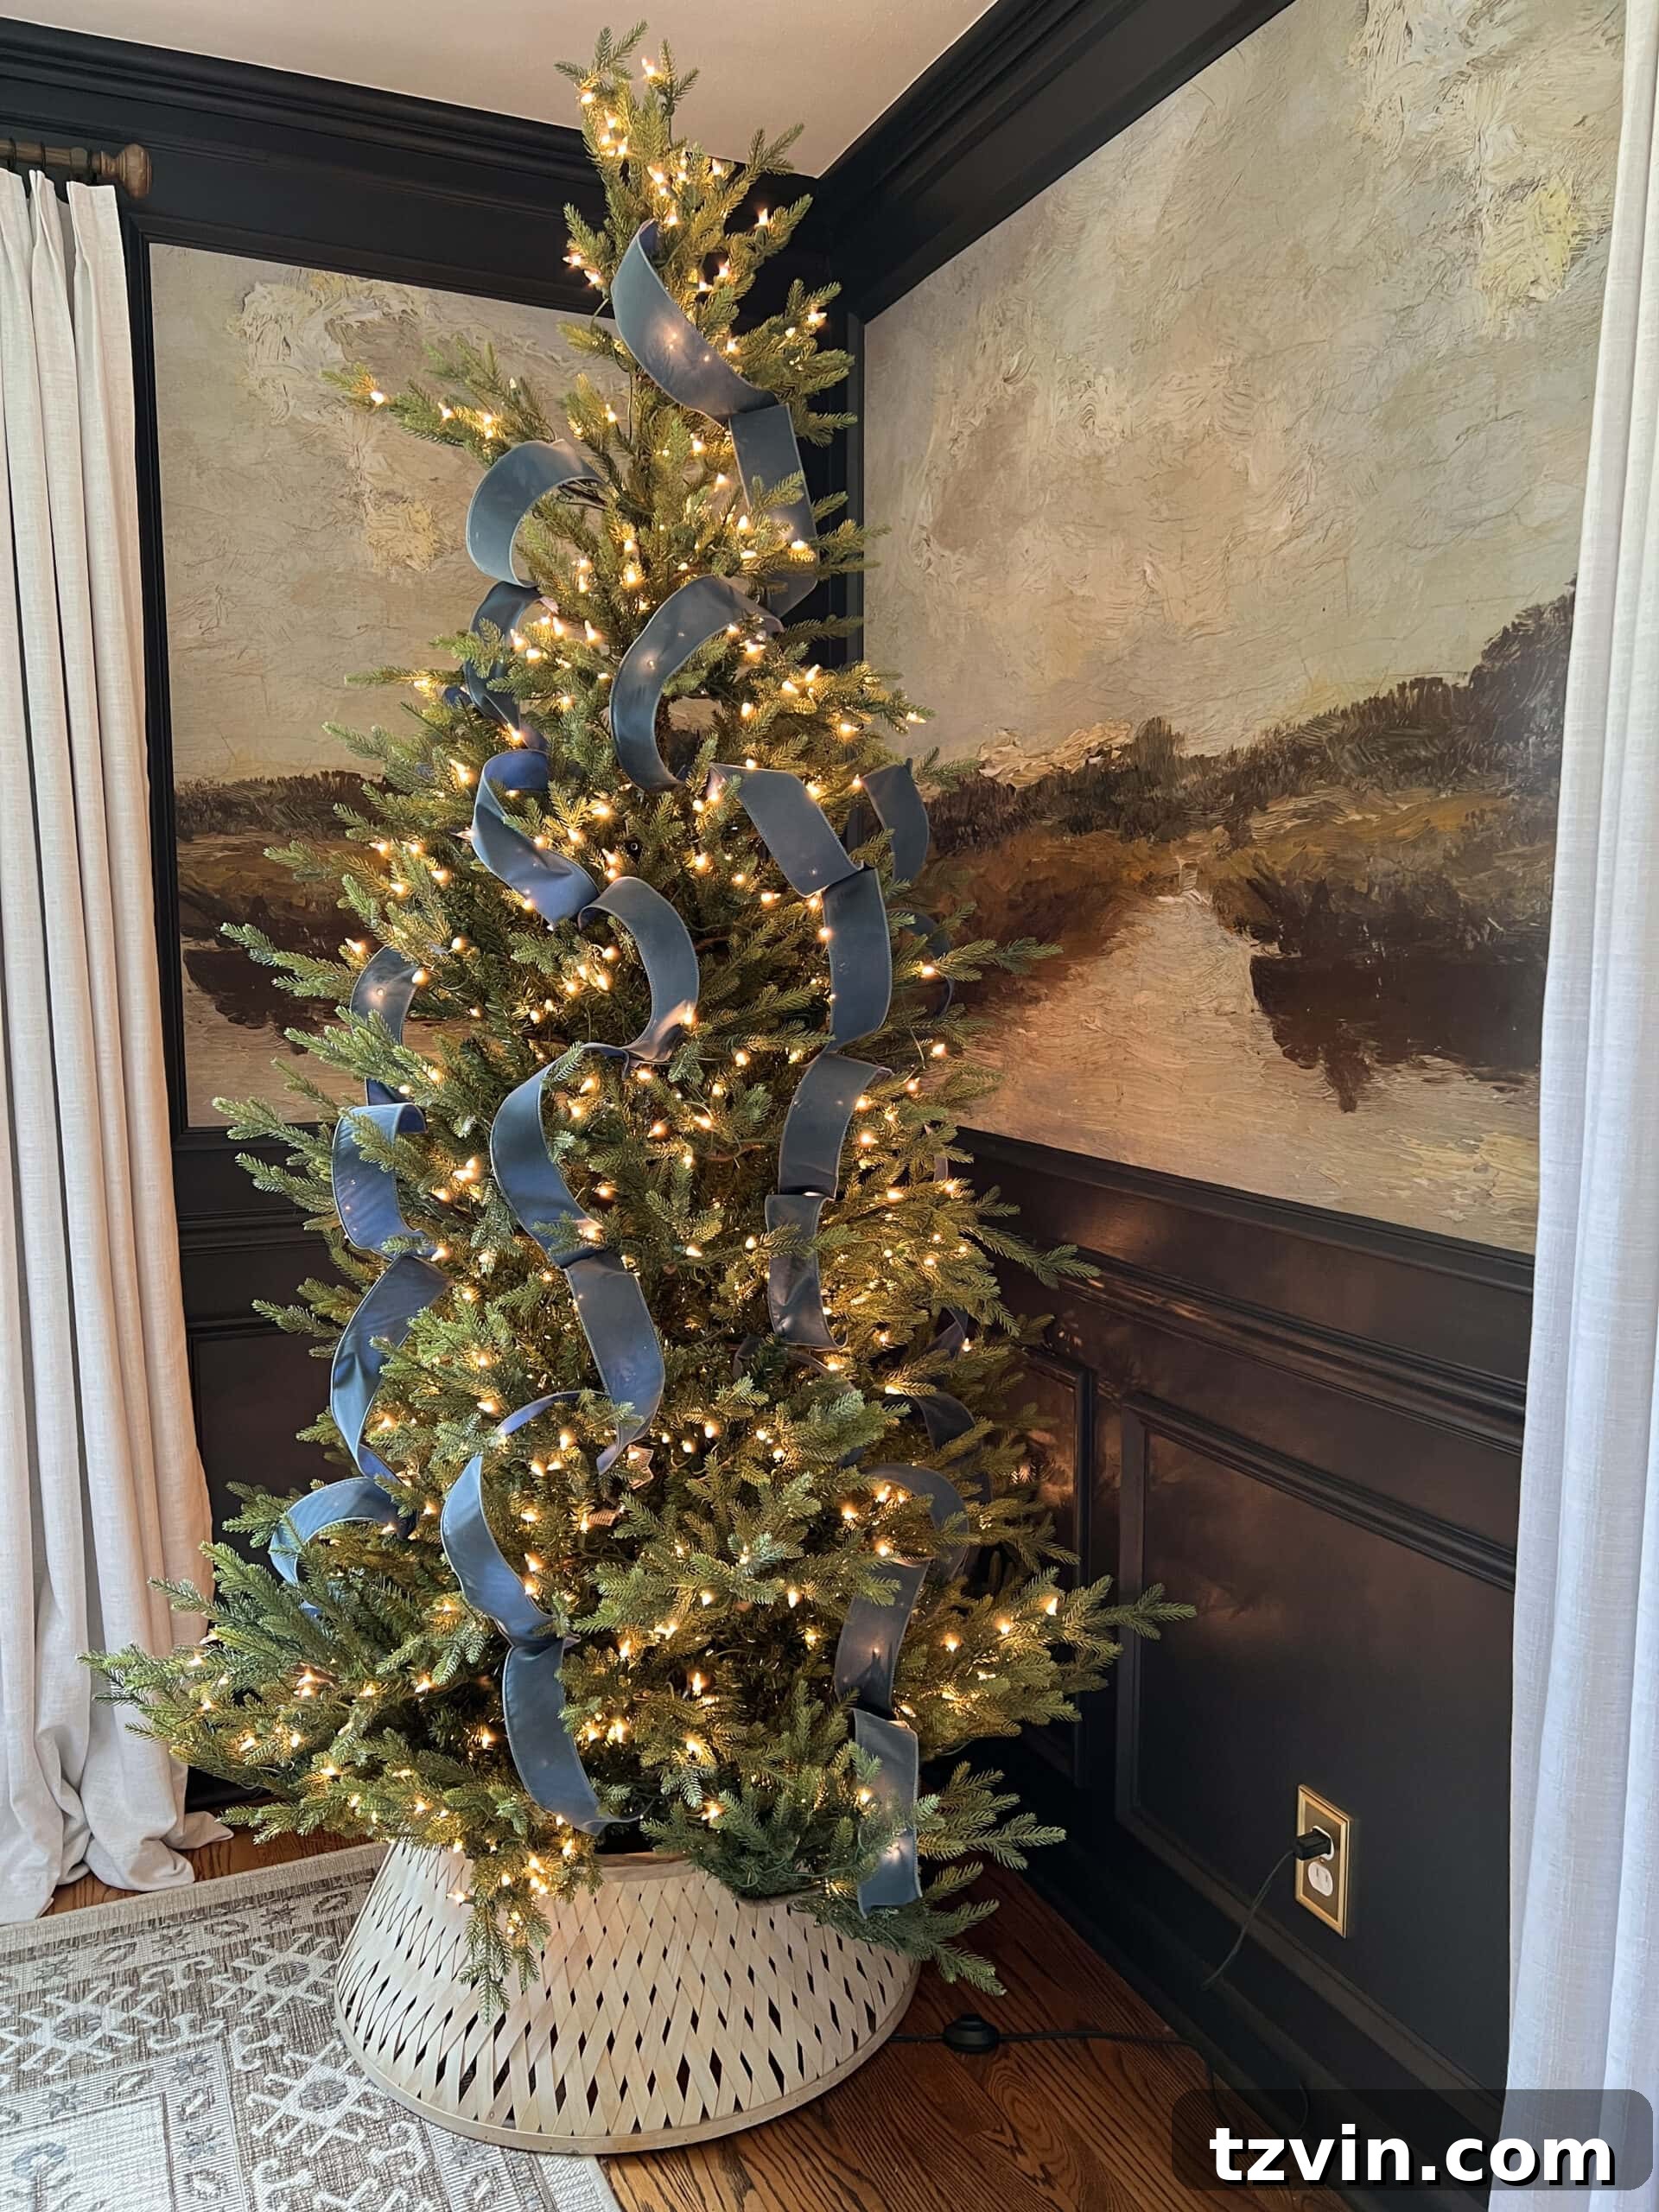
1. The Elegant Waterfall Ribbon Christmas Tree Method
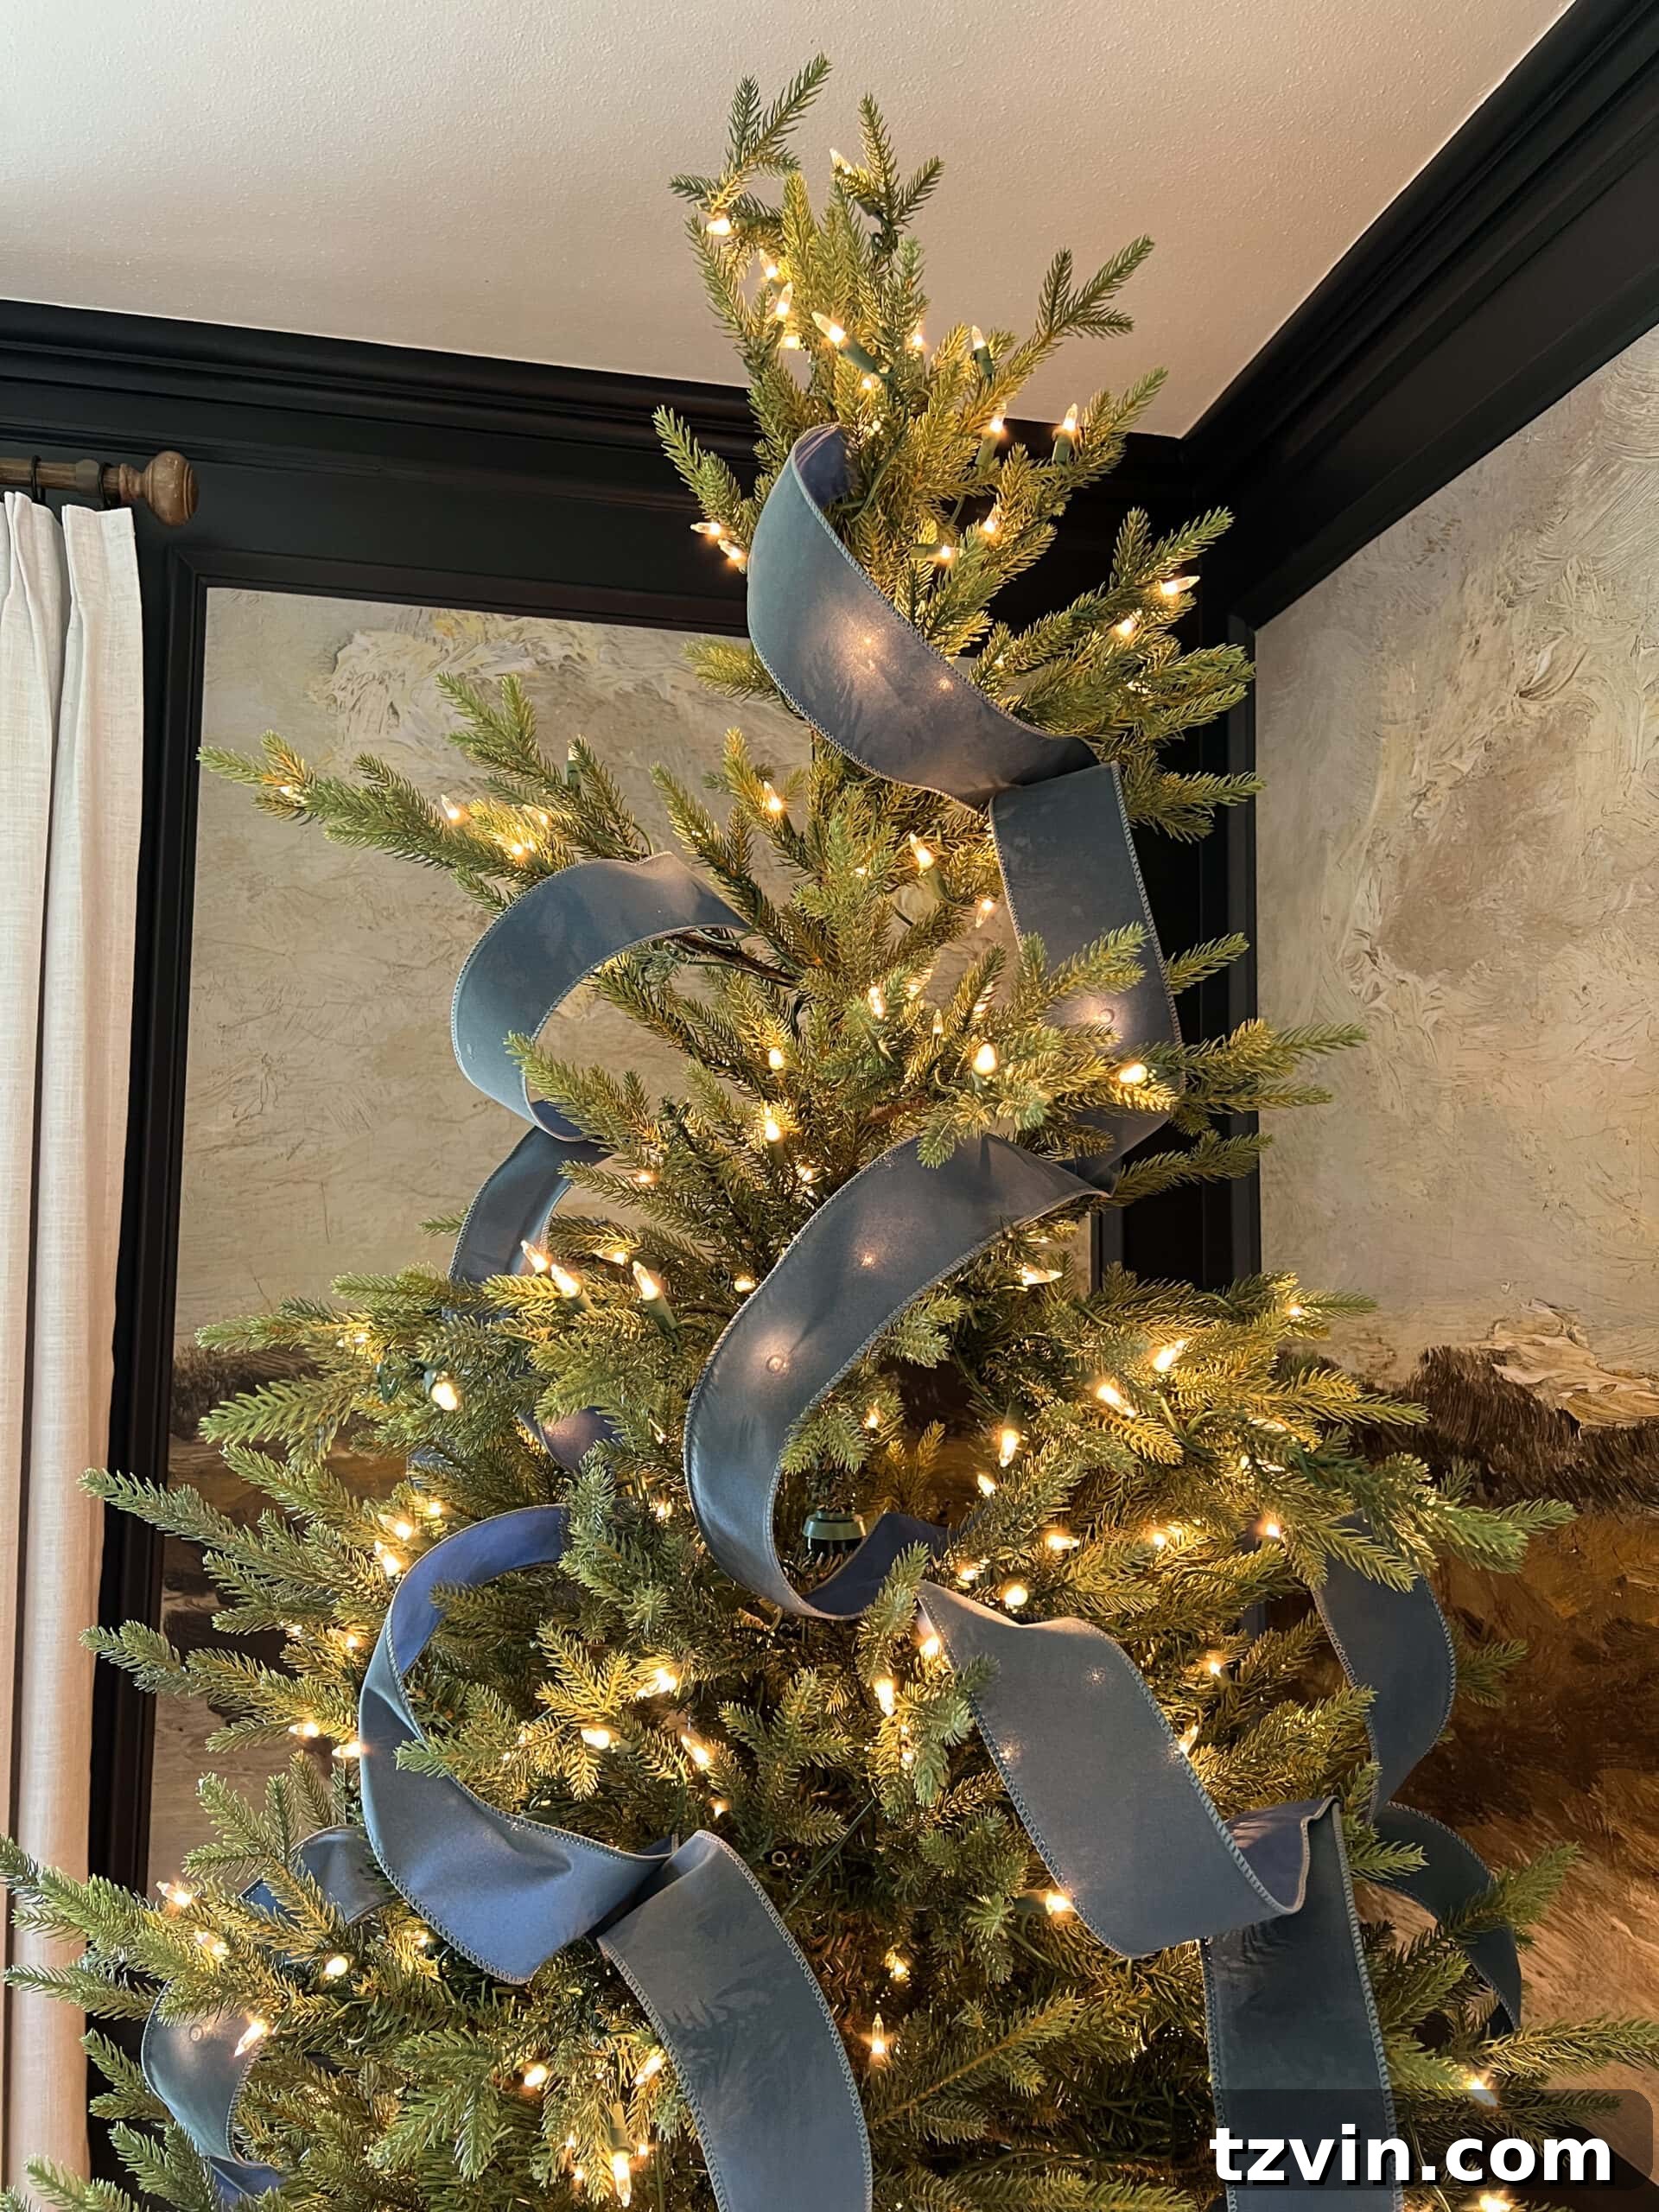
If your ideal Christmas tree boasts a clean, polished, and slightly modern aesthetic, characterized by elegant ribbons that cascade gracefully down its branches, then the waterfall ribbon style is your perfect match. This technique creates a sophisticated, flowing effect that adds depth and a touch of refined beauty to your holiday display.
This method truly shines when you use a new, smooth, and preferably wired ribbon. Wired ribbon is essential because its edges can be bent and shaped, allowing you to create those beautiful, billowy drapes. While I often use a 2 1/2-inch width, you can successfully apply this technique with ribbons ranging from 2 to 3 inches wide. Wider ribbons tend to make a bolder statement, while slightly narrower ones offer a more delicate flow.
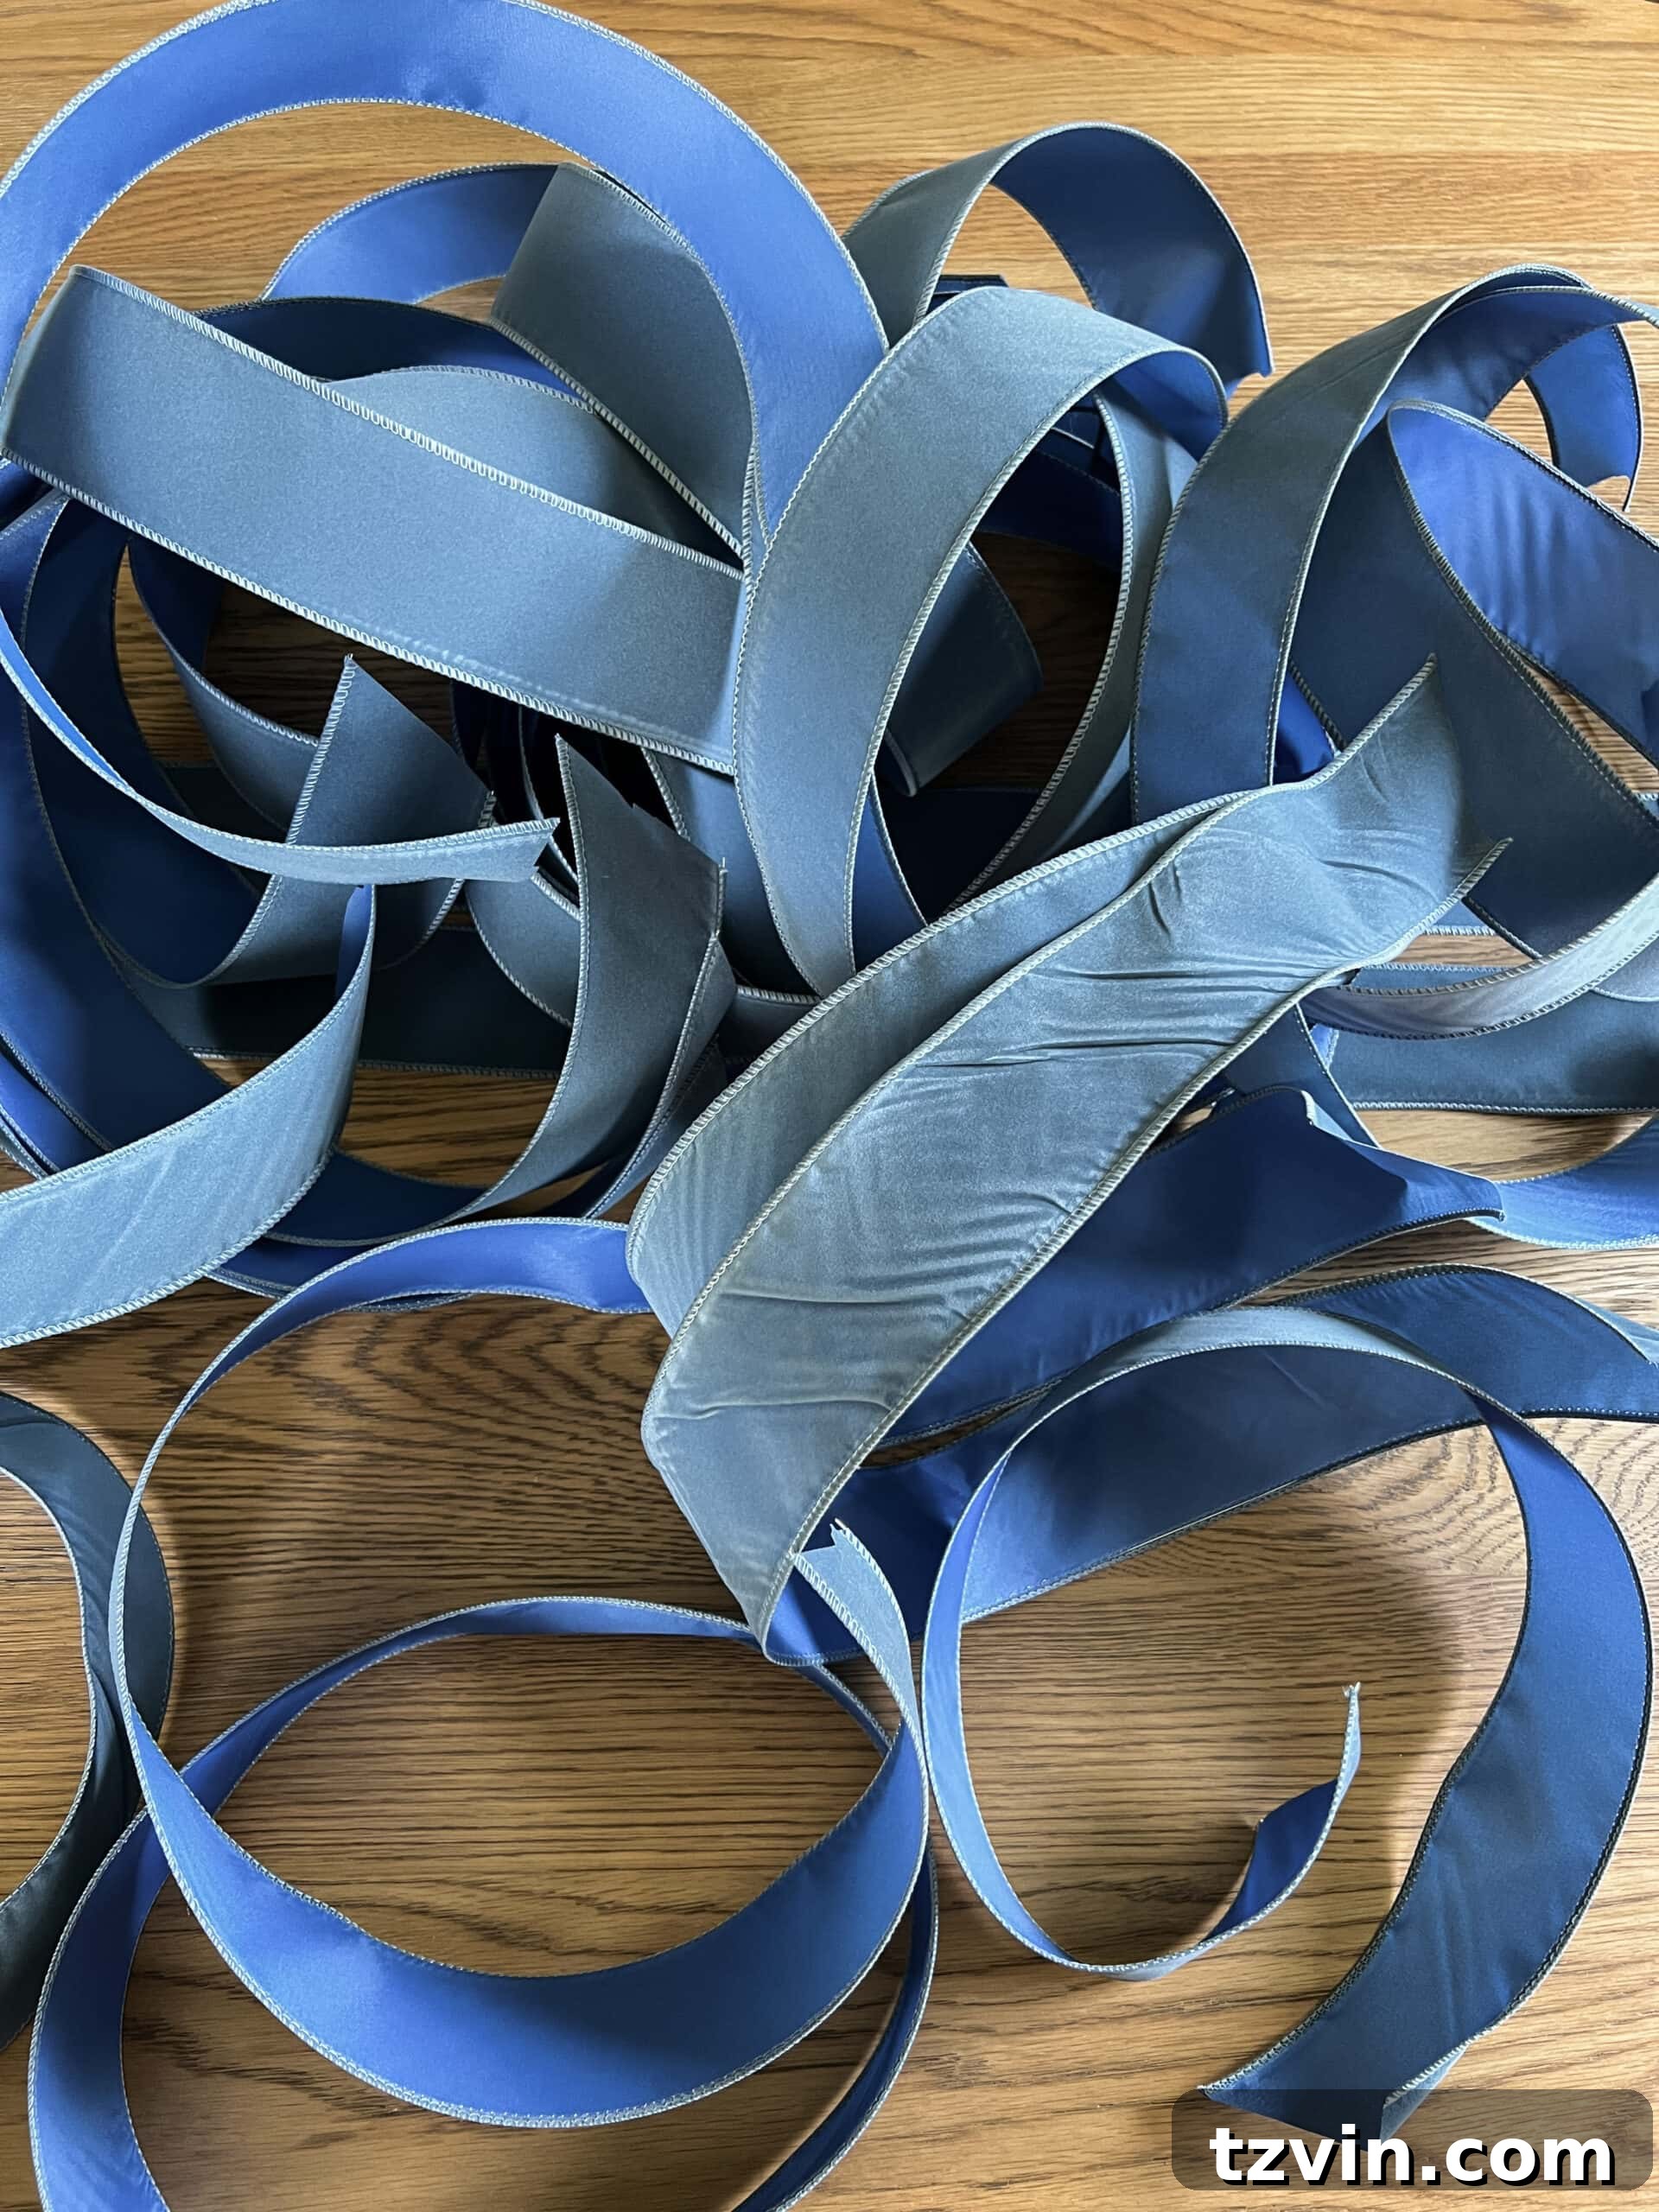
For example, I’ve had great success with a 2 1/2″ wide wired antique blue velvet ribbon, though popular options like this often sell out quickly due to their popularity!
Suggested Ribbon Types for the Waterfall Method:
Look for wired ribbons in luxurious materials such as velvet, satin, or even a subtle metallic sheen. These materials hold their shape beautifully and contribute to the elegant, cascading look.
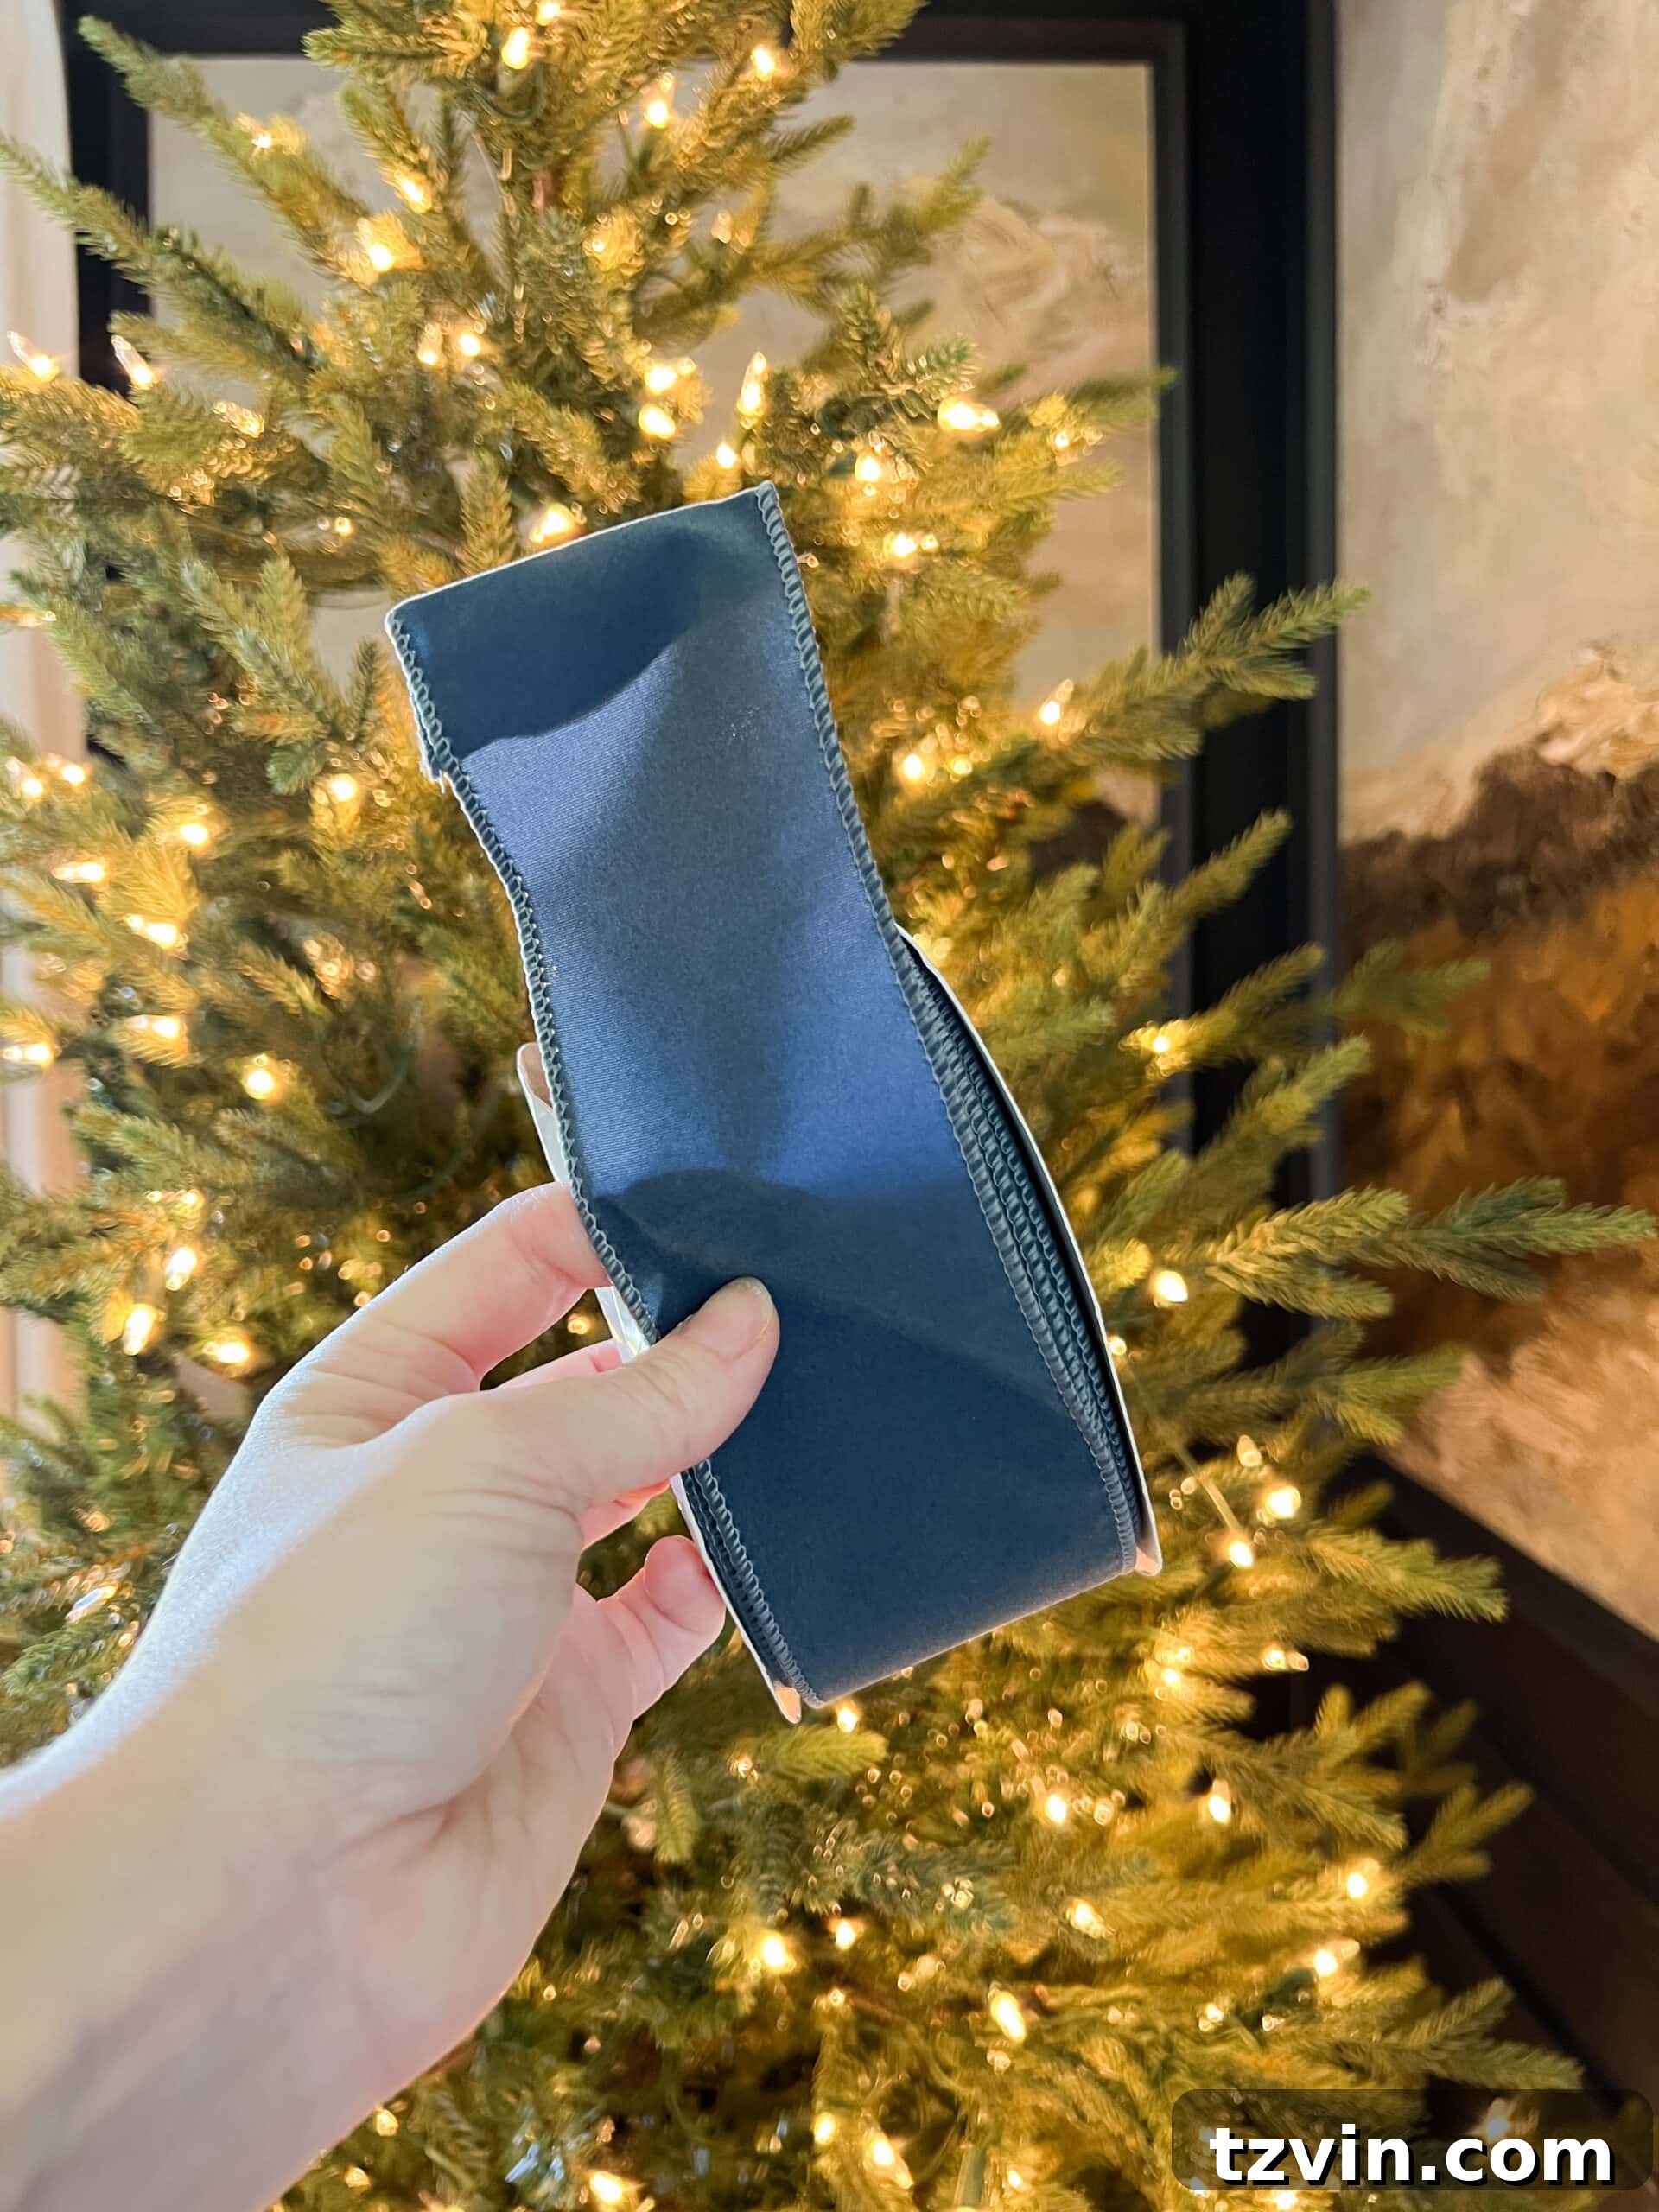
Step 1 – Cut Ribbon to Approximately 2.5-Foot Lengths
There’s no need to be overly meticulous with a measuring tape here, but aim for wired ribbon pieces that are roughly 2 1/2 feet long. This length is ideal for creating natural, graceful loops and drapes. As you cut, try to handle the ribbon gently, keeping its wired edges as smooth and unwrinkled as possible to maintain its pristine appearance for the cascading effect.
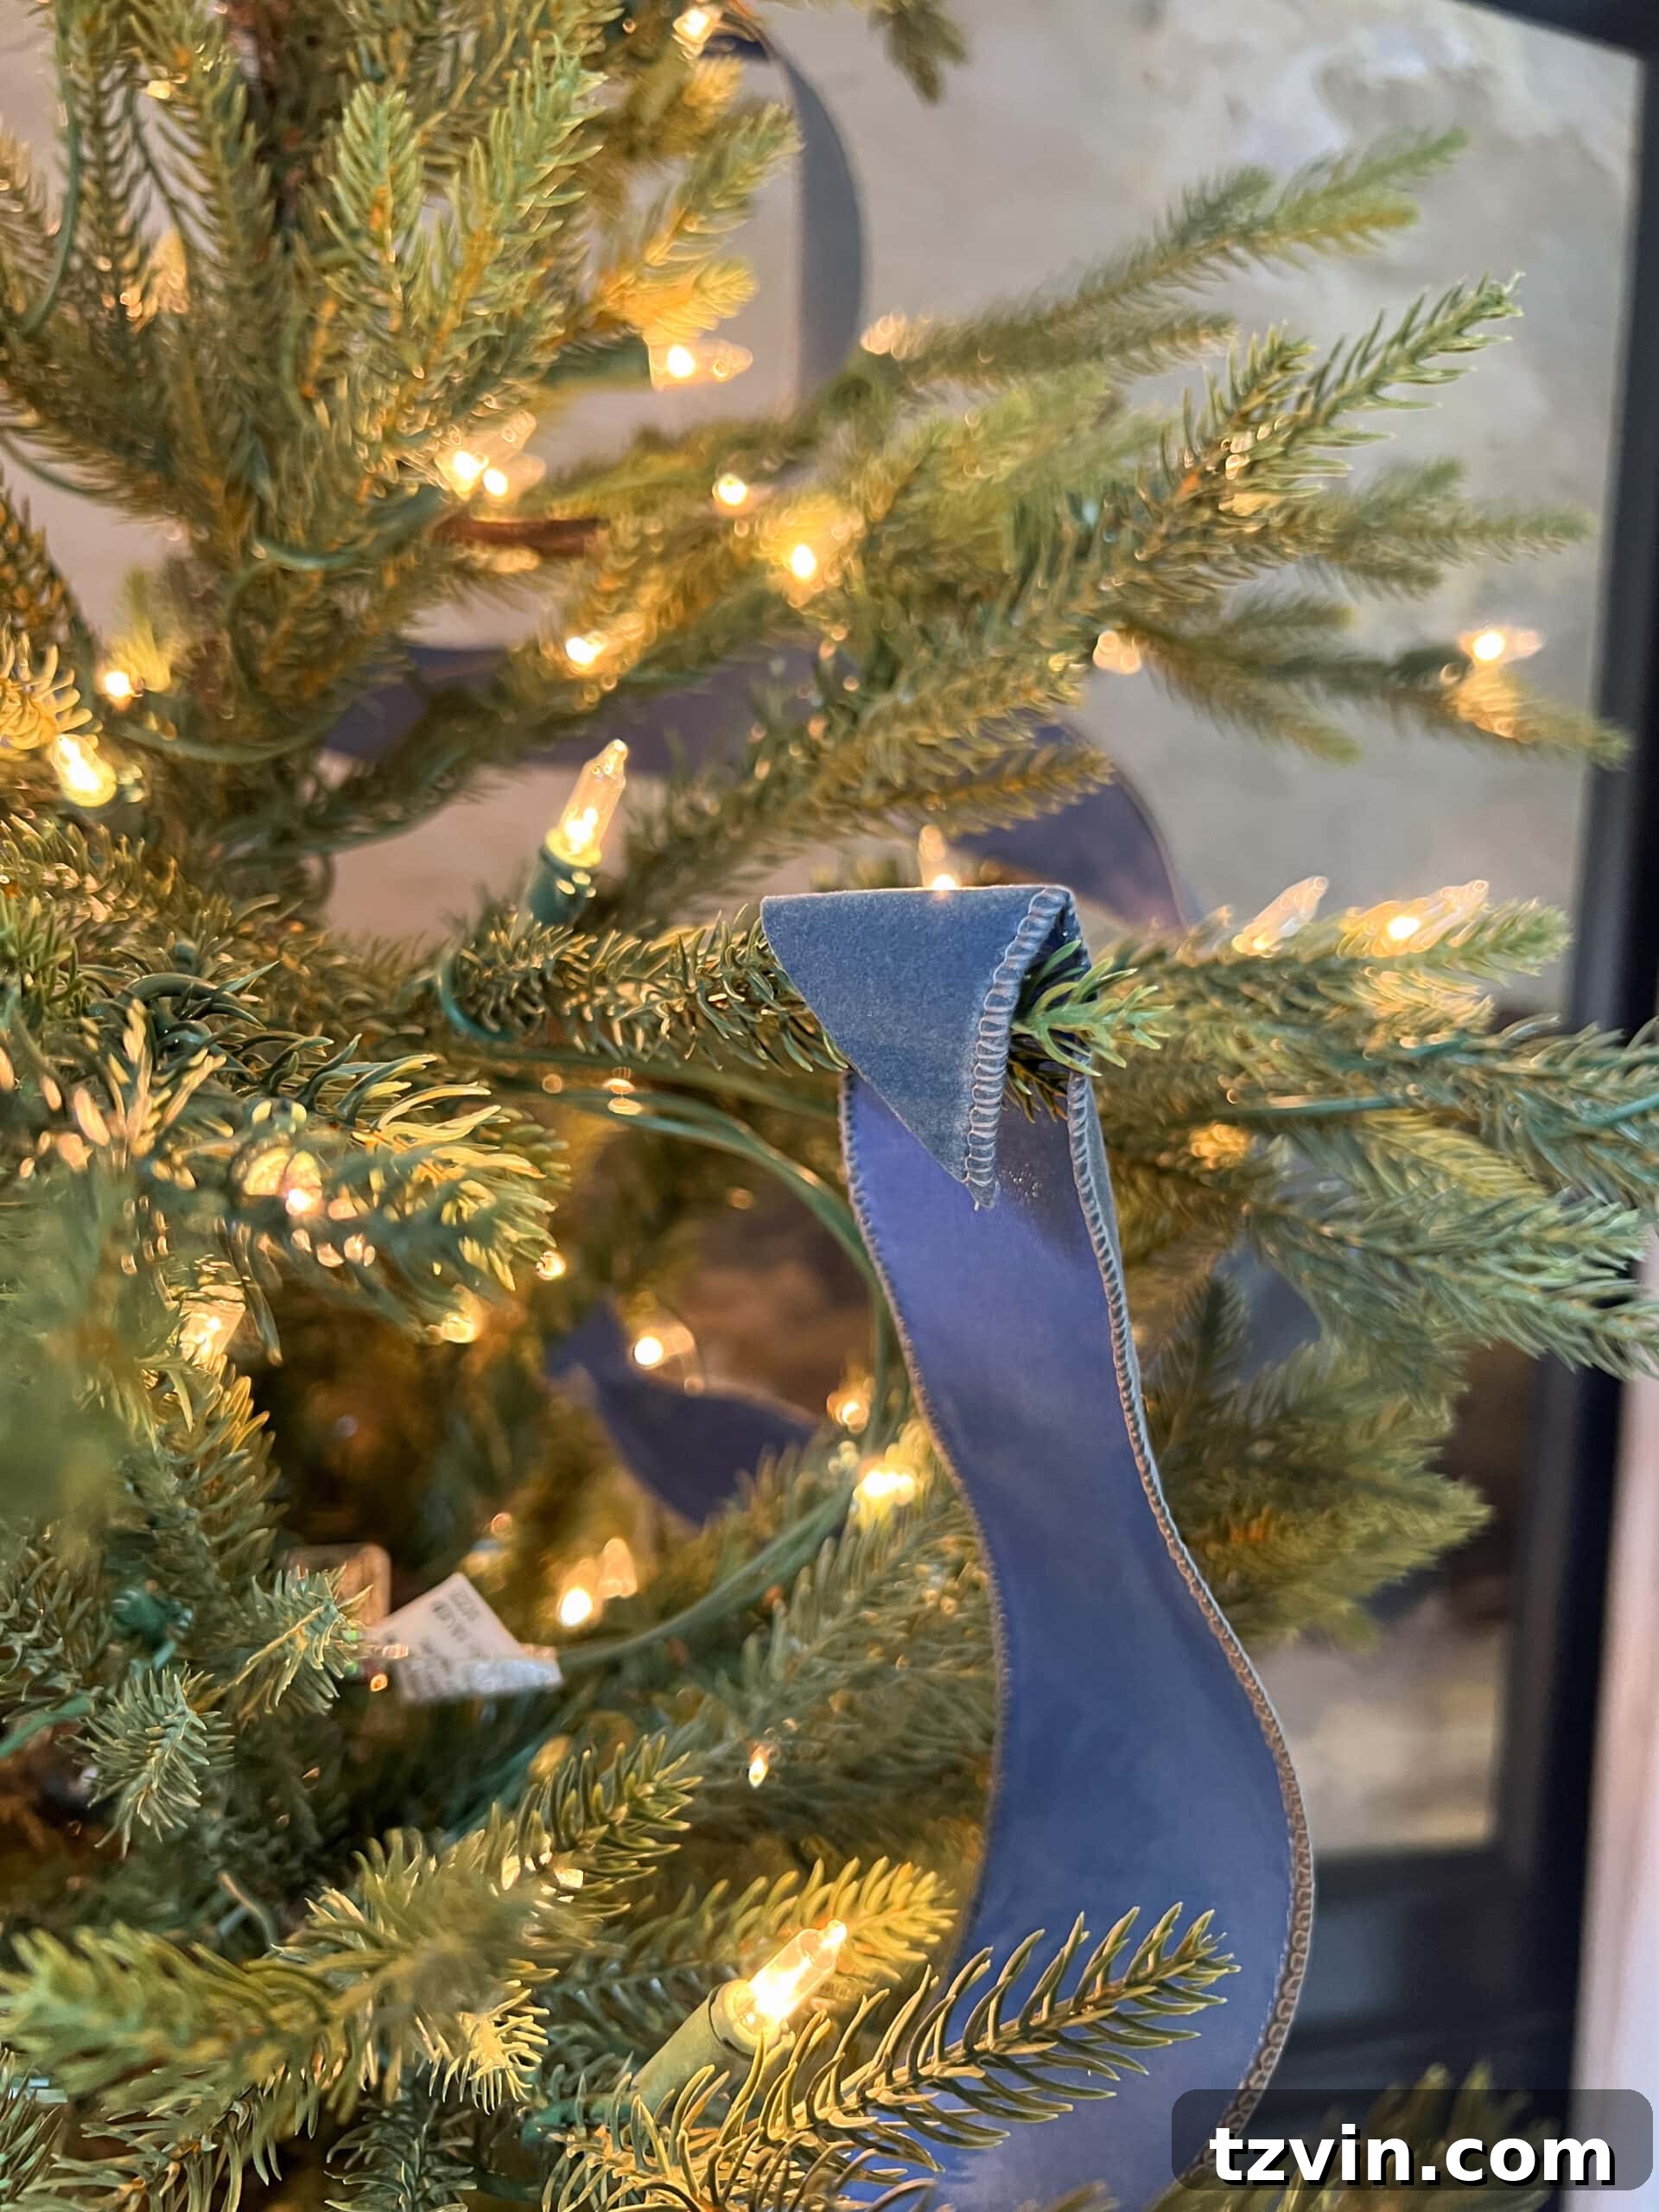
Step 2 – Securely Hook One End of the Ribbon on a Branch
This step, along with Step 3, highlights why wired ribbon is superior for tree decorating compared to non-wired varieties. The wire allows you to bend, shape, and mold the ribbon precisely, achieving that beautiful, full, and billowy effect. Begin by selecting a branch, typically near the top of the tree, and gently hook or wrap one end of your ribbon around it. Secure it firmly so it won’t slip. This anchor point is crucial for holding the ribbon in place as you start to shape its flow down the tree.
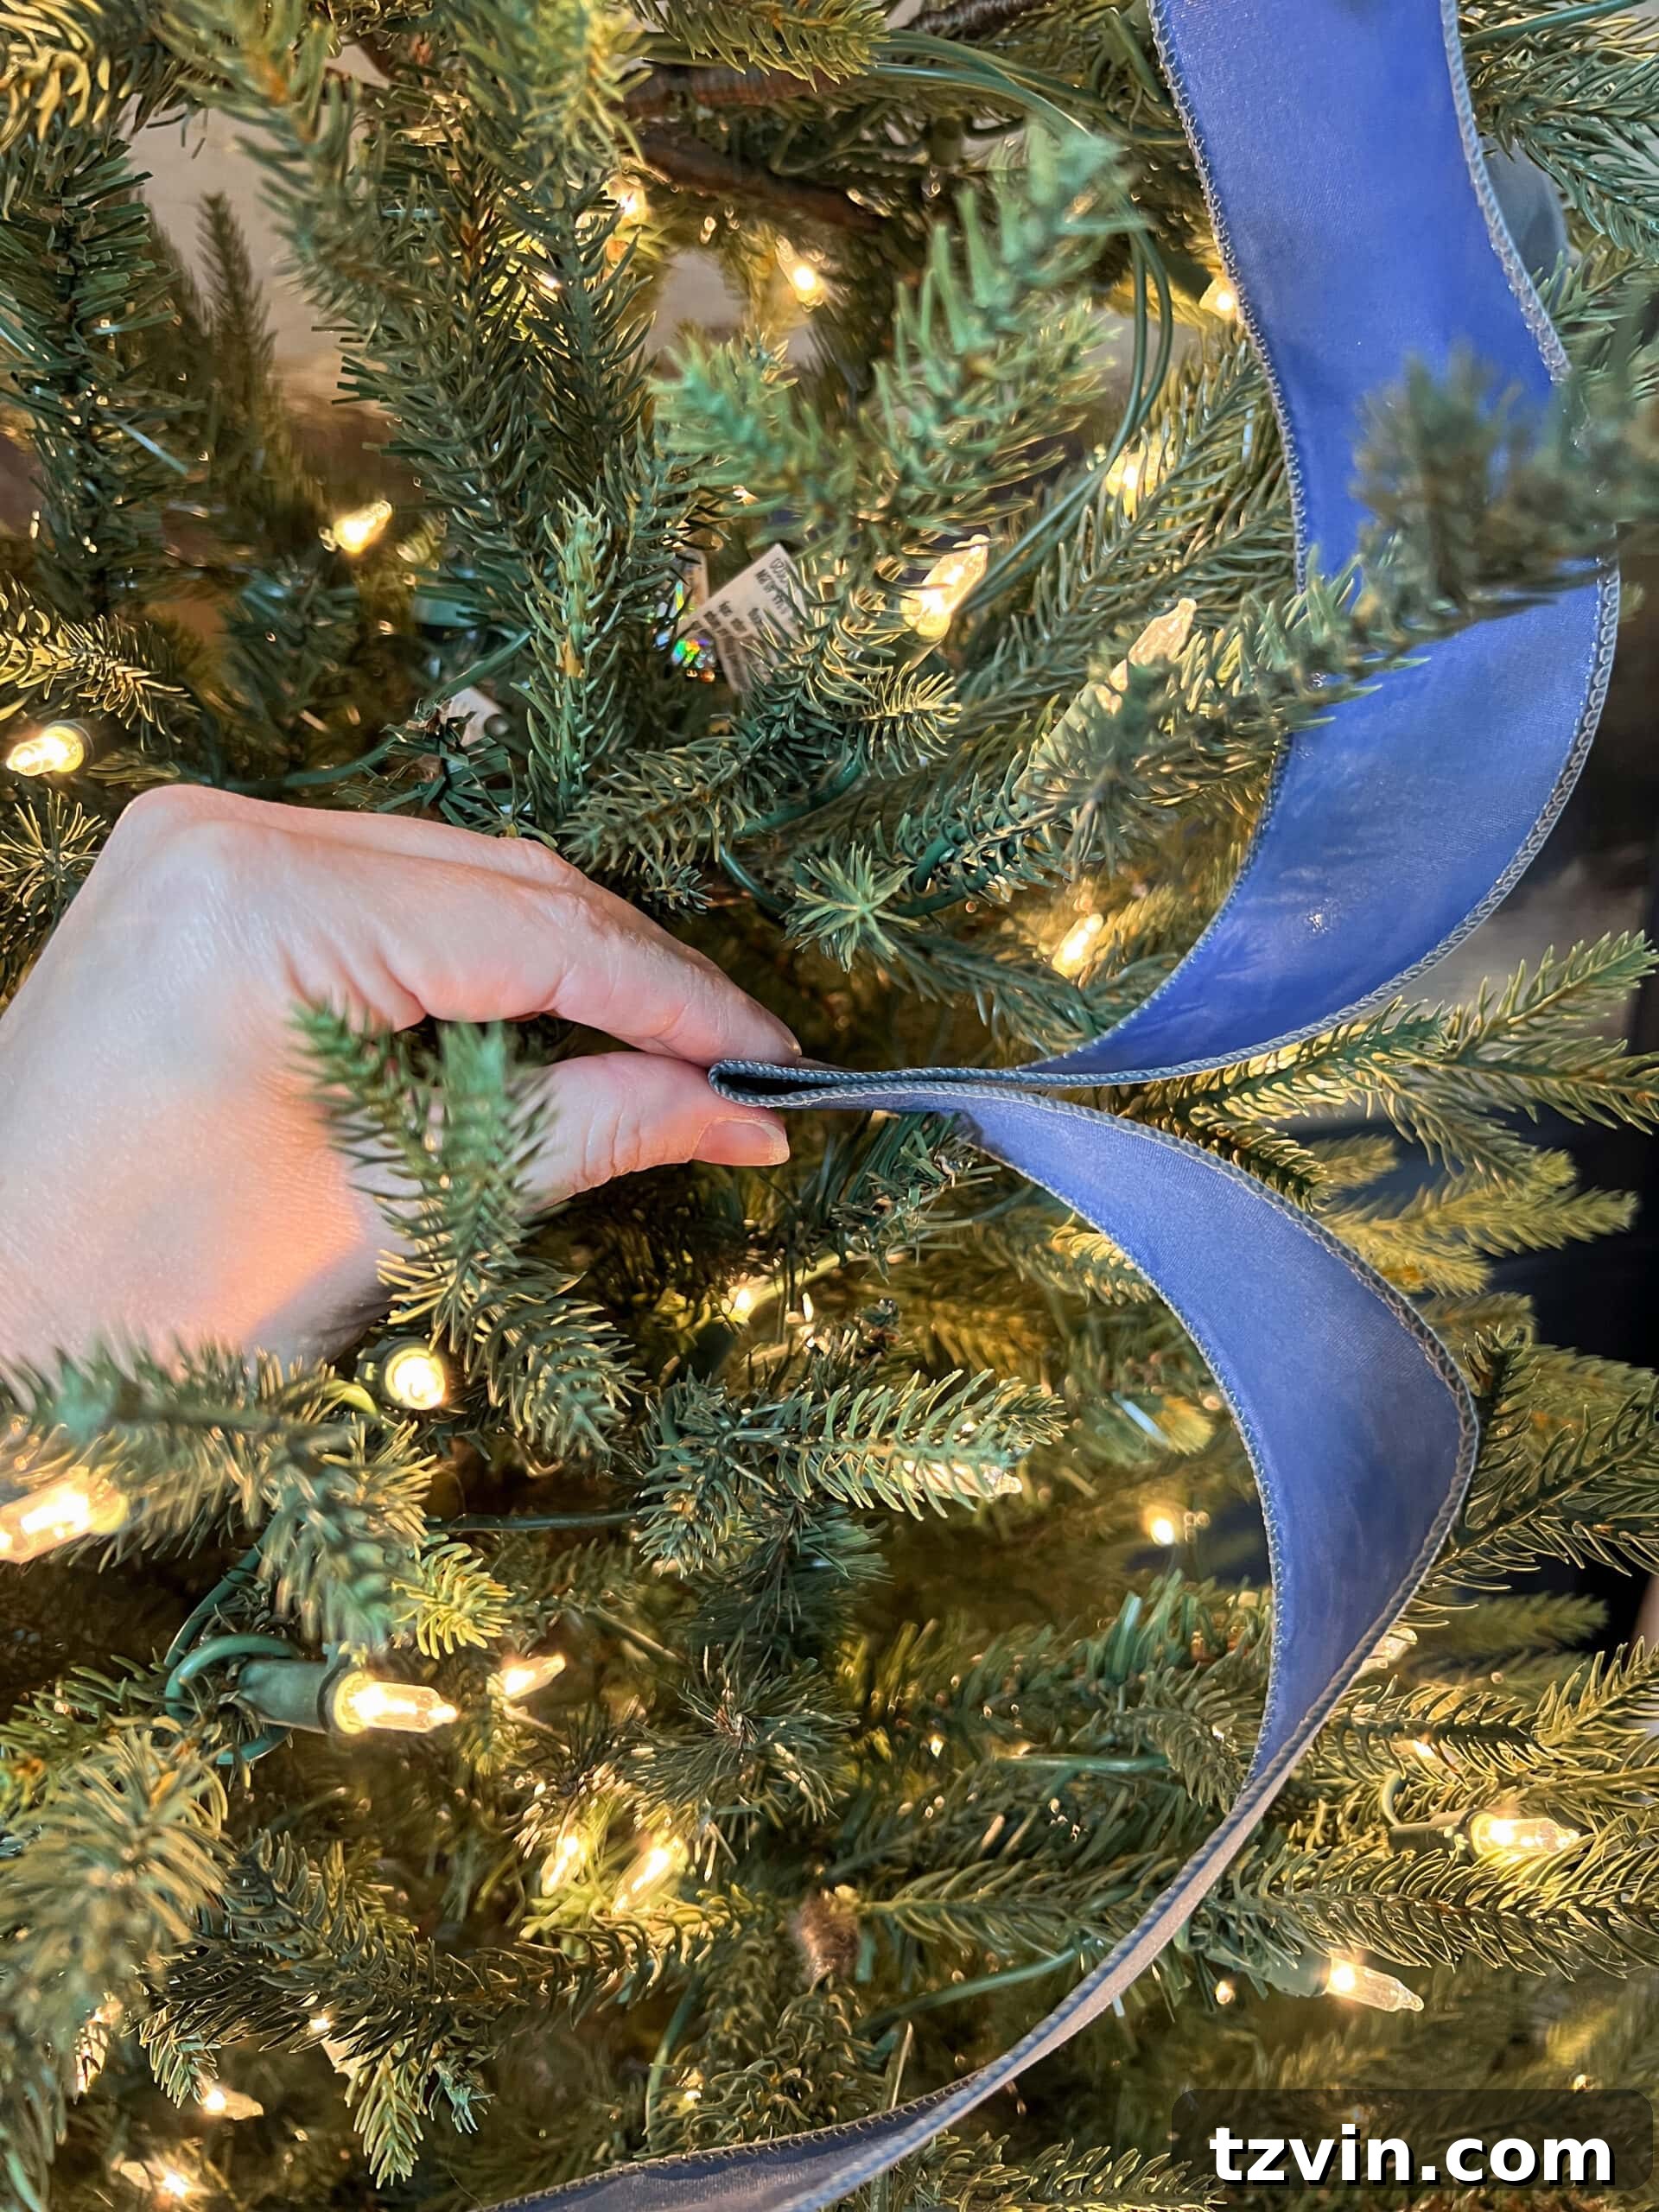
Step 3 – Pinch the Middle of the Ribbon and Gently Tuck it In
Once the top of your ribbon is secured, guide the ribbon downwards, creating a soft, zig-zag pattern. When you’re roughly halfway down the length of your ribbon piece, gently bend it and pinch it together (as shown in the image below). With this pinched section, carefully tuck it between two nearby branches. The key here is to leave enough slack in the ribbon above the pinch point. This slack will allow the ribbon to billow out elegantly, creating that desired voluminous and flowing look away from the upper branches.
Step 4 – Tuck the Remaining End of the Ribbon
Following a similar principle to Step 3, take the very end of your 2 1/2-foot ribbon length and gently tuck it securely between two branches. This creates a neat finish, ensuring the ribbon piece seamlessly integrates into the tree’s foliage and maintains its cascading appearance without any loose, untidy ends.
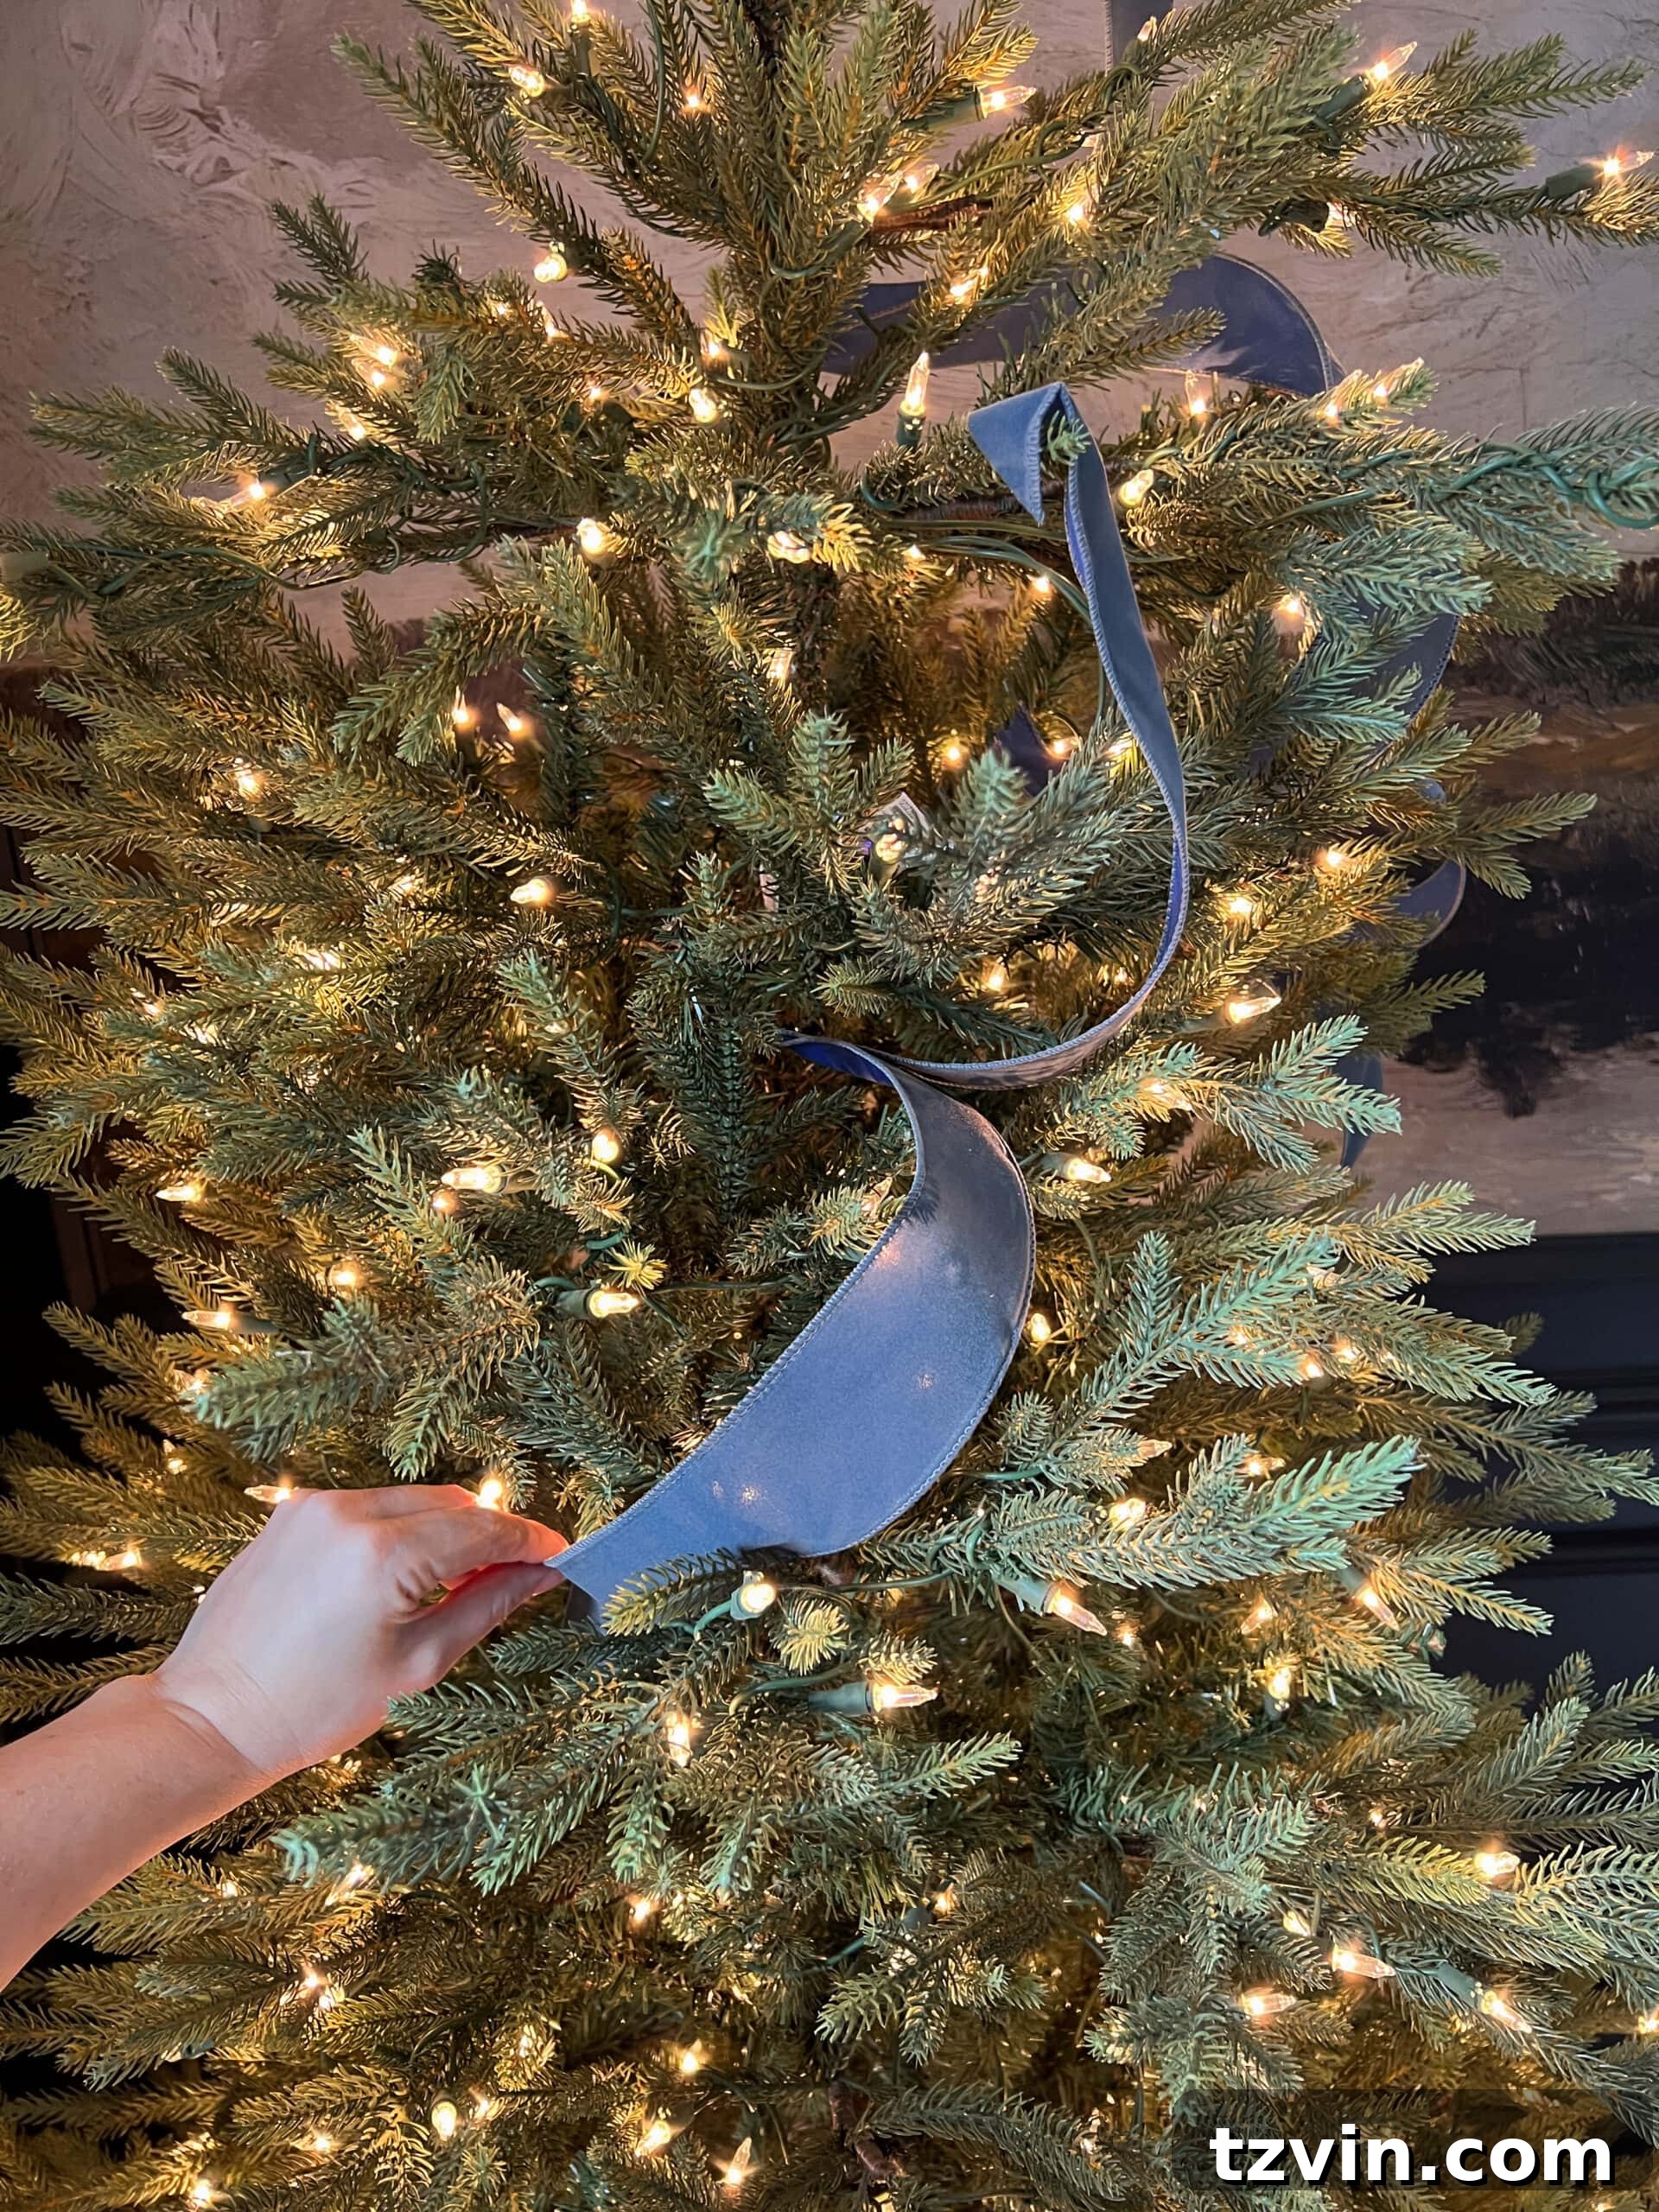
Step 5 – Repeat the Process Until the Tree is Fully Adorned
To continue building your waterfall effect, begin the next 2 1/2-inch length of ribbon just below where you finished the previous piece in Step 4. Hook its end onto a branch, ensuring a continuous flow. The goal is to create a seamless transition from one ribbon segment to the next, maintaining the illusion of one long, unbroken cascade.
Step 6 – Work Systematically in a Zig-Zag Pattern
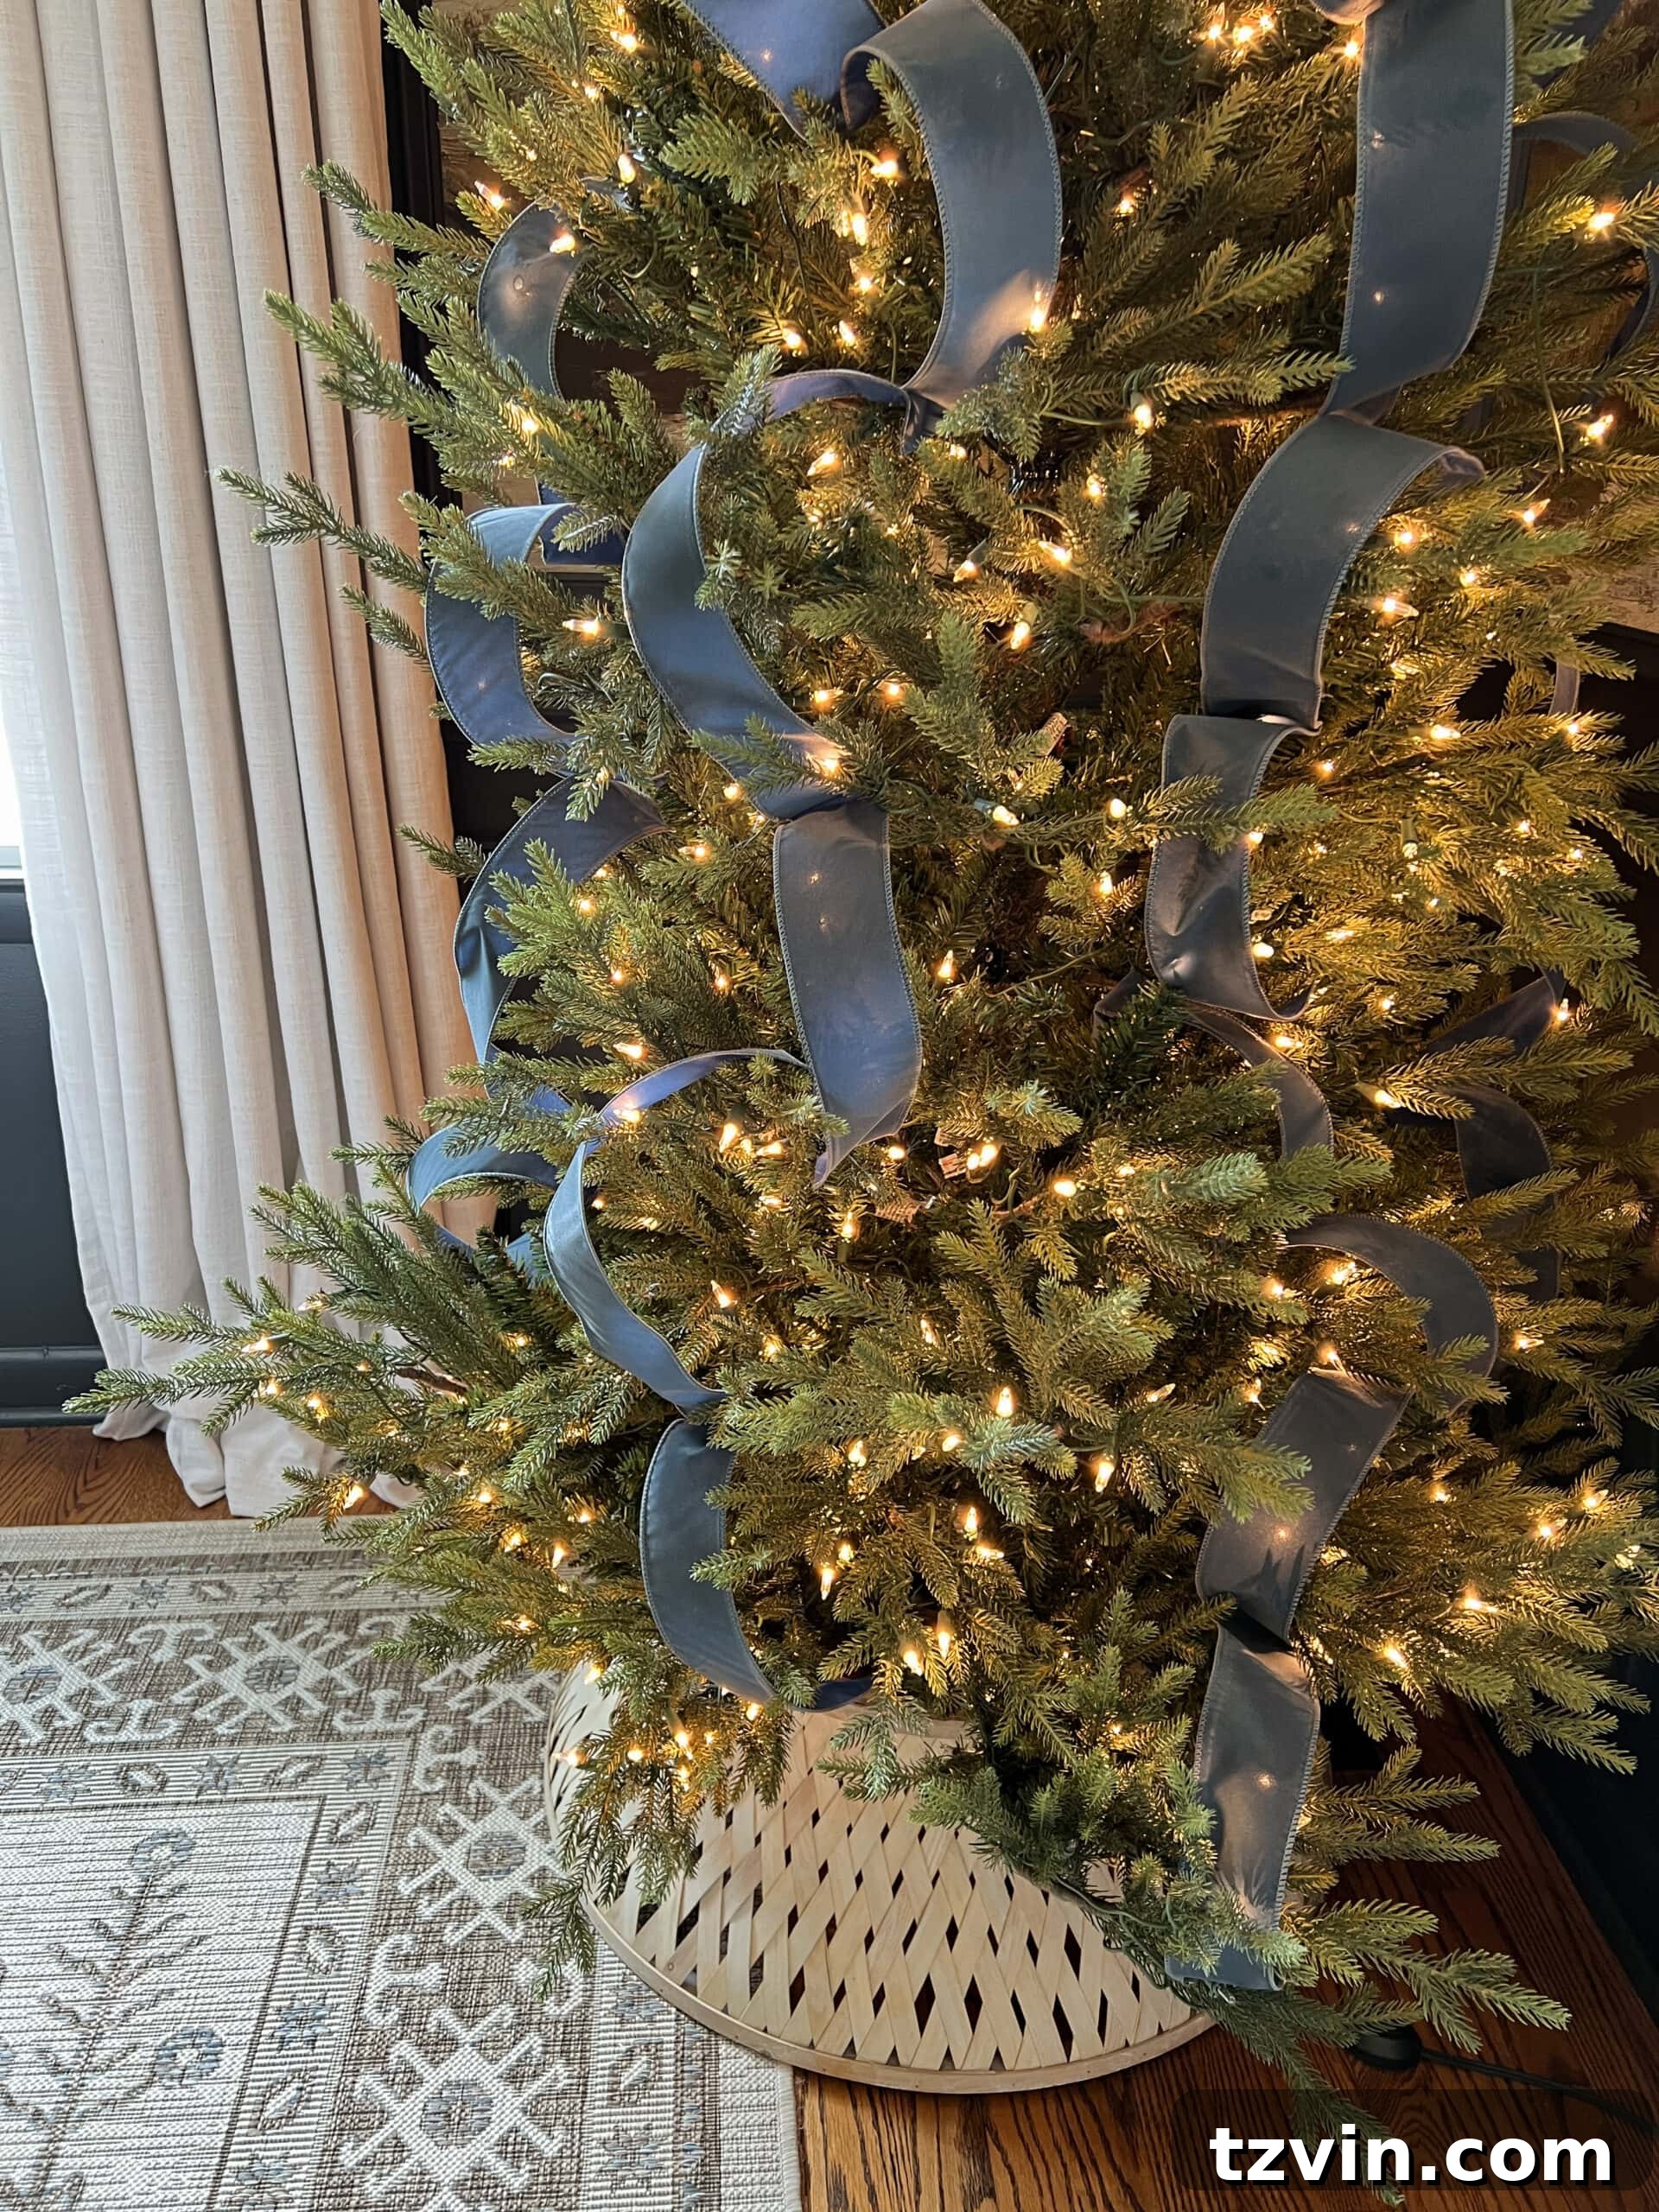
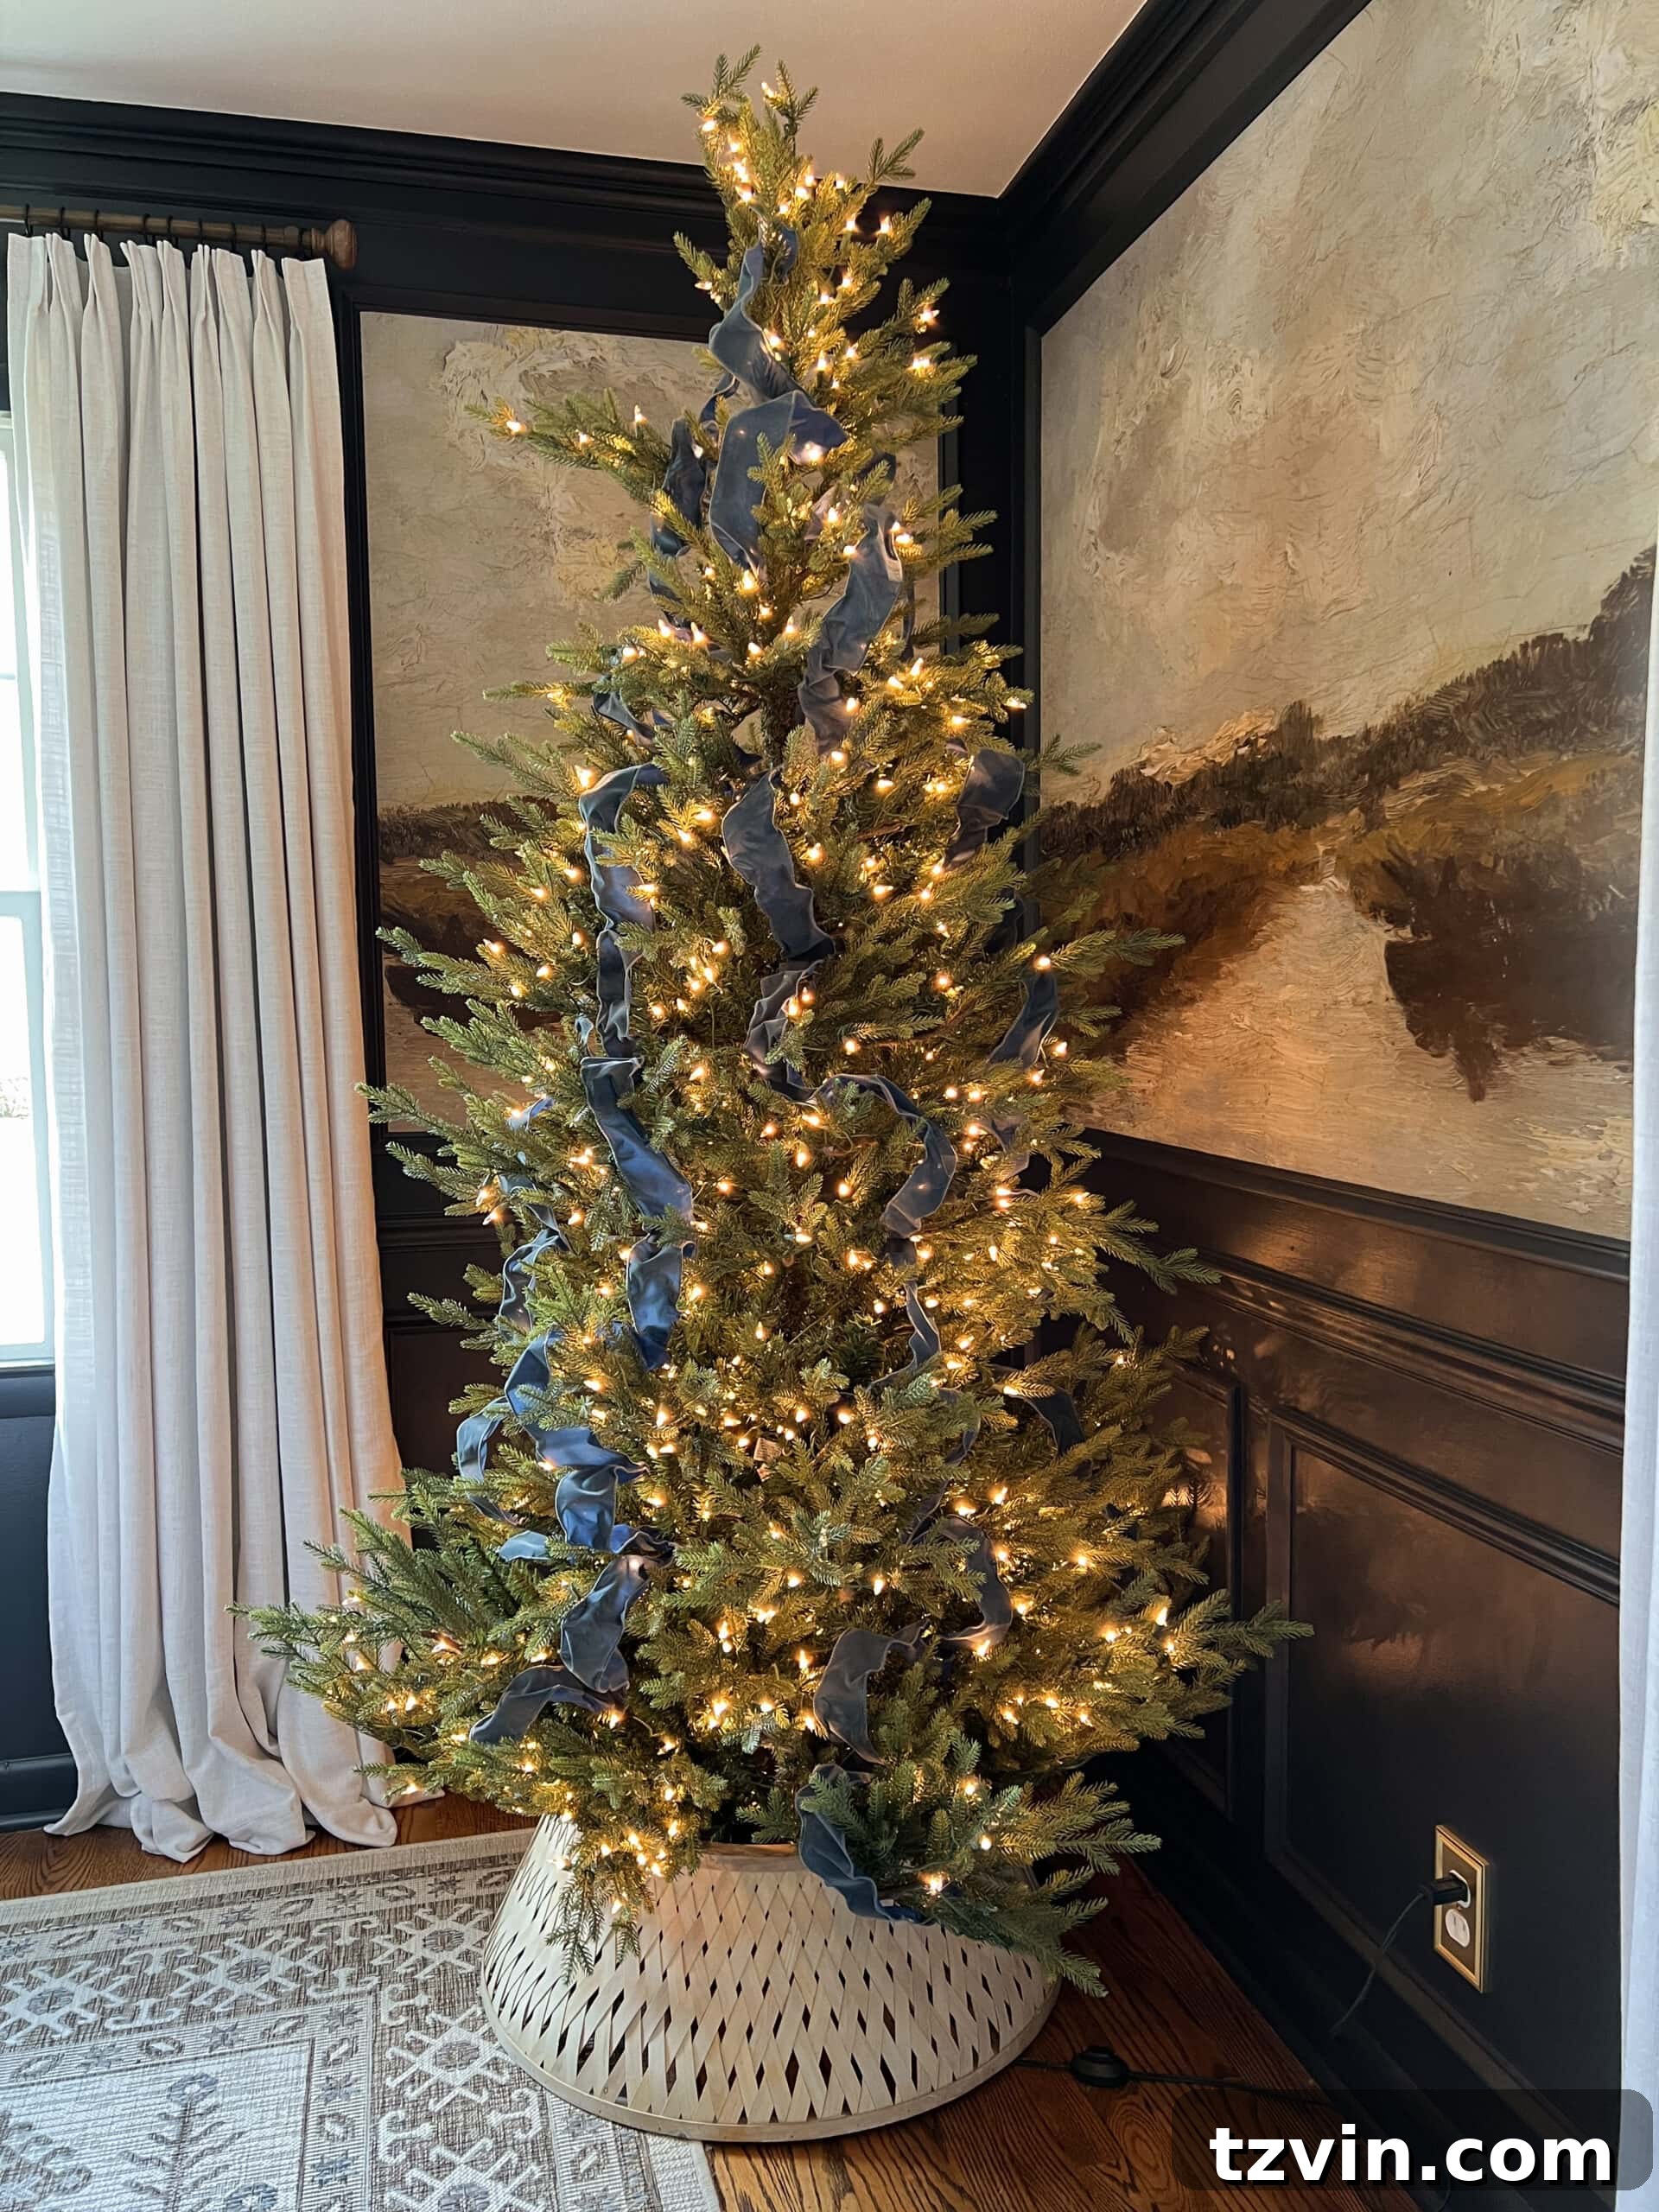
Continue repeating Steps 2 through 5, systematically weaving the ribbon down the tree in an appealing zig-zag pattern. Work your way around the entire tree until it achieves the desired density and waterfall ribbon Christmas tree look. Don’t hesitate to adjust the spacing and billow of each ribbon piece as you go, ensuring a balanced and harmonious design. Once your ribbon is perfectly placed, your tree is ready to be further embellished with ornaments, decorative picks, and other garlands. When I use this elegant waterfall style, I often opt to forgo additional garlands, as the ribbon itself provides ample texture and visual interest, preventing the tree from looking overly busy. Adding ribbon first is a clever trick, as it helps fill any gaps in the foliage and prevents you from accidentally obscuring cherished ornaments.
2. The Charming Vintage Crumpled Tree Ribbon Method
There’s an undeniable charm to the look of worn, vintage ribbon on a Christmas tree. This style celebrates imperfection, creating an organic, lived-in flow that feels both cozy and sophisticated. It’s also a fantastic way to utilize older ribbon remnants, as their slightly imperfect appearance only enhances the desired messy-chic aesthetic. This approach embraces a more natural, less structured feel, allowing the ribbon to contribute a unique, antique-inspired texture to your tree.
For this look, I gravitate towards more organic and vintage-inspired fabric types. Think soft cottons, rustic burlap, rich velvet, intricate jacquard, or delicate chiffon. These materials naturally lend themselves to a crumpled, aged appearance and add a tactile dimension to your tree. While the basic application process is quite similar to the waterfall ribbon method, there’s one crucial preparatory step that sets the vintage crumpled style apart.
Suggested Ribbon Types for the Vintage Crumpled Method:
Embrace ribbons made from natural fibers or those with a soft, pliable texture. Velvet, linen, cotton, and even some textured satins work wonderfully. Look for muted tones or classic holiday colors that evoke a sense of nostalgia. The beauty here is that slight imperfections in the ribbon actually enhance the overall vintage aesthetic.
Step 1 – Deliberately Crumple Your Ribbon Pieces
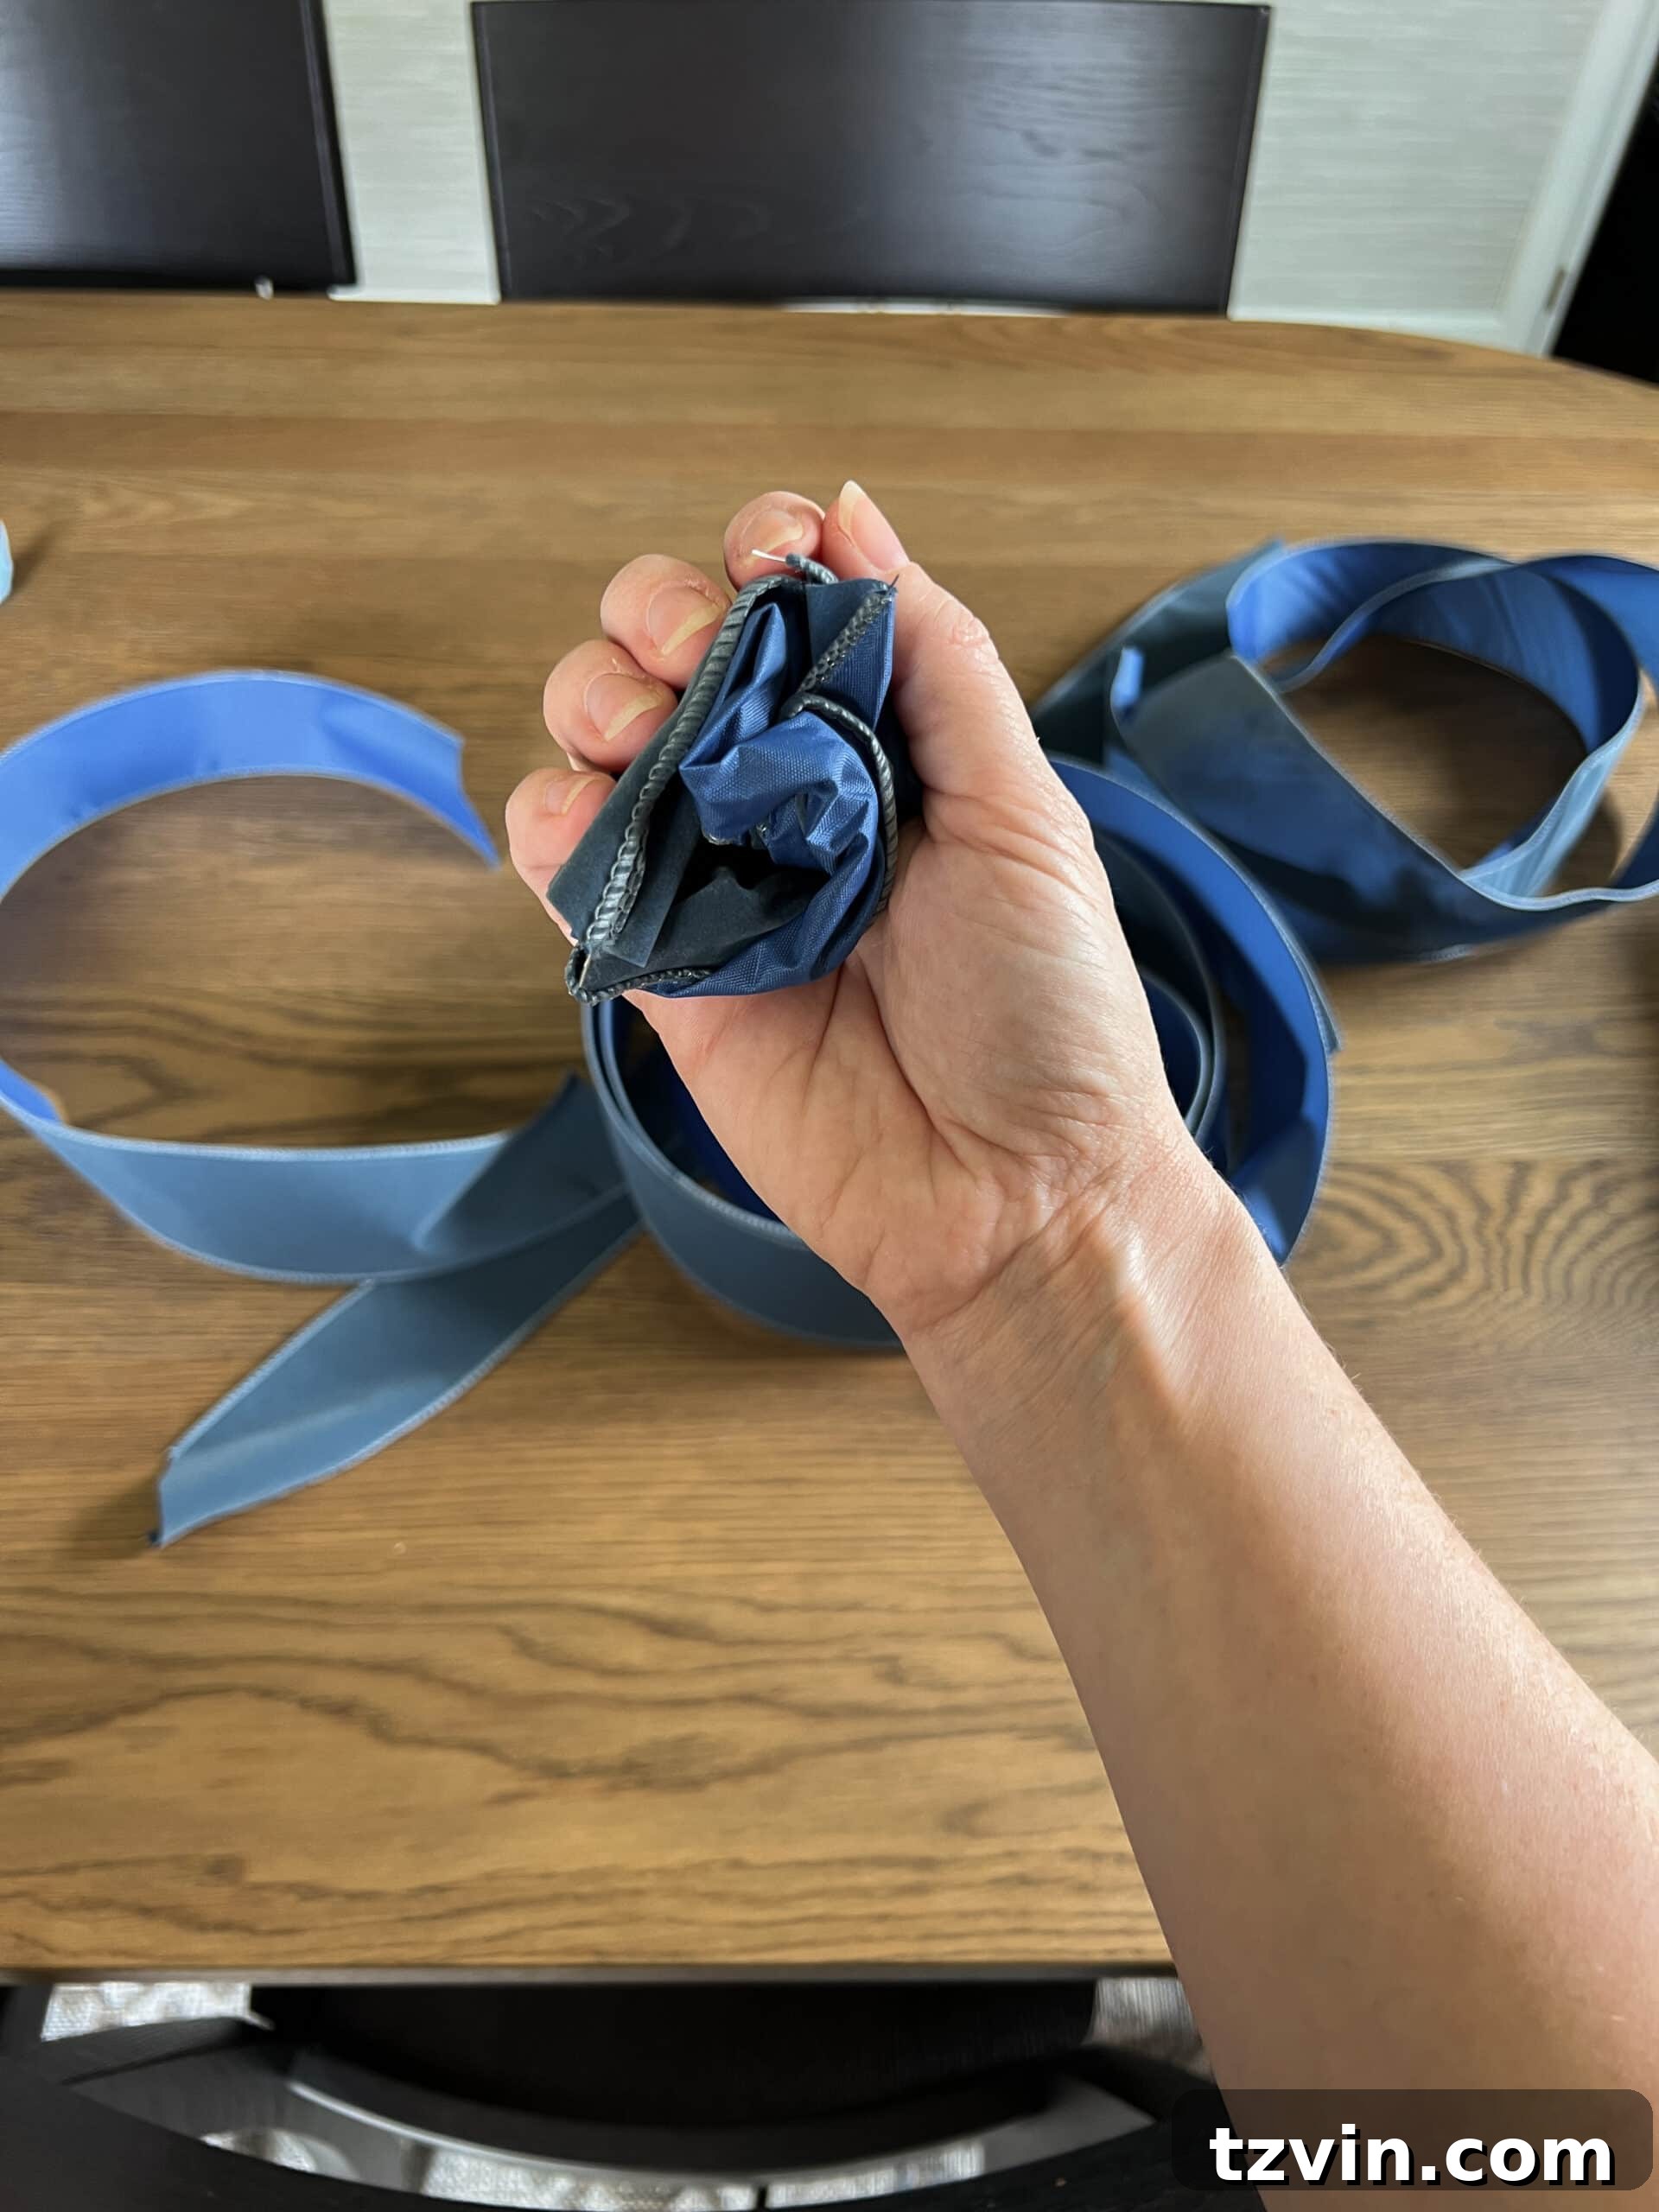
Before you begin attaching your ribbon, take each 2 1/2-foot length of wired ribbon and gently ball it up in your hand, pressing and manipulating it to create soft creases and wrinkles. Then, slowly stretch it back out. This simple act of crumpling will immediately give the ribbon a beautifully worn, old-fashioned, and slightly distressed appearance, perfectly capturing that coveted vintage feel. The wired edges will help it maintain some structure while still looking delightfully imperfect.
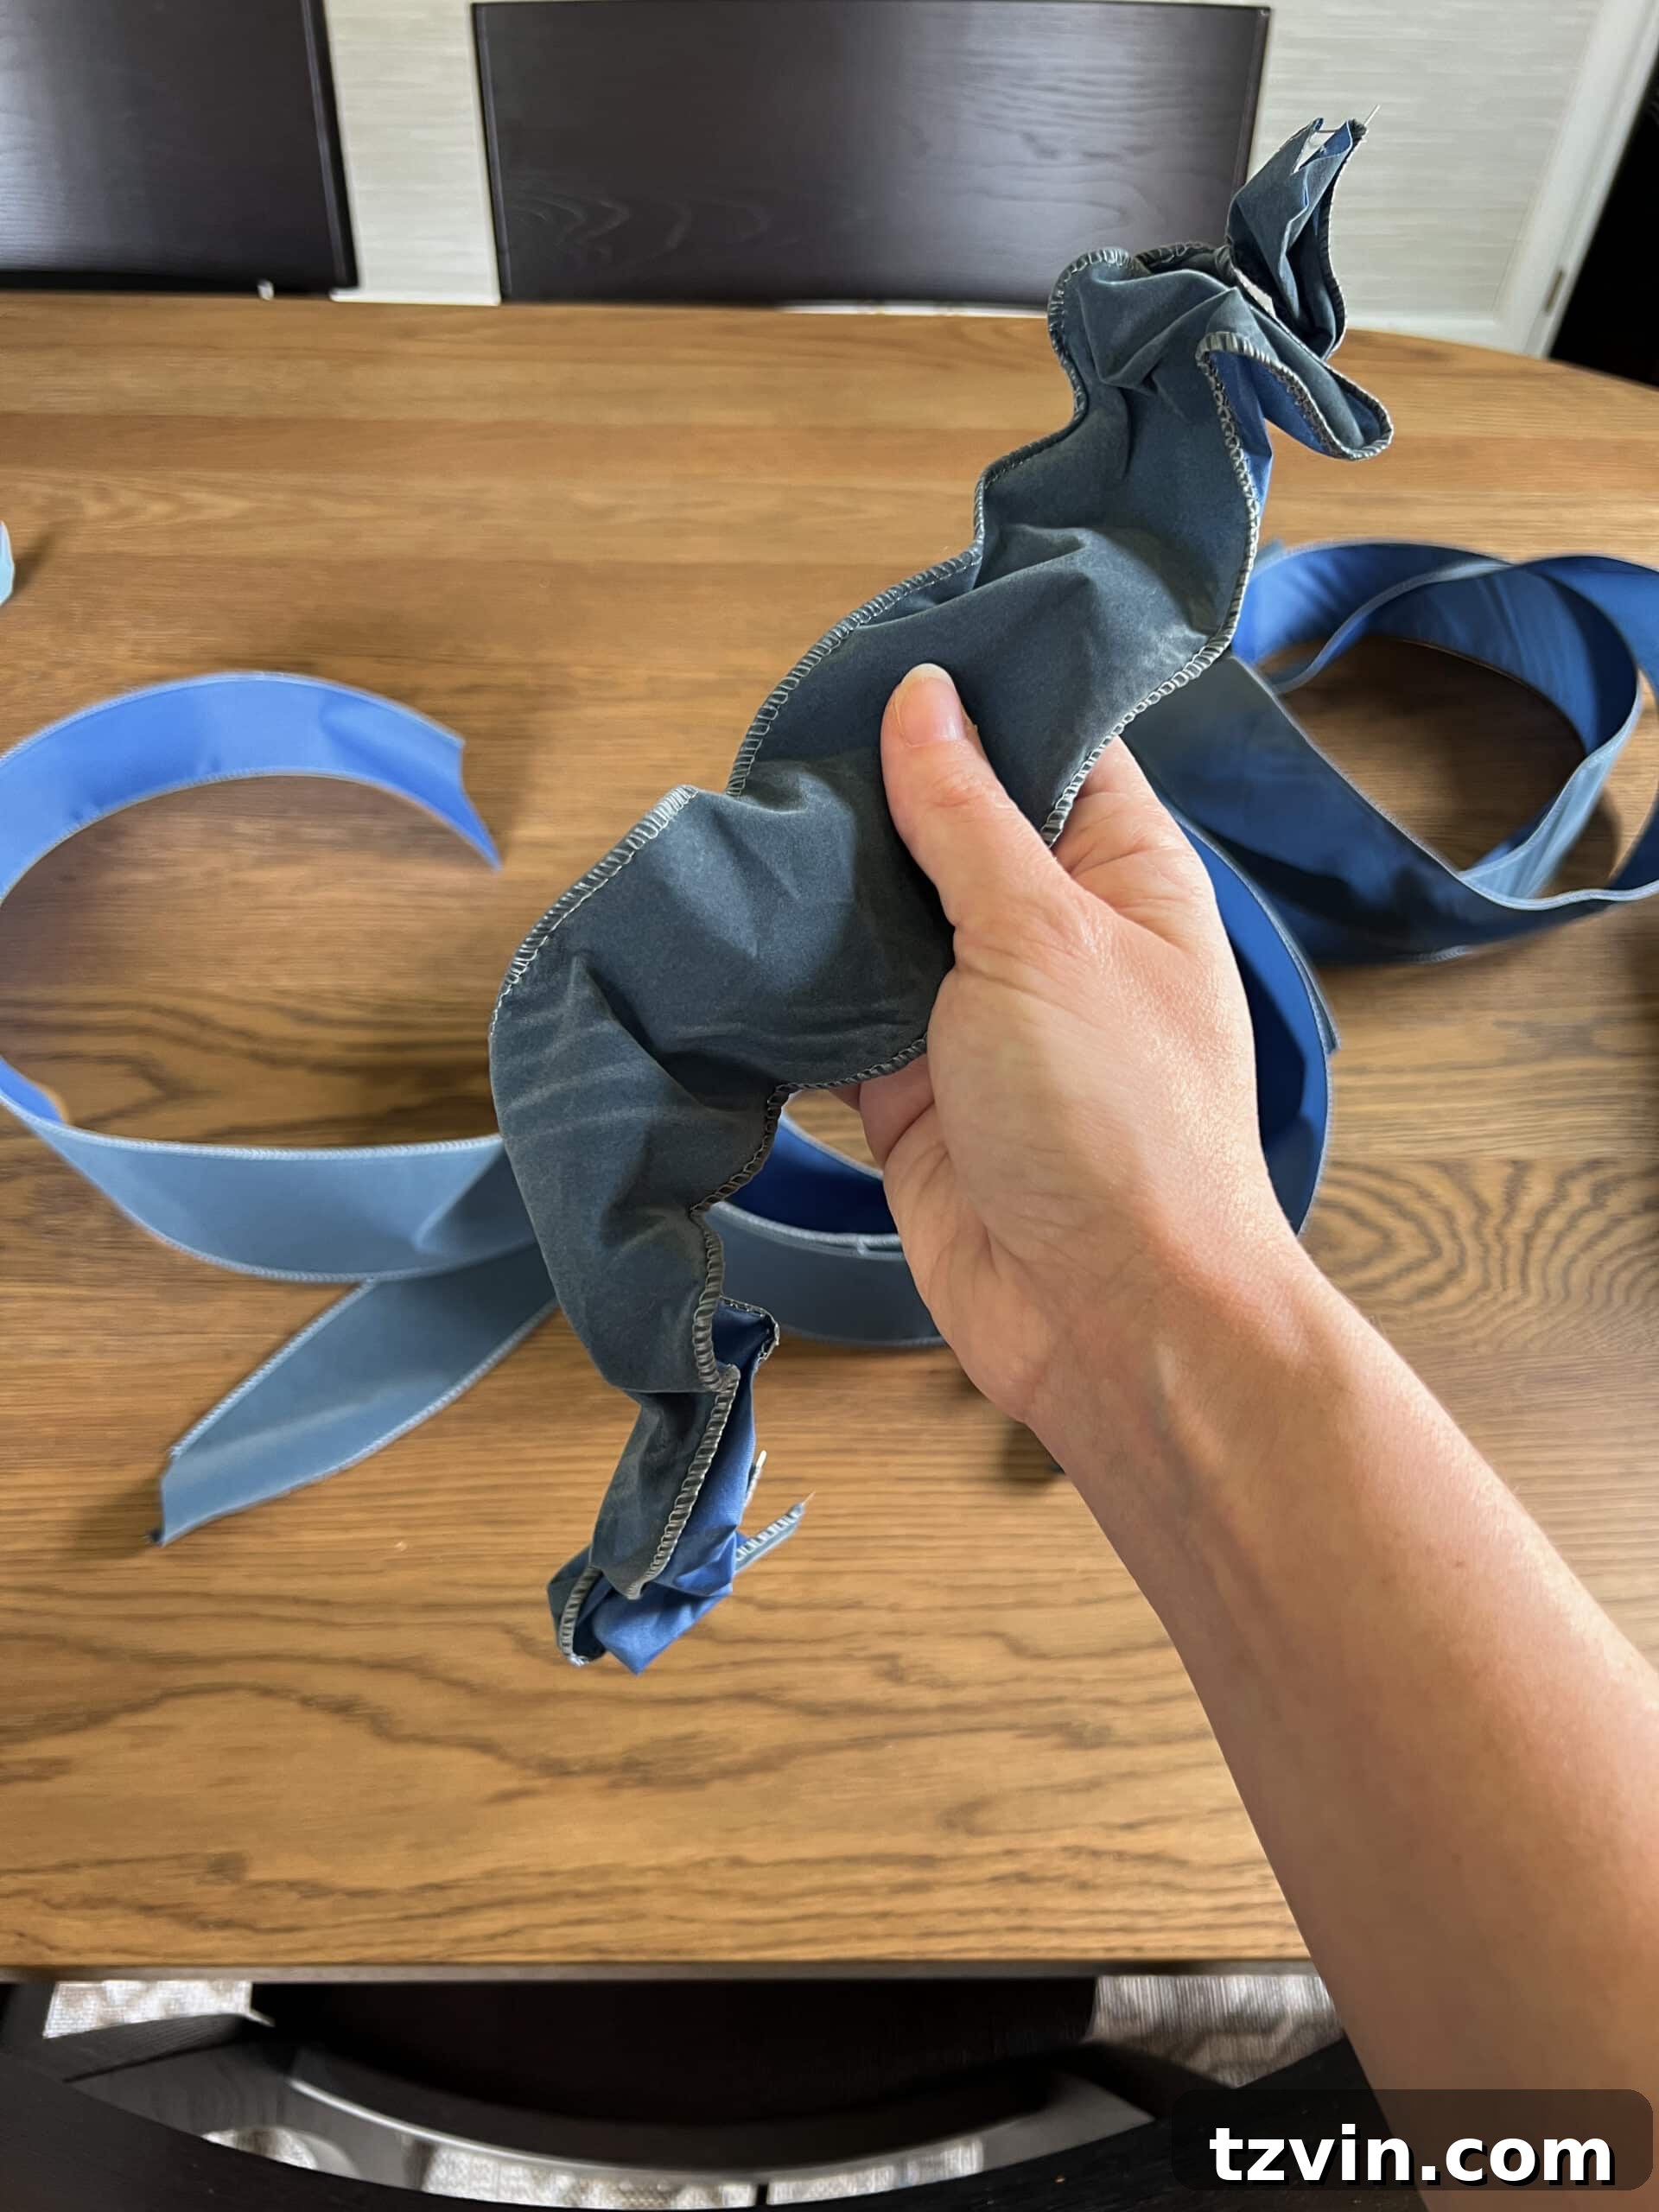
Step 2 – Apply Using the Modern Billowed Ribbon Method
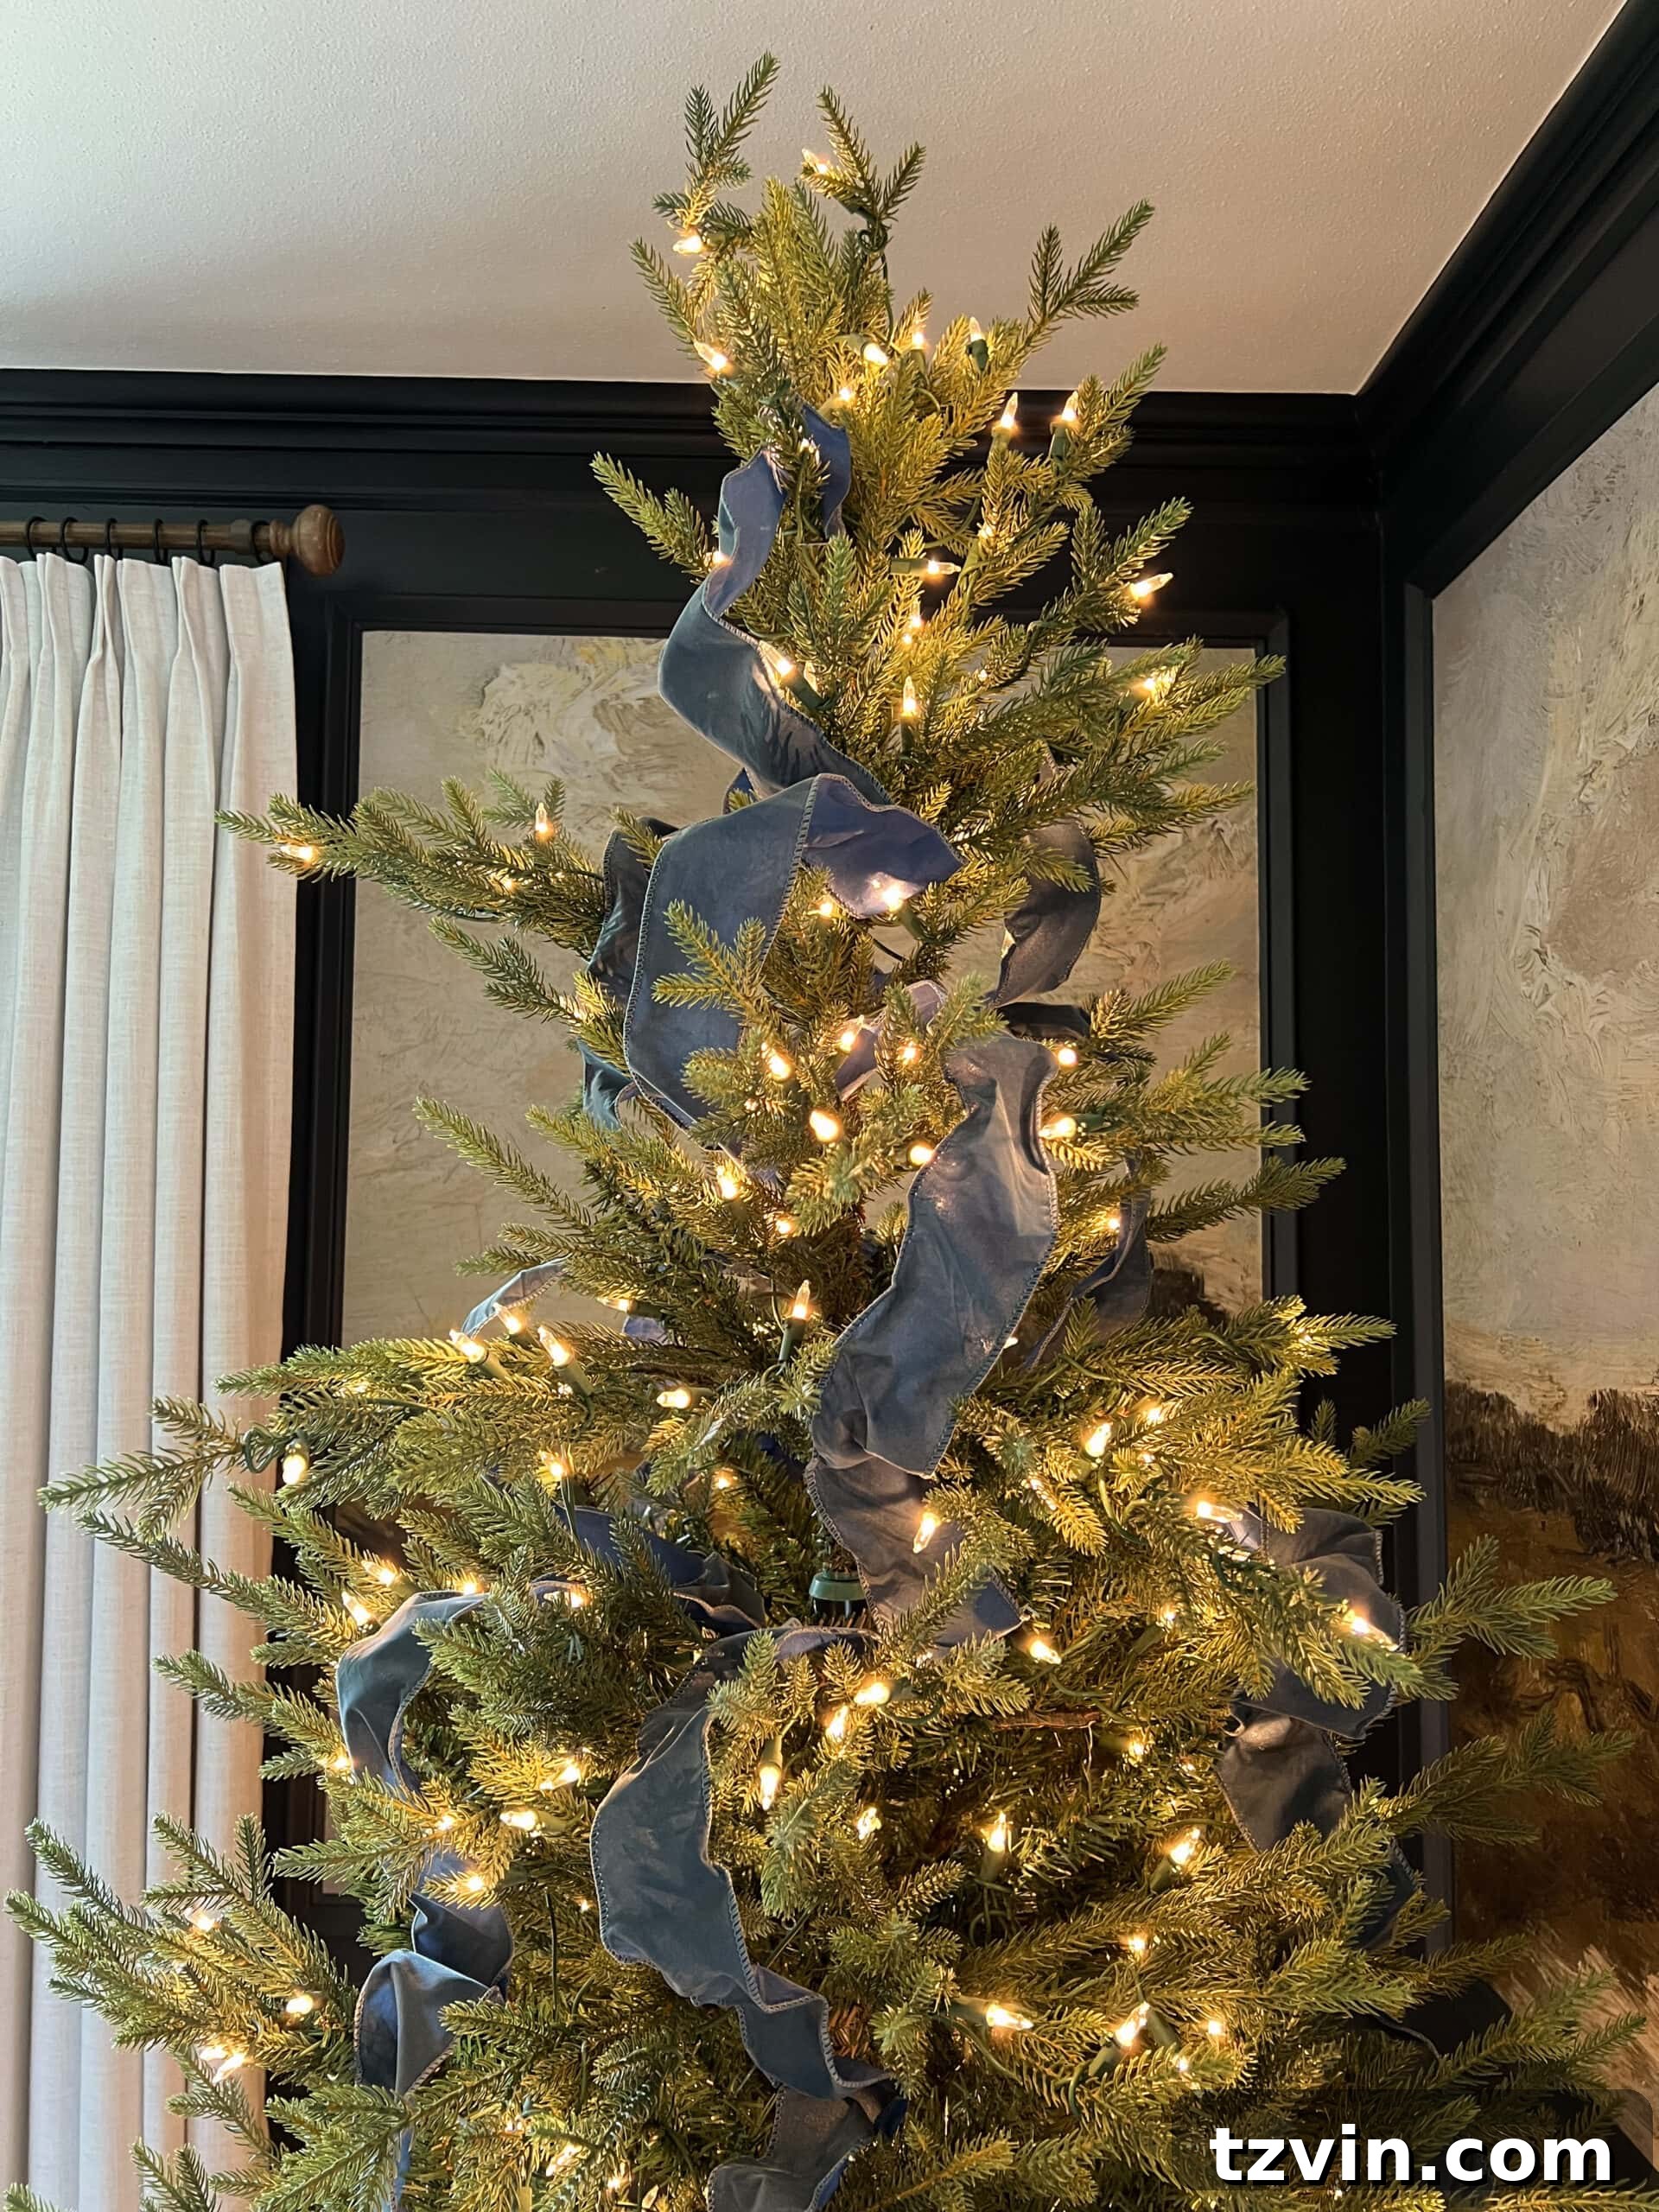
Once your ribbons are beautifully crumpled, you can proceed with the exact same application steps as the waterfall ribbon method described earlier. This means: hooking one end of a ribbon piece onto a branch, pinching the middle and tucking it securely, then tucking in the remaining end between two branches. Continue working in a zig-zag pattern down and around the tree. The primary difference for the vintage look comes from the pre-crumpled texture of the ribbon itself, which will naturally create a softer, more organic, and wonderfully “undone” aesthetic as it billows through the branches.
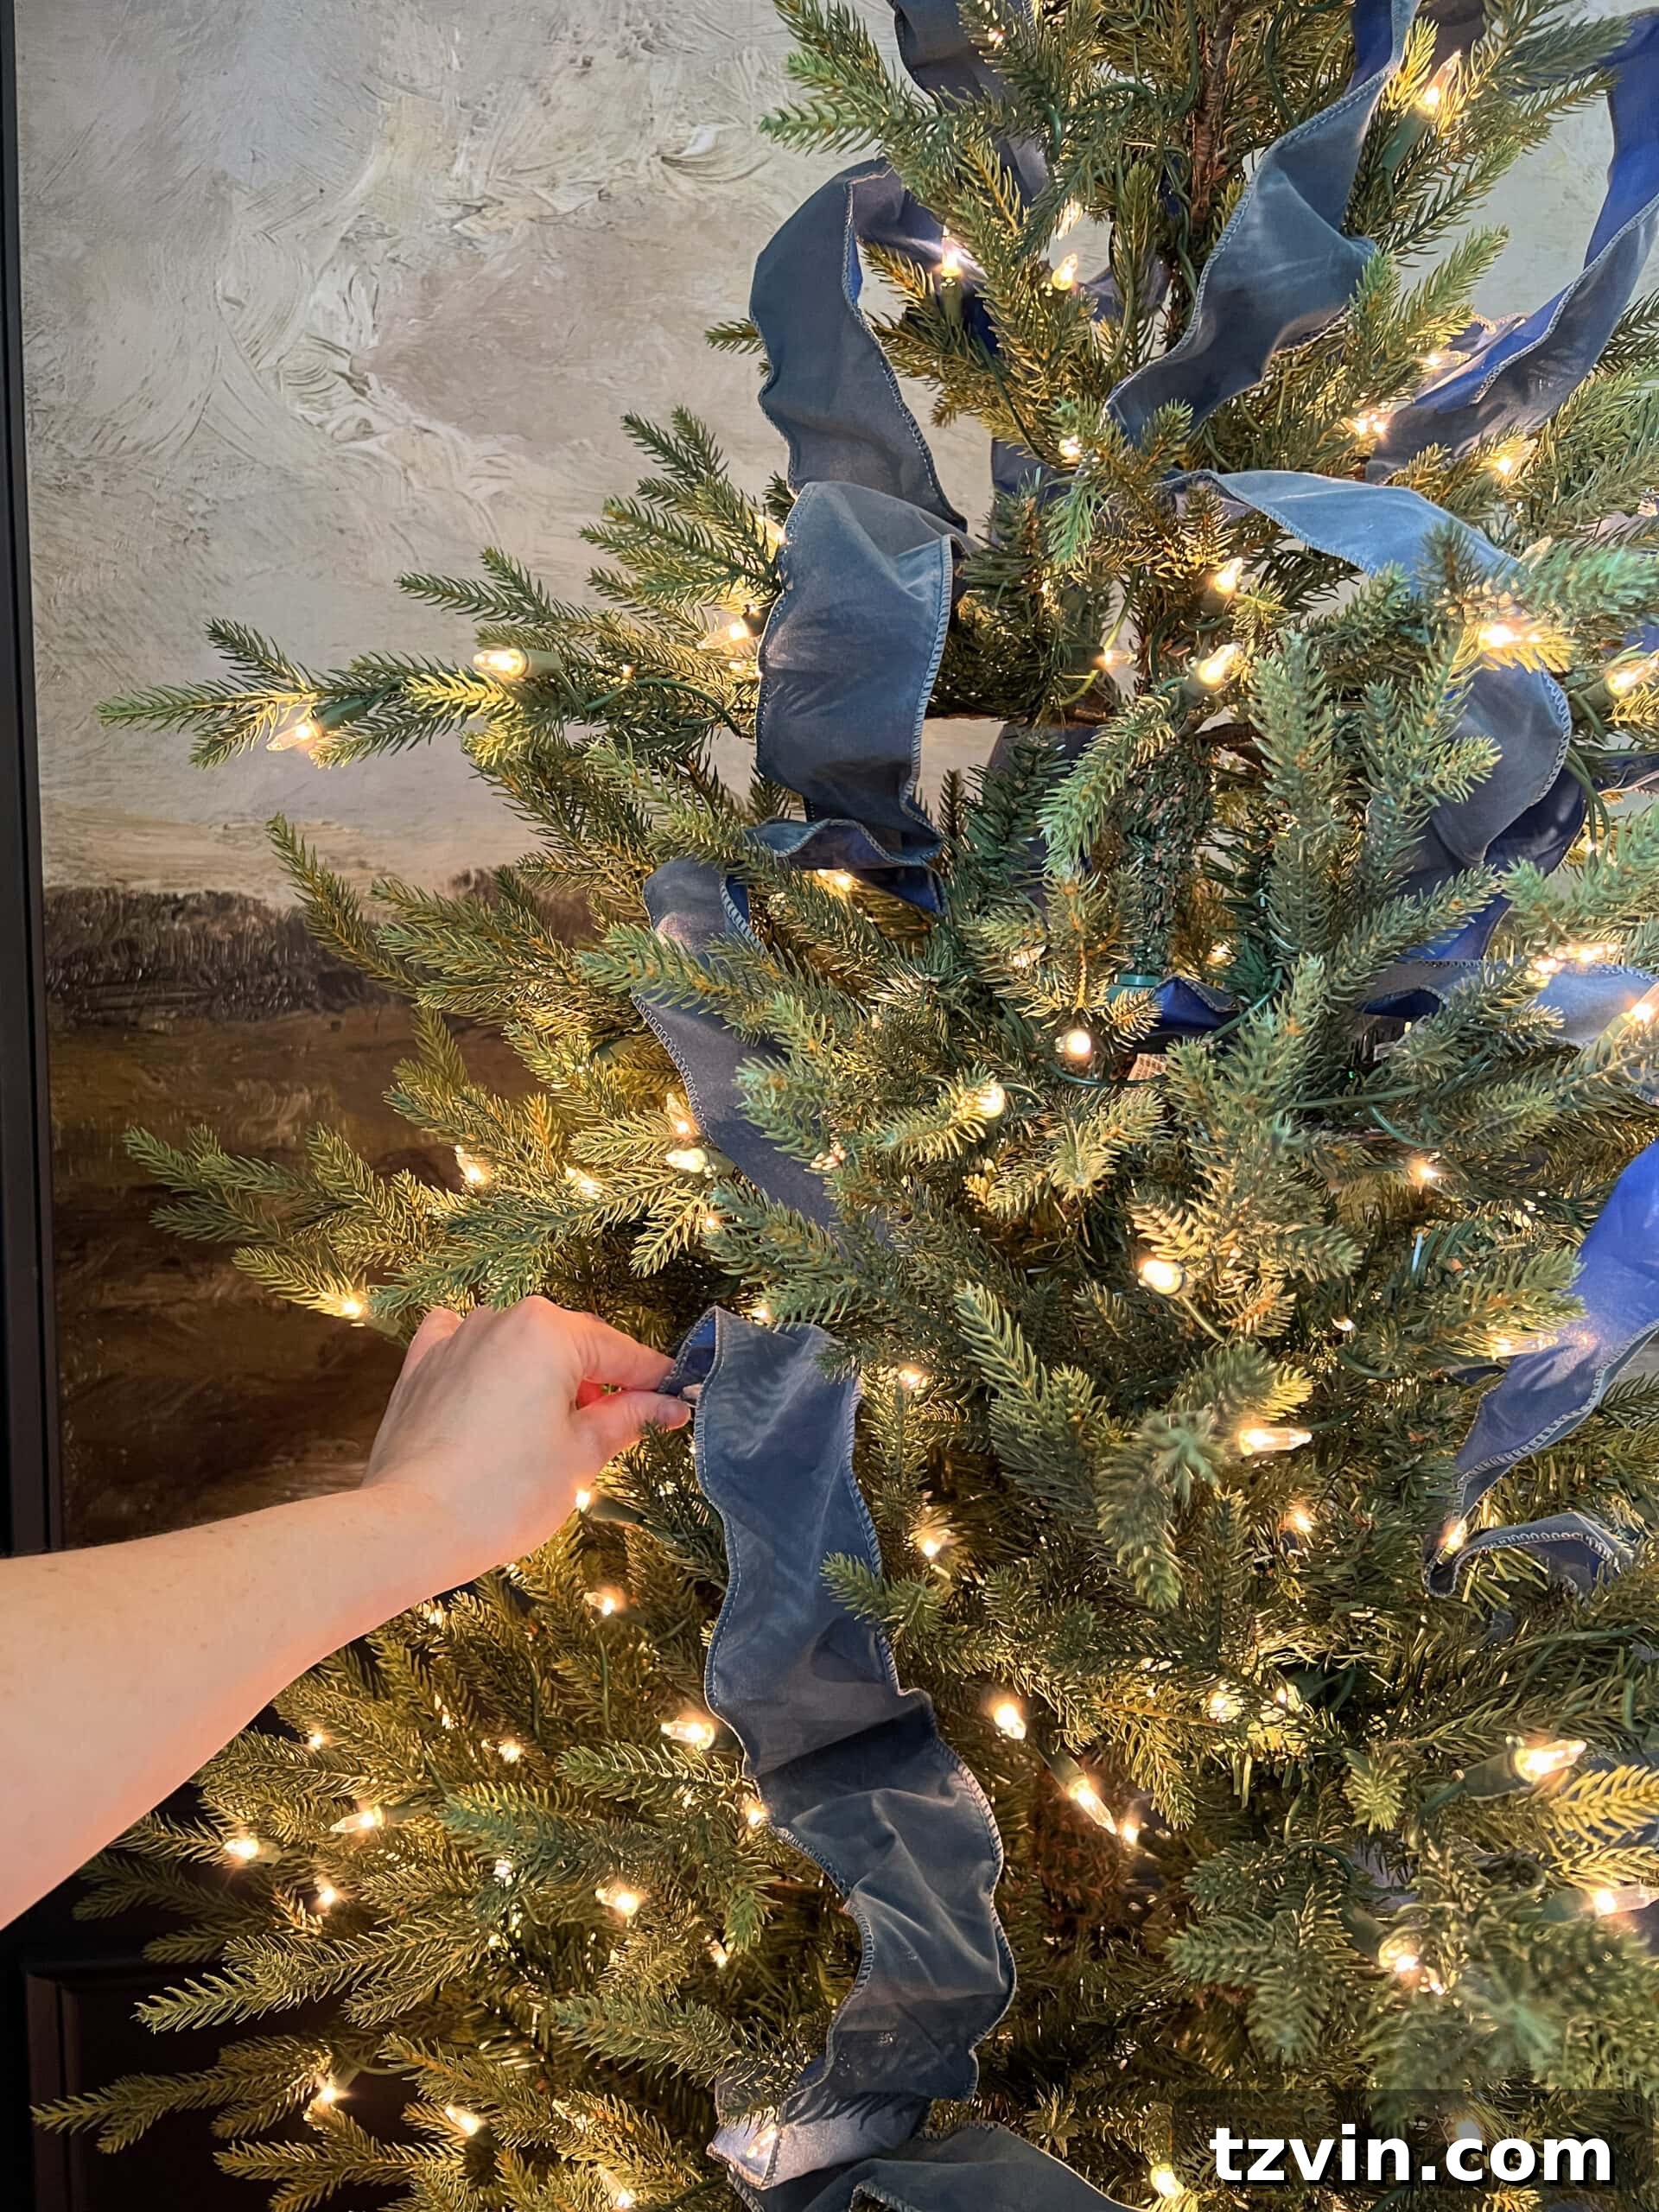
Step 3 – Complement with Thoughtful Ornaments
After your crumpled ribbon gracefully covers the tree to your desired taste, it’s time to add the finishing touches with ornaments and decorative picks. For a truly cohesive vintage look, select ornaments that complement the rustic charm of the ribbon. Think antique-style glass baubles, natural elements like pinecones or dried oranges, classic wooden ornaments, or perhaps some carefully chosen metallic accents that have a slightly aged patina. These additions will enhance the overall vintage aesthetic and bring your tree to life.
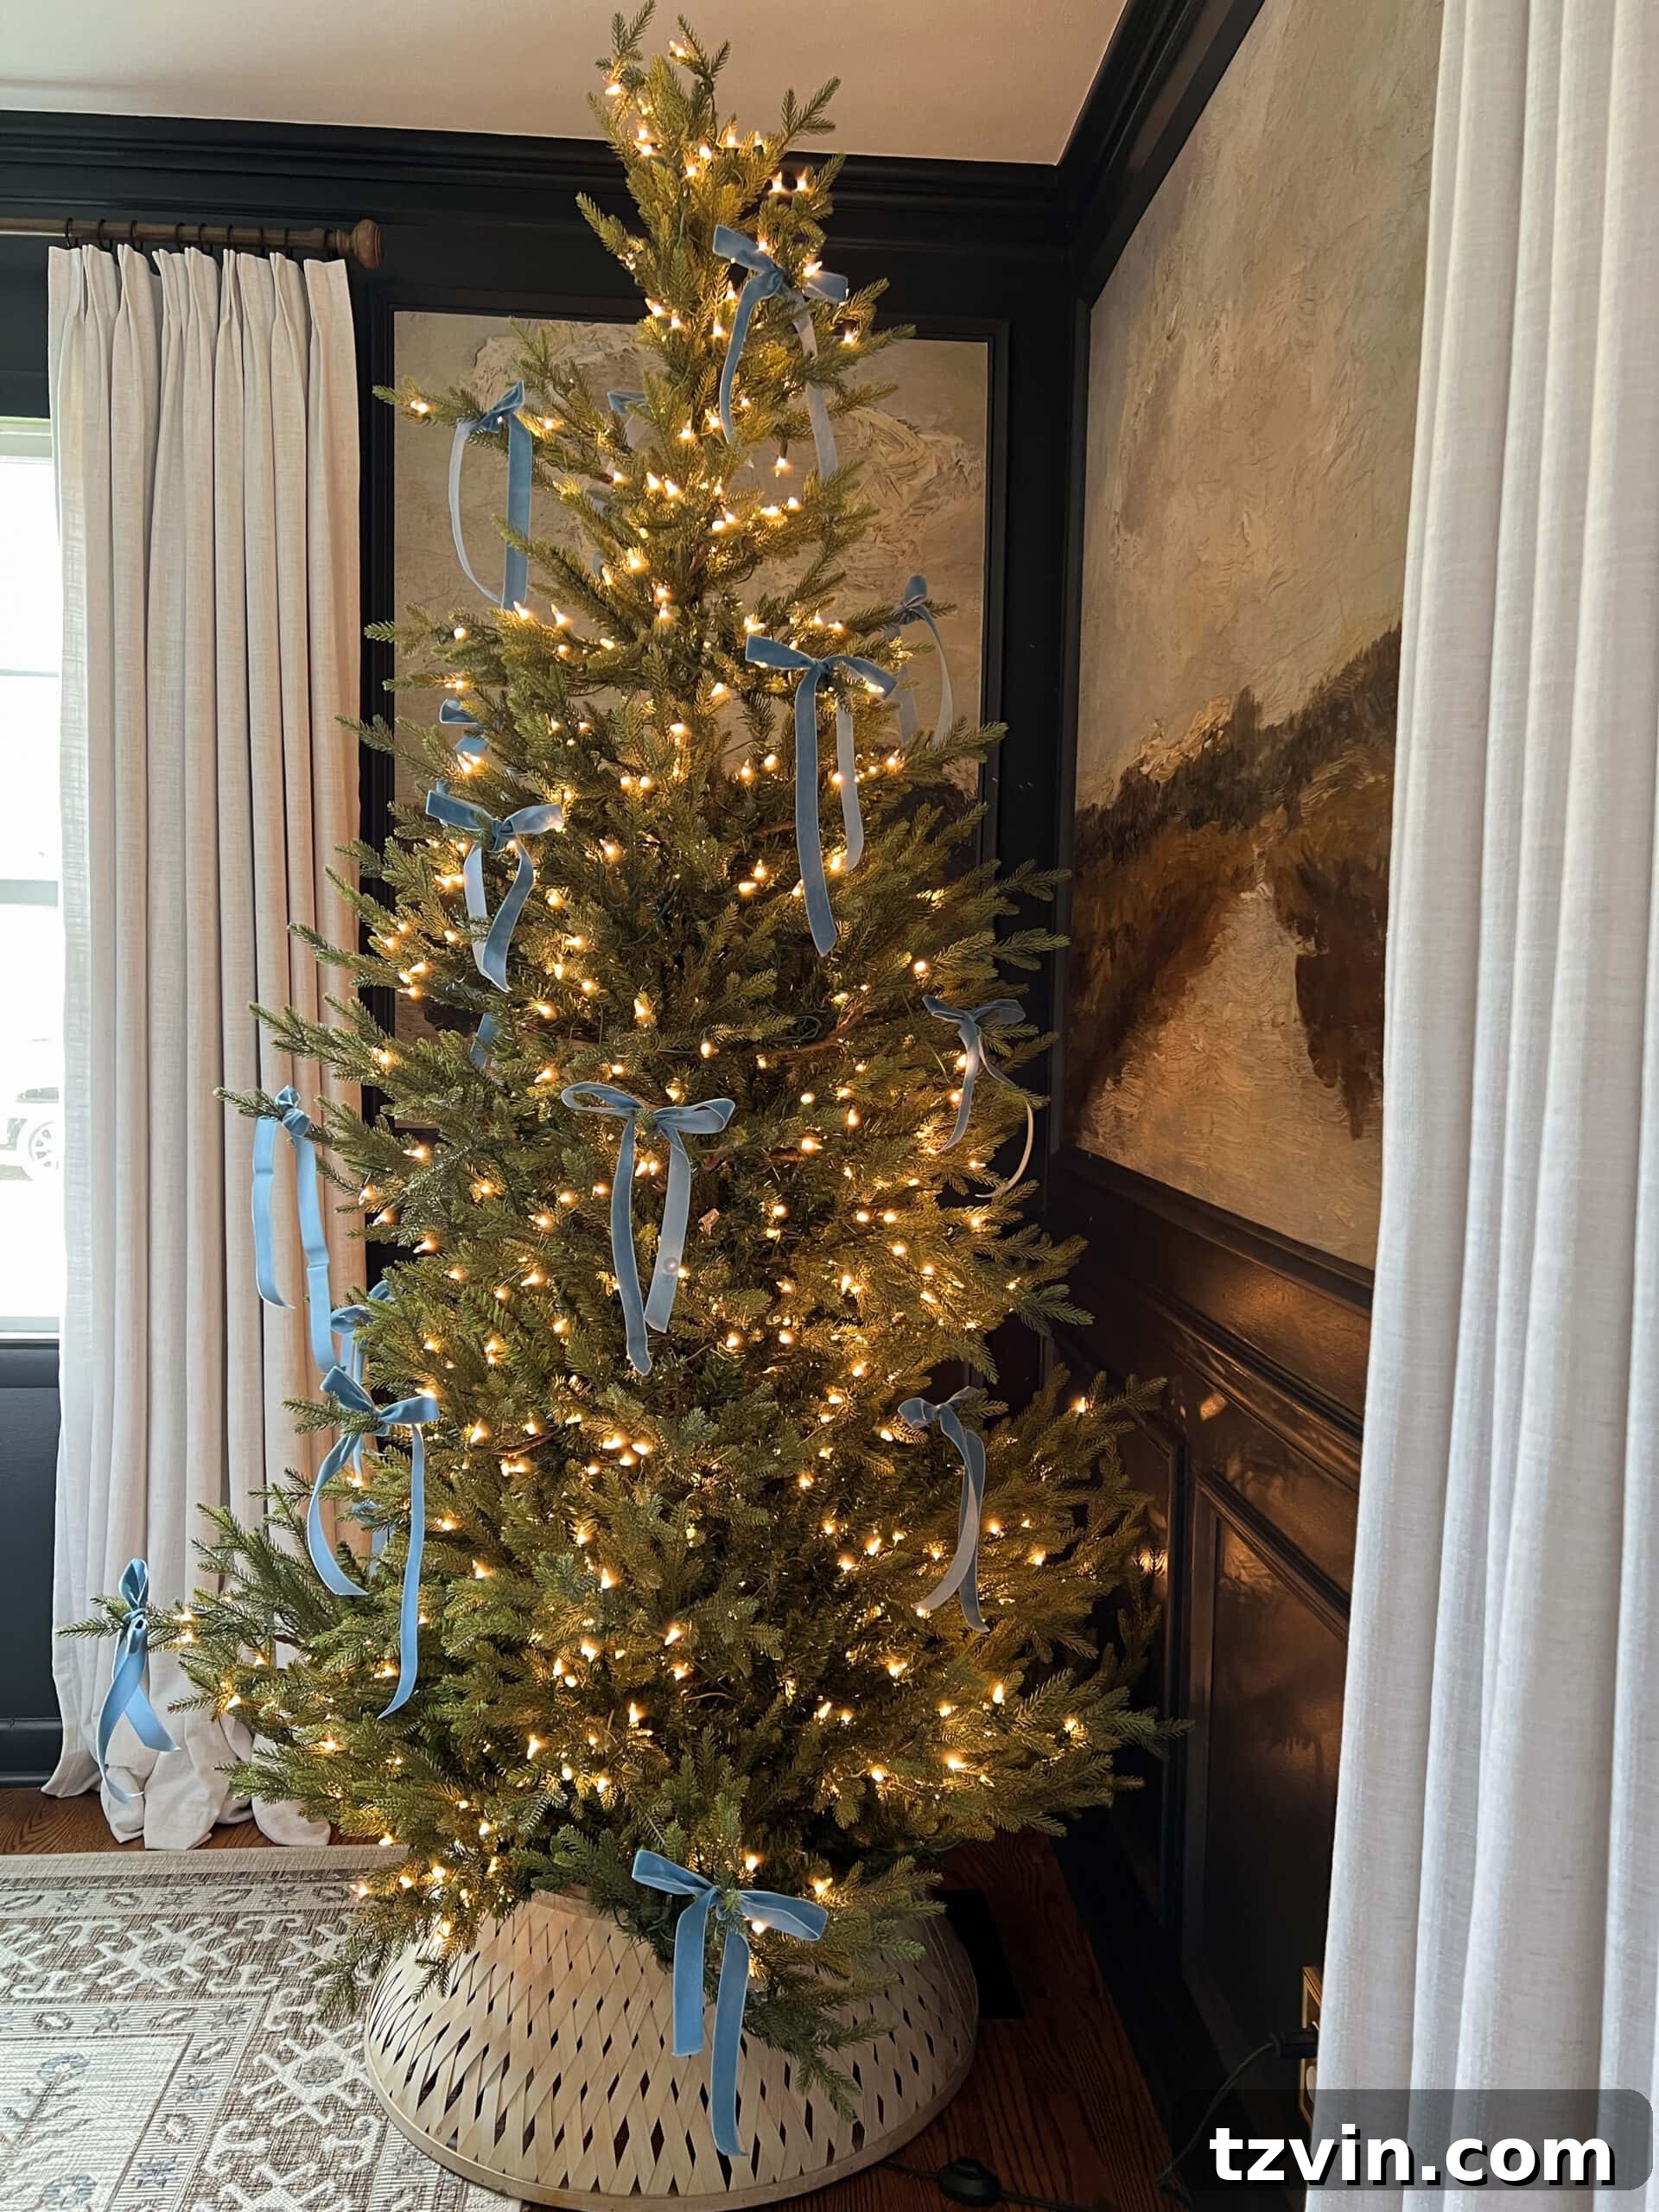
3. The Charming Feminine Bows Tree Ribbon Method
If the intricate weaving of the previous two Christmas tree ribbon methods seems a bit too complex, or if you simply prefer a softer, more traditionally feminine aesthetic, then decorating your tree with sweet, delicate bows is an absolutely delightful alternative. This method offers a charming, vintage-inspired look that is both straightforward and incredibly impactful. The visual appeal of dainty Christmas tree bows tied directly onto branches brings an immediate sense of warmth and festive cheer.
For a particularly lovely result, I often use a beautiful 7/8″ velvet ribbon in Williamsburg Blue, which creates bows that are both elegant and perfectly sized for a classic touch.
Suggested Ribbon Types for the Feminine Bows Method:
This method is incredibly versatile! While non-wired ribbon is generally preferred for softer, more natural-looking bows, you can certainly use wired ribbon if you want the bows to hold a very specific, crisp shape. Ideal materials include luxurious velvet, silky satin, crisp taffeta, classic cotton, or even charming gingham. The key is to choose a ribbon that ties well and complements your desired aesthetic. The charm of this method lies in its simplicity and the ability to customize with various textures and colors.
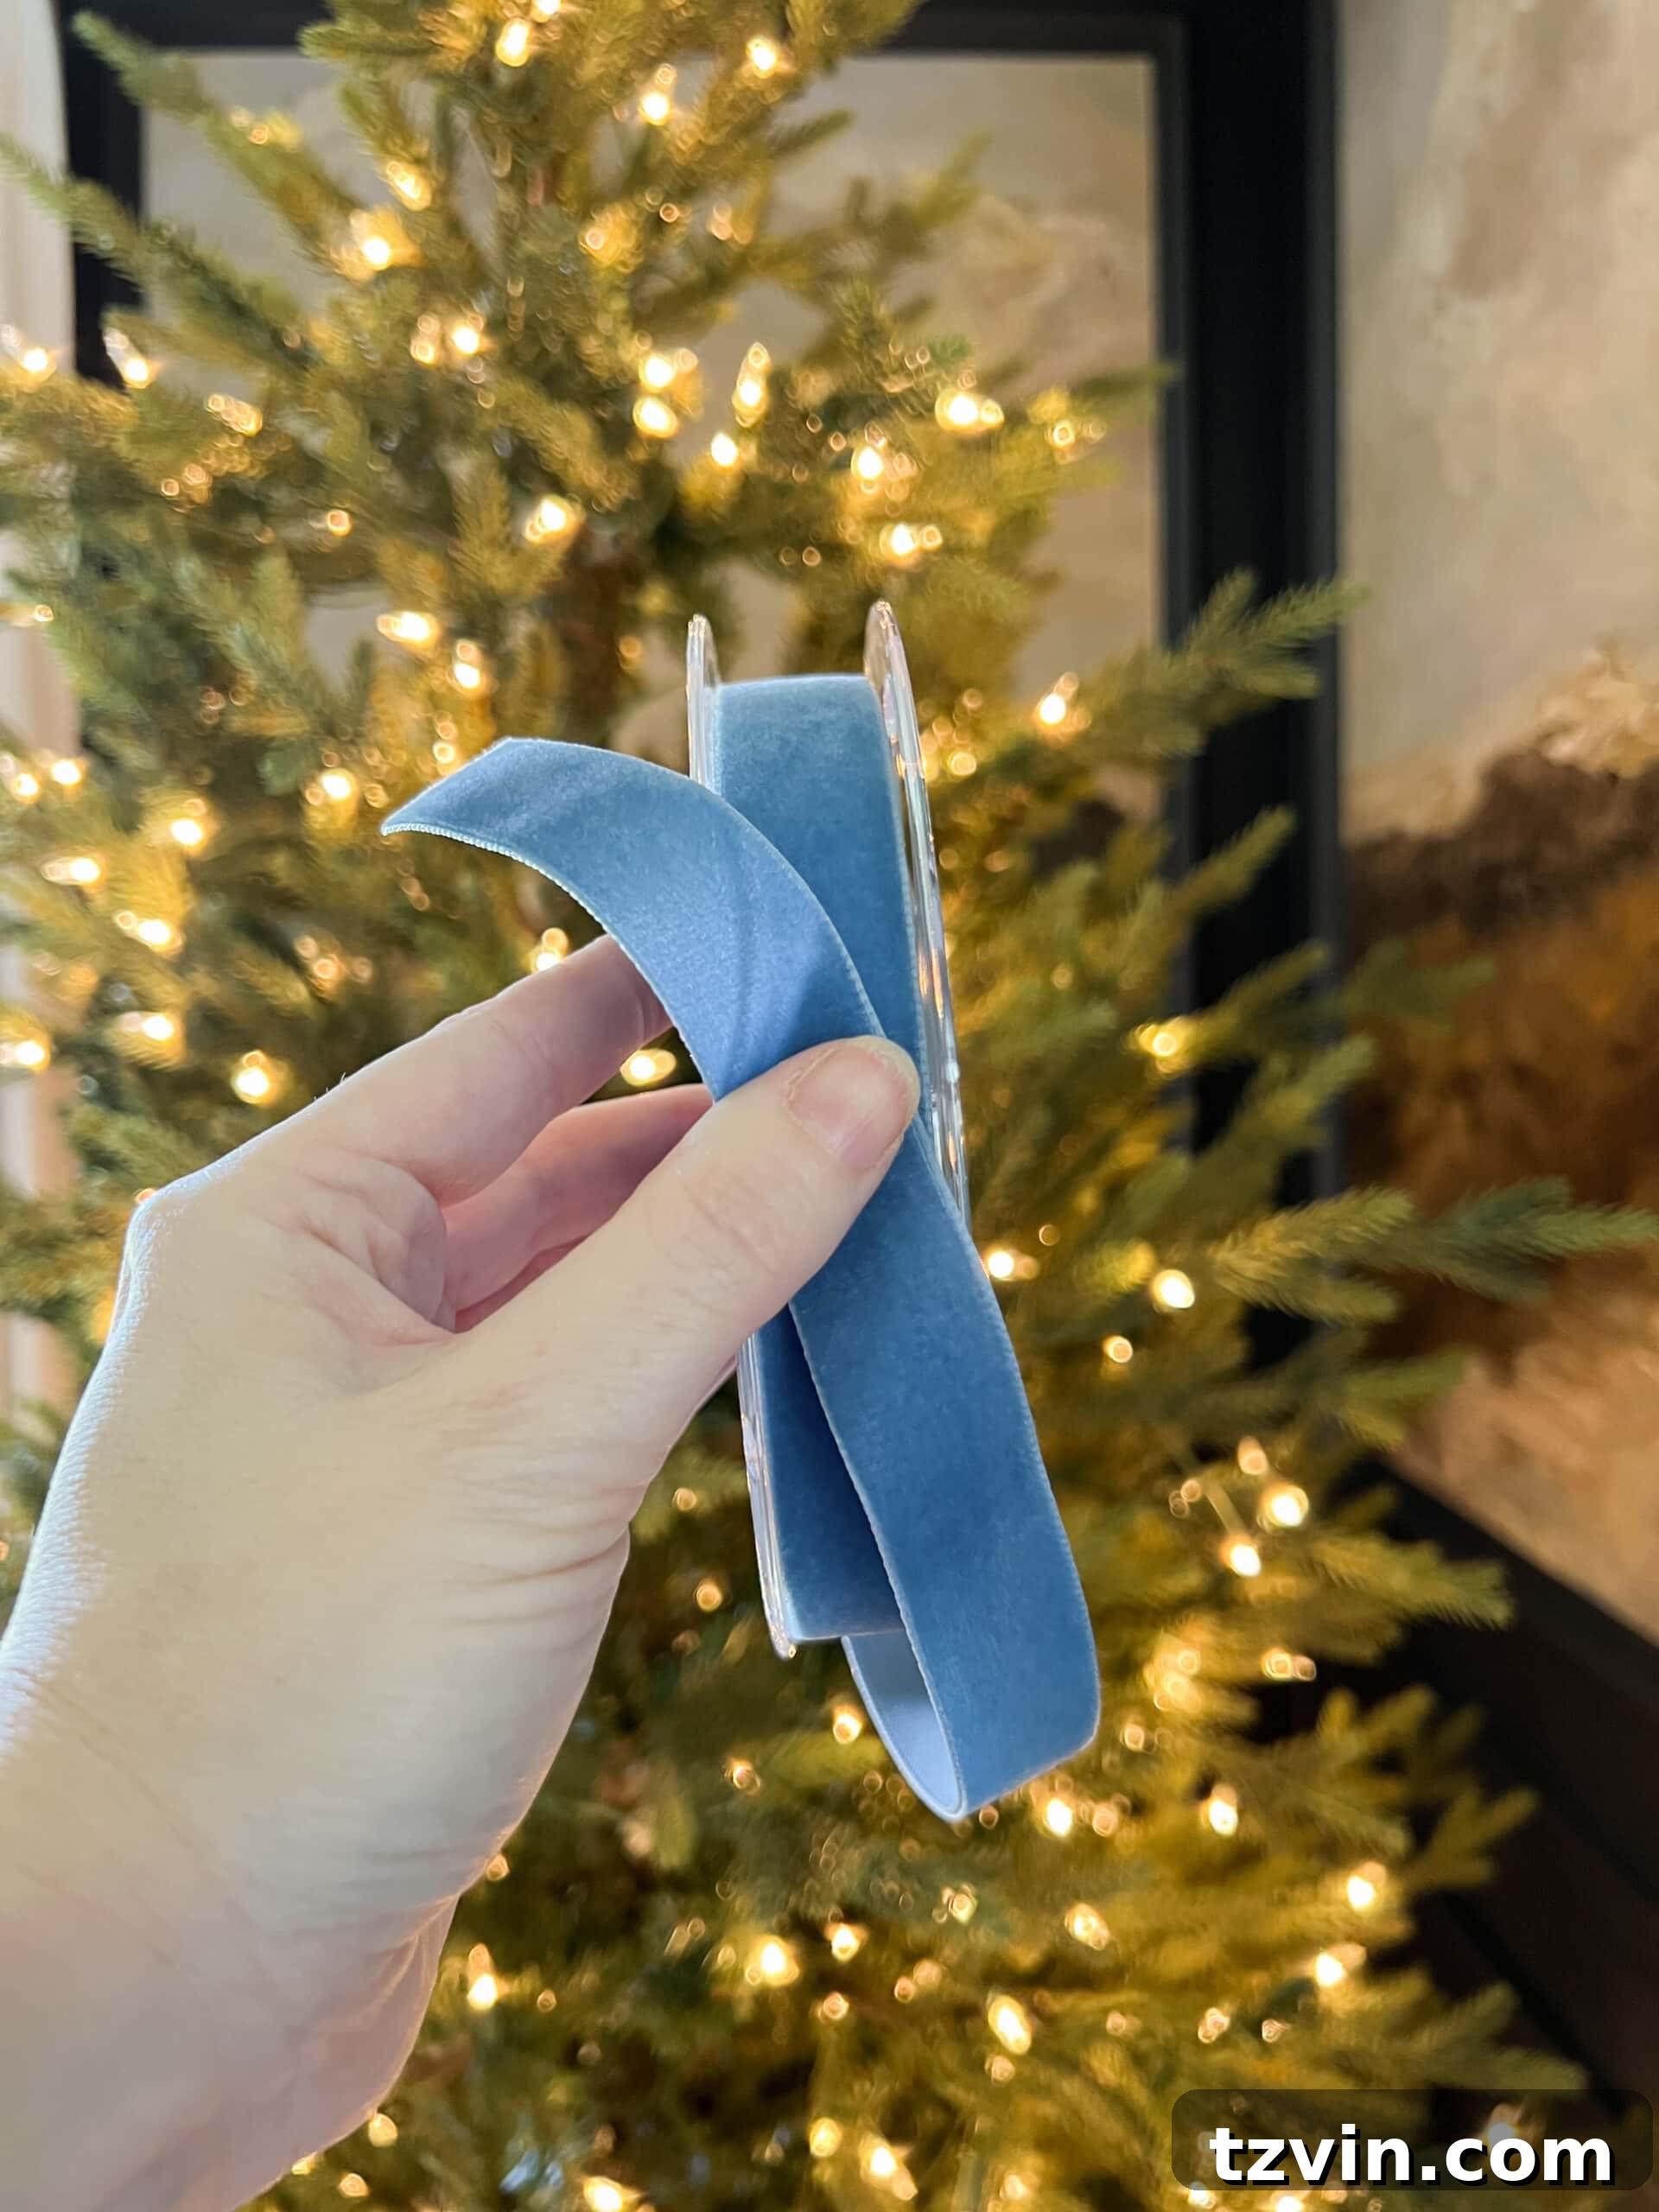
Step 1 – Cut Ribbon Pieces to Desired Lengths
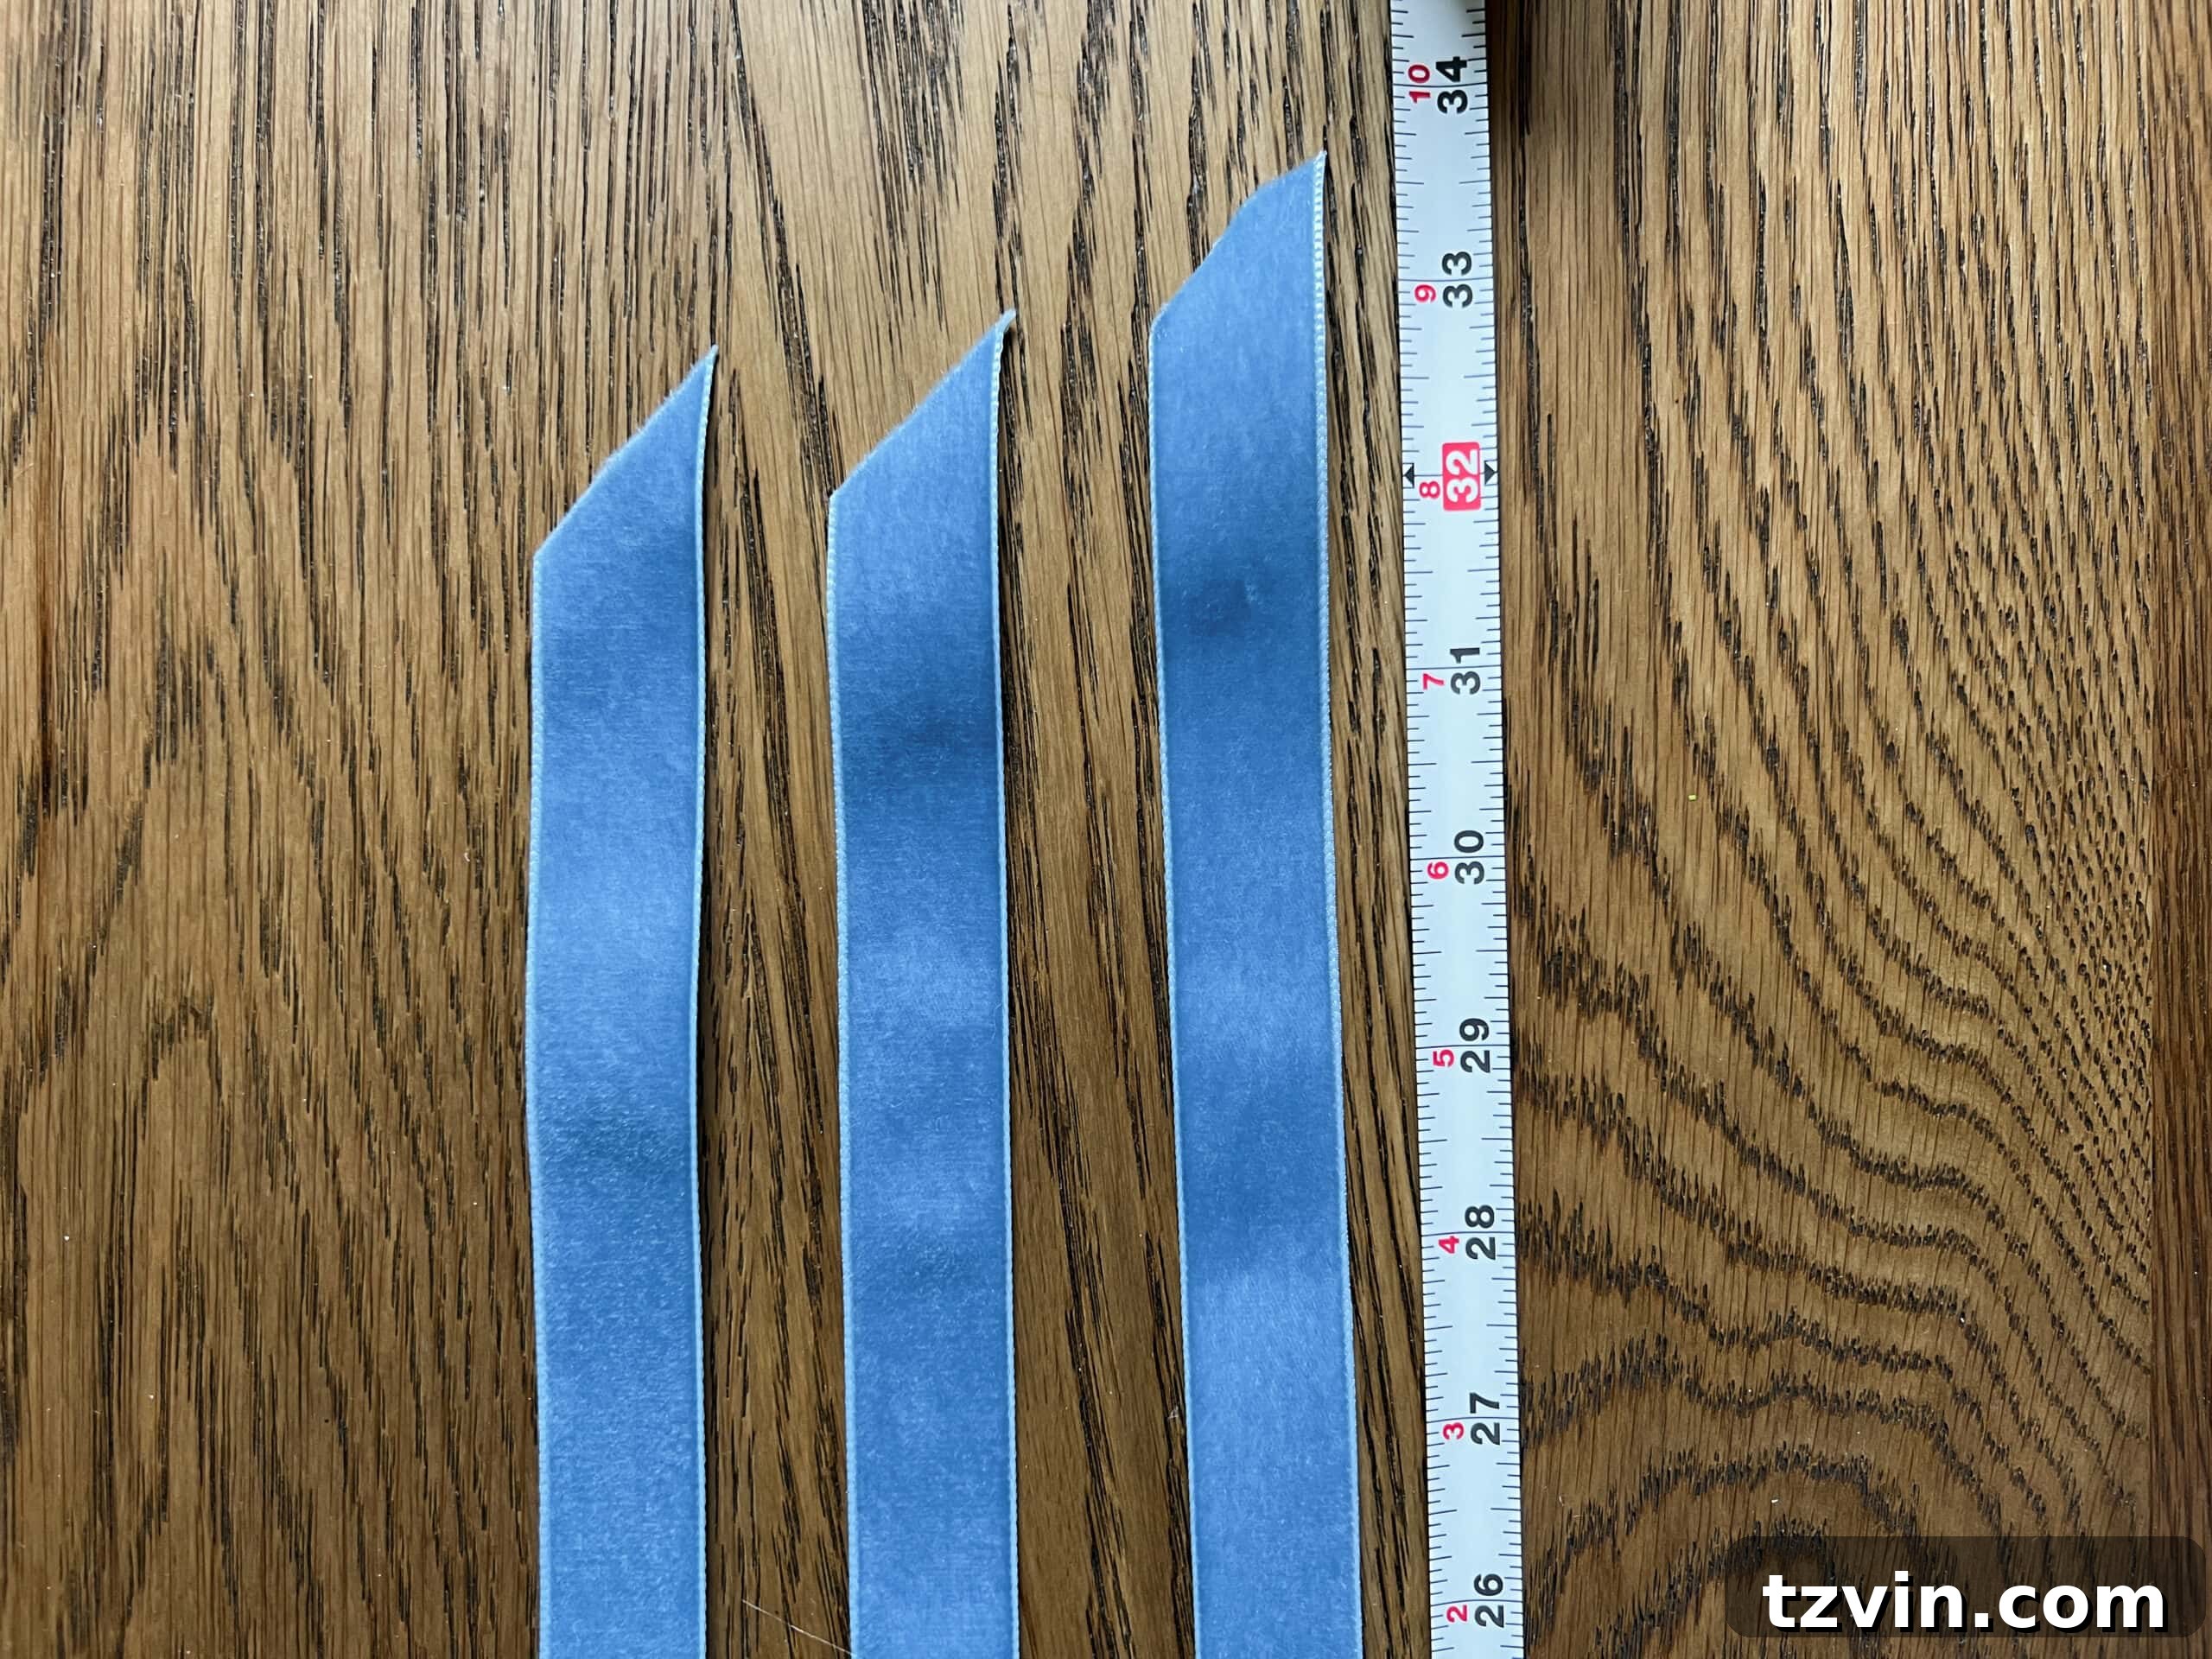
For this delightful bow method, non-wired ribbon in your preferred material—be it velvet, silk, cotton, or taffeta—tends to work best for soft, flowing bows. The width of your ribbon will significantly impact the final look: 2 to 3-inch wide ribbon will create large, bold, and dramatic bows, while 1-inch wide or narrower ribbons will yield a more dainty and understated effect. I typically cut my ribbon pieces to about 2 1/2 feet in length for beautifully medium-sized bows, but precision isn’t paramount – you can easily eyeball it. If you prefer your Christmas tree bows without tails, cut the ribbon pieces shorter, around 1 1/2 to 2 feet. For long, dramatic tails that sweep down the branches, opt for ribbon lengths of 3 1/2 feet or even longer.
Step 2 – Tie Bows Evenly on Branches
Once your ribbon pieces are cut, simply tie them into bows directly onto the branches of your Christmas tree. As you tie each bow, pay careful attention to its placement, ensuring they are spaced evenly apart across the tree. You can add as many or as few as you like, depending on the desired density and overall aesthetic. The beauty of this method lies in its simplicity – if you can tie a shoelace, you can effortlessly create these charming tree ribbons! For added security with non-wired ribbon, you might consider using a small piece of floral wire to gently twist around the back of the bow and branch, ensuring it stays perfectly in place.
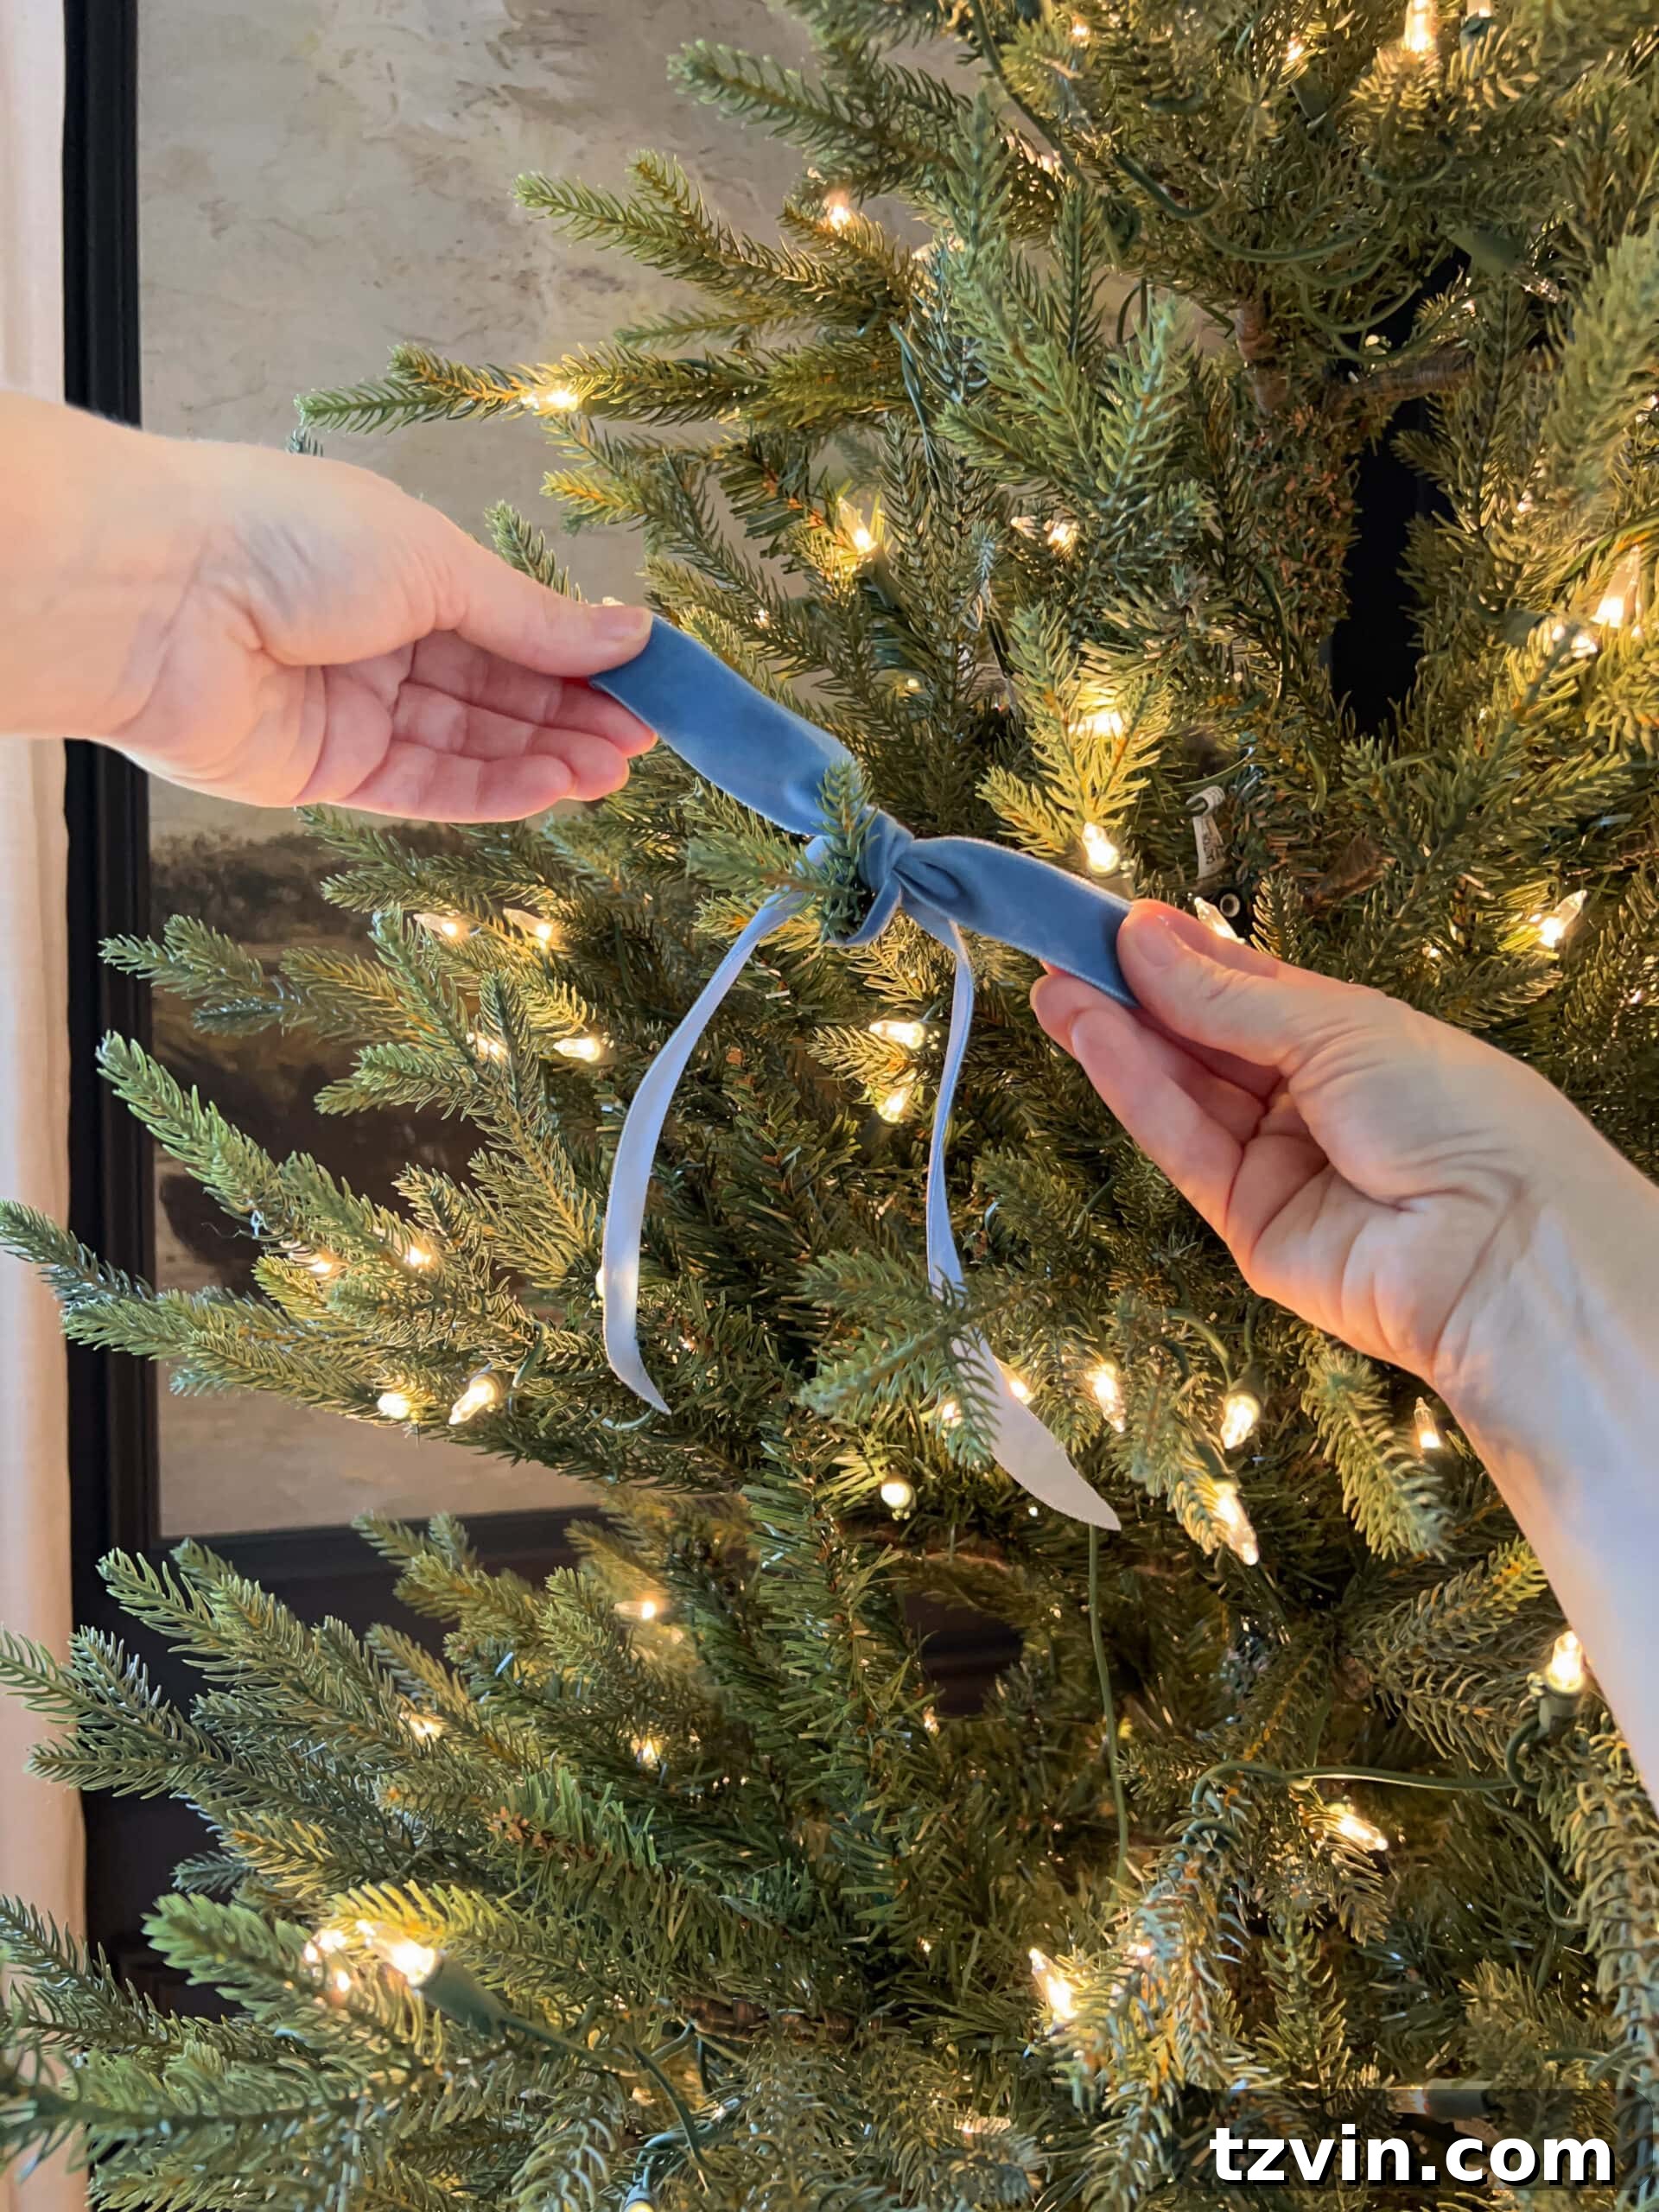
I absolutely adore the sweet, inviting look these bows create! They are incredibly simple to add, yet their impact on the tree’s overall charm is immense.
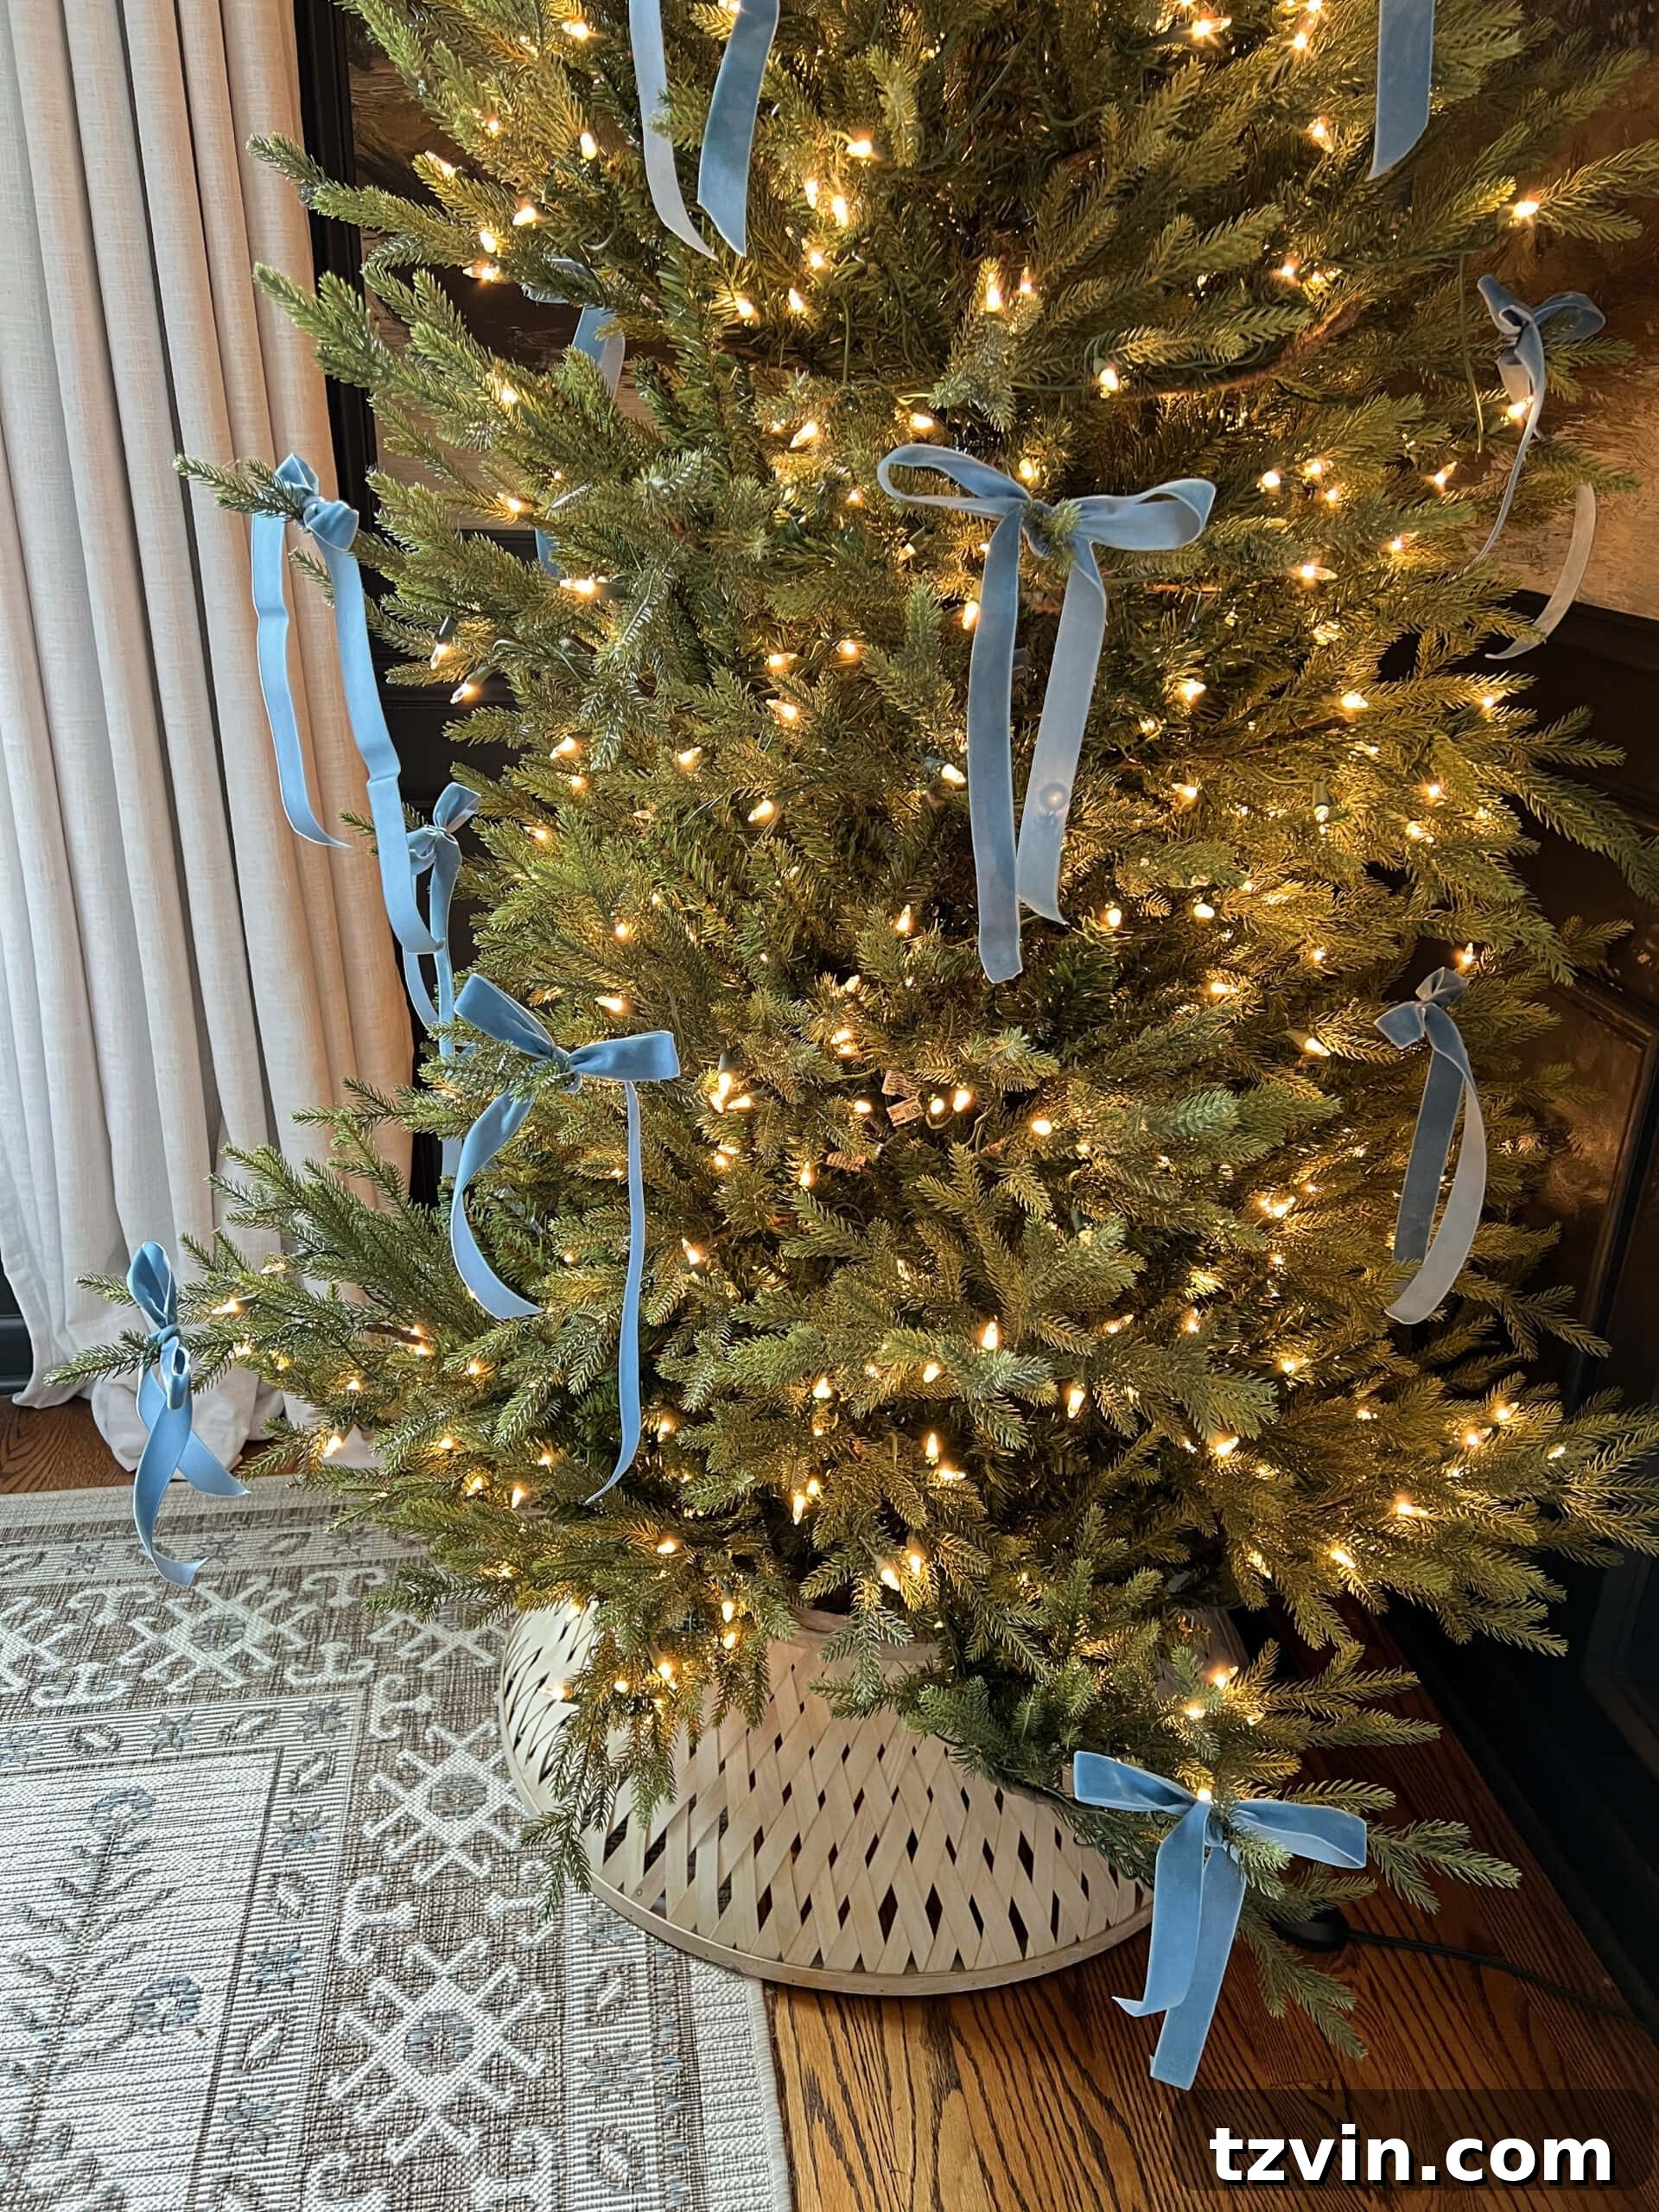
Your Masterpiece: The Fully Decorated Christmas Tree
After carefully applying the ribbon – this year, I opted for the charming crumpled vintage style – the real fun began! Robert and Olivia enthusiastically took over the ornament stage, adorning the tree with an array of sparkling balls, enchanting candle lights, vibrant berry picks, elegant golden leaf stems, fragrant dried oranges, and melodious bells. The crowning glory was a sweet little angel topper, completing our festive creation. I typically prefer to turn our Christmas tree collar upside down to mimic the look of a real basket, but this particular collar didn’t quite lend itself to that method this year.
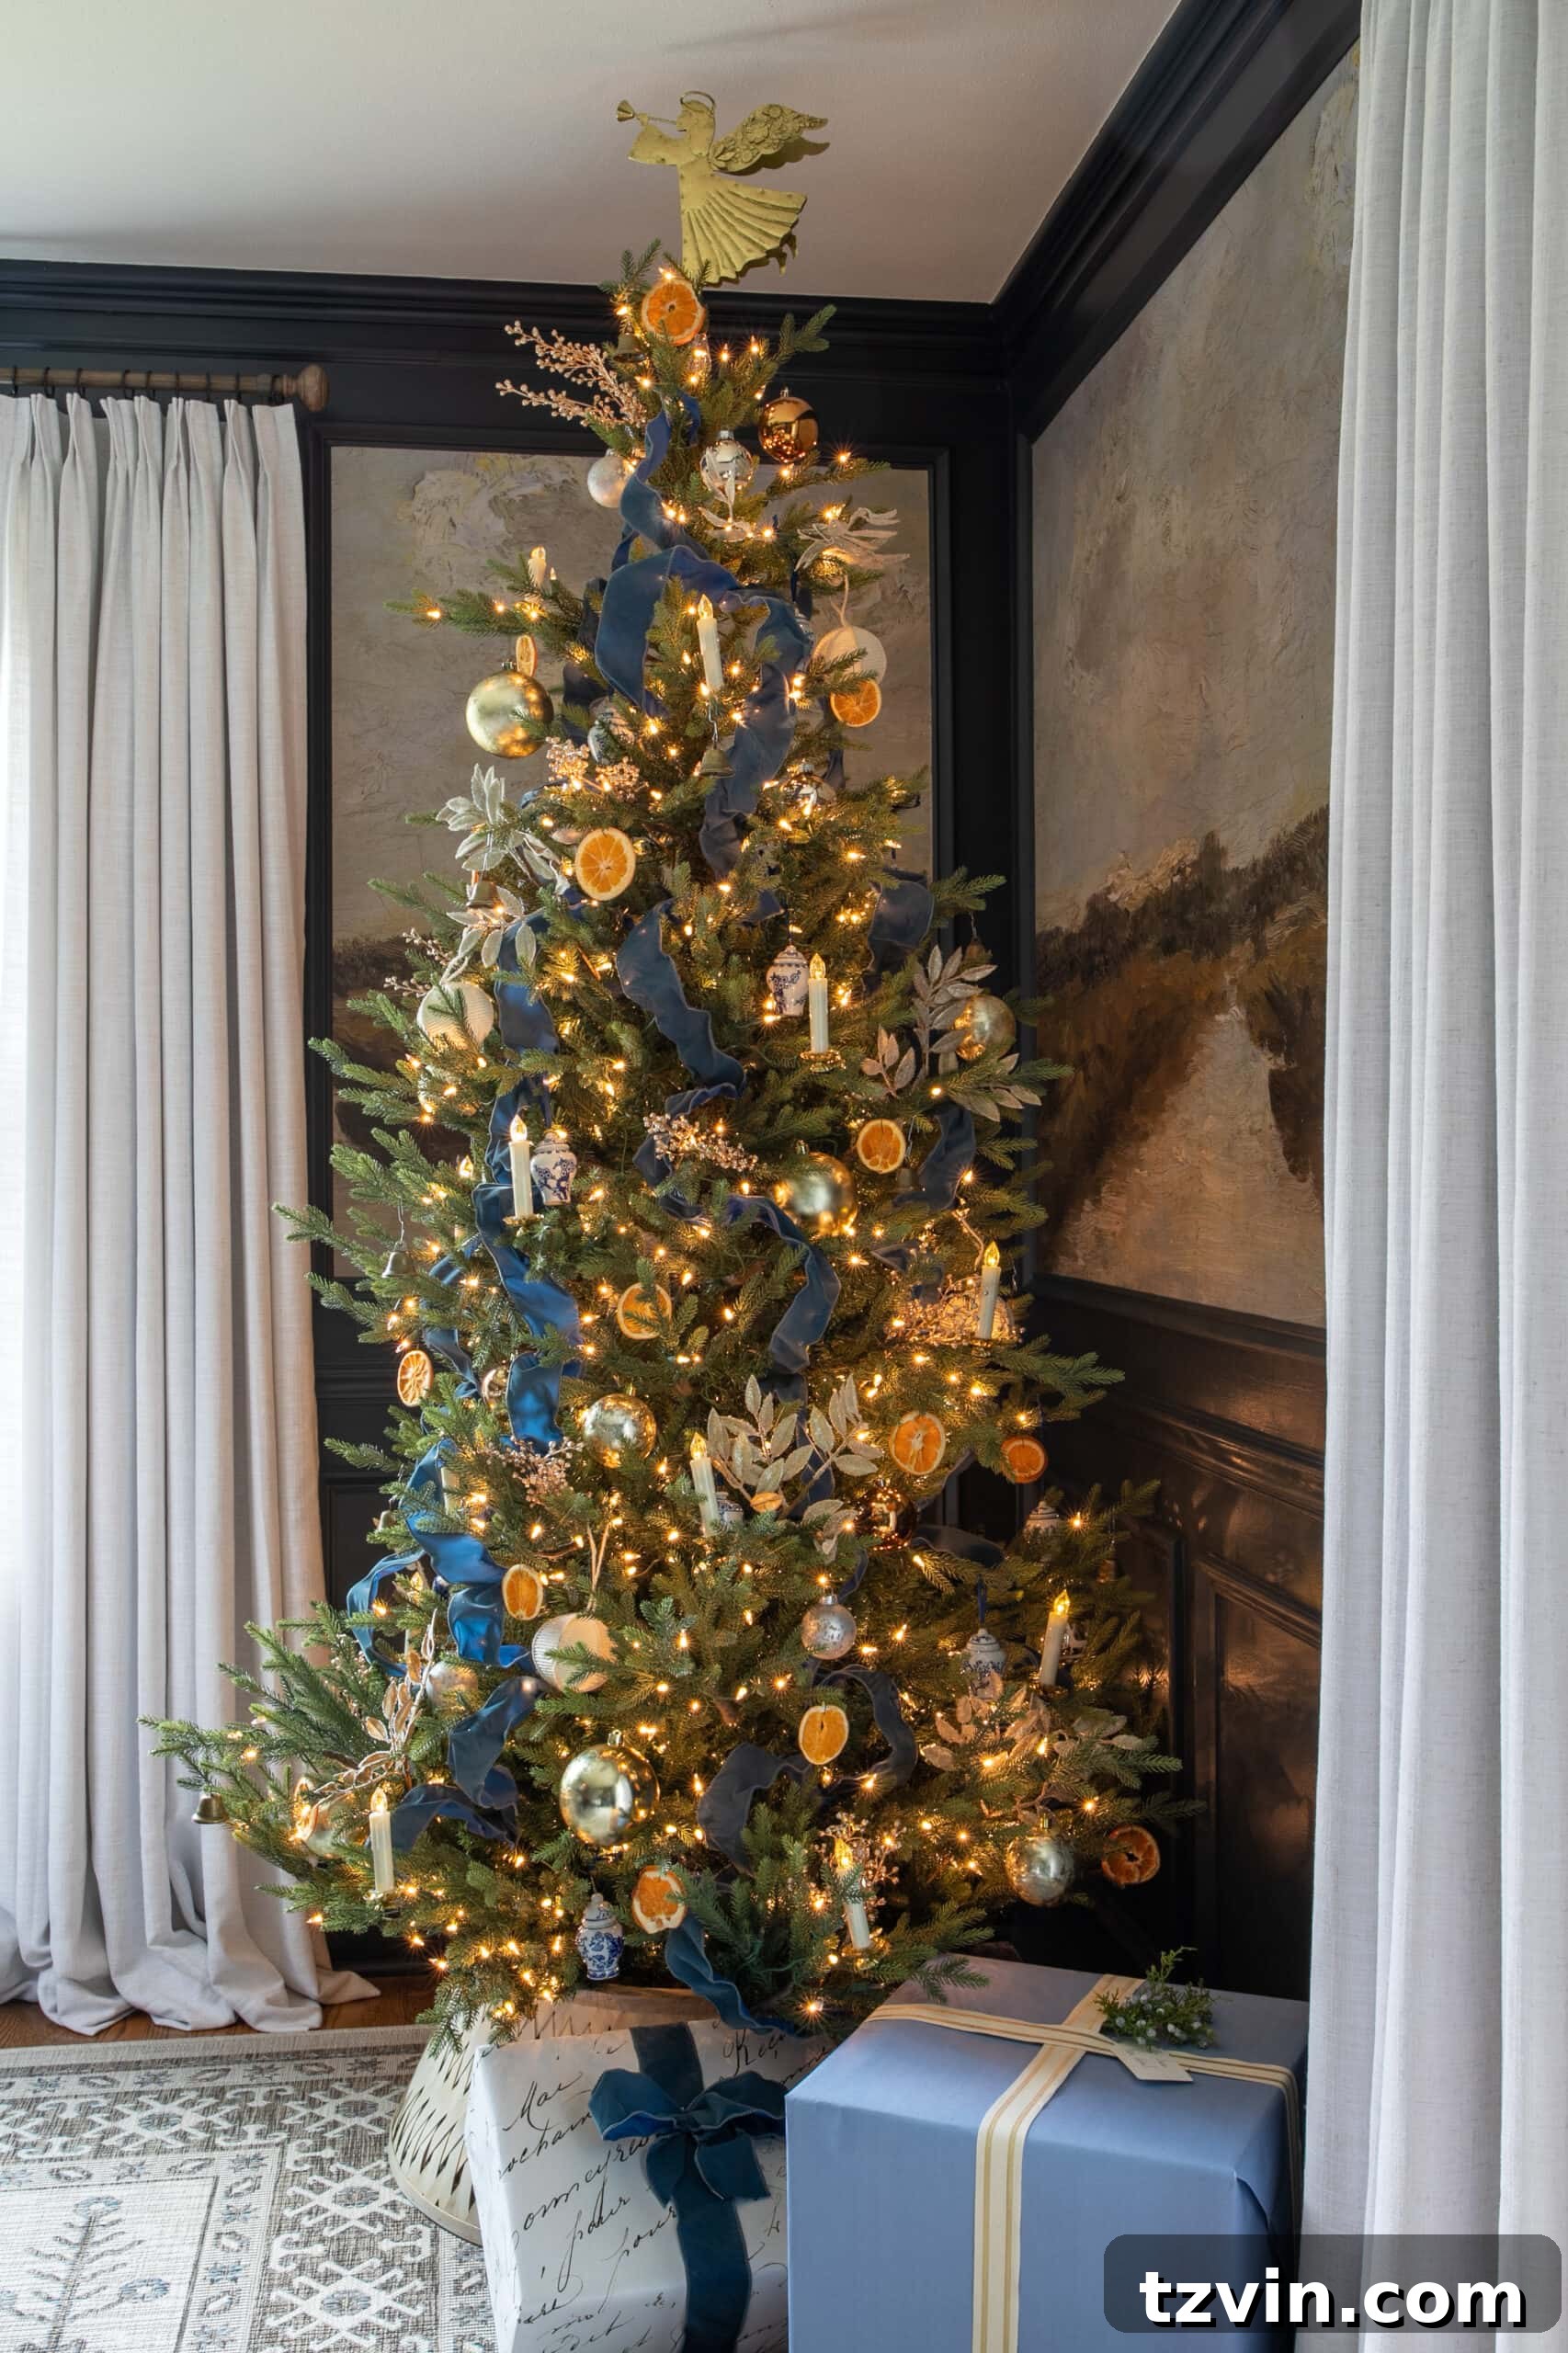
I hope these detailed instructions have demystified the process of decorating with Christmas tree ribbon, whether you’re a novice or looking to refine your technique. Perhaps you were already a ribbon pro, but I trust this guide has offered some fresh insights or affirmed your existing skills. Are you planning to put up your tree soon, or perhaps it’s already sparkling in your home? My greatest hope is that this tutorial leaves you feeling more prepared and confident if ribbon decoration was once a holiday decorating challenge.
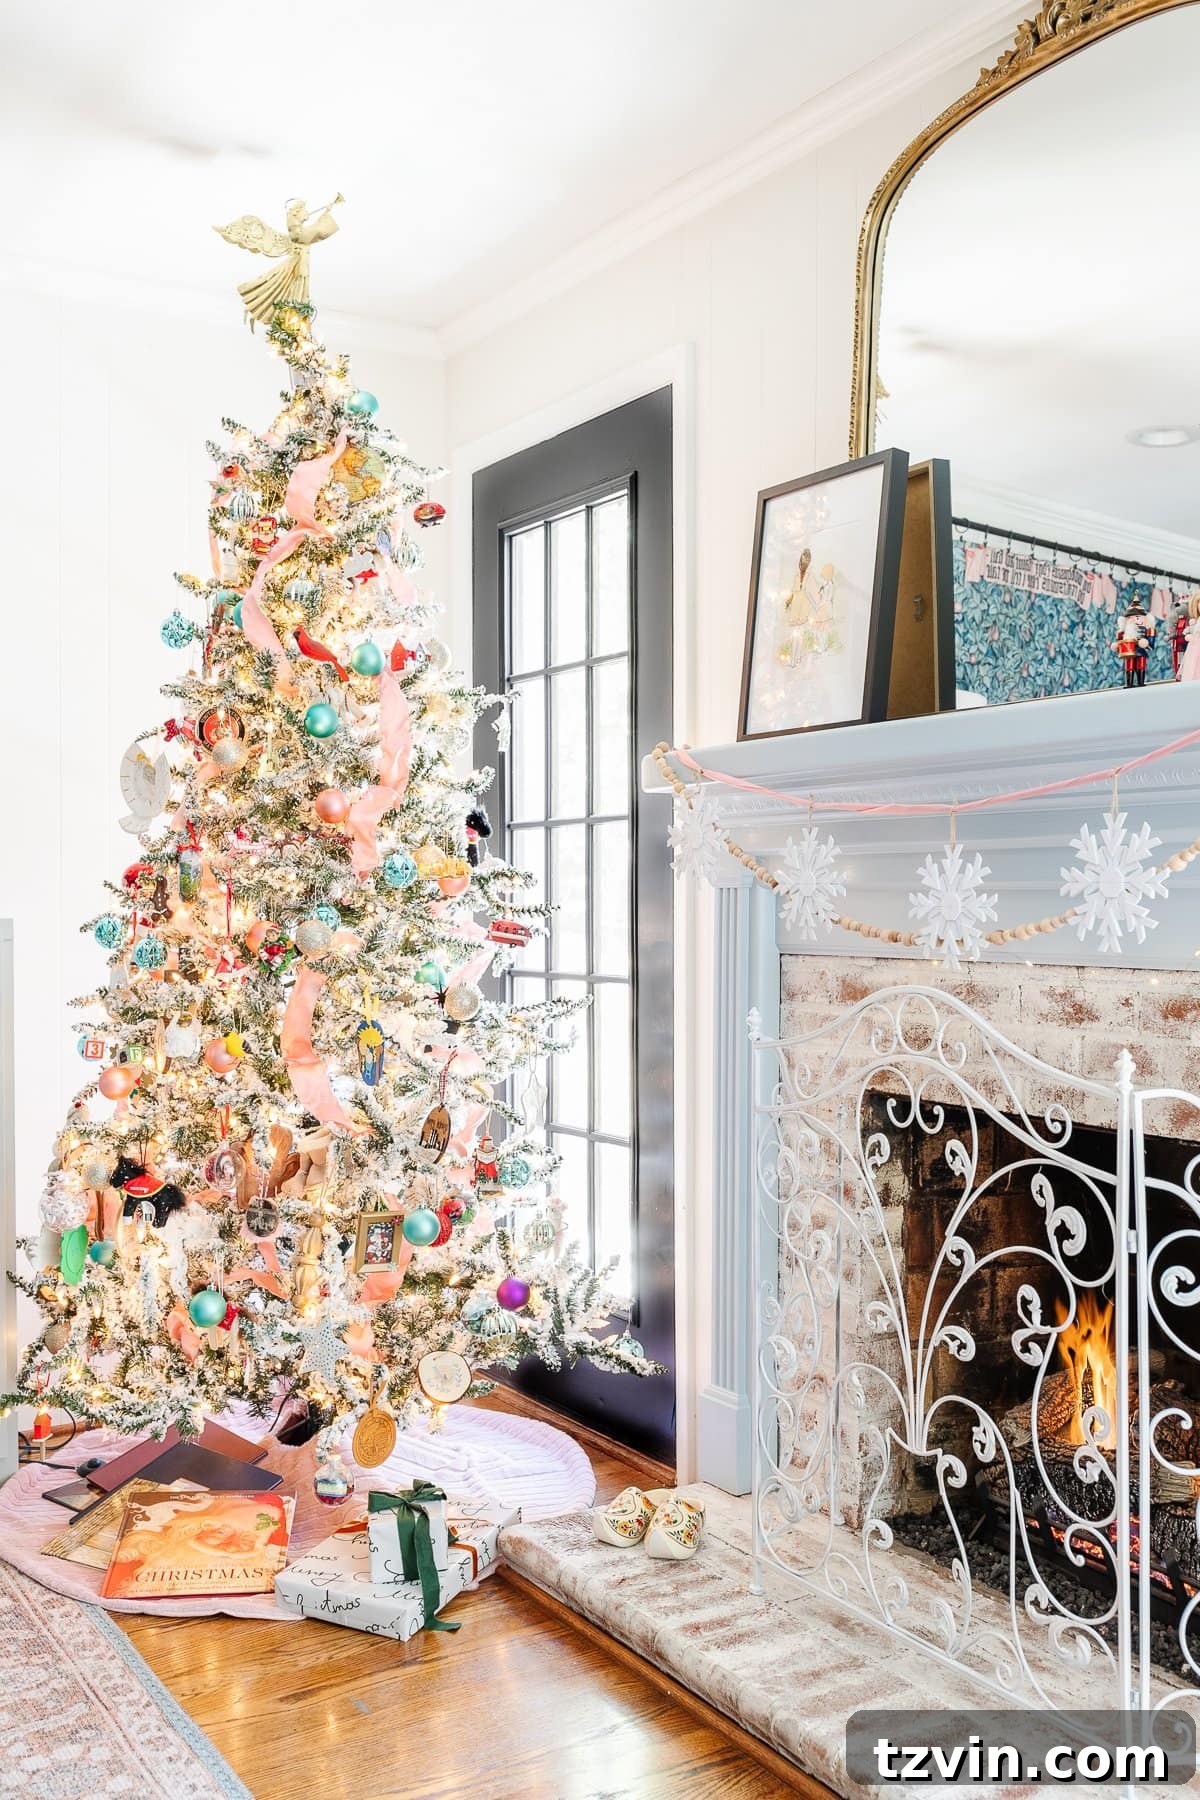
Remember, ribbon possesses incredible transformative power. It’s often the easiest and most impactful way to completely change your Christmas decor’s color scheme and overall look each year. We’ve explored everything from traditional red and green to modern blues, vibrant oranges, warm coppers, serene neutrals, and mixed metallics, largely by simply experimenting with different ribbons. They truly are the unsung heroes of holiday decorating!
For more inspiration, explore some of our past Christmas trees below, showcasing how these ribbon ideas come to life. And if you’re seeking additional festive styling tips for your home this season, be sure to check out the links provided.
More Christmas Tree Ribbon Ideas from Our Archives
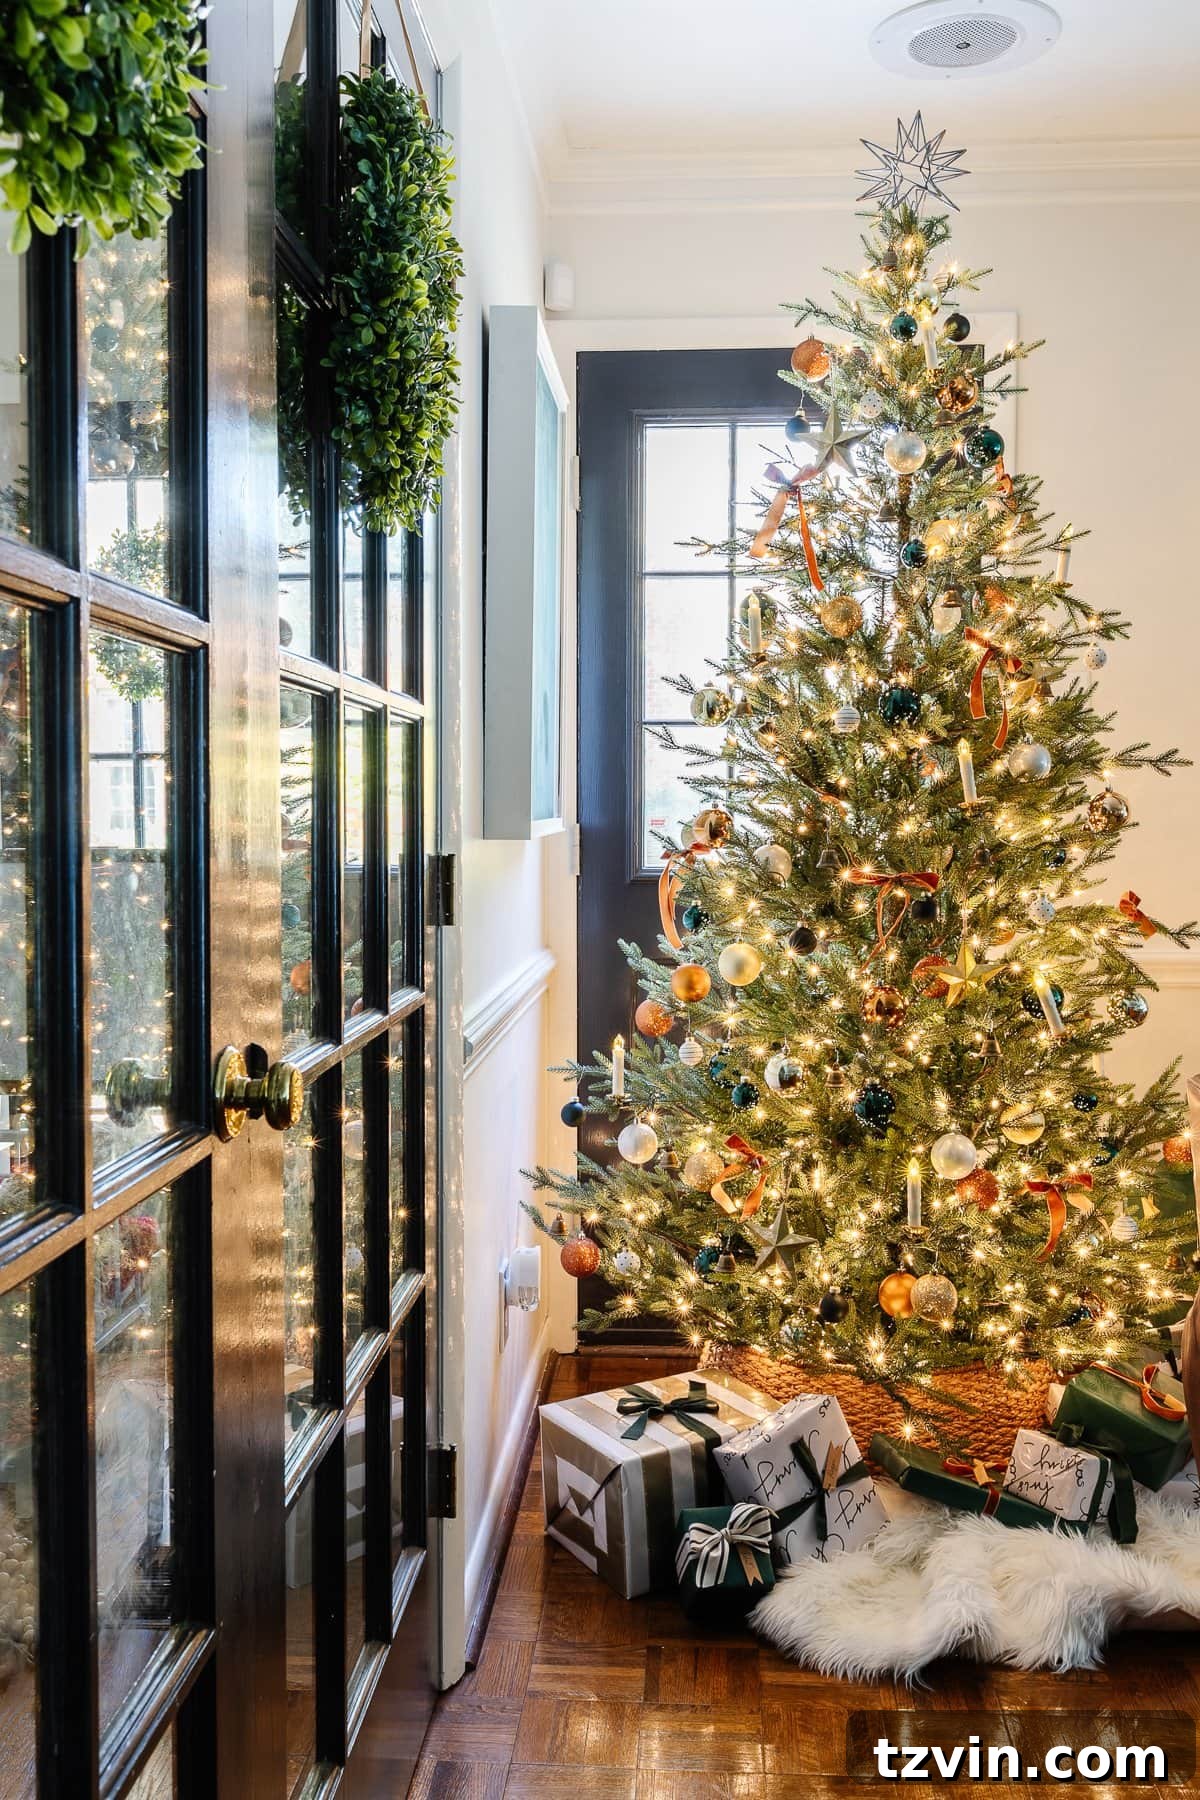
The Bows Method in Action
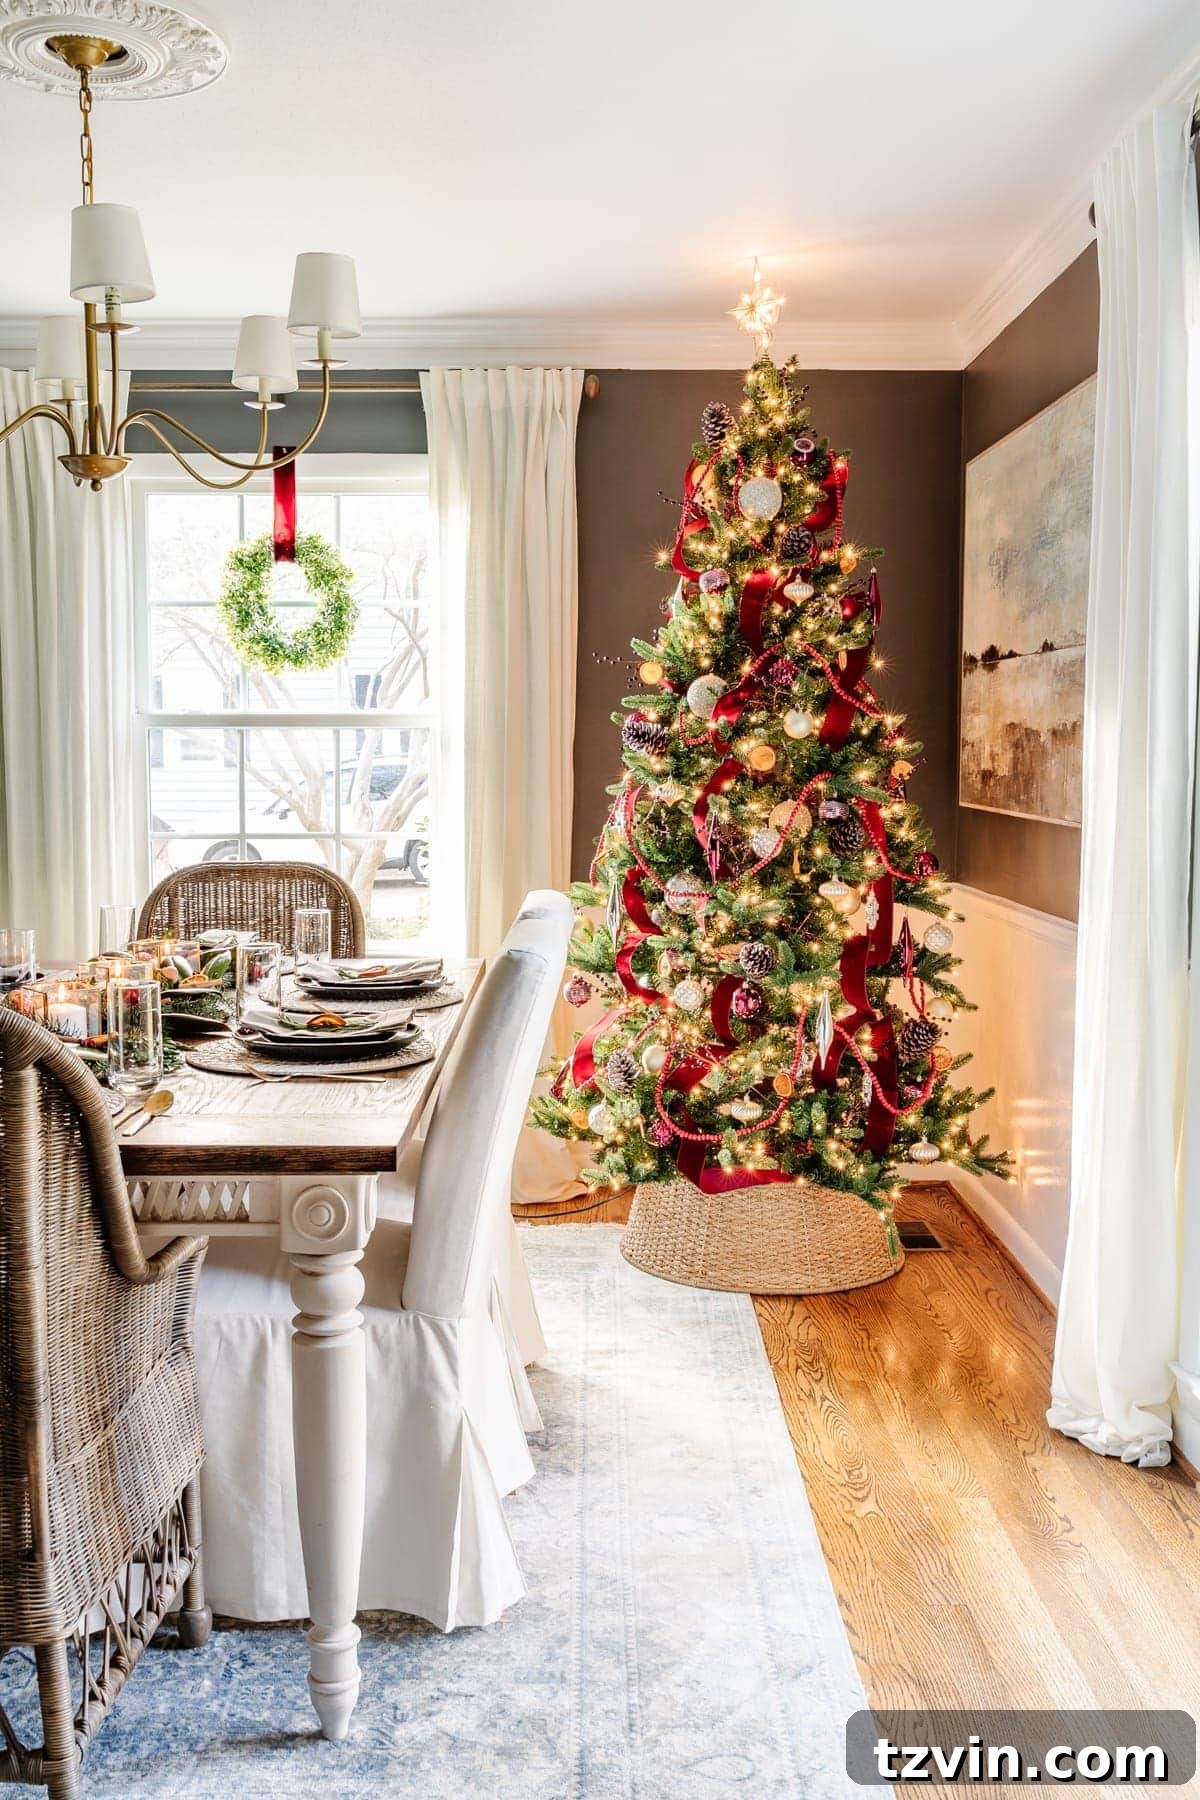
The Waterfall Method in Practice
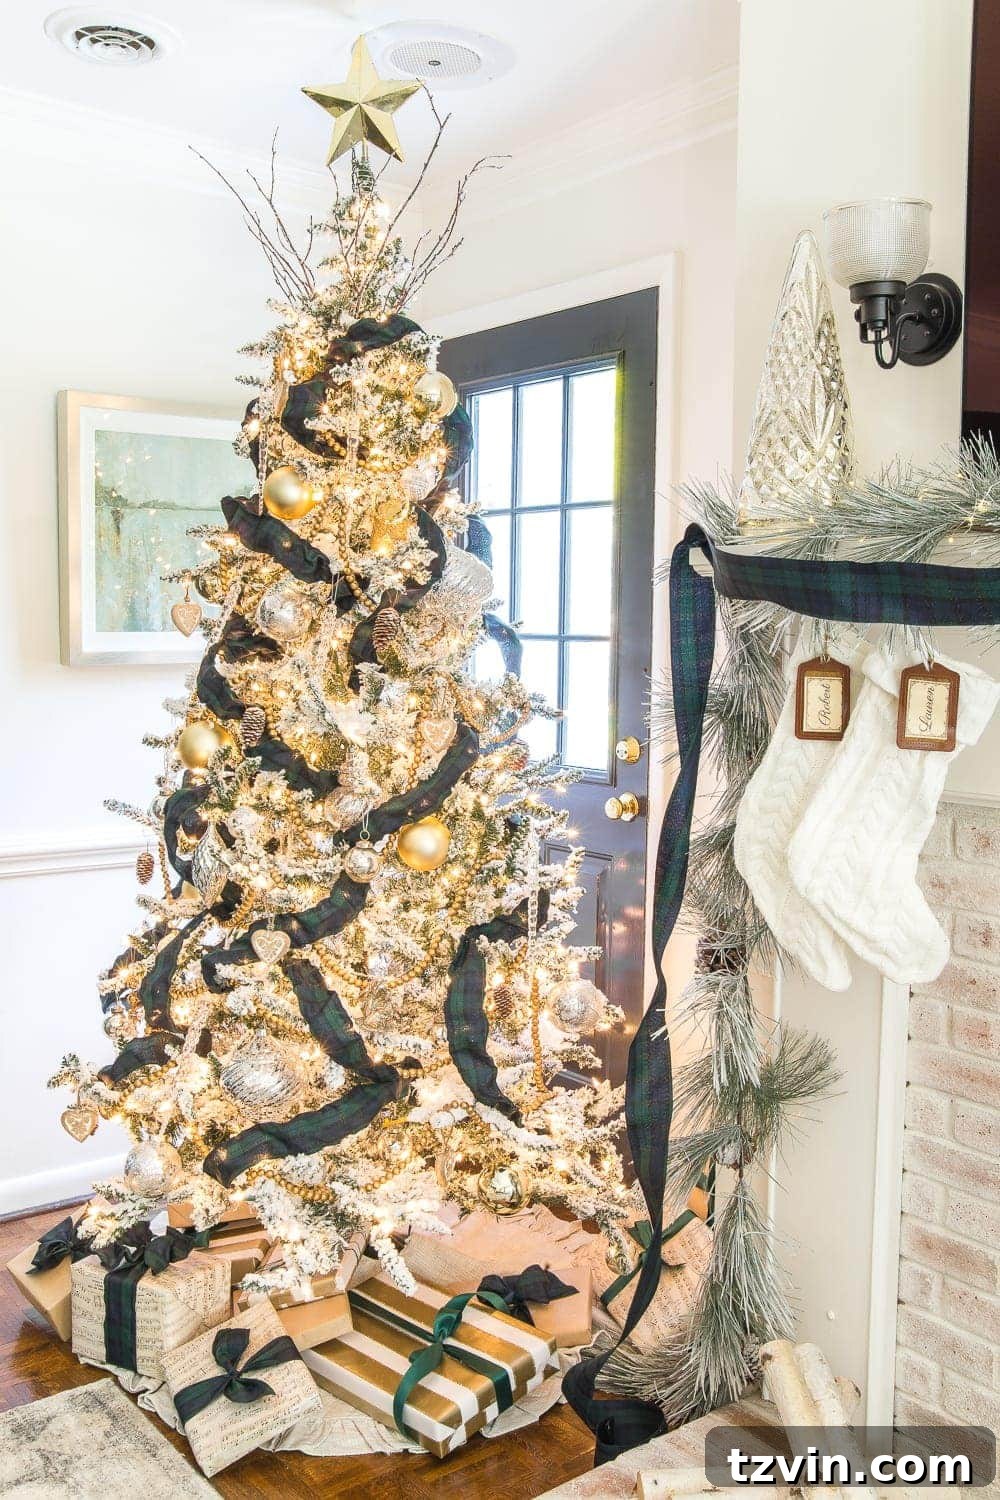
The Vintage Crumpled Method with Plaid Ribbon
Playful Pink for a Whimsical Tree
Classic Red for a Timeless Look
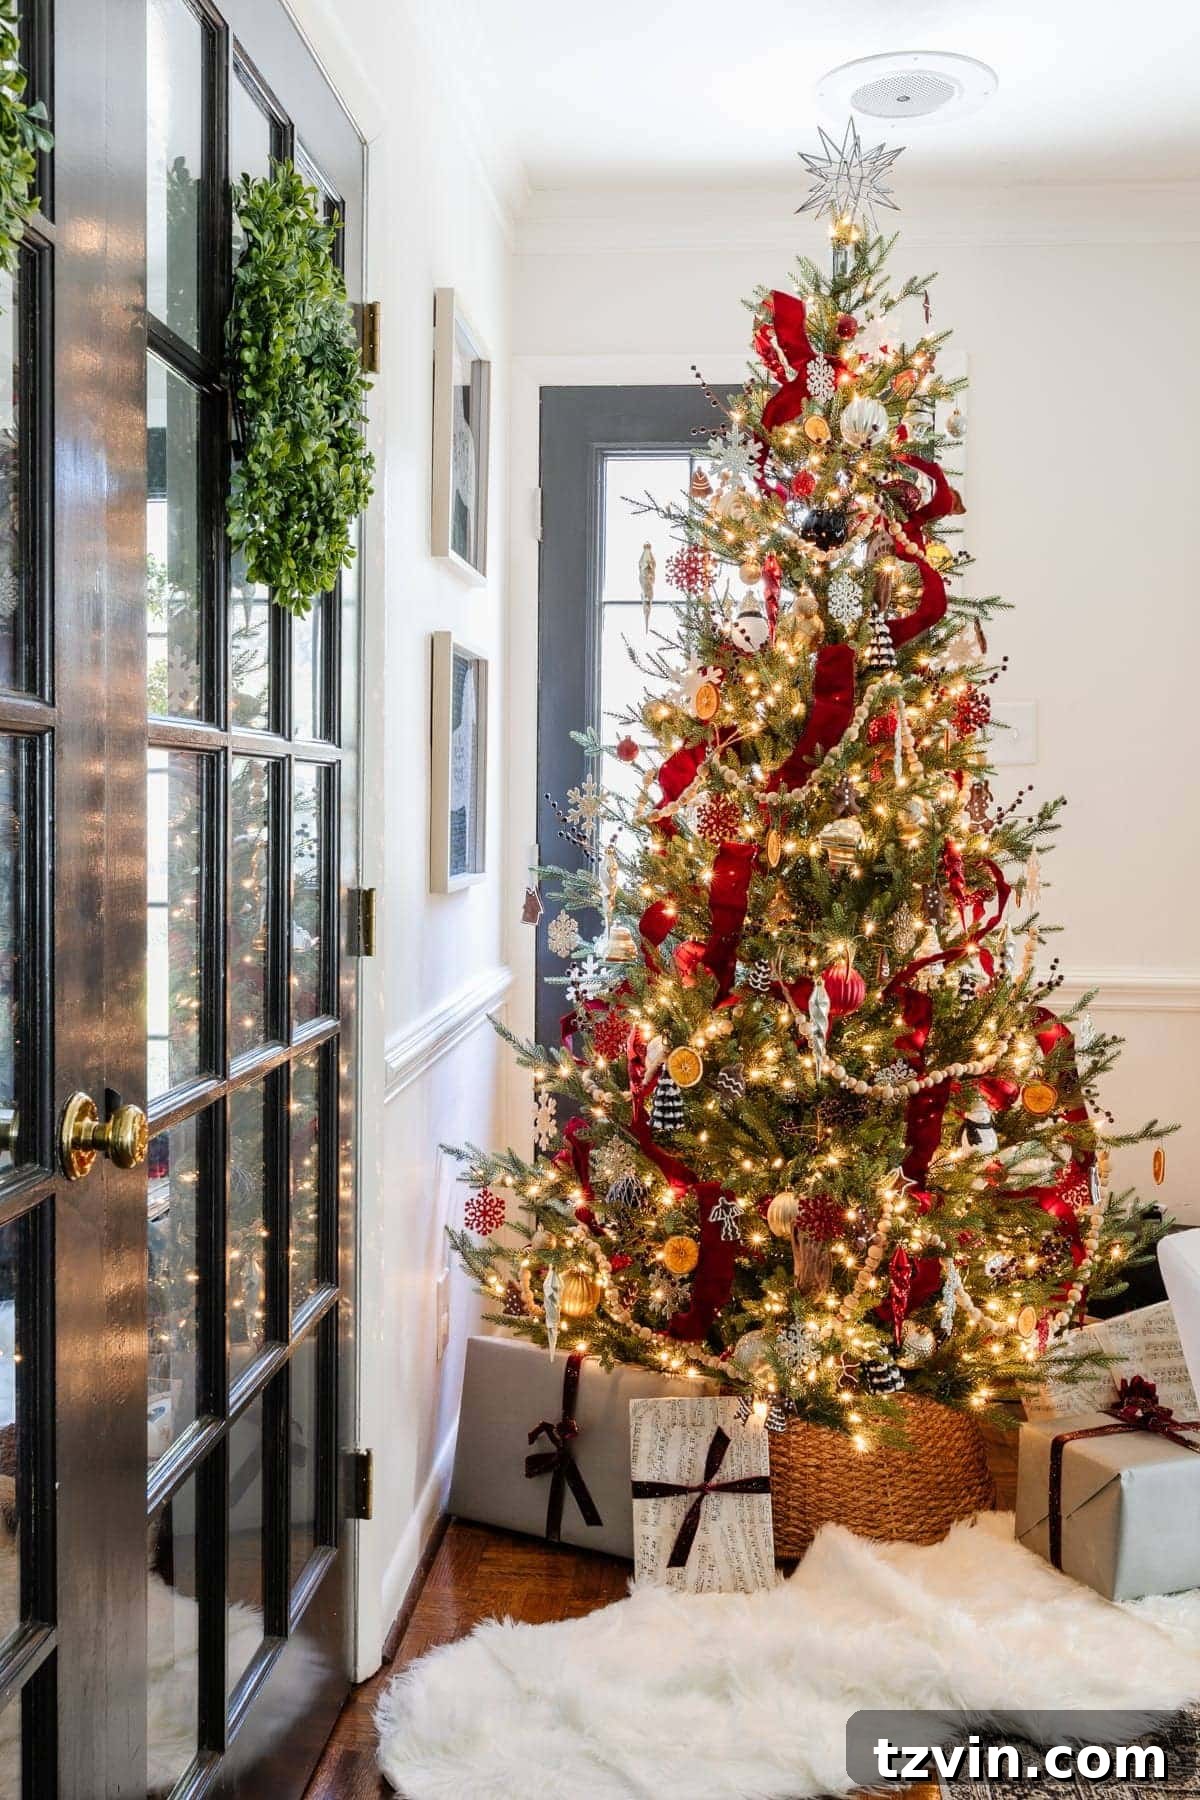
Indeed, ribbon holds incredible power in transforming your Christmas decor and effortlessly changing your color scheme each year. We’ve experimented with everything from traditional red and green to sophisticated blues, autumnal oranges, lustrous coppers, serene neutrals, and dazzling mixed metallics – all primarily achieved by simply utilizing different ribbons. Ribbon truly has superpowers when it comes to holiday decorating!
If you’re looking for more Christmas decor styling ideas as you deck the halls this season, you can find additional holiday tips and inspiration below.
More Essential Christmas Decorating Tips
- How to Elegantly Hang Wreaths on Windows for Christmas
- Creative Ways to Inexpensively Change Your Christmas Decor Every Year
- DIY Christmas Decorations You Can Craft on a Budget
- Designing a Simple and Inexpensive Christmas Table Centerpiece
- Timeless Vintage Christmas Decor Favorites That Endure