Transform Your Kitchen: A Comprehensive Guide to DIY Ardex Feather Finish Concrete Countertops
Are you dreaming of durable, stylish, and budget-friendly concrete countertops? This detailed, step-by-step tutorial will walk you through applying a DIY Ardex Feather Finish concrete overlay to your existing laminate countertops. Learn from our triumphs and, more importantly, our mistakes, as we share essential tips and advice on what *not* to do for a successful kitchen transformation.
Essential Insights Before You Start Your Concrete Kitchen Countertops Project
Embarking on a DIY concrete countertop project, especially with a feather finish concrete overlay, requires more than just enthusiasm. As first-timers, we quickly learned that preparation, patience, and precise application are paramount. This isn’t a weekend warrior project for the faint of heart, but the results are incredibly rewarding.
Here are critical considerations and tips you absolutely need to know before you begin to ensure your DIY concrete counters turn out beautifully:
- Embrace the Dust: Concrete sanding generates an incredible amount of fine dust. This project is extremely dusty, necessitating thorough preparation to protect your home. Cover everything!
- Allocate Ample Time: Do not underestimate the time commitment. You’ll need at least a full week, possibly more, to allow for multiple coats, drying times, and extensive sanding to achieve a truly smooth surface.
- Work in Small Sections with Small Batches: Concrete feather finish dries rapidly. To avoid working with setting material and to ensure even application, mix only small batches at a time and focus on small work areas. This gives you sufficient time to spread the concrete smoothly before it hardens.
- Contain the Mess: Turn off your HVAC system to prevent dust circulation throughout your entire home. Use heavy-duty drop cloths to cover all floors and furniture in the vicinity of your project. Seal off doorways to other rooms with plastic sheeting if possible.
- Protect Adjacent Surfaces: If you’re not planning to paint your kitchen cabinets, protect their fronts and drawer faces meticulously with plastic sheeting and painter’s tape. Concrete dust and spills can be surprisingly difficult to remove from finished surfaces.
- Understand the Value: While challenging, the effort invested in resurfacing existing laminate countertops with a concrete overlay is truly worth it for achieving a modern industrial look or a rustic farmhouse aesthetic at a fraction of the cost of new countertops.
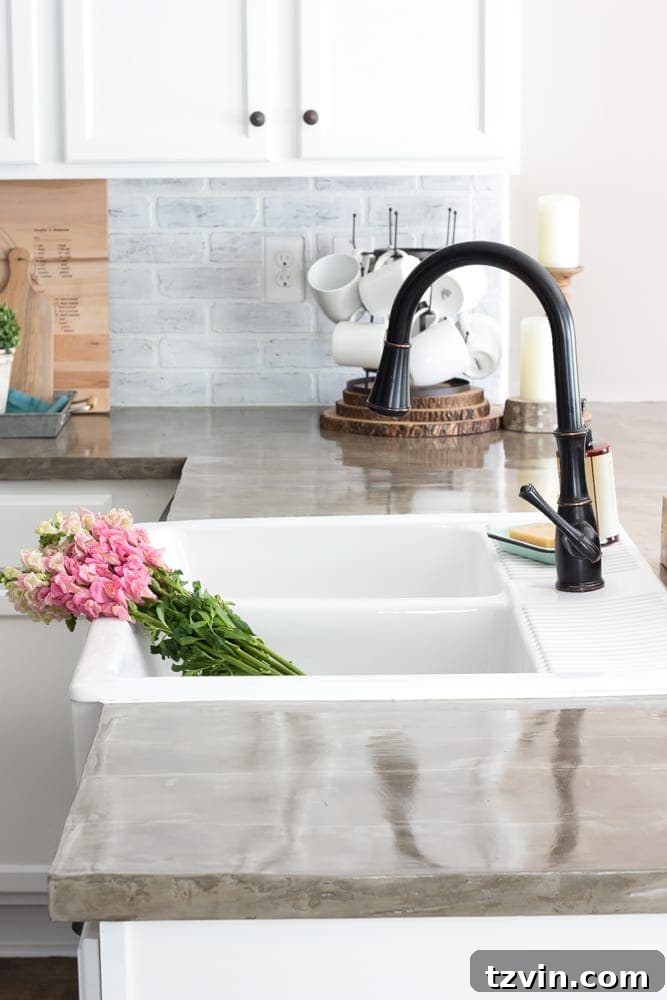
UPDATE: See our full kitchen makeover reveal here and how these counters fit into our overall design!
The Longevity of DIY Concrete Countertops: What to Expect Over Time
A common question about DIY concrete countertops is their durability and how they perform over the long term. While they offer a unique aesthetic and are more robust than laminate, proper sealing and maintenance are crucial for their longevity. Without these, concrete can be susceptible to stains and wear. However, with the right approach, your concrete kitchen counters can withstand daily use remarkably well, developing a beautiful patina over time that adds to their character.
UPDATE: For an honest look at how our concrete countertops have held up over the years, including their pros and cons, check out this detailed follow-up post!
Before diving into the specifics of our “oopsie” moment and how to prevent it, let’s gather the necessary supplies and outline the correct step-by-step process for a successful concrete countertop application.
DIY Concrete Countertops: A Step-by-Step Guide to a Flawless Skim Coat Finish
The world of DIY concrete countertops offers various methods, from elaborate poured designs requiring custom edge forms and cement board to simpler skim coat applications. Given that we already had existing laminate Formica countertops, the skim coat method was our chosen route. This technique uses a thin layer of concrete to resurface the existing surface, making it significantly more accessible and budget-friendly than poured concrete.
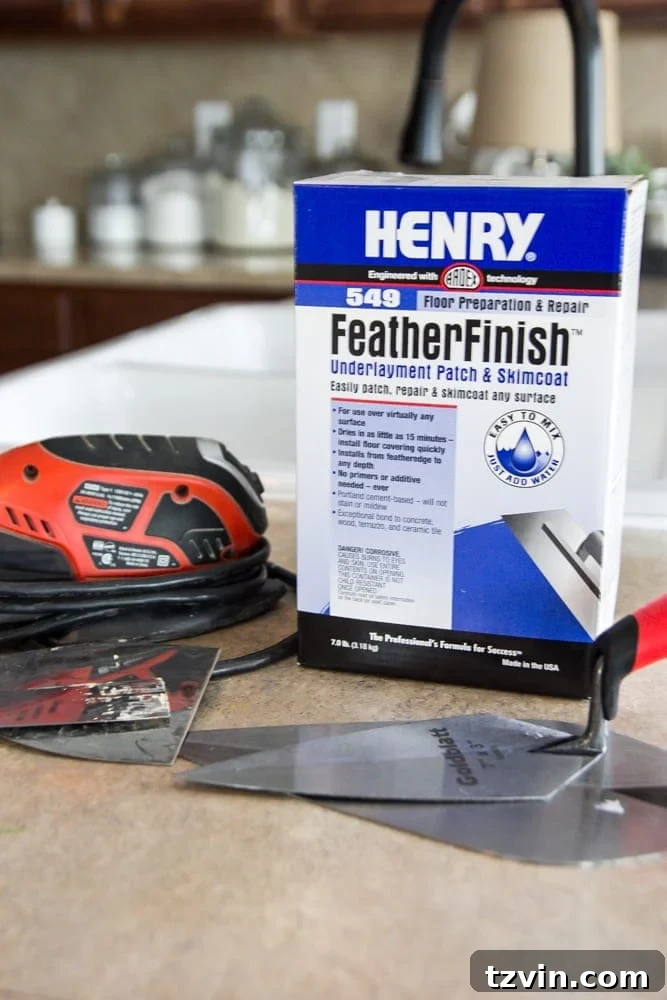
For this project, Henry Ardex Feather Finish Underlayment Patch & Skimcoat is an excellent choice, readily available at most local hardware stores. It’s lauded as one of the best concrete countertop solutions for DIYers because it offers impressive durability without the intensive labor and high material costs associated with traditional poured concrete. It’s a fantastic way to achieve a new, updated look without the expense of completely new counters.
I dedicated considerable time researching the best tips for this particular method. If only I had effectively communicated every single one of those crucial details to my incredibly helpful but overly enthusiastic partner, we might have avoided a significant setback. Learn from our experience to ensure your project goes smoothly!
Supplies Needed for Your Concrete Countertop Resurfacing Project
As an Amazon Associate, I earn from qualifying purchases via affiliate links. For more information, see my full disclosure here.
- Henry Feather Finish: Approximately 4 boxes for 60 square feet of countertop coverage. Available at hardware stores like Home Depot.
- 3-4 disposable 2-quart sized buckets: Essential for mixing small batches and easy cleanup.
- Concrete stick stir or concrete mixer paddle bit: For thorough and consistent mixing.
- Orbital sander: For efficient sanding of large flat areas.
- Mouse sander: Ideal for reaching corners and intricate details.
- 50, 120, and 220 grit Mouse sanding pads and orbital sanding pads: A range of grits is crucial for progressively smoothing the surface.
- 50, 120, and 220 grit sanding sheets: For hand-sanding delicate areas or corners.
- Mask: Crucial for protecting your respiratory system from fine concrete dust.
- Protective safety glasses: To shield your eyes from airborne particles.
- Vacuum or ShopVac: For efficient dust removal after each sanding session.
- 12-inch taping knife: Your primary tool for spreading concrete smoothly over large areas.
- 6-inch taping knife: Useful for smaller sections and initial spreading.
- Putty knife: Perfect for edges, corners, and detailed work.
- 511 Impregnator Sealer: A crucial penetrating sealer for stain resistance (often found online).
- Safecoat Acrylacq: A durable, glossy topcoat for enhanced protection and finish.
- Paint brush or roller: For applying the concrete sealers.
Step 1: Preparing Your Surface – Rough Up Existing Laminate Countertops
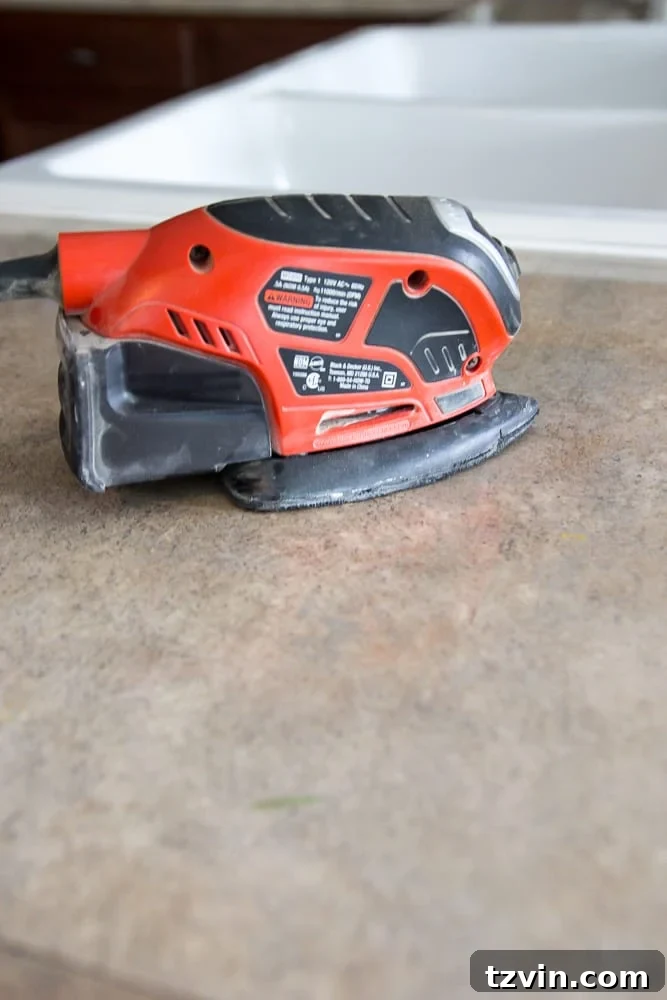
The first critical step to ensure proper adhesion of the concrete overlay is to rough up the existing laminate flat surface. Our Formica countertops had a very glossy finish, which isn’t ideal for new material to stick to. I used my orbital sander with a 50-grit pad to create a “tooth” or texture on the surface. While it felt like I was barely making a dent, this abrasive action is vital for the feather finish concrete to bond effectively. After sanding, meticulously wipe away all residual dust with a damp cloth. A clean, roughed-up surface is foundational for success.
Step 2: Mixing Your First Batch of Ardex Feather Finish Concrete
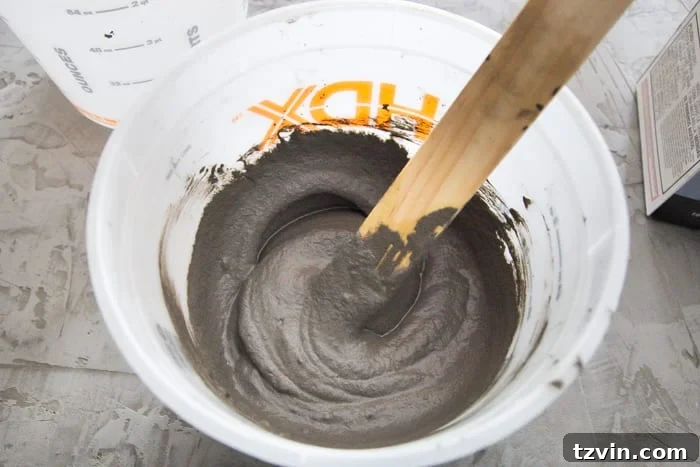
For mixing the concrete, it’s imperative to follow the directions precisely on the back of the Henry Feather Finish box. Generally, this involves a 1:1 ratio of concrete powder to water. You’re aiming for a consistency similar to thick toothpaste or peanut butter – smooth, spreadable, but not runny. This consistency is crucial for both ease of application and quick drying.
A golden rule for this project is to mix only a small batch at a time. This material dries incredibly fast – and by fast, I mean *really* fast. I found that mixing about a quart at a time gave me a comfortable 10-15 minute working window before it began to set. Rushing with a large batch will lead to wasted material and a bumpy, uneven surface.
Step 3: The Critical First Application – Applying a Thin, Even Coat
Before I delve further into the correct technique, let me share where our initial misstep occurred, hopefully saving you from a similar fate. We began this ambitious project on a special Mother’s Day weekend, which also happened to be my birthday. My wonderful husband, Robert, insisted I take a break: “I’ve got this,” he said, “You go have a fun mani/pedi. I’ll take care of the kiddo and put on the first coat of these countertops.” It sounded like a dream, a moment right out of a rom-com, and I happily skipped out the door, ready for some pampering.
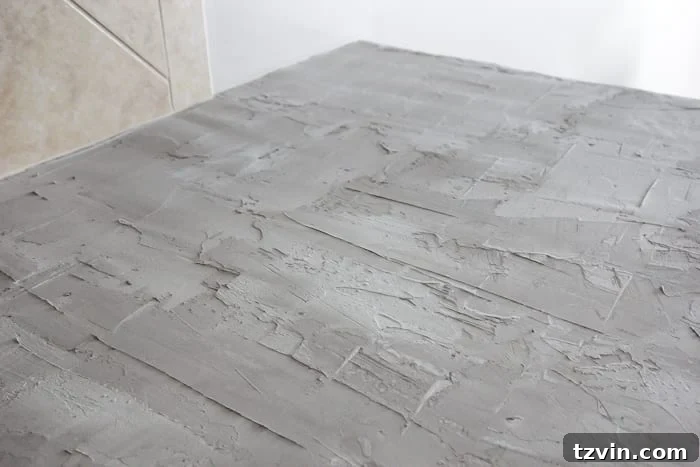
However, when I returned home and it was time for the sanding step, we were faced with a sight that quickly turned my relaxation into dismay. This is what awaited us:
A Crucial Lesson: What NOT to Do When Applying Concrete to Laminate Countertops
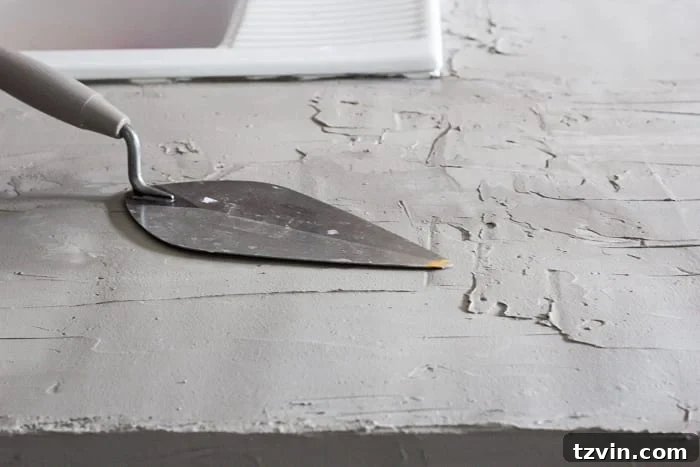
IMPORTANT TIP: The single most vital piece of advice for this entire project is to apply concrete in thin coats. Resist the temptation to rush the process by applying fewer, thicker coats. This is where many DIYers, including us, go wrong, leading to significantly more work and potential failure.
It turned out I hadn’t explicitly informed Robert that the concrete needed to be applied in a series of very thin, even layers, followed by additional coats once dry. He, with good intentions, simply spread the material on, laying it on really, *really* thick. Oops. This heavy application made the entire countertop surface incredibly uneven and challenging to work with.
Furthermore, he initially used a traditional trowel, believing it was the best tool for the job. While trowels have their place, for a smooth feather finish on a countertop, we later discovered that the wrong tool exacerbated the problem, making an even application even harder.
Step 4: The Aftermath – Sanding the (Too Thick) First Coat Smooth
The result of the thick application was a crazily uneven and incredibly rough countertop surface. I spent two exhaustive days sanding, attempting to rectify the problem, but it was beyond a quick fix. The unevenness was too pronounced, and I felt terrible for not having communicated the specific application technique more clearly to Robert.
When sanding, start with coarse sandpaper (like 50-grit) to aggressively remove high spots and level the surface. Run the sander over the entire concrete surface a couple of times. Then, progressively move to medium-grit sandpaper (120-grit) to smooth out the coarser scratches, and finally, use fine-grit sandpaper (220-grit) for a silky smooth finish. This graduated approach is essential for achieving a professional look.
Big important tip: Always wear safety glasses and a mask during sanding. The fine concrete dust is not only irritating but also harmful to your eyes and lungs. After each sanding session, use a powerful vacuum or ShopVac to thoroughly remove all dust from the countertop surface and surrounding areas. This prevents dust from interfering with subsequent coats and keeps your workspace cleaner.
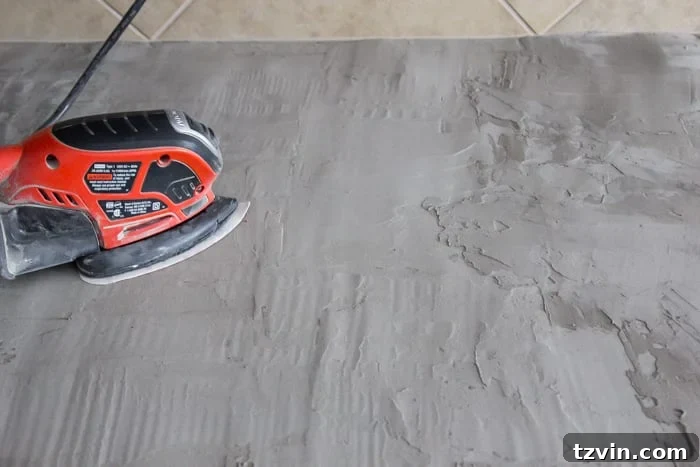
After our intense sanding marathon, the countertop still looked less than ideal:
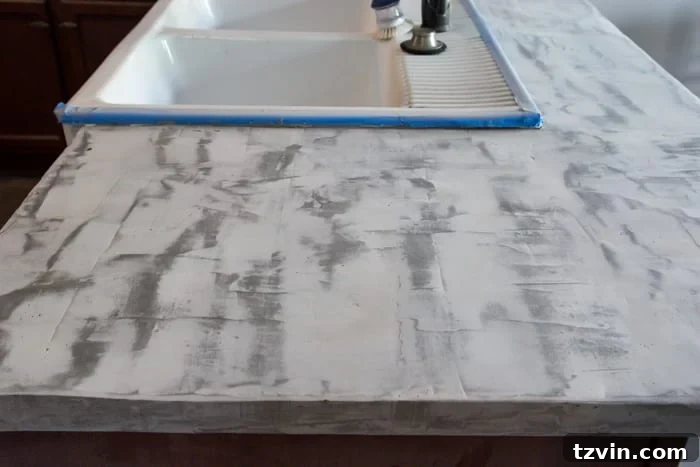
Step 5: Correcting Mistakes – Applying Subsequent Thin Coats of Concrete
The splotchy countertops were a clear sign of trouble. All those dark spots indicated areas where the sander had worn down the overly thick concrete, revealing the underlayers. To remedy this significant problem, I first worked to get the initial lumpy, bumpy layer as smooth as humanly possible. Then, over the next three days, I painstakingly applied three *more* thin coats of concrete, using the correct method. Each layer was sanded in between to gradually level the counters, which was an exhausting and frustrating process. We definitely incurred extra cost due to the wasted concrete on the first coat, but it was a hard-learned lesson we hope you can avoid!
So, regarding the *right* way to apply a concrete coat, here’s the essential technique:
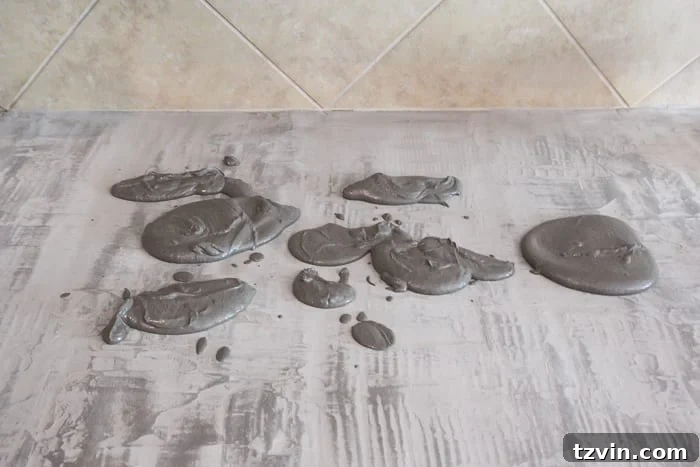
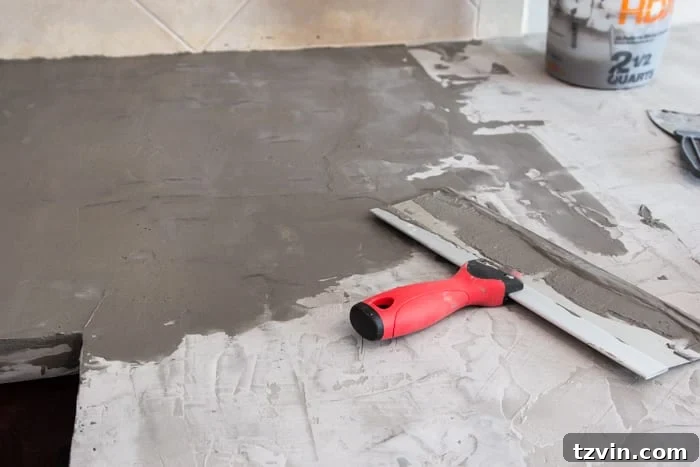
I started by pouring the majority of my freshly mixed, small batch of concrete (about 1 quart) directly onto the center of the small section I was working on. This time, instead of a trowel, I used a 12-inch taping knife. This tool proved far superior for achieving a thin, even, and smooth application, making the process much faster and more effective. For any smaller or more confined areas, a 6-inch wide putty knife was invaluable for precise application.
Step 6: Finishing Touches – Applying Concrete to Countertop Edges
After successfully applying the thin coats to the flat countertop surface, it’s time to address the edges. For the front edge and sides of the countertops, I found a smaller putty knife to be the most effective tool. It allows for greater control and precision on these vertical surfaces.
A crucial tip here is patience: it’s best to wait about one to two hours after the concrete coat on the main countertop surface has dried sufficiently before tackling the sides. This waiting period prevents you from inadvertently scraping off or disturbing the freshly smoothed top surface while working on the edges. Applying concrete to the edges at the right time ensures a clean, seamless finish that integrates perfectly with the top surface.
This video from Young House Love was an immense help in visualizing the best way to apply the concrete. Watching a visual demonstration truly clarified the process and made me wish I had seen it before we created our initial mess!
Step 7: The Art of Layering – Sanding Second and Subsequent Coats
For the subsequent coats, I discovered that the optimal time to start sanding was approximately three hours after application. At this point, the concrete isn’t completely dry but has set enough to be workable without gumming up the sandpaper or creating deep gouges. This “green” stage makes it easier to achieve a smoother finish.
After each concrete coat, I meticulously sanded, starting with the 50-grit paper to knock down any significant imperfections, then progressing to 120-grit, and finally, 220-grit to achieve a remarkably smooth texture. For a few stubborn spots that required extra attention, I went over them by hand. For hard-to-reach areas, a sanding block or mouse sander is invaluable.
Repeat Steps 5 and 6 for a third coat, or even a fourth if needed, until you’re satisfied with the surface’s smoothness and consistency. After applying the final layer, sand it thoroughly to a buttery smooth finish, ensuring every inch is perfectly prepped for sealing.
After days of applying concrete, waiting for it to dry, and sanding, sanding, sanding, the entire room resembled a giant cloud of concrete dust. But finally, behold, the smooth, refined concrete coat we worked so hard to achieve!
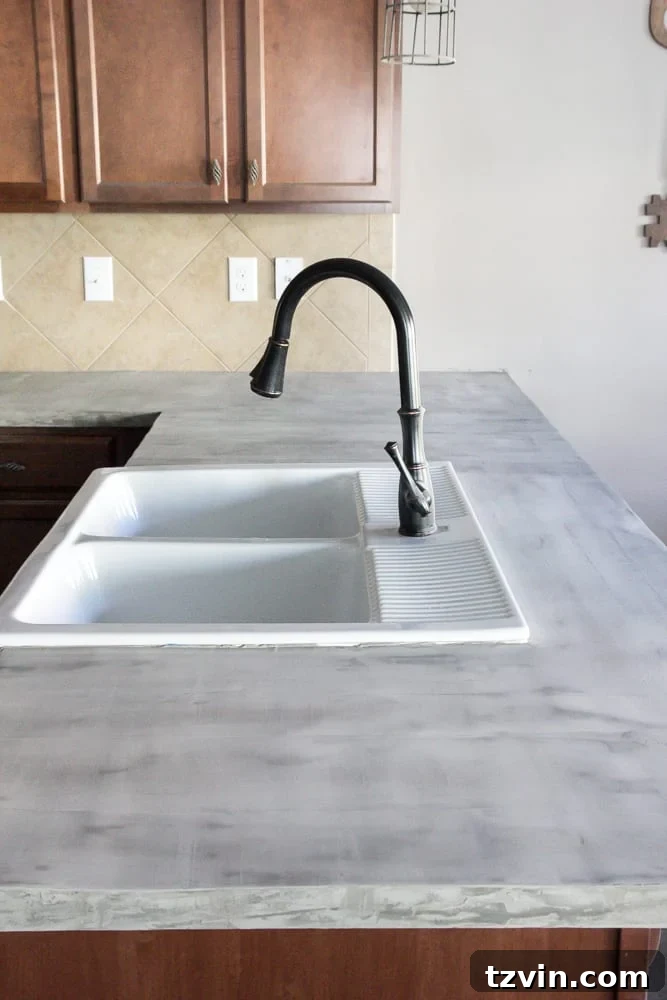
And this was the glorious aftermath:
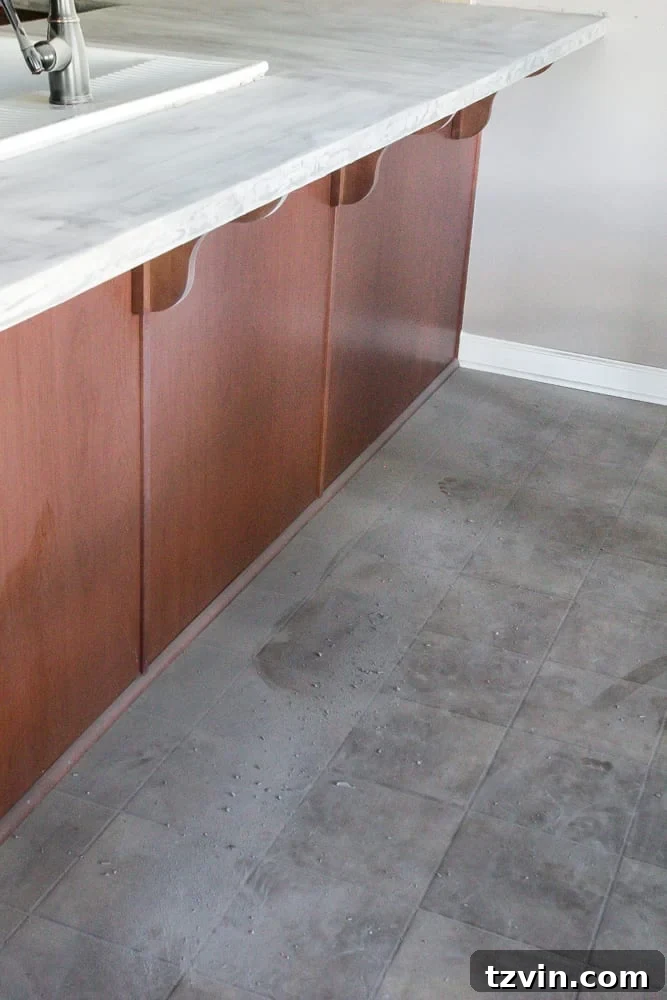
Every surface in our house seemed to have a fine layer of concrete dust on it. We had to dedicate an entire day to serious cleaning, allowing ourselves to recollect and return our home to a dust-free zone. It genuinely felt like a scene from “The Sandlot” when the vacuum cleaner met its explosive end!

This was, without a doubt, the messiest DIY project we had tackled to date. But with the sanding complete, it was finally time to seal this beautiful concrete!
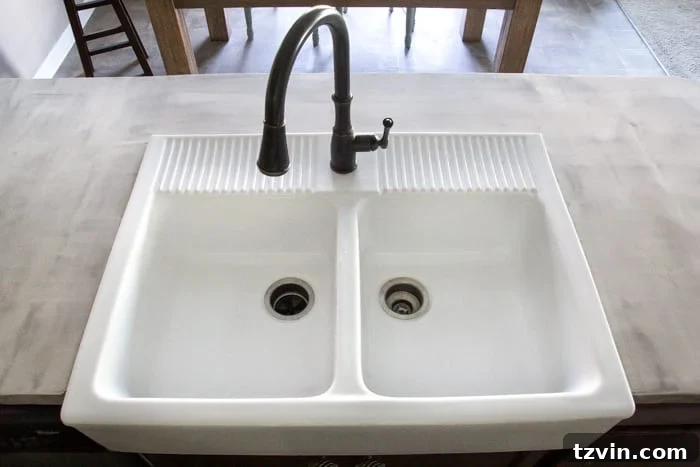
Initially, I tried a product called Cheng Concrete Sealer. However, after three coats, it still wasn’t performing as expected, and the application process was quite arduous. Plus, it was on the pricier side. While it might work for others, I eventually found a Plan B that delivered far better results and was much easier to manage.
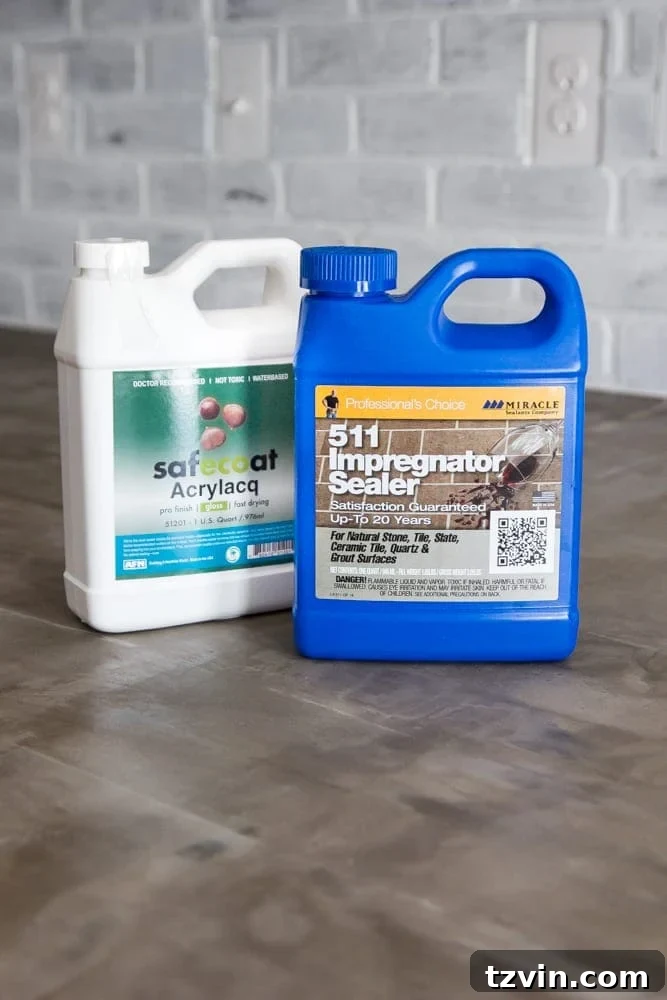
This led me to what I affectionately call “the dynamic sealer duo,” a combination that truly transformed our concrete countertops.
Step 8: Protecting Your Investment – Applying the Impregnator Sealer
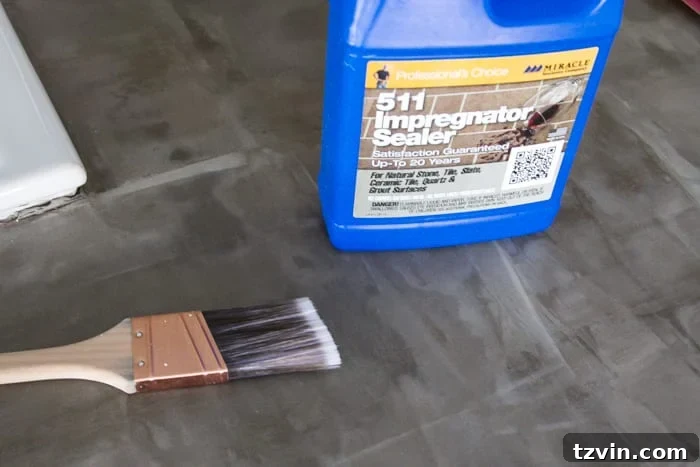
For the crucial final step of sealing, I started by brushing on two coats of 511 Impregnator Sealer. This particular sealer is designed to penetrate deep into the concrete, offering excellent protection against stains. It works by filling the microscopic pores within the concrete, making it far less absorbent to spills and potential discoloration. I simply followed the manufacturer’s directions on the back of the bottle, ensuring a full 24-hour drying period between each coat to allow for maximum penetration and effectiveness. This step is non-negotiable for preserving the beauty and integrity of your DIY concrete countertops.
Step 9: The Final Touch – Applying the Durable Topcoat Sealer
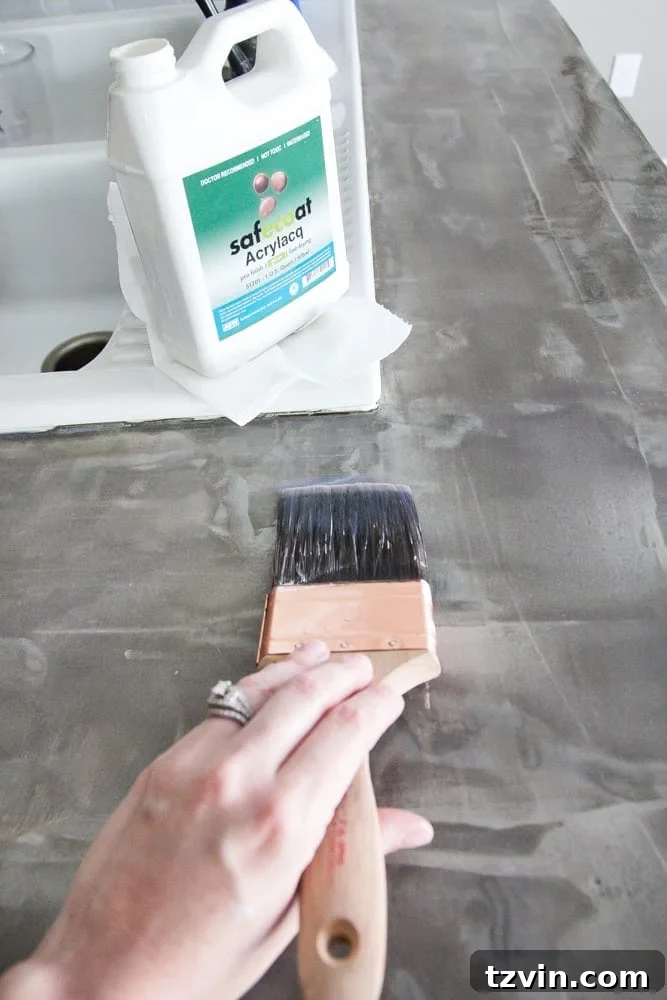
After the 511 Impregnator Sealer had fully cured for 24 hours, I moved on to applying the topcoat: three coats of Safecoat Acrylacq. This product serves as the protective outer layer, providing a hard, durable, and glossy finish. I brushed it on evenly, meticulously avoiding air bubbles, which can detract from the clean, polished appearance. Again, I adhered strictly to the manufacturer’s directions, allowing 24 hours between each coat for proper curing.
Initially, I wasn’t sure I would prefer a glossy finish, fearing it might make the concrete look perpetually “wet.” However, I was absolutely thrilled with how this final topcoat turned out. The Acrylacq creates a robust surface that not only looks stunning but also offers superior protection. Our DIY concrete countertops now feel incredibly smooth and durable, almost like granite, showcasing the successful culmination of a challenging but rewarding project.
While I typically lean towards a more distressed aesthetic, it took me a day or two to fully appreciate the unique character and subtle imperfections that define the concrete. Despite the week-long ordeal of correcting our initial missteps, the final result is truly amazing. All in all, the total cost for resurfacing all 60 square feet of our countertops came to approximately $250, a phenomenal value for such a transformative update.
The Stunning Reveal: Our Finished Skim-Coated Concrete Countertops
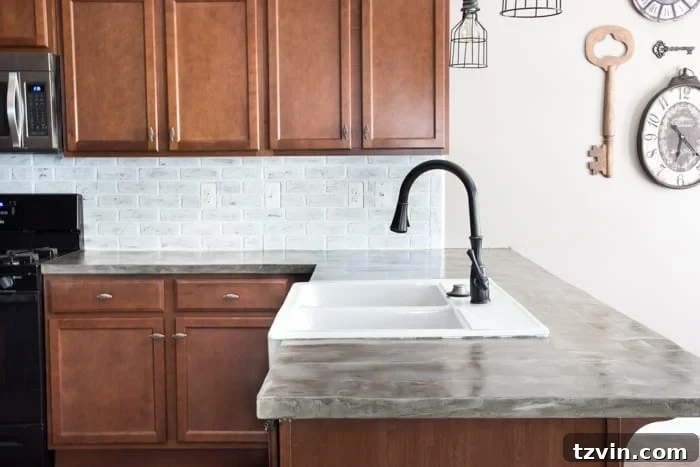
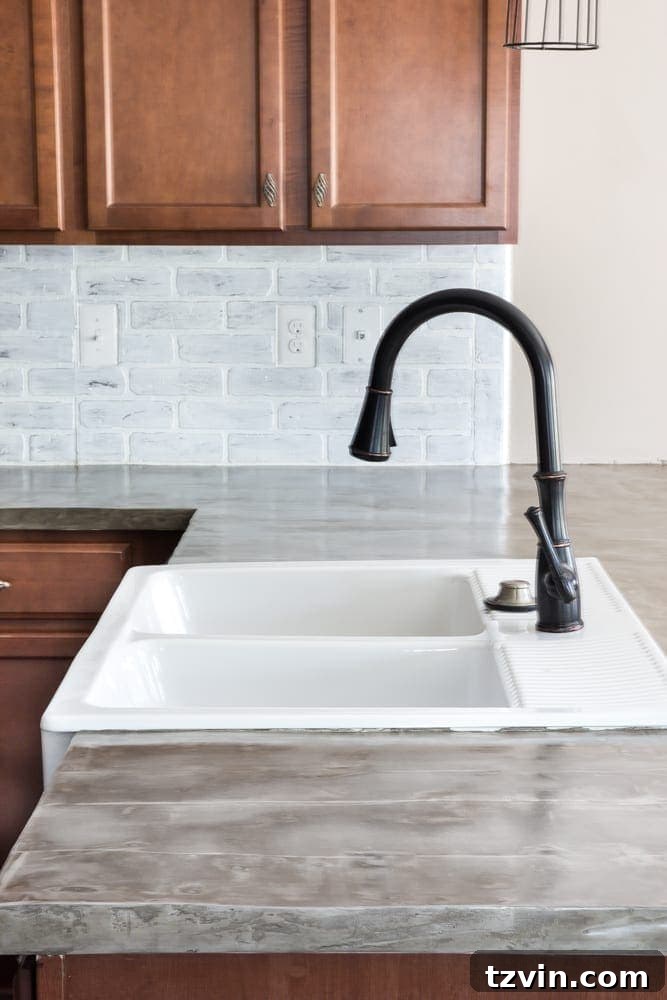
Now that this incredibly challenging, yet ultimately rewarding, project is complete, we couldn’t be happier with the stunning end result. Our kitchen has been completely transformed, boasting a modern, industrial-chic aesthetic thanks to our new skim-coated concrete countertops.
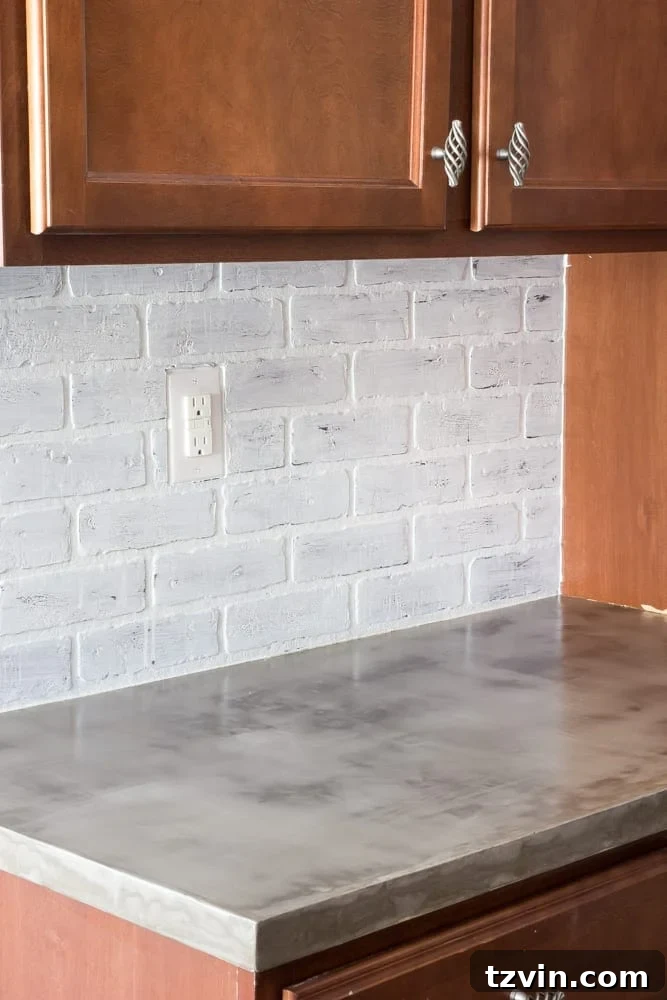
To complement our new concrete surfaces, we also added a beautiful whitewashed brick backsplash!
Tutorial: DIY Whitewashed Faux Brick Backsplash
It’s truly surprising to me, as I had originally envisioned classic subway tile since Day 1 of our kitchen makeover planning. However, the rustic charm of the whitewashed brick, paired with the cool, modern appeal of the concrete countertops, creates a harmonious and inviting atmosphere that feels both unique and perfectly balanced – not too sterile, but full of character.
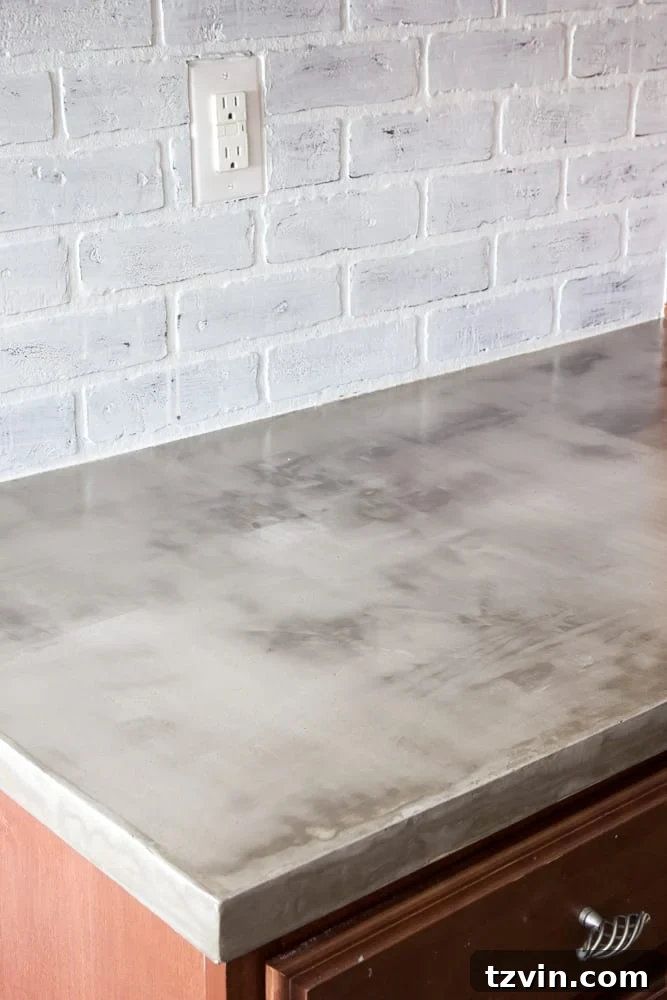
This kitchen has genuinely come a long way from the dated and tired space it was before. The transformation is remarkable, showcasing how a little elbow grease and a lot of patience can achieve incredible results on a budget.
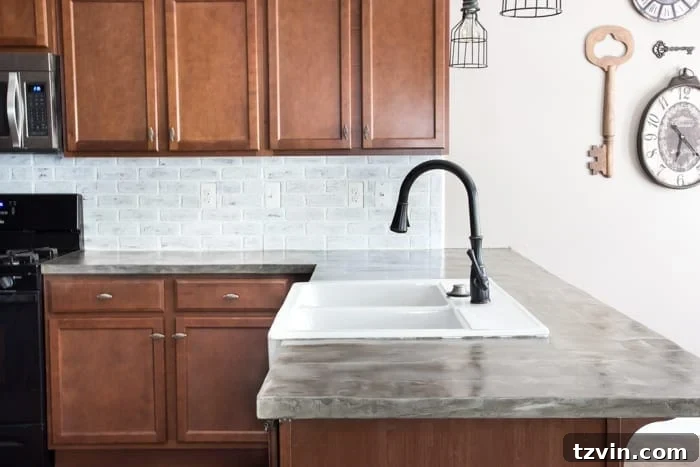

I’ve truly never been so relieved and glad to be finished with a DIY project! Whew!
Have you ever considered or attempted to install concrete countertops in your home? Or have you long had your heart set on their unique aesthetic? Perhaps this detailed guide, complete with our lessons learned, will inspire you to try your own DIY concrete countertops. While they are undoubtedly messy and can be exhausting, we can confidently say that the final, stunning outcome is completely worth every ounce of effort.
Discover More DIY Kitchen Renovation and Decor Ideas
DIY Pressed Tin Kitchen Backsplash: Add Vintage Charm on a Budget
Cottagecore Style: Budget-Friendly Kitchen Facelift Ideas for a Cozy Home
Simplified Decorating: Practical Tips on How to Decorate Kitchen Countertops
Revolutionize Your Floors: How to Install a Herringbone LVP Floating Floor Over Existing Tile