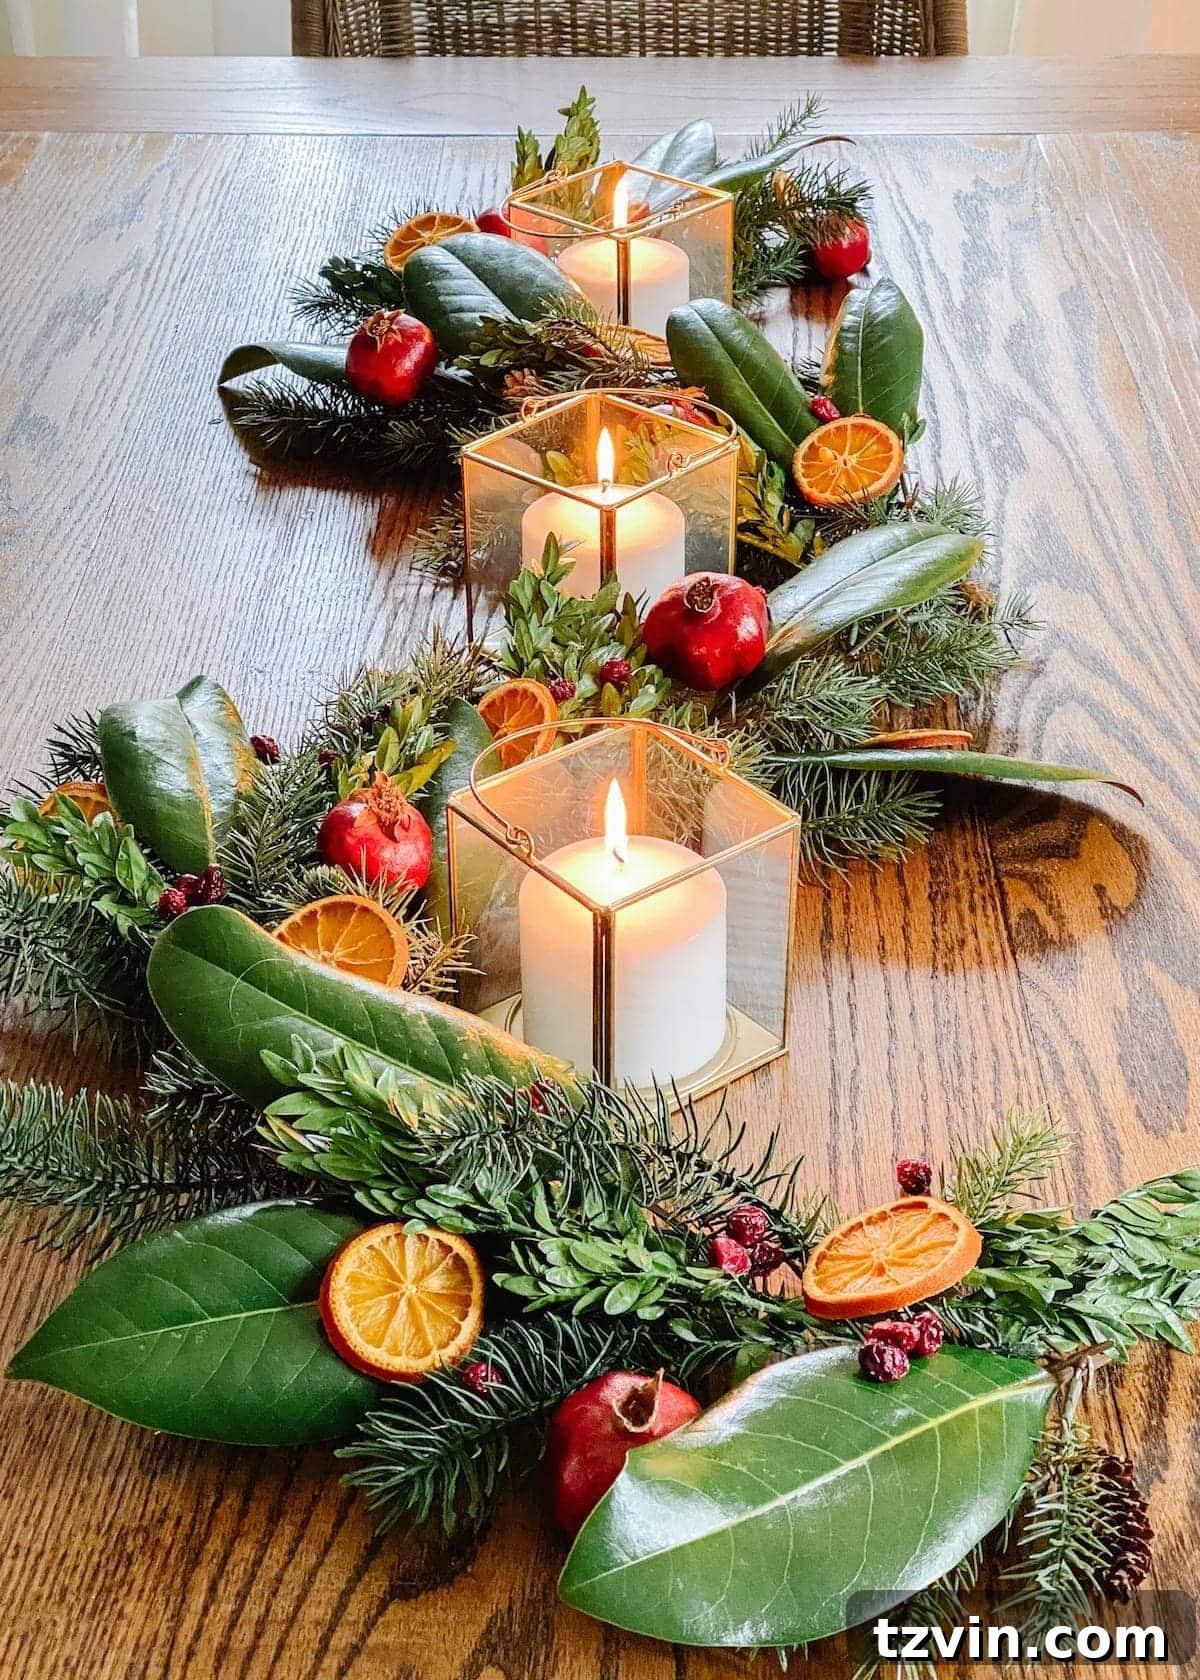
Embrace the timeless elegance of nature this Christmas with our comprehensive guide on drying oranges, cranberries, and pomegranates, and preserving magnolia leaves and boxwoods for stunning, natural holiday decor.
This holiday season, my primary aspiration has been to infuse our home with a warm, cozy, and classic Christmas ambiance, drawing heavily from the abundance of our yard and other natural elements. The charm of a truly rustic and organic aesthetic is simply unparalleled.
Over the past few weeks, I’ve dedicated time to gathering beautiful leaves from our majestic magnolia tree and lush boxwood shrubs. Simultaneously, I’ve been procuring vibrant fruits from the grocery store, all with the delightful purpose of transforming them into exquisite, long-lasting Christmas decorations. The result is a collection of decor that not only looks beautiful but also tells a story of handcrafted warmth and natural beauty.
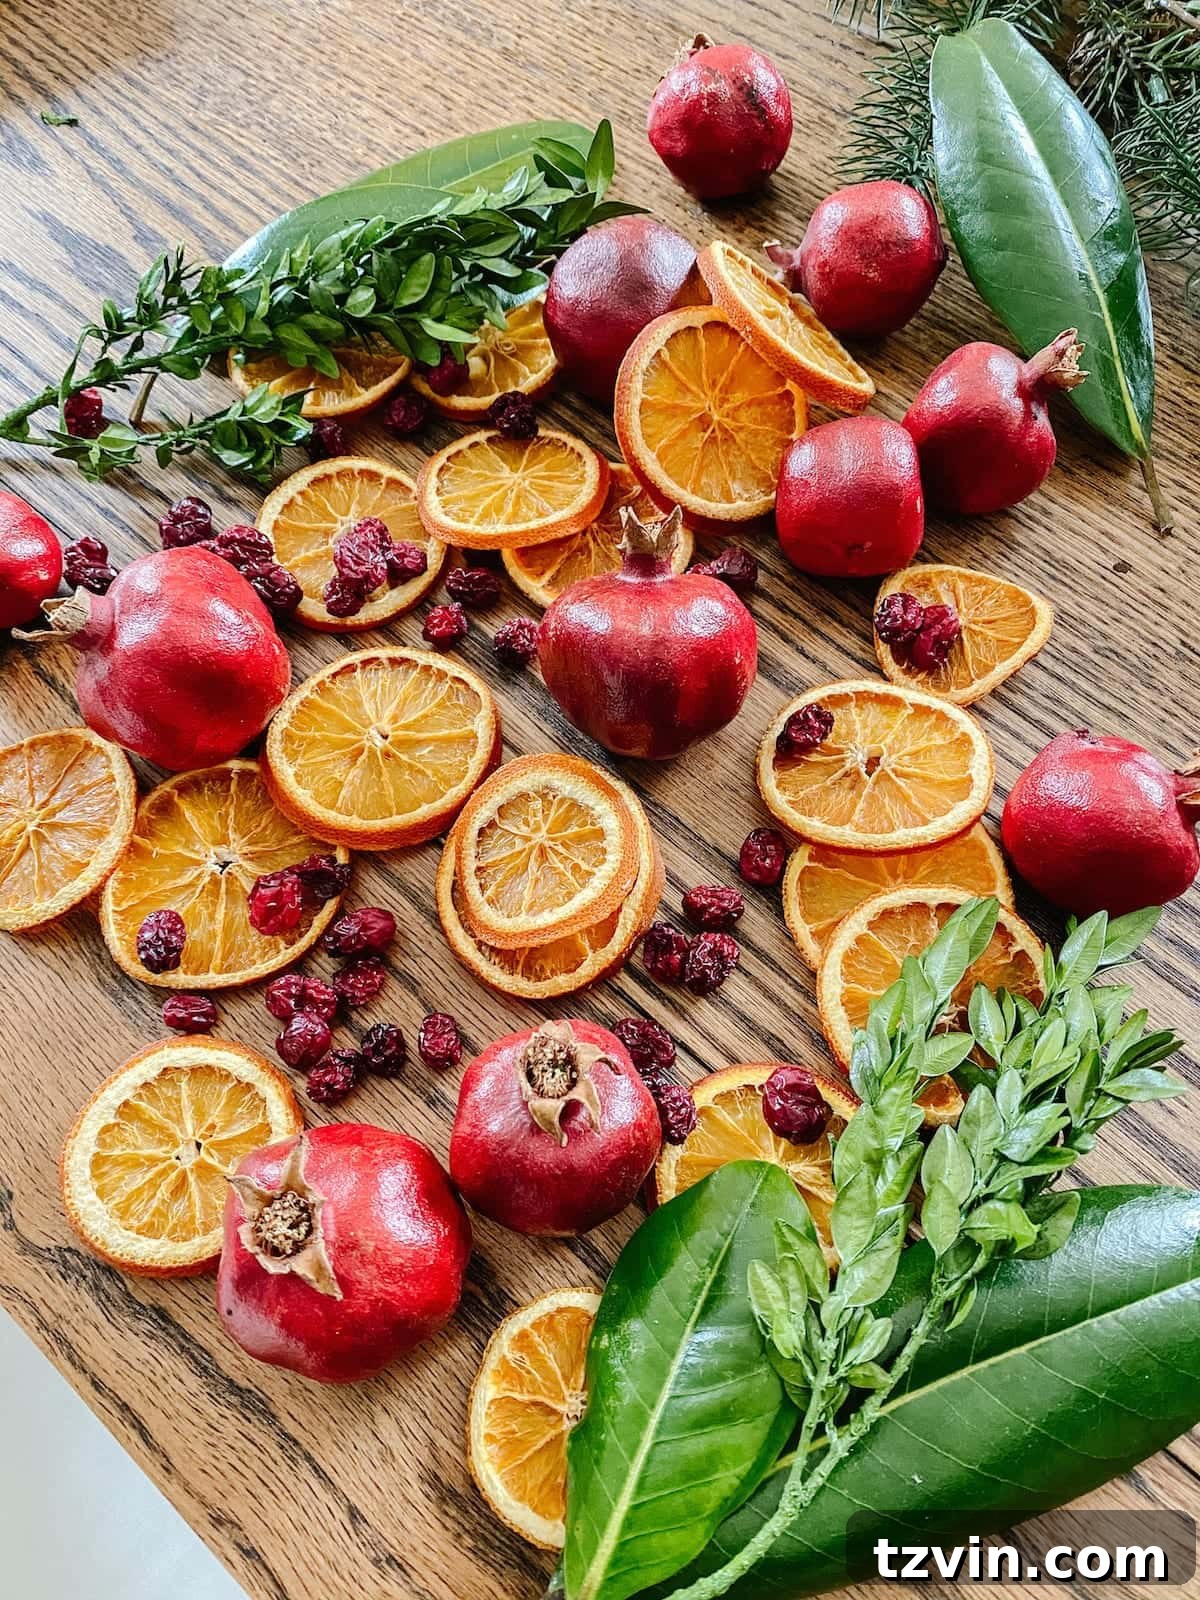
If your goal is to elevate your affordable Christmas garlands and wreaths, giving them a high-end, bespoke appearance, then embracing these natural elements is the perfect approach. Here, we’ll delve into several effective methods for drying fruits and preserving leaves, ensuring your holiday decor is both unique and sustainable. This guide will help you craft stunning, natural accents that will impress your guests and bring a genuine festive spirit to your home.
Mastering the Art of Preserving Magnolia Leaves and Boxwoods
Preserving foliage is a fantastic way to capture the beauty of your garden for extended enjoyment, especially during the festive season. I experimented with two distinct methods, each offering unique benefits depending on your desired outcome and timeframe.
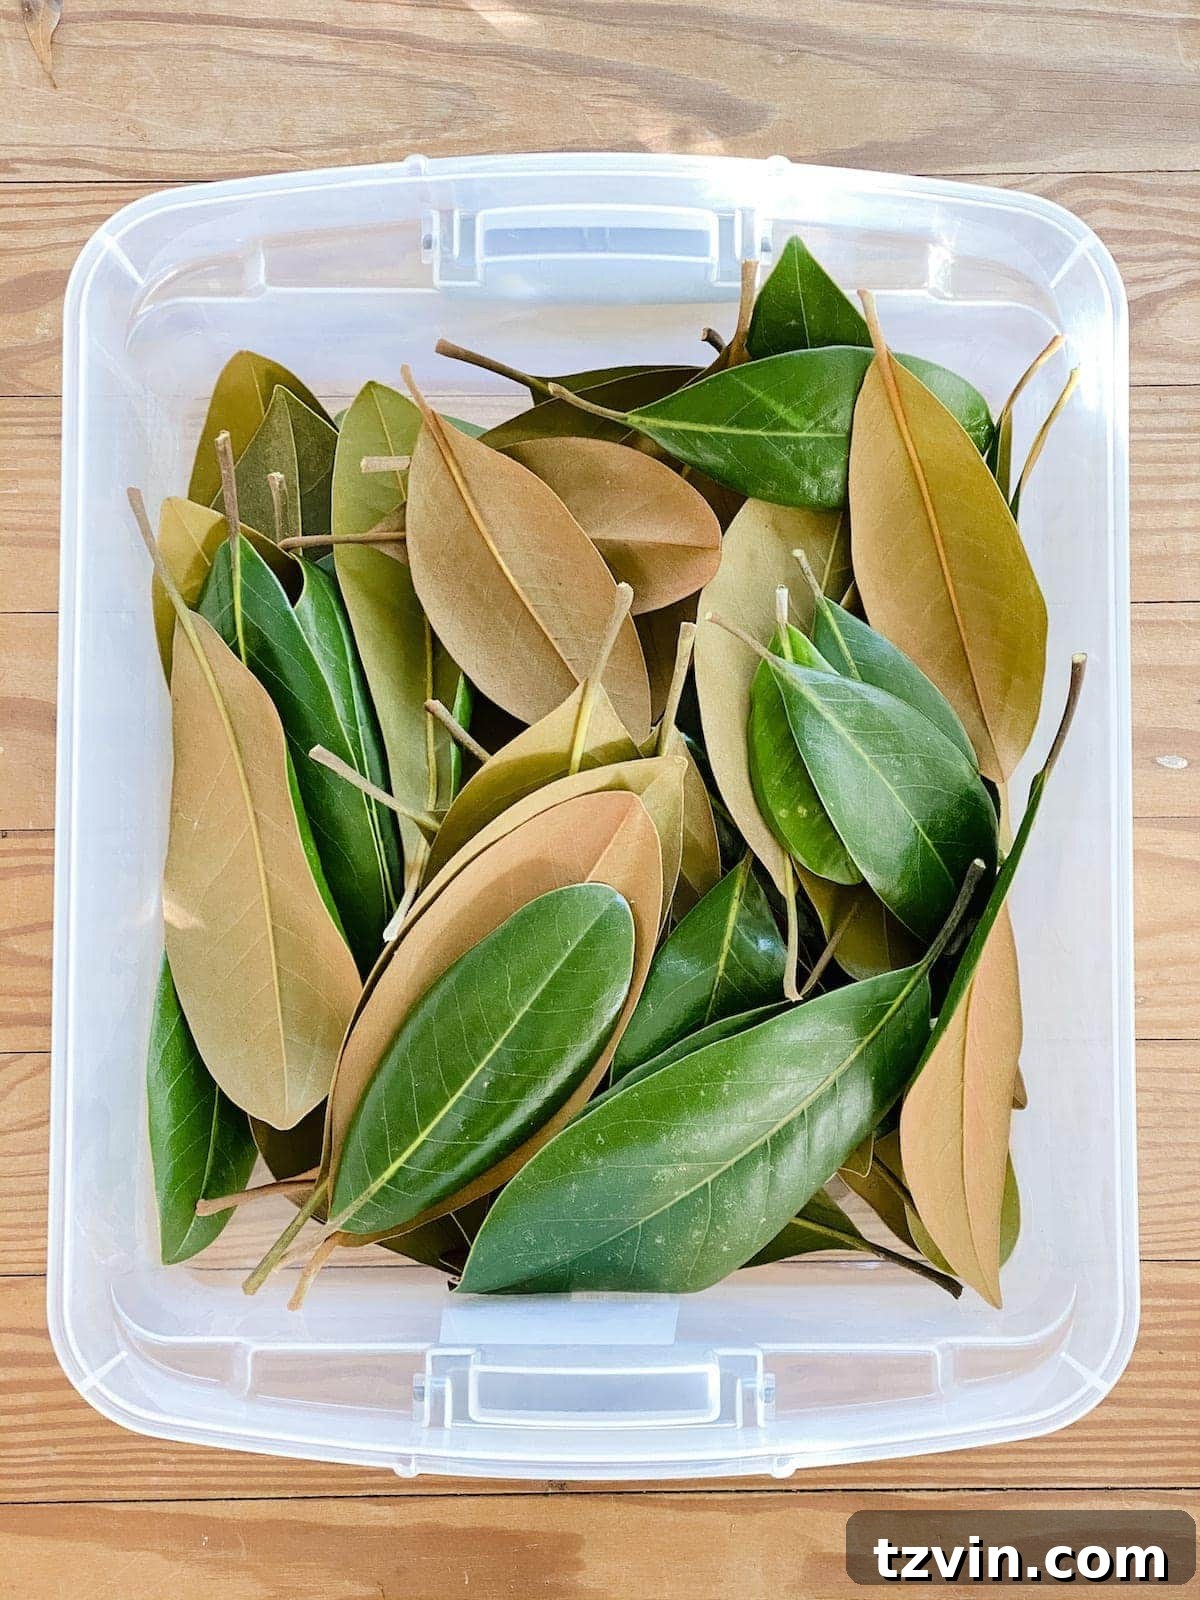
Leaf Preserving Method 1: The Quick Temporary Solution with WiltPruf
This method, utilizing WiltPruf, is ideal when you need a speedy solution for preserving leaves for several weeks rather than permanently. It’s perfect for temporary displays or if you’re looking to extend the life of fresh cuttings for a specific event or season without a long-term commitment. While it doesn’t offer indefinite preservation, it effectively prevents the leaves from drying out and becoming brittle quickly, maintaining their vibrant appearance for a significant period.
Supplies for Quick Leaf Preservation
- Freshly cut magnolia leaves or boxwood stems
- WiltPruf (available at most garden centers)
- A clean spray bottle (if your WiltPruf isn’t already in one)
To begin, take your magnolia leaves or boxwood stems. Find a well-ventilated outdoor space to work in. Generously spray both sides of each leaf or stem with WiltPruf. Ensure even coverage to create a protective barrier. Once sprayed, allow them to dry completely. This usually takes a few hours, depending on humidity. After they are dry, your treated leaves are ready to be incorporated into your festive arrangements, garlands, or wreaths, maintaining their fresh look for weeks.
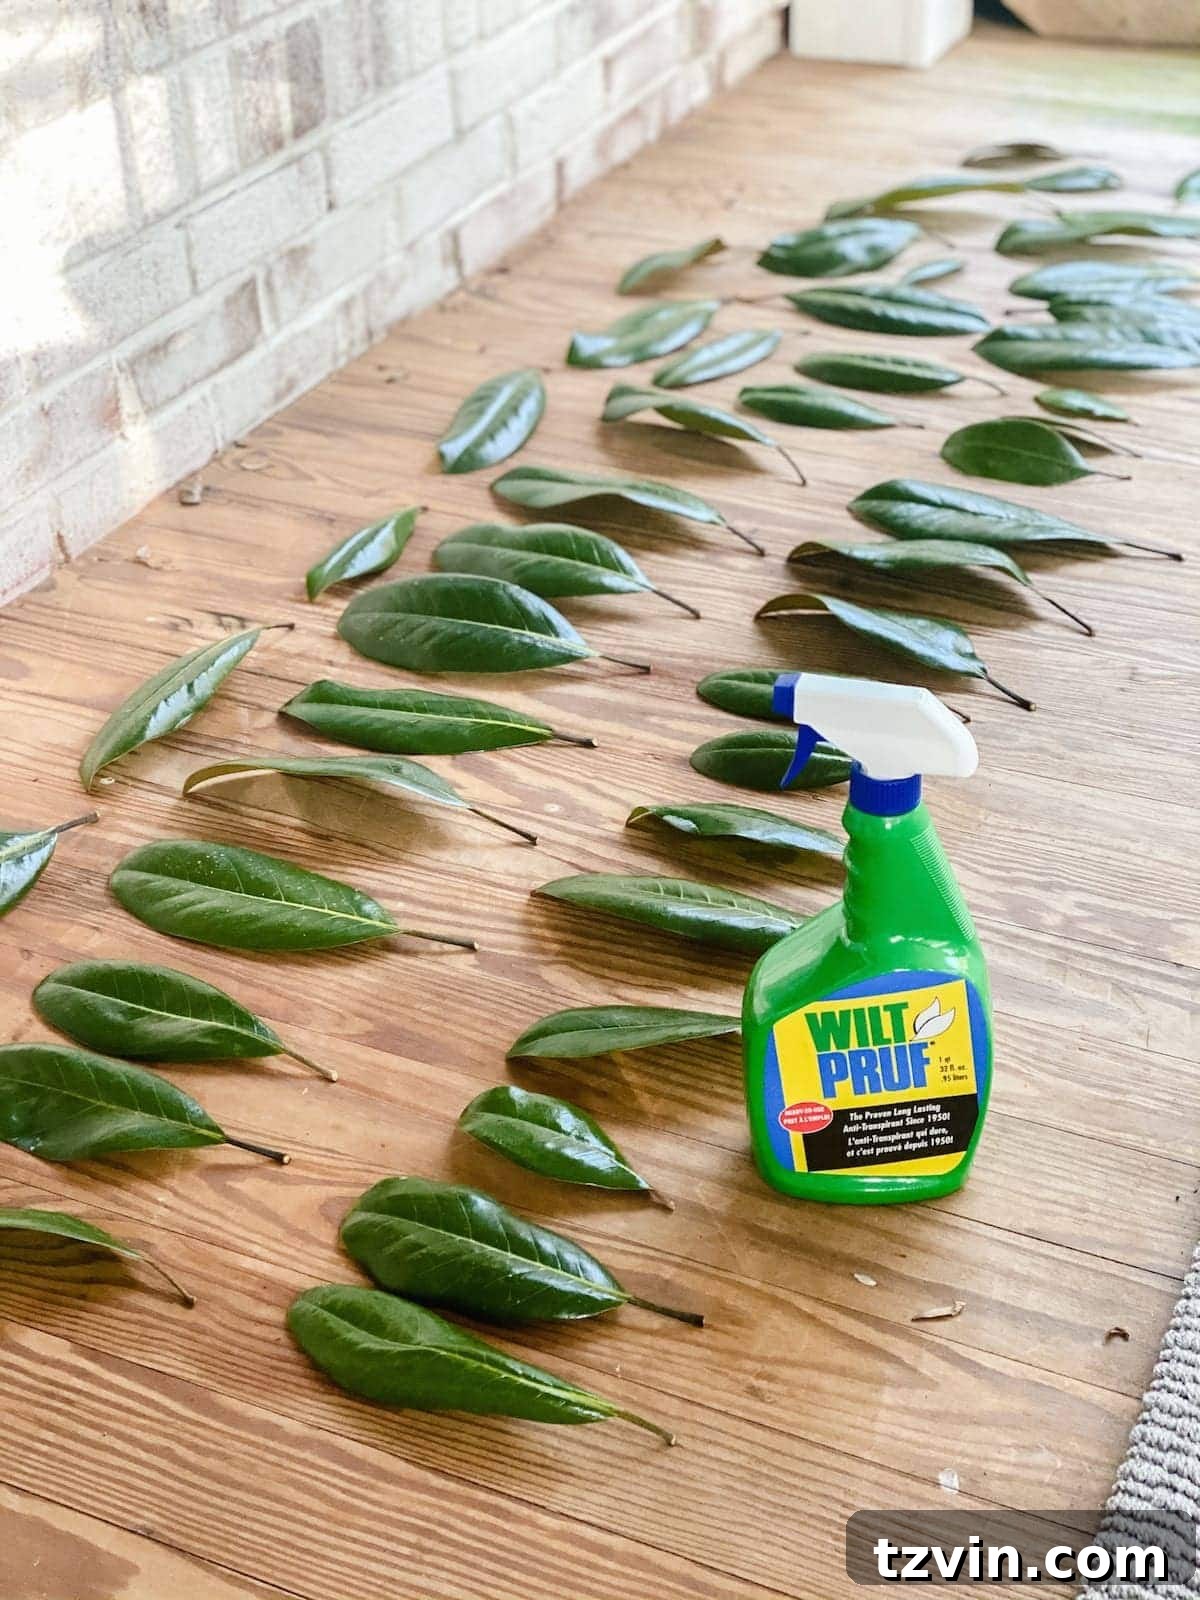
Leaf Preserving Method 2: Glycerin for Permanent Preservation
For a more permanent solution that results in beautifully preserved, flexible leaves that can last virtually forever, the glycerin method is highly recommended. This process takes a few days, but the result is a lasting piece of nature’s artistry that you can reuse year after year. Glycerin replaces the water in the leaf cells, maintaining their pliability and natural appearance.
Supplies for Permanent Leaf Preservation
- Fresh magnolia leaves or boxwood stems
- Liquid glycerin (food grade or craft store variety)
- Water, preferably at room temperature
- A small hammer or mallet
- A large, shallow dish or bin capable of submerging the leaves
- A plate or relatively heavy object to keep leaves submerged
Start by preparing your glycerin mixture. In your large container, combine one part glycerin with one part room temperature water. Stir thoroughly until well mixed. Next, take your magnolia leaves or boxwood stems. For thicker stems, lightly crush the ends with a hammer. This crucial step opens up the capillaries, allowing the glycerin mixture to be absorbed more effectively into the leaves. Carefully submerge the leaves into the glycerin mixture, ensuring they are fully immersed and ideally not overlapping to allow for even absorption. Place a plate or a heavier object on top to keep the leaves from floating to the surface. Allow the leaves to soak in the mixture for 3-4 days. Once the soaking period is complete, remove the leaves and gently pat them dry with a towel. You’ll notice they feel softer and more pliable. Let them air dry completely before using them in your decor. These glycerin-preserved leaves will maintain their beauty and flexibility for years to come.
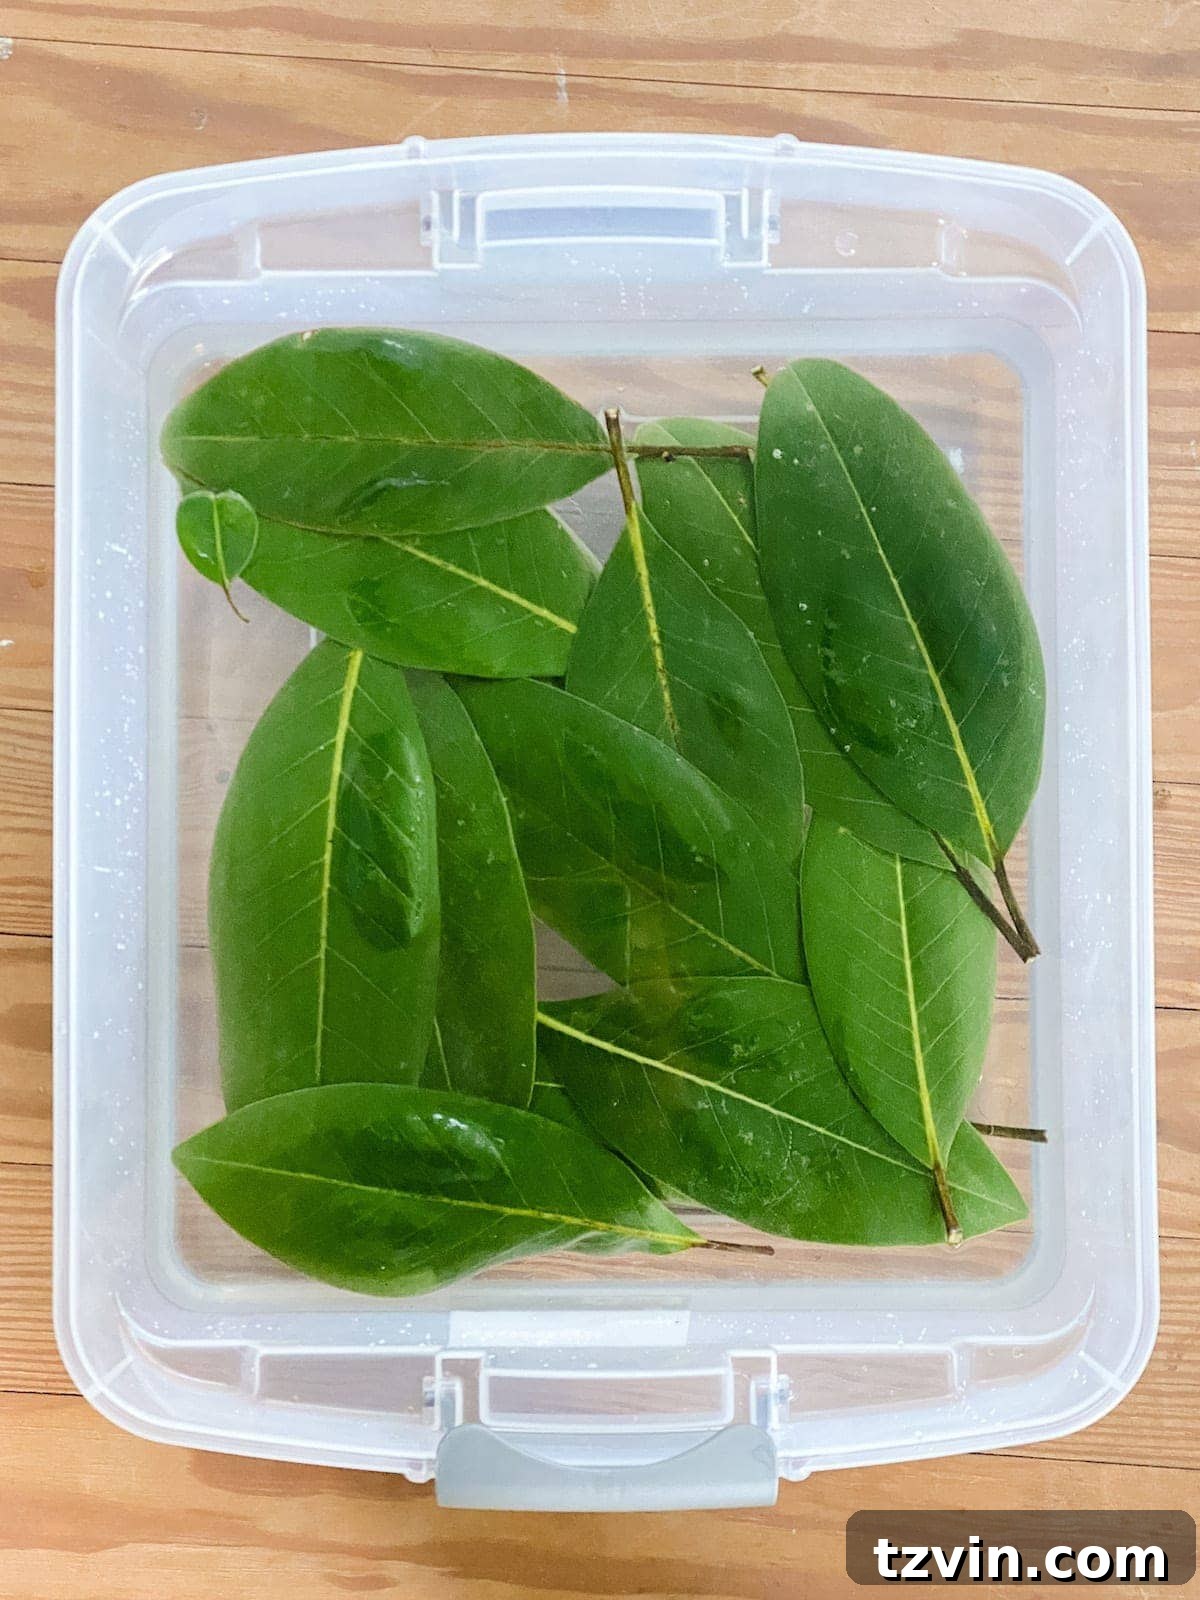
Both of these preservation methods can be successfully applied to boxwood stems, providing you with a versatile array of natural elements for your holiday decorating. Beyond leaves, incorporating dried fruits offers another layer of texture and color. For this project, I chose oranges, cranberries, and pomegranates, but the drying techniques described below can also be adapted for other fruits like apples, pears, and figs, allowing for endless creative possibilities.
How to Perfectly Dry Orange Slices for Festive Decor
Dried orange slices are a quintessential natural Christmas decoration, offering a beautiful pop of color and a delightful, subtle fragrance. They are surprisingly easy to make and incredibly versatile, perfect for garlands, wreaths, or bowl fillers. The key to successful drying is a low and slow oven temperature.
Essential Supplies for Drying Oranges
- Fresh oranges (any variety will work, but navel or blood oranges are beautiful)
- A sharp knife
- A sturdy cutting board
- A baking sheet (or several, depending on quantity)
- Parchment paper
- An oven
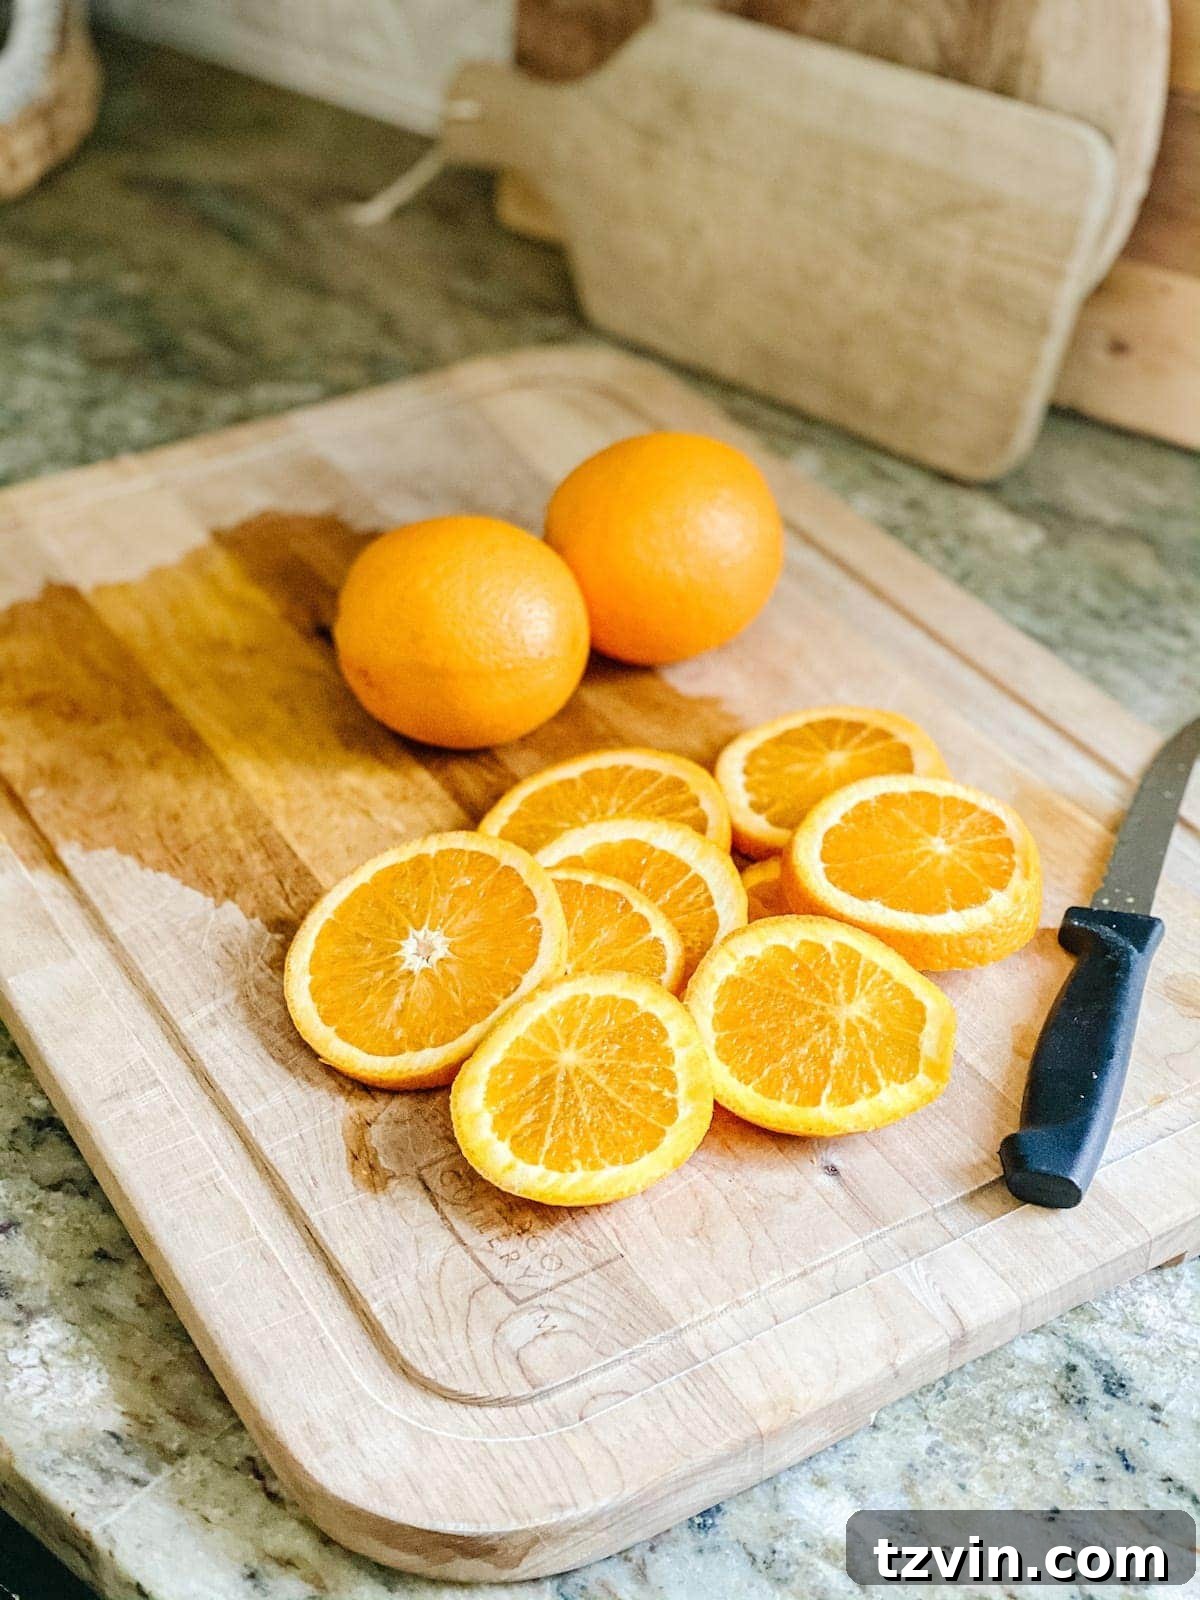
Detailed Orange Drying Steps
1. **Prepare Your Oranges:** Begin by thoroughly washing your oranges. Using a very sharp knife, slice the oranges into thin, uniform pieces, ideally around 1/4 inch thick. Consistency in thickness is crucial for even drying. Thinner slices dry faster, while thicker ones may take considerably longer and risk burning the edges before the center is fully dry. You can pat them dry with a paper towel to remove excess moisture.
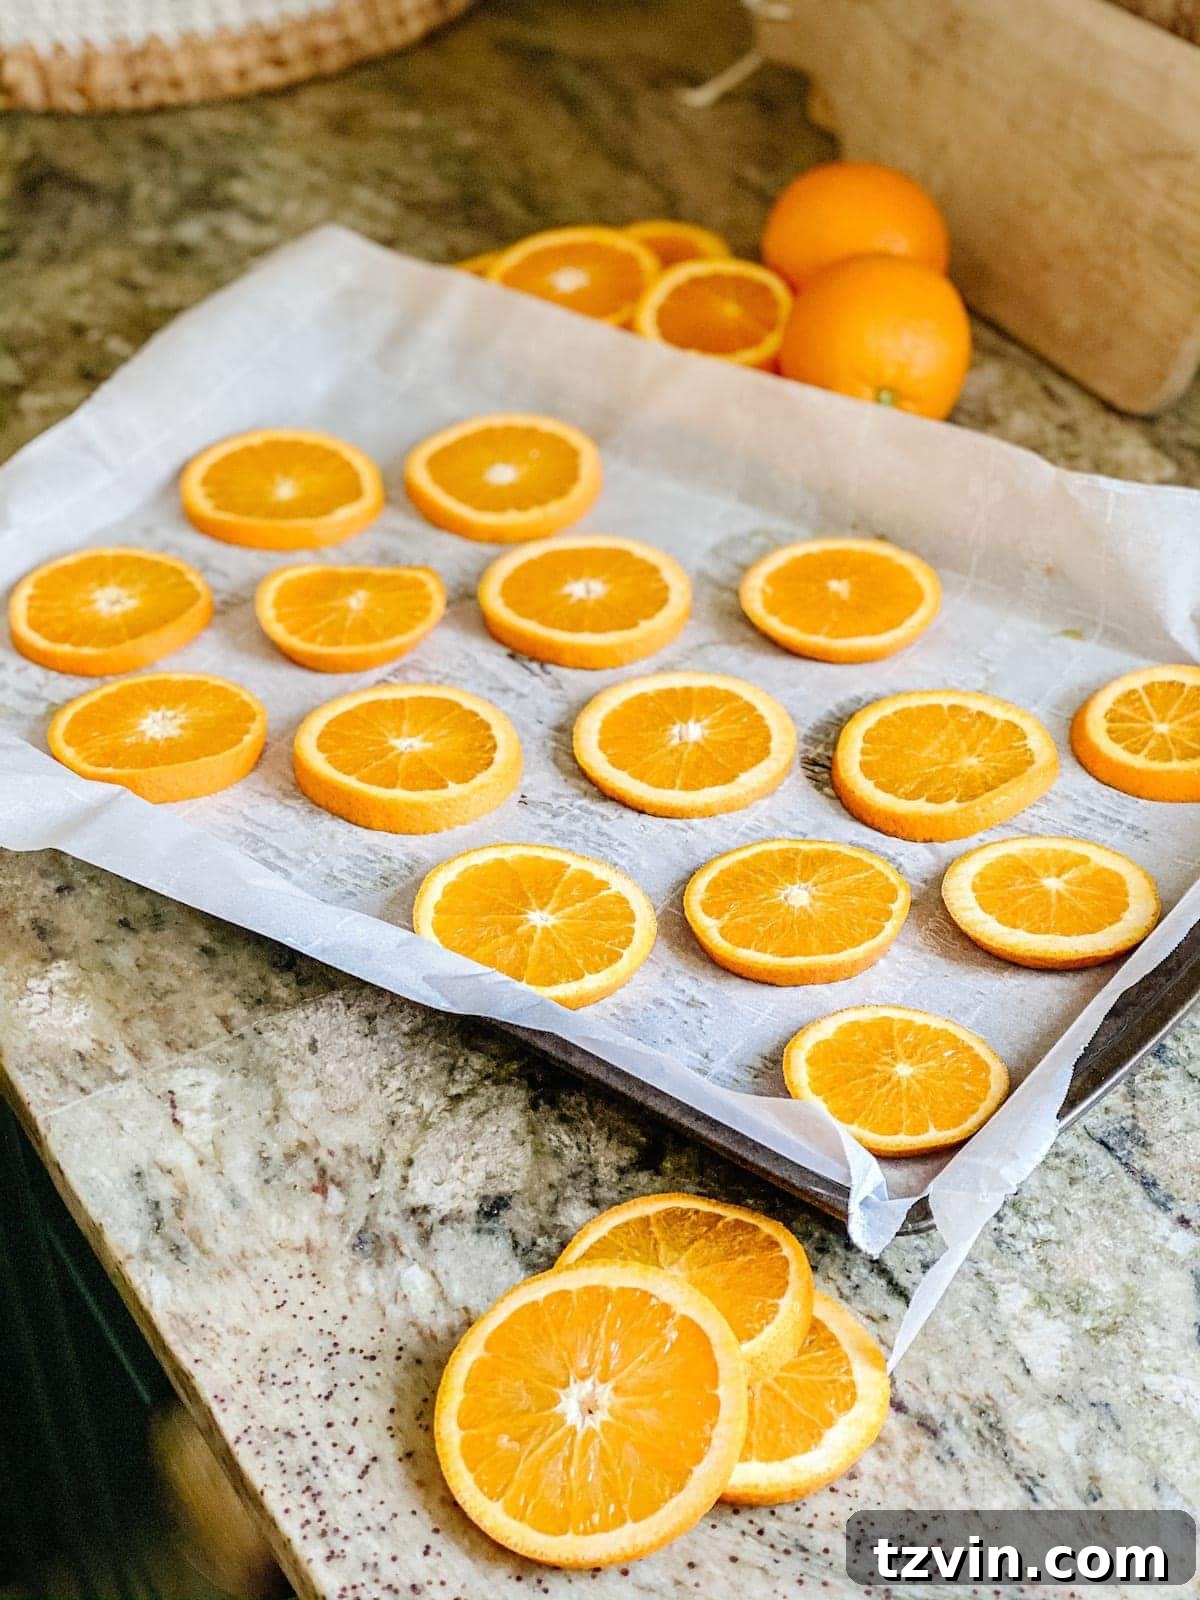
2. **Arrange on Baking Sheet:** Line a baking sheet with parchment paper to prevent sticking. Arrange the orange slices in a single layer on the prepared baking sheet, ensuring no slices overlap. Air circulation is vital for effective drying.
3. **Initial Baking:** Preheat your oven to a very low temperature, around 200°F (93°C). Place the baking sheet with orange slices into the preheated oven and bake for approximately 45 minutes. The goal is to slowly dehydrate them, not cook them.
4. **Flip and Continue Drying:** After 45 minutes, carefully remove the baking sheet from the oven. Using tongs, flip each orange slice over to expose the other side to the heat. Return the baking sheet to the oven and continue baking for another 45 minutes. This flipping process should be repeated every 45 minutes to an hour until the slices feel relatively dry to the touch and are no longer sticky or pliable. The total drying time typically ranges from 3 to 4 hours, but it can vary based on slice thickness and oven calibration. Keep an eye on them towards the end to prevent over-browning. Once dry, they will be firm and slightly translucent. Let them cool completely on the baking sheet before handling. Store them in an airtight container for future use.
Pro Tip: For an extra aromatic touch, you can sprinkle a little cinnamon or clove powder on the slices before drying, or even bake whole cloves into them after they are partially dry.
Tutorial: Easy Tutorial: How to Make DIY Dried Orange Garland
How to Dry Cranberries for Festive Christmas Decor
Dried cranberries add a delightful pop of vibrant red to any Christmas display. Unlike commercially dried cranberries which are often sweetened and softer, we aim for a firmer, more decorative version suitable for garlands, scatters, or bowl fillers. This method ensures they retain their festive shape and color for decor purposes.
Supplies for Drying Cranberries
- Fresh, firm cranberries
- A large heatproof bowl
- A large pot, filled two-thirds with water
- A baking sheet lined with parchment paper
- An oven
- String and a large needle (optional, for making garland)
Detailed Cranberry Drying Steps
1. **Prepare Cranberries:** Place your fresh cranberries into a large, heatproof bowl. Inspect them and remove any soft or damaged berries.
2. **Boil Water:** Fill a large pot with water, leaving enough room at the top to avoid overflow when adding cranberries. Bring the water to a rolling boil on your stovetop.
3. **Blanch the Cranberries:** Carefully pour the boiling water over the cranberries in the bowl. Let them sit in the hot water for about 8-10 minutes. This crucial step, known as blanching, causes the cranberry skins to expand and slightly break, allowing moisture to escape more easily during the drying process. You’ll notice some berries may split or soften slightly, which is exactly what you want.
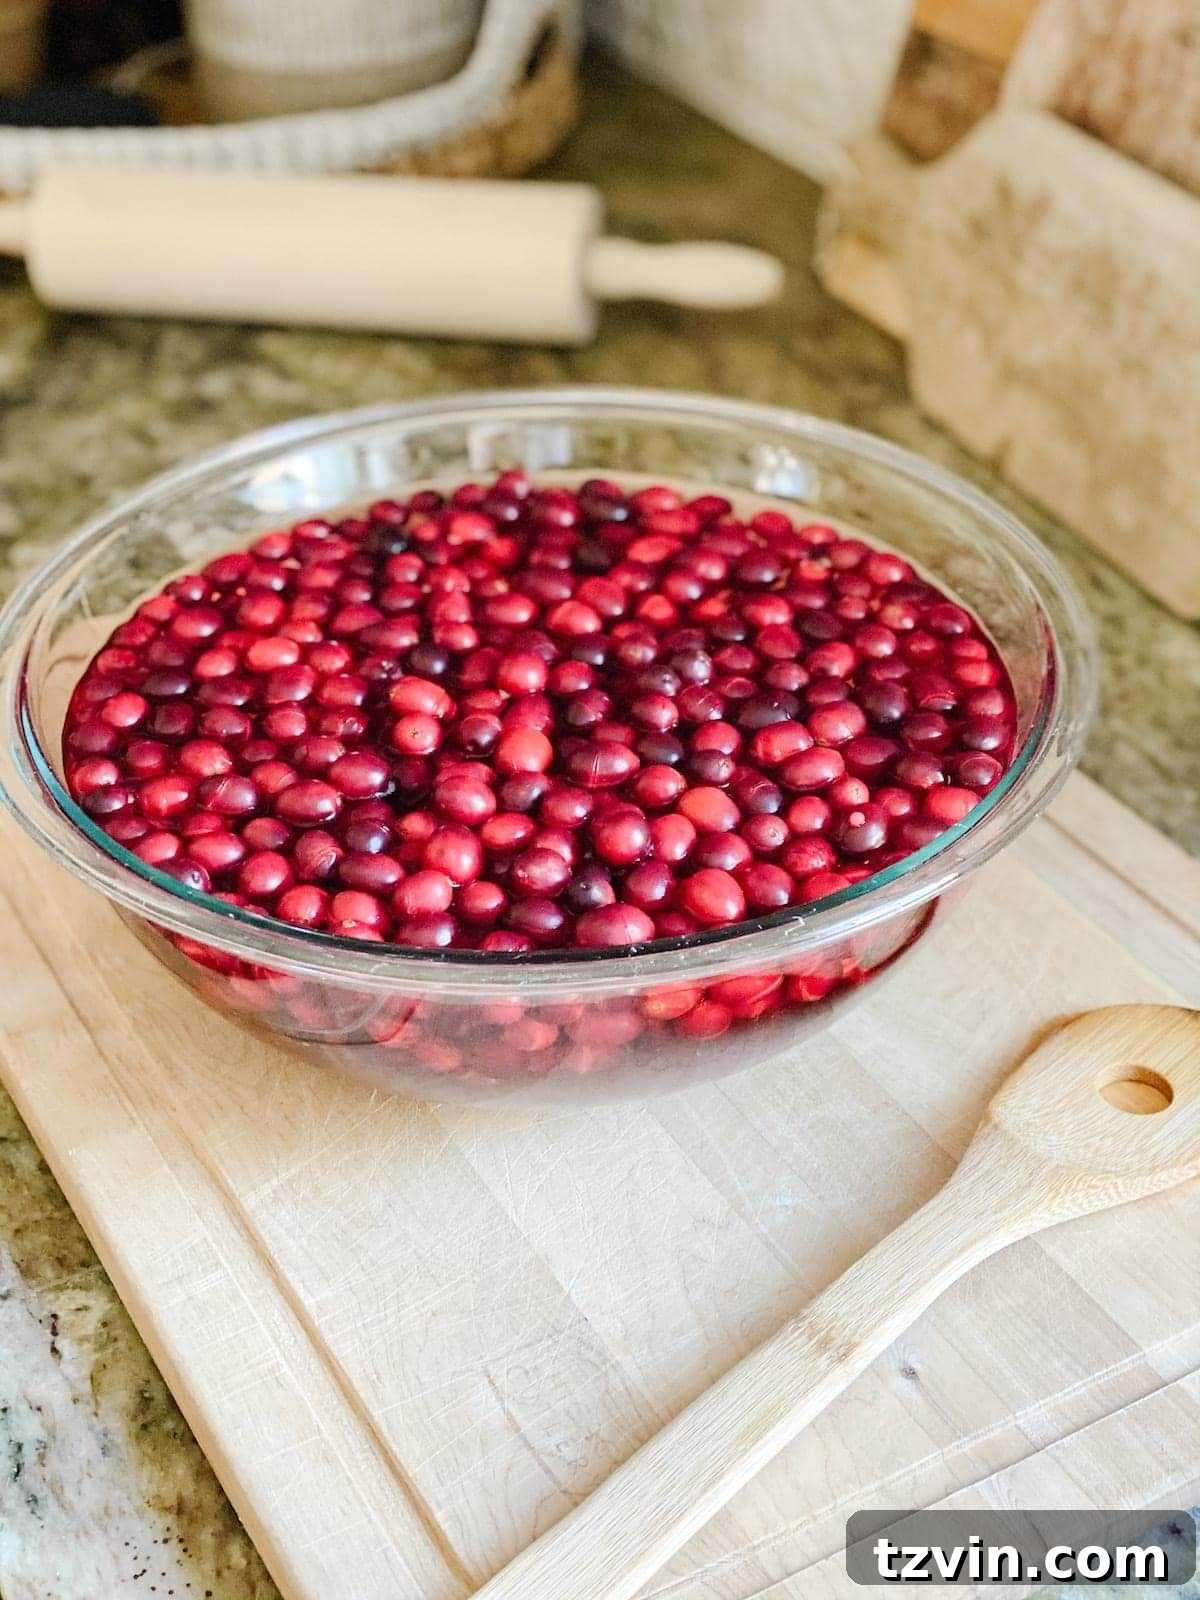
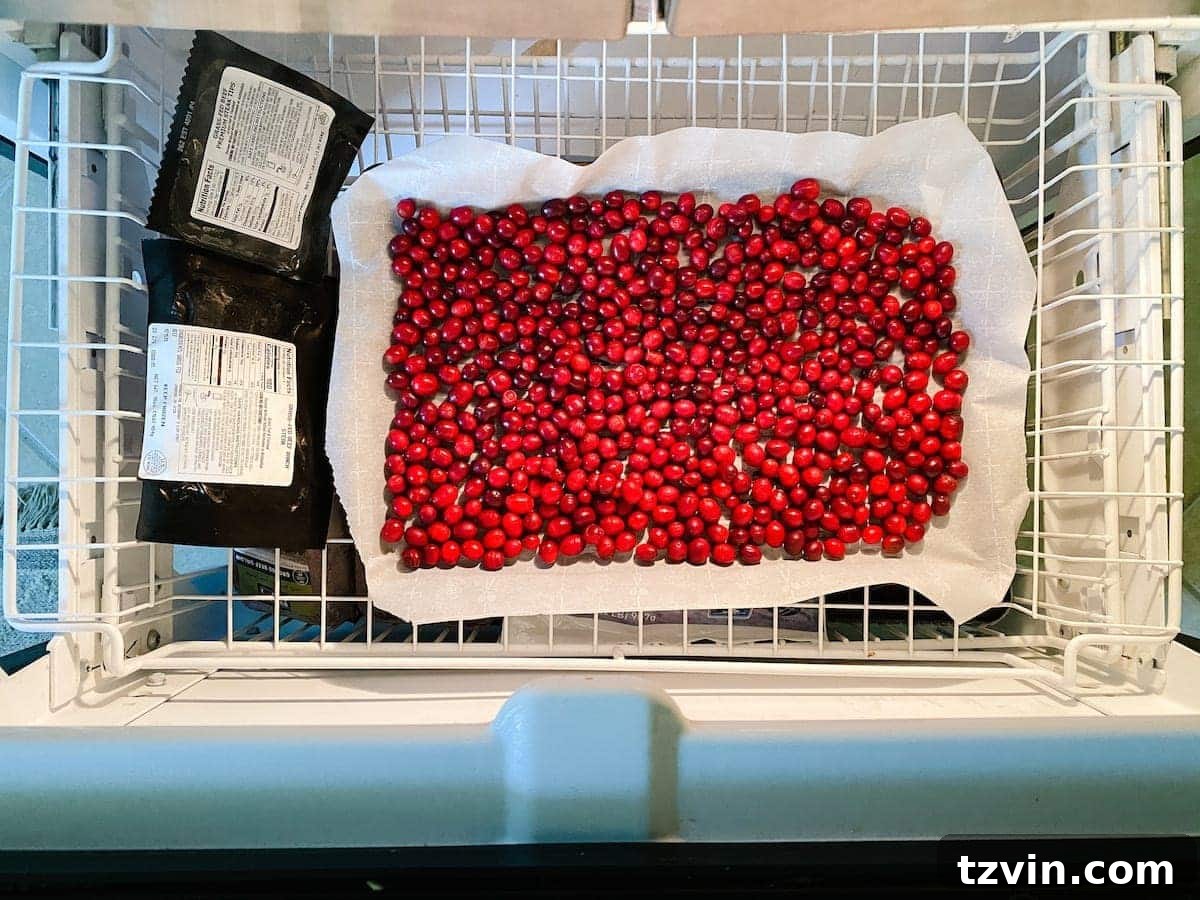
4. **Drain and Prepare for Freezing:** Carefully drain the hot water from the cranberries using a colander. Gently spread the soaked cranberries in a single layer on a baking sheet lined with parchment paper. Try to avoid overcrowding. Pat them dry with a paper towel if they seem excessively wet.
5. **Freeze the Cranberries:** Place the baking sheet with cranberries into the freezer for a few hours, or until they are completely frozen solid. Freezing helps to further break down the cell walls, which aids in the drying process, preventing them from shriveling excessively and helping them maintain a rounder shape.
6. **Oven Drying:** Preheat your oven to a very low temperature, around 180°F (82°C). Transfer the frozen cranberries (still on the parchment-lined baking sheet) directly into the preheated oven. Every 45 minutes to an hour, give the baking sheet a gentle shake or use a spatula to turn the cranberries, ensuring even exposure to the heat. Allow the cranberries to bake for approximately 5-6 hours, or until they are firm, shriveled, and completely dry to the touch. The exact time will depend on your oven and the size of the cranberries. Once dried, they will be hard and lightweight. Let them cool completely on the baking sheet. Store them in an open container in a cool, dry place to prevent moisture buildup.
Once cool, your dried cranberries are ready! You can scatter them elegantly on tablescapes, incorporate them into potpourri, or string them onto a garland for a classic, festive look. Their bright color makes them an instant holiday favorite.
The Art of Drying Whole Pomegranates for Rustic Decor
Drying whole pomegranates requires the most patience, as it’s a slow, natural process that can’t be rushed without potentially compromising their appearance. The result, however, is a wonderfully rustic and long-lasting decorative element that adds unique texture and a touch of old-world charm to your holiday displays. These dried fruits shrink and become more muted in color, perfect for a vintage-inspired aesthetic.
Supplies for Drying Pomegranates
- Fresh, firm pomegranates
- A handful of toothpicks
- A wire rack (like a cooling rack)
Detailed Pomegranate Drying Steps
1. **Select Your Pomegranates:** Choose pomegranates that are smooth, firm, and free from visible bruises, cuts, or soft spots. The quality of the fresh fruit will directly impact the final dried result. Avoid any pomegranates that feel light for their size, as this can indicate they are already partially dried out or damaged inside.
2. **Puncture the Rind:** Using a toothpick, carefully puncture the rind of each pomegranate in multiple, evenly spaced places all over the fruit. These small holes are crucial as they allow air to circulate and moisture to escape slowly from the inside, preventing mold growth and facilitating even drying. Aim for a generous number of punctures without tearing large holes in the skin.
3. **Air Dry:** Place the punctured pomegranates on a wire rack. The wire rack ensures air circulation around the entire surface of the fruit, which is essential for uniform drying and to prevent rot. Store the wire rack with pomegranates in a cool, dry, and dark place. A cabinet, closet shelf, or even a pantry works perfectly. Avoid direct sunlight or humid areas, as these can hinder the drying process and encourage mold. Humidity is the enemy of air drying! Let them dry undisturbed for a period of 3-4 weeks. During this time, the pomegranates will gradually shrink in size, and their vibrant red color will deepen and become less intense, taking on a rich, muted tone. They will also become much lighter. You can gently turn them every few days to check their progress and ensure even drying.
Once fully dried, pomegranates make exquisite additions to greenery arrangements, can be used as unique bowl fillers, or strung into rustic garlands. Their enduring beauty makes them a cherished part of natural holiday decor.
Crafting a DIY Dried Fruit and Preserved Leaf Christmas Garland Centerpiece
After all the diligent work of drying and preserving, you’ll be left with a beautiful bounty of natural elements. This collection of dried fruit and preserved leaves is perfect for enhancing existing decor or creating entirely new, show-stopping pieces. They are especially wonderful for transforming more modest artificial greenery into luxurious, high-end displays. For secure attachment, floral wire is your best friend.
Let’s assemble a gorgeous centerpiece garland:
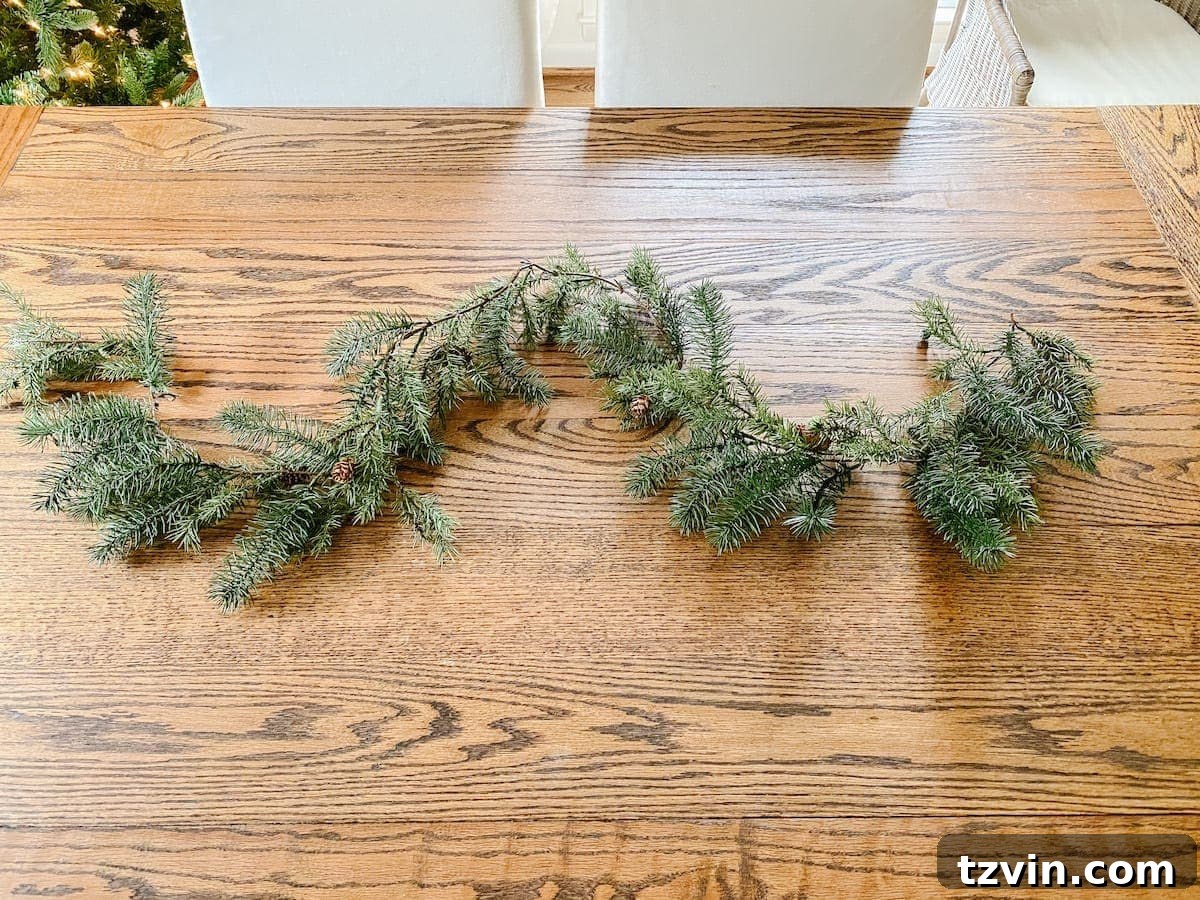
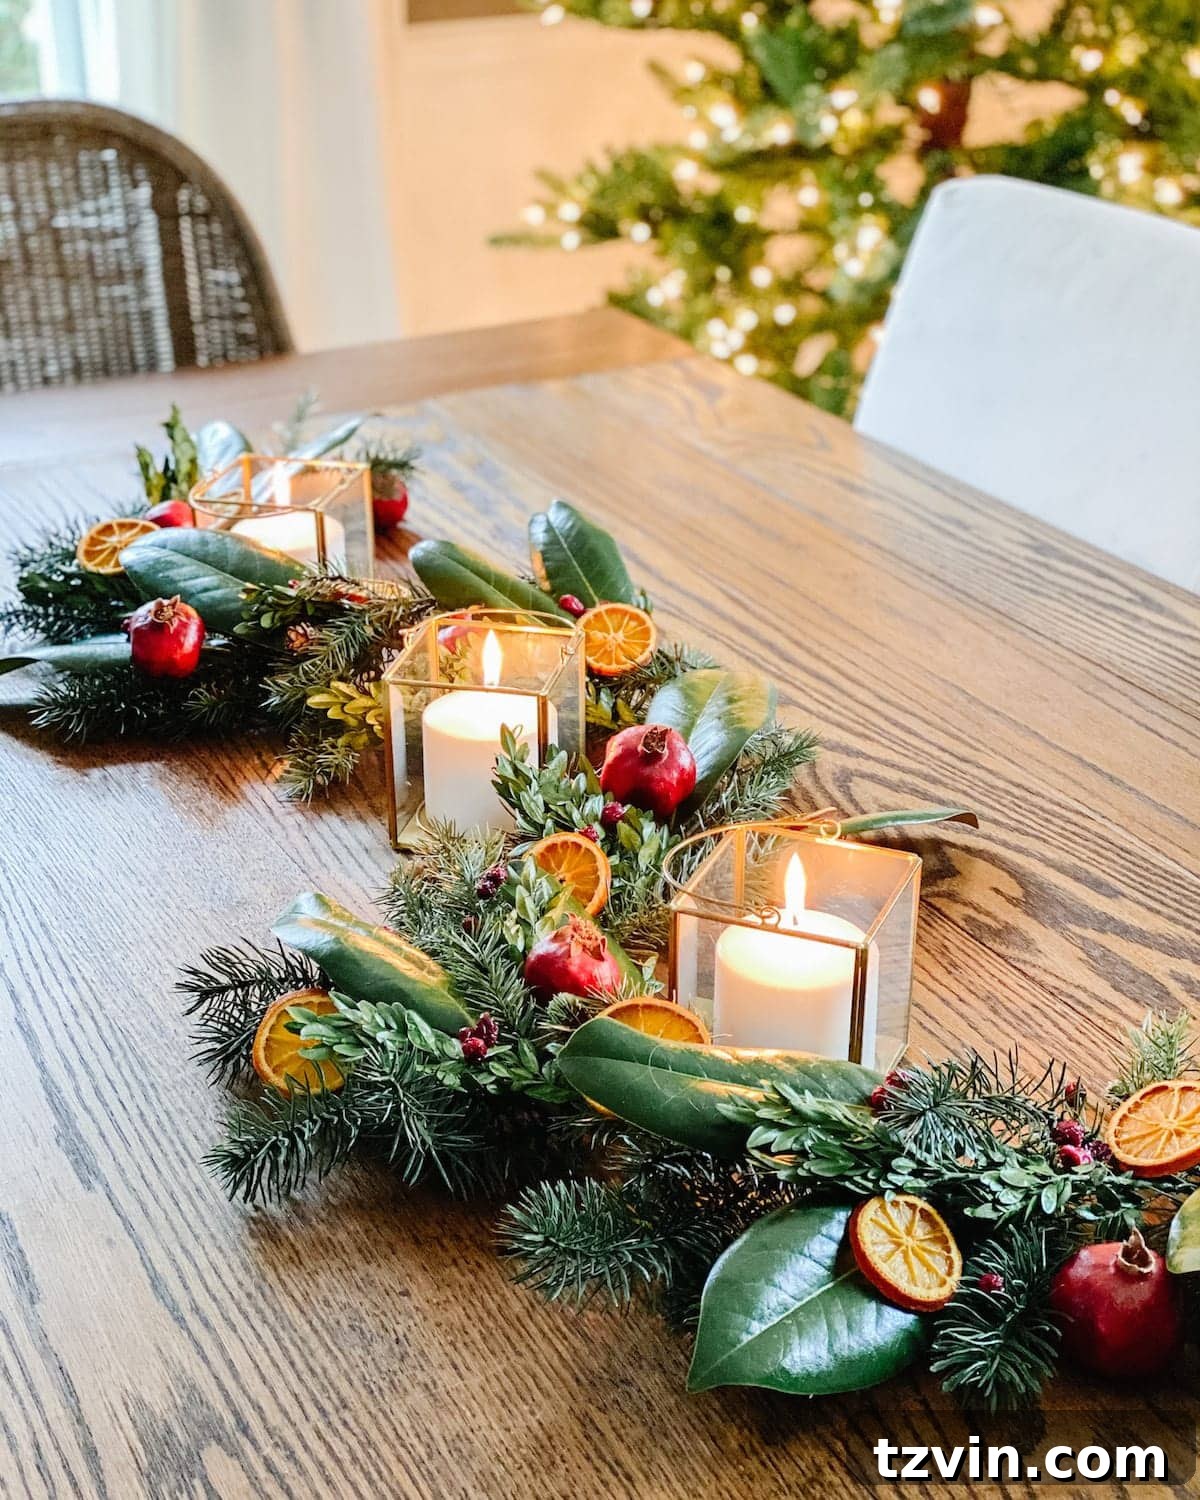
1. **Start with Your Base Garland:** I used an artificial garland I’ve owned for a few years as my foundation. For this tabletop centerpiece, I laid it on the dining table, gently curving it to create space for candles and other elements. The artificial base provides volume and structure that can be easily enhanced.
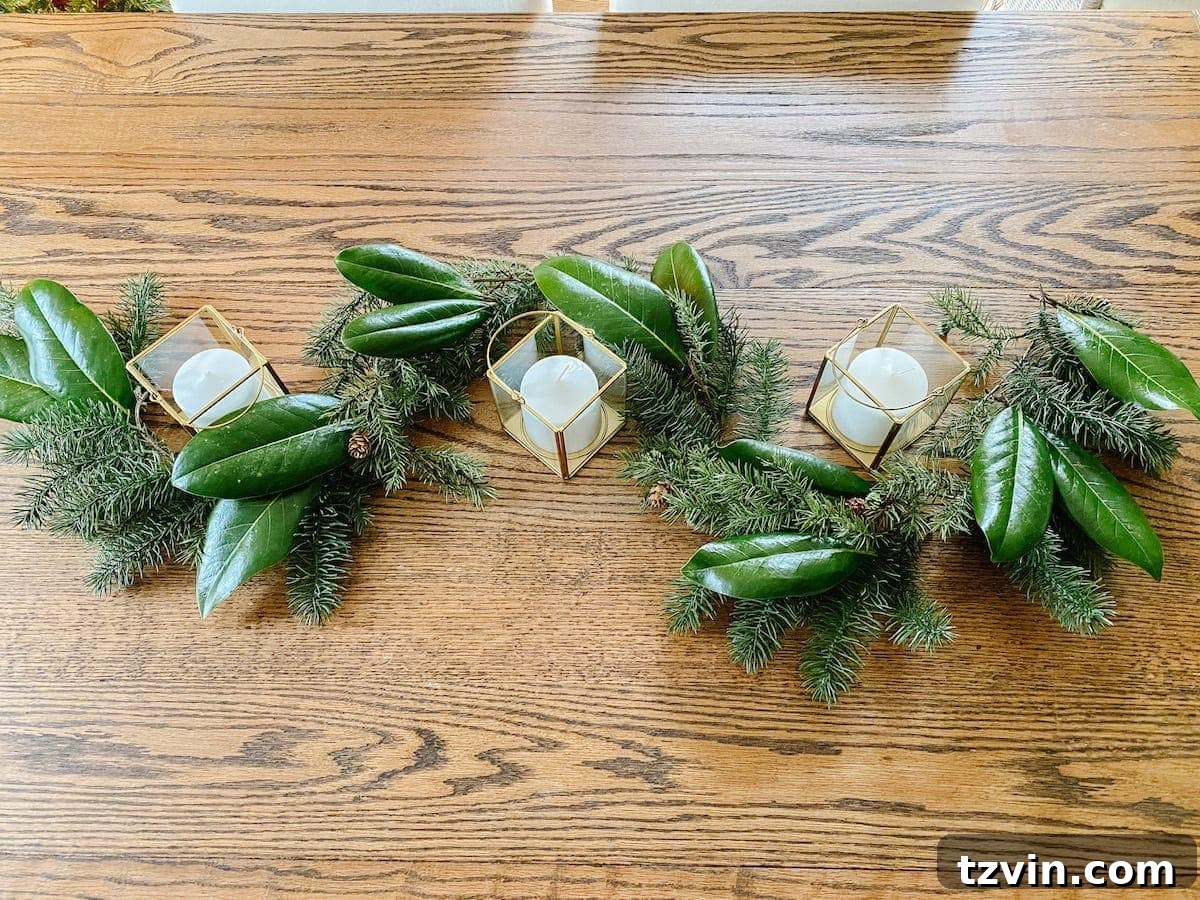
2. **Integrate Preserved Magnolia Leaves:** Next, I added small lanterns for ambient light and then began tucking the stems of the preserved magnolia leaves directly into the artificial garland. Their broad, glossy leaves provide significant visual impact and a beautiful contrast. If this garland were to be hung vertically, I would secure each magnolia stem thoroughly with floral wire for stability. For a centerpiece, simply tucking them in often suffices, but feel free to wire them for extra security.
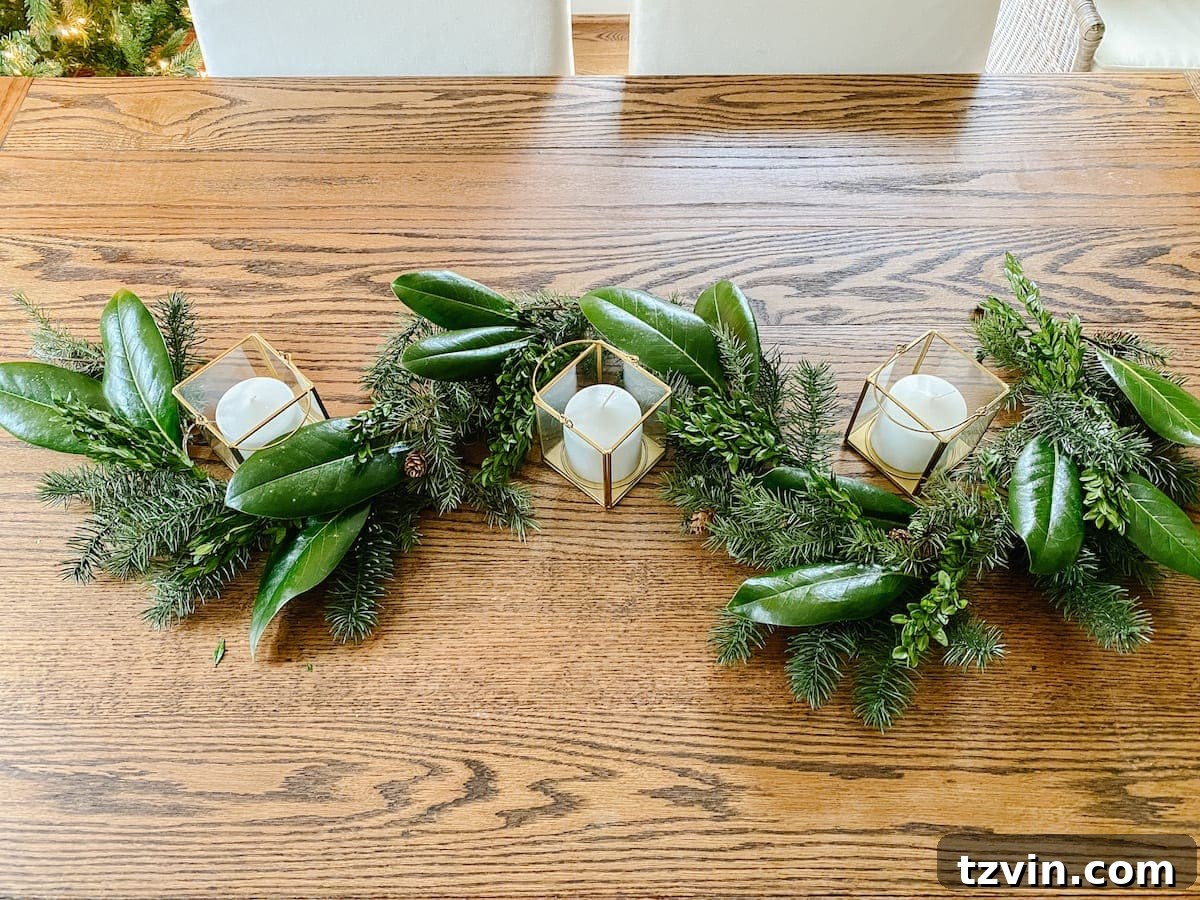
3. **Add Boxwood Stems for Texture:** Following the magnolias, I interspersed the preserved boxwood stems, spacing them evenly between the larger magnolia leaves. The fine texture and bright green of the boxwood add a delicate, intricate layer to the garland, filling in gaps and adding depth. This layering creates a fuller, more luxurious look.
4. **Incorporate Dried Orange Slices:** With the greenery base established, it was time to introduce the dried orange slices. I carefully spaced them throughout the garland, ensuring they were visible and evenly distributed. Their warm, translucent glow brings a cheerful and classic element to the arrangement, drawing the eye with their unique shape and color.
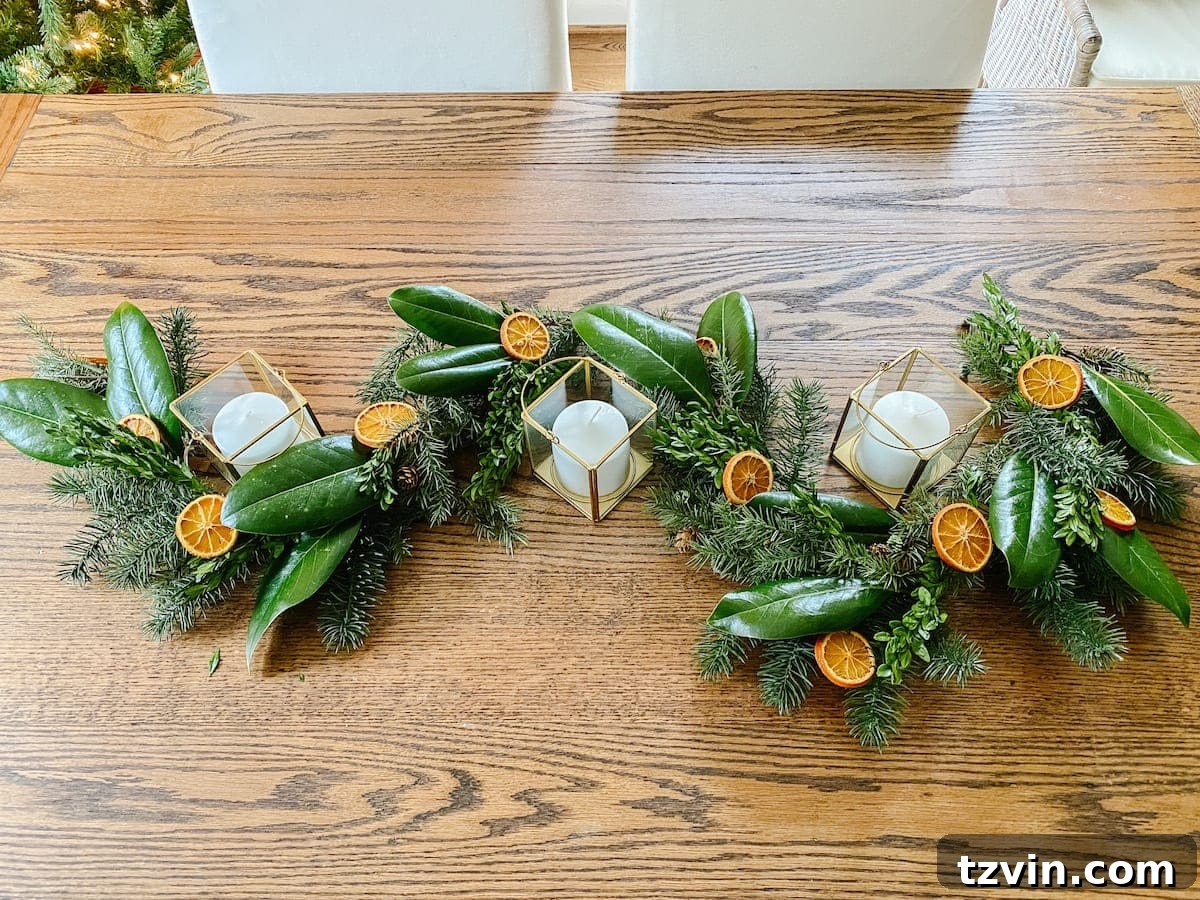
5. **Nestle in Dried Pomegranates:** Next, I gently nestled the dried pomegranates into the deeper sections of the garland. Their larger size and rustic texture create focal points and add a wonderful contrast to the lighter elements. These fruits truly embody the natural, organic feel we’re aiming for.
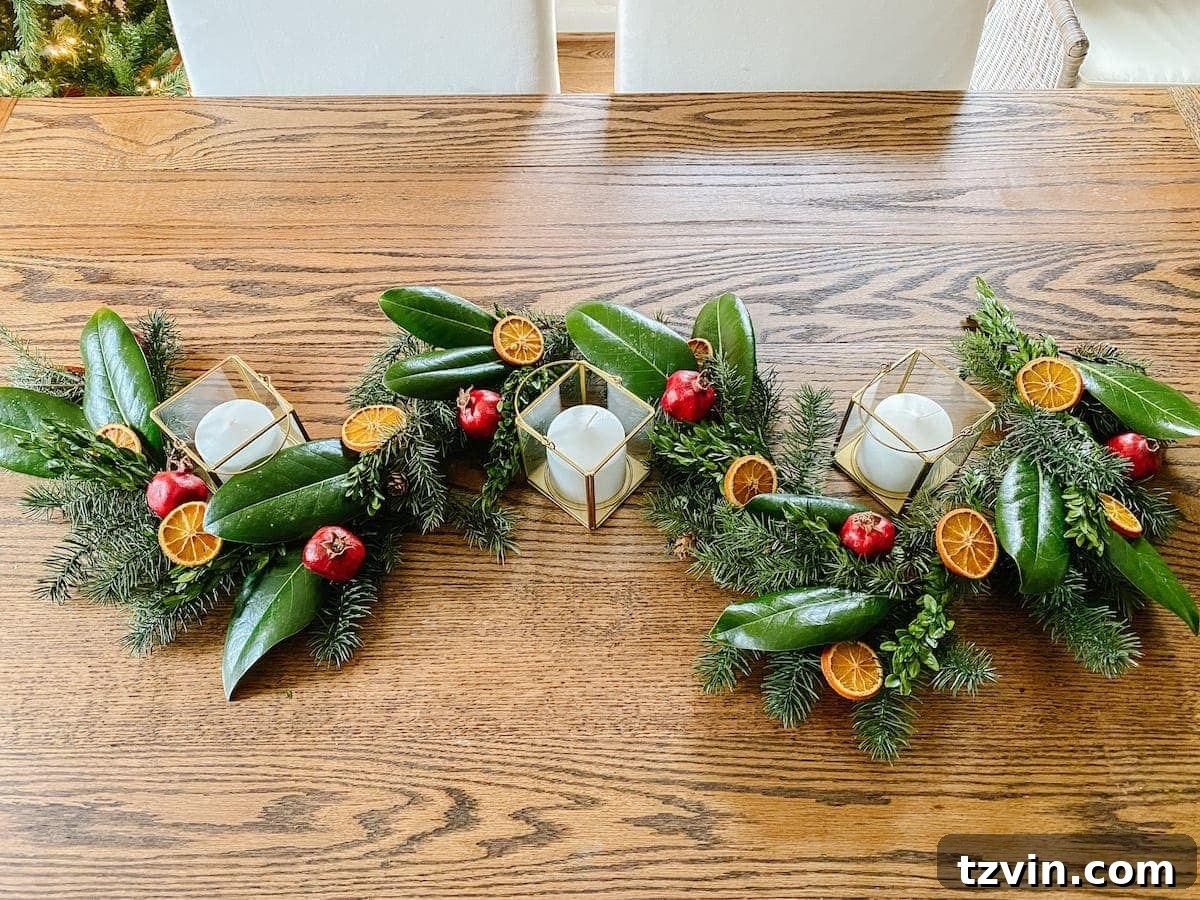
6. **Sprinkle Cranberries and Finishing Touches:** To complete the centerpiece, I generously sprinkled the dried cranberries throughout the entire garland. Their small size and bright color add playful accents and ensure continuity. For an even richer display, consider adding cinnamon sticks for their aroma and visual texture, or whole unshelled nuts like walnuts or pecans for an authentic, rustic feel. These small details make a big difference.
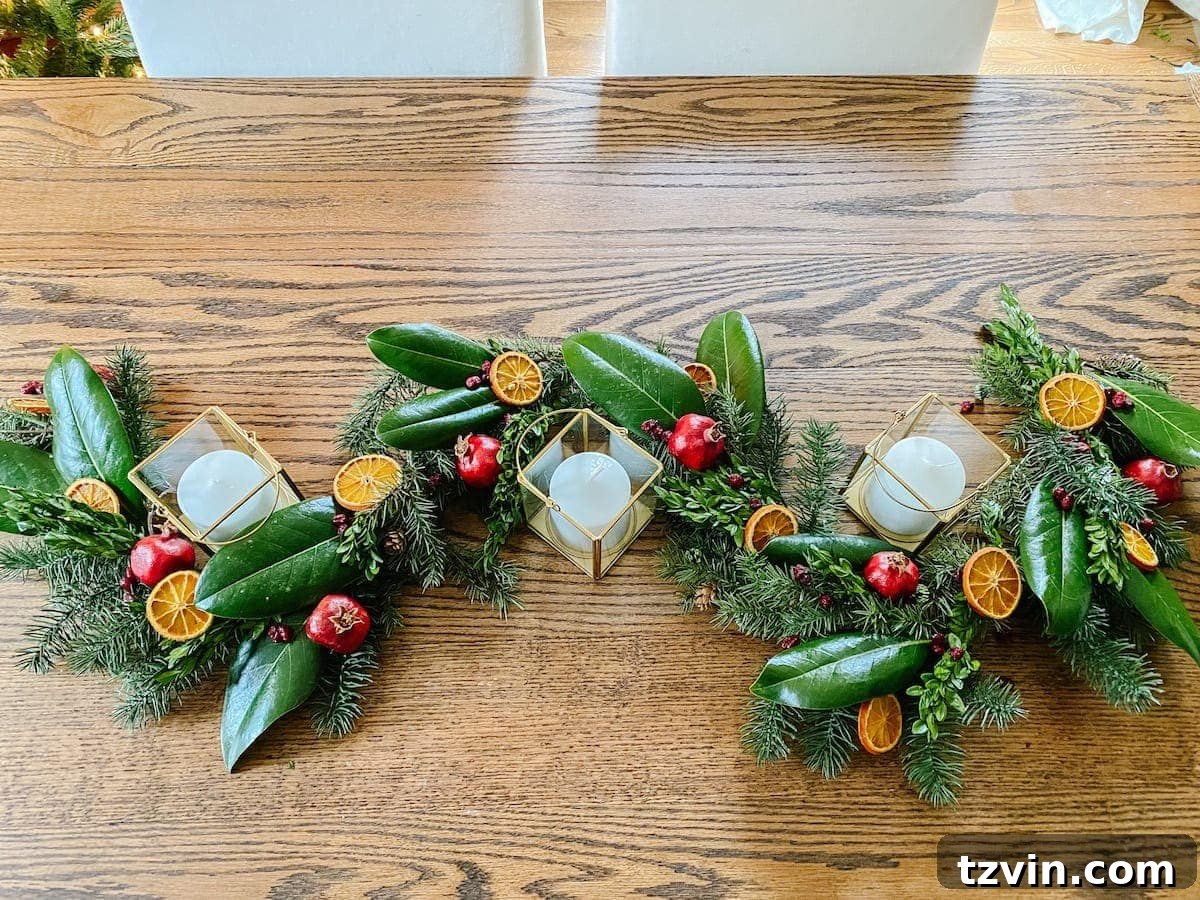
The finished garland exudes a cozy, inviting atmosphere, reminiscent of Colonial Williamsburg’s timeless charm. It truly transforms the space and makes our home feel deeply festive and historically inspired. The combination of textures, colors, and the subtle natural scents creates an immersive sensory experience.
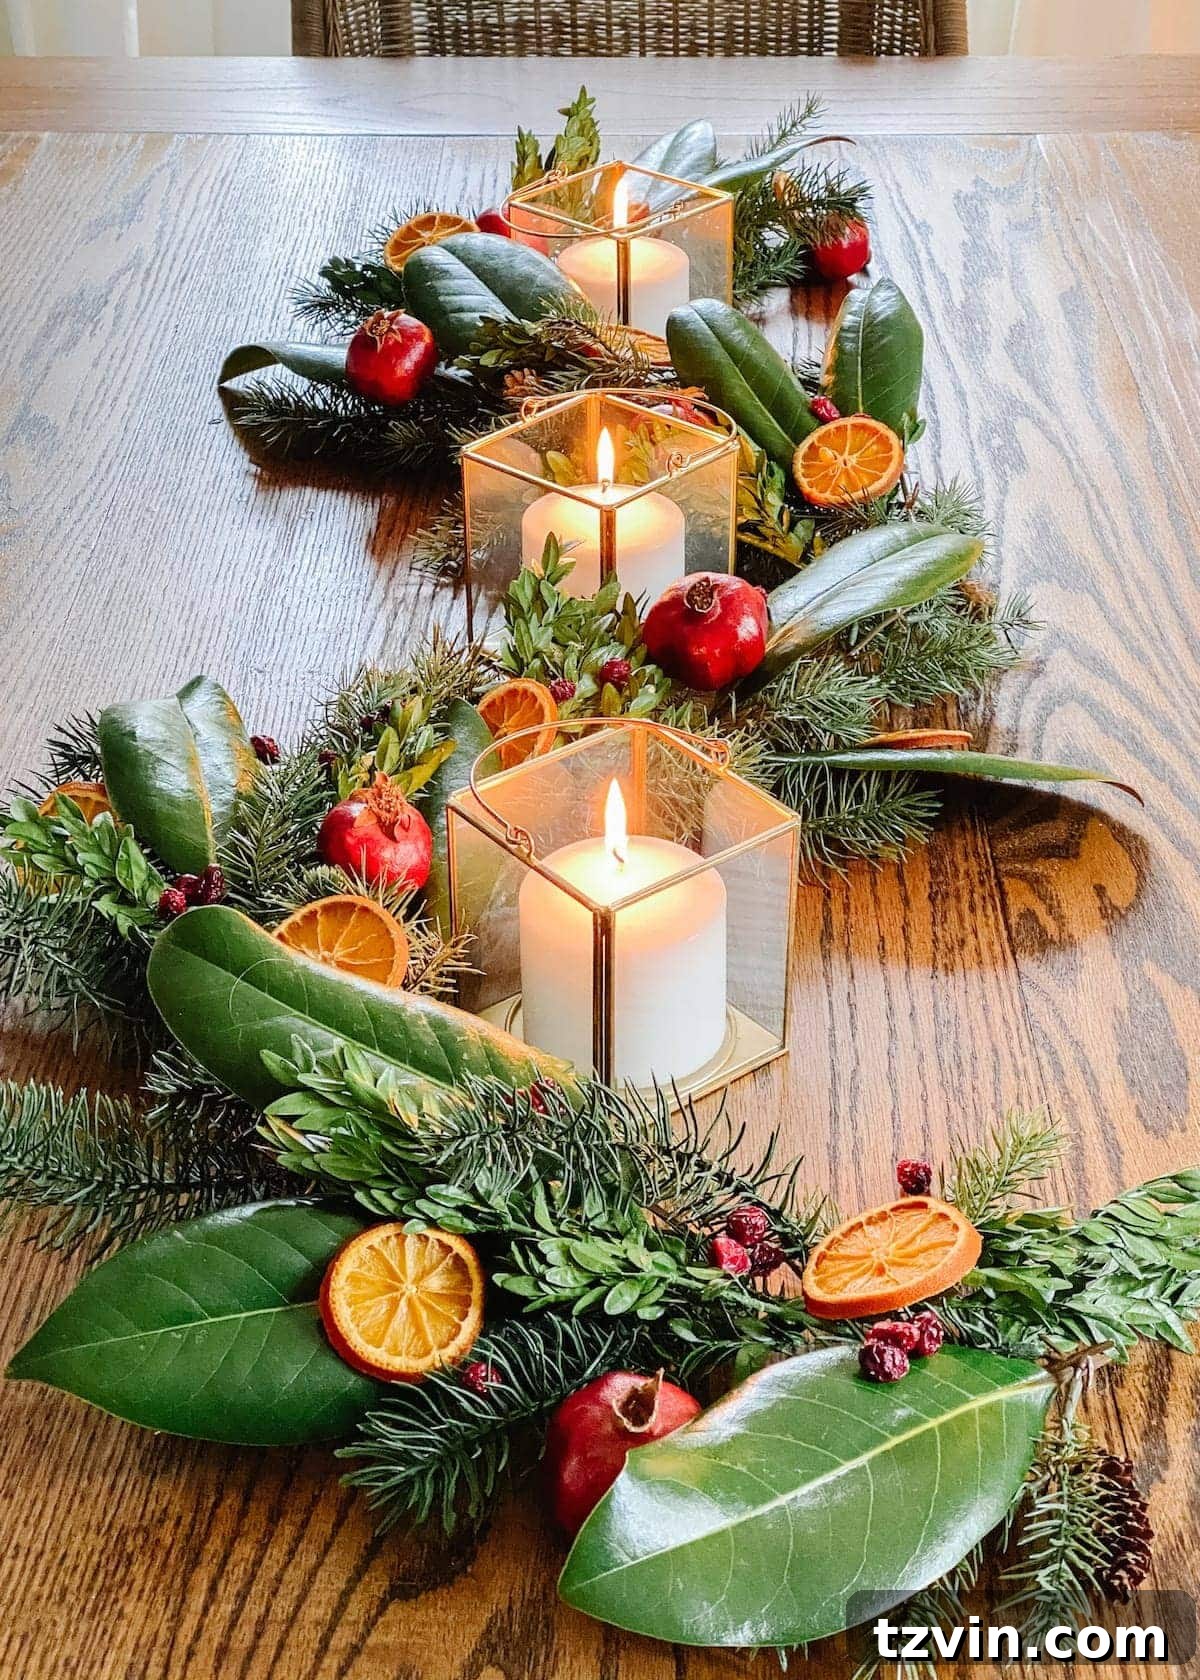
I am eagerly looking forward to distributing these enchanting natural elements throughout our entire home, carrying this consistent theme of organic beauty into every room. This truly makes Christmas feel special and uniquely ours.
Inspiring Natural Christmas Decor Ideas for Your Home
Beyond the centerpiece garland, the possibilities for incorporating dried fruits and preserved leaves into your Christmas decor are endless. These natural elements offer a charming way to achieve a cozy, traditional, and eco-friendly holiday aesthetic, reminiscent of historical holiday celebrations. Here are more creative ideas to bring that touch of Colonial Williamsburg-inspired charm into every corner of your home:
Elevating Staircase Garland with Dried Orange Slices
A staircase garland is often the grand statement of holiday decor in an entryway. To enhance its natural beauty, artfully disperse dried orange slices throughout your artificial or fresh garland. Simply attach them to the garland’s stems using discreet florist wire. The citrusy pop of color against green foliage creates a stunning visual appeal that is both festive and refined. Consider adding small bows or ribbons for an extra touch of elegance.
Tutorial: How to Hang Garland on Stairs + Entryway Christmas Decor

Brighten Your Kitchen with Living Paperwhites
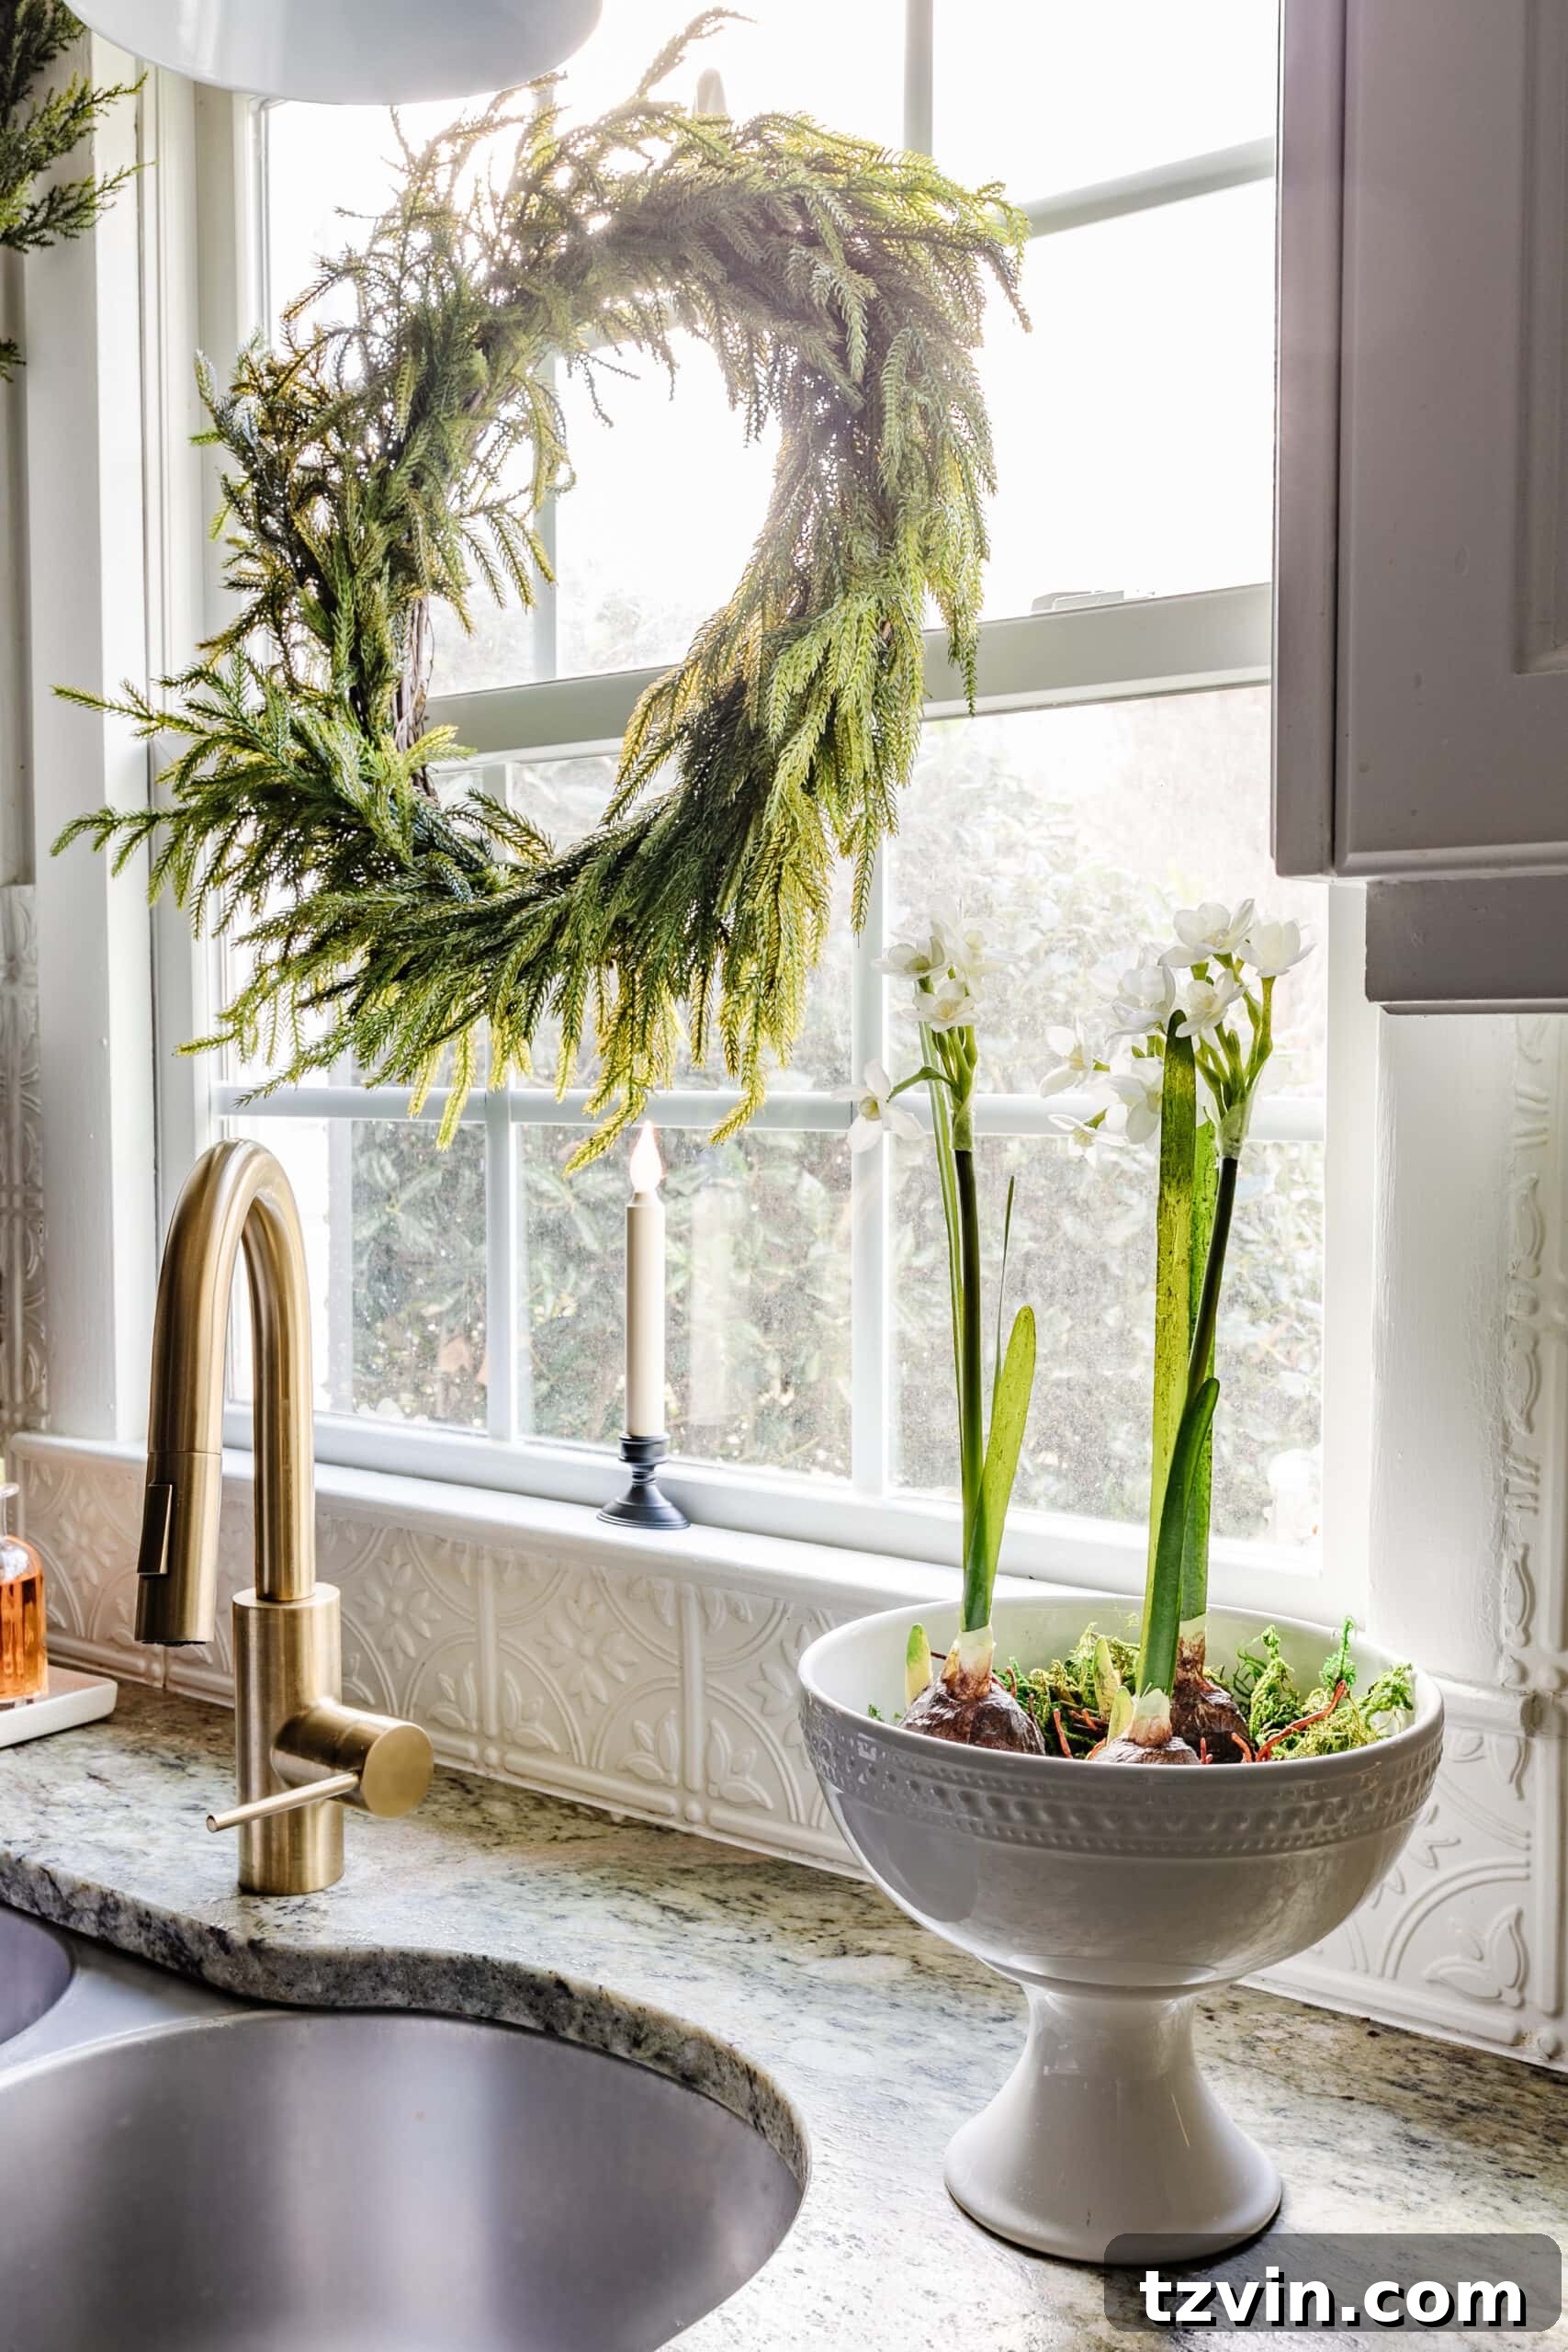
For a simple yet elegant natural Christmas decoration, plant paperwhite narcissus bulbs in a beautiful bowl. Place this fragrant arrangement by your kitchen sink or on a countertop. Paperwhites are known for their delicate white blooms and intoxicating scent, bringing a touch of fresh, living nature indoors. The best part is their beauty extends well beyond Christmas, making them a wonderful decoration that lasts into January, providing cheer long after the holidays are over. Just ensure they get enough light and water.
Crafting Aromatic Orange Pomanders for Table Centerpieces
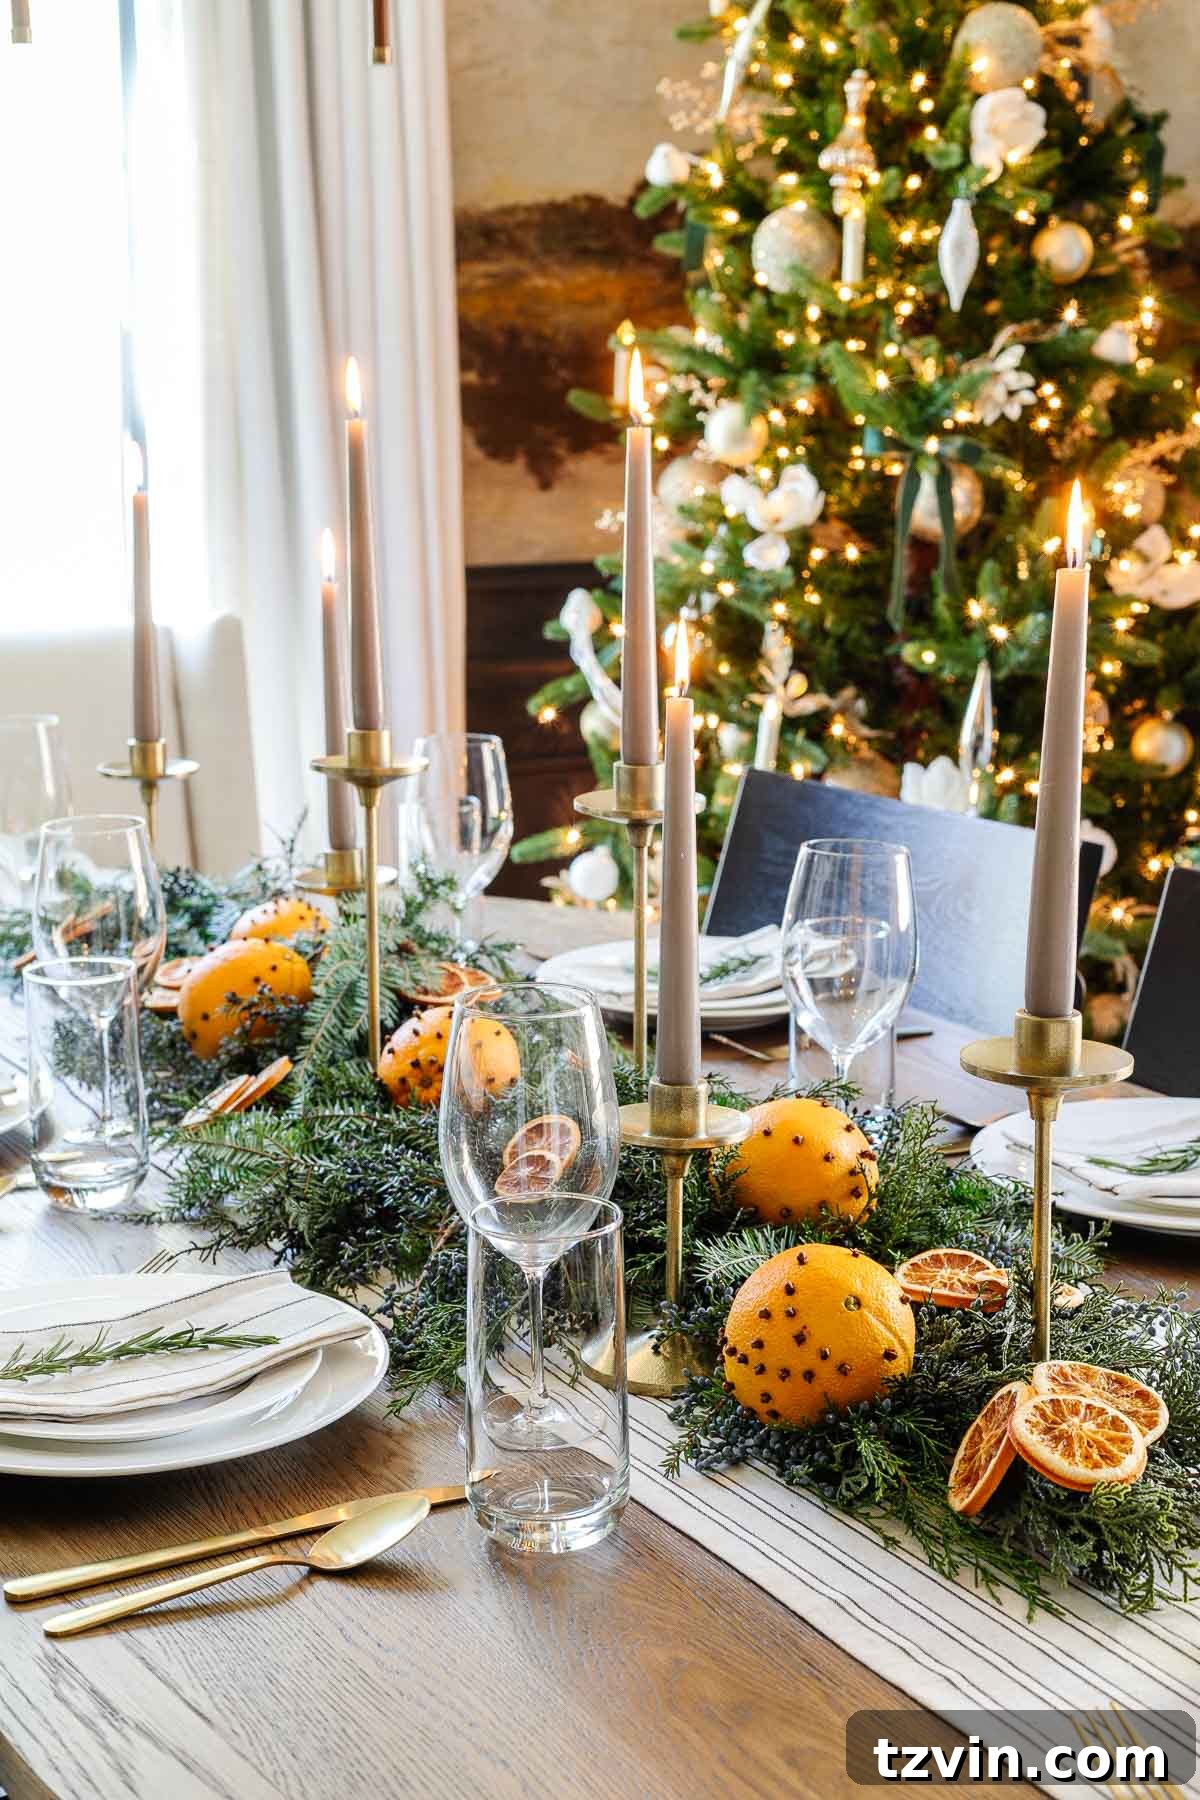
Orange pomanders are a timeless tradition, dating back to the Medieval era when they were originally crafted to ward off unpleasant smells. Today, they are cherished for their aesthetic beauty and wonderful fragrance. To make one, use a toothpick to meticulously poke holes all over a fresh orange, creating a pattern if desired (e.g., spirals, stars, or simple rows). Then, press whole cloves into each of these holes until the orange is covered. As the orange dries, it will infuse your home with a beautiful, spicy aroma that perfectly complements the holiday season. Arrange them in a bowl or alongside your table centerpiece for an authentic, traditional touch.
Tutorial: Simple and Inexpensive Christmas Table Centerpiece
Chic Place Card Holders Using Foraged Leaves
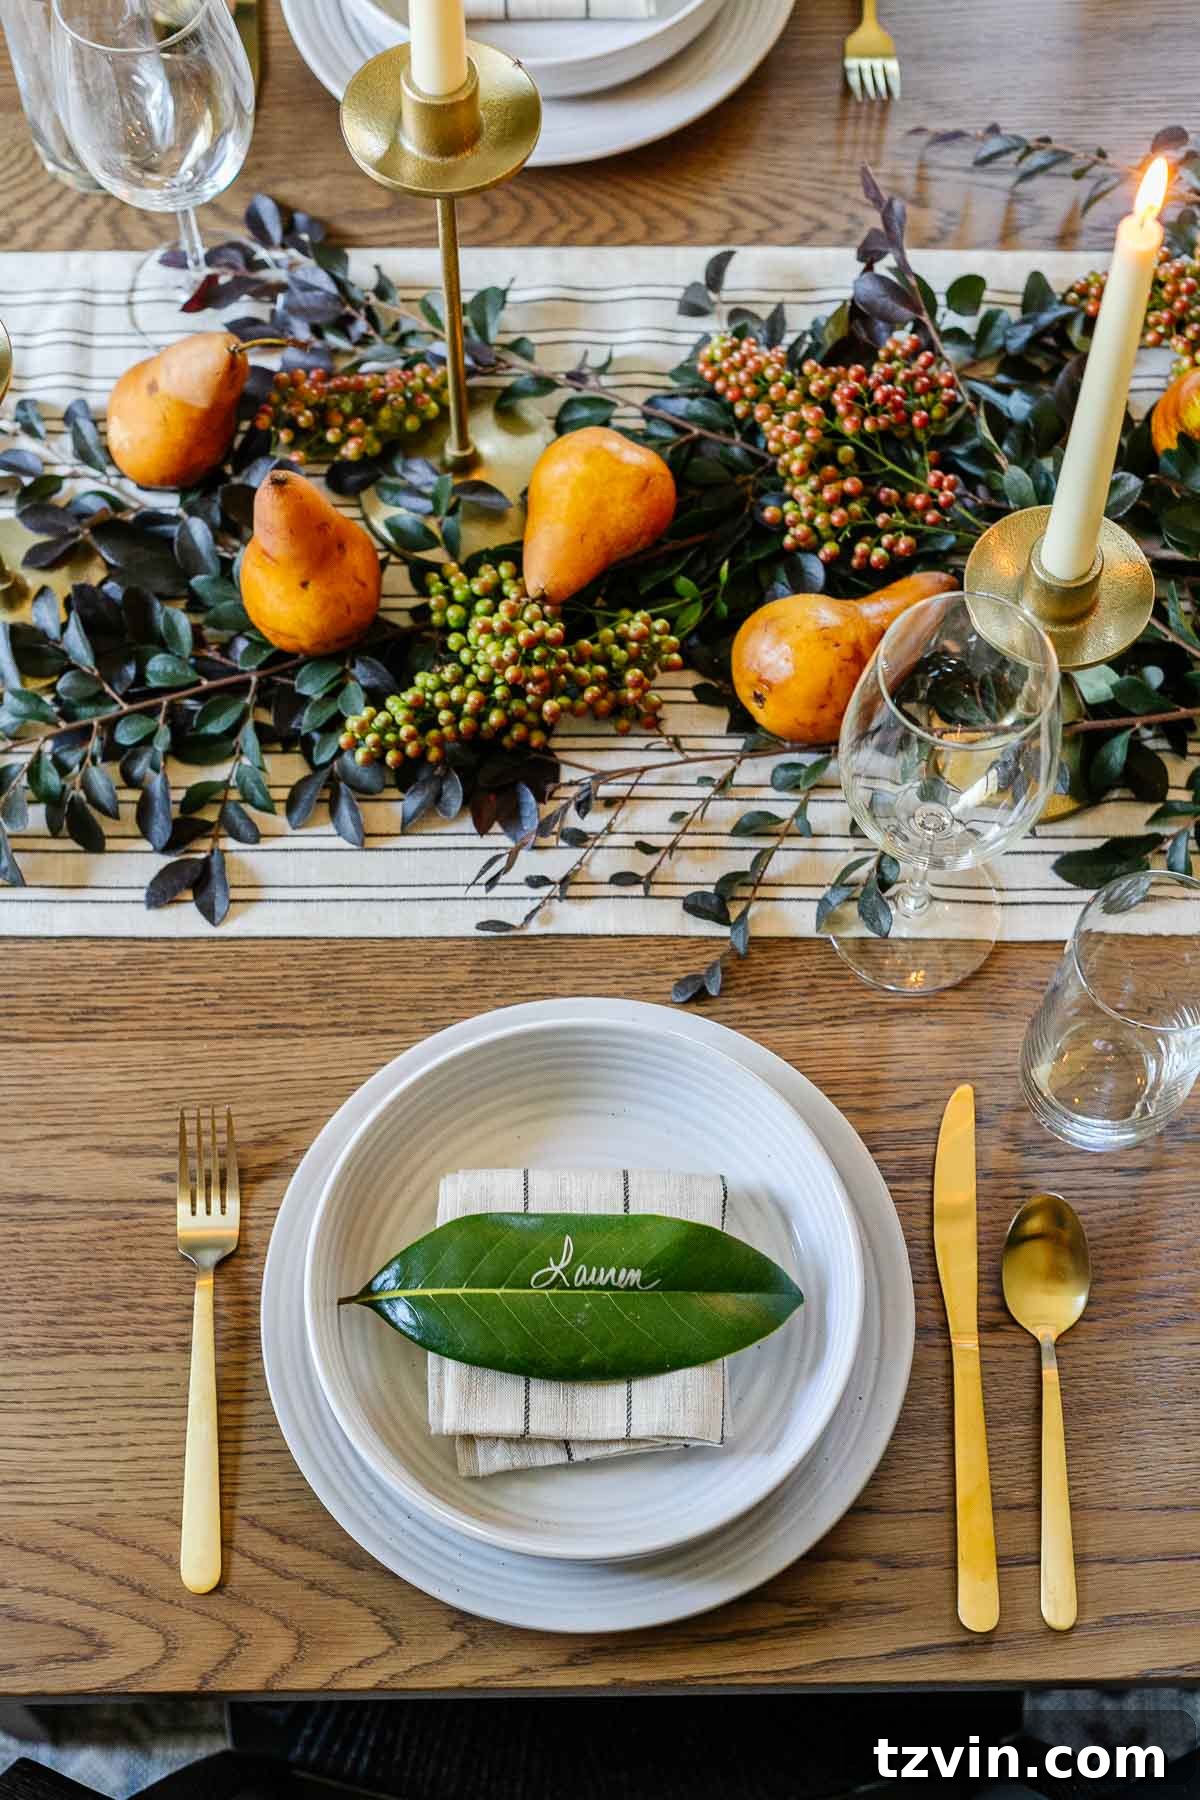
Incorporating freshly snipped pine, juniper, or cedar branches into your decor not only looks stunning but also fills your home with an incredible, natural fragrance. Before bringing them inside, dunk them in water for about an hour to dislodge any small bugs, then give them a good shake and let them air dry outdoors. For a unique and personal touch at your holiday dinner table, use preserved magnolia leaves as elegant place card holders. Simply write your loved ones’ names on them with a metallic Sharpie pen. This adds a sophisticated, bespoke element to your table setting that guests will surely appreciate.
Tutorial: Simple Thanksgiving Table Decor Done in 10 Minutes
Enhance Greenery with Rustic Pine Cones
Foraging your yard for pine cones of various shapes and sizes is a simple yet effective way to make your artificial garlands and wreaths appear more realistic and full of natural character. Before using them, it’s essential to clean them properly. Bake your pine cones in the oven at 200°F (93°C) for approximately 30 minutes, placing them on a cookie sheet. This process helps to eliminate any lingering bugs or sap. Monitor them throughout to prevent burning. Once cooled, attach these natural treasures to your greenery using a bit of florist wire. They add wonderful texture and an authentic touch that elevates any holiday display.
Tutorial: How to Make Beautiful DIY Mantel Garland for Christmas
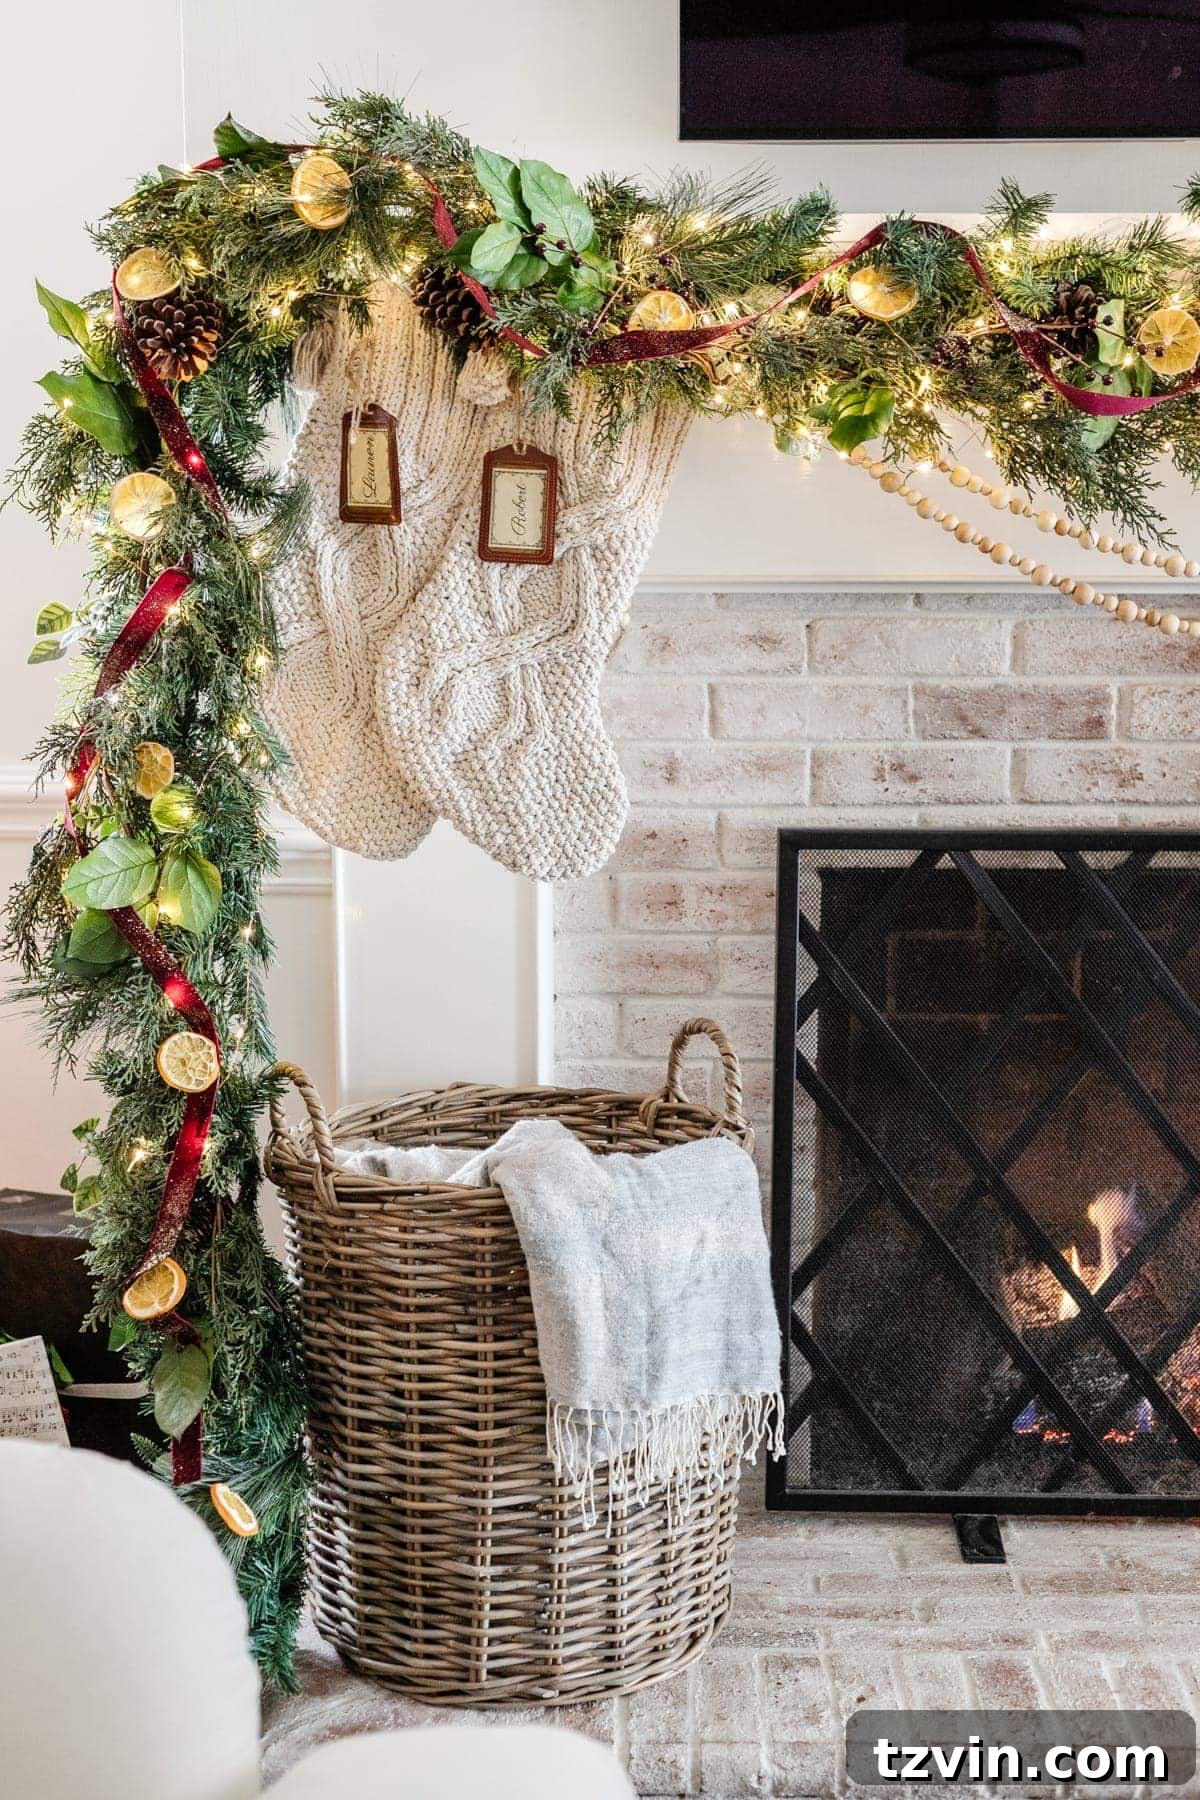
Crafting Your Own DIY Orange Slice Garland
Once you’ve mastered drying orange slices, stringing them into a garland is the next delightful step. Use a needle and sturdy thread or fishing line to carefully string the dried slices together. For an extra touch of charm and a subtle jingle, I love adding small mini bells between some of the orange slices. This garland looks beautiful draped across a mantel, strung along a window frame, or even nestled into a Christmas tree. It’s a wonderful way to utilize your dried fruit and add a personalized, handcrafted feel to your decor.
Tutorial: How to Make Dried Orange Slice Garland
Have you ever embraced the art of drying or preserving elements from your yard, or perhaps transformed produce from the grocery store into enchanting Christmas decor? There’s a profound joy and satisfaction in crafting decorations with your own hands, especially when they connect you to nature.
It’s a truly rewarding tradition to infuse your store-bought Christmas decor with these natural, historical touches. This approach not only makes your holiday displays uniquely beautiful but also adds a layer of depth and personal meaning that mass-produced items simply can’t replicate. Give it a try this season and discover the magic of natural Christmas decorating!