
Build an Oversized Faux Fireplace: Part 1 – Framing the Dream with a Thrifted Mantel
Seven months into living in our new builder-grade home, the longing for a cozy fireplace became undeniable. Especially moving in just a week before Christmas, the absence of a mantel for our stockings highlighted this desire even more. A built-in fireplace from the builder would have set us back a staggering $5,000 – a sum far beyond our budget. That’s when a wonderfully ambitious idea sparked: what if we built a faux fireplace that looked incredibly realistic, felt substantial, and offered more than just a decorative front?
This wasn’t going to be a simple mantel tacked onto a wall. Our vision was grand – an oversized, statement-making piece that would transform our living space. This ambitious DIY journey is so extensive, I’ve had to break it down into a multi-part series, and you’re embarking on the foundational steps with me today. Stick around, because by the end of this series, I’ll show you how we achieved this impressive feature for under $500! That’s a significant saving, even if it is a “faux” one.
Why a Faux Fireplace is a Brilliant DIY Project
Beyond the obvious aesthetic appeal, a faux fireplace offers a myriad of benefits that make it an incredibly clever home improvement project. Firstly, it’s a game-changer for budget-conscious homeowners. Achieving the architectural charm of a real fireplace without the hefty price tag of construction, gas lines, or chimney work is a huge win. Secondly, it provides an incredible focal point for any room, instantly adding warmth, character, and a sense of permanence. It’s perfect for those who rent, as many designs can be freestanding or attached with minimal, reversible modifications.
Our specific design goes a step further: it’s not just for show. We incorporated hidden functionality, making it a smart storage solution and a clever way to manage unsightly cables. This blend of form and function elevates it beyond a mere decorative piece, offering practical utility that a traditional fireplace often lacks. It’s an ideal project for anyone looking to add a significant decorative element and practical storage to their living room without breaking the bank.
Project Updates: Continue Your Journey Here!
For those eager to see the full transformation, you can follow along with the entire series:
- Part Two
- Part Three
- And the highly anticipated Final Reveal!
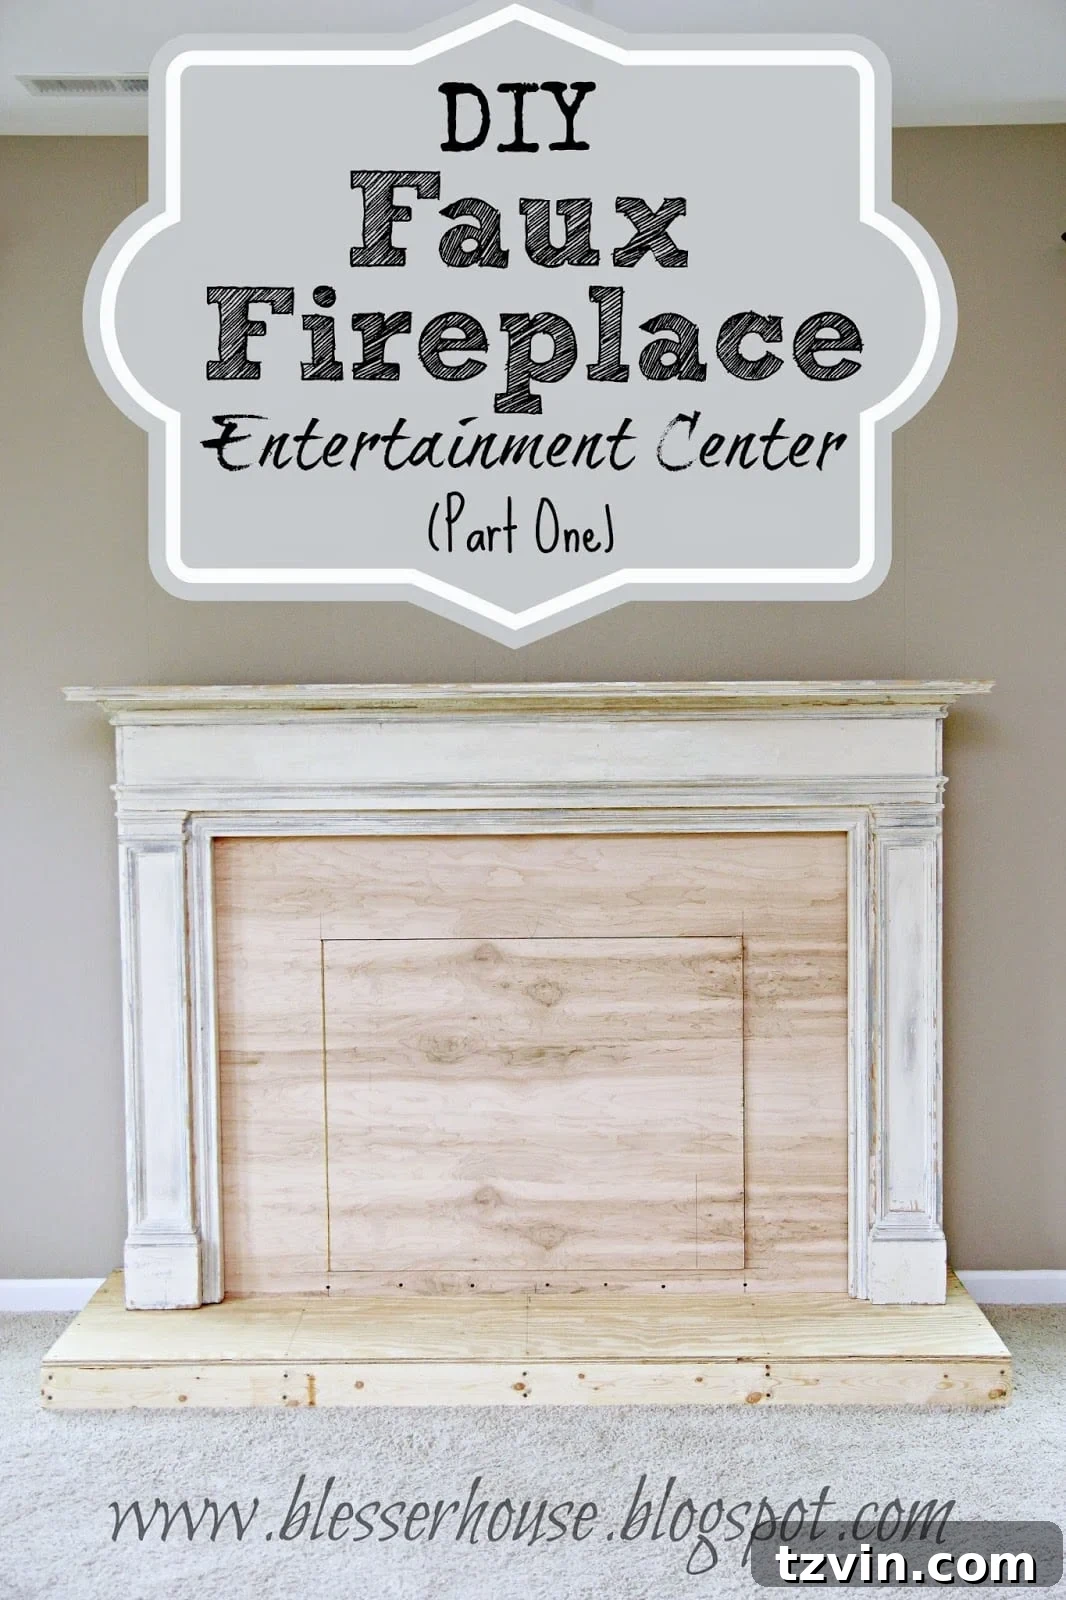
The Journey Begins: From Clutter to Blank Canvas
Just a week prior, our living room looked quite different. We were grappling with a situation I’ve shared before – a battle against clutter and the persistent energy of a toddler. Our wall space was occupied by these open shelves:
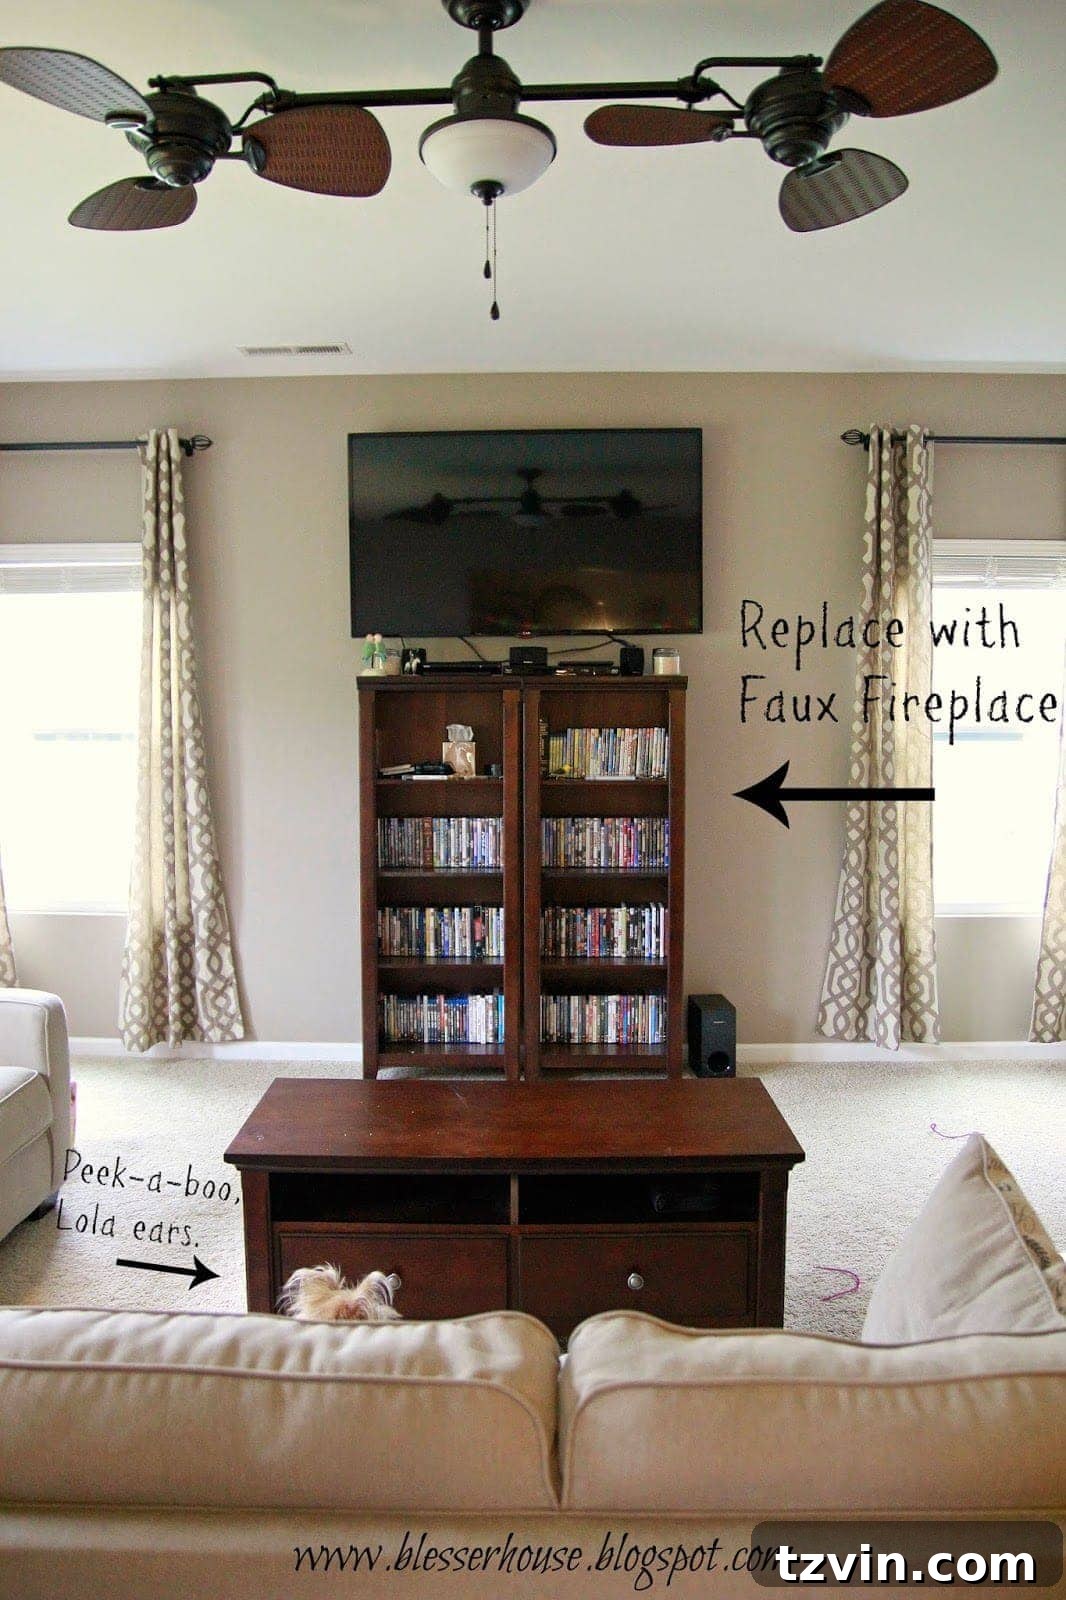
These shelves, while functional, became a daily challenge. Our toddler, with impressive determination, made it her mission to empty every single DVD case onto the floor. The constant tidying up was exhausting! So, we made the decision to relocate those bookcases to the office, leaving us with a wonderfully blank slate:
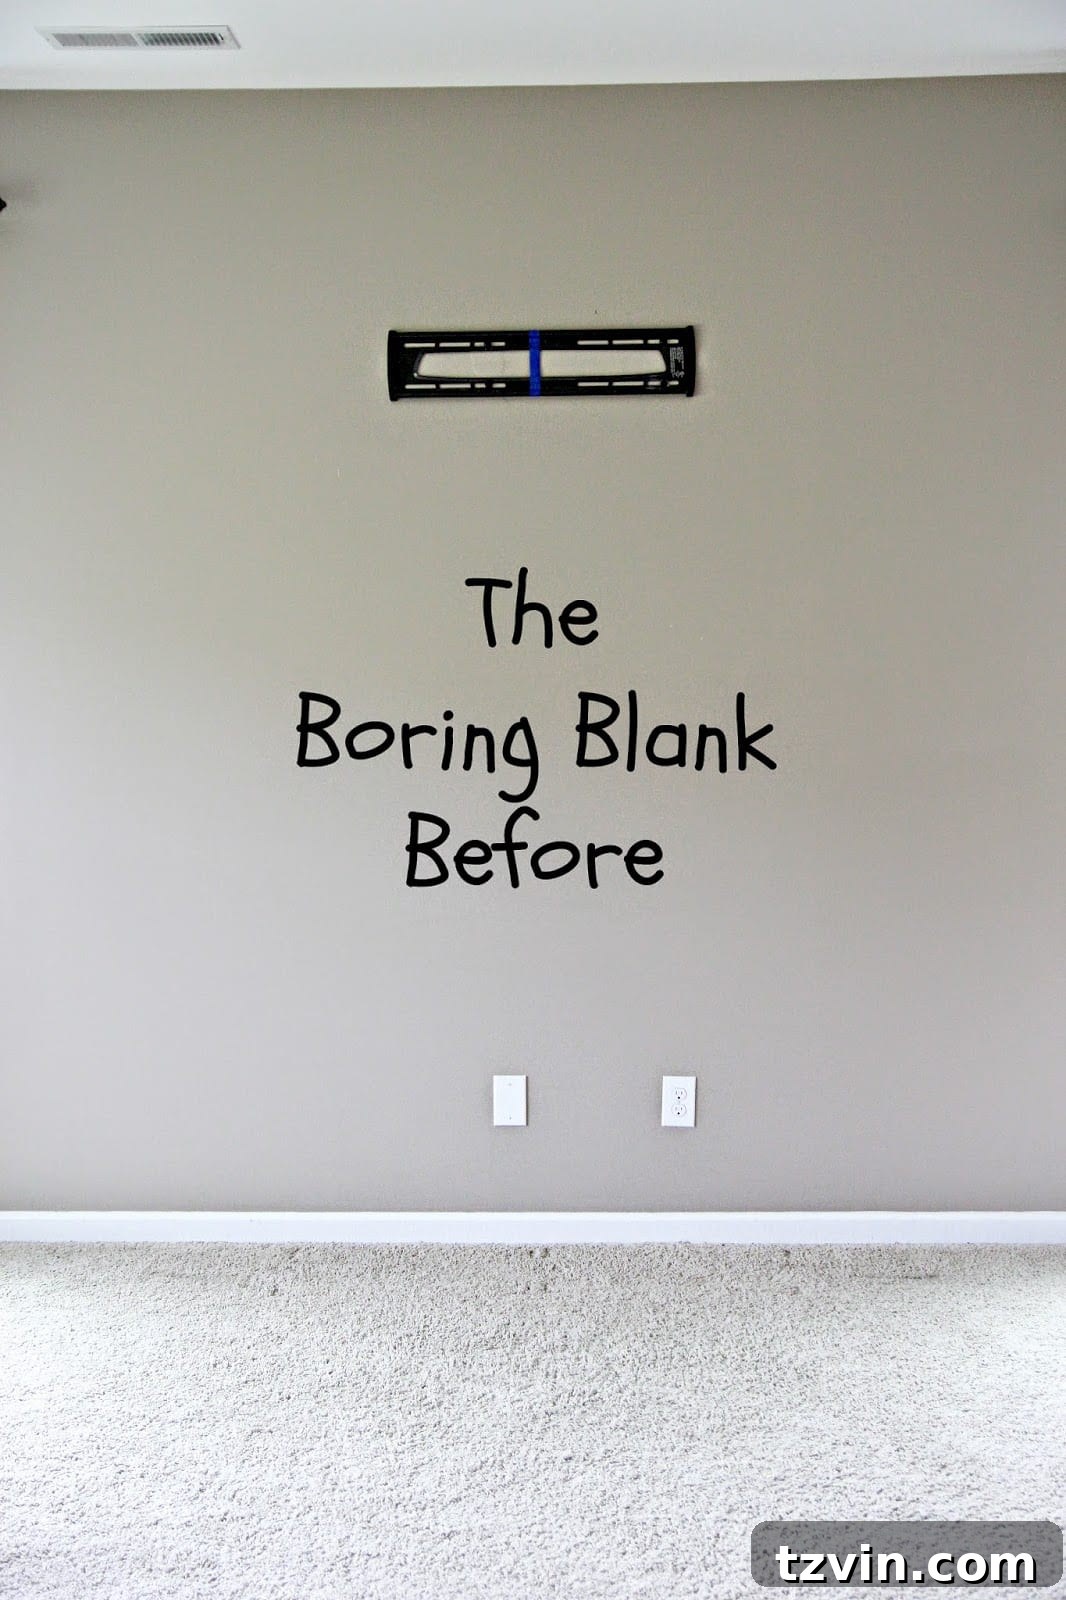
Yes, we truly started from scratch, or at least mostly. The star of our project, the vintage mantel, was discovered months ago. We found this beautiful piece from a house being demolished in Charlotte. My husband, Robert, recalls the seller mentioning it was built in 1916, while I thought I heard 1940. Regardless of the exact year, this mantel undeniably carries a rich history and unique character that a new, off-the-shelf option couldn’t replicate. This find for just $100 on Craigslist was the foundation of our entire oversized fireplace dream.
This ambitious project also received invaluable assistance from my ingenious father-in-law, who dedicated an entire weekend to help us bring this vision to life. He truly deserves a medal (or at least a lollipop!). My main role, I confess, was shadowing their masterful work and occasionally capturing the process with my camera.
Essential Supplies for Your Faux Fireplace Project (Part One)
Here’s a detailed list of the tools and materials we used for the initial framing and construction in Part One. Remember, investing in quality tools can make your DIY projects much smoother and safer. (Affiliate links are provided below for your convenience. For more information, please see my full disclosure here.)
- The Ready-Made Mantel Front: (Our vintage find for $100 on Craigslist) This is your starting point and will dictate many of your measurements.
- 3 Plywood Sheets: Opt for a good quality plywood that will provide a smooth surface for your chosen finish.
- 9 2×4 Boards: These will form the sturdy frame of your hearth and the internal structure.
- Carpentry Nails: For robust structural connections.
- Finishing Nails: For securing plywood panels and other visible parts with a cleaner finish.
- Drywall Screws: Versatile for attaching plywood to the frame.
- Tape Measure: Absolutely crucial for accurate measurements. Measure twice, cut once!
- Circular Saw: Essential for making long, straight cuts in plywood and 2x4s. (I’ve heard amazing things about this one, which we’ll soon be upgrading to.)
- Jigsaw: Perfect for intricate cuts, especially when creating the firebox opening. (We use this one a lot and highly recommend it.)
- Piano Hinge: For the functional firebox door, providing smooth operation along its entire length.
- Hammer or Pneumatic Nail Gun: (We have this 3-in-one nailer/stapler and love it for speed and efficiency!)
- Power Drill: For pre-drilling holes and driving screws.
- Hack Saw: Useful for cutting the piano hinge to size.
- Safety Glasses and Gloves: Always prioritize safety when working with power tools!
*A crucial note on measurements: I haven’t included specific dimensions in this post because your measurements will be entirely dependent on the size of your chosen mantel and the dimensions of your room. Always remember that when it comes to fireplaces, an oversized, statement-making piece often looks more grand and intentional in a room than a small one, which can easily be dwarfed, especially in a larger space. Plan accordingly to ensure your faux fireplace commands attention in the best way possible.
Step-by-Step Construction: Building the Foundation
1. Planning and Initial Layout
The very first step was to determine the exact center of our wall and then establish the overall dimensions for our fireplace based on the beautiful vintage mantel we had acquired. This meticulous planning is key to ensuring the final structure is perfectly centered and proportional to the room.
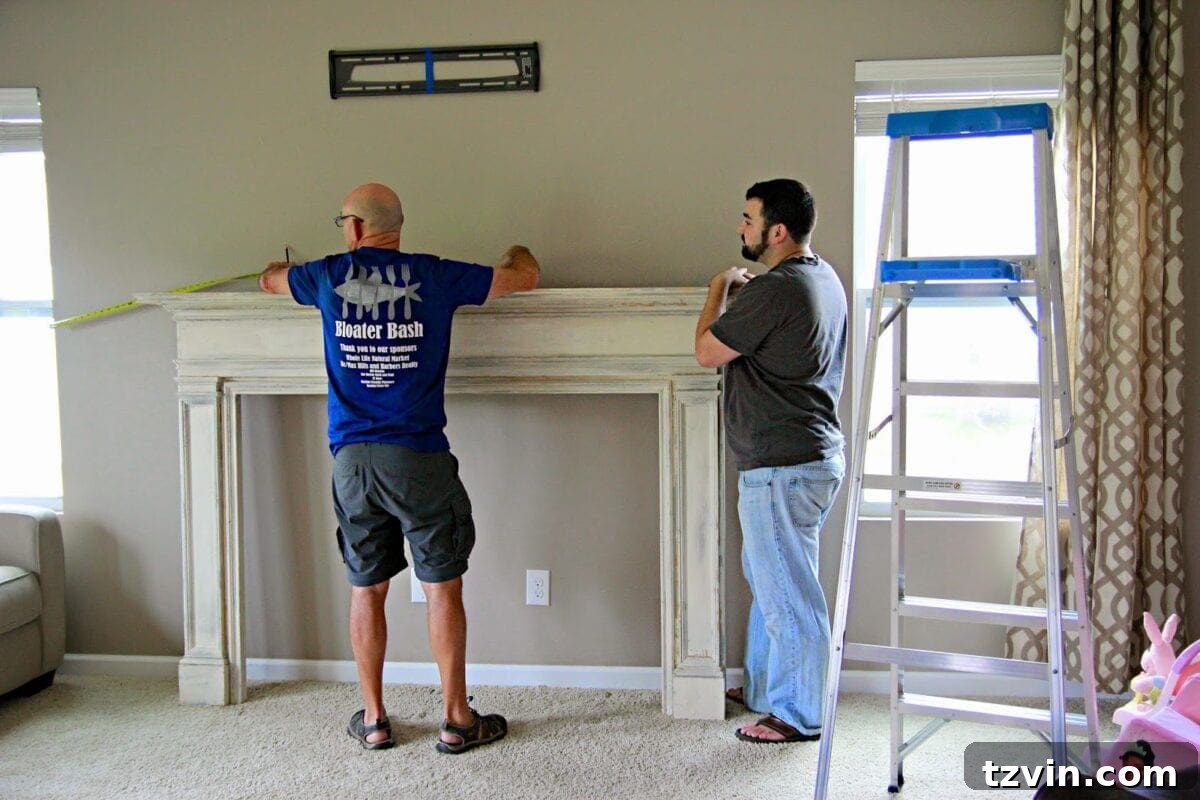
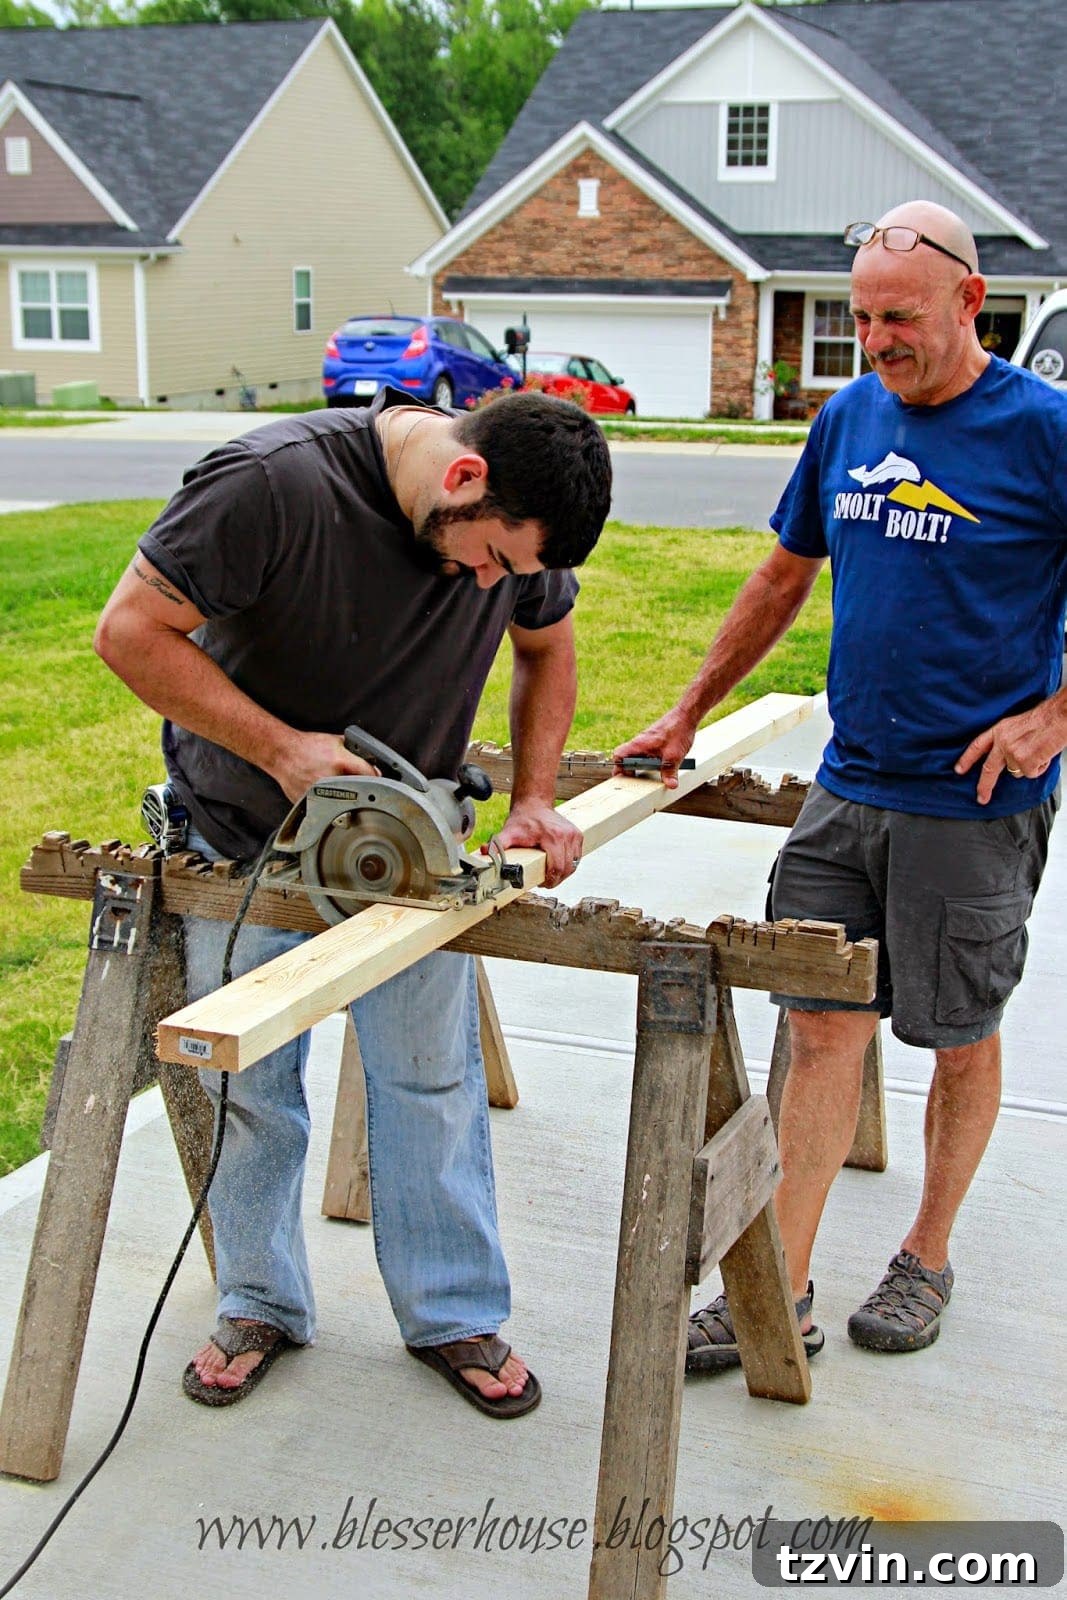
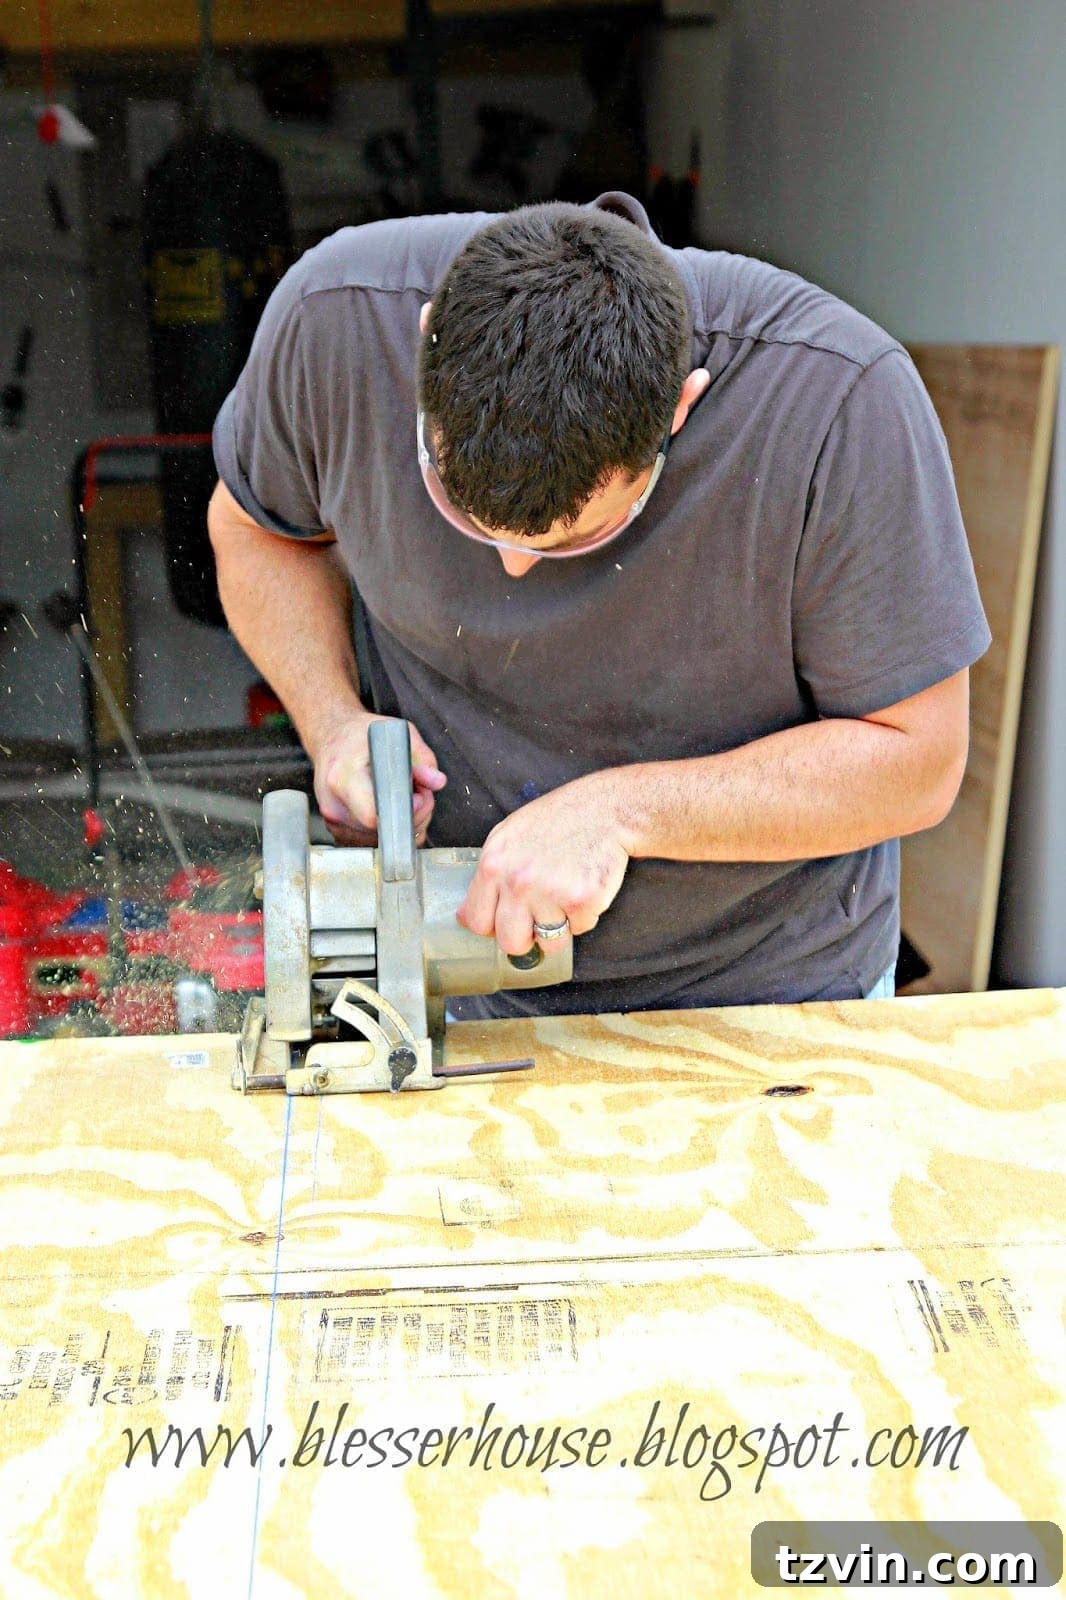
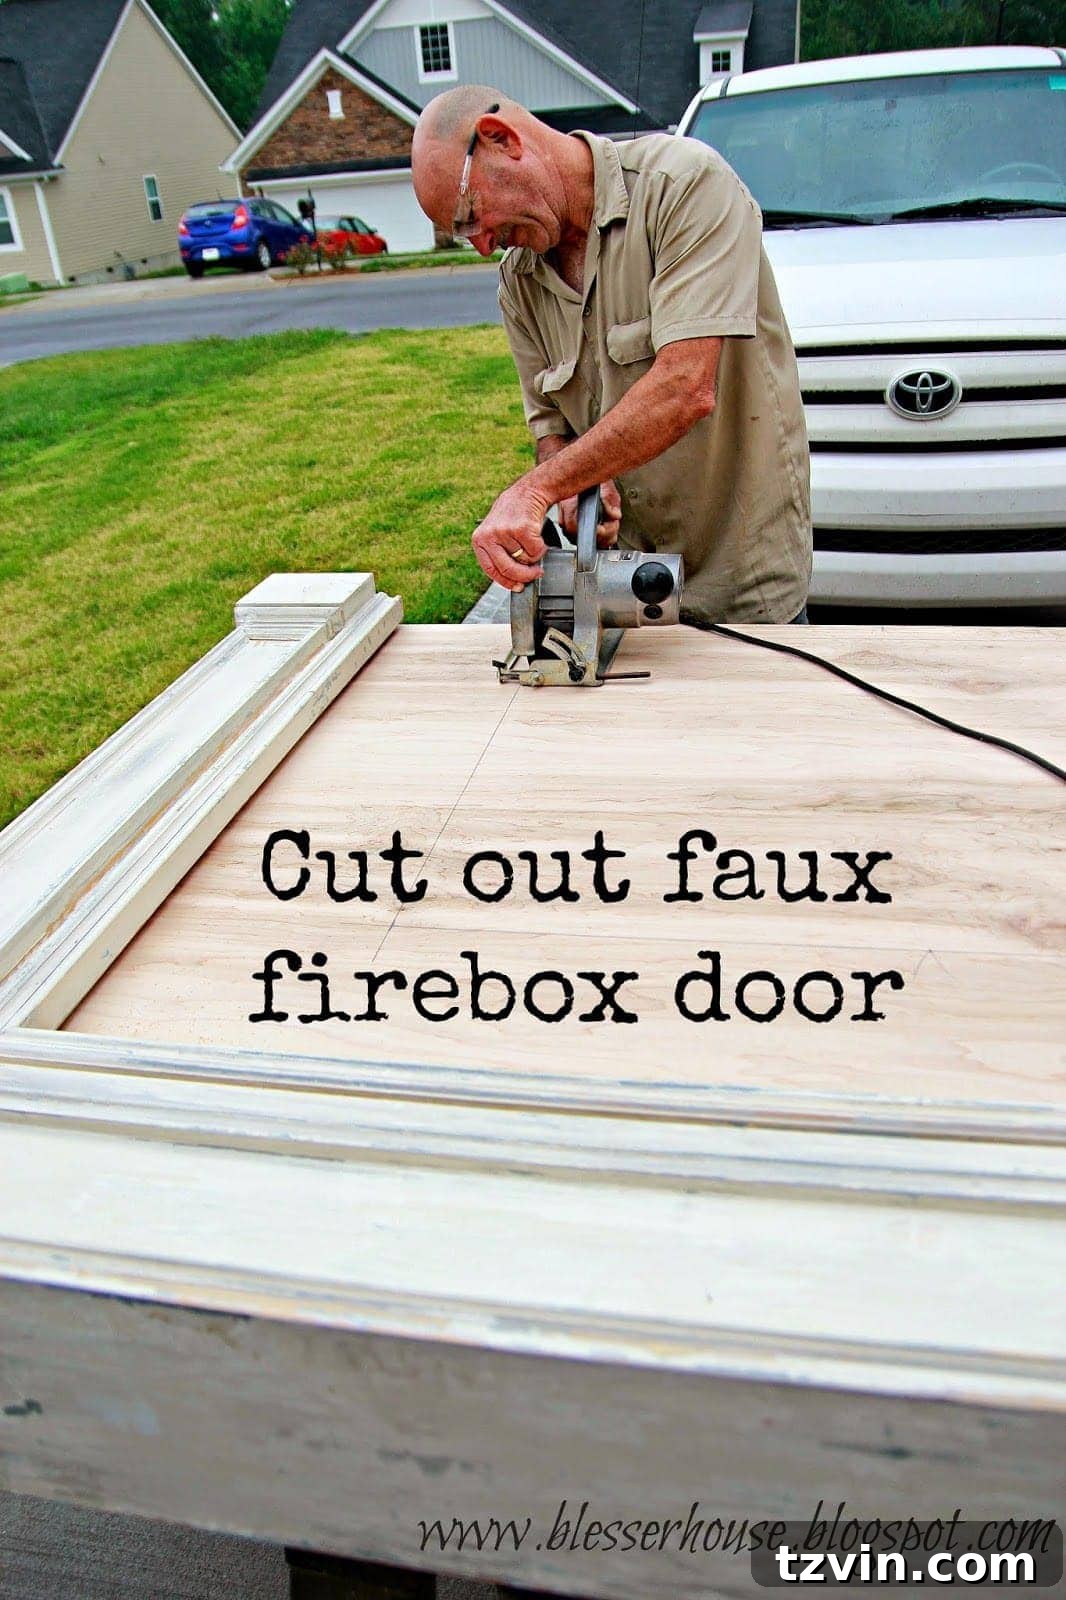
We opted against having our wood pre-cut at the hardware store. This allowed us the flexibility to make precise adjustments on-site as the project progressed, which is often invaluable in DIY builds. Robert took on the task of cutting with his circular saw. (A quick safety reminder: always wear your safety glasses when operating power tools! Robert remembered his right after this photo was taken.)
2. Framing the Hearth Base
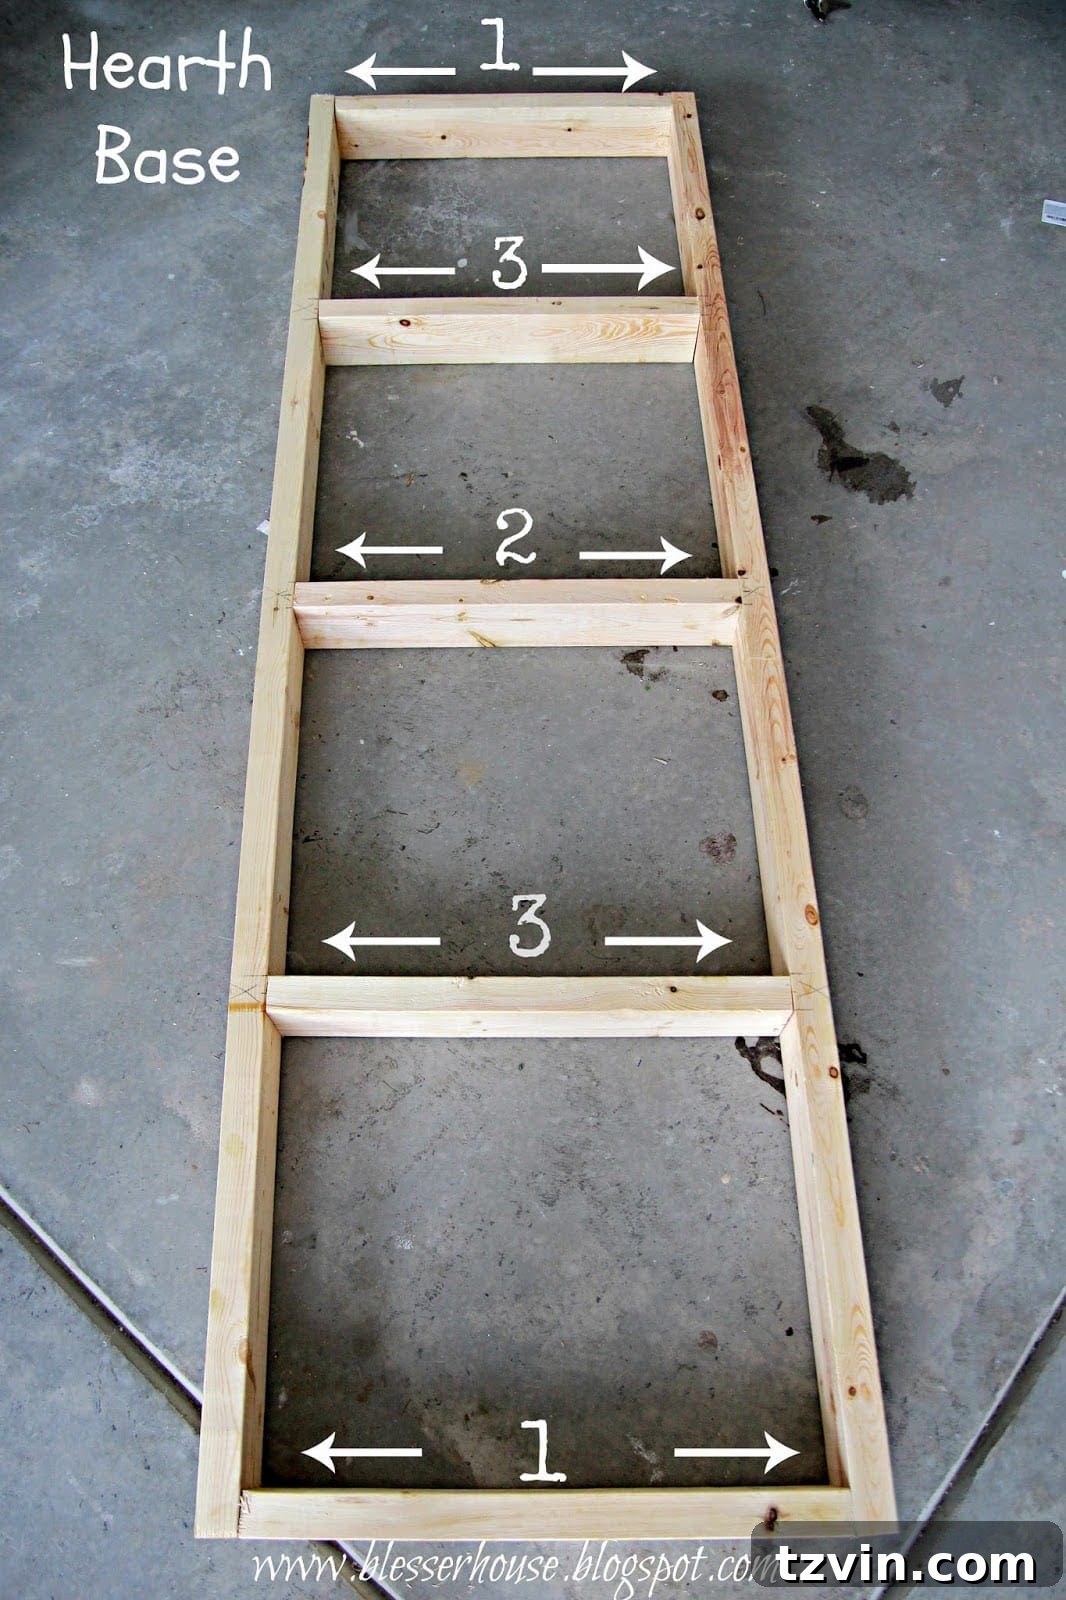
To construct the robust base of the hearth, we began by cutting two long 2x4s. These were measured to be approximately 8 inches longer than the width of our mantel, ensuring an appropriately oversized and realistic look. These long pieces were then connected using shorter 2×4 pieces, each cut to 24 inches long. The assembly sequence is important for structural integrity: first, nail the long sides to the end pieces. Next, secure the center piece, followed by the two remaining middle pieces. This creates a strong, balanced frame for the hearth. The diagram below illustrates this layout:
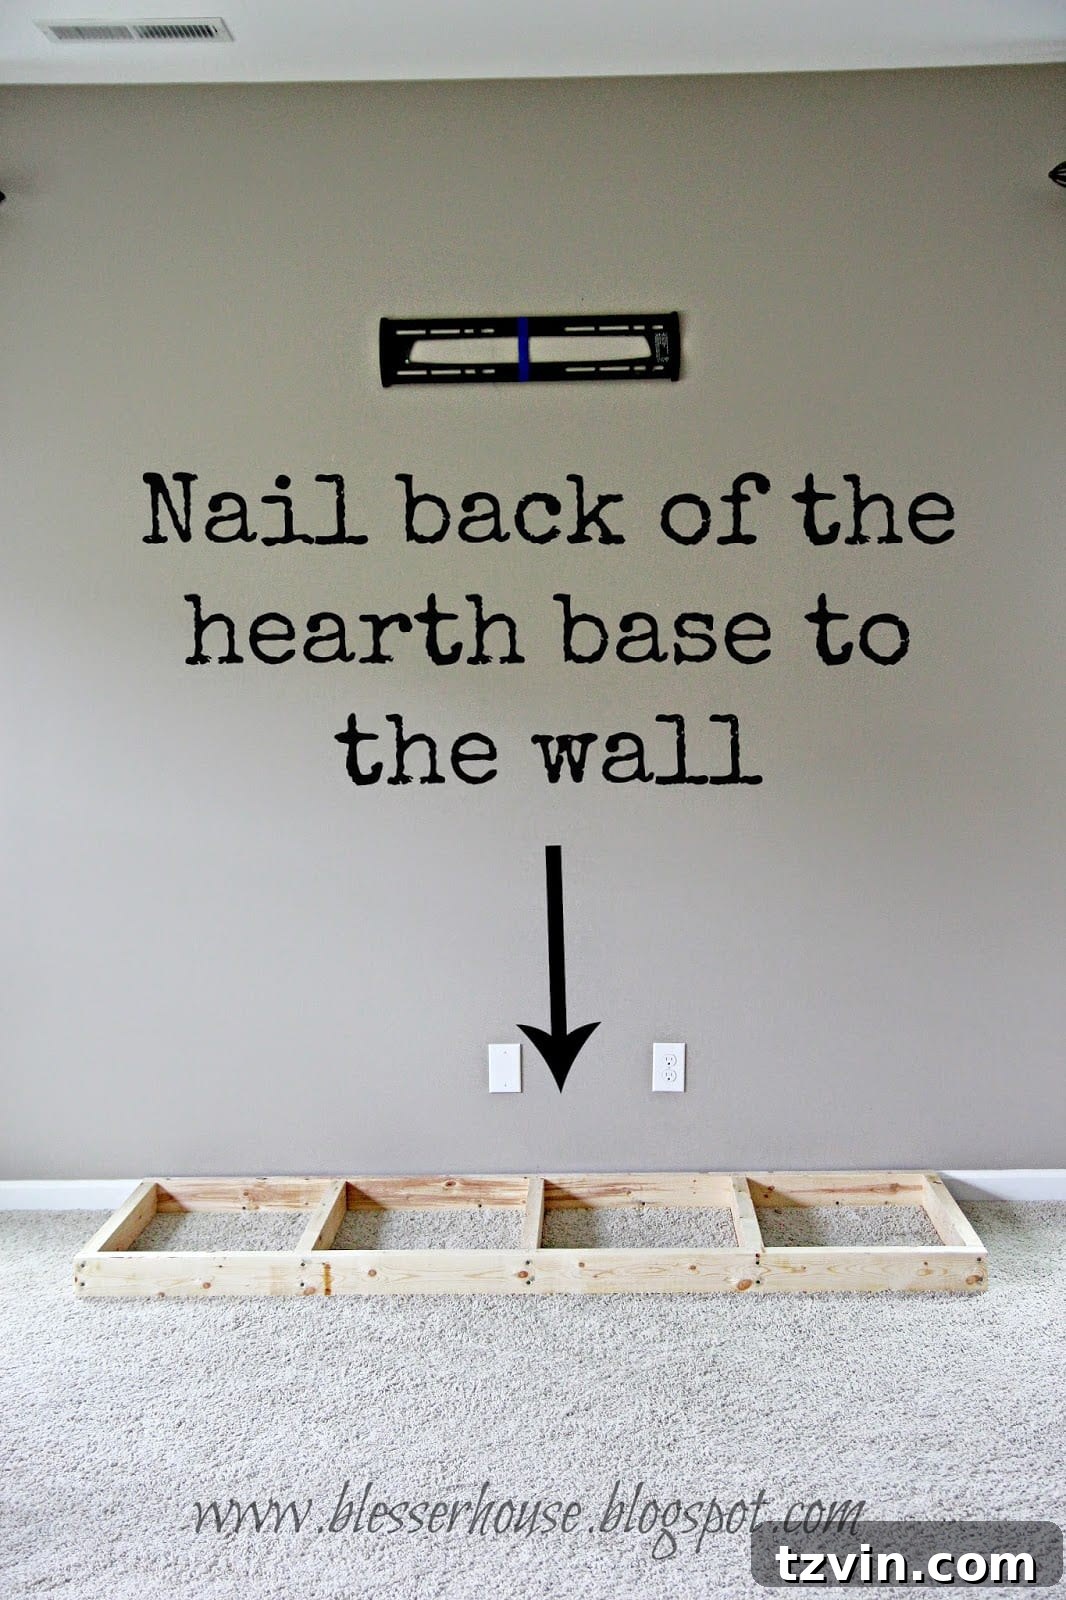
Once the hearth base frame was securely assembled, we carefully positioned it against the wall, ensuring it was perfectly centered. To anchor it firmly in place, we nailed the back of the frame directly into the wall studs. While we initially considered cutting holes in the carpet to anchor it to the floor, we ultimately decided it wasn’t necessary. Given the substantial weight of the fireplace itself, this hearth isn’t going anywhere! This robust construction provides incredible stability, giving the faux fireplace a real, permanent feel. Should we ever decide to replace the carpet with wood floors in the future, the frame can easily be modified by cutting around the base with a box cutter and adding quarter-round trim.
3. Cutting and Attaching the Hearth Top
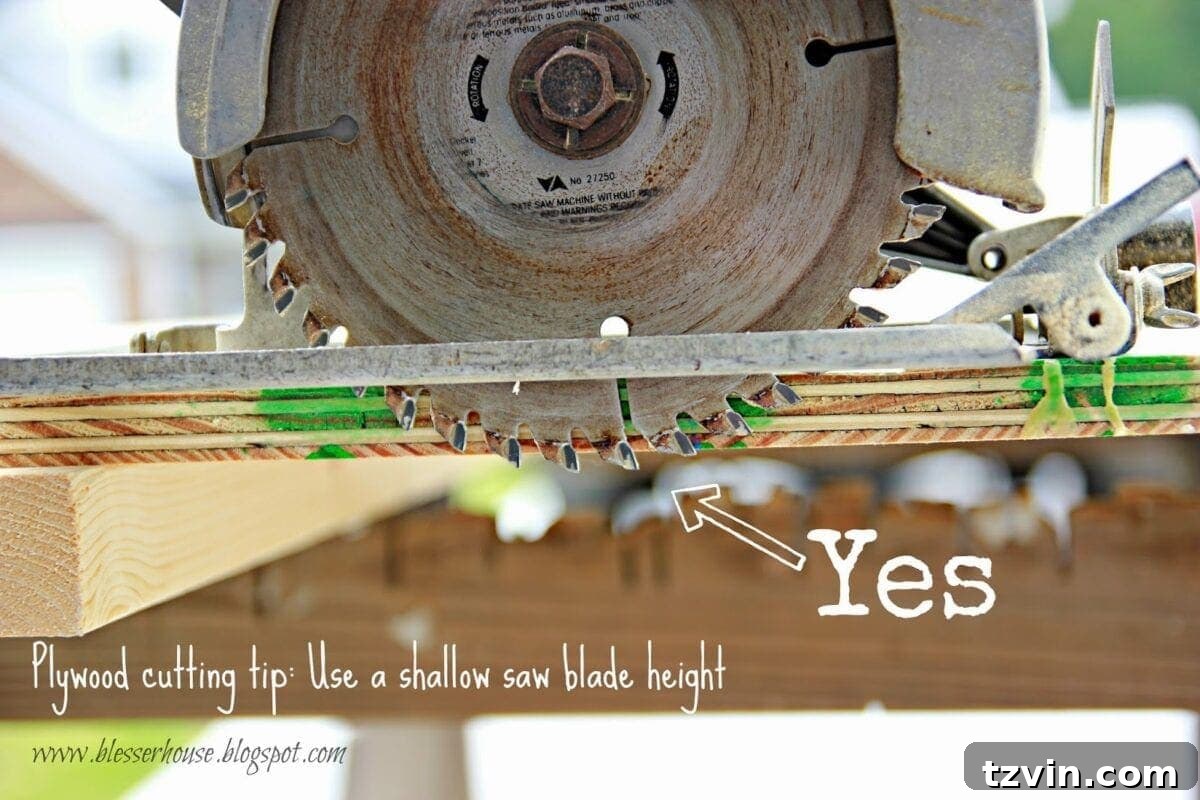
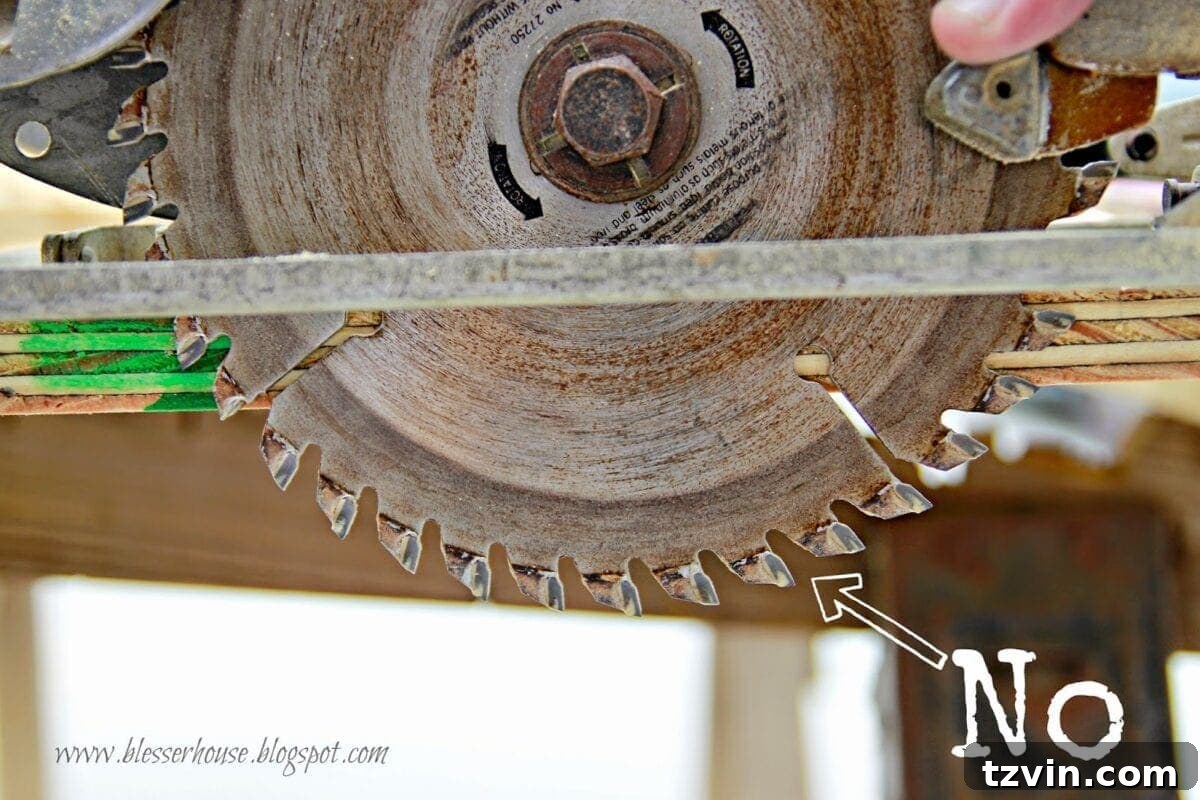
For cutting the plywood pieces, Robert’s dad, with his extensive woodworking expertise, shared a valuable tip: when using a circular saw on plywood, set the blade to a shallow depth for the initial cut. This technique helps to prevent splintering on the top surface, resulting in a cleaner, more professional edge. It’s a small detail that makes a big difference in the final finish.
From a large plywood sheet, Robert precisely cut the piece that would serve as the top surface of our hearth. Accuracy here is paramount for a seamless look.
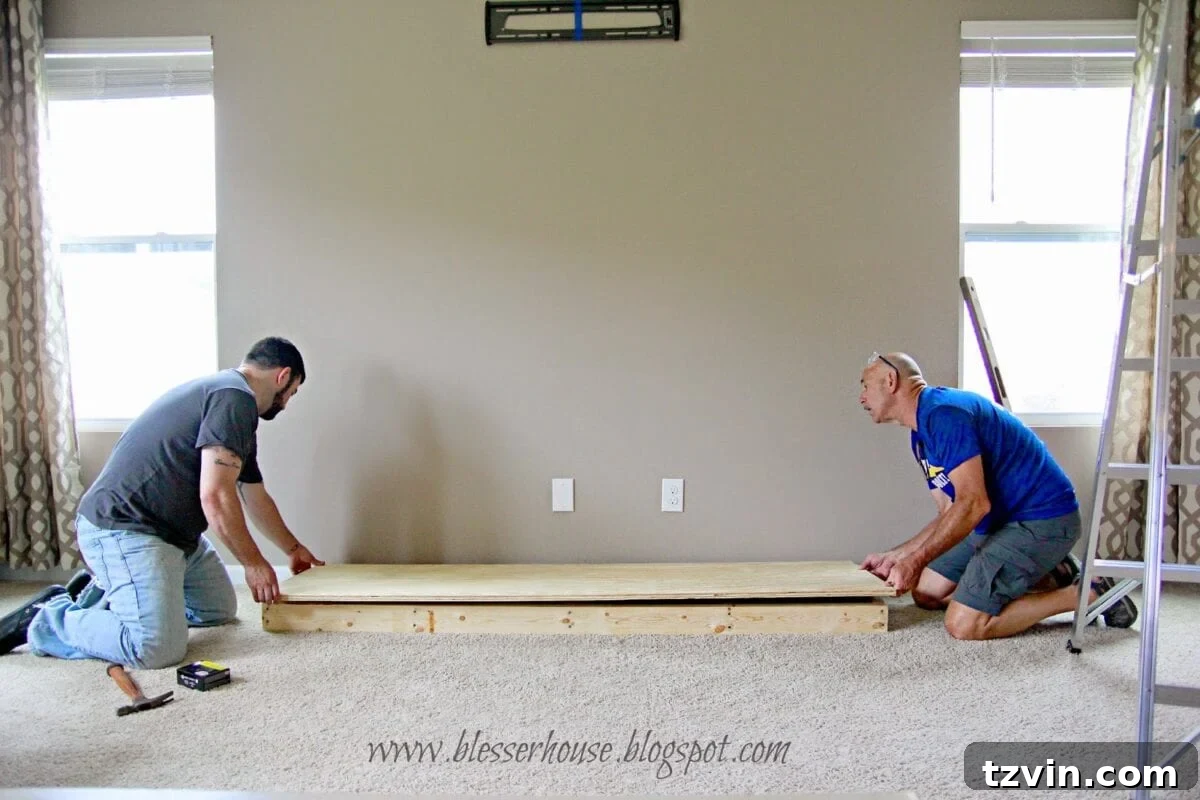
Next, the meticulously cut plywood piece was laid onto the hearth frame. The precision in cutting paid off, as it lined up perfectly, creating a smooth and sturdy top surface.
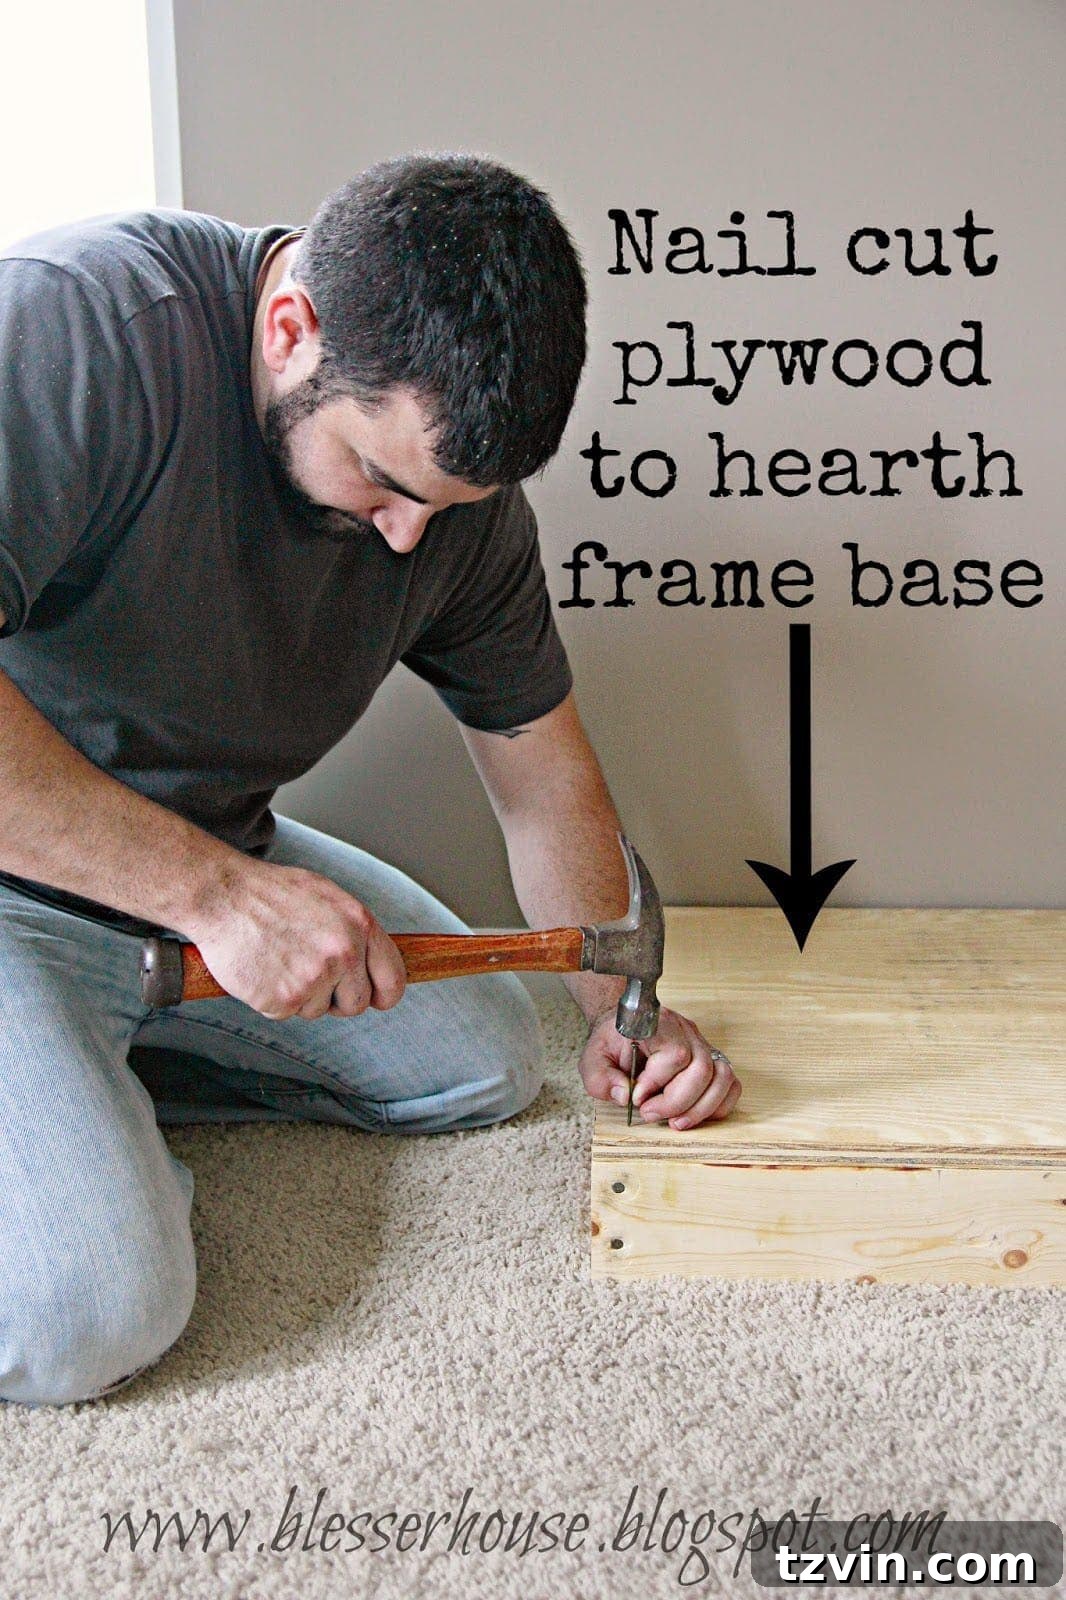
With the hearth top perfectly aligned, we then secured it firmly to the frame base using finishing nails. This step completes the solid foundation for our faux fireplace.
4. Framing the Mantel and Wall Anchors
To prepare for mounting the mantel, we strategically nailed 2x4s inside the back of the existing mantel frame. These internal 2x4s will serve as critical anchors, allowing us to securely attach the entire structure to the wall later on. This method ensures maximum stability for the oversized piece.
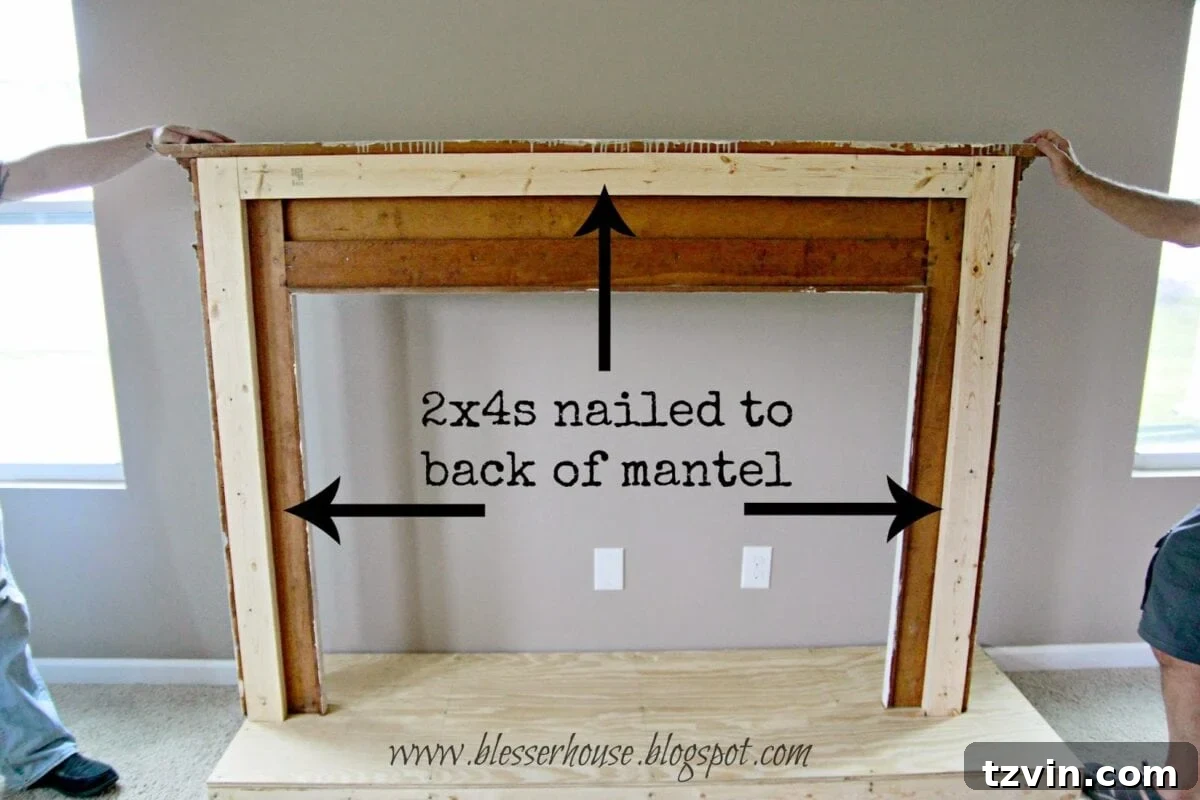
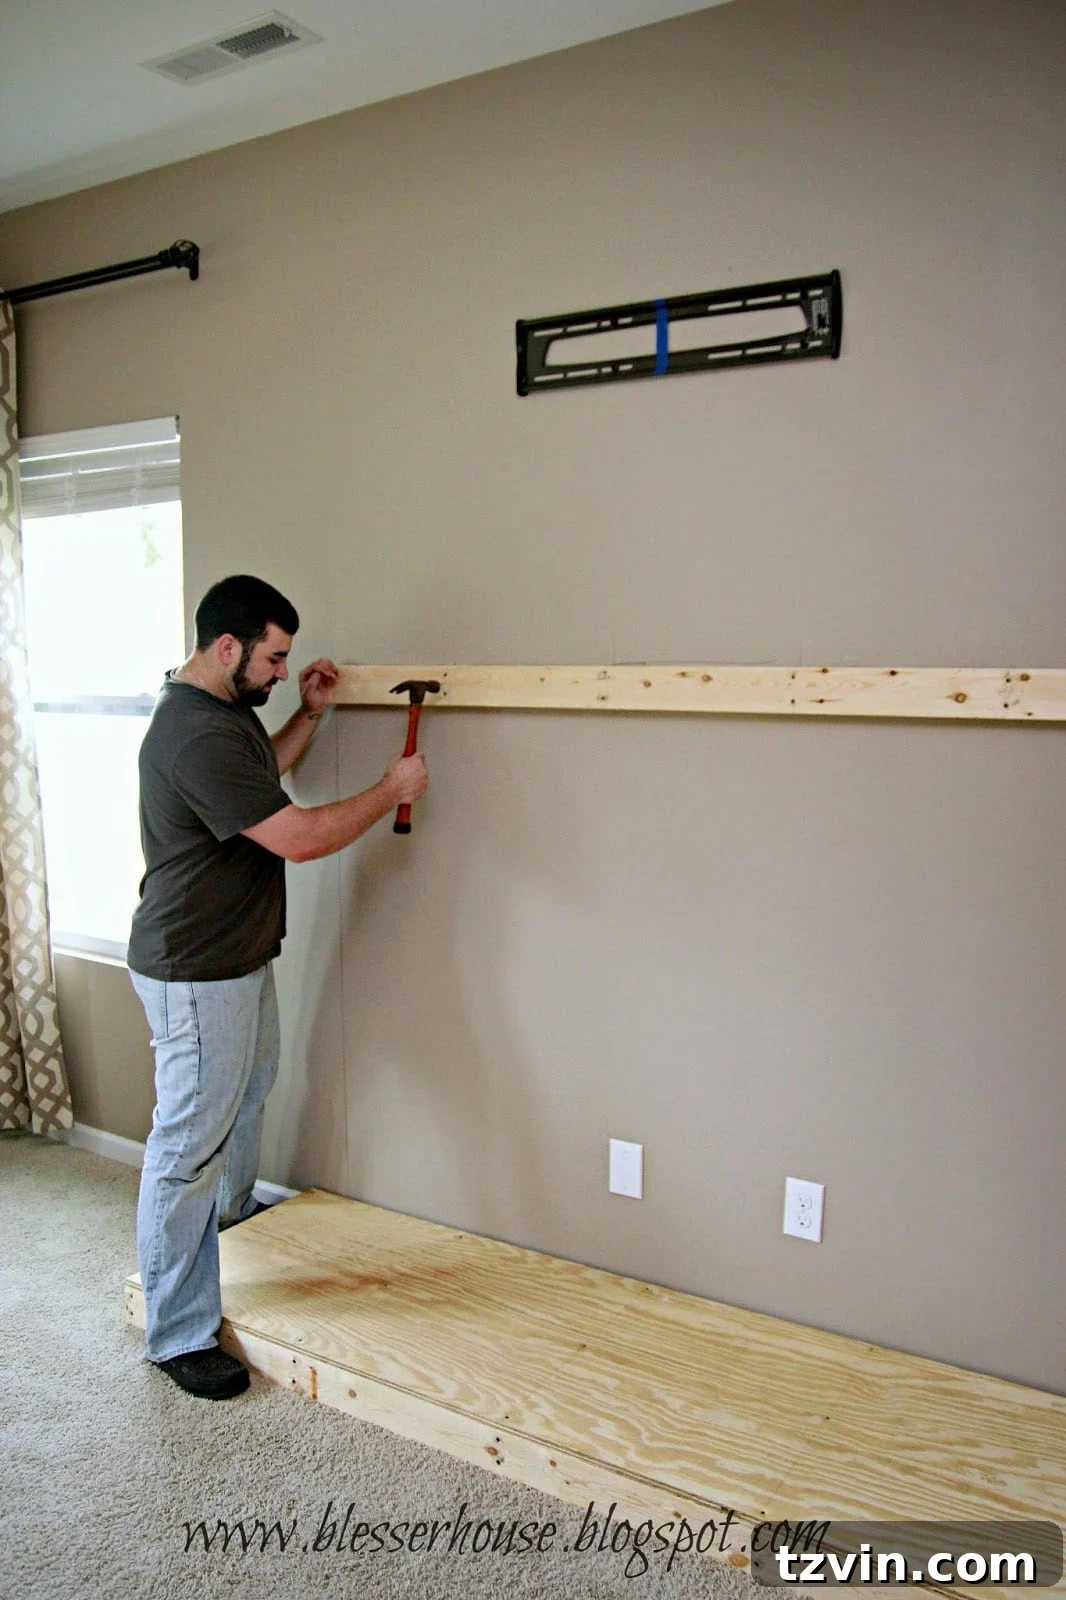
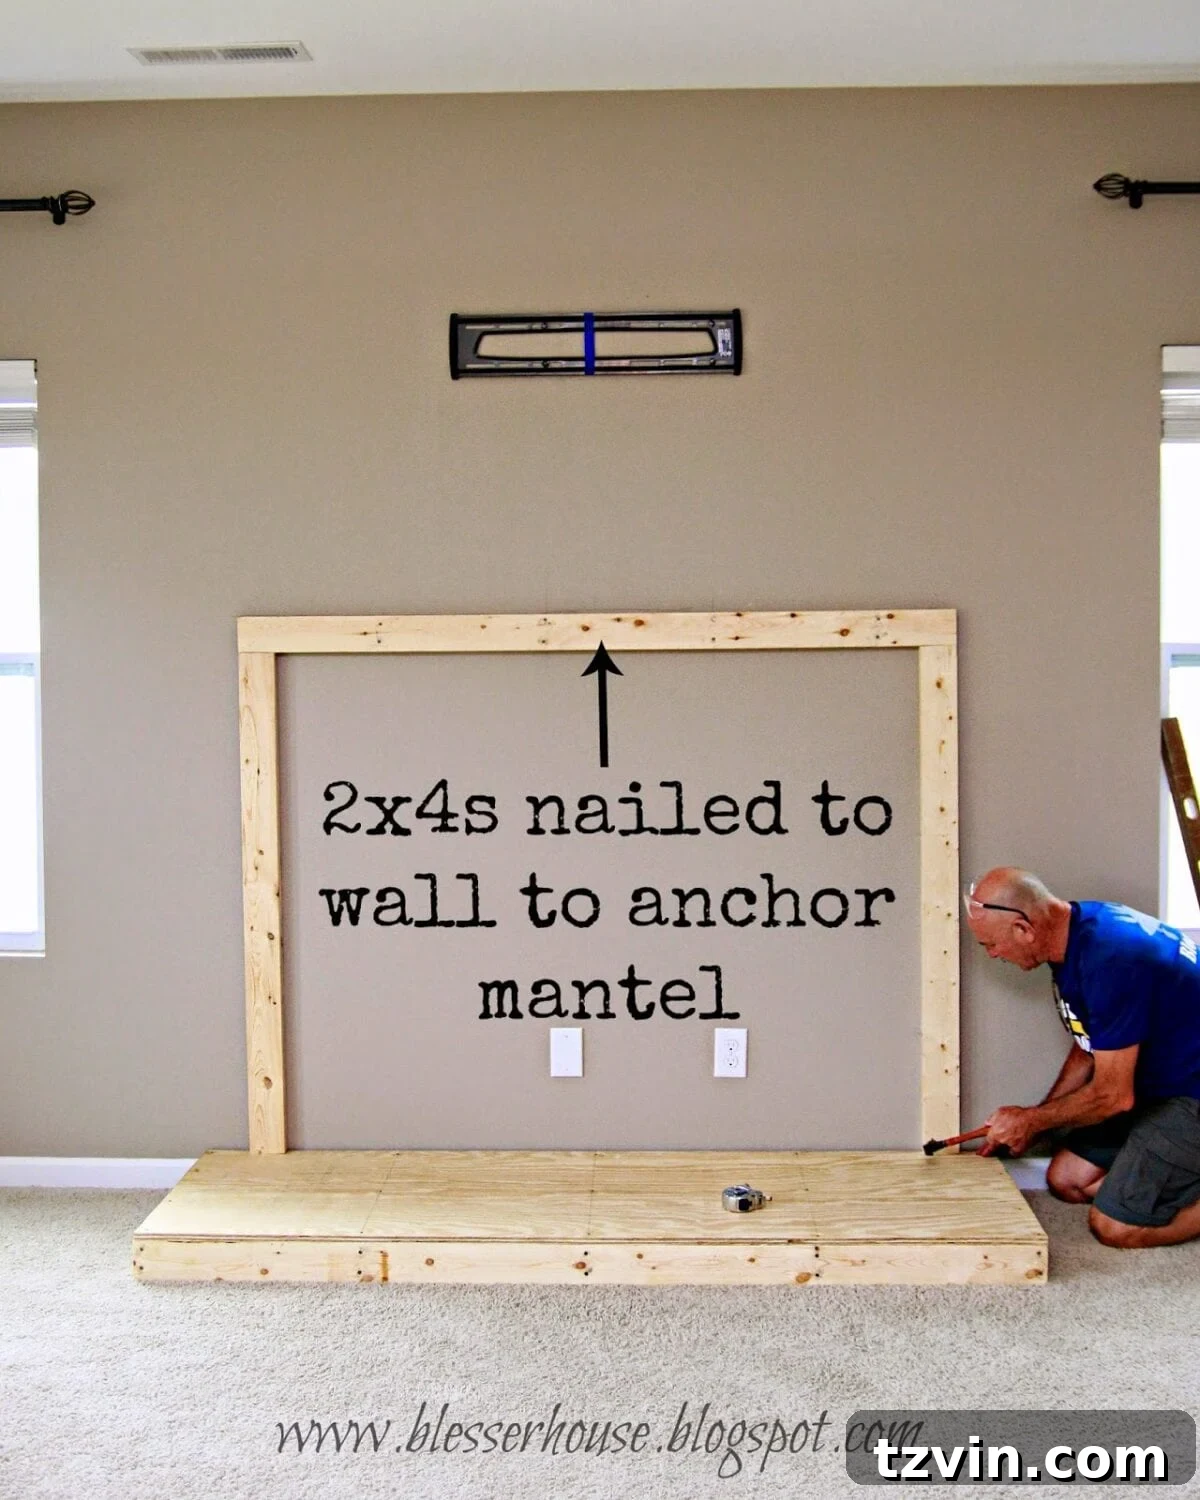
Following this, we attached additional 2x4s to the wall itself, ensuring they were at the exact same height as the back of the mantel. These pieces will mate with the mantel’s internal framing to create a robust and integrated attachment system.
With the hearth complete and the wall anchors in place, the stage was set for the mantel. Here’s a look at the sturdy framework, ready to welcome its grand centerpiece:
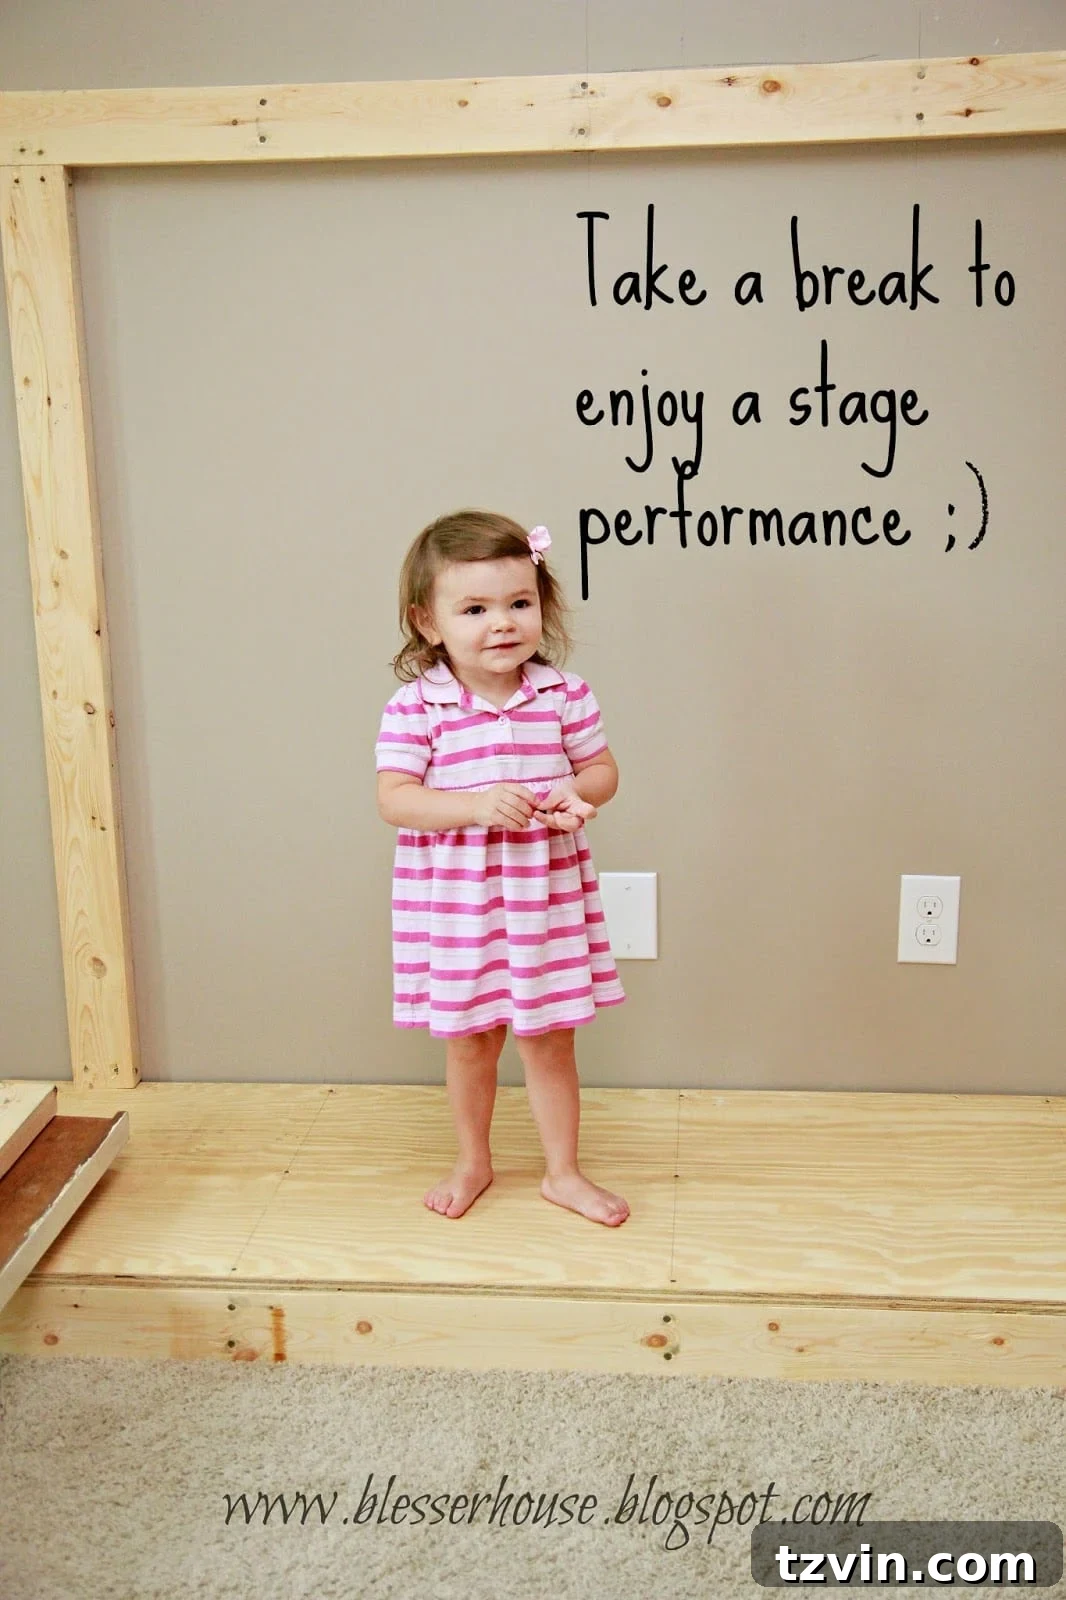
During a short break from all the construction, our little one, Olivia, couldn’t resist using the newly built hearth as her personal stage. She put on quite the adorable show for us, a delightful moment amidst the sawdust and hammering!
5. Building the Firebox Surround and Hidden Door
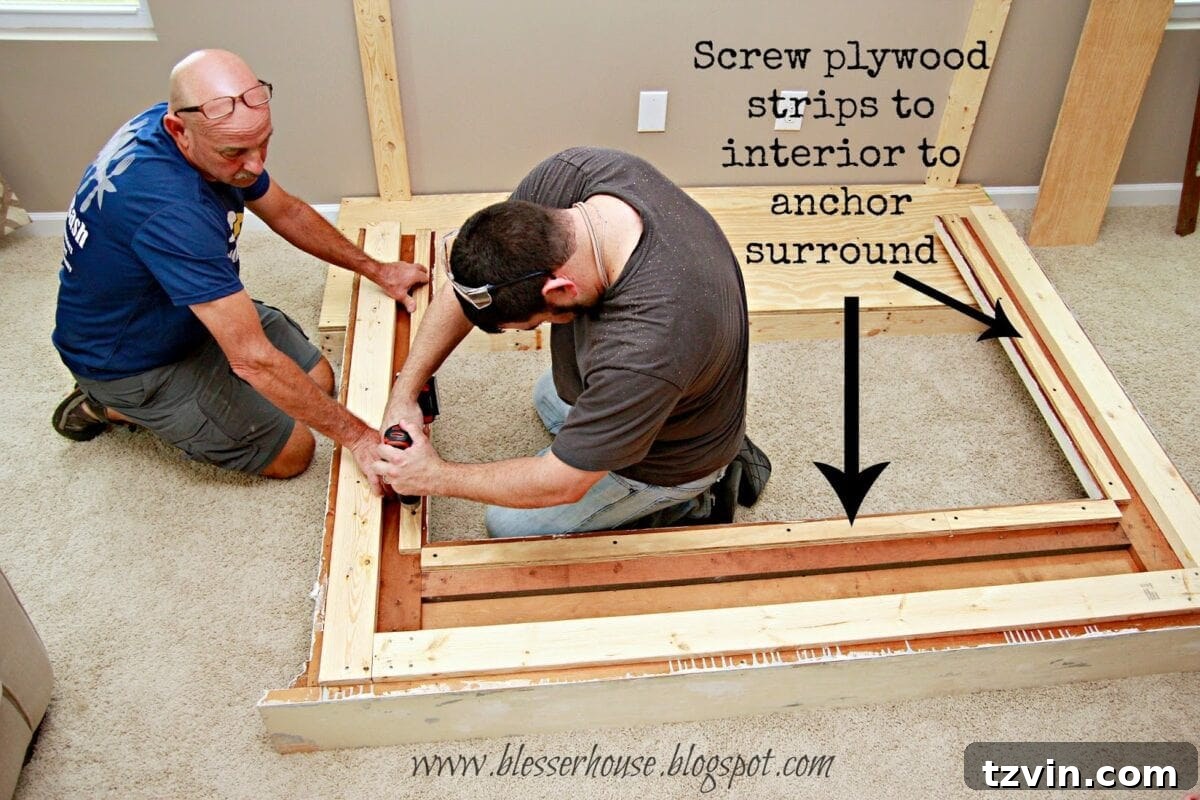
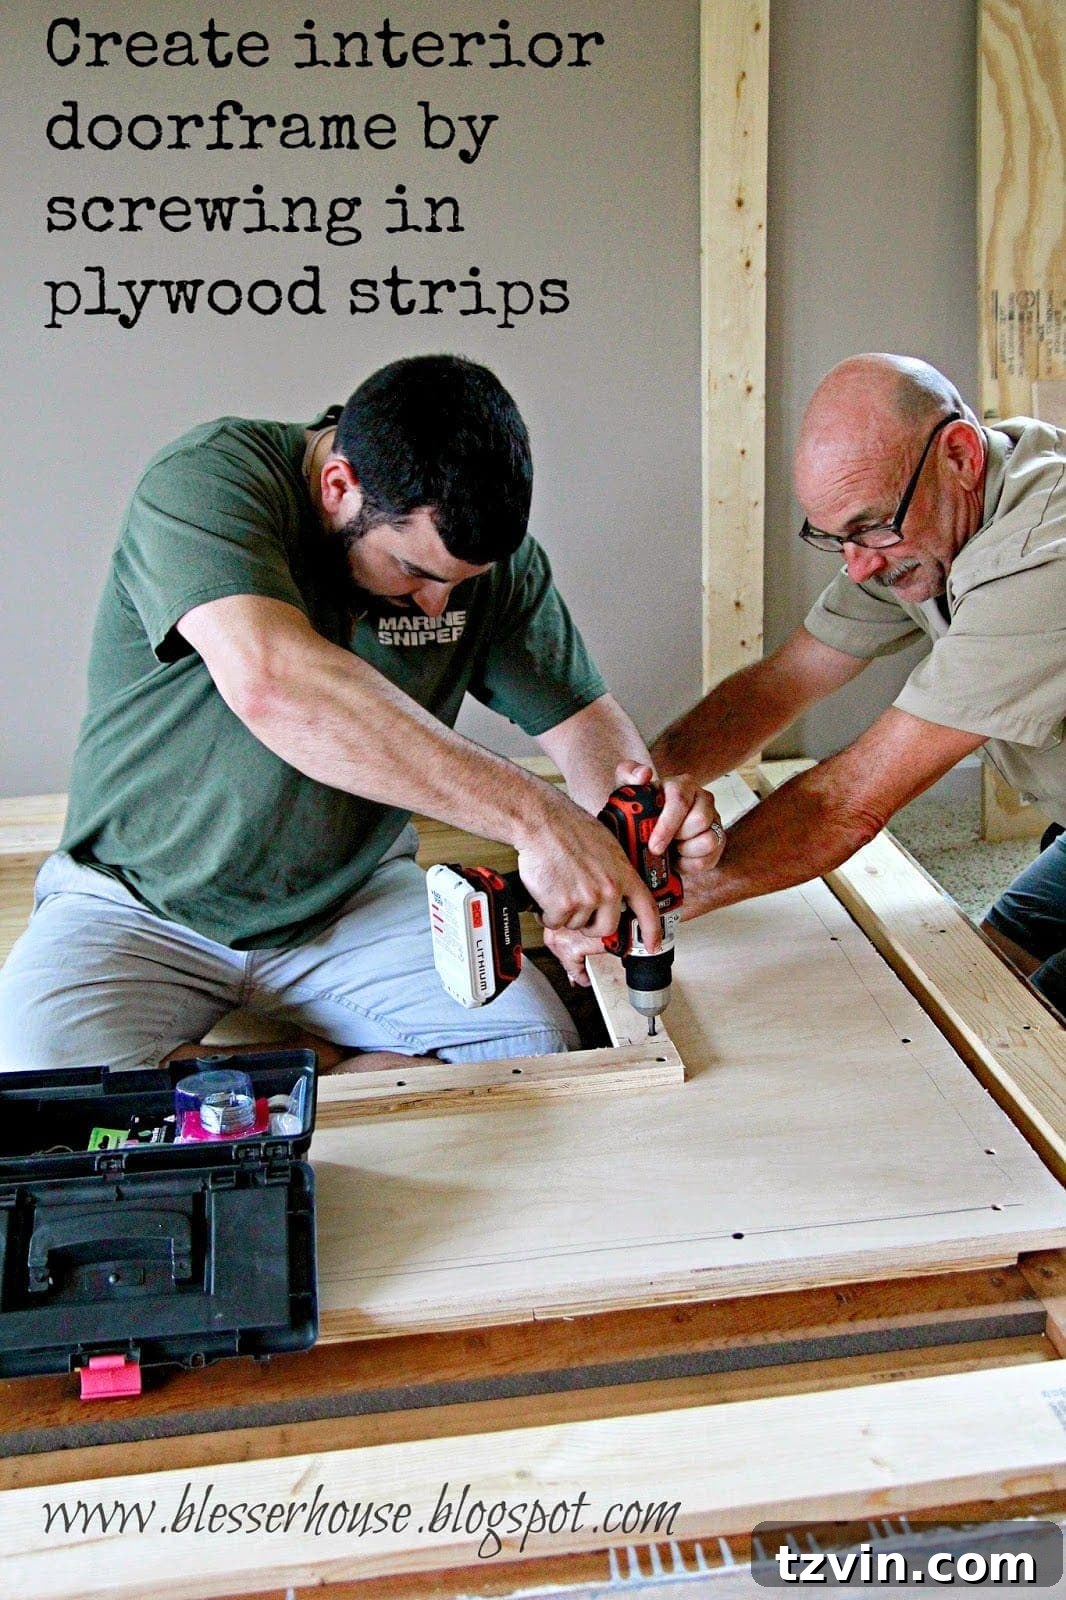
Next, we cut plywood strips and screwed them onto the back of the mantel. These strips act as crucial anchors for the fireplace surround that would be installed next, ensuring a tight and seamless fit.
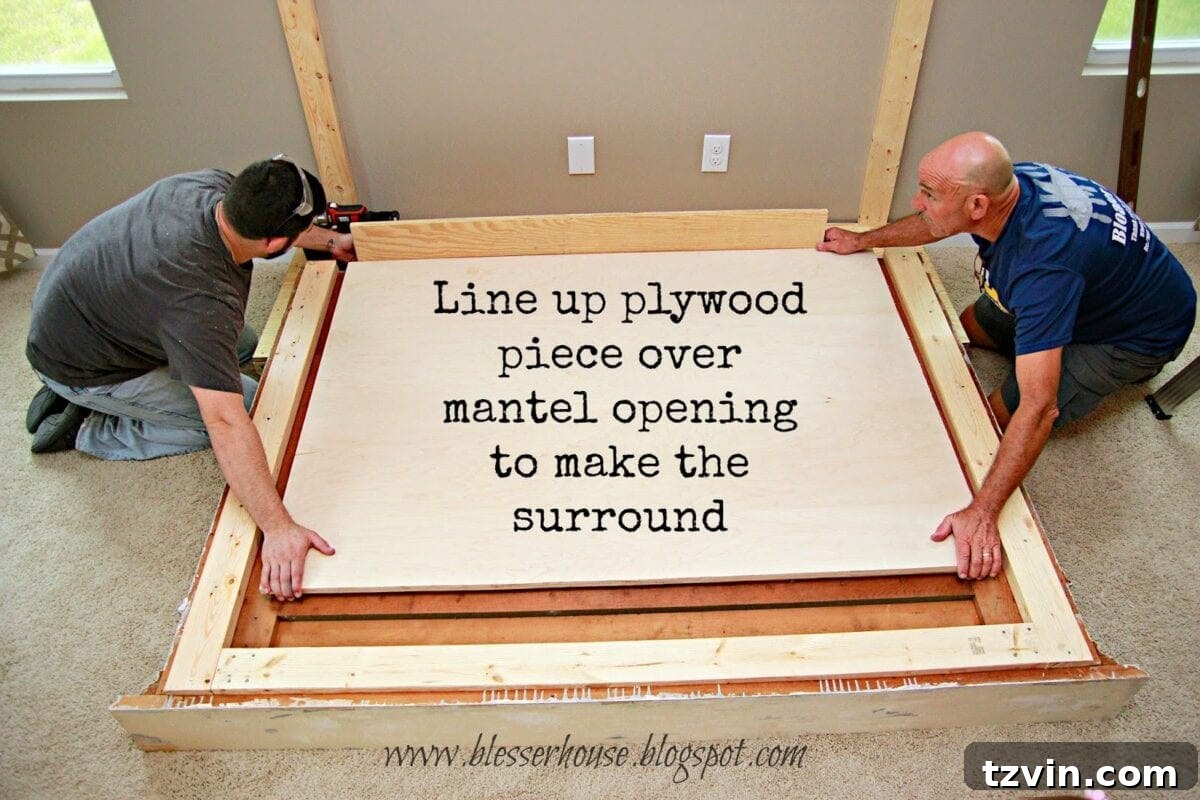
A large piece of plywood was then positioned over the mantel opening. This will form the main firebox surround, defining the space where a real fire would typically burn.
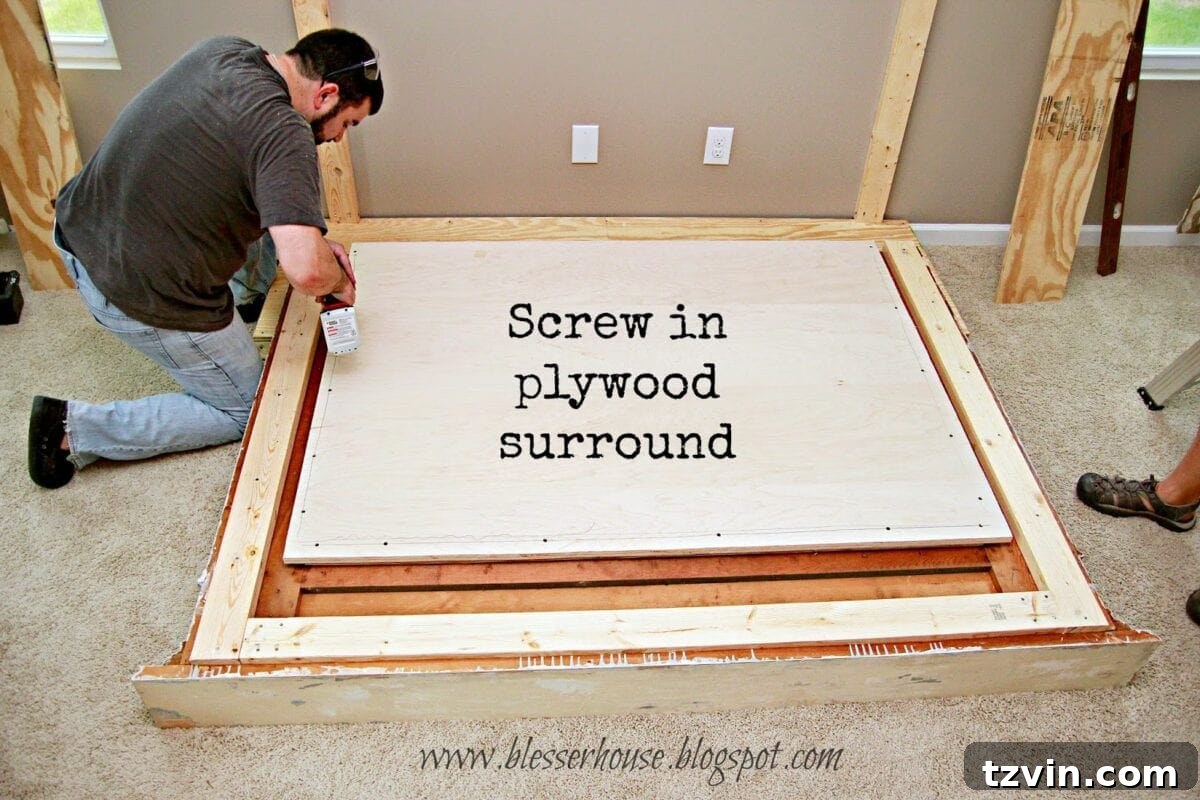
We used drywall screws to securely fasten the plywood surround to the anchor strips we previously attached to the back of the mantel. This creates a solid, flush surface.
Here’s where our faux fireplace truly becomes more than just a decorative element. We envisioned this space to remain functional, so we integrated a hidden door to simulate a firebox. This ingenious feature not only conceals an outlet, allowing us to discreetly run cords out of sight, but also provides valuable hidden storage. We carefully measured the faux firebox door, ensuring a small gap at the bottom to create a subtle threshold and prevent the surround from bowing over time, guaranteeing a smooth operation and a polished look.
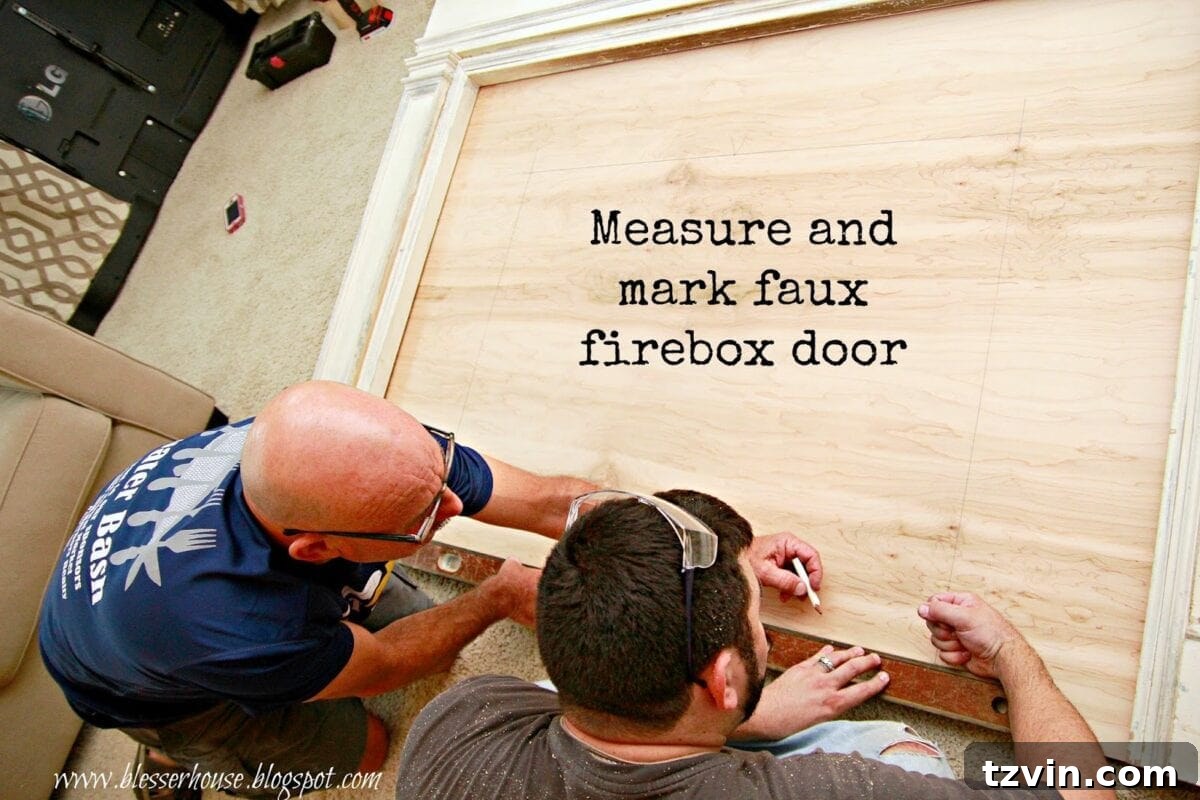
To achieve the clean, precise cuts needed for the door opening, we switched the circular saw blade to a thinner one. A fine-tooth blade is essential for minimizing tear-out and ensuring a crisp edge, which is vital for a door that needs to fit snugly.
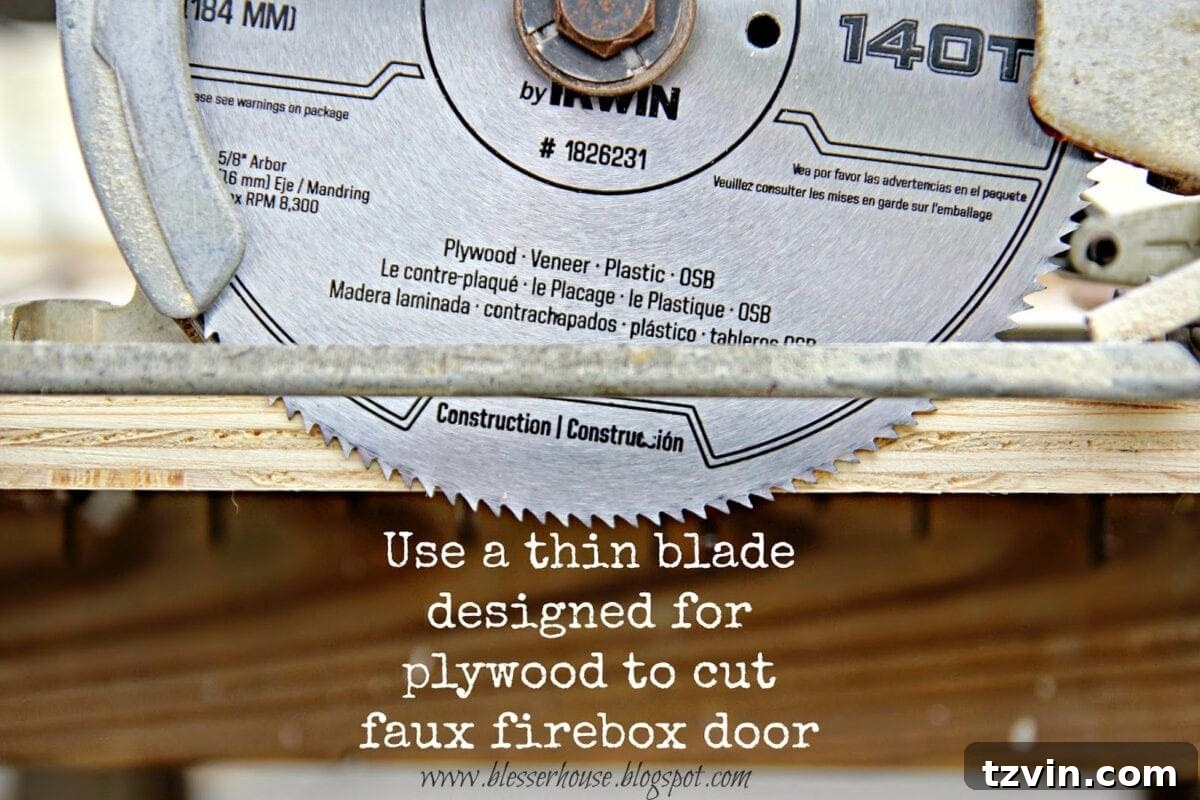
My father-in-law, with his steady hand and keen eye, took the lead on this critical cutting task. His experience ensured a perfect result.
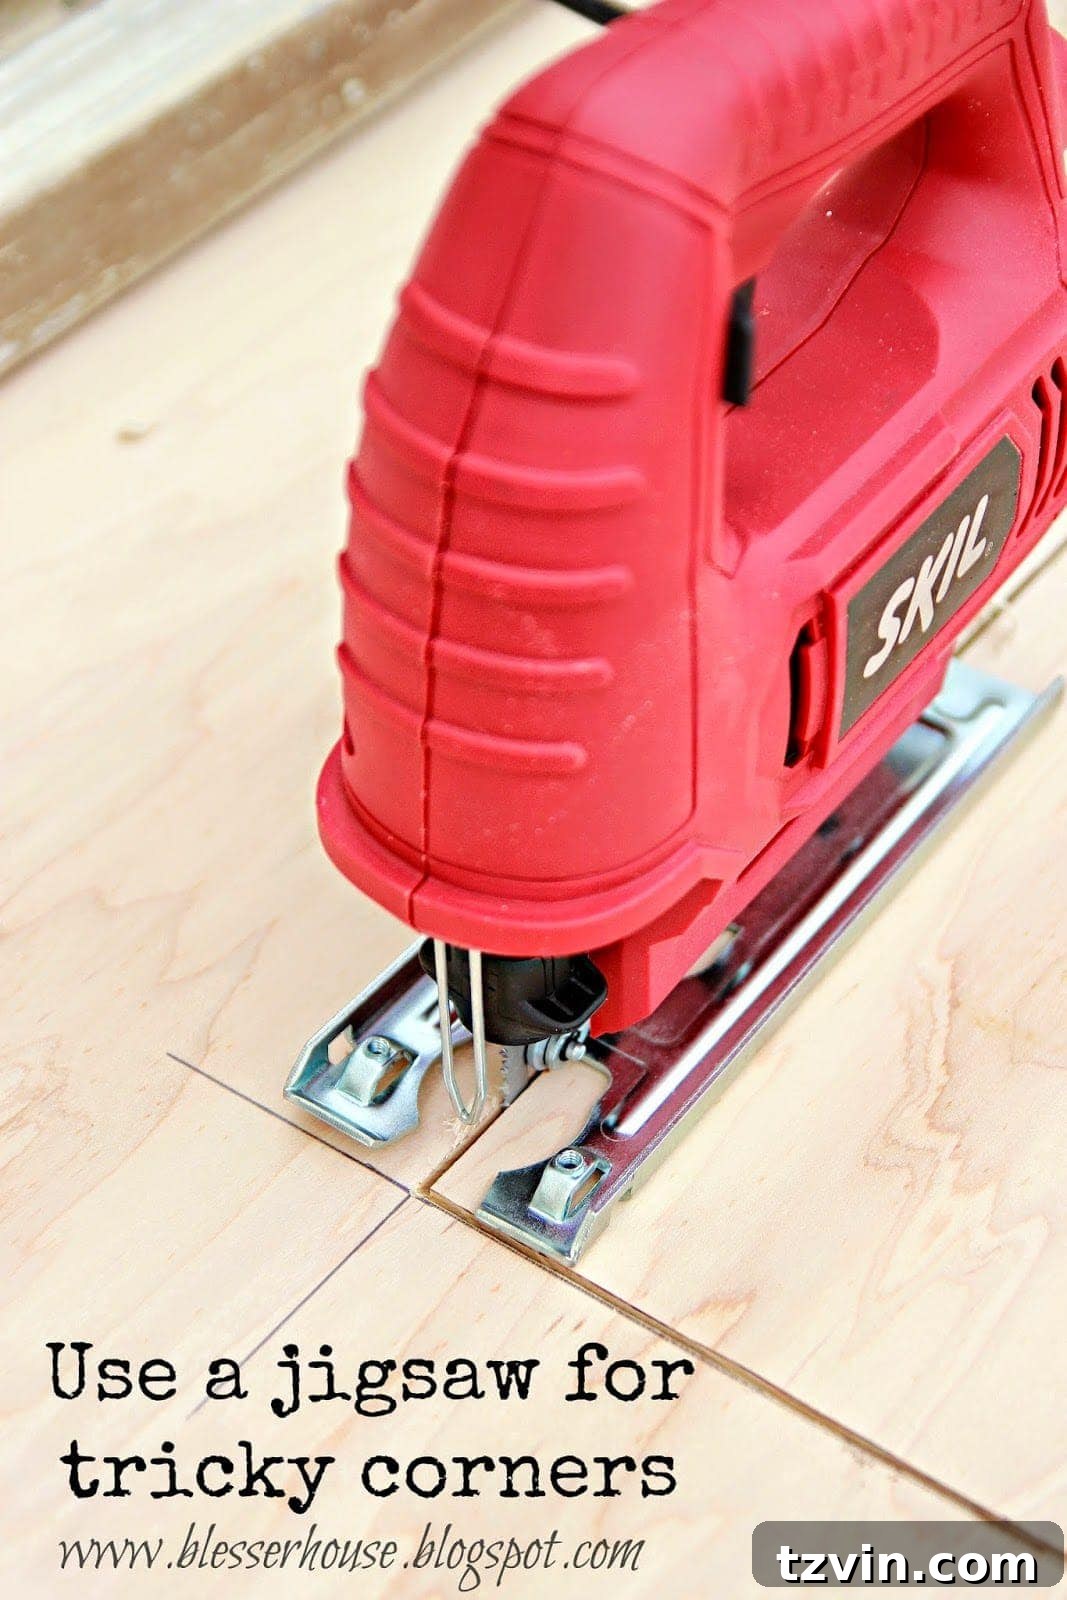
For the delicate corner cuts of the firebox door, he switched to a jigsaw. This tool allowed him to achieve perfectly exact corners, ensuring the door would open and close without binding, a testament to meticulous craftsmanship.
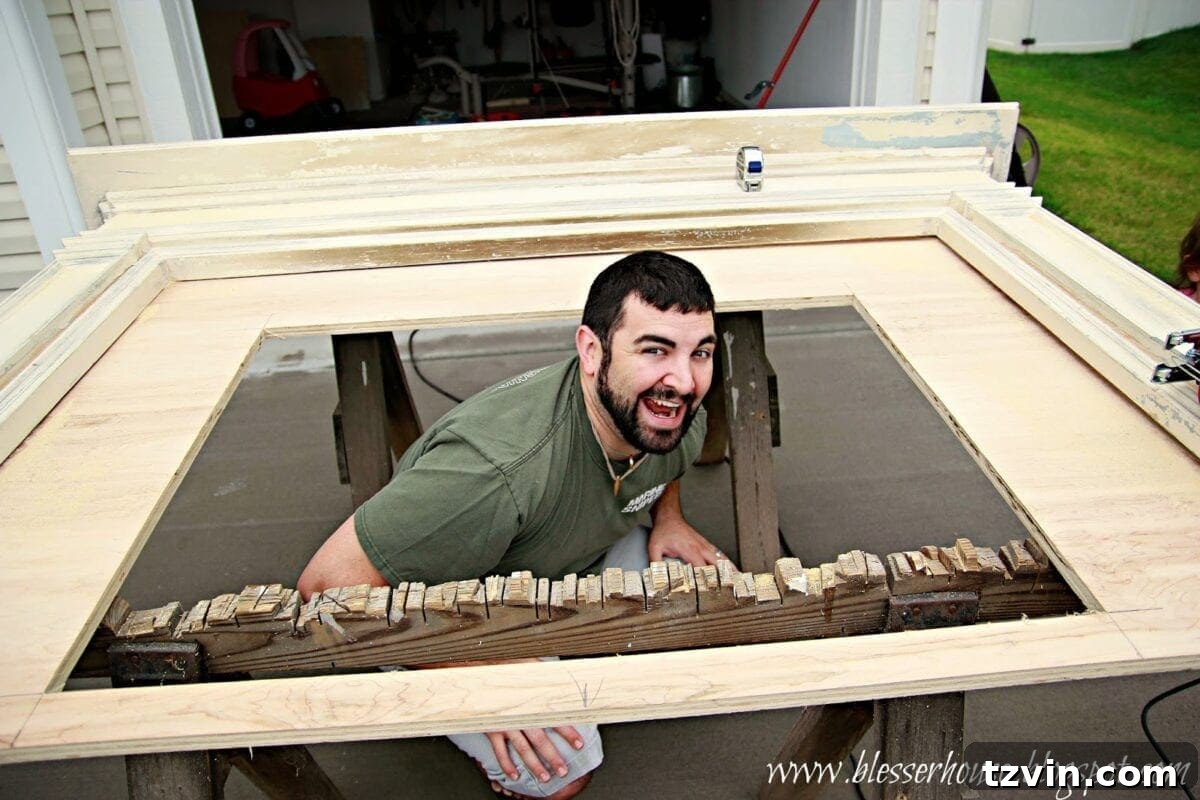
With the firebox opening now defined, the structure was truly beginning to take on the realistic appearance of a genuine fireplace. You can almost see the excitement in Robert’s stance!
To integrate the functional firebox door, we used a piano hinge. This type of hinge runs the entire length of the door, providing superior support and a smooth swing. We first cut the piano hinge to the precise size needed using a hack saw, then screwed it securely into the surround piece.
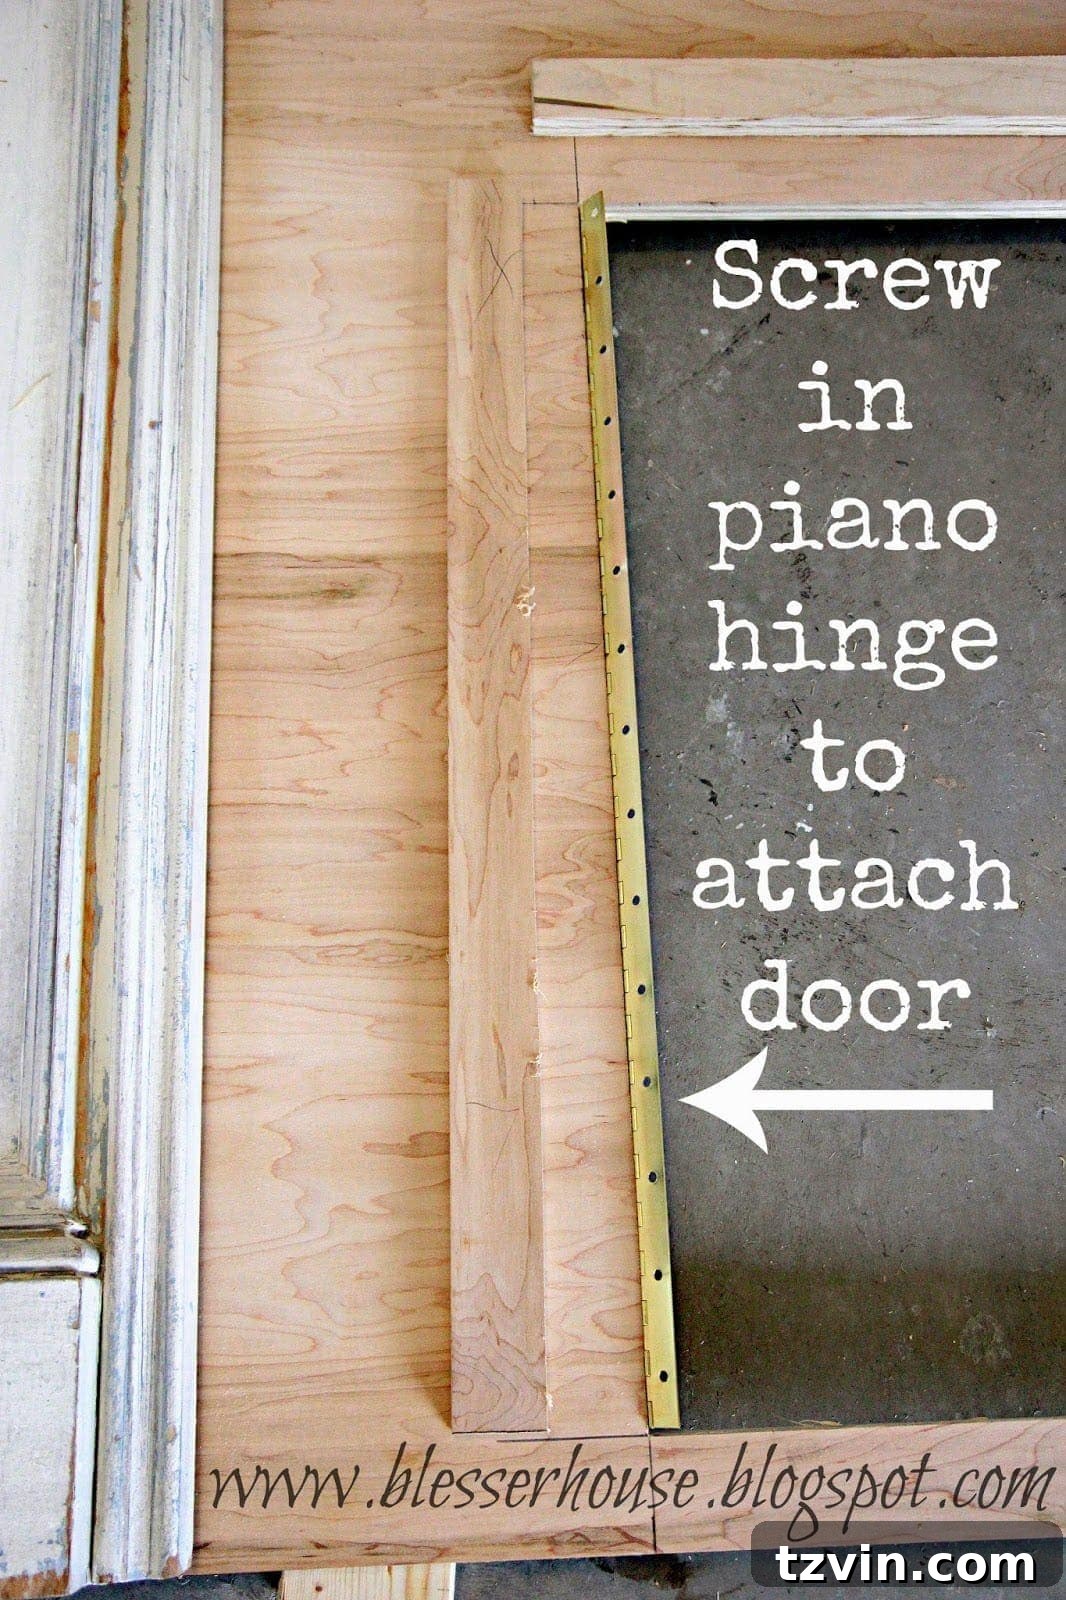
To prevent any bowing or movement in the surround when the door is opened or closed, we built a sturdy door frame on the back of the mantel. This reinforcement ensures the integrity and longevity of the functional firebox.
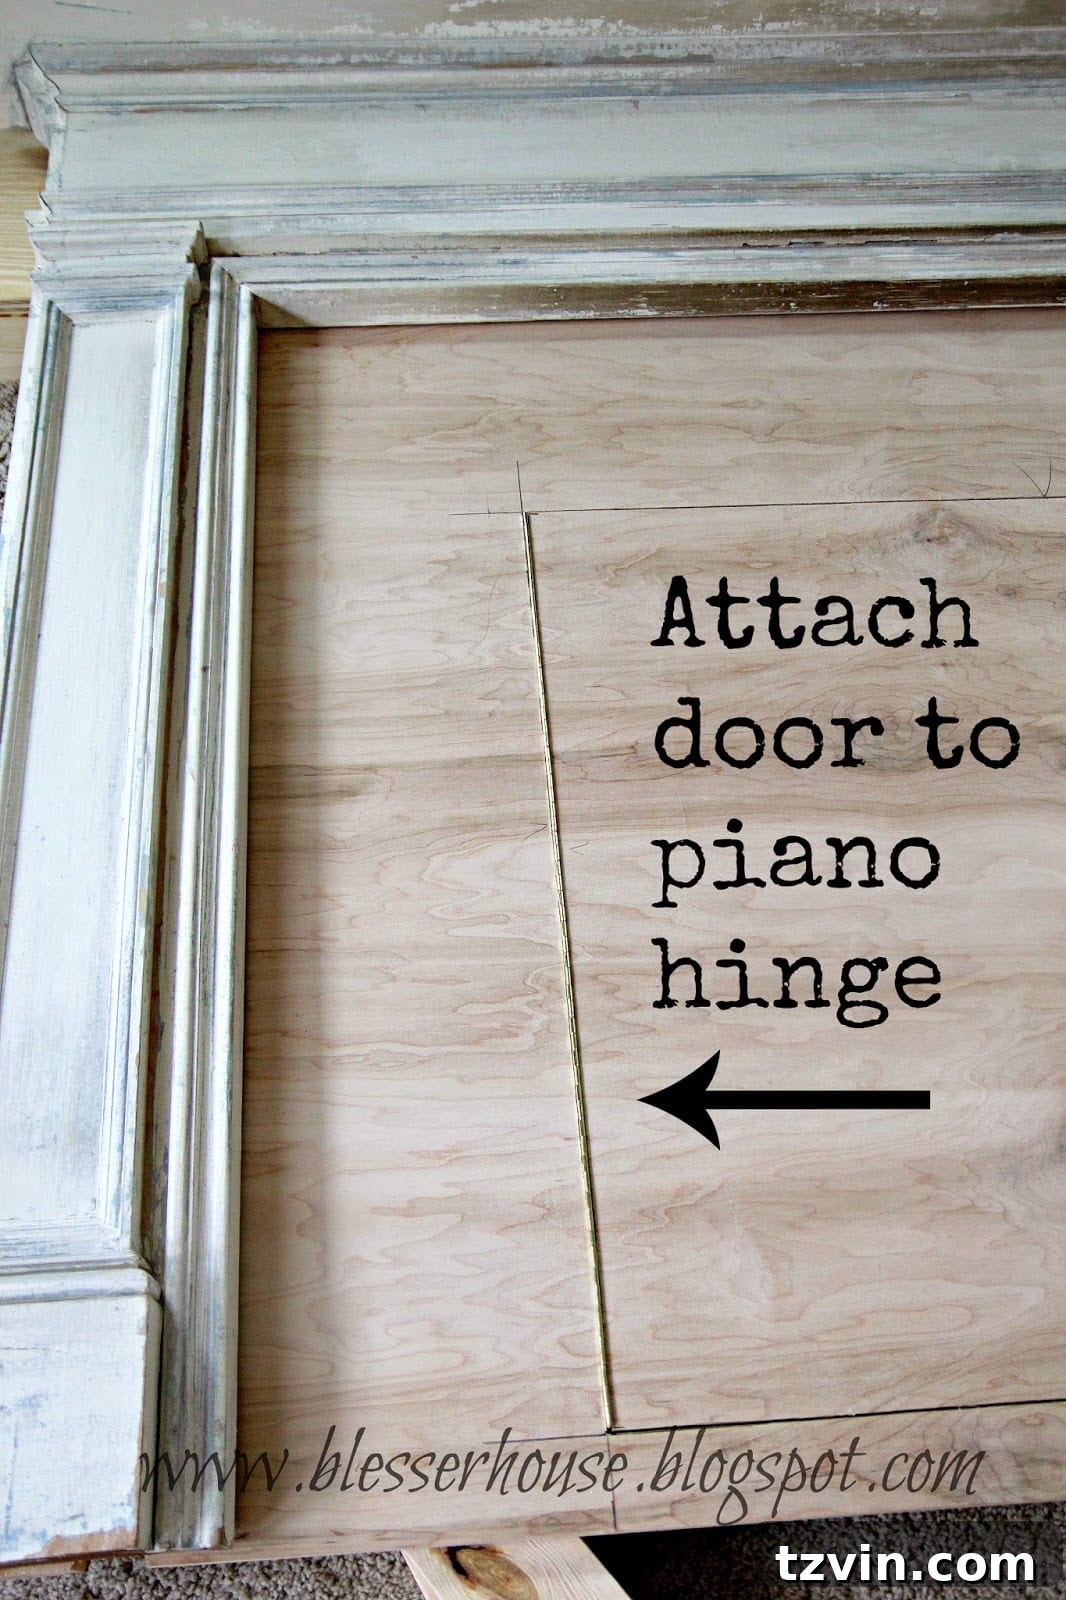
After shaving off just a tiny bit of the door for a perfect fit, it attached seamlessly to the piano hinge and opened like a glove! This level of precision is what makes the faux fireplace look truly built-in.
6. Anchoring the Mantel to the Wall and Enclosing the Structure
The “oooh ahhh” moment – the initial anchoring of the mantel to the wall! We nailed plywood strips to the 2x4s that we had previously attached both to the wall and to the back of the mantel. This creates a powerful, interlocking connection. The bottom piece of plywood, located under the door, was nailed to a 2×4 attached to the hearth inside the firebox, providing additional stability. My apologies, I somehow missed photographing that crucial step!
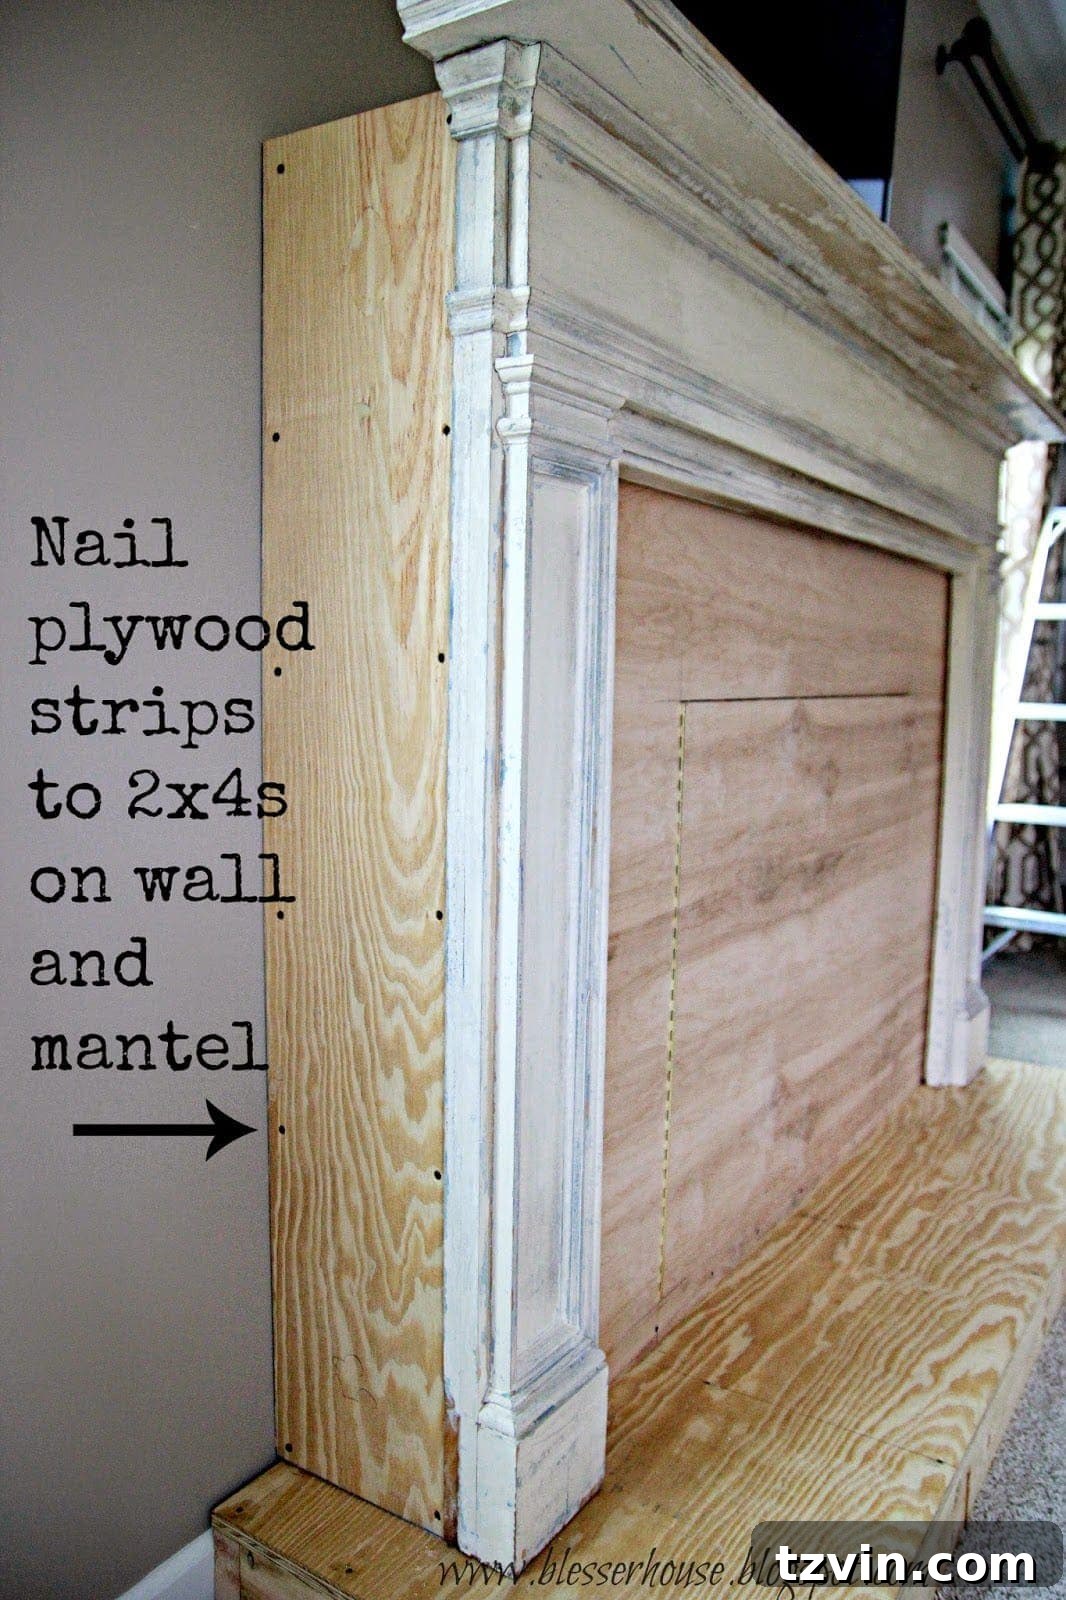
Once the two plywood side pieces were securely in place, this is what the top of our burgeoning fireplace looked like:
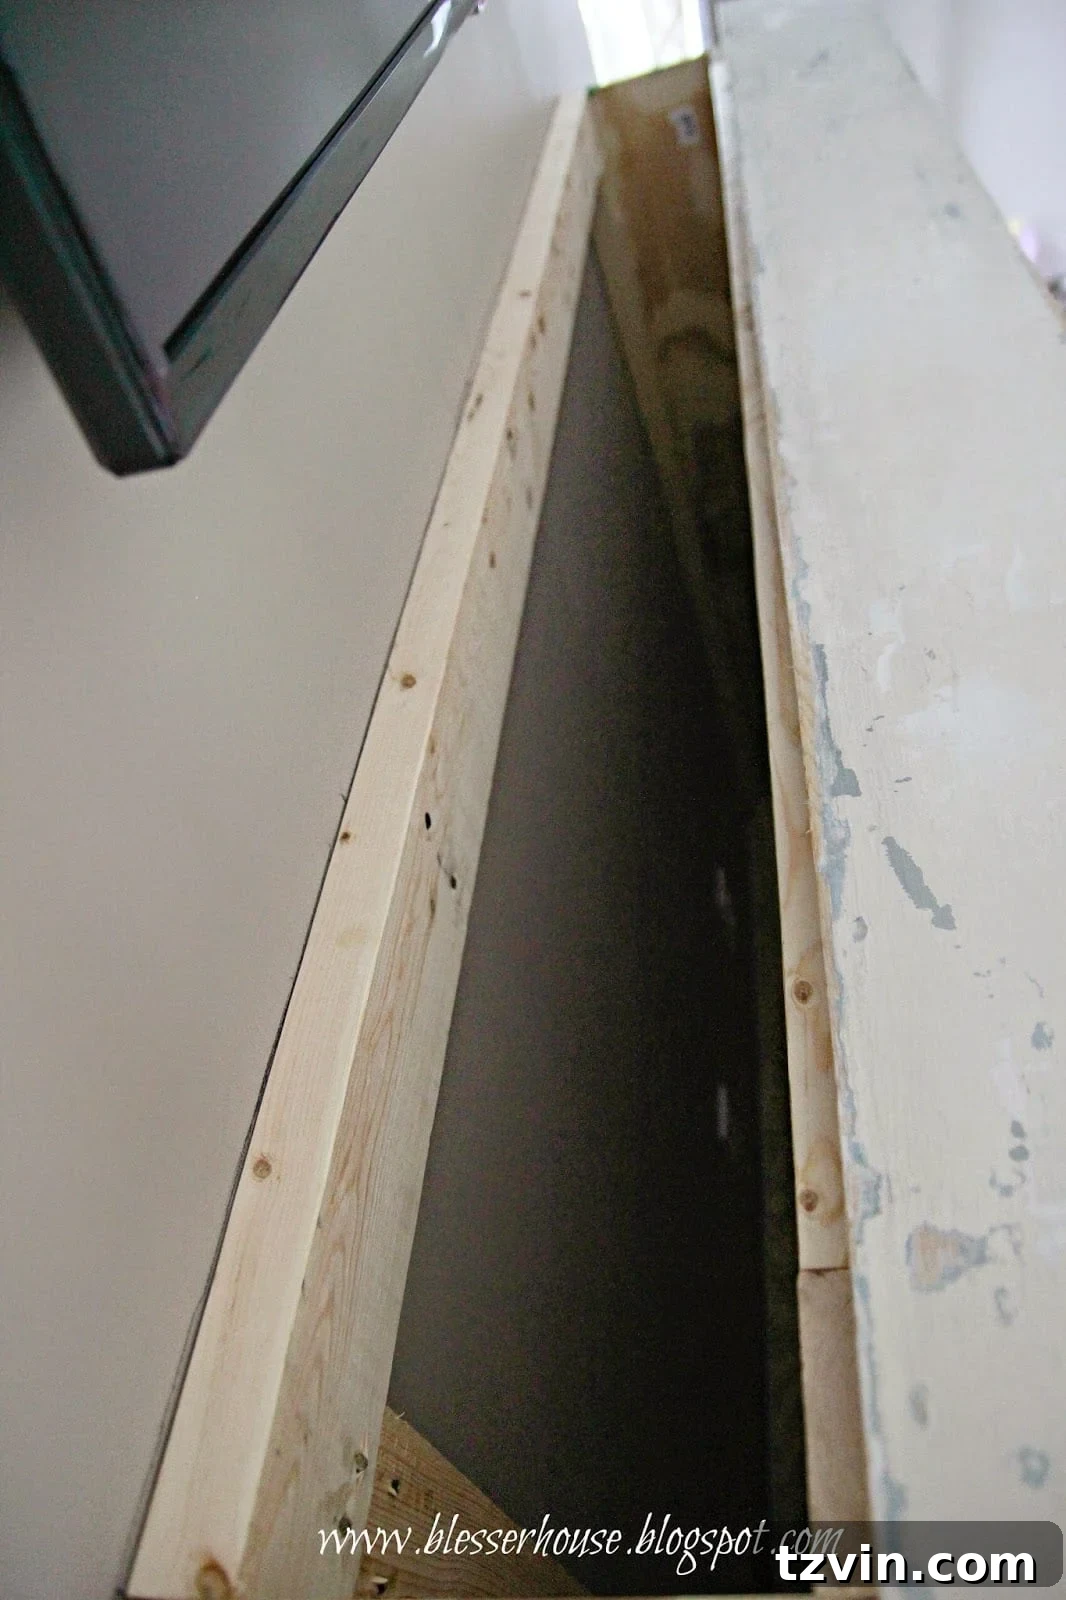
To fully enclose the top, we added another plywood piece, attaching it firmly to both the 2x4s on the mantel and the wall, as well as to the newly installed plywood side pieces. This final structural addition made the entire unit incredibly solid – it truly wasn’t going anywhere!
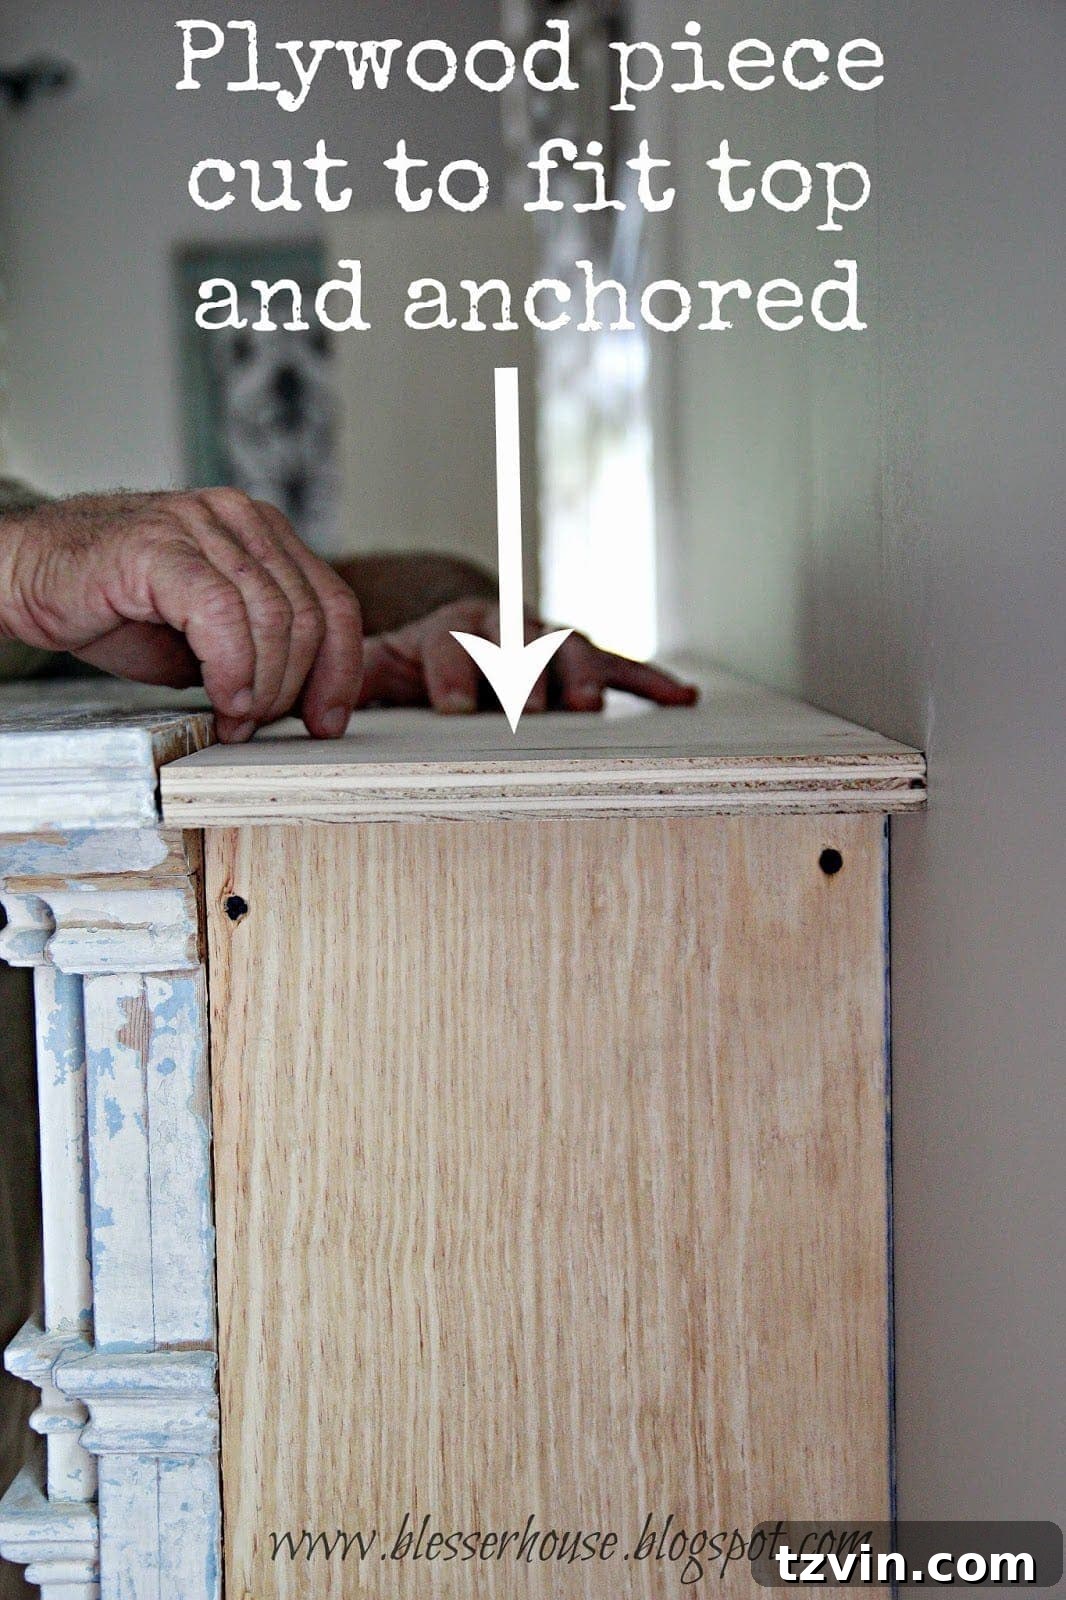
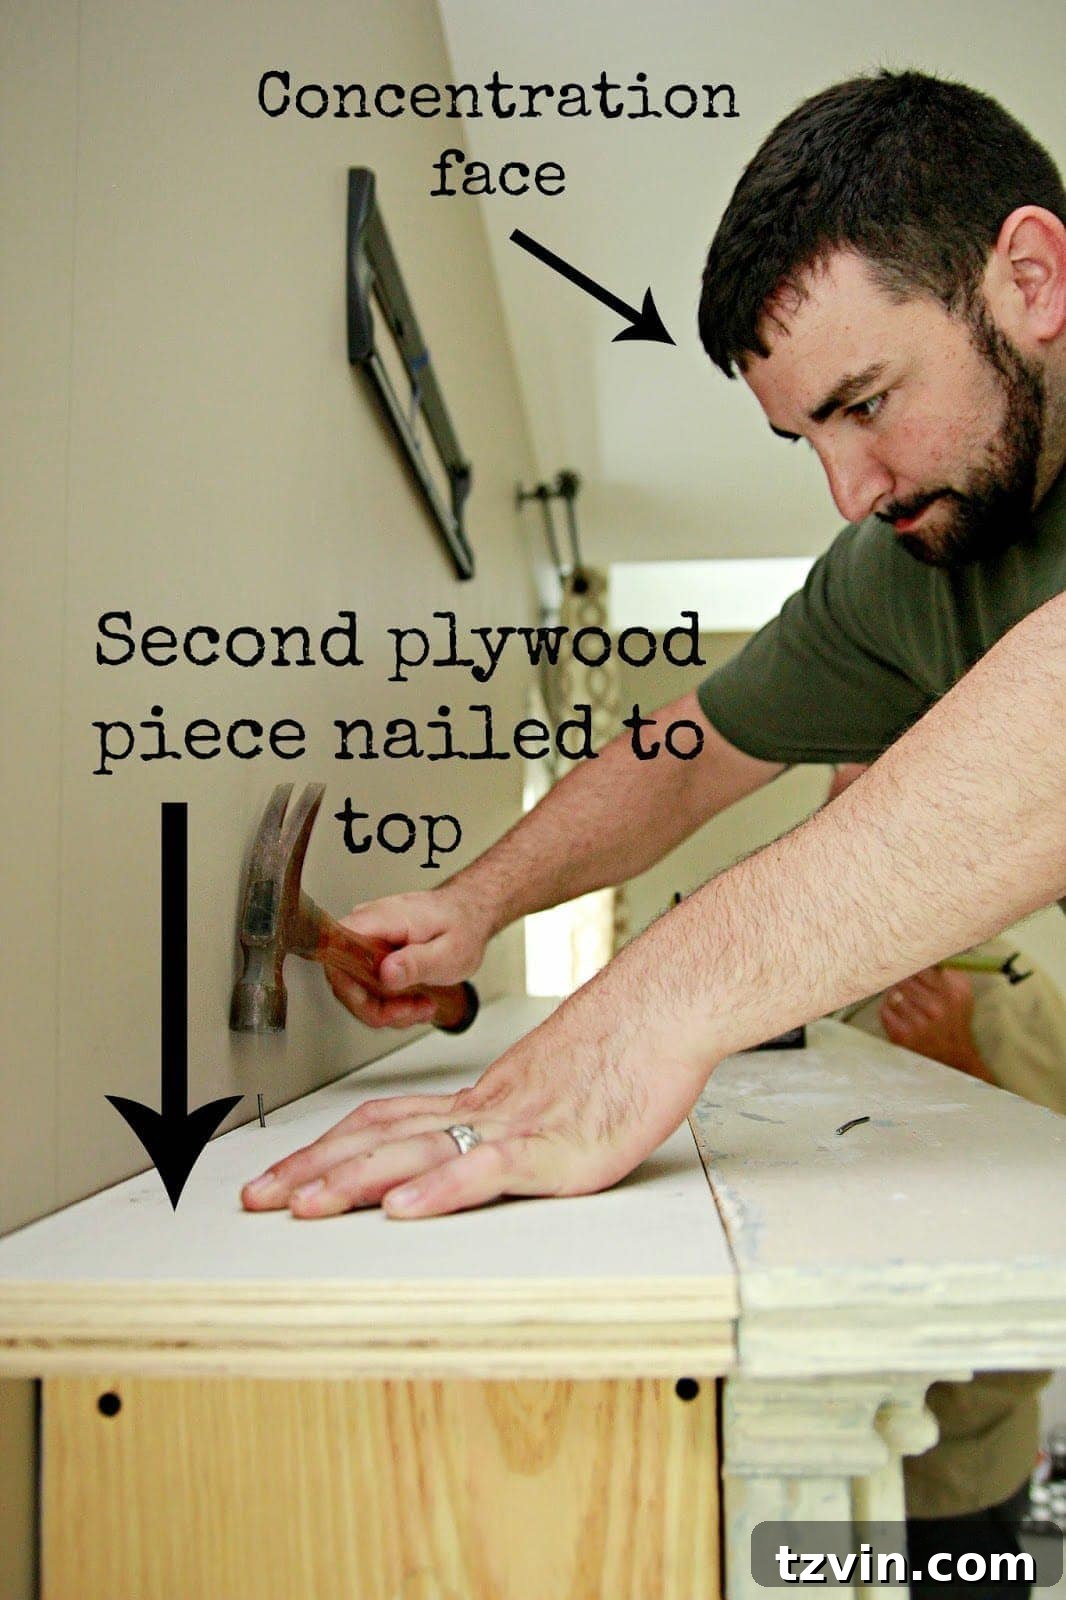
Finally, we laid down one more plywood piece on the very top, carefully mimicking the existing end molding of the mantel shelf. Robert secured this final piece with finishing nails, ensuring a refined and integrated look that truly makes the entire structure appear cohesive and custom-built.
And then, *helloooo* fireplace! We’ve come so far in just the first part of this DIY adventure.
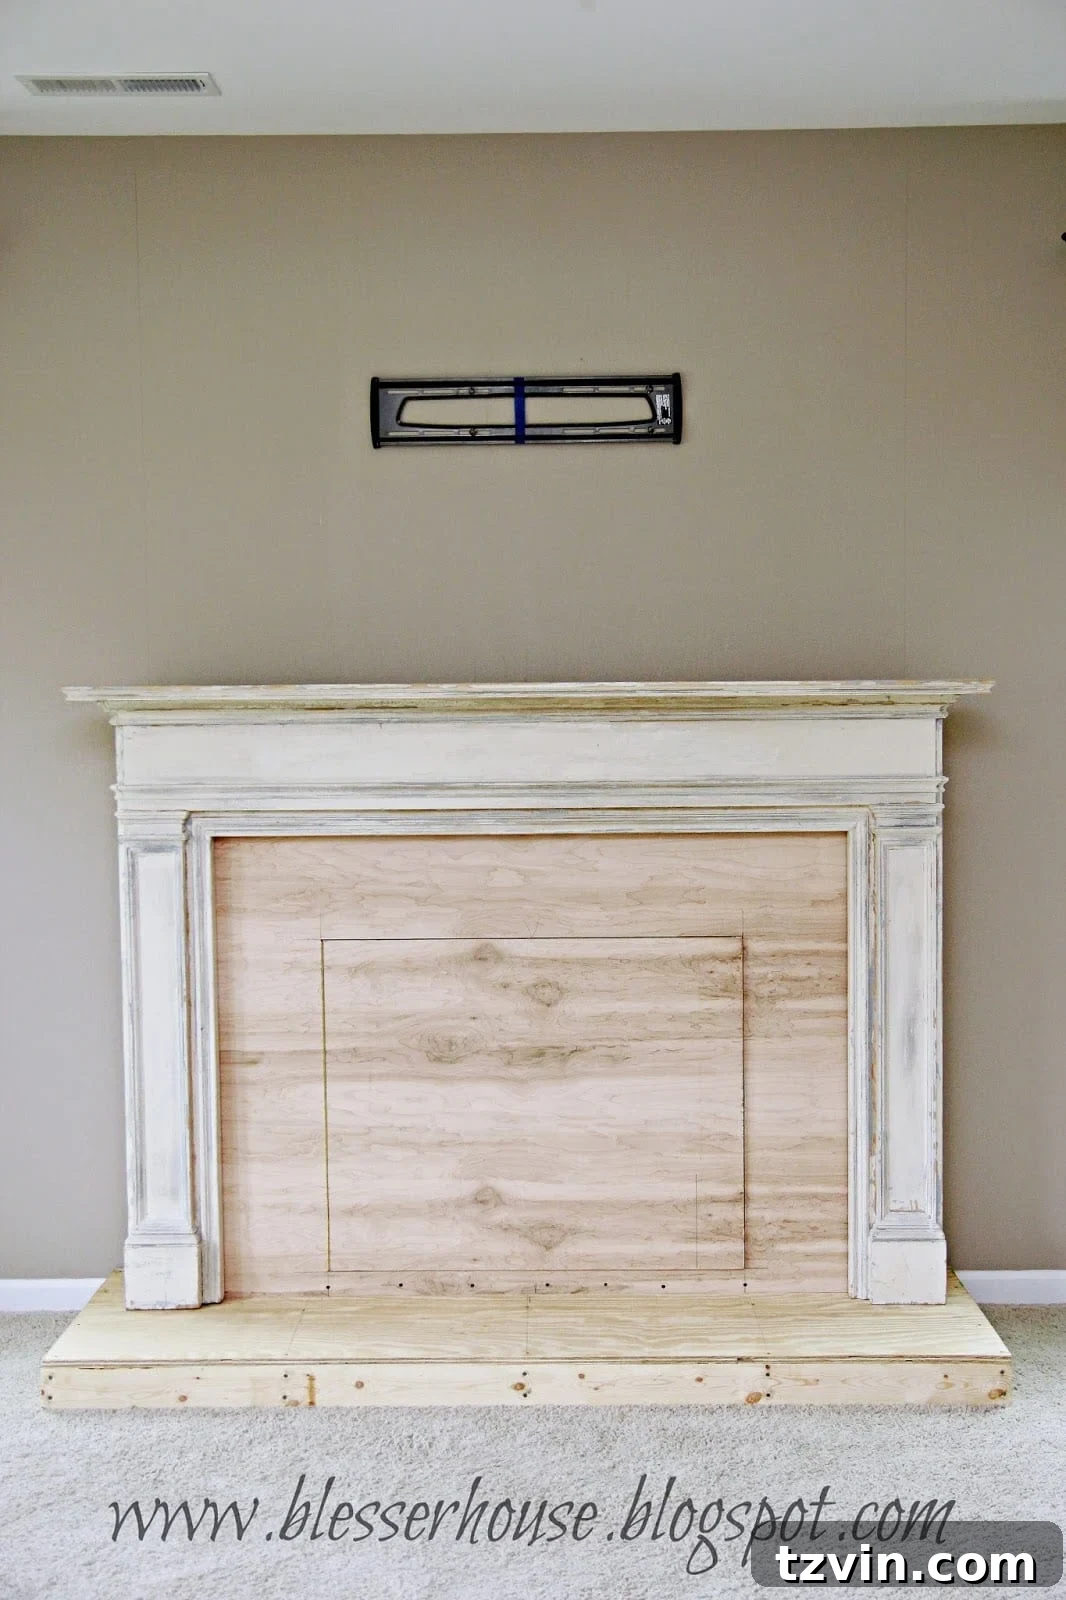
I know it still looks a bit rough and unfinished at this stage, but this is only Part One – the crucial framing and structural work. The subsequent steps, which involve the exciting finishing touches like tiling, painting, and decorative elements, are much less complicated and incredibly rewarding!
What’s Next?
Eager to see how this grand structure gets its beautiful skin? You can dive into Part Two right here, where we tackle more of the aesthetic elements that bring it to life!
And for the grand finale, the complete transformation, don’t miss the full reveal here!
One day, we might just gather the funds to install a real gas firebox insert, but for now, we’re absolutely thrilled with the versatility and aesthetic impact of our oversized faux fireplace. It’s a testament to creative problem-solving and budget-friendly home design.
What are your thoughts on our project so far? Have any of you embarked on building a faux fireplace, or does this inspire you to give it a try?

Follow us for more DIY inspiration:
Facebook |
Pinterest |
Instagram |
Twitter |
Google+ |
Bloglovin | Hometalk