
DIY Plank Wall Above Your Faux Fireplace Entertainment Center: Part Two
Welcome back, DIY enthusiasts! If you’ve been following along with our home transformation journey, you’ll know we recently embarked on an exciting project: constructing our faux fireplace entertainment center, which we shared in Part One. That initial build was a game-changer, but what we decided to add next truly brought our vision to life and created an unforgettable focal point in our living room. We’re incredibly thrilled to share the detailed steps of this stunning upgrade that perfectly complements our new fireplace structure and enhances its authentic appeal.
This project transitions our faux fireplace from a simple build into a fully integrated, design-forward statement, injecting character, warmth, and a touch of classic charm into our home. Prepare to discover how a relatively simple addition can make an extraordinary impact on your overall home decor and elevate the perceived value of your space.
*Update: Eager to see the full transformation of this ambitious project? Make sure you don’t miss Part Three and the breathtaking Final Reveal of our complete DIY faux fireplace entertainment center!
Why a DIY Plank Wall is the Perfect Fireplace Accent
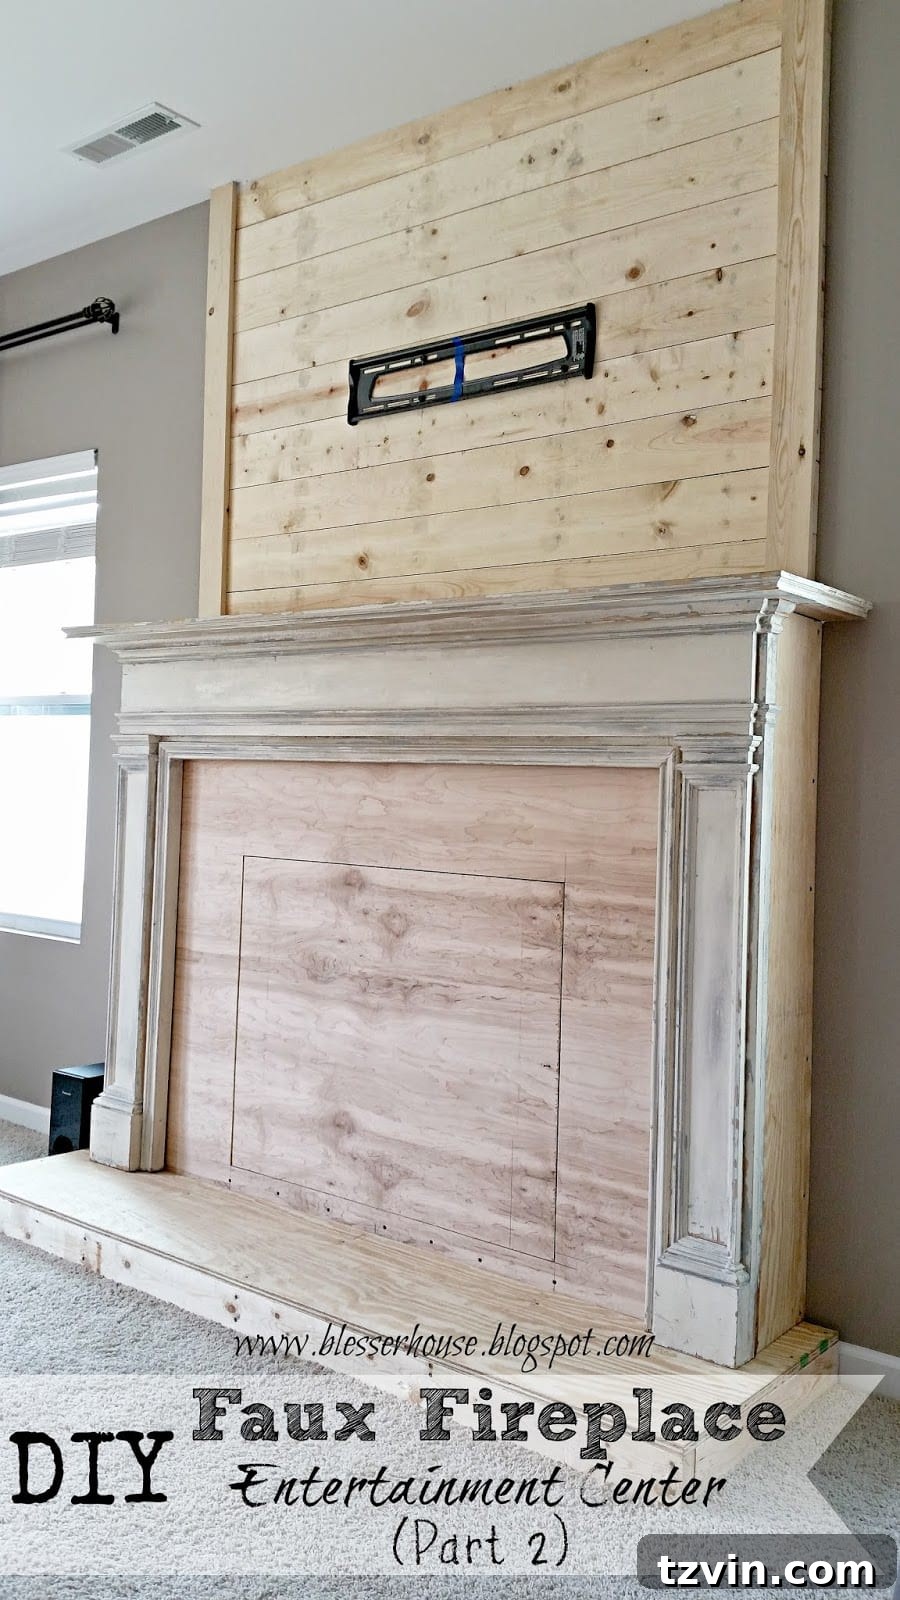
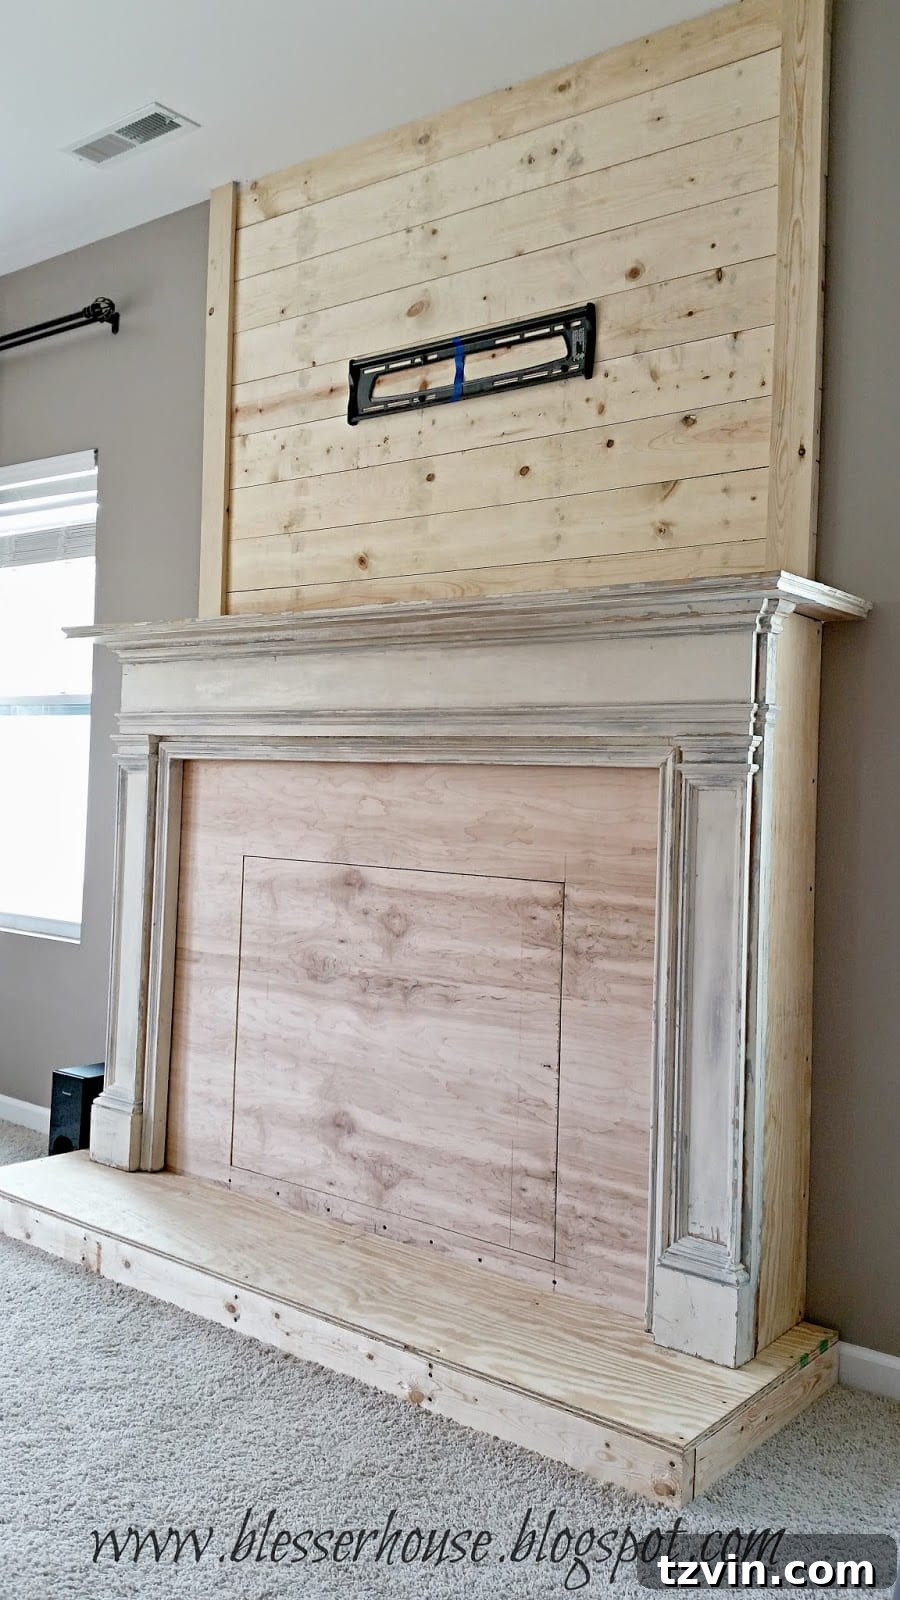
The moment we completed the base structure of our faux fireplace, we intuitively knew it needed something more to truly command attention and achieve that coveted “built-in” feel. Our solution? A gorgeous plank wall, often referred to as a vertical shiplap accent! This wasn’t merely about adding another decorative element; it was about creating architectural interest, adding tactile texture, and achieving a cohesive, polished aesthetic that emulates a traditional fireplace chimney. I’ve always harbored a dream of incorporating a plank wall somewhere in our home, and while this section isn’t an entire room, it has undeniably made a HUGE visual statement in our living room.
Beyond its aesthetic appeal, this plank wall cleverly serves a functional purpose. In a strategic way, we’ve managed to simulate the presence of a built-in chimney, thereby making our faux fireplace look even more authentic, substantial, and grand. A vertical plank wall naturally extends the visual line of the fireplace, drawing the eye upwards and emphasizing the height of the room. It introduces a delightful interplay of texture and depth, beautifully contrasting with the smooth finish of the mantel and creating a dynamic backdrop for our television. This seemingly simple addition elevates the entire entertainment center, transforming a purely functional element into a stunning, custom-designed visual centerpiece that enhances the modern farmhouse style of our home.
While Part One of our DIY faux fireplace build involved more intricate carpentry and structural considerations, this plank wall installation was surprisingly straightforward and incredibly rewarding. It’s a perfect DIY project for those looking to make a significant impact on their home decor without encountering overwhelming complexity. Here’s a detailed breakdown of the steps we followed, along with tips and insights, so you can confidently replicate this impressive transformation in your own home.
Essential Supplies for Your Stunning DIY Plank Wall
Before you begin, gathering all the necessary tools and materials is a critical first step to ensure a smooth and efficient project. Having everything on hand prevents frustrating interruptions and helps maintain momentum. We’ve compiled a comprehensive list of what you’ll need below, complete with a brief explanation of each item’s role. (Please note: For your convenience, some affiliate links are provided below. For more detailed information regarding my disclosure policy, please see my full disclosure page.)
- 9 1×6 Pine Planks: The precise quantity of planks required will vary based on the specific width you choose for your plank wall and the exact height between the top of your mantel and the ceiling. Pine is an excellent material choice due to its affordability, widespread availability, and ease of working with, yielding a beautiful natural grain that responds well to various finishes like paint or stain.
- 2 1×4 Pine Planks: These planks are integral for creating a clean, crisp frame on either side of your vertical plank wall. They serve to neatly cover and conceal the raw, cut edges of the 1×6 planks, providing a professional and finished look that defines the accent wall.
- Quarter Round Strip: This small, versatile molding piece offers the perfect final touch. It is applied alongside the 1×4 side pieces to seamlessly blend the plank wall into the existing wall, masking any tiny gaps and completing the polished, built-in appearance.
- Long Level: An indispensable tool for this project, a long level ensures that all your pencil guide lines are perfectly straight and, most importantly, that each plank is installed evenly and horizontally. This prevents any unsightly crookedness that could detract from the overall aesthetic of your new accent wall.
- Pencil: A simple yet essential tool for accurately marking all your measurements, guide lines, and the critical locations of wall studs.
- 2-inch Brad Nails (or Finishing Nails): These small-gauge nails are ideal for securing the planks. Their small heads are easily recessed below the wood surface, making them simple to conceal with a small amount of wood filler and paint for a flawless finish.
- Nail Setter: If you opt for hand-nailing rather than a pneumatic nail gun, a nail setter is crucial. It allows you to tap the nail heads just below the surface of the wood without damaging the surrounding area, preparing them for filling.
- Popsicle Sticks (or other thin, consistent spacers): These unassuming items are absolutely vital for achieving the characteristic look of a plank or shiplap wall. They ensure uniform, consistent gaps between each plank, creating beautiful shadow lines and dimension.
- Power Drill and Hole Saw Drill Bit (Optional but highly recommended): These tools are essential if you plan to integrate your TV and conceal all cabling within the wall. A hole saw bit creates neat, circular openings for routing wires, ensuring a clean, cord-free aesthetic around your television.
- Hammer or Pneumatic Nail Gun: While a hammer works, a pneumatic nail gun (we absolutely love our 3-in-1 nailer for its versatility) will significantly expedite the installation process and provide more consistent and secure results with less effort.
Step-by-Step Guide to Building Your DIY Plank Wall
Step 1: Meticulous Planning and Layout Marking
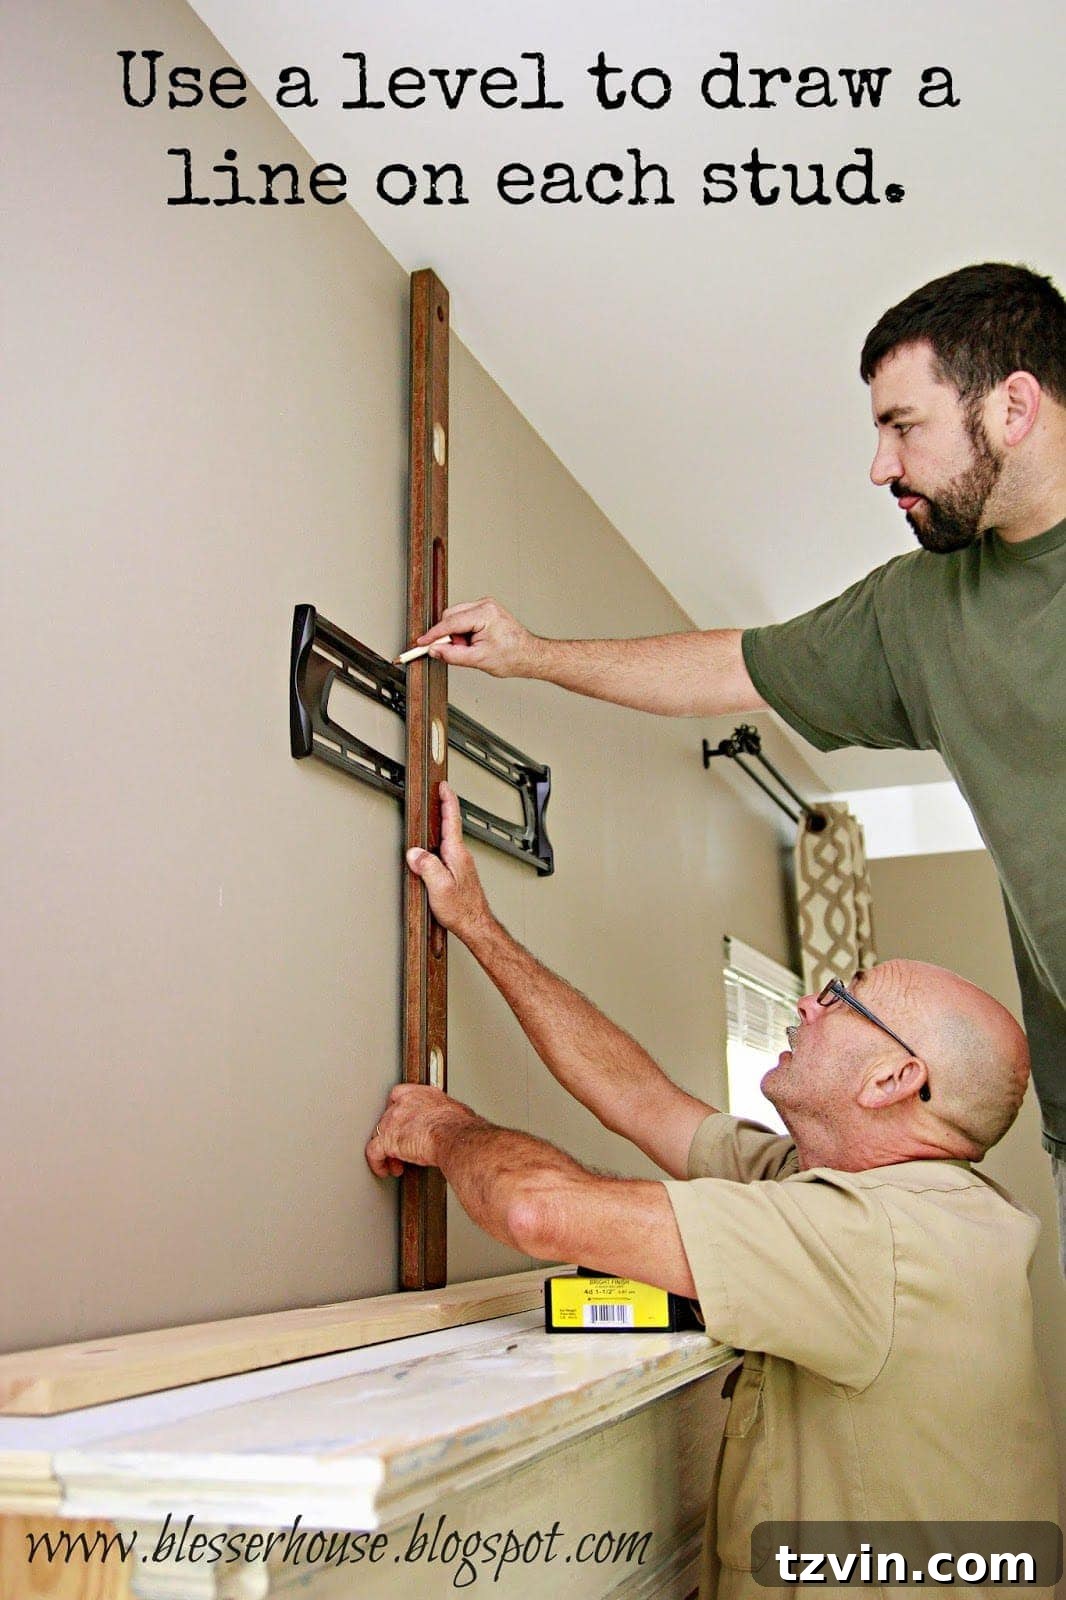
The inaugural and arguably most crucial step involves meticulously determining the exact dimensions and placement of your plank wall. We carefully considered how wide we wanted the accent wall to be, ensuring it was sufficiently expansive to seamlessly incorporate our television – let’s be honest, some men (like Robert!) have an undeniable fondness for large screens! To provide precise guidance for our installation, we utilized a long level to draw crisp, vertical pencil lines extending from the very top of the mantel all the way up to the ceiling. These lines served as our unequivocal boundaries, clearly defining the left and right edges of the future plank wall.
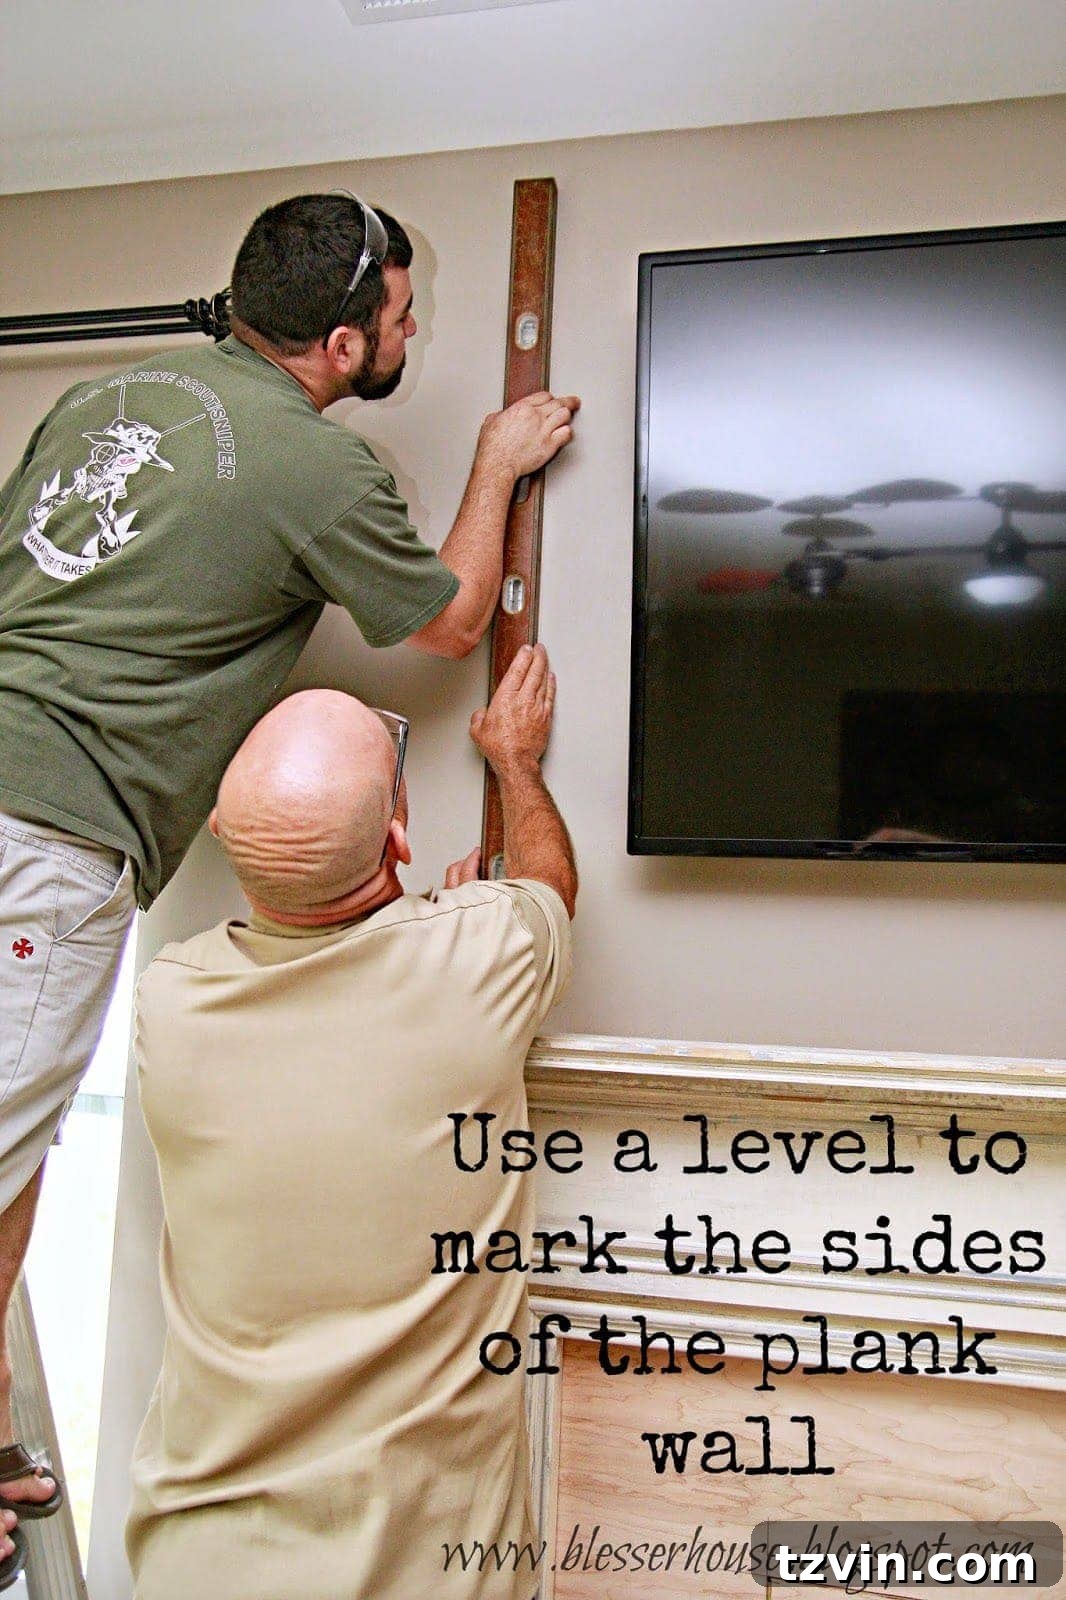
Once the perimeter of our accent wall was firmly established, we used the level again, this time horizontally, to painstakingly locate and mark the position of each stud within the wall. Nailing directly into these wall studs is paramount as it provides the strongest, most stable, and most secure installation for your planks, effectively preventing any future sagging, warping, or loosening over time. This preparatory step, while perhaps seeming somewhat tedious, is absolutely fundamental to ensure the longevity, structural integrity, and impeccable finish of your beautiful new plank wall. Do not skip this!
Step 2: Cutting and Installing the 1×6 Pine Planks
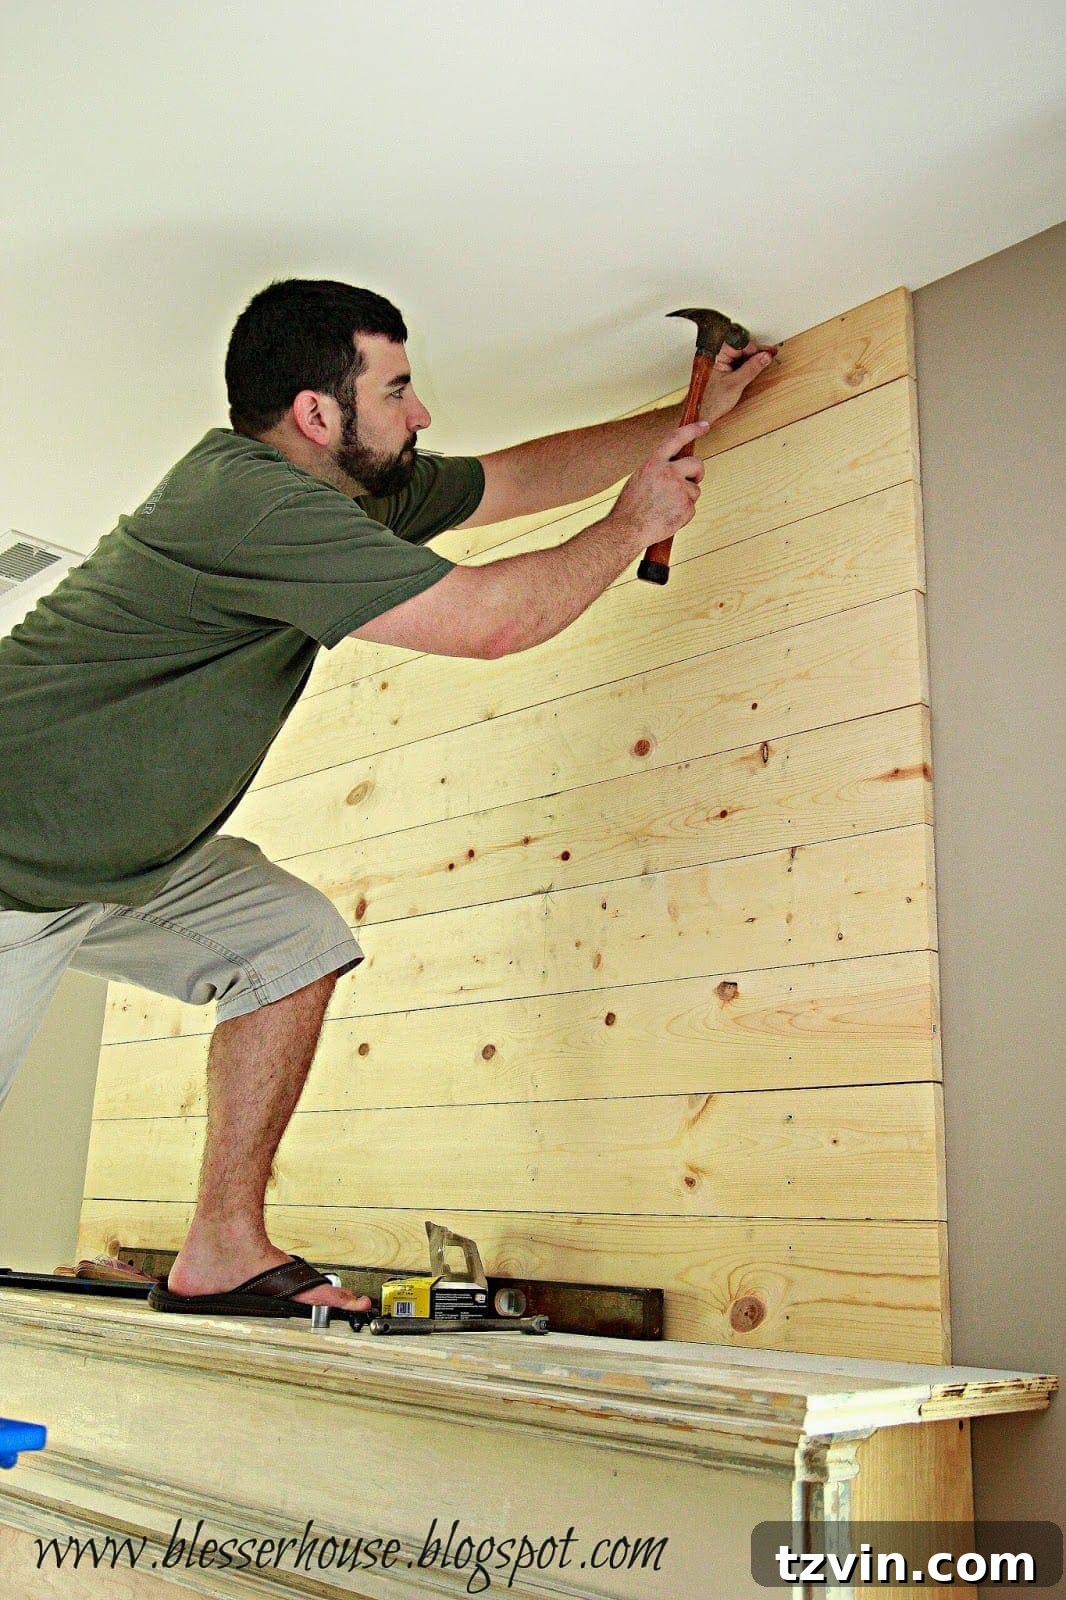
With all the wall studs clearly identified and marked, Robert commenced the task of cutting the 1×6 pine planks to their precise dimensions. Each plank was carefully measured and cut to match the exact width we had previously determined for the accent wall. We began the installation from the bottom, positioning the first plank just above the mantel. This plank was then meticulously secured using finishing nails driven directly into each marked stud, ensuring a firm and reliable attachment. As we progressed upwards, it was absolutely essential to continuously monitor and ensure that the ends of all subsequent planks remained perfectly aligned with the vertical guide lines we had drawn earlier.
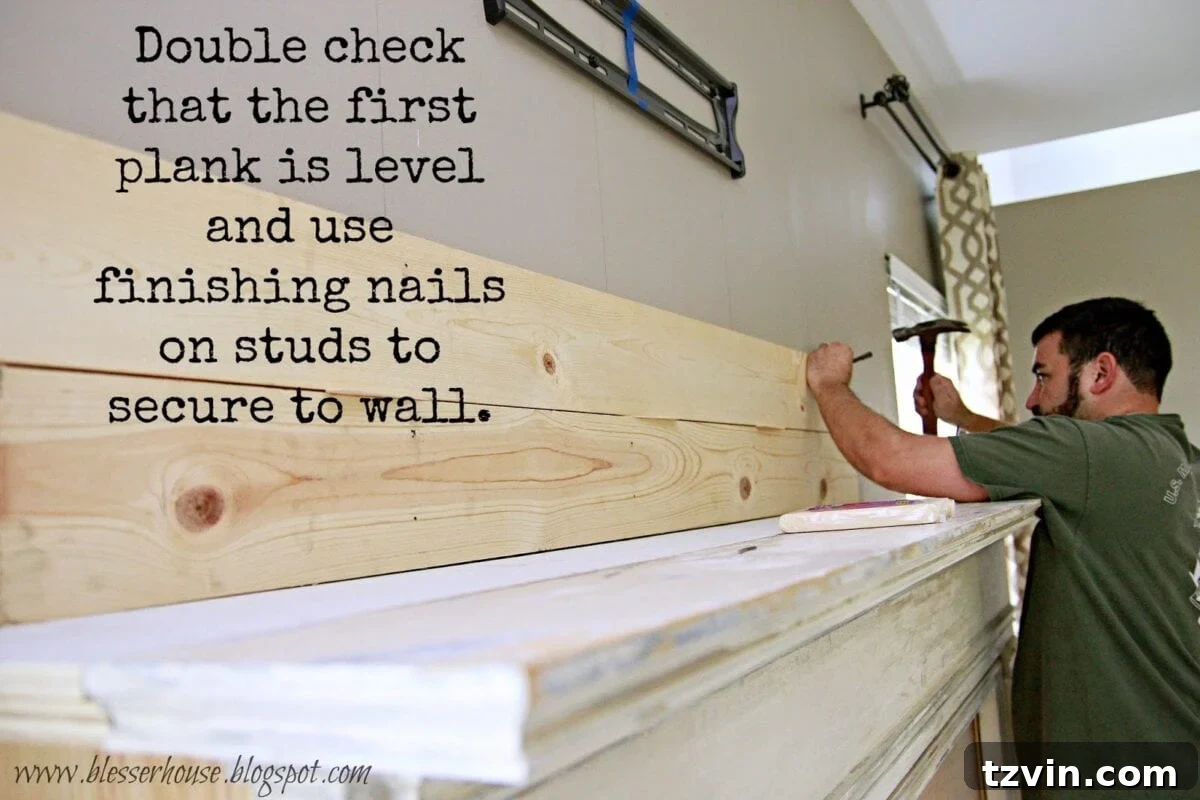
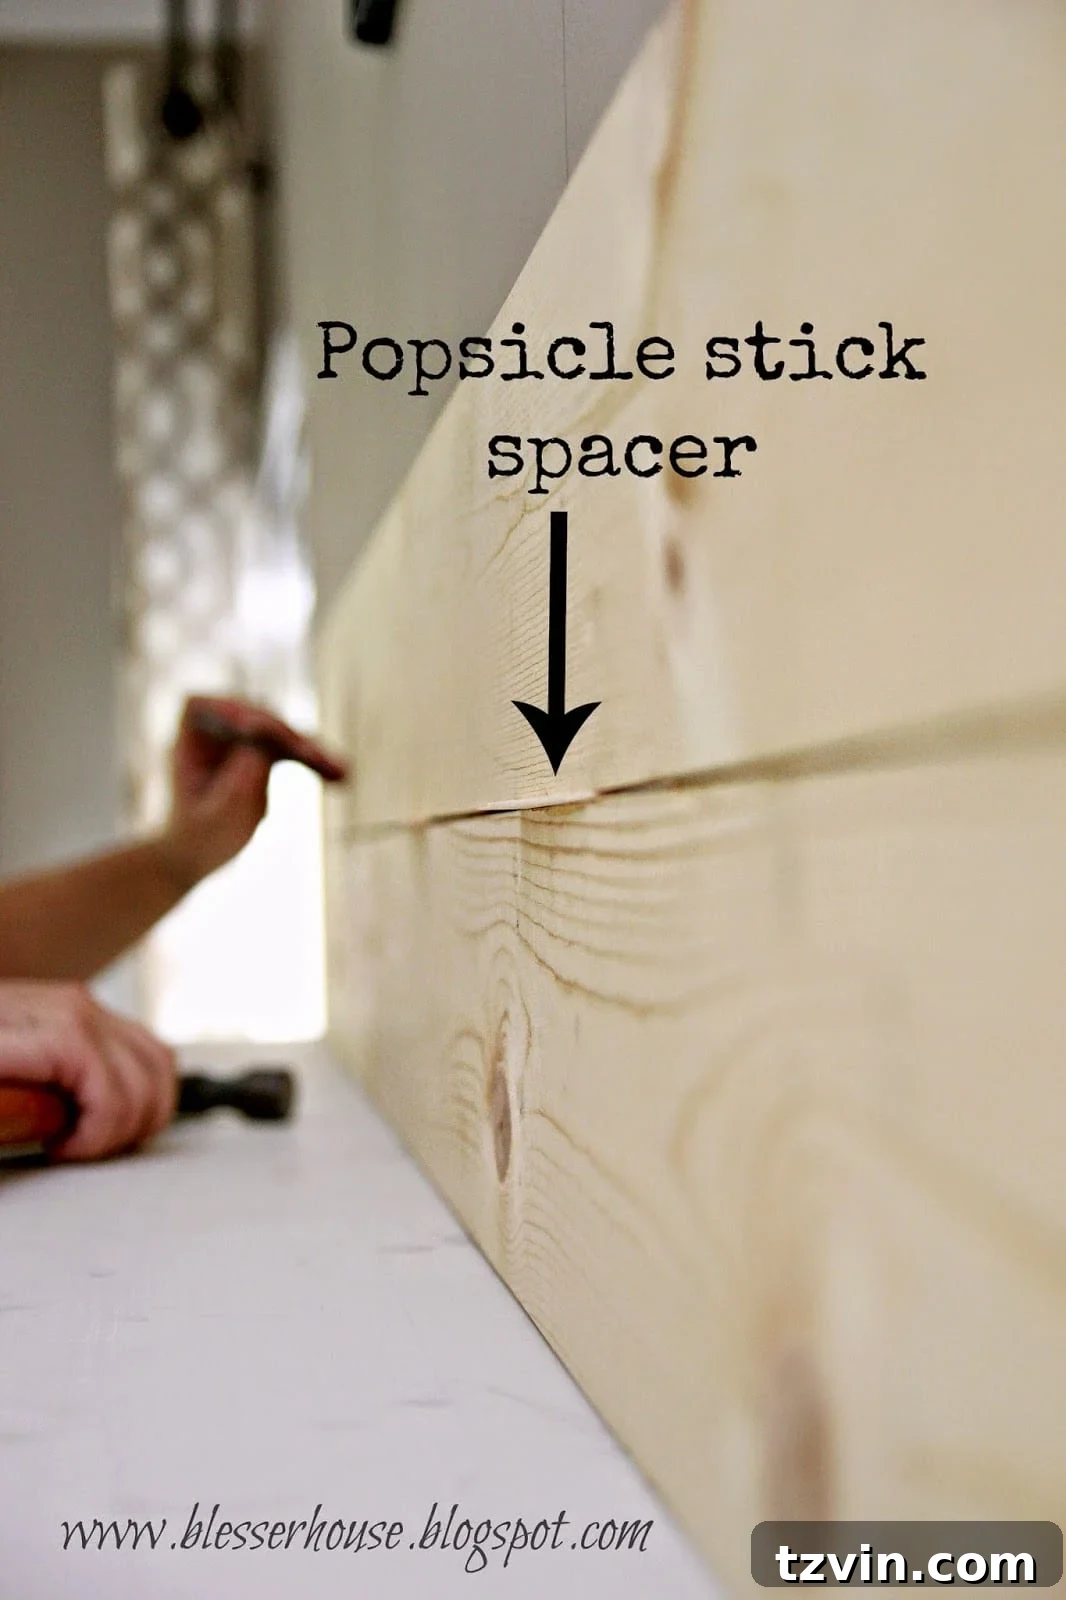
To achieve that desirable, classic gapped plank wall aesthetic – which is often mistakenly referred to as shiplap – consistent spacing between each board is absolutely critical. I’ve observed some incredibly resourceful DIYers who cleverly use coins as spacers between their planks, a testament to ingenuity! While we might not be *that* excessively frugal, I just happened to have a generous stash of popsicle sticks readily available, and they were the first (and perfectly effective) items that came to mind. The method is simple: before nailing the next plank above, place a popsicle stick at each end and at regular intervals along the length of the plank to create uniform gaps.
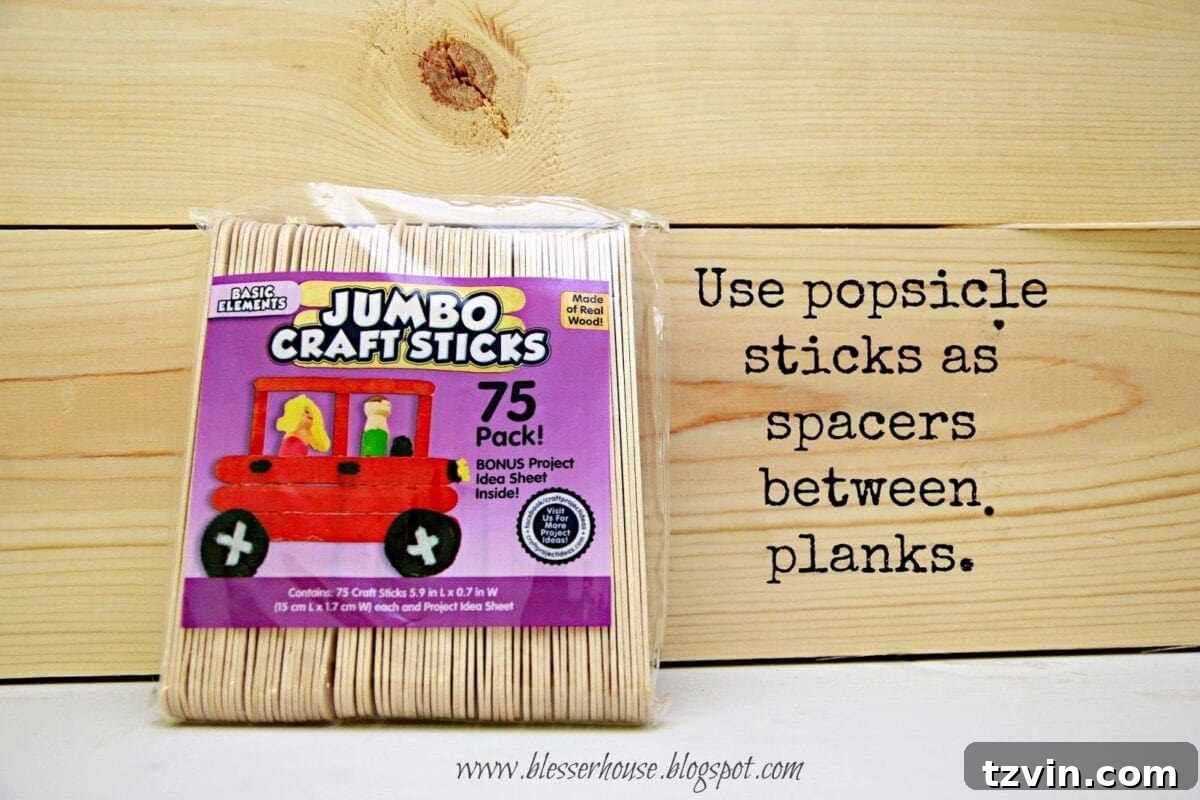
A crucial piece of advice: always ensure your chosen spacers are sticking out far enough from the edge of the plank to be easily removed once the plank is securely nailed into its position. We had one particularly stubborn rogue popsicle stick that became firmly wedged between two planks; despite our most valiant efforts and various tools, it simply refused to budge. After eventually conceding defeat, we decided to simply push it further in, and to our surprise, it is now completely unnoticeable. Consider it a charming, hidden “oops” that perhaps adds a unique touch of character! It’s definitely there to stay. Continue this precise process, carefully spacing and nailing each plank, working your way methodically upwards until you reach the ceiling line.
As you approach the very top, it is quite common to discover that the final plank will not fit perfectly without some adjustment. In our specific instance, we found it necessary to trim approximately an inch off the width of the last plank to ensure a perfectly snug and seamless fit right against the ceiling line. Taking the time for precise measurement and executing a careful, accurate cut will guarantee a polished and professional finish that completes the plank wall beautifully.
Step 3: Finishing the Edges with 1x4s and Quarter Round Molding
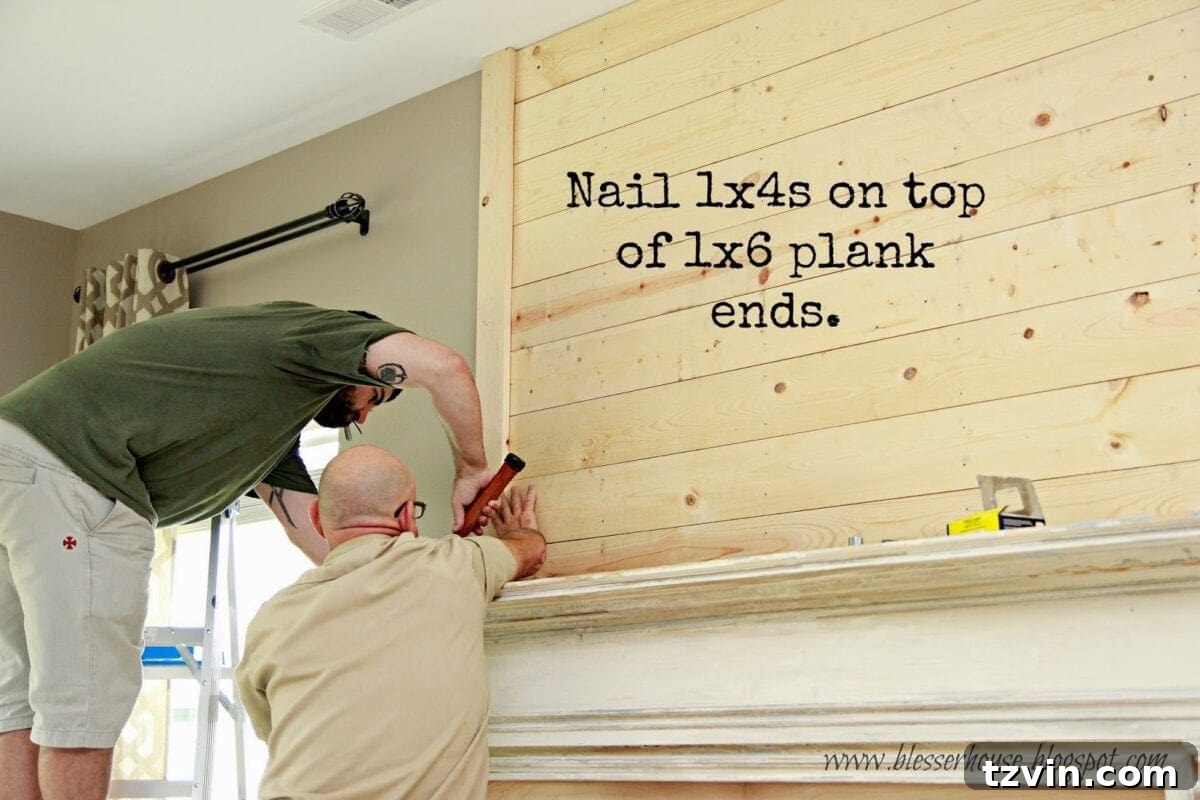
Once all the 1×6 planks were securely installed and aligned, the vertical side edges of the plank wall required a clean, refined, and professional finish. We achieved this crucial step by carefully nailing a 1×4 pine plank over each of the vertical ends of the newly installed 1×6 planks. These 1x4s serve a dual purpose: they effectively cap the raw, exposed edges of the 1x6s, creating a crisp and deliberate border for the accent wall, while also adding structural integrity and a sense of completeness. To elevate the finish even further and completely conceal any minuscule gaps or remaining raw plank ends on the sides, we plan to add a small quarter-round molding piece right alongside each of these 1x4s. This final trim work will provide an exquisitely professional, built-in appearance that truly makes the plank wall look intentional, custom-designed, and perfectly integrated into the overall fireplace structure.
Step 4: Seamless TV Integration and Smart Cable Management Solutions
This particular stage of the project invariably induces a slight cringe – the thought of drilling a substantial hole into our beautifully crafted new wall! However, given that this entire structure is designed to function as a comprehensive entertainment center, integrating the television seamlessly and discreetly was undeniably a top priority. While I initially entertained the idea of mounting the TV on an alternative wall, the layout of our living room simply didn’t present a suitable or equally effective option. Therefore, embracing the design decision, we committed to making the TV integration absolutely flawless.
For paramount security and stability, we drilled all the way through the plank wall and deep into the solid wall studs behind it when installing the TV mounting bracket. This meticulous approach ensures that even the largest and heaviest television will remain firmly and securely in place, offering invaluable peace of mind for years to come. A robust and unyielding mounting system is simply non-negotiable, particularly when dealing with valuable electronic equipment and the dynamic environment of an active household.
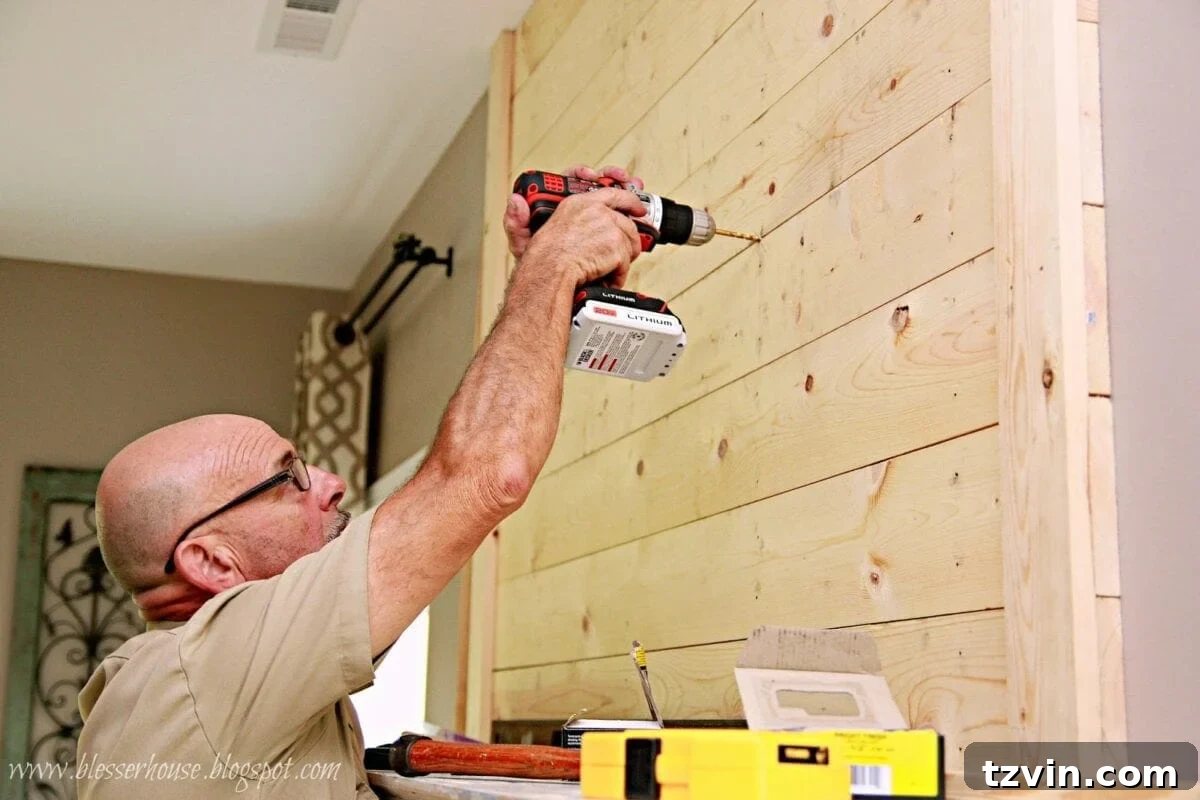
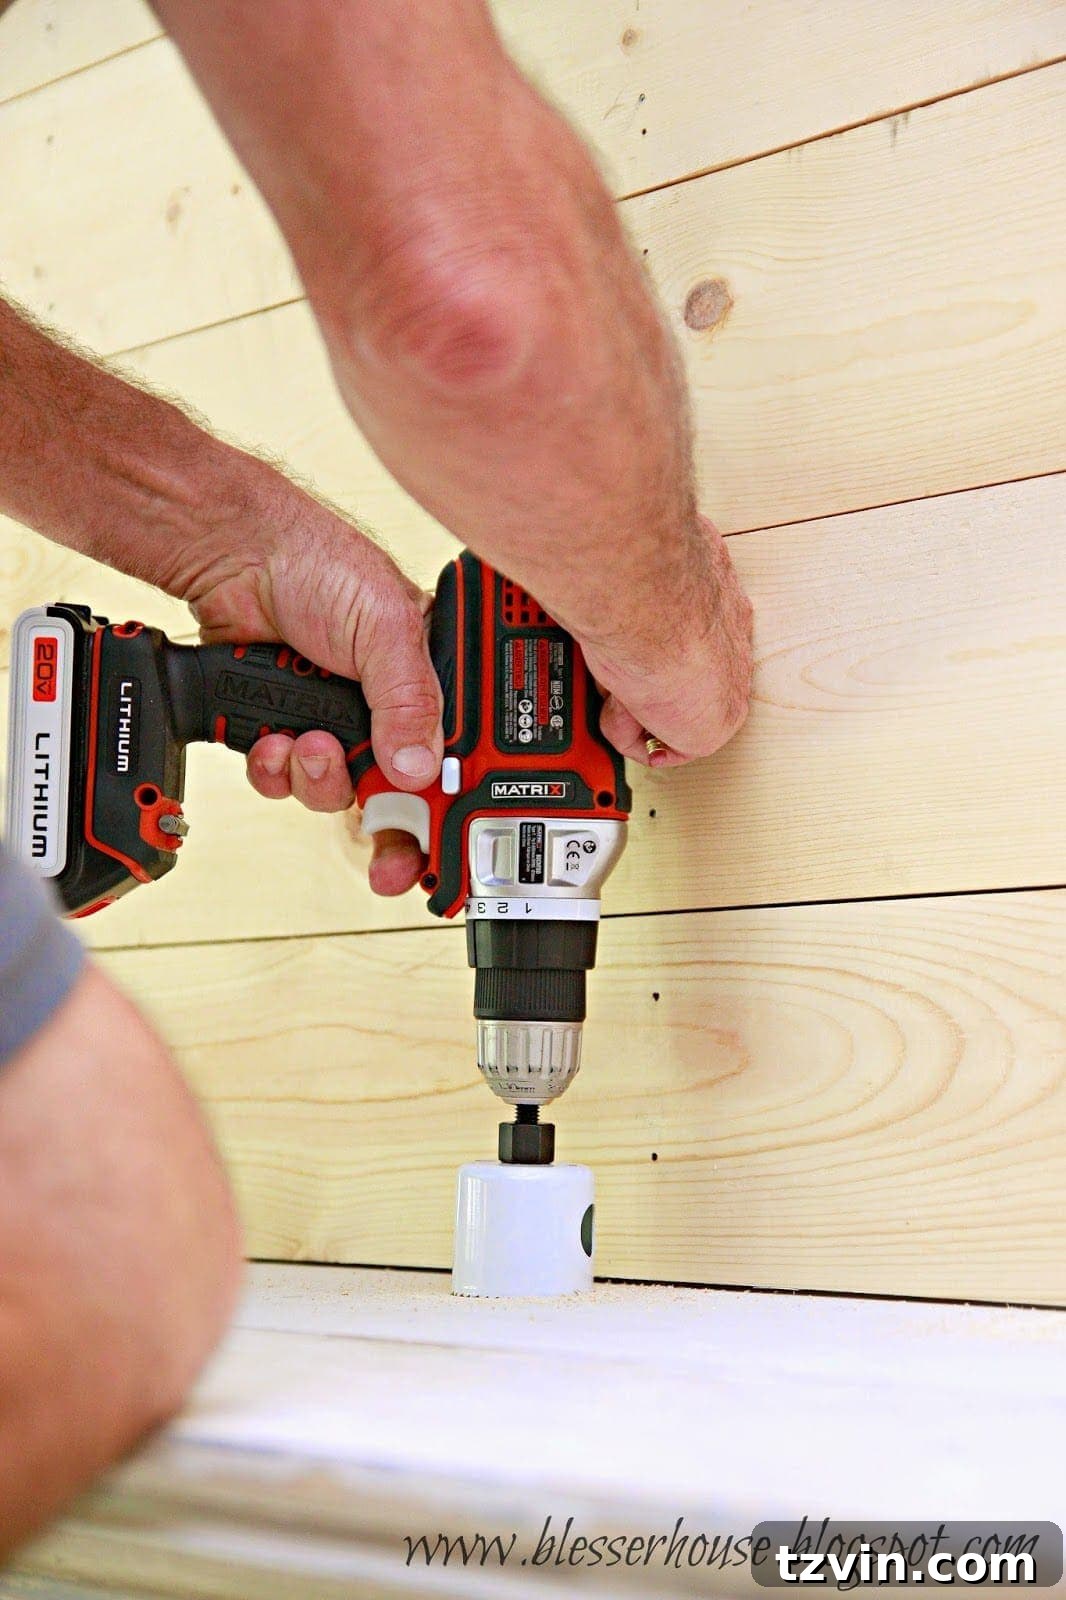
One of the most significant and often overlooked advantages of constructing a faux fireplace is the incredible design flexibility it affords, especially concerning cable management. To ensure that all those unsightly and distracting cords emanating from the TV remained completely hidden from view, we implemented a remarkably clever and effective solution. We carefully drilled a strategically placed hole at the very back of the mantel shelf using a specialized hole saw drill bit. This ingeniously allows all TV cables to gracefully drop straight down into the hollow cavity created behind the faux fireplace structure. Crucially, a fully functional electrical outlet is conveniently situated and accessible directly behind our faux firebox door. This thoughtful placement means we can effortlessly plug in all our entertainment components – from streaming devices to gaming consoles – without having to contend with a messy tangle of cords snaking conspicuously across the room. This hidden wiring solution is a hallmark of thoughtful design, providing a huge win for both aesthetics and functionality, preserving the clean, uncluttered, and sophisticated look of our newly transformed living space.
Step 5: Priming and Preparing for the Final Finish
With all the planks expertly installed, the edges meticulously finished, and the TV mount thoughtfully integrated, our beautiful new plank wall is now perfectly primed and ready for its ultimate transformation: the application of paint! This final step is truly where everything coalesces, bringing the entire faux fireplace entertainment center together with a cohesive, polished, and custom-designed look. Whether your vision involves a crisp, clean white to evoke a classic modern farmhouse feel, a deep, dramatic charcoal for a contemporary touch, or a subtle, nuanced color chosen to perfectly complement your existing decor, the paint will undoubtedly bring your personal style to life. This is the moment where your individual aesthetic truly shines through, completing the bespoke appearance of your DIY project and cementing it as a unique expression of your home.
Conclusion: A Stunning Focal Point Achieved
Adding this exquisite plank wall above our faux fireplace entertainment center has truly exceeded all our initial expectations. It has masterfully transformed what began as a functional piece into a truly stunning and commanding focal point, imbuing our living room with unparalleled character, dynamic depth, and a wonderfully bespoke, custom-built feel. This DIY project, while certainly requiring careful planning, precise measurement, and diligent execution, stands as a testament to the fact that significant and impactful home improvements can be achieved with a dedicated effort, the right tools, and a clear, thoughtful approach. We sincerely hope that this comprehensive and detailed guide empowers and inspires you to confidently tackle your own plank wall project, allowing you to create a living space that you will genuinely adore and take immense pride in!
Ready to witness the next exciting developments and discover what happens after the paint? You can easily find the complete next steps for Part Three of our faux fireplace journey right here!
And for the grand finale – the ultimate reveal of our entire project – be sure to check out the final steps and the breathtaking full reveal of our budget-friendly faux fireplace, completed for under $600, right here!

Stay Connected and Follow Our Journey for More DIY Inspiration:
Facebook |
Pinterest |
Instagram |
Twitter |
Google+ |
Bloglovin | Hometalk