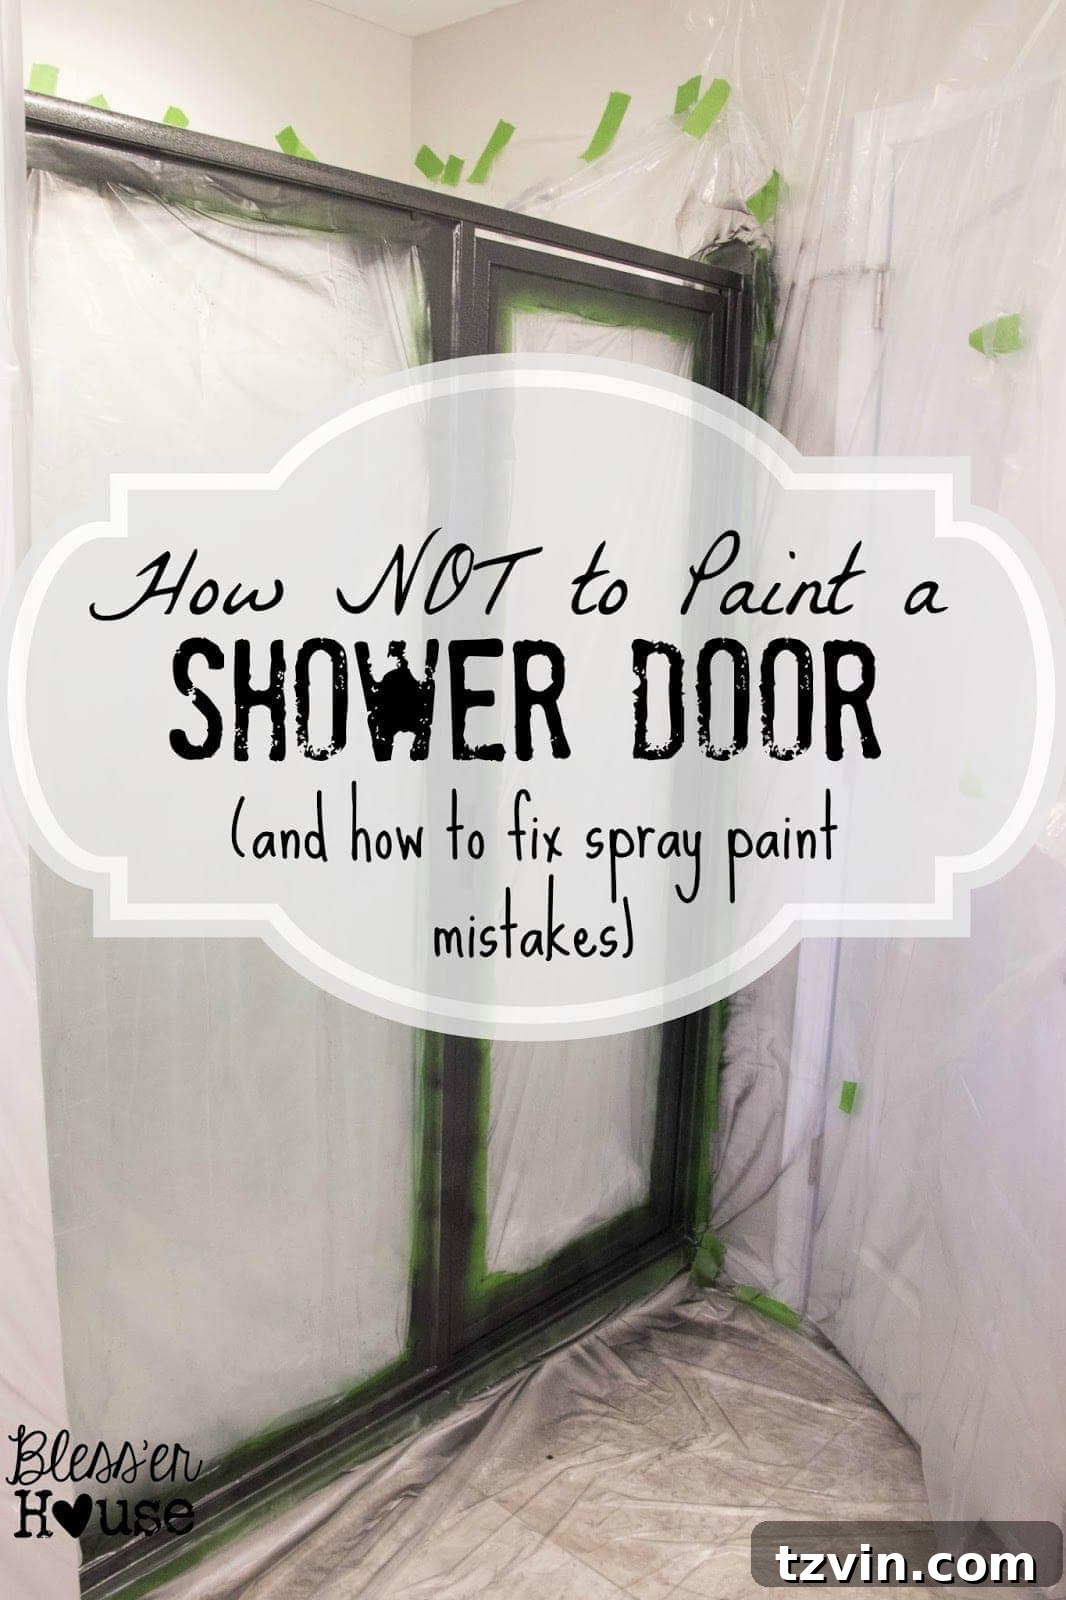
Mastering DIY Spray Painting: Essential Tips to Fix Common Mistakes
Every seasoned DIY enthusiast knows that the path to a beautifully finished project is rarely a straight line. Often, it’s a winding road dotted with unexpected challenges, frustrating setbacks, and moments where you question all your life choices – especially when Pinterest made it look so effortless! I’ll be the first to admit that my DIY journey is a constant learning curve, and there are countless times I’ve found myself staring at a project, thinking, “Boy, I’ve really messed this up. What was I thinking?!”
From stubborn varnish removal on our dining room chairs, which felt like an endless battle, to initial fumbles on early furniture makeovers, I’ve had my fair share of DIY blunders. But with each challenge, there’s always a valuable lesson learned and a clever fix discovered. For instance, who knew a moment of desperation could lead to a brilliant varnish stripping trick that saved those unsightly chairs? Or how an early project, detailed in this post, taught me about perseverance, ultimately leading to a happy ending. These experiences underscore a universal truth in DIY: mistakes are not failures, but rather stepping stones to becoming a smarter, more resilient maker.
The Shower Door Spray Paint Saga: A Flashback to DIY Fails
My recent shower door spray painting project felt like a total flashback to those early days of trial and error. Despite meticulous planning and a confident start, I encountered a series of mishaps that threatened to derail the entire endeavor. But rest assured, this story also has a positive outcome, and you’ll be seeing a gorgeous reveal of the finished shower soon! In the meantime, if you ever find yourself in a similar spray painting snafu, I hope these hard-won lessons and practical fixes can guide you through.
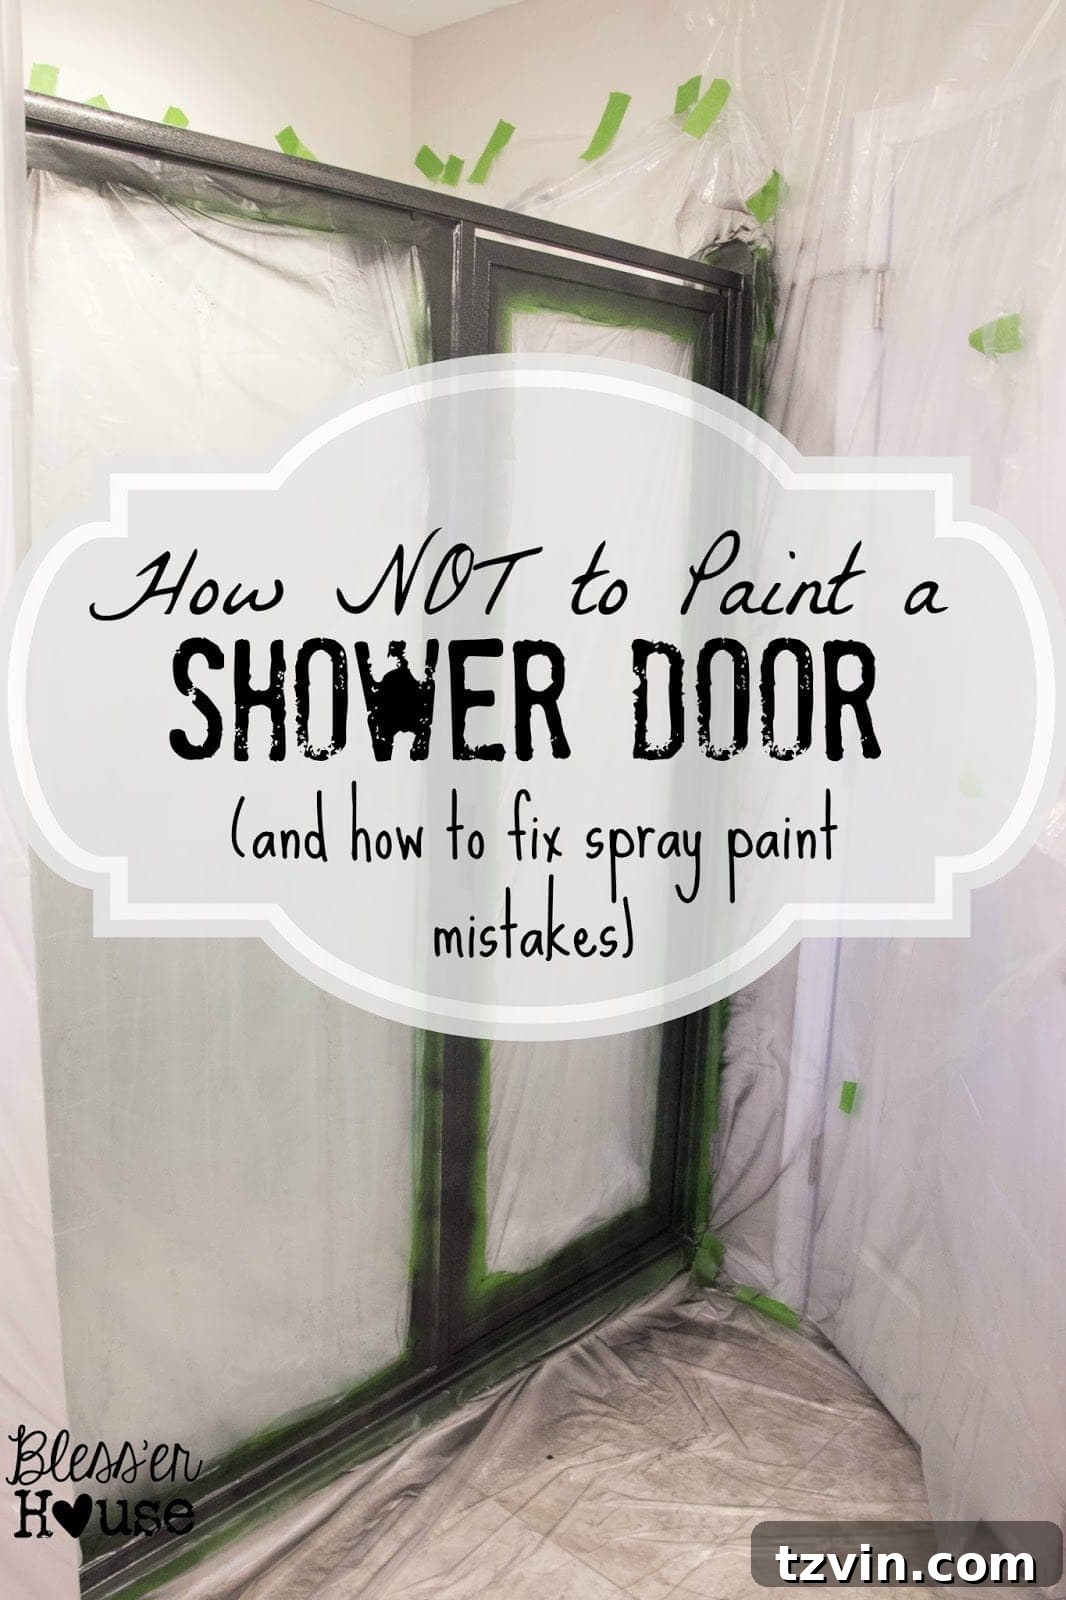
Initial Preparation: The Foundation of Success
I took all the necessary precautions in the long process of covering everything. This involved meticulously taping off surrounding areas with plastic drop cloths and using Frog Tape. I consistently prefer Frog Tape over traditional blue painter’s tape because of its PaintBlock® Technology, which creates a micro-barrier to seal the edges and prevent paint bleed. This extra step in preparation usually pays dividends, ensuring sharp lines and professional results.
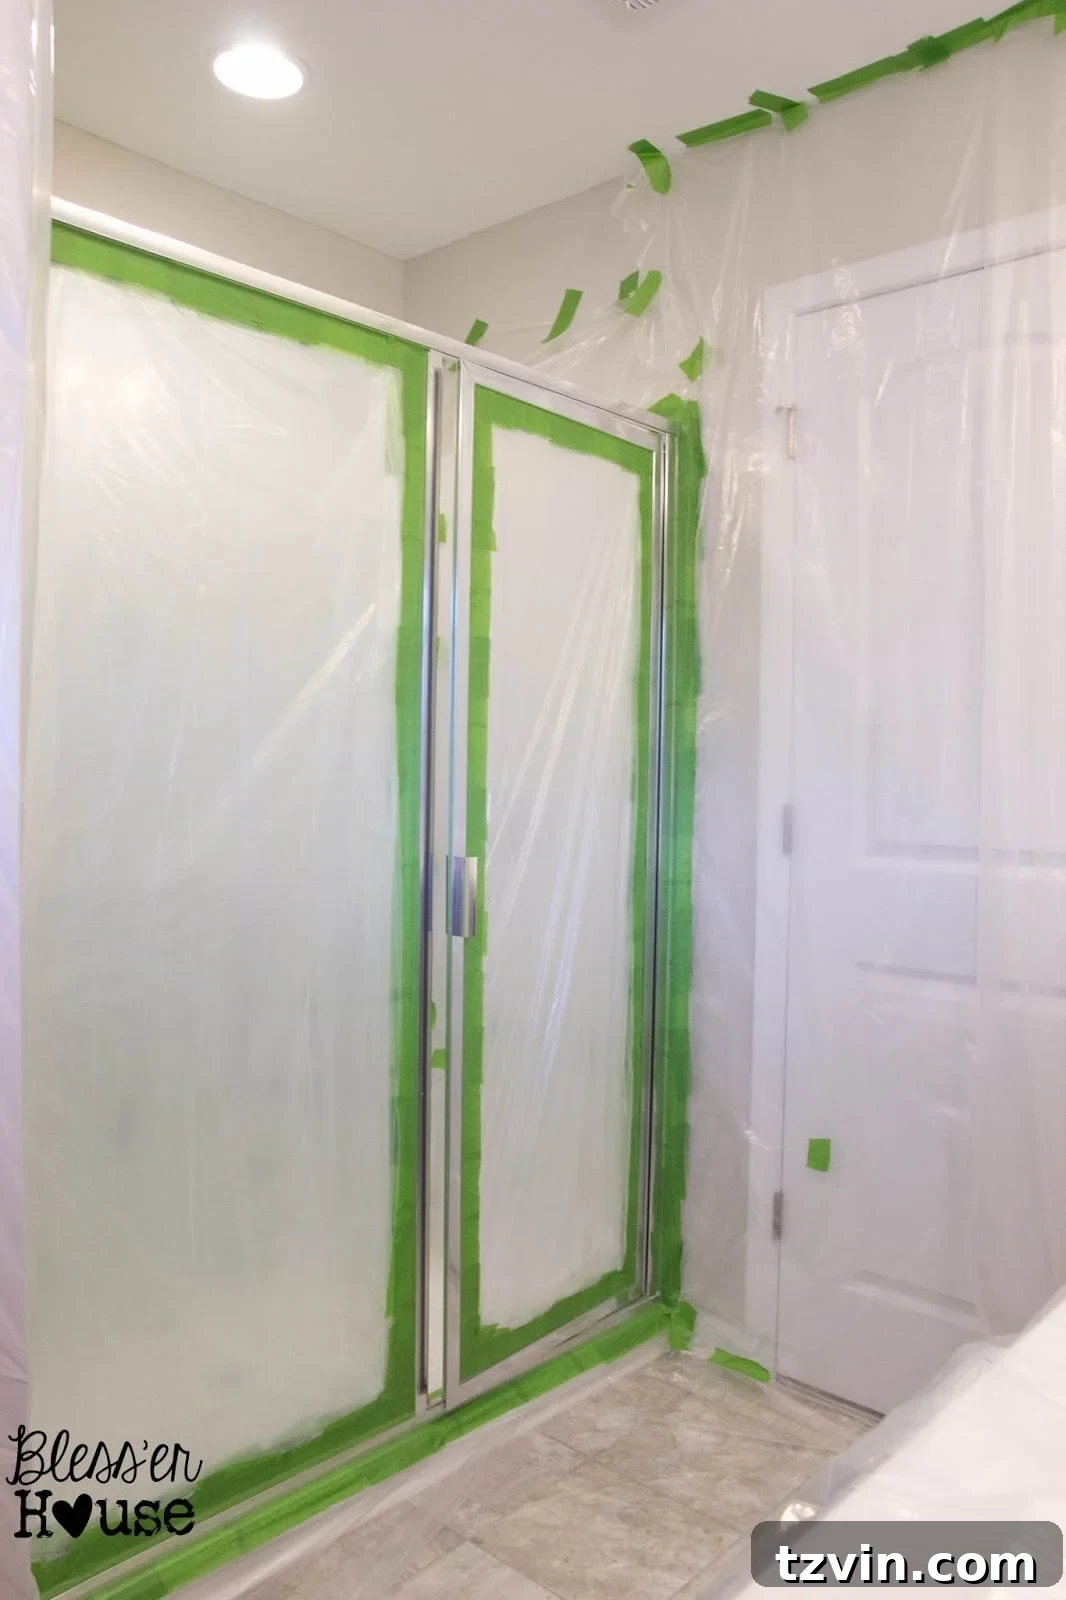
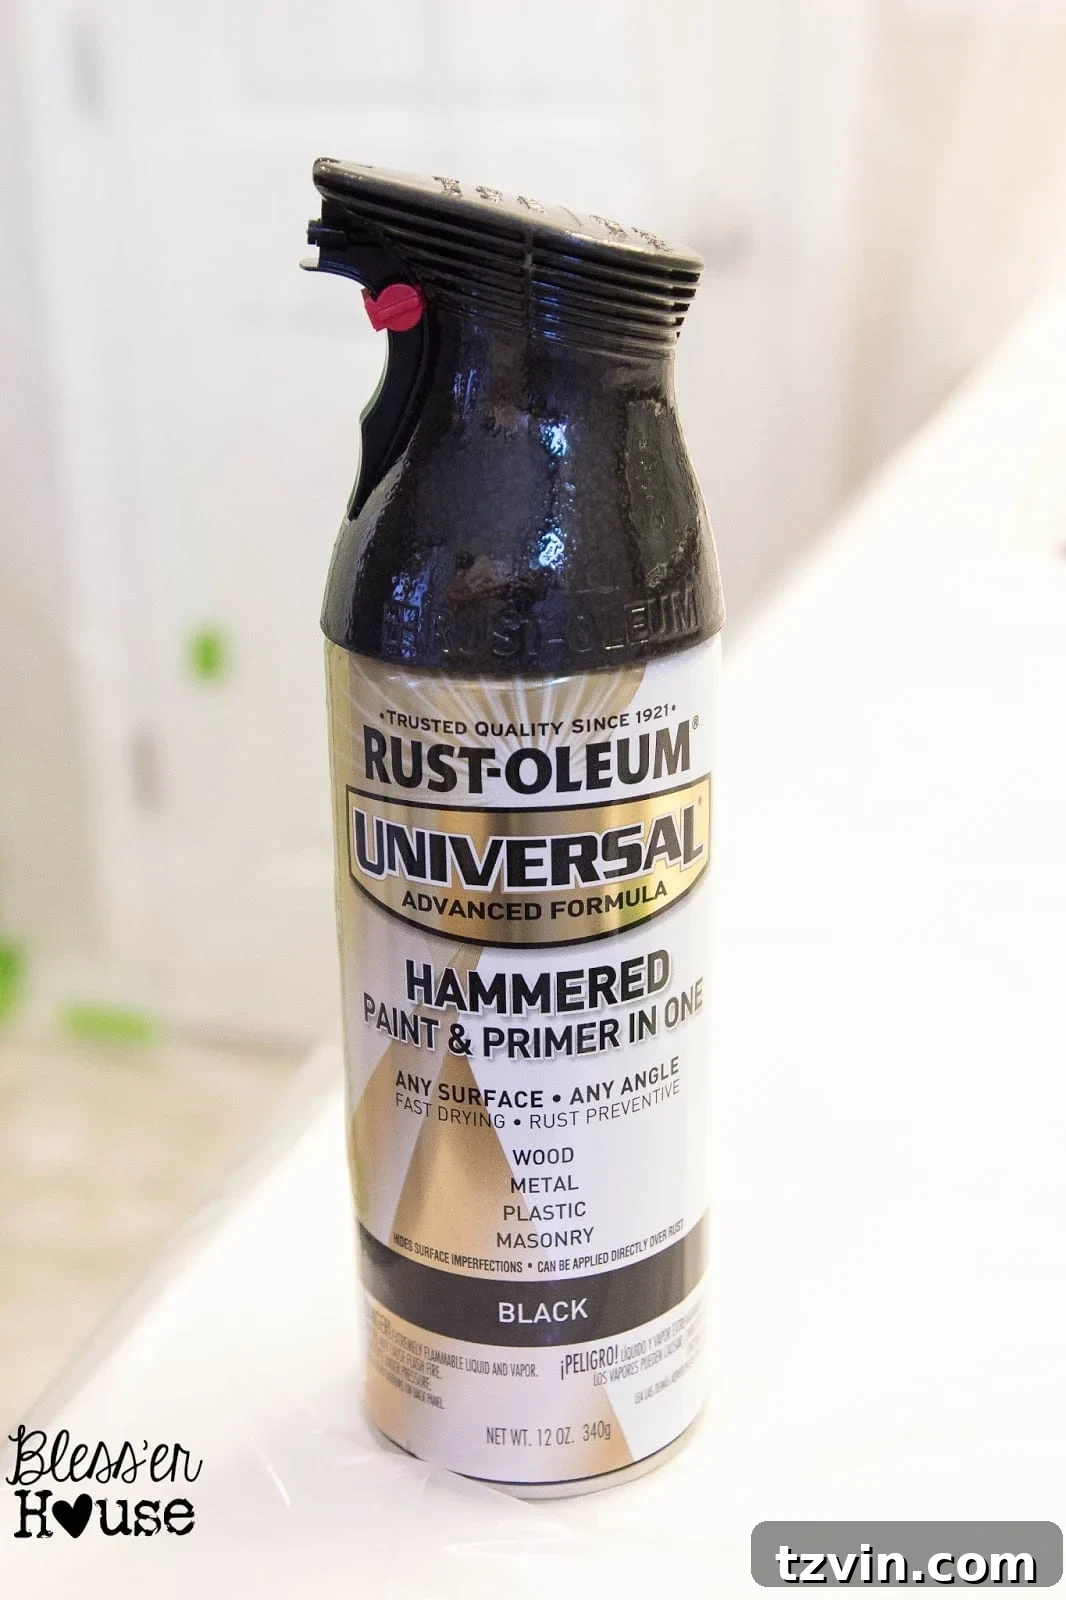
For the paint itself, I turned to my trusted favorite: Rust-Oleum Universal. This all-in-one paint and primer is incredibly versatile and has consistently delivered amazing results on countless projects, from furniture pieces to decorative accents. Its smooth finish and excellent adhesion usually make it a dream to work with, which is why I confidently chose it for this bathroom transformation.
When Things Go Wrong: From Quarantine Site to Horror Film
If you follow me on Instagram, you might have seen a sneak peek of the chaos that unfolded. Our bathroom quickly transformed from a carefully prepared “quarantine site” into something resembling a horror film set in about five minutes flat. The first coat went on, and I immediately felt a surge of nerves. If you’re tackling a similar project, it’s crucial to remember to breathe – into your ventilator mask, that is! Safety first, always.
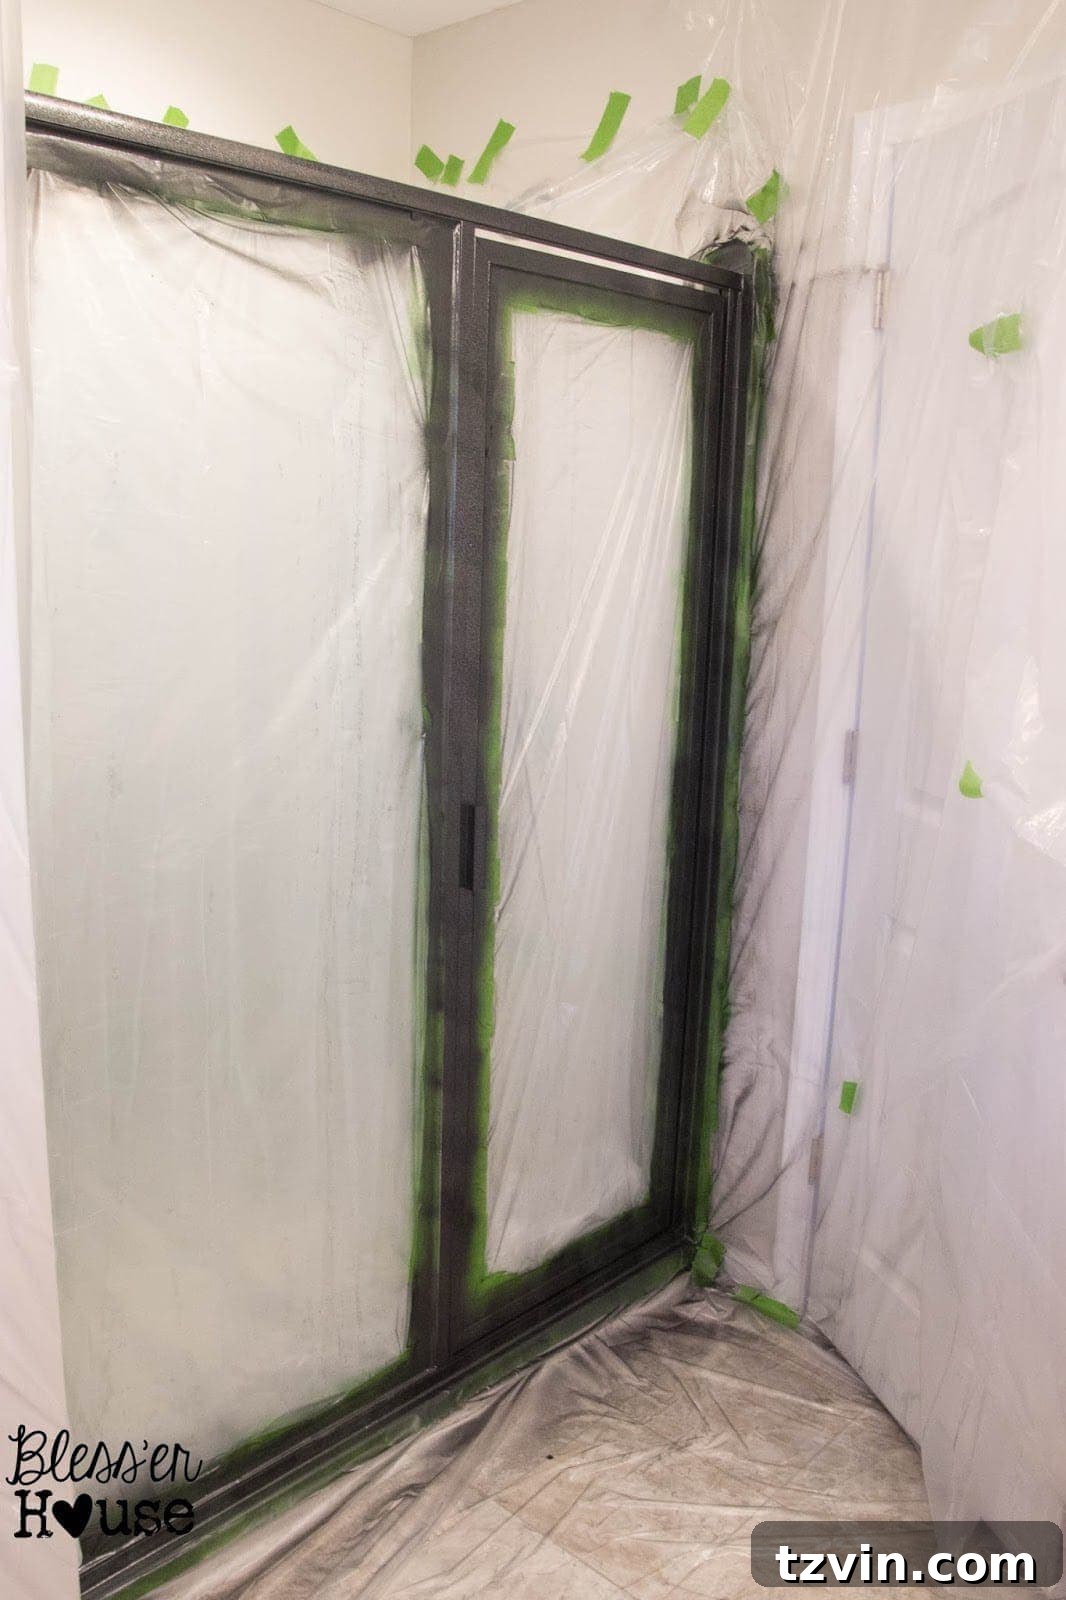
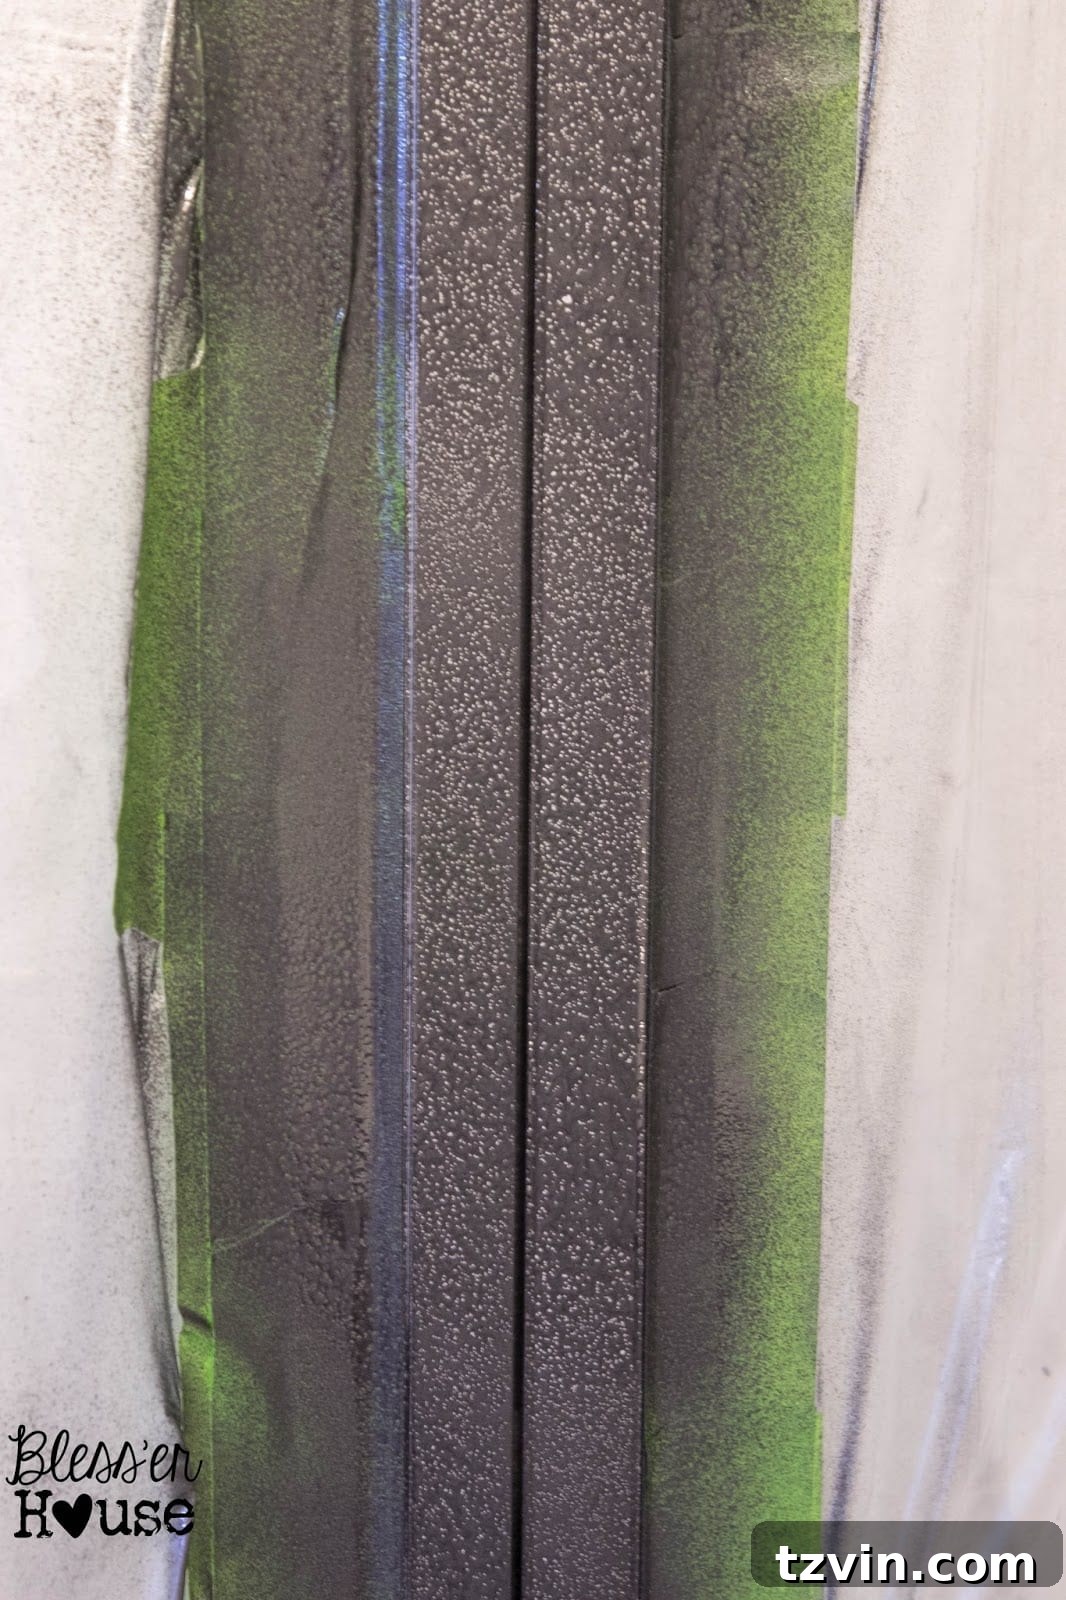
After three thin, even coats of spray paint, the finish actually began to look quite nice and smooth. I naively thought, “Okay, this is going to end beautifully after all.” Oh, little naive me, how wrong I was! It was after the paint seemingly dried that the real challenges began. But don’t worry, every problem has a solution, and I’m here to share the invaluable lessons learned.
If You Ever Venture to Spray Paint Your Own Shower Door, Here’s What NOT to Do (and How to Fix It):
1. Don’t Assume Your Shower is Spray Paint Ready Just Because You Cleaned It Recently.
One of the most critical steps in any painting project is proper surface preparation. I made the mistake of assuming that because I had cleaned the shower a few days prior, it was sufficiently ready for paint. Big mistake! Even seemingly clean surfaces can harbor invisible residues that sabotage paint adhesion. Spray paint simply will not stick to soap scum, oils, or any greasy film.
The Fix: Deep Cleaning for Optimal Adhesion
Always perform a thorough cleaning right before painting. For shower frames, the best approach is to wipe down the entire surface with a rag soaked in white vinegar. Vinegar is fantastic for breaking down and dissolving soap scum and mineral deposits. After wiping with vinegar, follow up with a clean, damp cloth to remove any residue, and then allow the surface to dry completely. This ensures a pristine, adhesion-friendly surface for your spray paint. Skipping this step is a common DIY blunder that can lead to frustrating peeling and uneven finishes.
2. Don’t Let Your Impatience Get the Best of You.
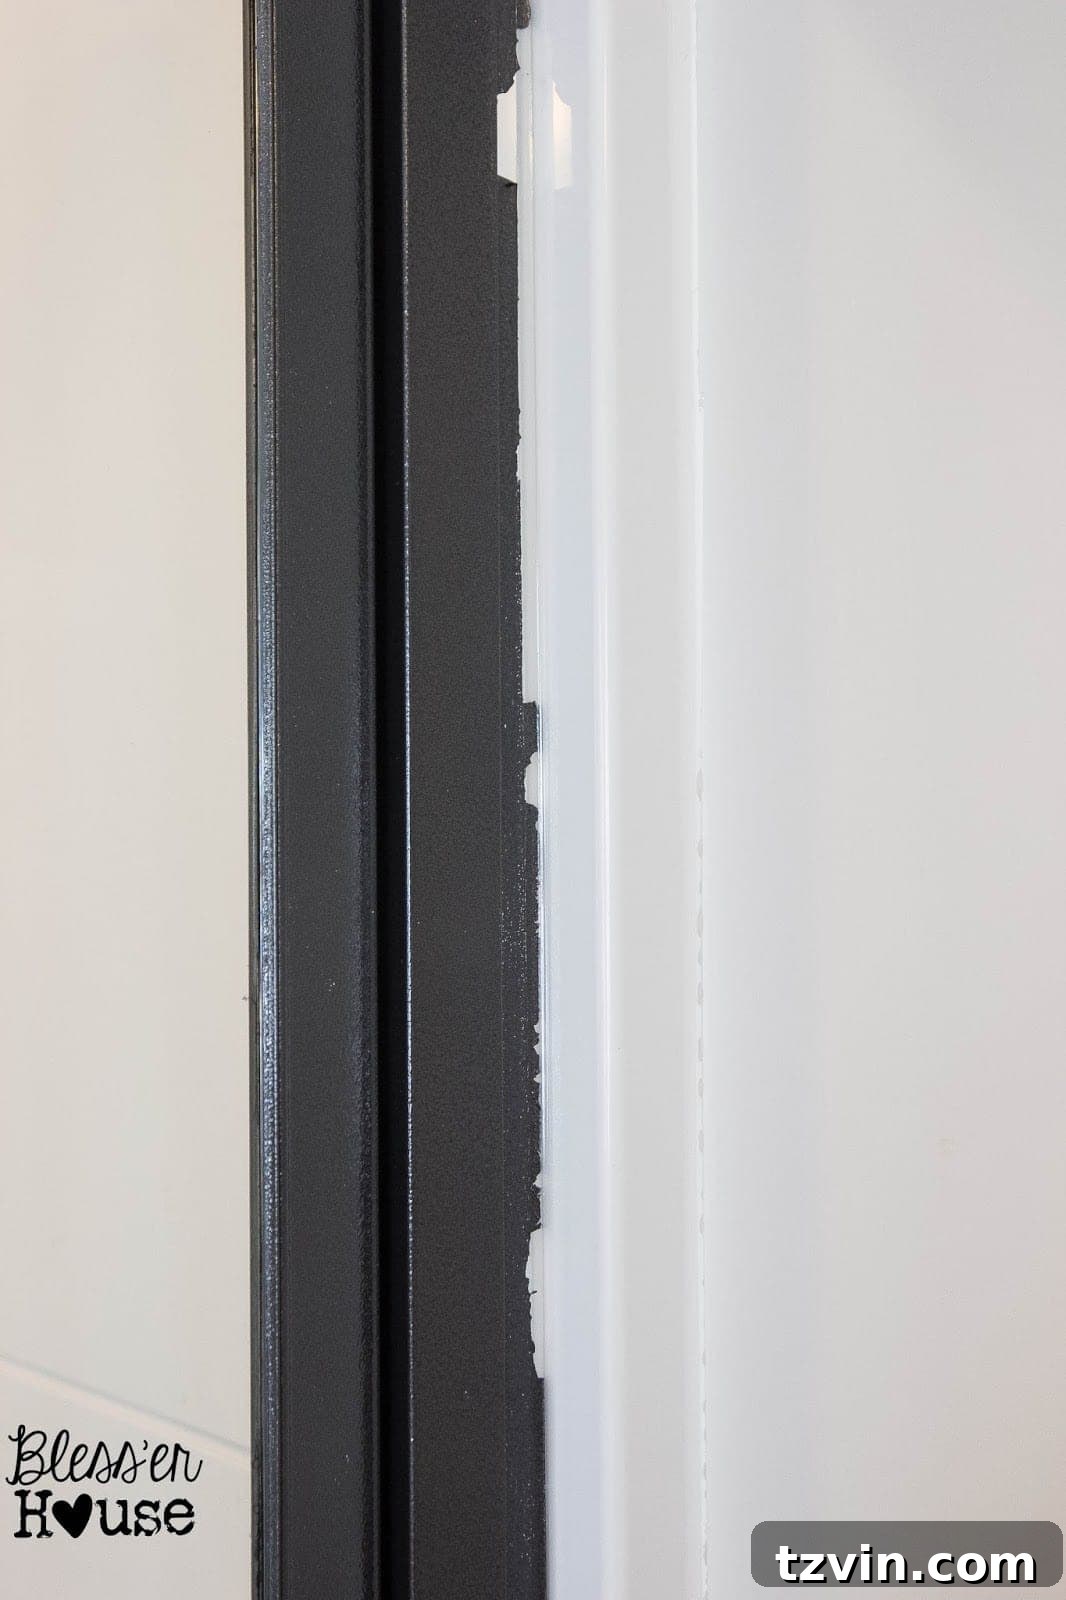
After the initial coats of paint, everything looked great. Eager to see the final result, I made the classic mistake of peeling up the Frog Tape after only an hour. This impatience proved costly: the paint peeled right along with the tape, leaving behind a jagged, unsightly mess. The temptation to speed up the process is strong, but premature tape removal is a common cause of ruined paint lines and extra work. Paint needs adequate time to cure and bond properly to the surface.
The Fix: Patience and Precision for Perfect Edges
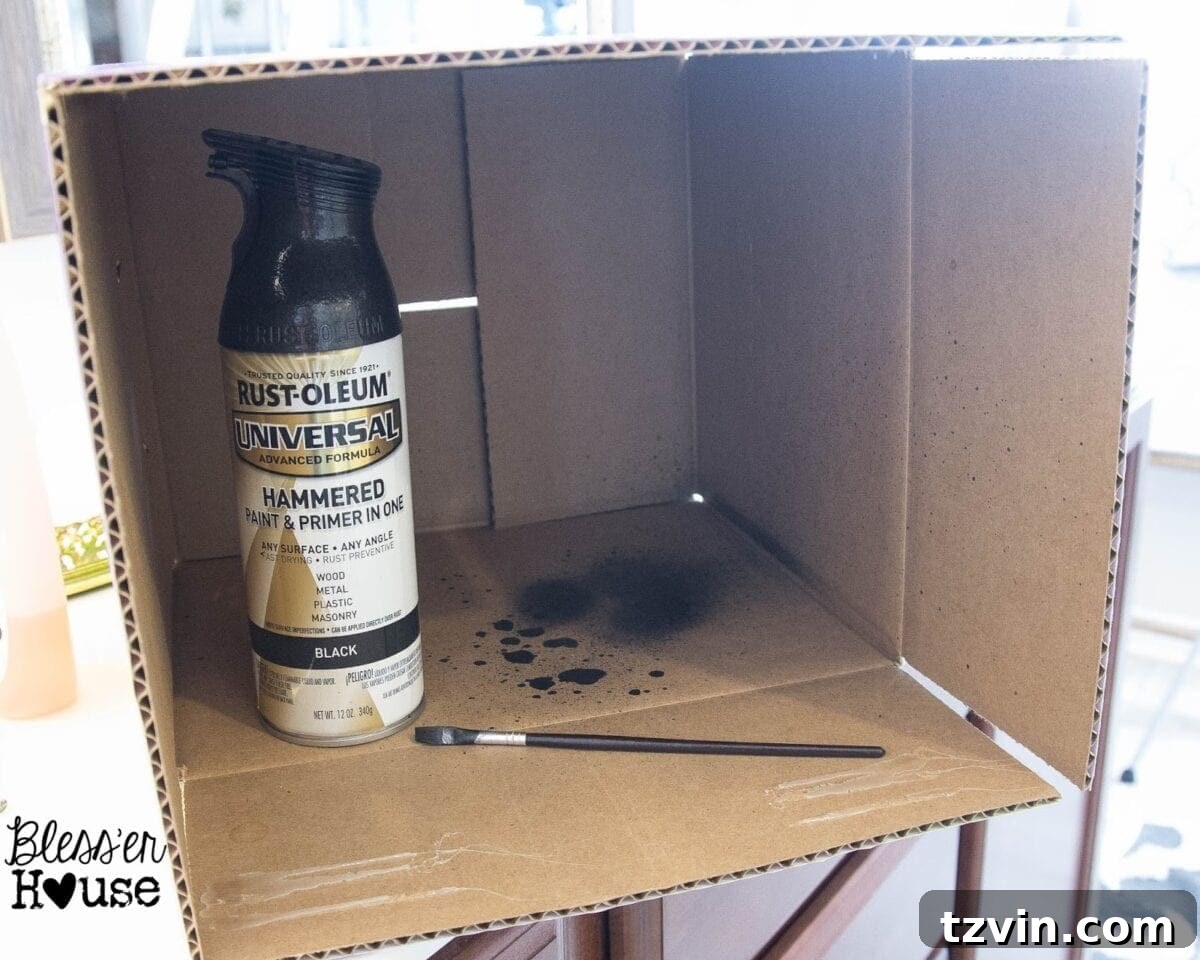
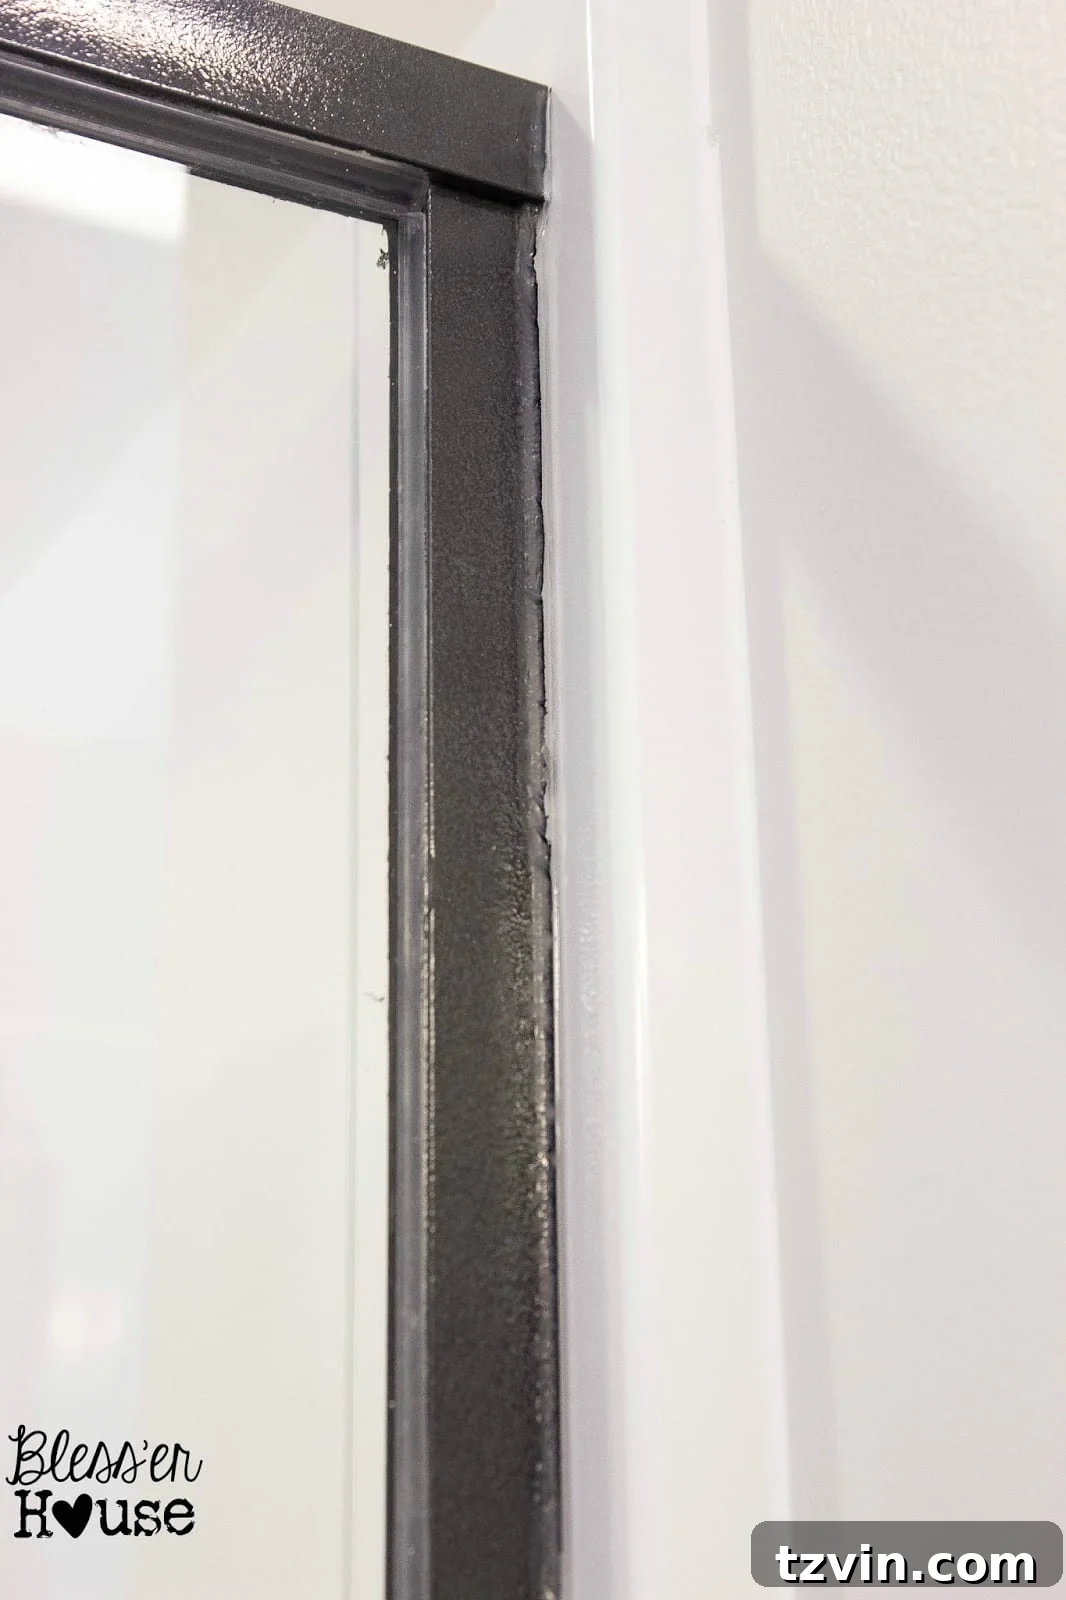
To avoid this, let your paint dry for a full 24 hours (or according to the manufacturer’s instructions, especially for multi-surface paints like Rust-Oleum Universal) before attempting to dismantle your “crime scene.” If you do end up with peeled paint, don’t despair! You don’t have to re-tape all the plastic drop cloths and redo hours of prep work. I found a clever workaround: grab a deep cardboard box, your spray paint can, and a fine-tipped artist brush. Spray a small amount of paint into the box, creating a puddle, then use the artist brush to carefully touch up the peeled spots. This method allows for precise application without the mess and hassle of respraying a large area. I used a little tape again to achieve a crisp line on the touch-up, and having learned my lesson, I let the paint dry completely before removing the tape this time.
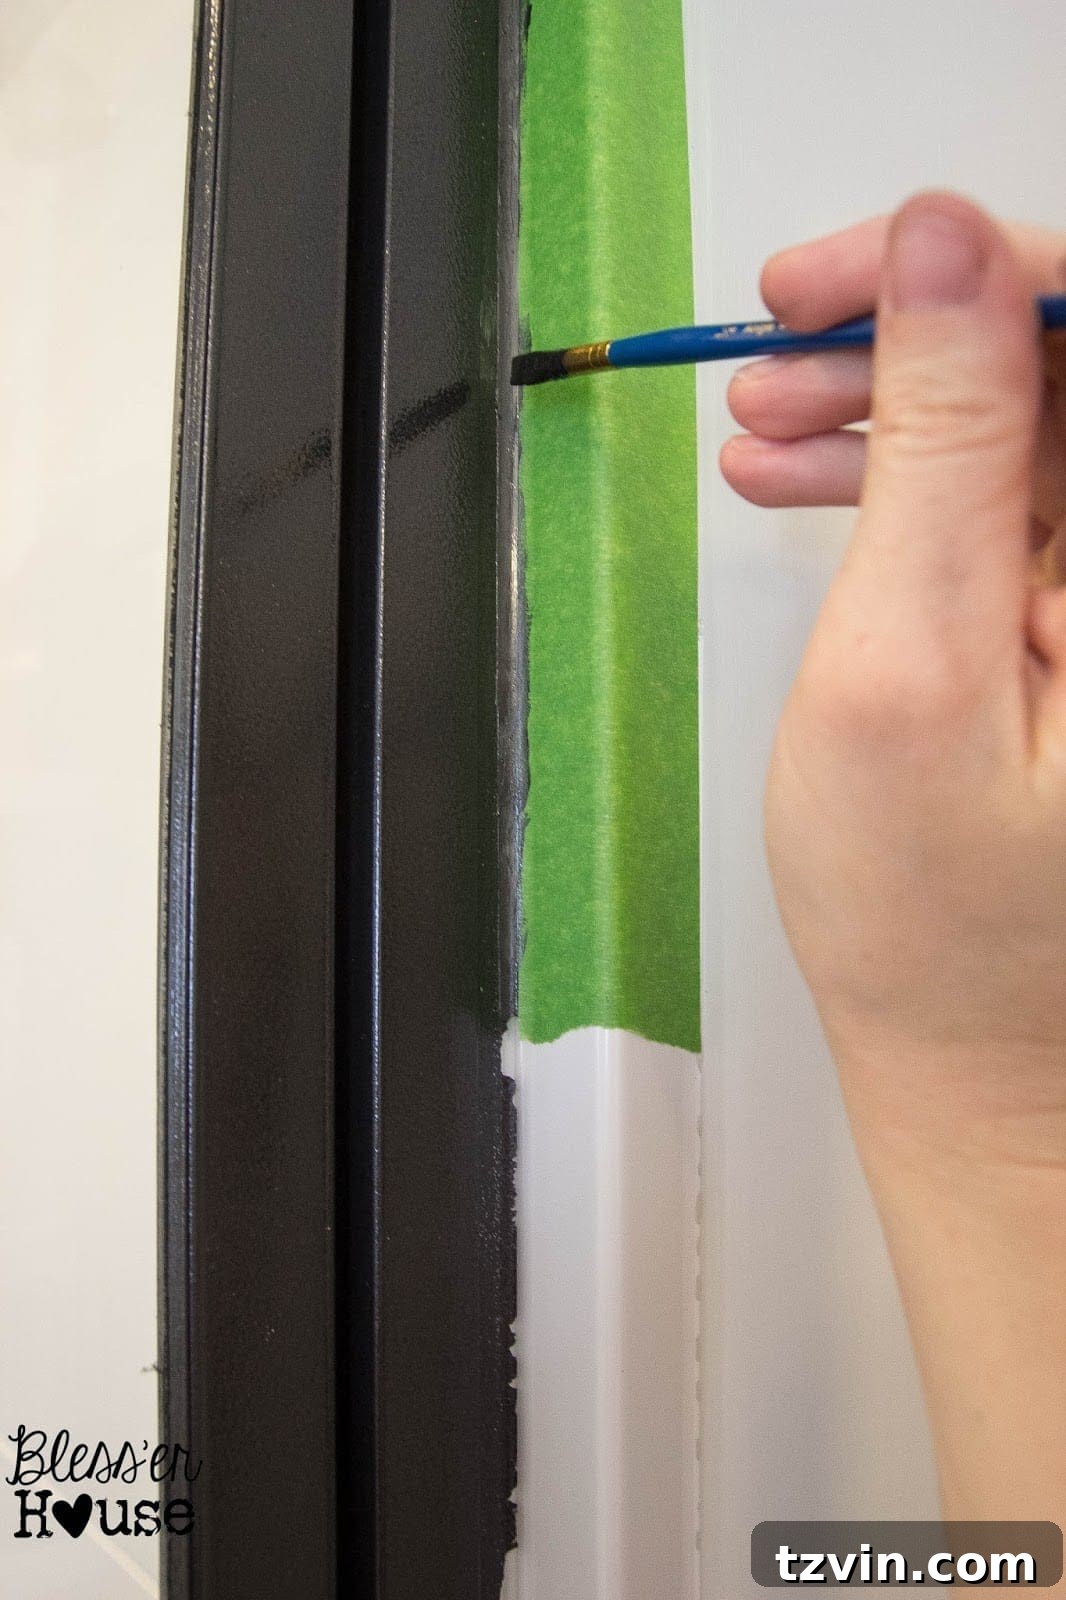
While painting around silicone caulk can still be tricky and might not yield factory-perfect results, this touch-up method significantly improved the appearance. It’s now much better and only noticeable upon very close inspection. This just goes to show that even when things seem to go wrong, there’s usually a way to salvage your project.
3. Don’t Cut Corners by Not Taping Any Gaps Where Your Plastic Drop Cloths Separate.
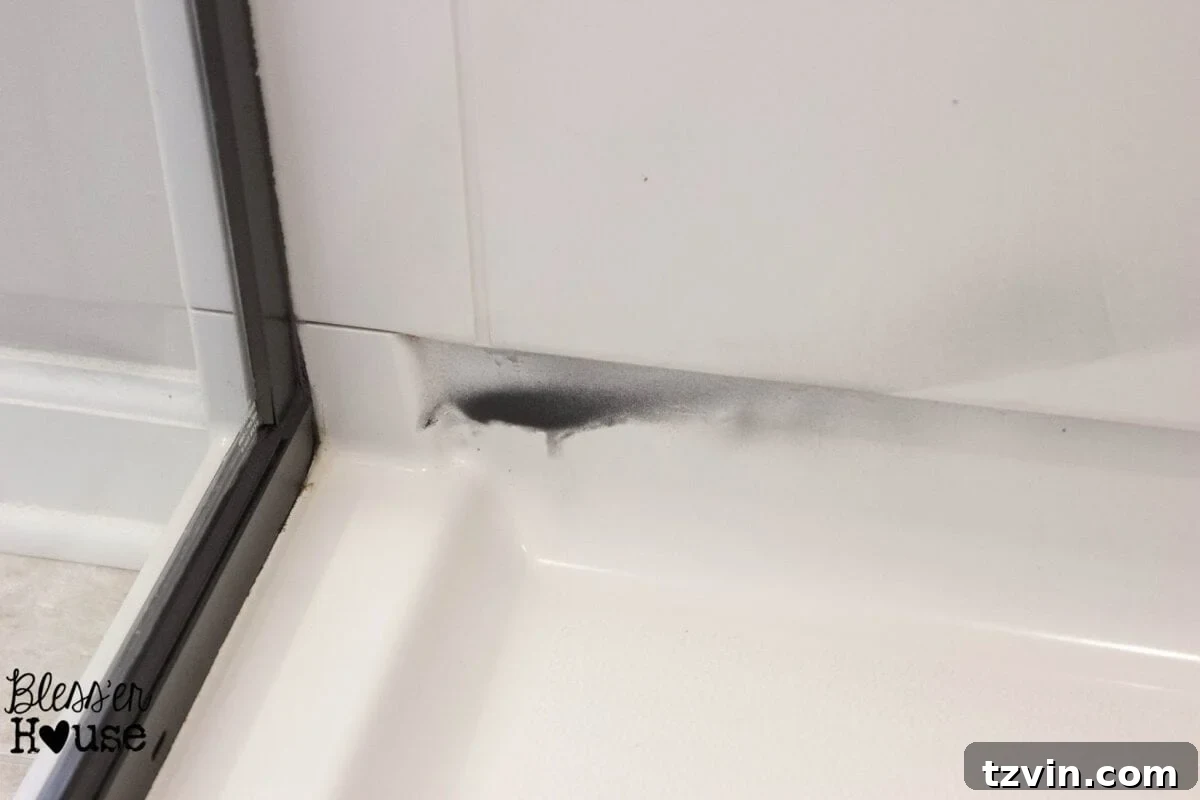
Spray paint has a notorious ability to travel – far and wide! It’s incredibly sneaky stuff. Even though I had overlapped my plastic drop cloths, I overlooked taping the seams and small gaps where they met. The result? That insidious spray paint managed to creep between and under the plastic, leaving me with a rather unpleasant surprise of overspray on my tile and other surfaces once I peeled everything back.
The Fix: Conquer Overspray with a Household Hero
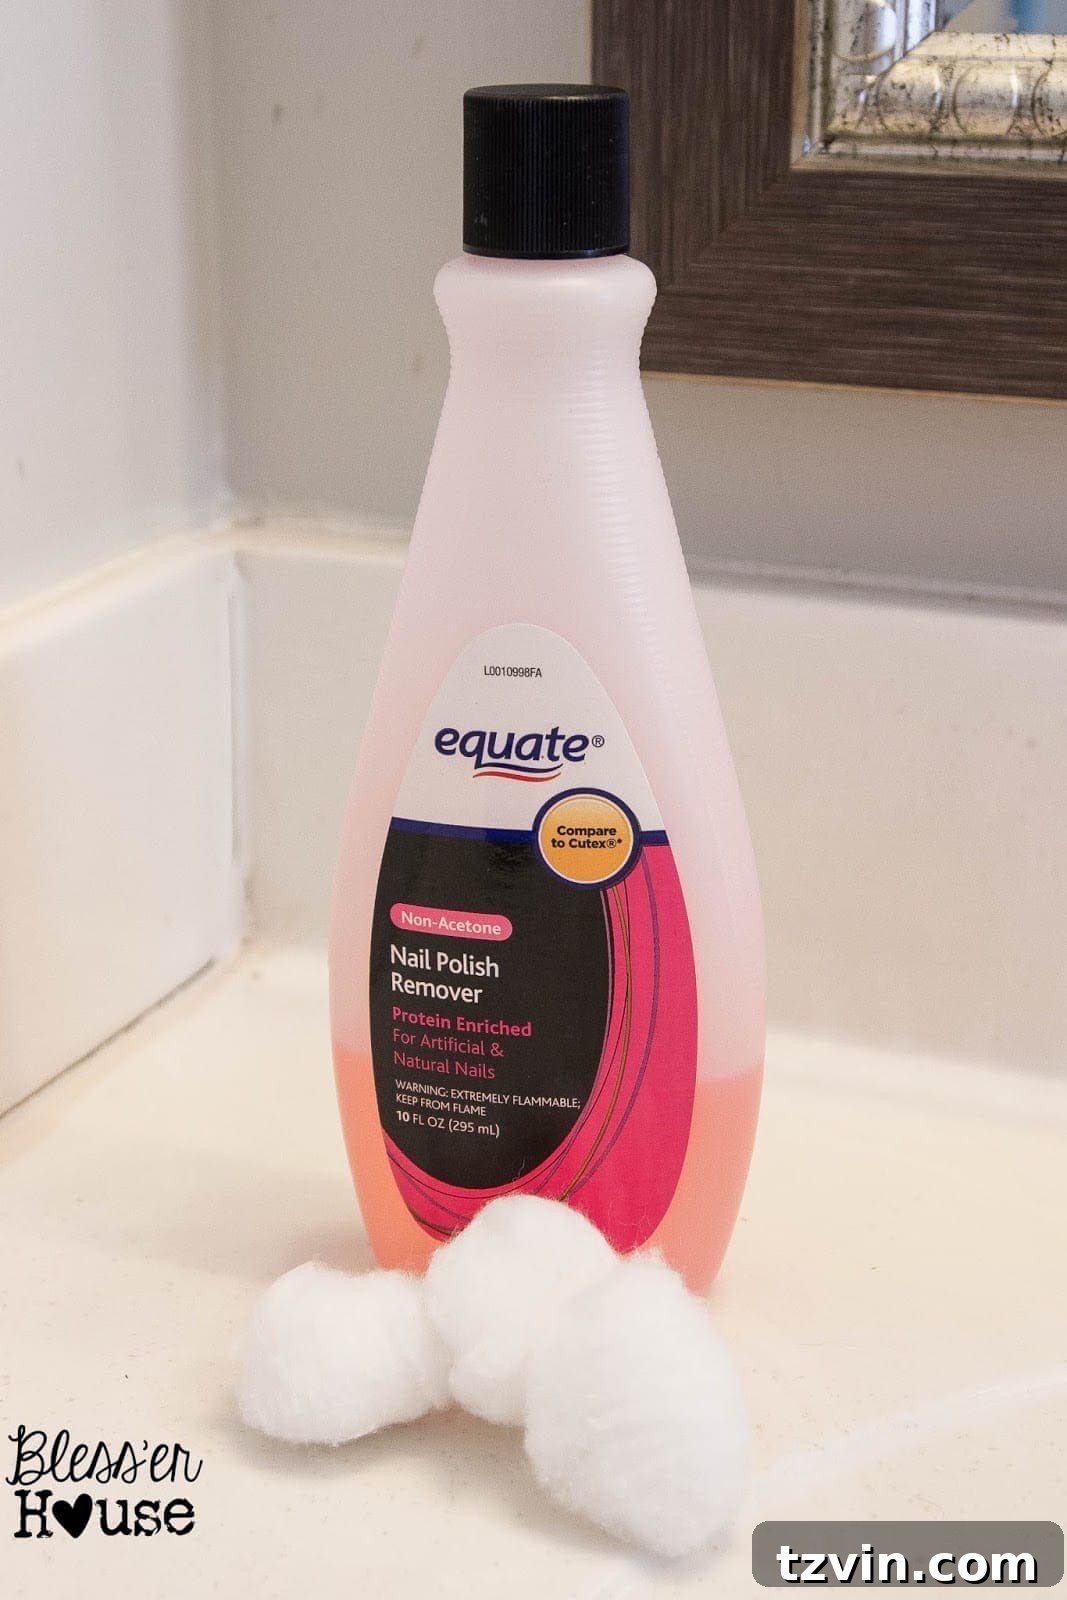
To prevent this, ensure every single gap, seam, and edge of your protective plastic or paper is securely taped down. Think of it like creating a hermetically sealed painting environment. If you do end up with overspray on plastic, tile, or other hard, non-porous surfaces, don’t panic! Nail polish remover works absolute wonders on spray paint mistakes. I use it all the time for permanent marker mishaps, so I figured I’d give it a try – and it worked like a charm! Simply soak a cotton ball with nail polish remover (preferably acetone-based for tougher stains), gently scrub the spray paint spot, and watch it disappear. It requires surprisingly little elbow grease, making this an easy and effective cleanup solution for those unexpected splatters.
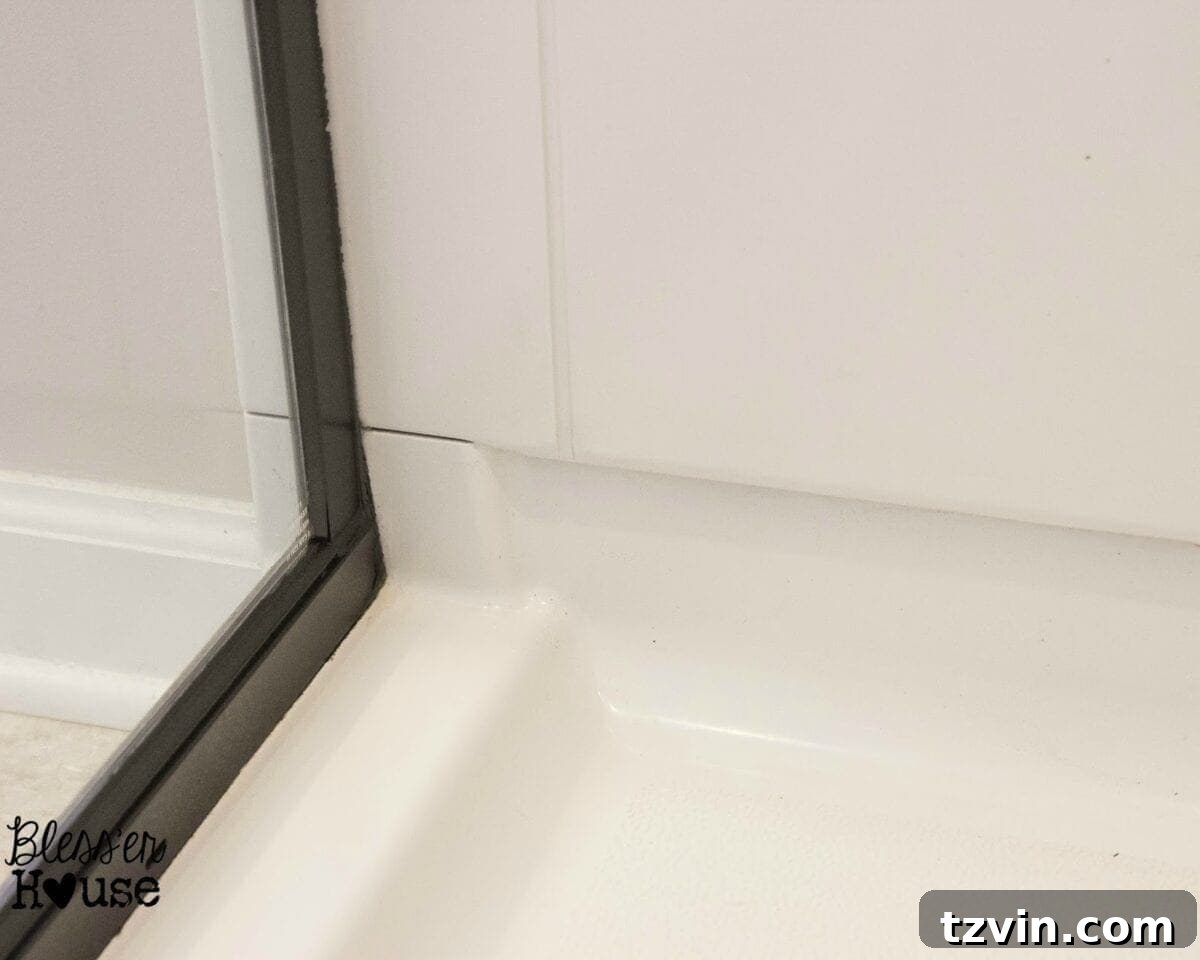
4. Don’t Assume Applying Painter’s Tape Will Always Give You a Clean Line.
While high-quality painter’s tape like Frog Tape often delivers impressive results, it’s not foolproof, especially on textured surfaces, corners, or along caulk lines. Even with the best tape, paint can sometimes bleed underneath, resulting in fuzzy or smudged edges instead of the crisp, clean lines we all aim for. I experienced this firsthand, ending up with some less-than-perfect borders, which can be disheartening after all that careful taping.
The Fix: Score Your Way to Perfection
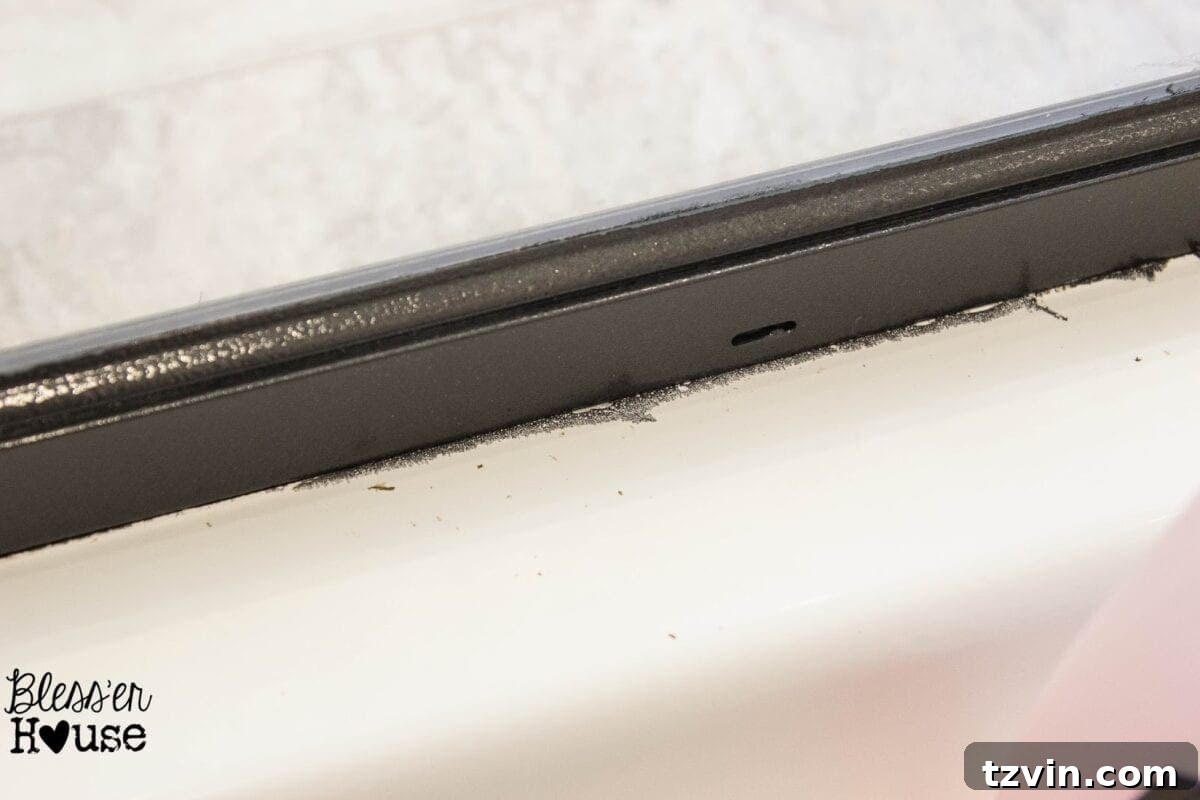
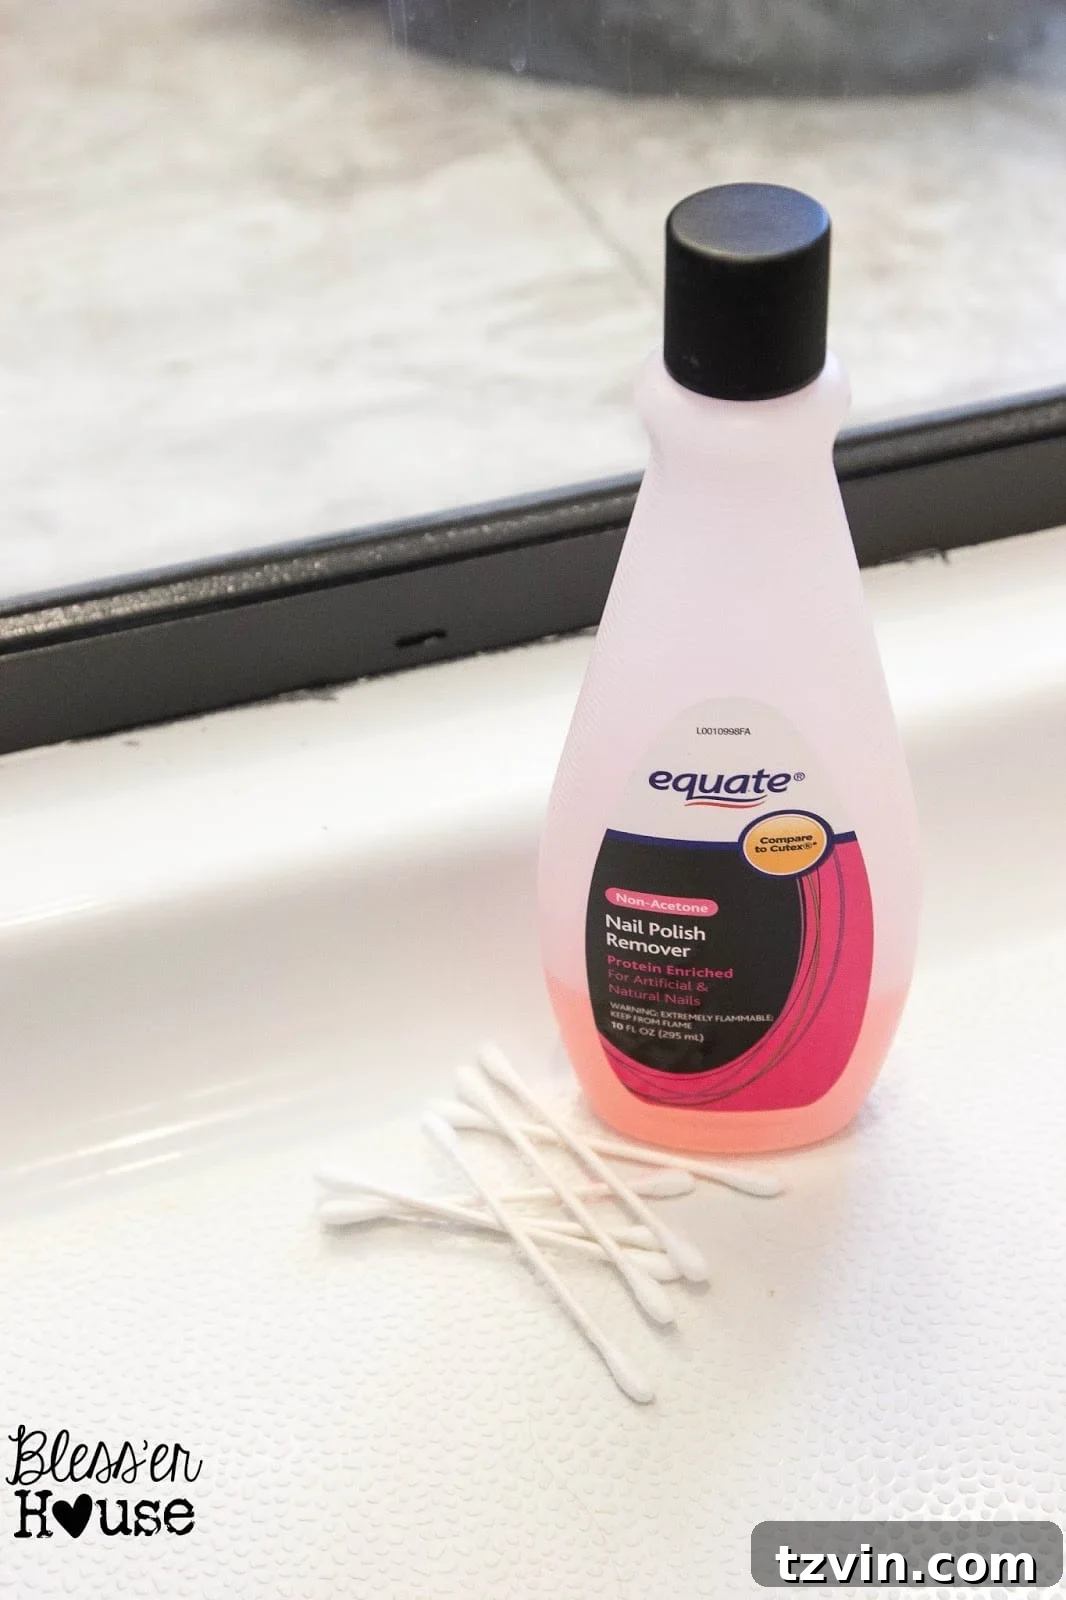
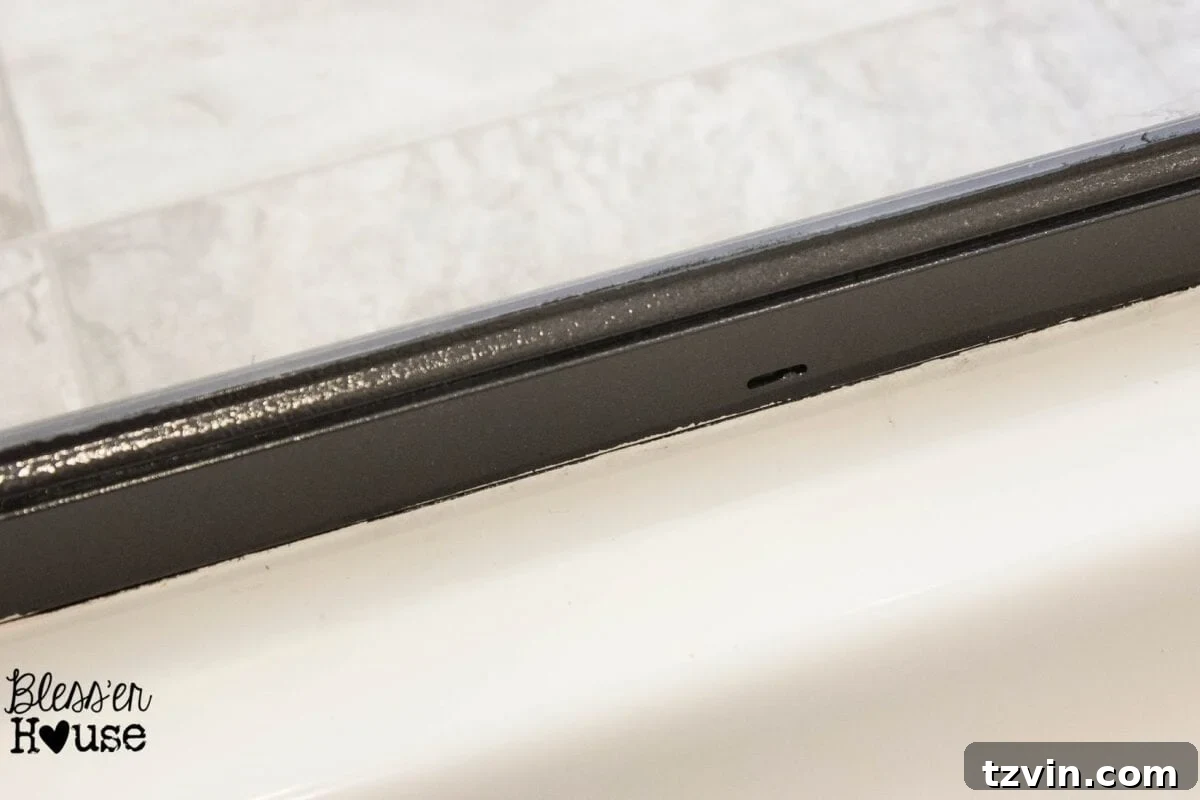
To achieve those coveted razor-sharp lines, take an extra step: once your tape is firmly applied, use a utility knife or a sharp razor blade to lightly score along the edge of the tape where it meets the surface you’re painting. This creates a tiny, clean cut in any potential paint film or residue that might want to cling to the tape. For smudged lines where paint has already seeped under the tape, turn to your trusty nail polish remover once more. Soak a Q-Tip in the remover and carefully run it along the smudged lines. The precision of the Q-Tip allows you to clean up the bleed without affecting the main painted surface. For any stubborn spots or remnants, gently use your fingernail or a fresh razor blade (held at a shallow angle to avoid scratching) to scrape off the excess paint. With a little care and patience, you’ll achieve that nice, clean spray-painted edge that makes all the difference in a professional-looking finish.
Embracing the Imperfections and Learning from Every Project
I often think I should dedicate an entire series to “Bless’er House Blunders” just to truly illustrate how many DIY projects don’t go according to plan! Sometimes, the only way to get through a bad situation is to laugh it off, learn from it, and then share those lessons with others. It’s easy to feel discouraged when a project goes awry, especially when social media feeds are flooded with seemingly flawless transformations.
But the truth is, behind every perfect ‘after’ picture is often a story of challenges overcome, creative problem-solving, and a good deal of grit. So, if you find yourself running into roadblocks on your projects, don’t give up! These moments are not failures; they are opportunities. Learn from those mistakes, let them shape you into a smarter, more resourceful DIYer, and keep on with your bad self. Embrace the journey, and the satisfaction of overcoming a challenge is immense. I bet you, after the next amazing project you pull off, you’ll be incredibly glad you didn’t throw in the towel. Happy DIYing!