
DIY Dried Orange Garland: Crafting Natural Holiday Charm
Transform your home into a festive wonderland with the enchanting appeal of DIY dried orange garland. This step-by-step tutorial will guide you through creating an inexpensive, charming, and wonderfully aromatic Christmas decoration perfect for trees, wreaths, mantels, and any greenery in your home. Embrace the timeless beauty of natural elements this holiday season and craft a garland that evokes warmth and nostalgia.
There’s something incredibly satisfying about making your own holiday decor, and a dried orange garland is a perfect project for everyone. It’s not only a beautiful addition to your Christmas decorations but also an engaging activity to share with family, creating cherished memories around the kitchen table. Imagine the sweet citrus scent filling your home as you craft, perhaps with a classic Christmas movie playing in the background. This simple, elegant garland adds a touch of rustic charm and a hint of vintage elegance that elevates any festive display.
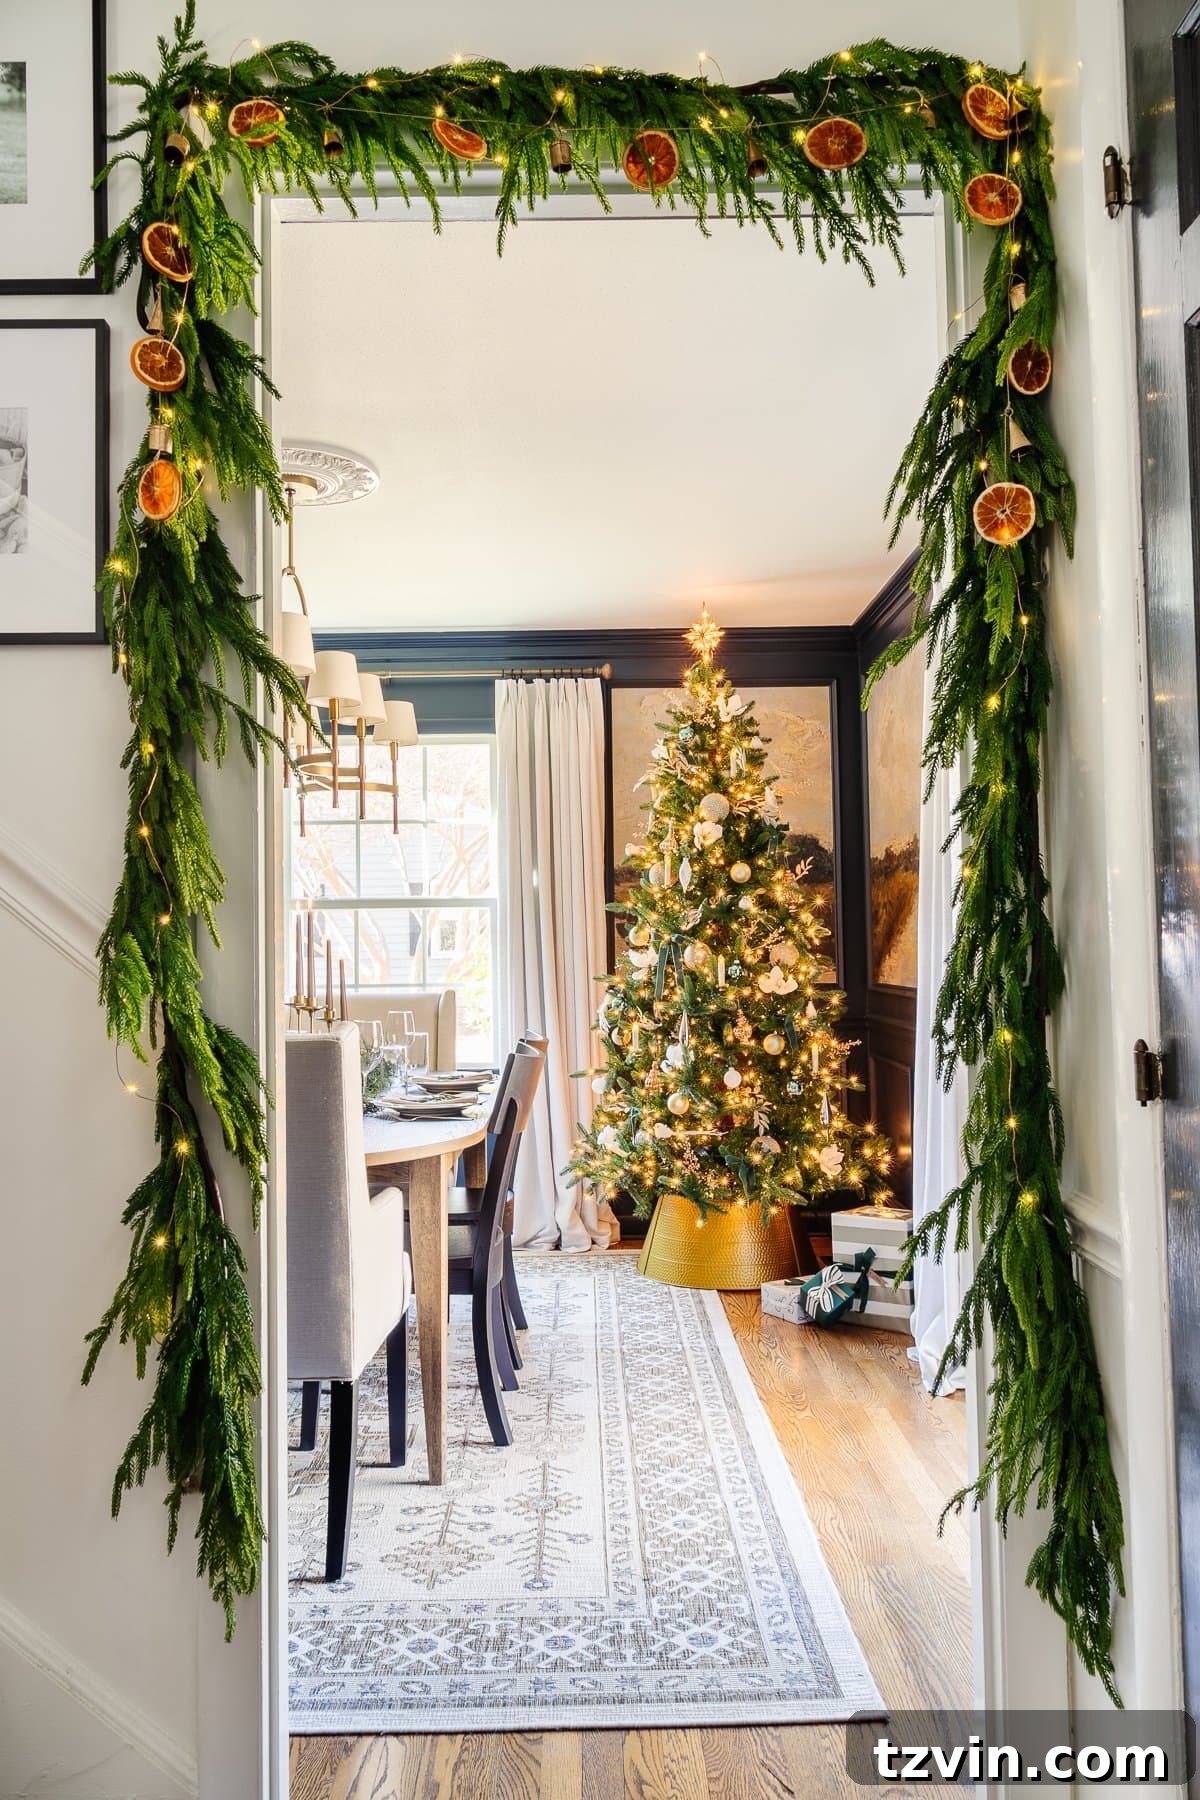
Last year, I discovered the magic of dried orange garlands, and I haven’t looked back. It has quickly become one of my favorite holiday traditions, infusing our home with a natural, cozy glow. If you’ve been searching for a simple, budget-friendly, and stunning way to deck your halls, then look no further. This guide will provide all the details you need to embark on your own dried orange garland adventure.
Why Choose DIY Dried Orange Garland for Your Holiday Decor?
In a world of mass-produced decorations, a handmade dried orange garland offers a unique and authentic touch. Here’s why this project is a holiday season must-do:
- Budget-Friendly: Oranges are readily available and affordable, especially during the winter months. You likely already have most of the other supplies at home, making this an incredibly cost-effective decorating solution.
- Natural & Eco-Friendly: Say goodbye to plastic and glitter. Dried oranges offer an organic, biodegradable alternative that’s gentle on the environment and brings the beauty of nature indoors.
- Aromatic Delight: As the oranges dry, they release a subtle, inviting citrus scent that gently perfumes your home, adding another layer to your festive atmosphere. The aroma is clean, fresh, and not overpowering.
- Timeless Aesthetic: Dried oranges boast a classic, rustic, and vintage appeal that complements various decor styles, from farmhouse to traditional, Scandinavian, or bohemian Christmas themes. Their warm, translucent glow is simply enchanting.
- Family-Friendly Activity: The process of slicing oranges, drying them, and then stringing them together is simple enough for children to participate in, making it a wonderful way to bond and create lasting family memories during the holidays.
- Versatile Decoration: This garland isn’t just for Christmas trees! It can adorn stair railings, mantels, window frames, wreaths, gift wrapping, or even be displayed in bowls as a beautiful potpourri.
Getting Started: Drying Your Orange Slices
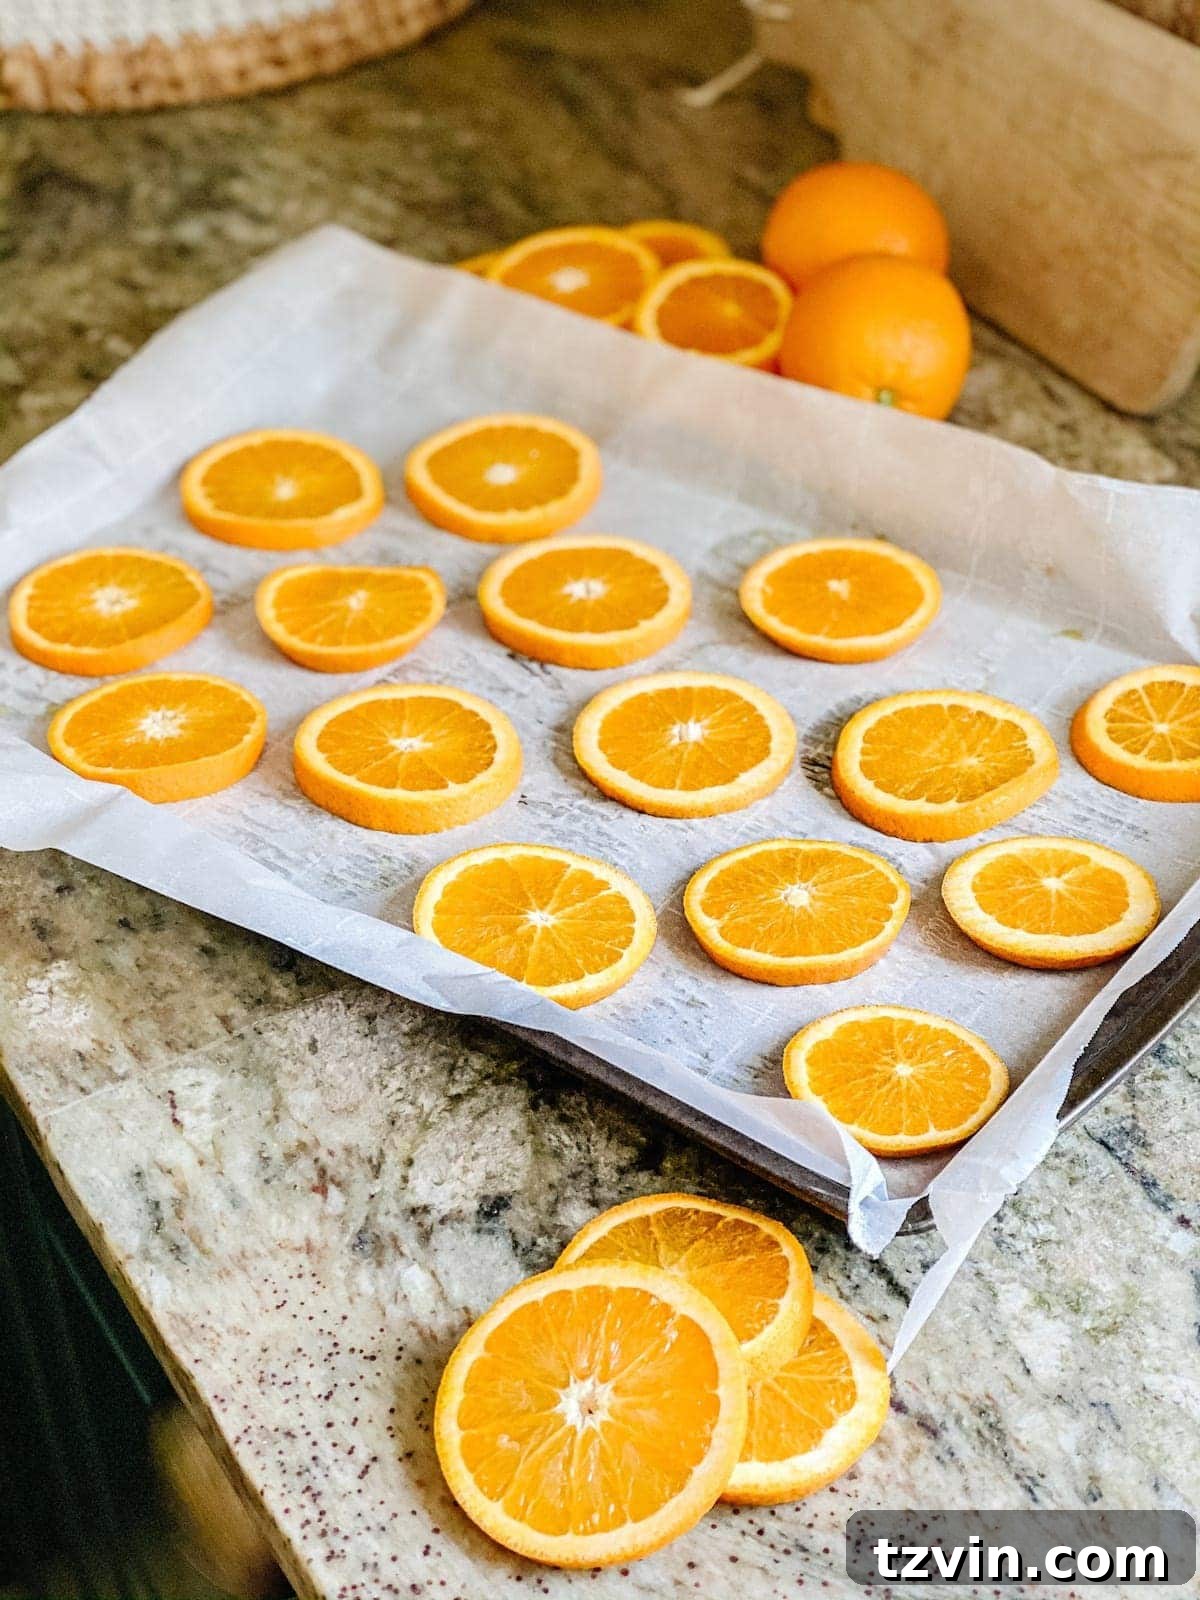
The foundation of a stunning dried orange garland lies in perfectly dried orange slices. While you can purchase pre-dried slices for convenience, drying them yourself is surprisingly easy and allows you to enjoy the wonderful aroma as they bake. You’ll need just a few basic tools: a sharp knife, parchment paper-lined baking sheets, and an oven or an air fryer/dehydrator.
Once your orange slices are thoroughly dehydrated, they can be used in many ways beyond garland. You can attach ornament hooks or floral wire directly to them and twist them onto Christmas tree branches, wreaths, or other garlands for a quick touch of festive charm. However, transforming them into a full garland adds a touch of elegance and visual continuity that truly enhances your holiday decor.
How to Prepare and Dry Orange Slices
The key to beautiful dried orange slices is uniform thickness and patience during the drying process. While the oven method is detailed below, you can also use an air fryer or food dehydrator for similar results.
1. Selecting Your Oranges
Choose firm, fresh oranges without any blemishes. Navel or Valencia oranges are ideal due to their vibrant color and relatively thin skin. You can also experiment with blood oranges for a darker, more dramatic look, or even lemons, limes, or grapefruits for a varied citrus garland.
2. Slicing the Oranges
Using a very sharp knife or a mandoline slicer, carefully slice the oranges into thin, uniform rounds, approximately 1/4 inch thick. Consistency is crucial here; thicker slices will take significantly longer to dry, while very thin slices might become brittle. Aim for slices that are translucent when held up to the light.
3. Patting Dry
Before baking, gently blot both sides of each orange slice with a paper towel. This step helps remove excess moisture and speeds up the drying process, preventing them from “steaming” in the oven.
4. Oven Drying Method (Step-by-Step)
- Preheat your oven to a low temperature, ideally around 200°F (90°C). A low and slow approach is best to dehydrate the fruit without cooking it.
- Line baking sheets with parchment paper to prevent sticking. Arrange the blotted orange slices in a single layer on the prepared baking sheets, ensuring they do not overlap.
- Place the baking sheets in the preheated oven. Bake for approximately 45 minutes to 1 hour.
- After the initial baking time, carefully flip each orange slice over. This ensures even drying on both sides. Continue baking for another 45 minutes to 1 hour.
- Repeat the flipping process every 45-60 minutes. The total drying time can vary greatly depending on the thickness of your slices, the moisture content of the oranges, and your oven’s exact temperature. It typically takes anywhere from 3 to 6 hours.
- The orange slices are fully dried when they are no longer sticky or pliable. They should feel firm, dry, and somewhat leathery, with no soft spots. The flesh will be translucent, and the rind will be hard. If there’s any remaining moisture, they could rot or attract pests.
- Once dried, turn off the oven and let the slices cool completely on the baking sheets or on a wire rack inside the oven with the door slightly ajar. This helps them crisp up and ensures any residual moisture evaporates.
Alternative Drying Methods:
- Air Fryer: Arrange slices in a single layer in the air fryer basket. Cook at 200°F (90°C) for 15-20 minutes, then flip and repeat until fully dry, checking frequently. This method is much faster but requires constant vigilance.
- Food Dehydrator: Place slices on dehydrator trays. Set the temperature to 135°F (57°C) and dehydrate for 6-12 hours, or until completely dry. This is often the most consistent and hands-off method.
Pro Tip: If your slices aren’t quite dry but you’ve run out of time, you can always finish them the next day. Just ensure they are completely cool before storing them, and finish the drying process promptly.
Crafting Your DIY Dried Orange Garland: Step-by-Step Tutorial
Once you have a beautiful collection of dried orange slices, it’s time to assemble your charming garland. This process is straightforward and incredibly rewarding.
Supplies You’ll Need:
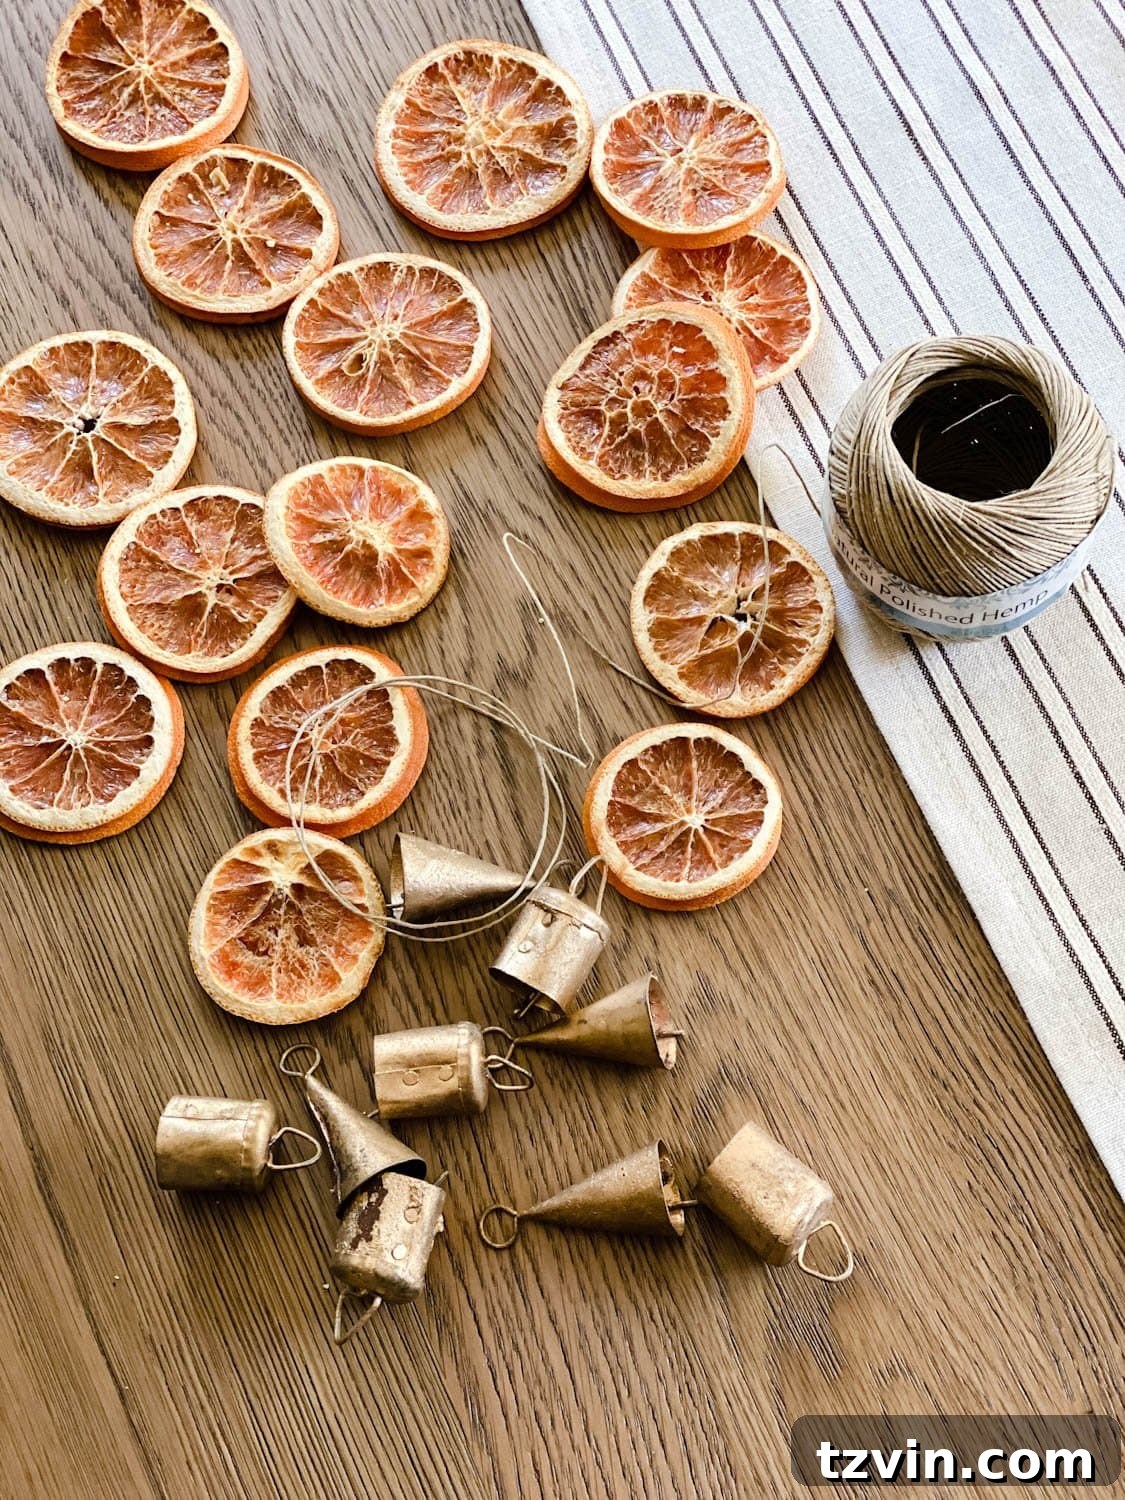
- Dried orange slices: Ensure they are completely dry to prevent mold. (If you prefer a quicker option, you can buy dried orange slices online, often for a similar cost to fresh oranges).
- String/Twine: Polished hemp twine is an excellent choice for its natural look and durability. Jute twine, baker’s twine, or even fishing line (for an invisible look) also work well. Choose a material that complements your aesthetic.
- Poking Tool: A straightened paper clip, a large needle, or a toothpick works perfectly for creating holes.
- Scissors: For cutting your twine.
- Embellishments (Optional): Mini bells, cinnamon sticks, bay leaves, wooden beads, small pinecones, or faux holly berries can add extra festive flair.
Step 1: Prepare Your Twine
First, unroll your main string or twine and cut it to your desired length for the garland. Consider where you plan to hang it – a mantel might need a 6-foot length, while a Christmas tree might require a much longer strand. It’s always best to cut it a bit longer than you think you’ll need, as you can always trim off excess later. Set this long strand aside.
Next, cut several smaller pieces of twine, each approximately 3 to 4 inches long. These will be used to individually attach each orange slice (and any other embellishments) to the main garland strand. Having these pre-cut will streamline your assembly process.
Step 2: Poke Holes and Thread Orange Slices
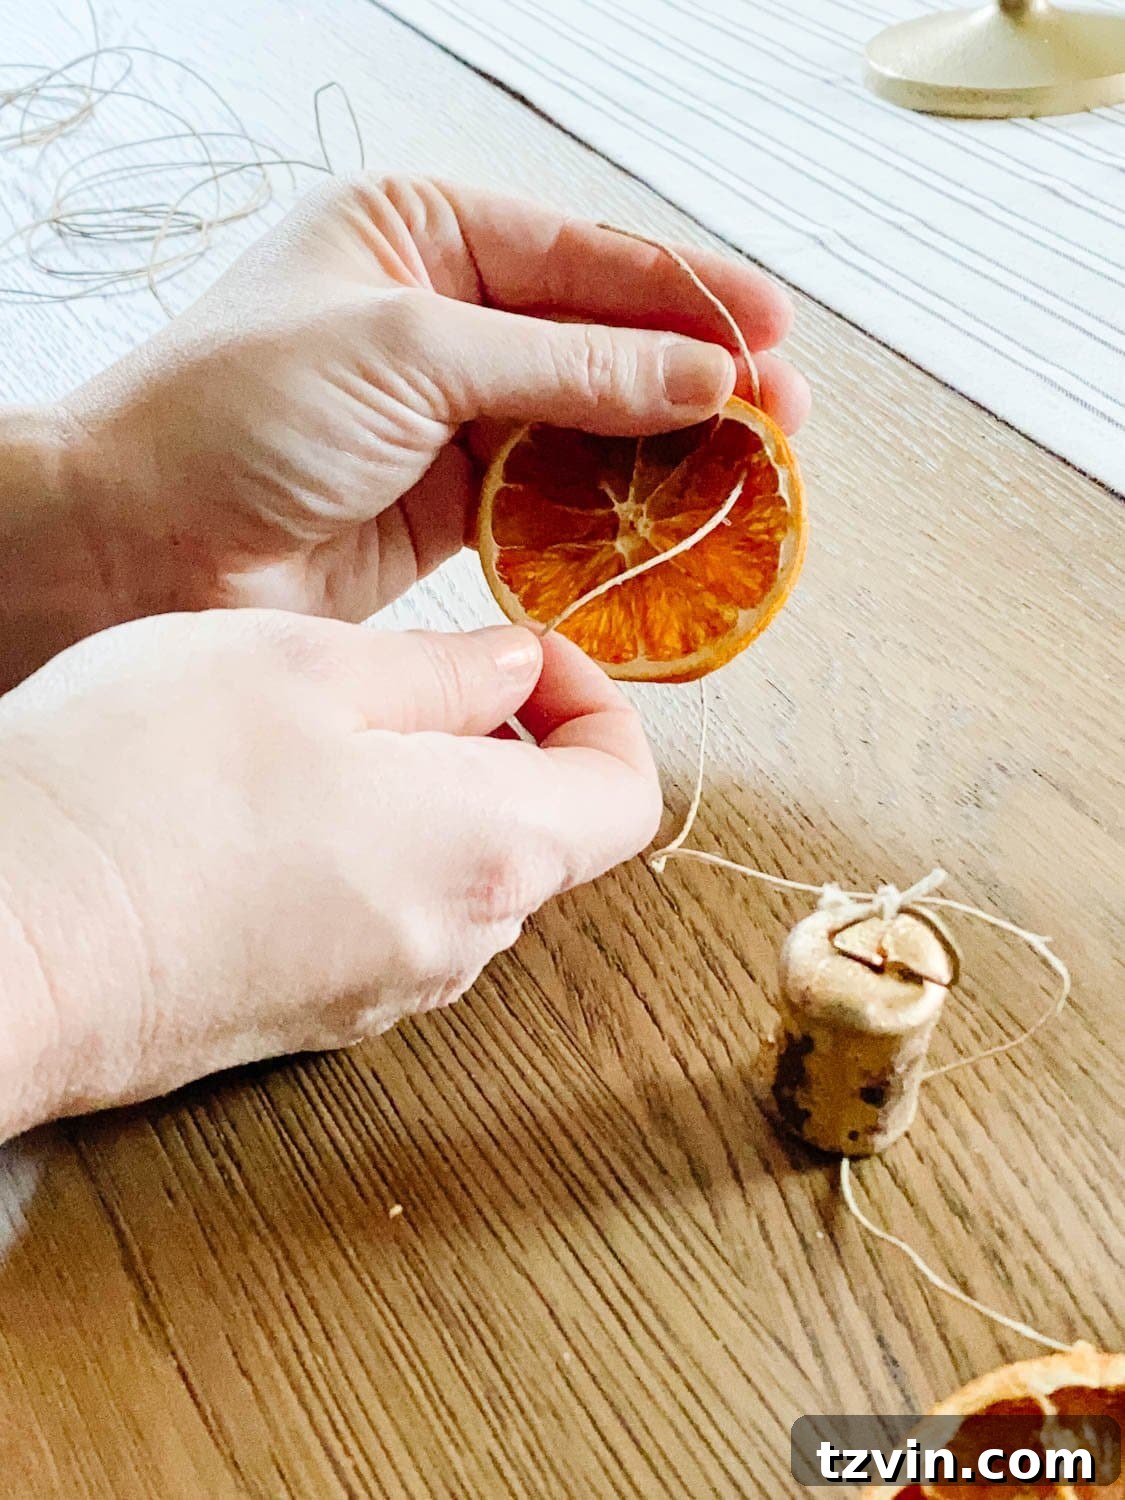
Take a dried orange slice and your poking tool (a straightened paper clip or toothpick works wonderfully). Carefully poke a hole through the flesh of the orange slice. Aim for a spot close to the rind but not so close that it tears the delicate fruit. You might find it easiest to poke through a small, intact section of the rind itself for added durability.
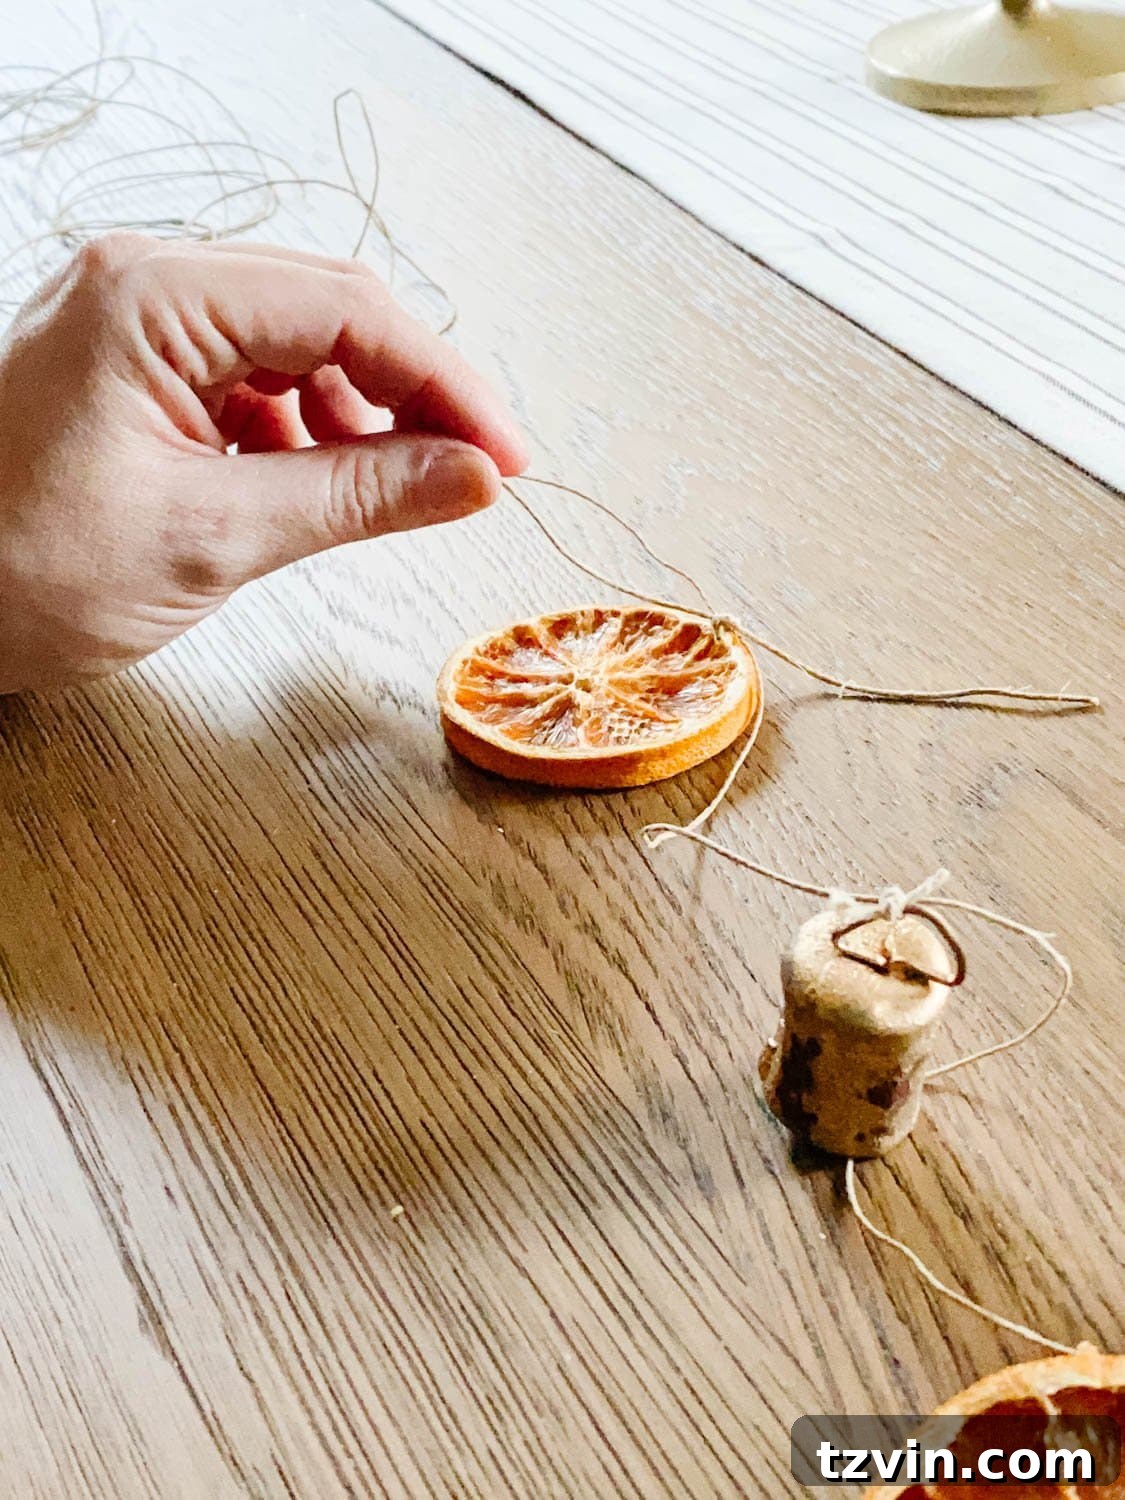
Once you have a hole, take one of your pre-cut 3-4 inch pieces of twine. Push one end of this short twine strand through the hole you just created in the dried orange slice. Pull it through until roughly equal lengths of twine emerge from both sides of the orange slice.
Step 3: Secure Orange Slices to the Main Garland Strand
With the short piece of twine threaded through your orange slice, tie a tight double knot around the orange slice itself. This secures the twine to the slice, preventing it from slipping. Trim any excess twine from this initial knot if it’s too long.
Now, take the ends of that short twine piece and tie the orange slice securely onto your long main garland strand. You can create a simple square knot or a double knot to ensure it won’t slide. Make sure it’s taut against the main strand. Once tied, trim the leftover hanging ends of the 3-4 inch strand close to the knot for a neat finish.
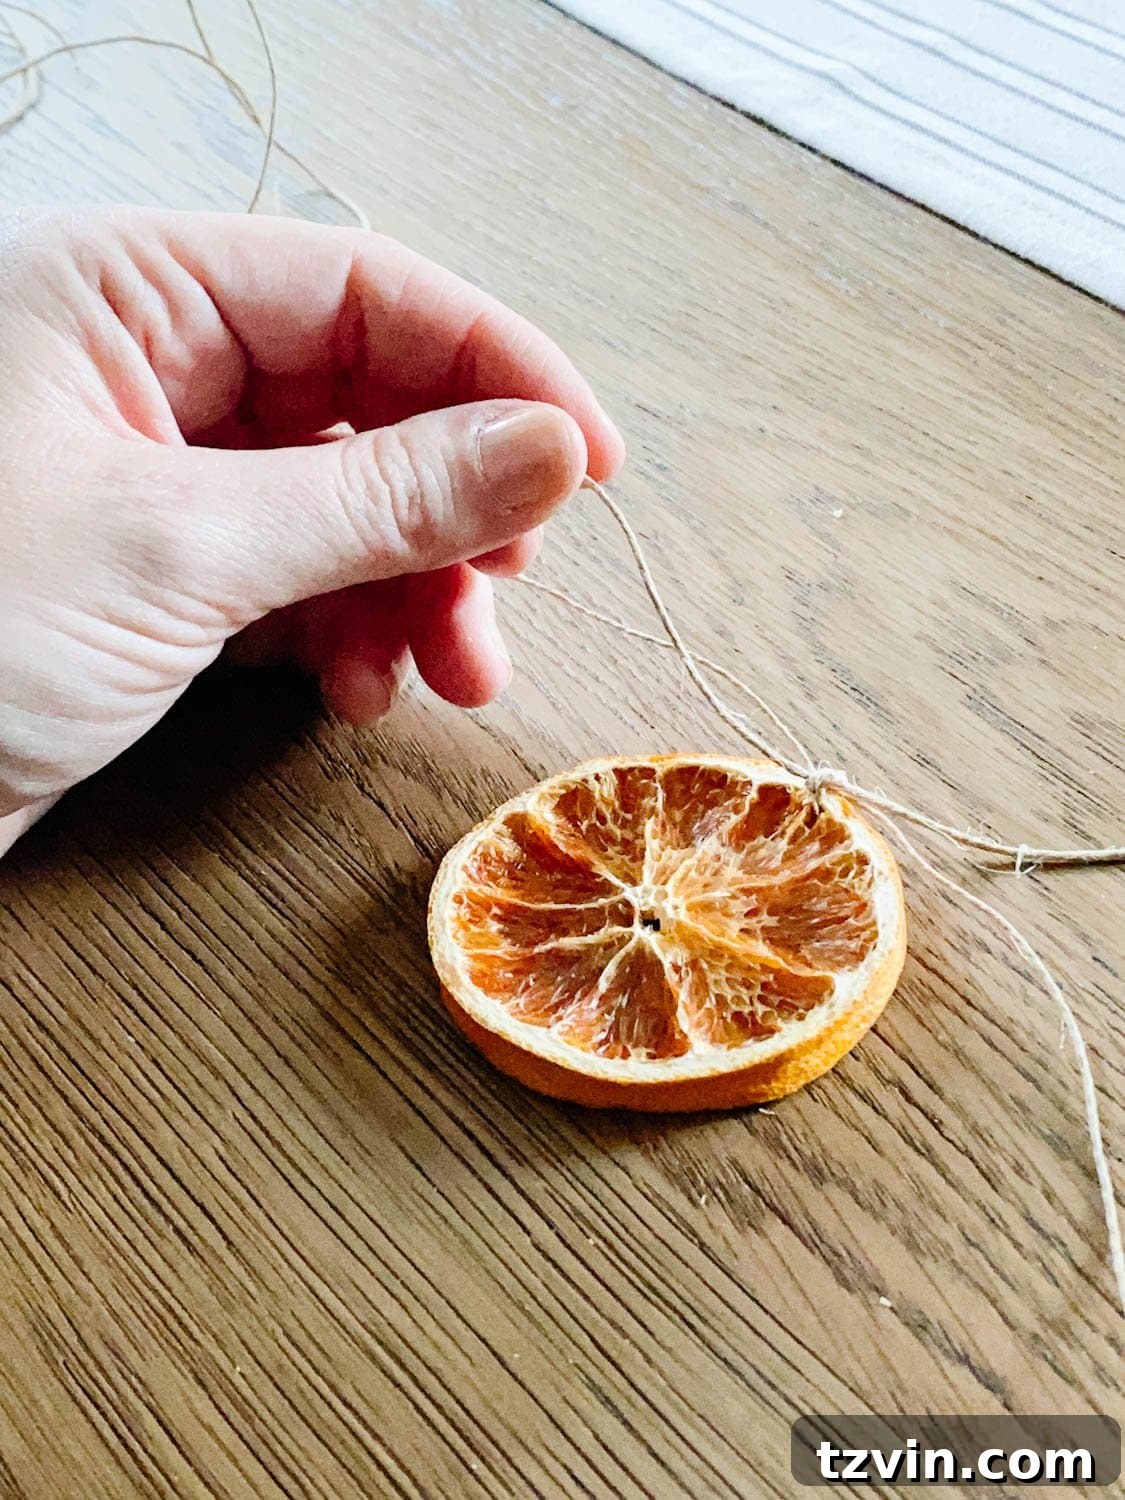
Step 4: Repeat for Even Spacing
Continue threading and tying dried orange slices onto the long strand of twine. Decide on your desired spacing between each orange slice. For a fuller look, you might space them 2-3 inches apart; for a more delicate garland, 4-6 inches might be better. Lay out your garland periodically to visualize the spacing and adjust as needed. Consistency in spacing will give your garland a polished, professional appearance.
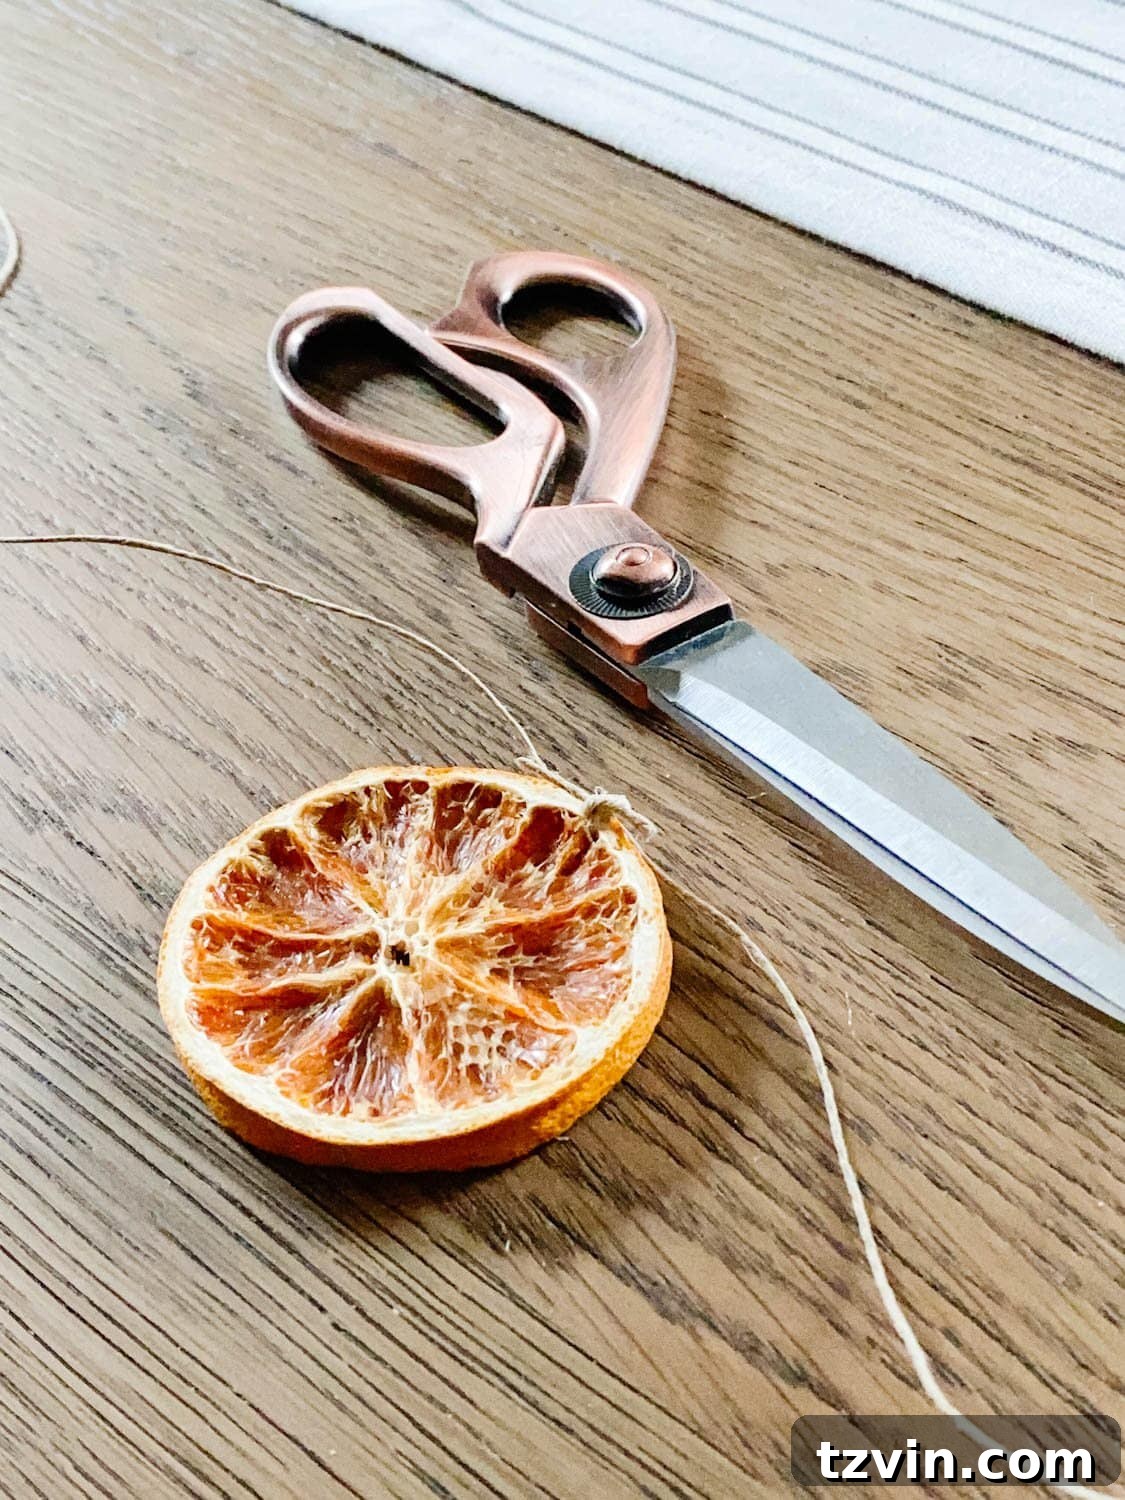
Step 5: Add Embellishments (Optional)
This is where you can personalize your garland and add extra festive charm! If you choose to add embellishments like mini bells, cinnamon sticks, bay leaves, or wooden beads, follow the same method as with the orange slices.
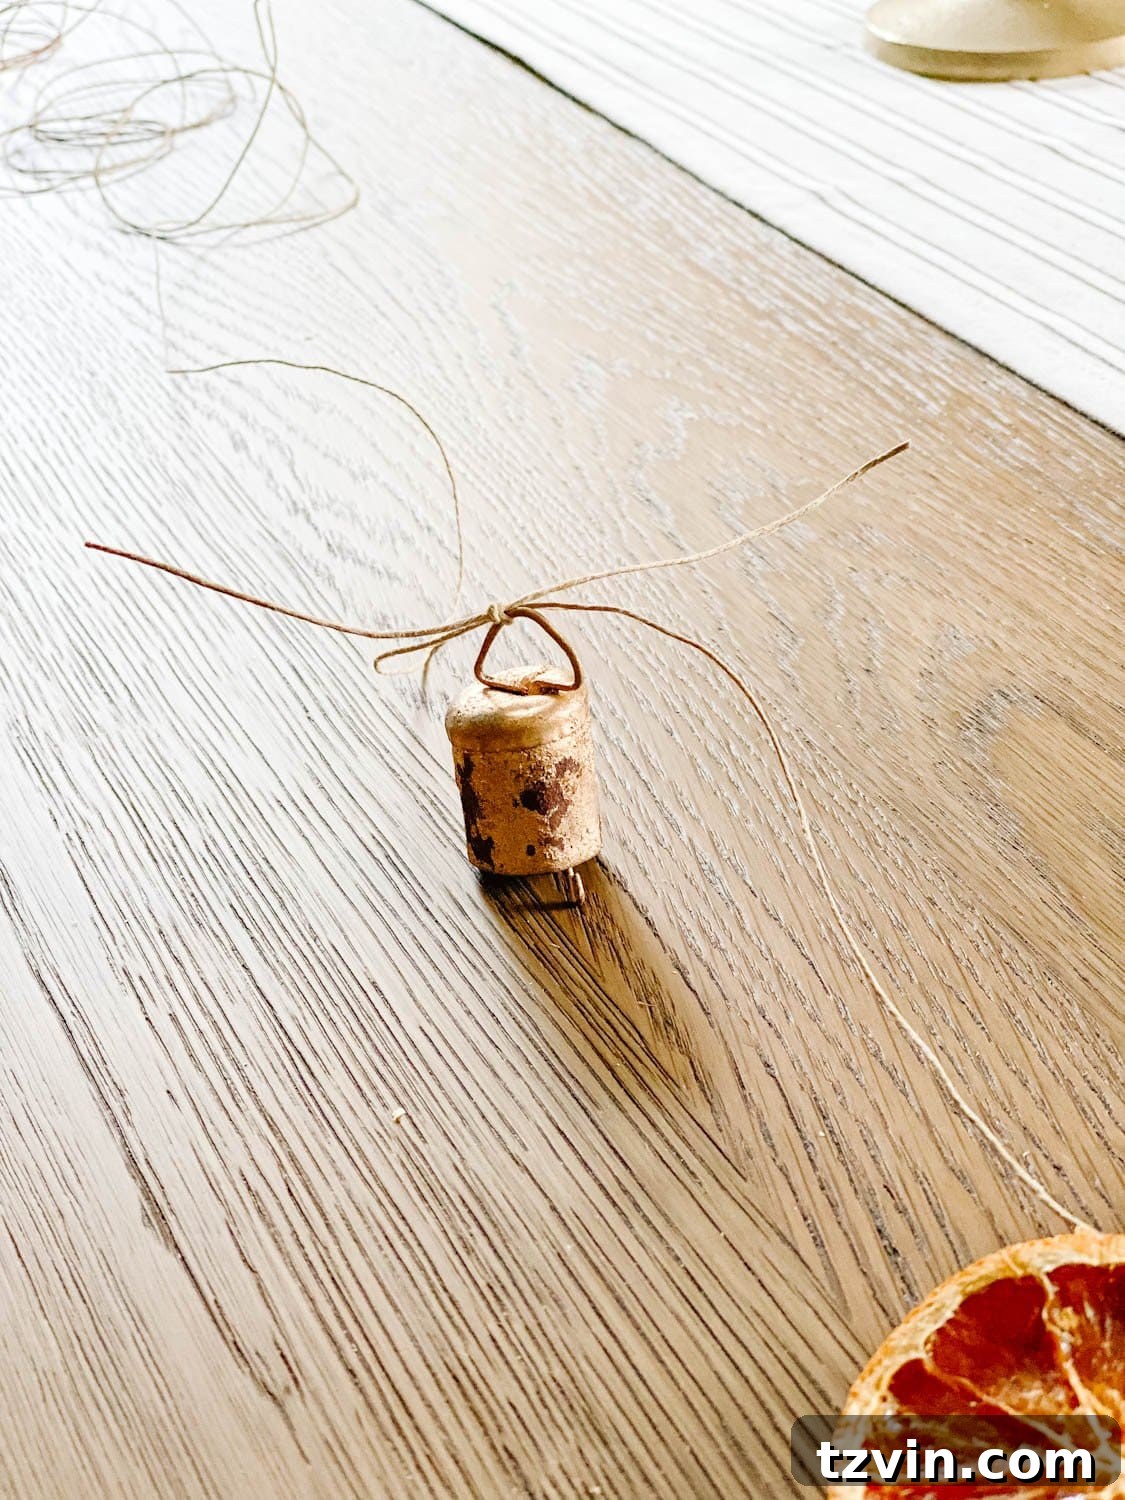
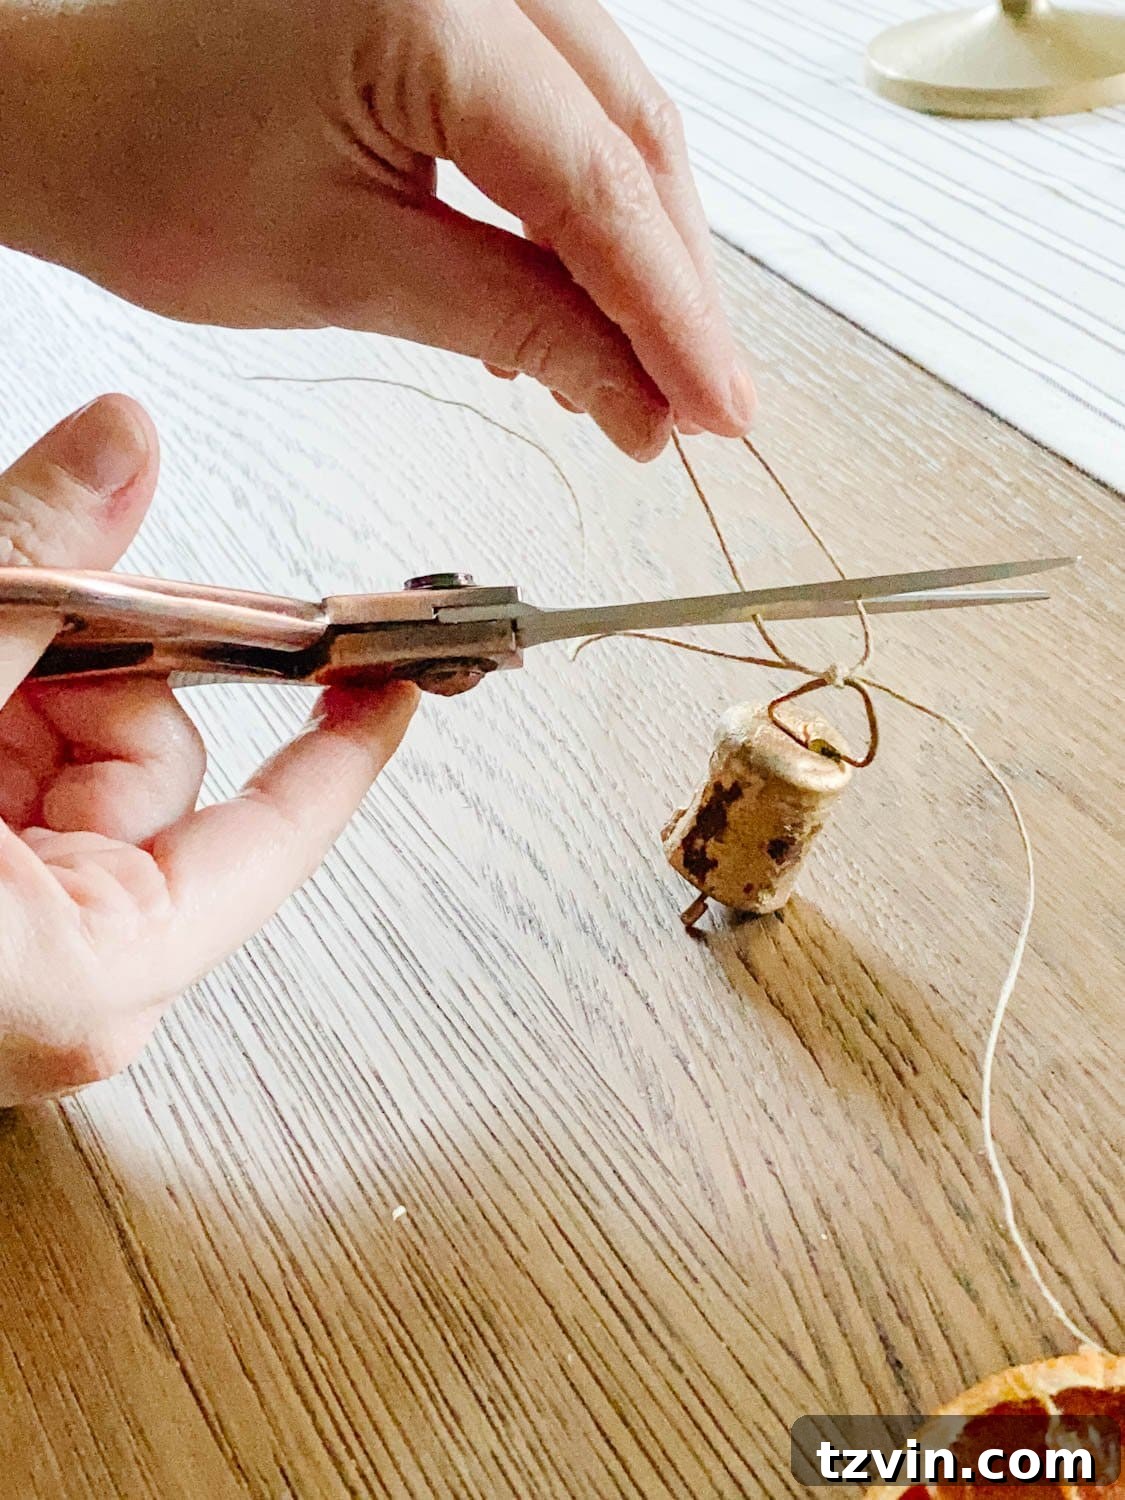
- Mini Bells: Thread a short piece of twine through the loop of a mini bell and tie it onto the main garland strand, ensuring it’s spaced aesthetically with your orange slices.
- Cinnamon Sticks: Tie a few cinnamon sticks together with twine and then secure them to the main garland. Their warm scent complements the oranges beautifully.
- Bay Leaves: Fresh or dried bay leaves can be threaded through or tied on for a touch of green.
- Wooden Beads: Simply thread them directly onto the main twine strand before tying the orange slices, or create small loops of twine to attach them.
Experiment with different arrangements – perhaps a bell every few oranges, or a cluster of cinnamon sticks between larger groupings. Trim any excess twine from your embellishment knots for a tidy finish.
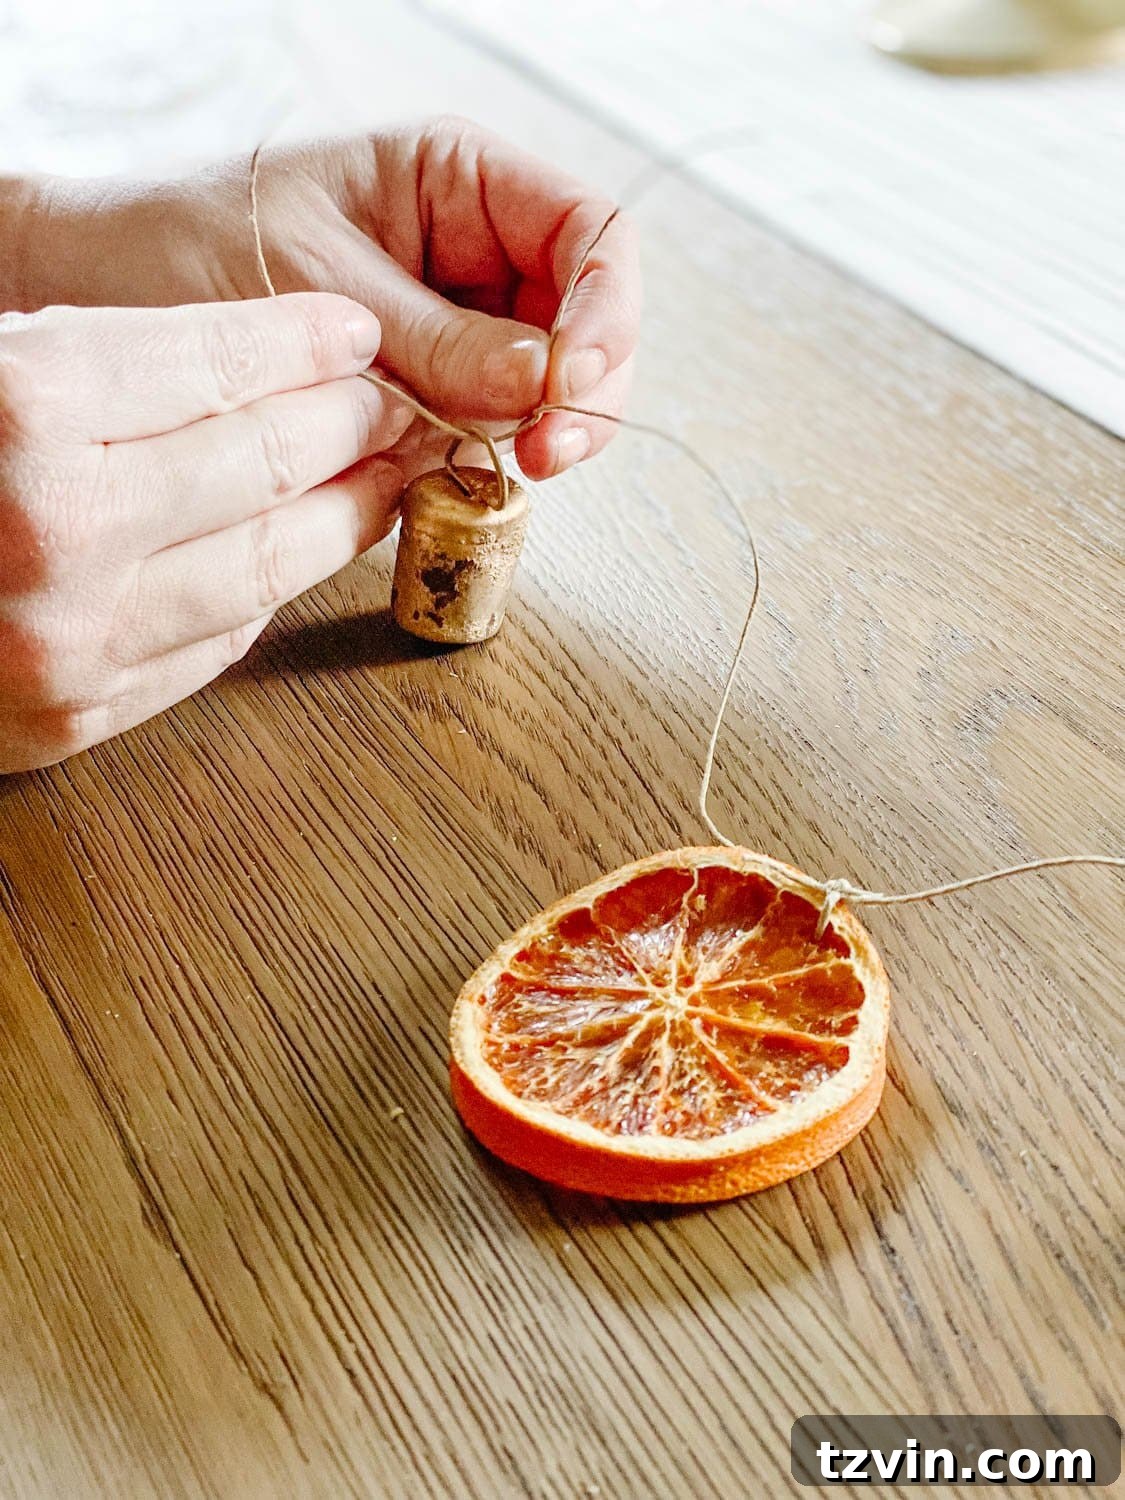
Step 6: Hang Your Garland
Your beautiful DIY dried orange garland is now complete and ready to bring natural charm to your home! There are countless ways to display it:
- On a Christmas Tree: Drape it artfully around your Christmas tree, weaving it through the branches. The translucent oranges will glow beautifully with your tree lights.
- Mantel Decor: Lay it across your fireplace mantel, letting some sections elegantly cascade. Combine it with evergreen garland, fairy lights, and candles for a cozy display.
- Doorways & Arches: Frame a doorway or archway with your garland, either on its own or intertwined with faux or real greenery.
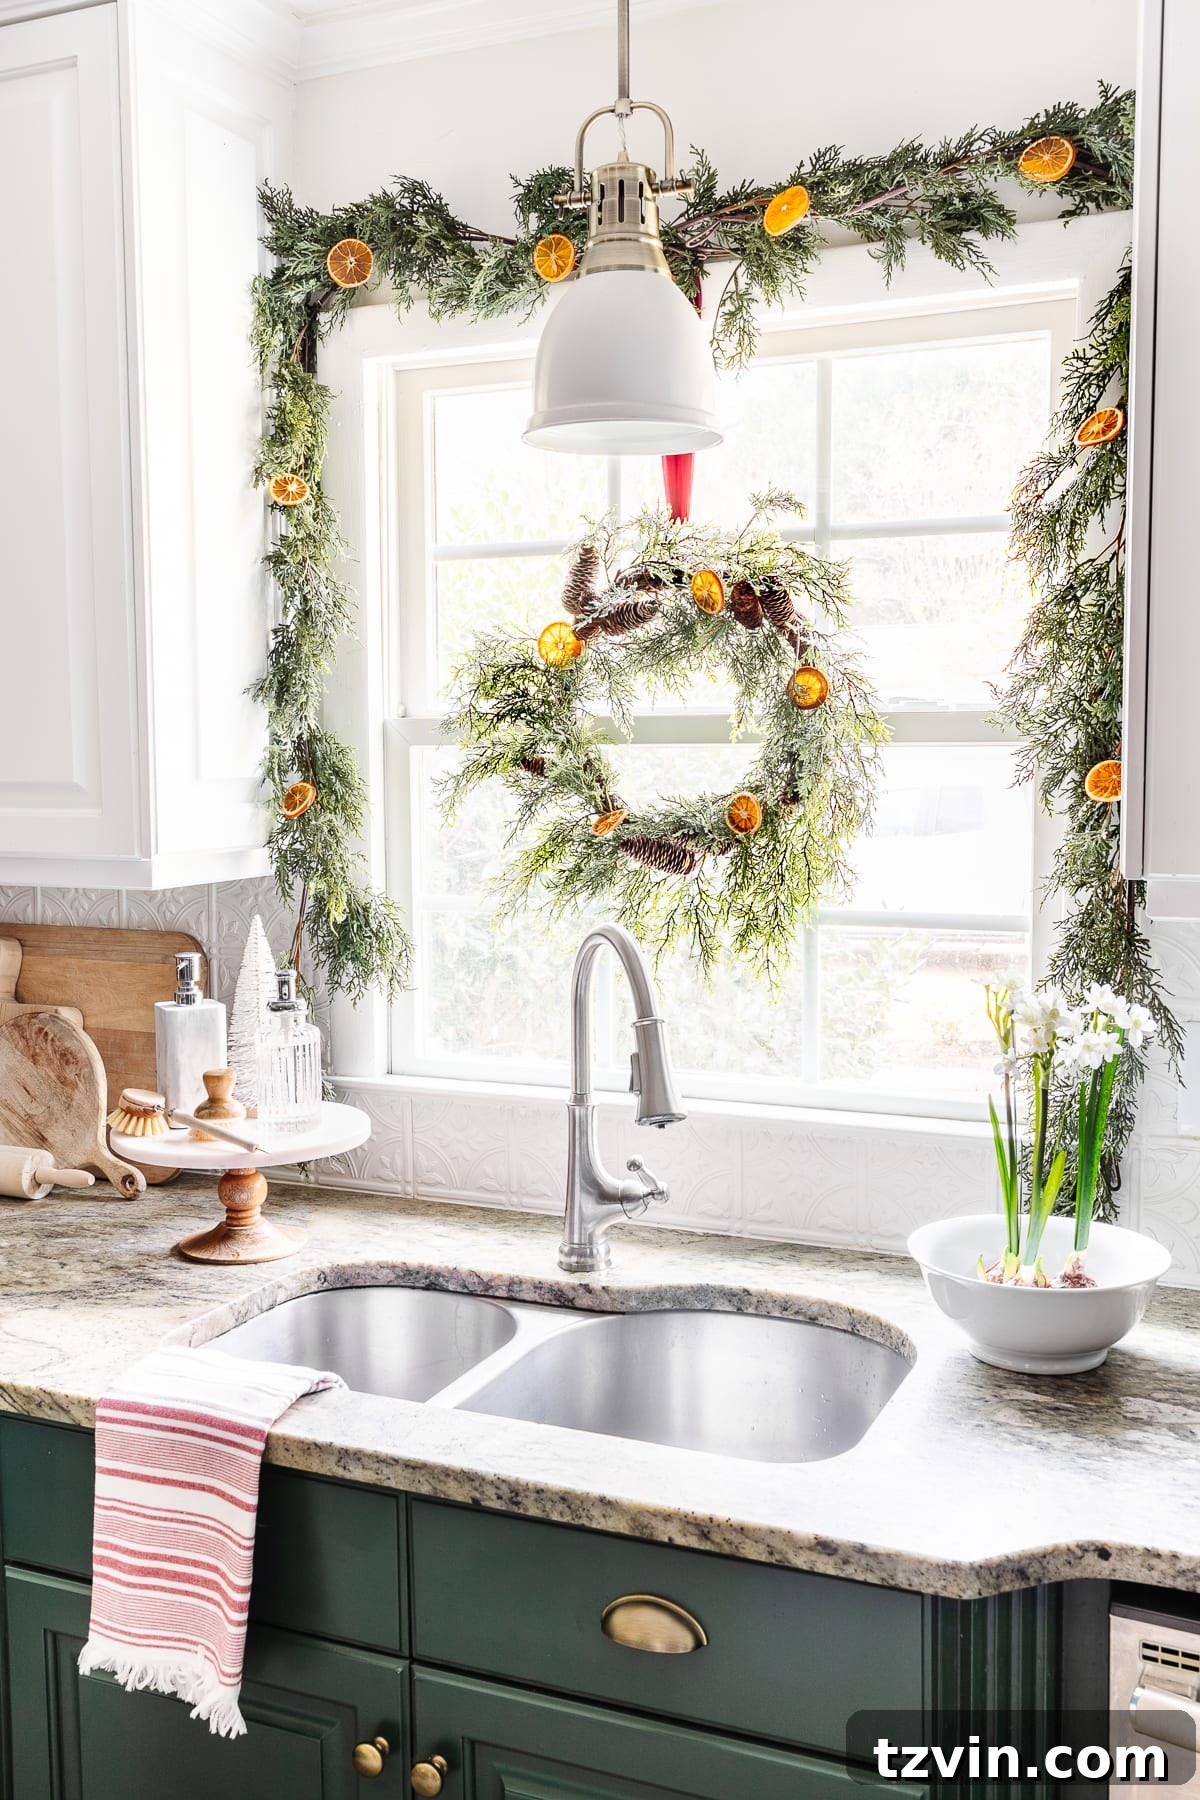
- Window Frames: Hang it along window sills or around the frame of a kitchen window to add a festive touch to everyday spaces.
- Stair Railings: Weave it through your stair banister, securing it at intervals.
- Shelf Decor: Drape it casually along open shelving in your living room or kitchen.
- Table Centerpiece: Use it as a runner down the center of your dining table, perhaps with some pinecones and pillar candles.
- Gift Wrapping: A small section of dried orange garland can make a unique and thoughtful accent for a special gift.
To secure your garland, you can simply wrap sections of the twine around branches of greenery, or use small Command hooks for mantels and doorways. Floral wire can also be used to discreetly attach it to various surfaces. Don’t hesitate to mix it with other elements like cinnamon sticks, pinecones, or delicate fairy lights to enhance its warmth and glow.
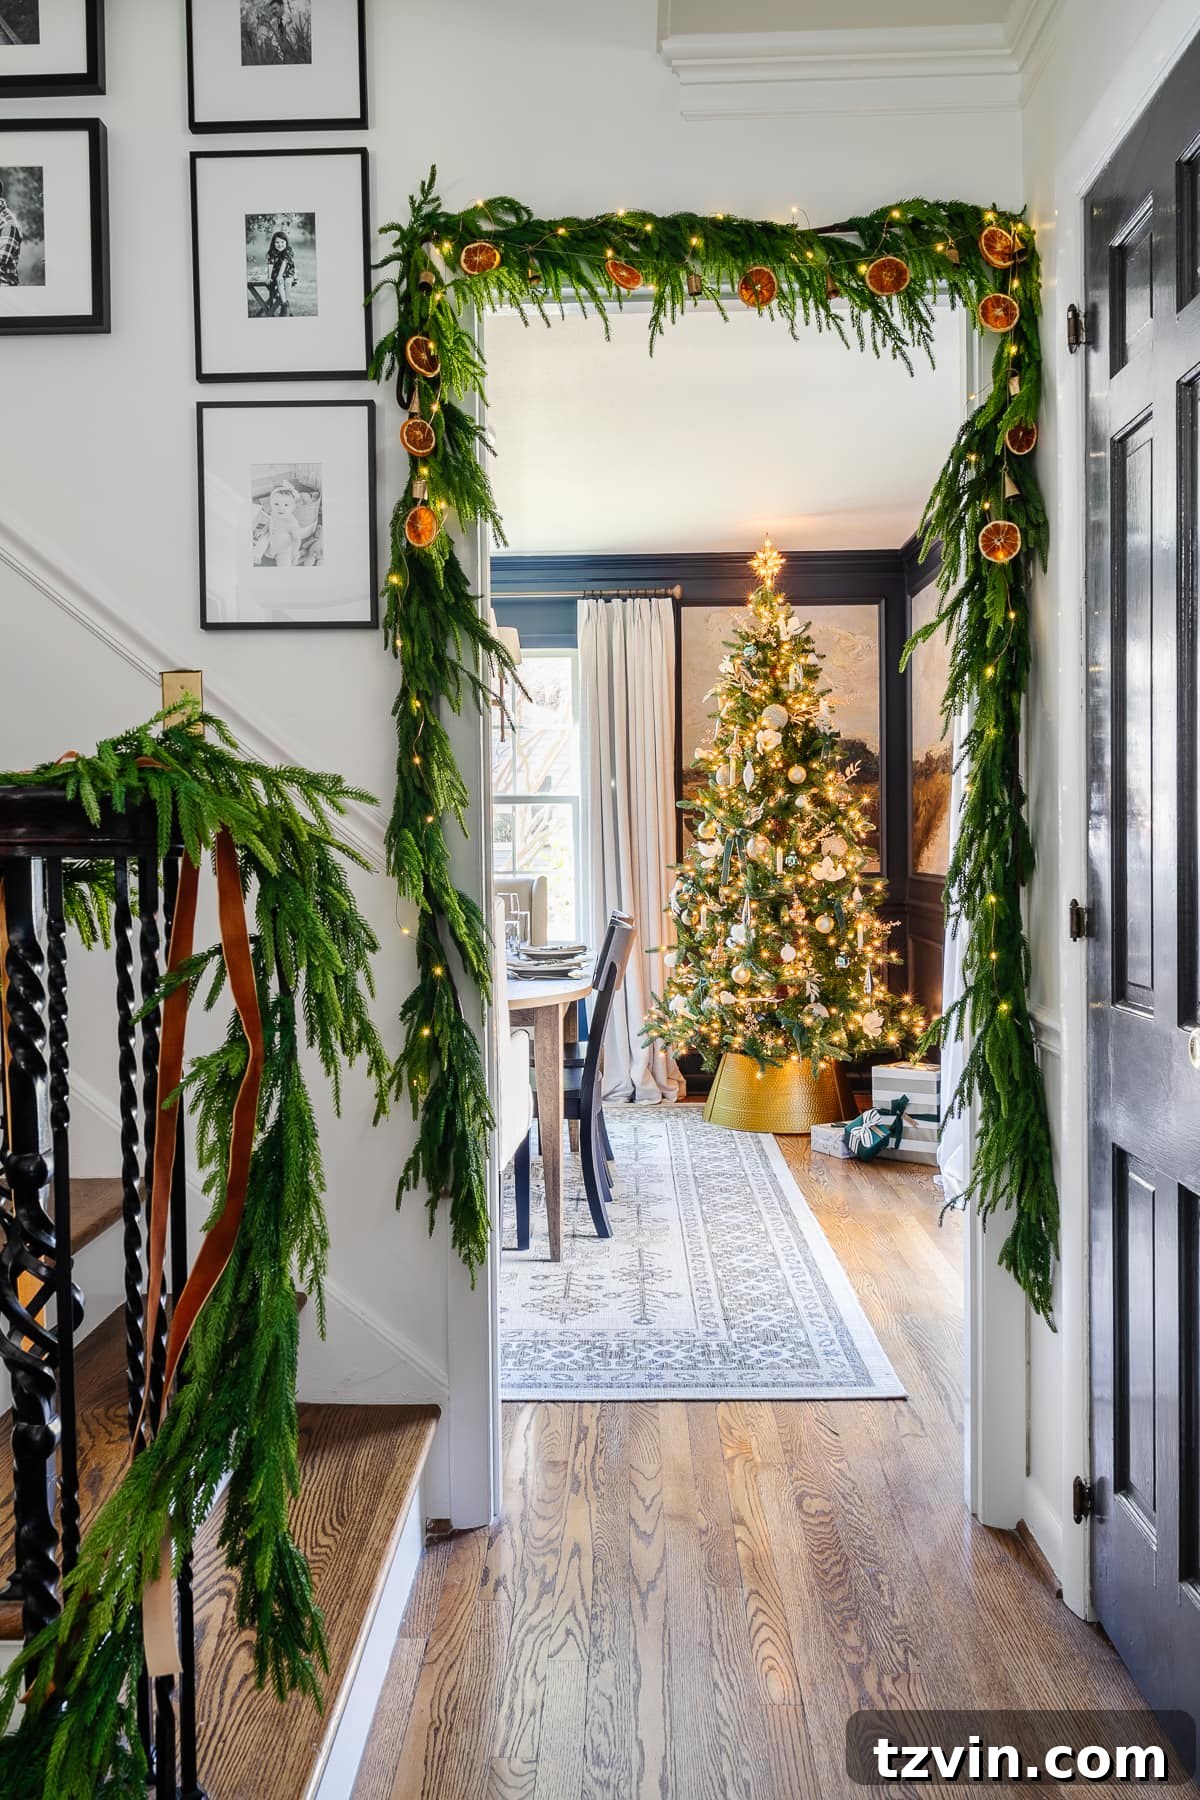
This garland adds a delightful touch of coziness and tradition wherever it’s placed. Its subtle elegance makes it a versatile piece that effortlessly blends into any festive scheme.

Care and Storage for Your Dried Orange Garland
One of the best features of a dried orange garland is its longevity. With proper care, it can be a beloved part of your holiday decor for years to come. Here’s how to ensure it lasts:
- Ensure Complete Dryness: As mentioned, this is paramount. Any moisture left in the oranges can lead to mold or attract pests. If you notice any signs of moisture, you can re-bake them for a short period to fully dry them out.
- Store in a Cool, Dry Place: When the holiday season ends, gently remove your garland. Store it in an airtight container or a breathable fabric bag (like a pillowcase) in a cool, dry place. Avoid humid environments, as moisture can cause degradation.
- Avoid Direct Sunlight: Prolonged exposure to direct sunlight can fade the color of the oranges over time.
- Handle with Care: Dried oranges can be somewhat fragile. Handle your garland gently when putting it up, taking it down, and storing it to prevent breakage.
Crafting a dried orange garland is more than just making a decoration; it’s about embracing a simple, beautiful tradition. Like stringing popcorn and dried cranberries, it connects us to the Christmases of yesteryear, bringing a touch of heartwarming nostalgia into our modern homes. It’s a testament to the idea that the most charming decor often comes from the simplest, most natural sources.
More DIY Christmas Decor Ideas
- DIY Cinnamon Salt Dough Ornaments
- Christmas Village Snow Globe Centerpiece
- DIY Repurposed Canvas Christmas Art
- 18 Christmas Wall Decor Ideas and Holiday Art Printables
Frequently Asked Questions About Dried Orange Garland
How long does dried orange garland last?
Does dried orange garland attract bugs?
Does dried orange garland smell?