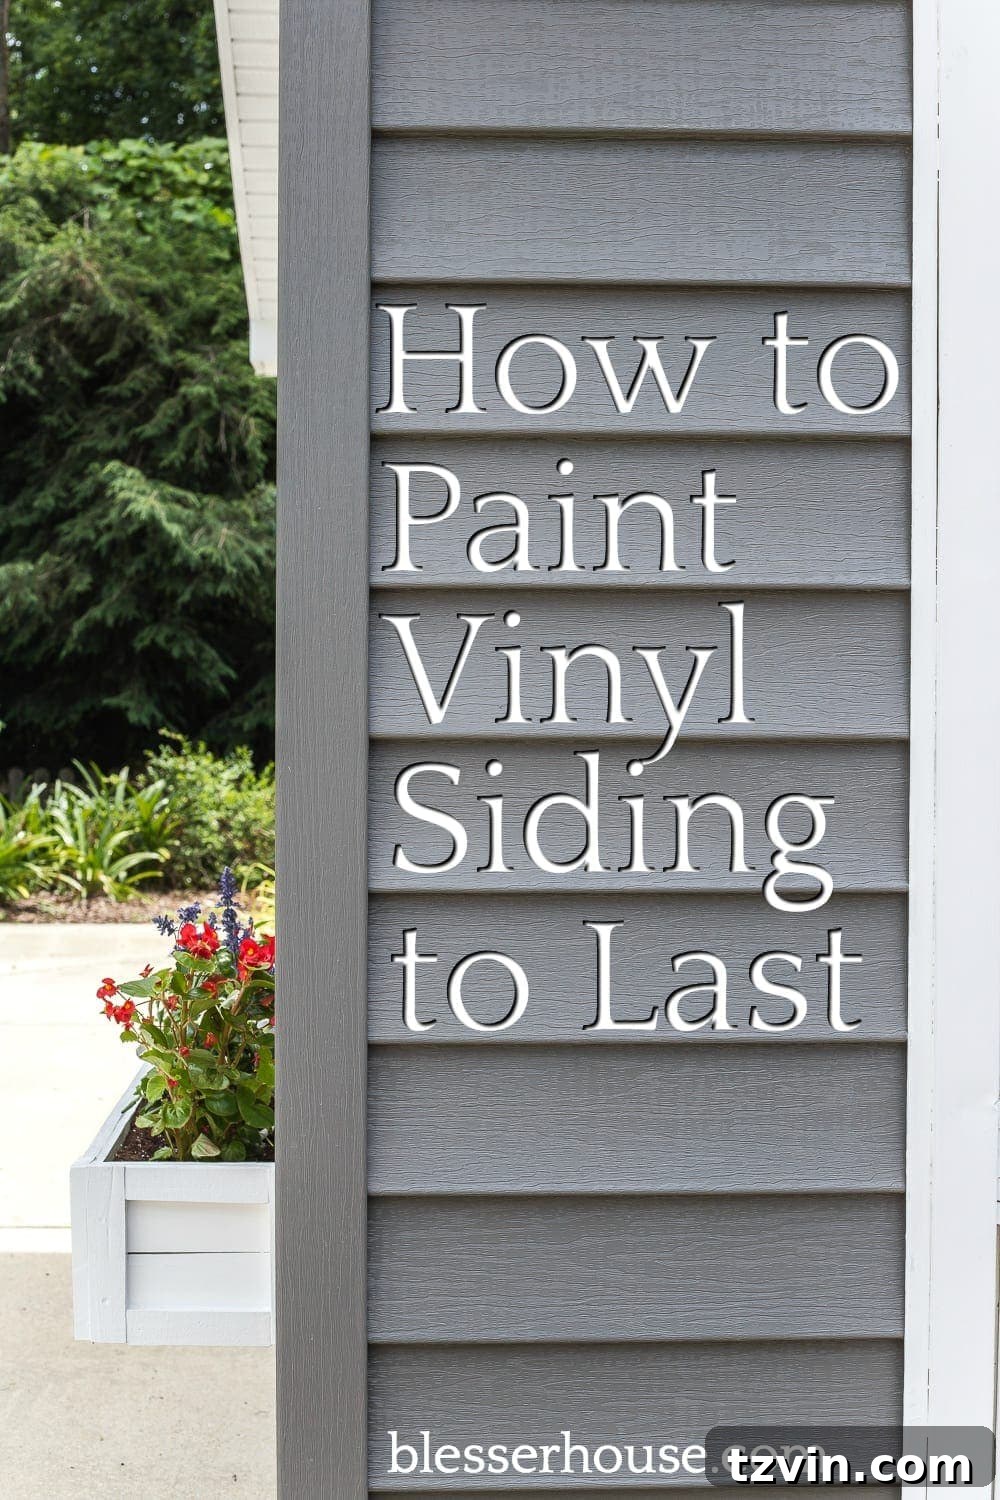
The Ultimate Guide to Painting Vinyl Siding for a Lasting Finish & Budget-Friendly Pool Shed Makeover
Are you dreaming of an exterior transformation that won’t break the bank? We’ve all been there – staring at outdated, faded vinyl siding, wishing for a fresh look but dreading the perceived impossibility or expense. This comprehensive guide will show you exactly how to achieve a stunning, durable makeover for your vinyl siding, focusing on our recent success with an inexpensive pool shed renovation. Get ready to conquer your outdoor spaces with smart, money-saving tricks!
UPDATE: See the final pool area reveal here!
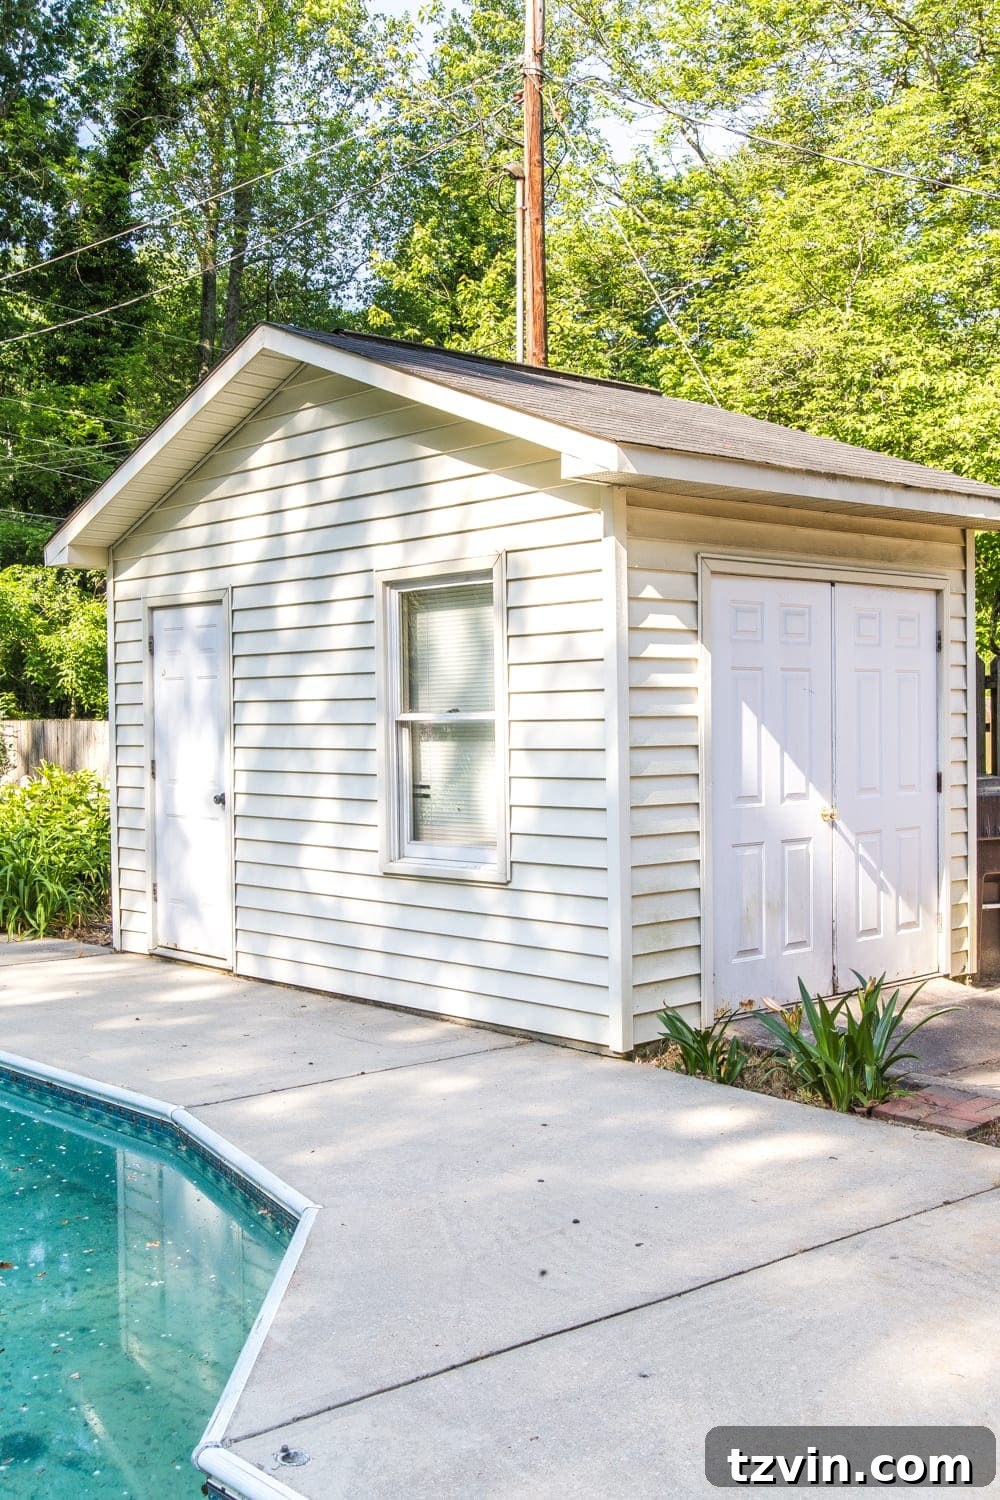
We faced a challenge: a drab, beige pool shed with vinyl siding that desperately needed a facelift. It stood out like a sore thumb against the backdrop of our newly updated outdoor space and fresh pool liner. Many believed painting vinyl siding was a recipe for disaster – warping, peeling, and a short-lived finish. However, through diligent research and a commitment to smart DIY solutions, we discovered a game-changing method that proved all the naysayers wrong. We not only painted our vinyl siding but achieved a professional, lasting finish that completely transformed our pool shed.
Why Paint Vinyl Siding? Debunking the Myths and Embracing the Benefits
For years, homeowners have been advised against painting vinyl siding. The primary concern revolved around heat absorption: darker colors, in particular, could absorb more solar energy, leading to the vinyl expanding, contracting unevenly, and ultimately warping or buckling. This fear, while historically valid for traditional paints, has been largely alleviated by advancements in paint technology.
The Advantages of a Vinyl Siding Makeover:
- Cost-Effective Transformation: Repainting vinyl siding is significantly more affordable than replacing it entirely. This is especially true for outbuildings like sheds, where a fresh coat of paint can extend their life and refresh their appearance without a major investment.
- Enhanced Curb Appeal: A fresh, modern color can drastically improve the aesthetic of your home or any outdoor structure. Faded, discolored vinyl can make a property look dated and neglected.
- Personalized Style: Painting allows you to customize the color to match new landscaping, a pool area, or simply your evolving taste, creating a cohesive and attractive outdoor environment.
- Increased Property Value: An updated exterior contributes positively to your home’s overall market appeal and value.
- Protection and Longevity: High-quality exterior paints, especially those formulated for vinyl, can offer an additional layer of protection against UV rays and the elements, potentially extending the life of your siding.
The Secret Weapon: Sherwin Williams VinylSafe Paint Technology
The key to successfully painting vinyl siding without fear of warping lies in specialized paint formulations. Our research led us to Sherwin Williams VinylSafe technology, a game-changer for exterior vinyl projects.
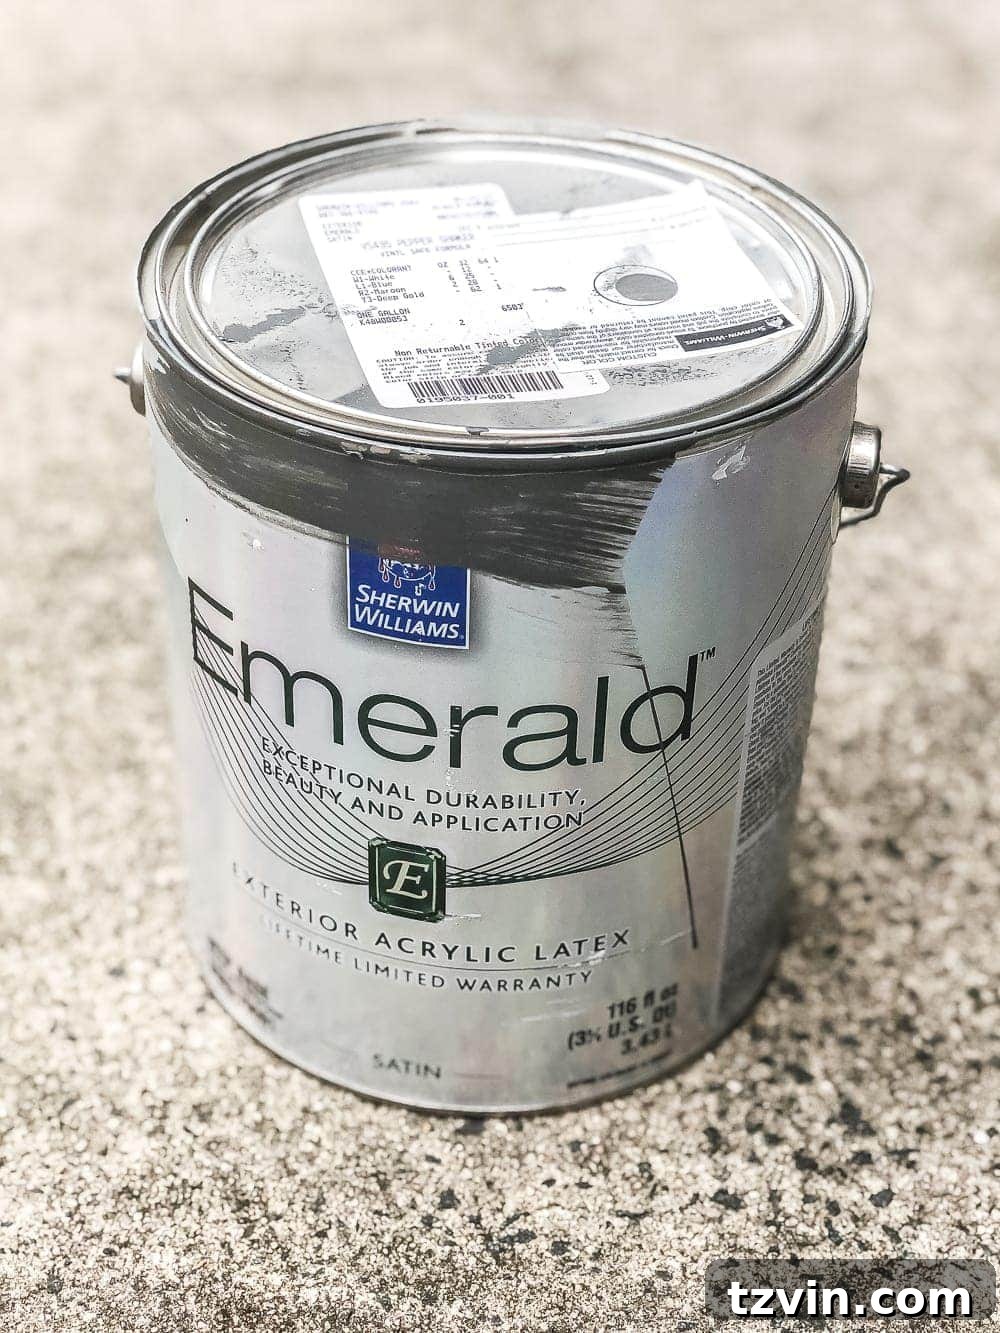
Unlike conventional exterior paints, VinylSafe colors are engineered with advanced pigments that reflect infrared light (the heat-generating part of sunlight) rather than absorbing it. This crucial difference prevents excessive heat buildup on the vinyl surface, mitigating the risk of warping, buckling, or sagging that darker colors often caused in the past. While you can use standard exterior paints on vinyl, you are typically restricted to choosing a color that is only one or two shades lighter than the original to avoid heat-related issues. With the VinylSafe collection, you have a much broader palette of colors, including deeper, richer tones like the “Pepper Shake” we chose, without compromising the integrity of your siding.
It’s important to note that this recommendation comes from genuine experience, not a sponsored endorsement. Finding a solution that genuinely works and saves homeowners significant money is something we believe in sharing. This technology makes a dramatic exterior transformation both feasible and durable.
Essential Supplies for Your Vinyl Siding Painting Project
Gathering the right tools and materials is the first step toward a successful and efficient vinyl siding painting project. Here’s a list of what we used, along with some considerations for your own project:
Supplies Used:
- Power Washer: Absolutely essential for thorough cleaning.
- Large Paint Brush: For precision and smaller areas. Consider a paint sprayer for larger surfaces to save time and achieve a smoother finish.
- Simple Green Pressure Washer Detergent: An effective cleaning agent to remove dirt, grime, and mildew.
- Sherwin Williams VinylSafe Paint: We specifically used the color “Pepper Shake” from their VinylSafe color line, applied in the Emerald formula, known for its excellent durability and resistance to dirt and fading.
- Wide Putty Knife or Flat Foam Board: An ingenious trick for clean paint lines around trim and edges without tedious taping.
- Painter’s Tape (Optional but recommended): For masking windows, doors, and fixtures that you don’t want to paint, especially if using a sprayer.
- Drop Cloths or Plastic Sheeting: To protect surrounding areas, plants, and concrete from paint splatters.
- Safety Gear: Eye protection, gloves, and a respirator mask (especially if using a paint sprayer).
Step-by-Step Guide: How to Paint Vinyl Siding for a Lasting Finish
Success in painting vinyl siding hinges on thorough preparation and correct application. Follow these steps for a professional-looking and durable finish.
1. Thorough Cleaning: The Foundation of a Lasting Paint Job
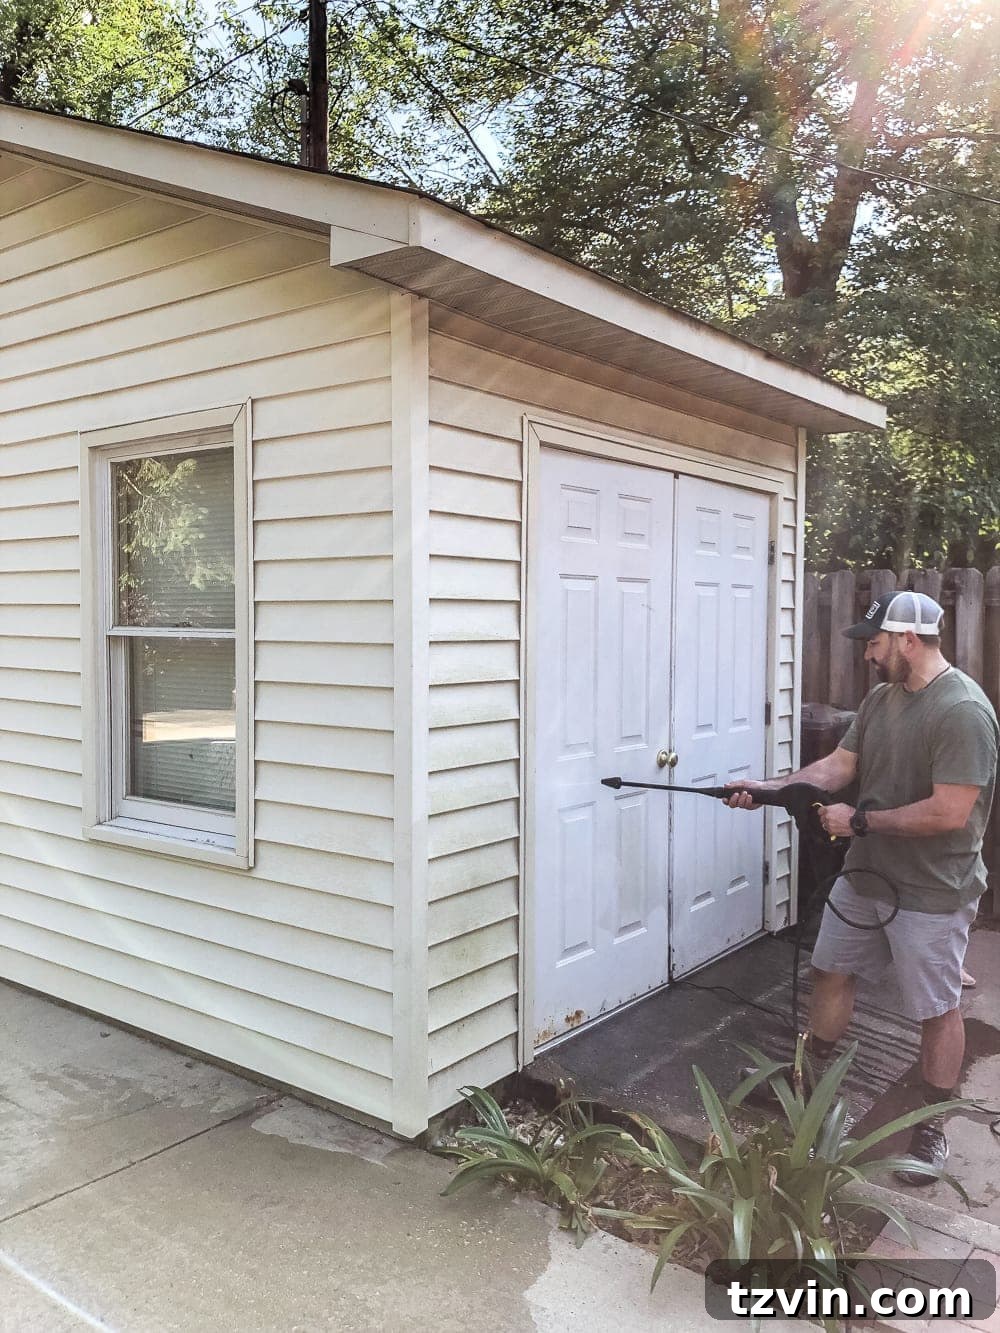
This is arguably the most critical step. Any dirt, mildew, chalking, or loose debris will prevent the paint from adhering properly, leading to peeling and a short-lived finish.
- Inspect the Siding: Before you even start cleaning, inspect your vinyl siding for any damage, mildew growth, or loose panels. Address repairs first.
- Prepare the Pressure Washer: Following the detergent manufacturer’s instructions, pour the Simple Green Pressure Washer Detergent into your pressure washer’s reservoir.
- Apply Detergent: Evenly spray down your vinyl siding with the detergent solution. Allow it to dwell for the recommended time (usually 5-10 minutes) to break down grime, but don’t let it dry on the surface.
- Rinse Thoroughly: Switch your pressure washer to 100% water and thoroughly rinse the entire surface, working from top to bottom. Ensure all detergent residue is removed, as any remaining film can impair paint adhesion. Use a fan tip nozzle and maintain a consistent distance to avoid damaging the siding.
2. Allow for Complete Drying
Patience is key here. Your vinyl siding must be absolutely bone dry before applying any paint. Depending on humidity and sunlight, this could take anywhere from 24 to 48 hours. Painting over even slightly damp surfaces will trap moisture, leading to blistering, peeling, and adhesion failure. Plan your painting day accordingly, ensuring clear weather is forecasted.
3. Masking and Protecting Adjacent Areas (If Necessary)
Before you pick up a brush or sprayer, take a few minutes to protect anything you don’t want painted. Use painter’s tape to mask off windows, doors, light fixtures, and any other elements not being painted. Lay down drop cloths or plastic sheeting to cover plants, landscaping, concrete patios, or decks. This preventative step will save you hours of cleanup later.
4. Applying the VinylSafe Paint
Now for the fun part! This is where your vinyl siding truly begins its transformation.
- Choose Your Application Method: We opted for a large paint brush for our pool shed, which offered excellent control and precision for this relatively smaller structure. For larger areas like an entire house, a paint sprayer would be significantly faster and provide a smoother, more even finish. If using a sprayer, ensure proper technique with consistent passes and overlap.
- Apply Evenly: Whether brushing or spraying, apply the Sherwin Williams VinylSafe paint in thin, even coats. Work in manageable sections, maintaining a wet edge to avoid lap marks. Our chosen “Pepper Shake” color from the Emerald formula provided exceptional coverage, allowing us to achieve full opacity in just one coat! This was a huge time-saver and a testament to the paint’s quality. While we were lucky with one coat, always be prepared for a second coat, especially if you’re making a dramatic color change or if the surface is particularly porous.
5. Expert Trick for Clean Edges: The Putty Knife Method
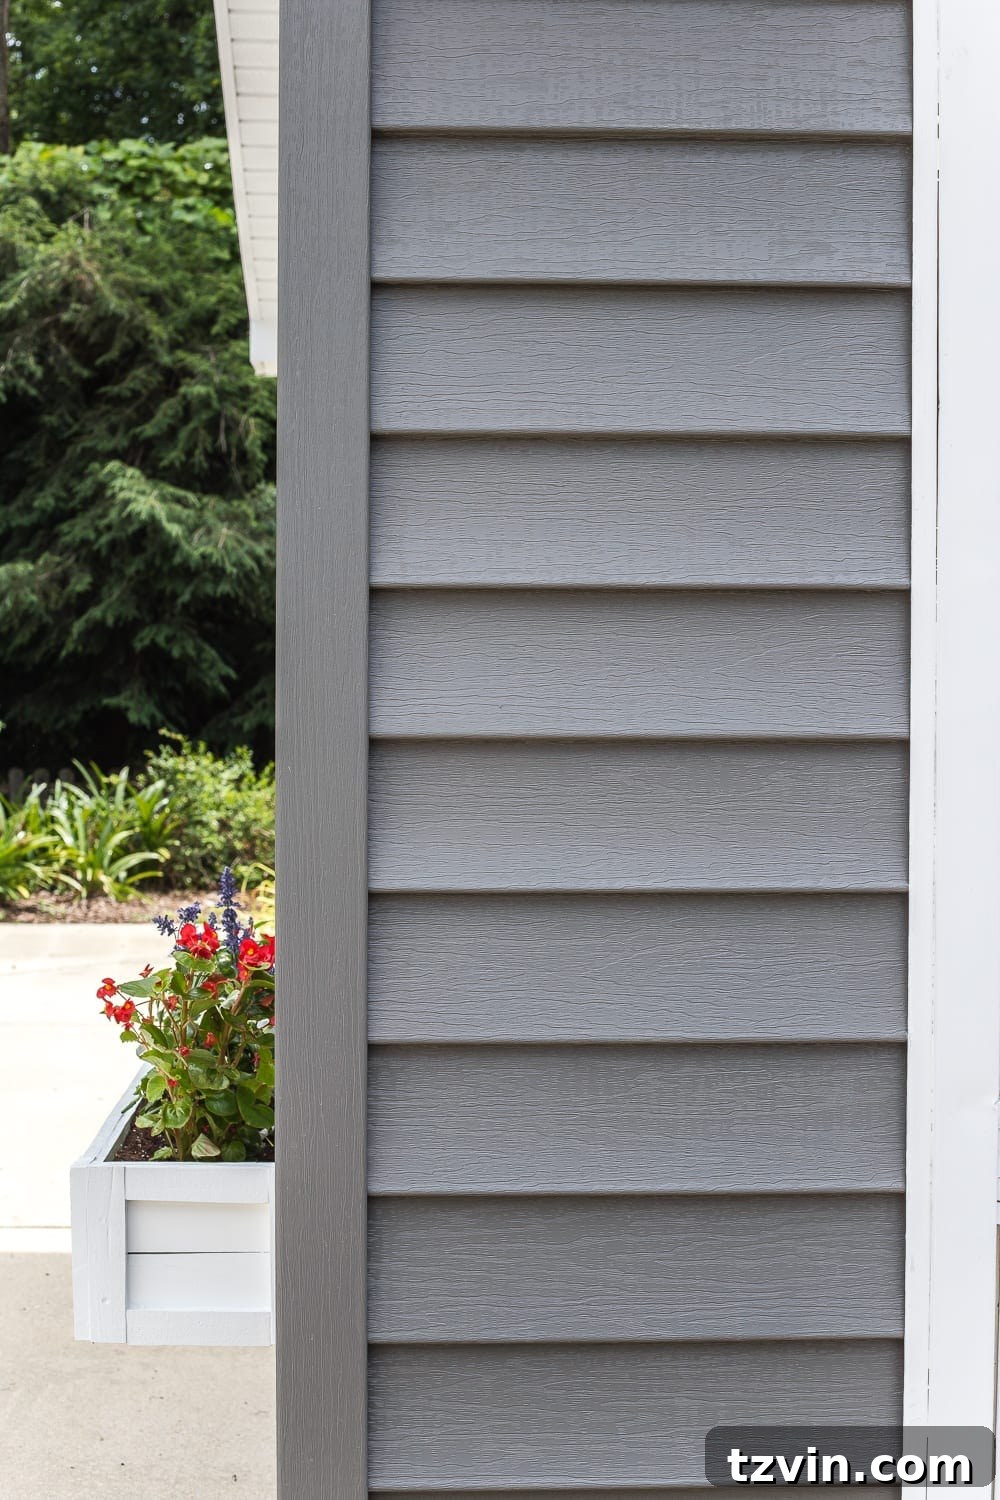
To avoid the hassle of painter’s tape around trim, windows, and doors, use a wide putty knife or a flat piece of foam board. Hold the edge of the tool firmly against the trim line as you paint the siding. This creates a clean, sharp line, preventing accidental paint transfer onto the trim. It’s a simple yet incredibly effective technique that speeds up the process and delivers professional results.
Elevating the Pool Shed: Beyond Just Paint
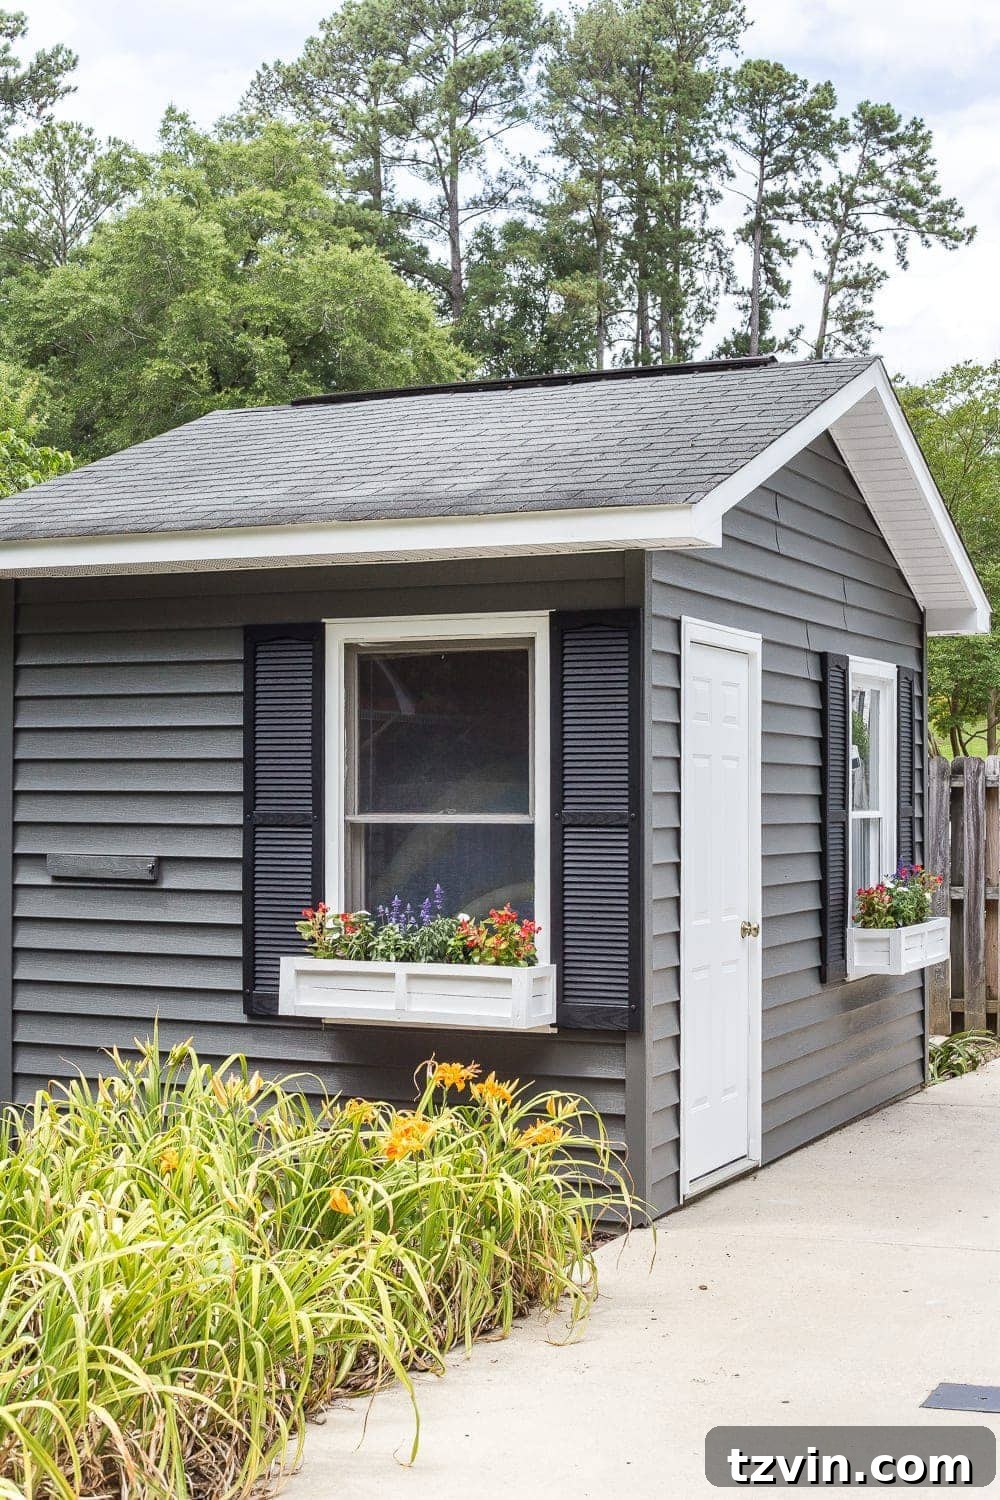
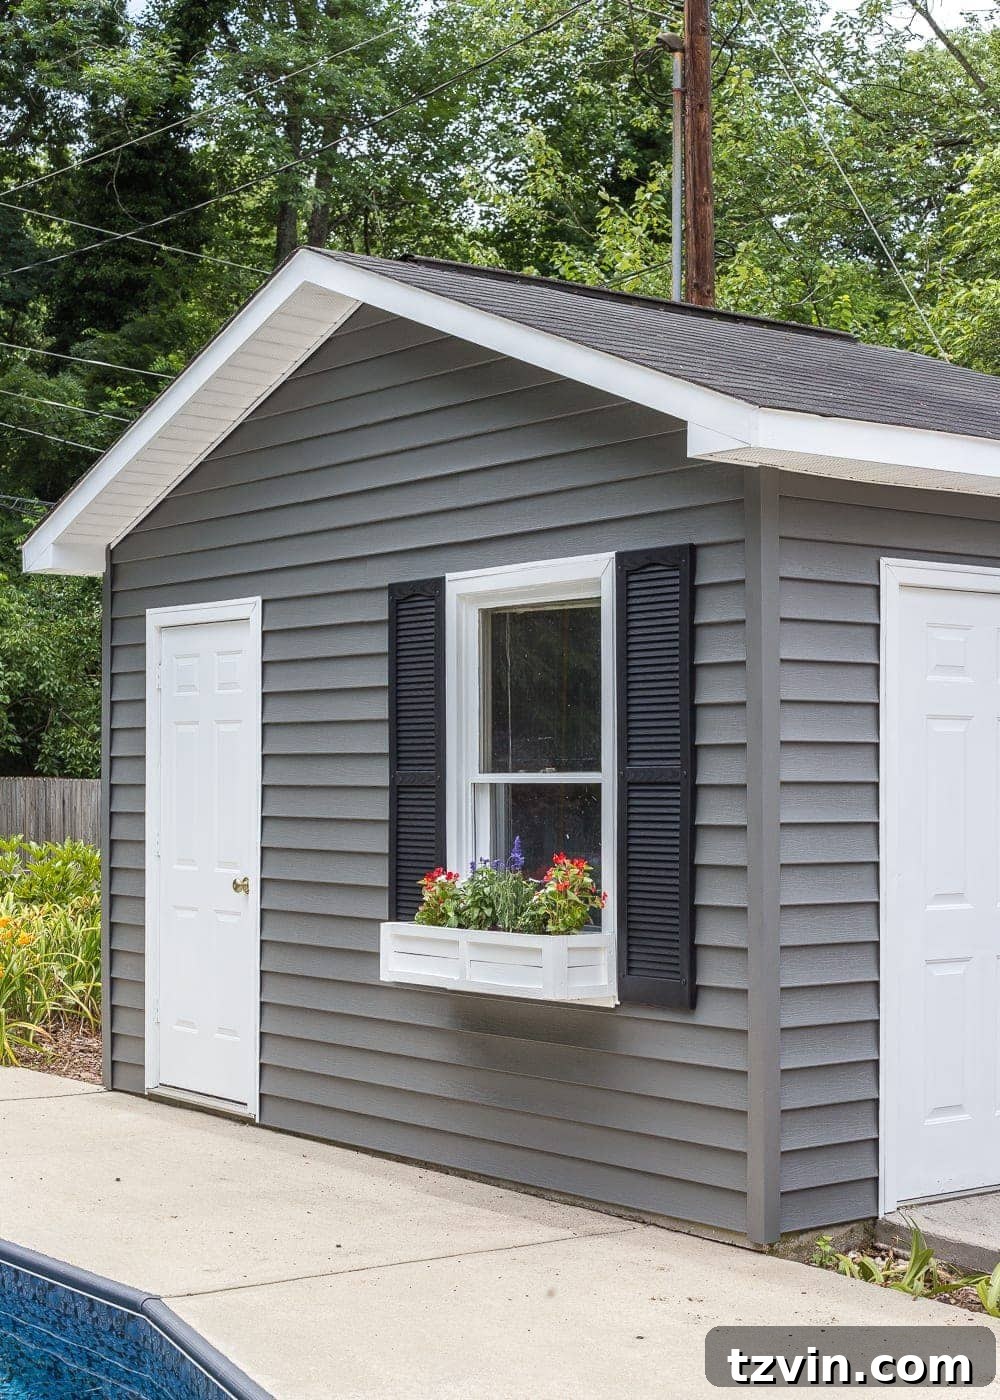
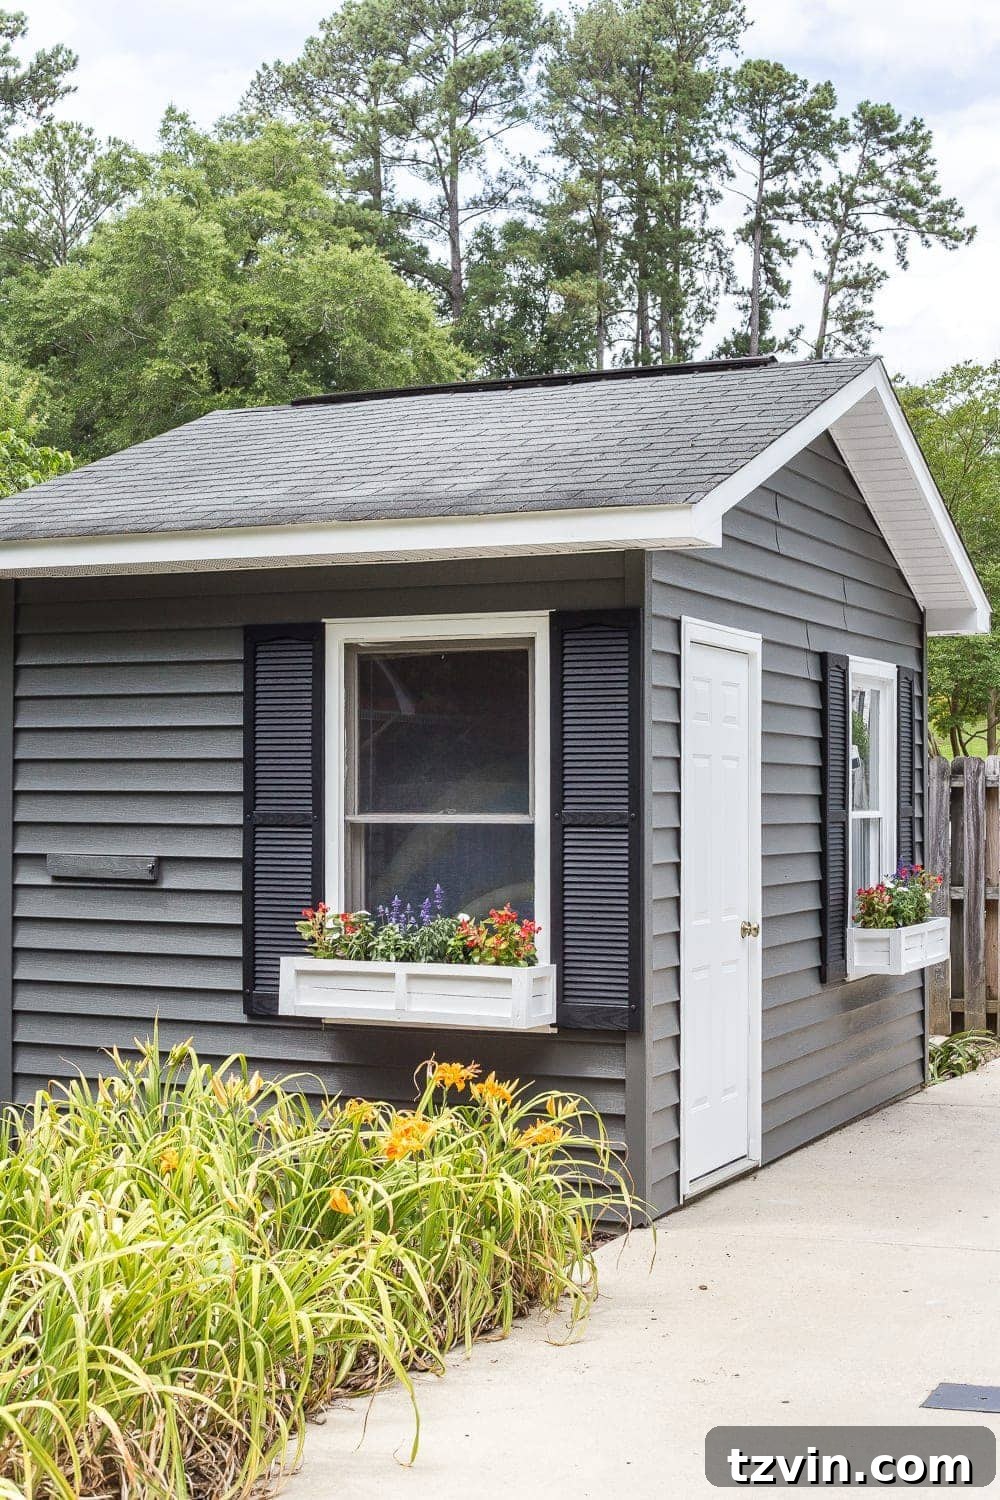
The dark gray “Pepper Shake” vinyl siding provided a dramatic backdrop, but the true transformation came with complementary accents. Robert meticulously painted the trim and doors in crisp Behr Ultra Pure White. This classic choice matched the existing trim on our main house, creating a cohesive and polished look across the property. The contrast between the dark siding and bright white trim made the shed truly pop.
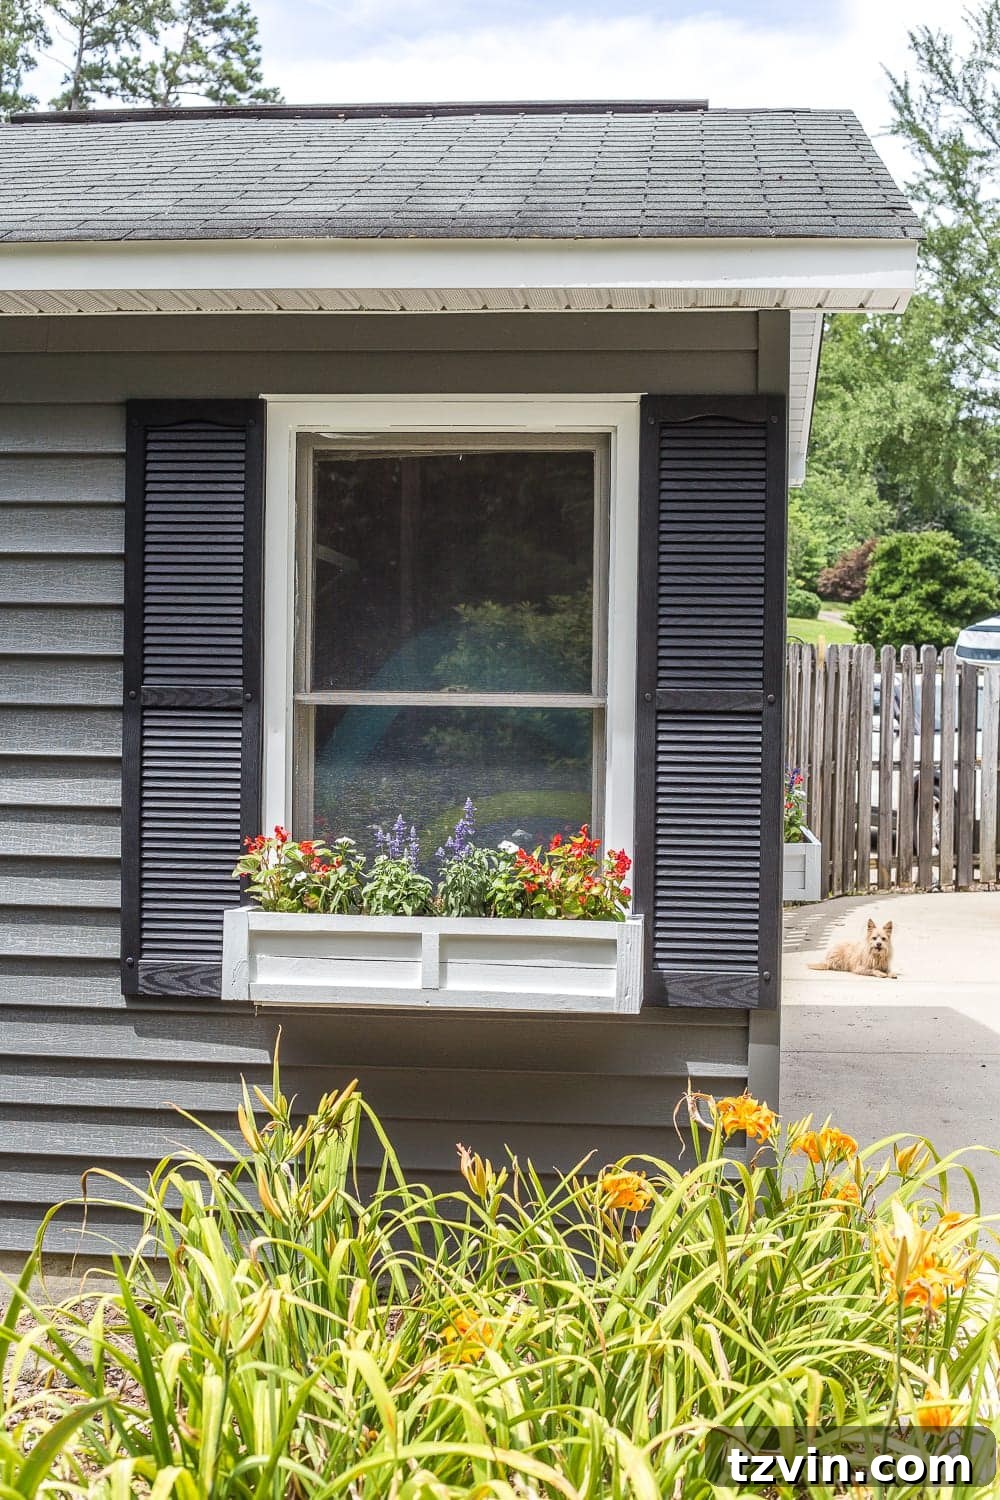
To further enhance its charm, we installed stylish vinyl black shutters. These simple additions added architectural interest and a touch of sophistication, making the utilitarian shed feel more like a purposeful extension of our home’s design.
DIY Window Boxes from Repurposed Materials
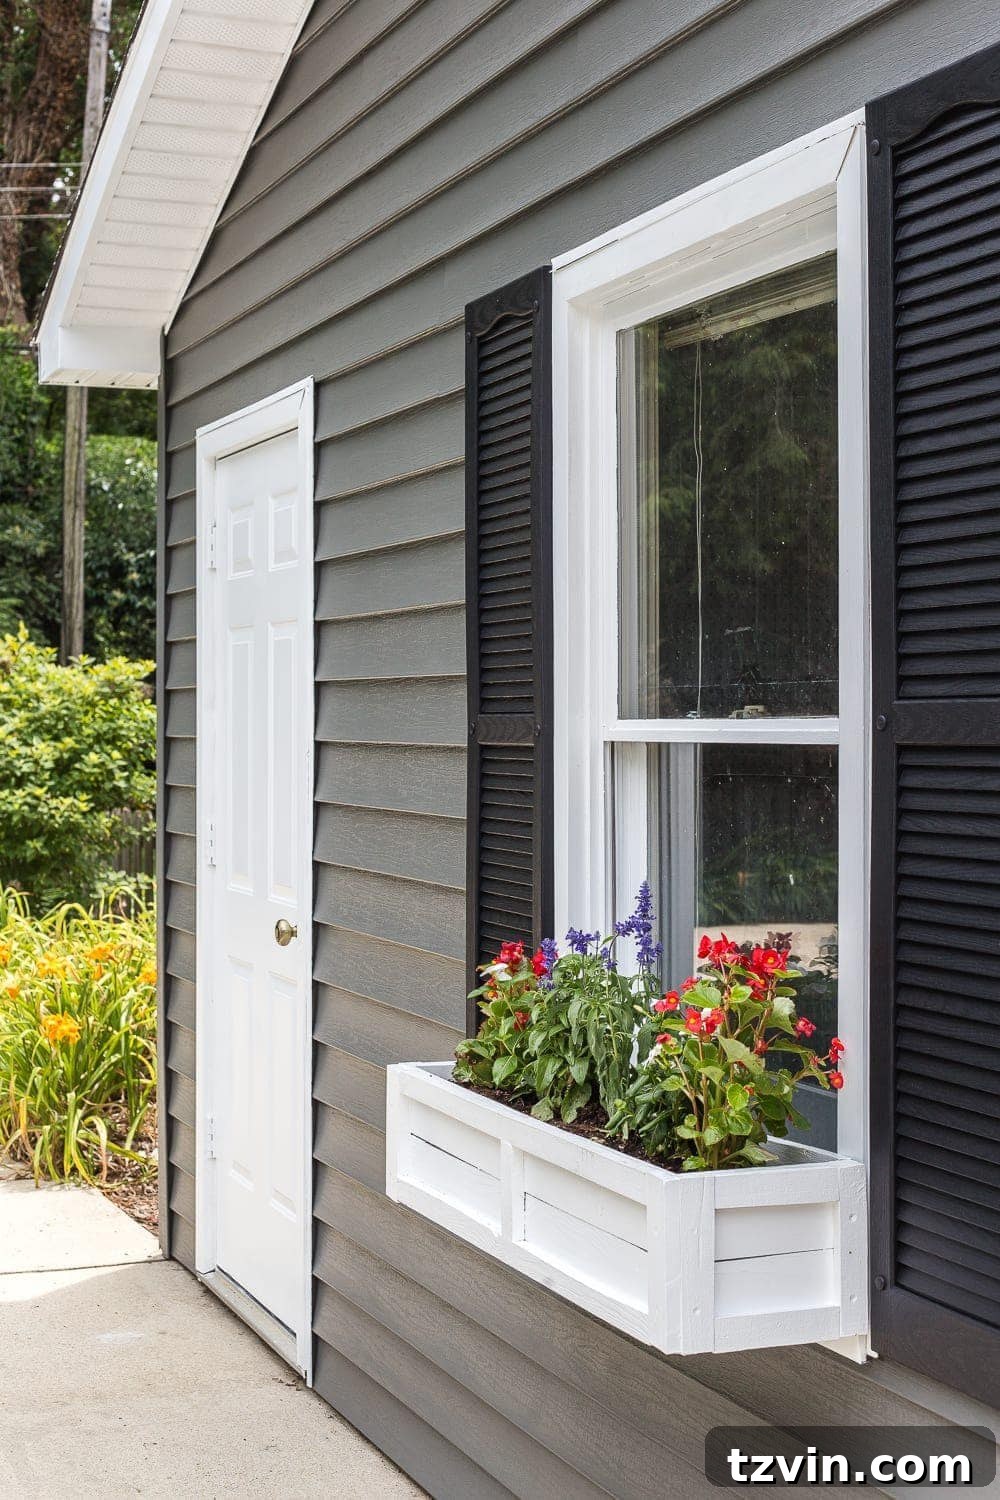
One of our favorite budget-friendly touches was the creation of custom window boxes. Resourcefully built by Robert from scrap wood salvaged from old fencing, these boxes were virtually free to make (aside from the flowers and plastic liners). Adding vibrant red, white, and blue flowers brought a burst of color and life, softening the shed’s lines and integrating it beautifully with the surrounding landscape. This approach highlights how thoughtful repurposing can dramatically enhance a project’s outcome without adding significant cost.
Finishing Touches: Hardware Upgrades
Even small details make a big difference. We replaced the rusty, loose old door knobs with elegant aged brass knobs on both shed doors. This not only improved functionality but also added a touch of vintage charm, elevating the shed’s overall aesthetic from functional to beautiful.
The Inexpensive Pool Shed Makeover: A Budget Breakdown
The most impressive aspect of this transformation is the total cost. For the entire pool shed makeover—including the specialized vinyl-safe paint, stylish shutters, repurposed window boxes, and new door knobs—we spent approximately $275. This incredibly modest budget yielded results comparable to a much more expensive renovation, proving that smart choices and DIY effort can lead to stunning transformations. Compared to the cost of replacing the vinyl siding, which could easily run into thousands of dollars, this painting project was an absolute steal.
Future Visions and Ongoing Maintenance
Currently, our newly revitalized pool shed serves its primary purpose, neatly housing all our lawn equipment, pool floats, and an assortment of toys. While the internal organization might still be a work in progress (a story for another day!), the exterior beauty more than compensates. We envision a future where this charming structure transforms into a lively snack shack or an outdoor bar area, a perfect complement to our pool and entertaining space. This ongoing evolution is part of the joy of home improvement.
Maintaining your newly painted vinyl siding is straightforward. Gentle cleaning with mild soap and water annually will keep it looking fresh. The durability of Sherwin Williams VinylSafe paint ensures that this stunning transformation will last for years to come, offering excellent resistance to fading and general wear from the elements.
Conclusion: Transform Your Vinyl Siding with Confidence
Painting vinyl siding is not only possible but can be a highly rewarding and budget-friendly home improvement project. By choosing the right products, like Sherwin Williams VinylSafe paint, and following proper preparation and application techniques, you can achieve a durable, beautiful finish that dramatically enhances your property’s curb appeal. Our pool shed makeover stands as a testament to the power of a little paint and a lot of ingenuity. Don’t let old, faded vinyl siding dictate your outdoor aesthetics any longer. Embrace the transformation, save money, and enjoy a vibrant new look!
If you’re inspired to tackle your own vinyl siding project, remember that meticulous preparation and the right paint are your best allies. The results are truly worth the effort!
If you want to save this post for later inspiration, you can pin it here: