Crafting Charm: A Beginner’s Guide to DIY Soy Wax Candles from Repurposed Treasures
Yesterday, as the Charlotte area basked in a surprisingly crisp 94-degree warmth, you might have found me cozily nestled in my favorite sweater, embarking on a delightful DIY project. Yes, the life of a blogger often involves embracing contradictions, and this particular endeavor perfectly encapsulates that quirky charm, bringing autumn vibes to a still-warm September day.
It all began during a lovely “day date” with Robert, while we were exploring local antique shops. Our eyes landed on a stunning set of vintage amber glass candy dishes. Instantly, a wave of nostalgia washed over me, transporting me back to my great-grandmother’s house. I vividly remembered similar dishes, always brimming with vibrant orange candies, a cherished childhood memory. Seeing these beautiful pieces, only one thought came to mind: “Ooh! The perfect fall project!” The idea of giving these nostalgic pieces a new purpose as beautiful handmade candles was simply irresistible.
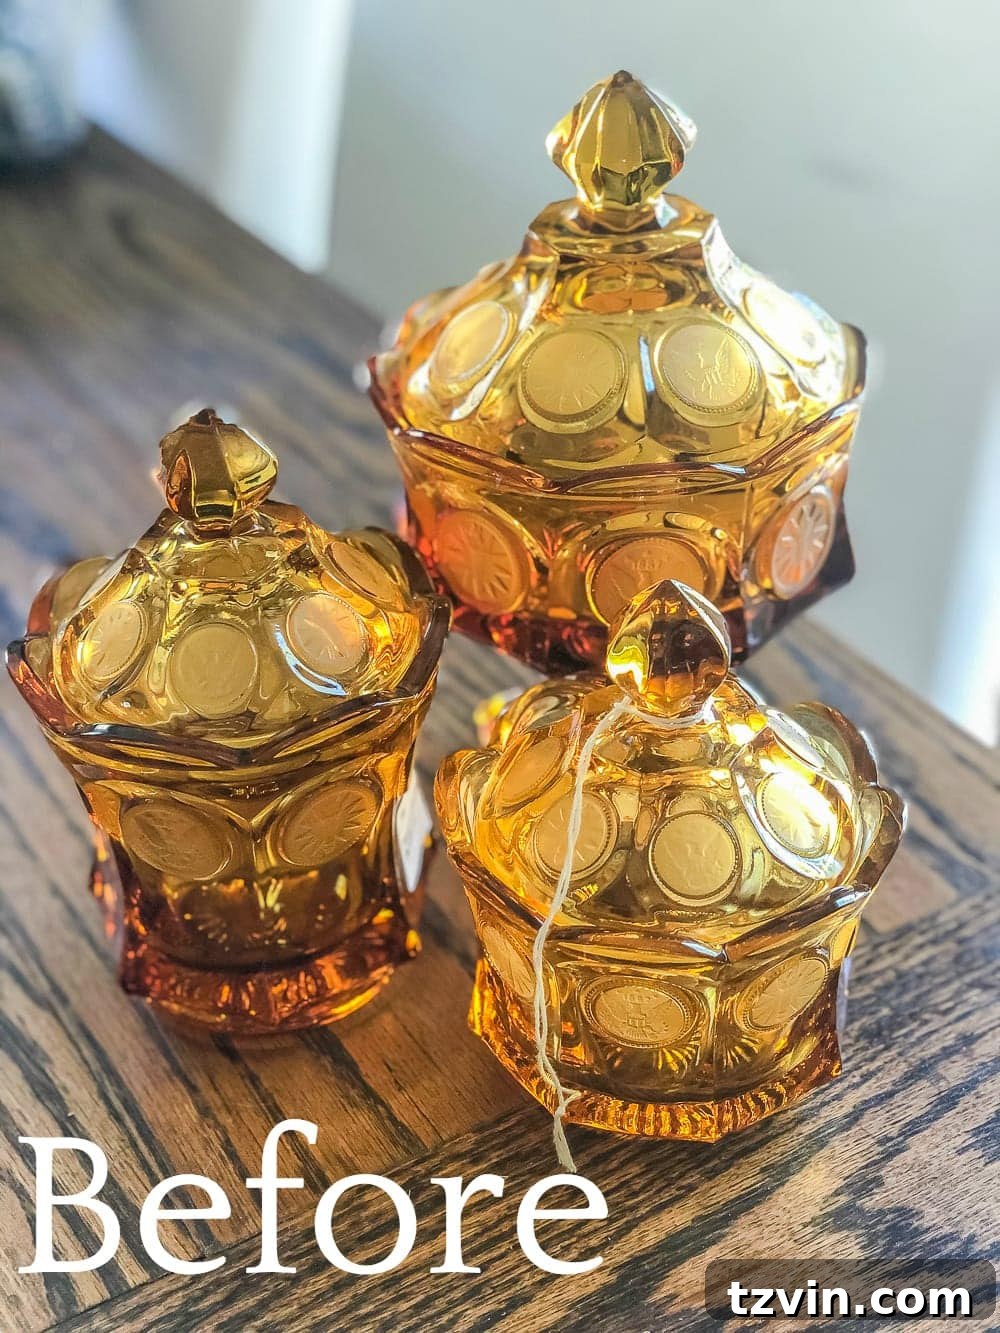
And just like that, this inspired idea blossomed into a fabulous contribution for this month’s Trash to Treasure Transformation Tuesday. If you’re new to the T2T community, prepare to be amazed by the incredible upcycling projects shared by fellow bloggers – you can find their thrifty transformations at the end of this post. This initiative is all about finding hidden gems and transforming them into something new and beautiful, diverting items from landfills and embracing sustainable creativity.

Why Embrace DIY Soy Wax Candles? The Joy of Repurposing
I’ve always been fascinated by the idea of making my own candles, but the sheer variety of methods, materials, and fragrance options can be a little intimidating. From different wax types to a myriad of essential oils and synthetic fragrances, it can feel like a complex craft. That’s precisely why I designed this tutorial to be as straightforward and beginner-friendly as possible. Think of it as your gentle introduction to the wonderful world of homemade soy wax candles.
Full disclosure: you’re getting advice from a truly basic, beginner-level candle-making enthusiast here! So, if I, with my minimal experience, can successfully create these beautiful candles, absolutely anyone can. This project isn’t about striving for professional perfection on your first try; it’s about the joy of creating something beautiful and functional with your own hands, and giving new life to forgotten items. It’s an accessible craft that yields incredibly satisfying results.
Beyond the personal satisfaction, making your own candles offers several compelling advantages. It’s often more cost-effective than buying artisan candles, allows for complete customization of scent and vessel, and significantly reduces waste by repurposing containers. Plus, soy wax is a fantastic eco-friendly choice, burning cleaner and longer than traditional paraffin wax. Its natural properties make it a sustainable alternative that creates less soot and is derived from a renewable source. It’s a win-win for your home, your wallet, and the planet!
(Affiliate links are provided below. Full disclosure here.)
Essential Supplies for Your Beginner Candle Making Project
Gathering your materials is the first exciting step in your candle-making journey. For this simple soy wax candle tutorial, I’ve selected items that are easy to find and straightforward to use, especially for those just starting out. Each component plays a vital role in ensuring a beautiful and safe finished product. Here’s what you’ll need:
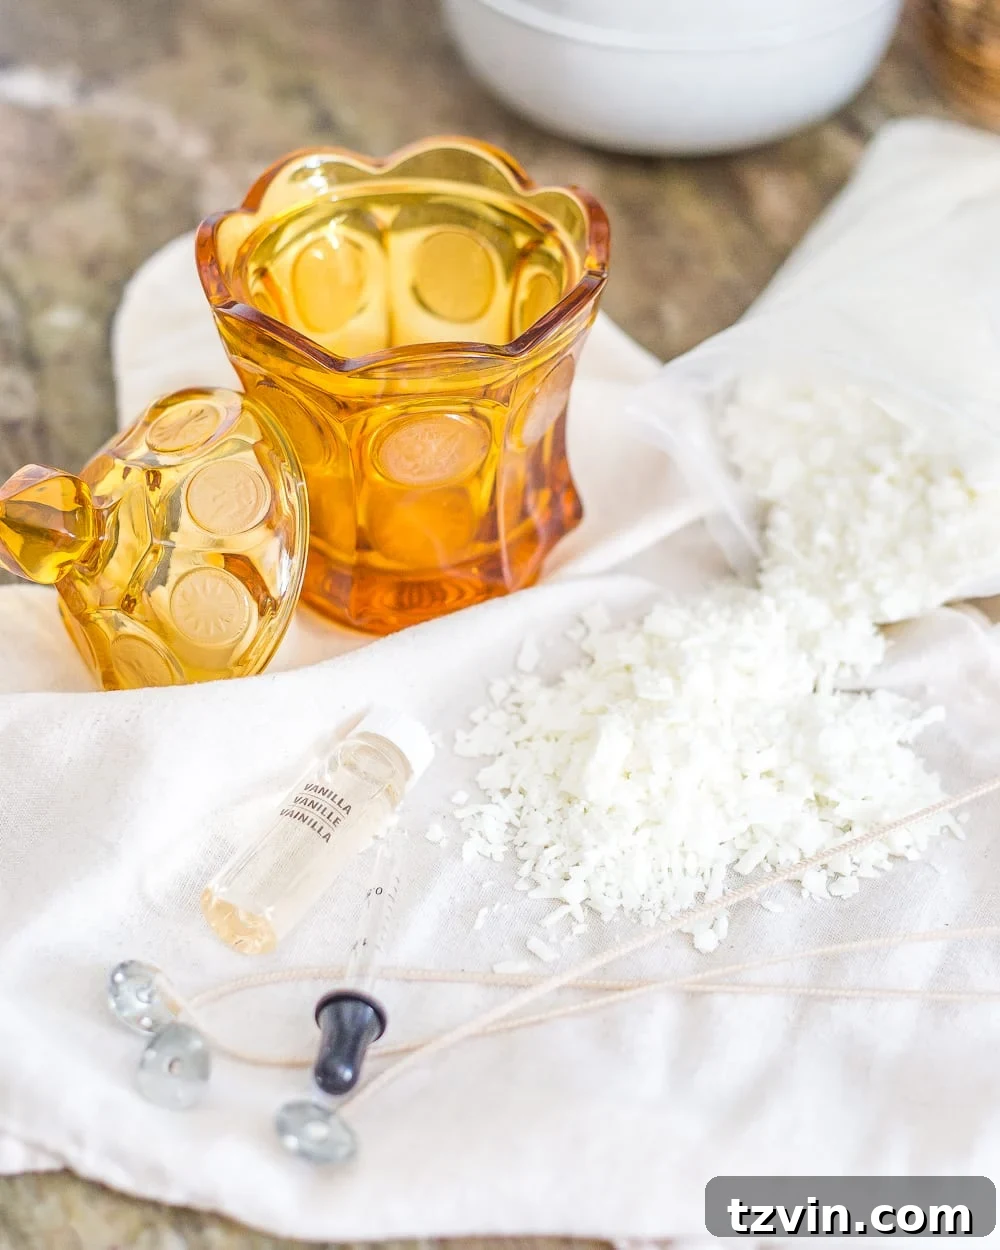
- Soy Wax Flakes: I specifically chose soy wax for this project because it’s incredibly easy to melt – even in the microwave – and offers a cleaner, longer burn compared to traditional paraffin wax. It’s a natural, renewable resource, making your homemade candles an eco-conscious choice. Look for 100% soy wax for the best results.
- Medium Sized Candle Wicks: The size of your wick is crucial for an even, clean burn. A medium wick is generally a safe bet for most standard-sized candle vessels like teacups, small bowls, or candy dishes. Look for wicks with a pre-tabbed metal base, which makes them much easier to secure at the bottom of your container.
- Candle Fragrance Oil: While there are fantastic natural ways to scent candles using essential oils (and I encourage you to explore those as you gain experience!), for this beginner-friendly approach, a good quality candle fragrance oil works perfectly. I was fresh out of my preferred essential oils for fall scents like Clove and Cinnamon, which would have been perfect for an autumnal vibe. If you opt for essential oils, remember to research their flashpoints and safe usage rates for candles to ensure safety and optimal scent throw.
- Chopsticks (or pencils, pens, straws): These humble tools are indispensable for holding your wick upright and perfectly centered while the wax cools and hardens. This simple trick prevents the wick from slanting and ensures an even burn.
- A Microwave or Double Boiler: Either method works perfectly for melting soy wax. A microwave offers speed and convenience for smaller batches, while a double boiler provides gentle, controlled heating, which is ideal for larger quantities or if you prefer a stovetop method.
- A Dish Towel or Newspapers: Always protect your work surface! Candle making can get a little messy with wax drips, and a towel or newspaper will make cleanup a breeze, preventing any unwanted stains on your countertops.
- Metal Butter Knife (or a stirring stick): For stirring the wax and fragrance oil evenly. Ensure it’s clean and dedicated to this purpose, or easy to clean afterward.
- Candle Vessel of Your Choice: This is where the true “repurposing” magic happens! I used beautiful vintage amber candy dishes, but the possibilities are endless. Think teacups, vintage bowls, mason jars, antique coffee tins, or even interesting glass bottles. The key is to choose vessels that are heat-safe, sturdy, and visually appealing, adding to the unique character of your upcycled candles.
- Scissors: For trimming your wick to the appropriate length before lighting, which is crucial for a clean and safe burn.
Your Step-by-Step Guide to Crafting Repurposed Candles
Ready to transform your thrift store finds into beautiful, glowing treasures? Follow these simple steps, and you’ll have your own handmade soy wax candles bringing warmth and fragrance to your home in no time! Remember, precision makes a difference, but don’t be afraid to enjoy the process.
- Prepare Your Vessels and Melt the Wax: Start by ensuring your chosen candy dishes, teacups, or jars are sparkling clean and completely dry. Any moisture can affect the wax and the overall quality of your candle. Next, place your soy wax flakes into a microwave-safe container. For every 8 ounces of wax, microwave at 50% power for 2 minutes. Stir the wax thoroughly, then continue microwaving in 30-second intervals, stirring after each, until the wax is completely melted and smooth, with no lumps remaining. If using a double boiler, place the wax in the top pot and heat gently over simmering water until fully melted.
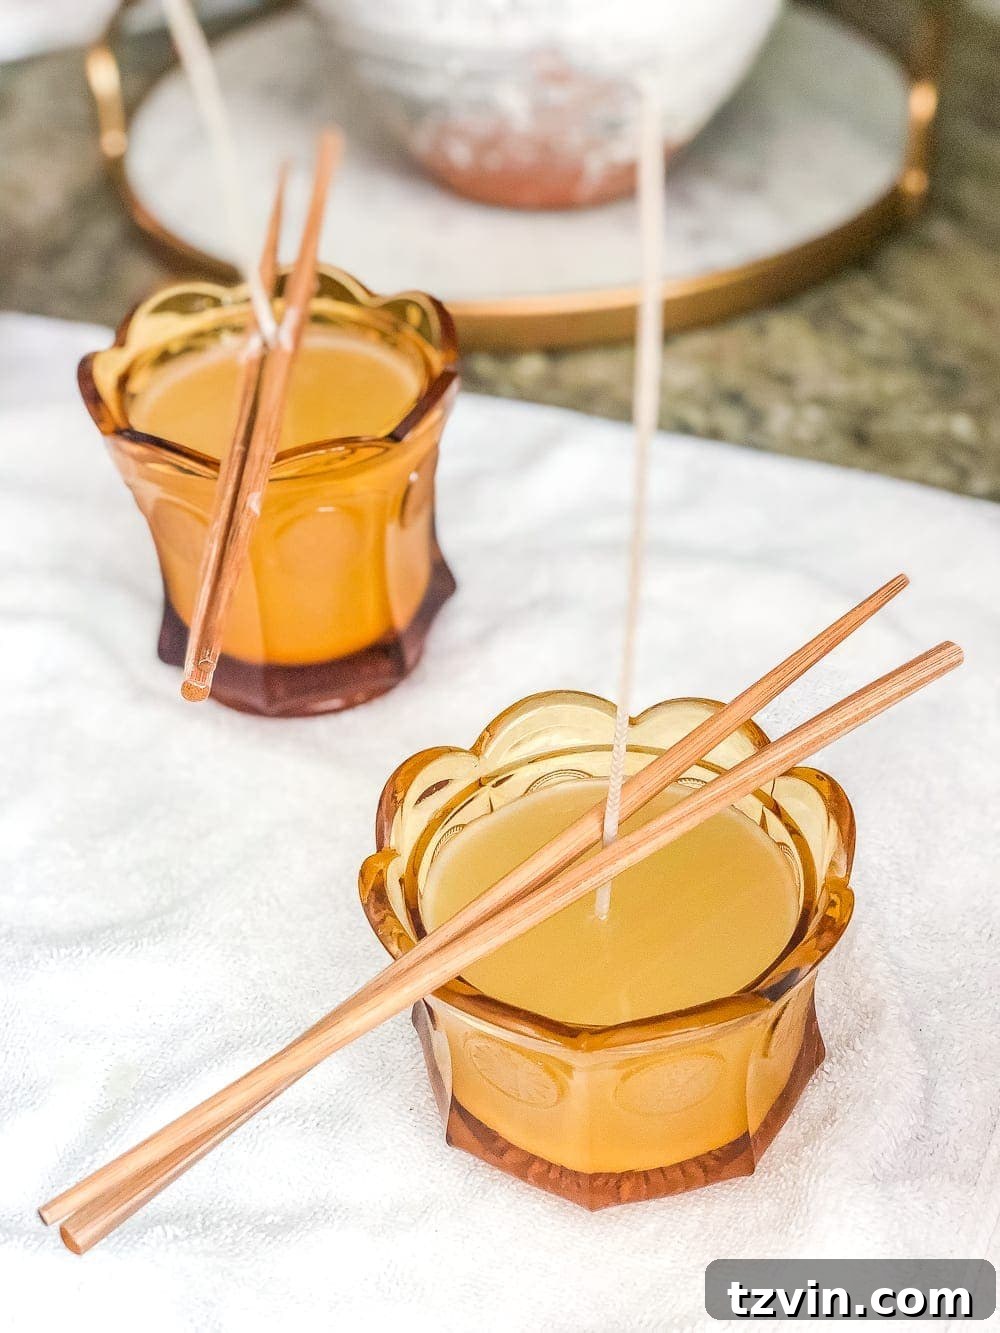
- Secure the Wick: Take one of your wicks, making sure it’s perfectly straight and untangled. Dip the metal tab end into a tiny bit of the freshly melted wax. Carefully center and press the wick firmly onto the very bottom of your chosen candle vessel. Hold it in place for a few seconds to allow the wax to set and create a strong bond. This initial adhesion is vital for preventing the wick from shifting later.
- Add Fragrance: Once your wax is fully melted and has slightly cooled (ideally around 180-185°F or 82-85°C if you have a thermometer, though it’s not essential for this basic tutorial), it’s time to add your fragrance. Using a dropper, add approximately 1/4 ounce of fragrance oil for every 8 ounces of wax. This ratio typically provides a good scent throw without being overpowering. Stir the wax gently but thoroughly for about 30 seconds to ensure the fragrance is evenly distributed throughout the melted wax.
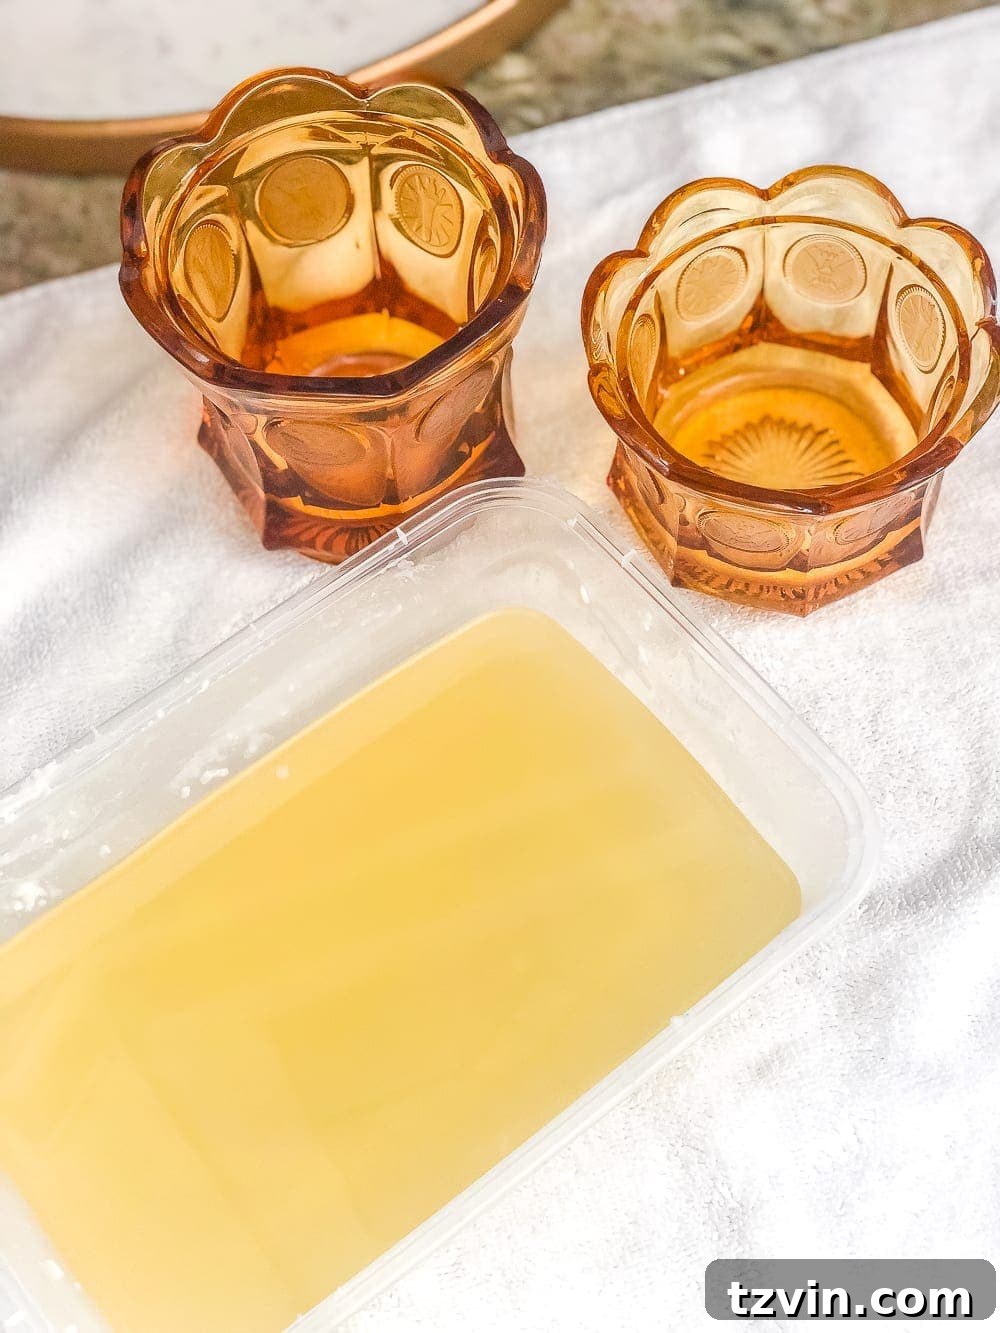
- Pour the Wax: Carefully pour the melted, scented wax into your prepared candy dishes or other vessels. Pour slowly and steadily to avoid creating air bubbles and to ensure a smooth, even surface. Fill the vessels, leaving about half an inch of space from the rim. This allows for a safe burning experience and prevents overflow.
- Center and Stabilize the Wick: As the wax begins its cooling process, it’s absolutely vital to keep your wick perfectly centered and upright. This prevents it from leaning to one side, which can cause uneven burning or tunneling later. You can achieve this by wrapping the wick around a single chopstick, or by ingeniously propping it between two chopsticks or pencils laid across the top of the vessel. Ensure the wick remains taut and perfectly vertical.
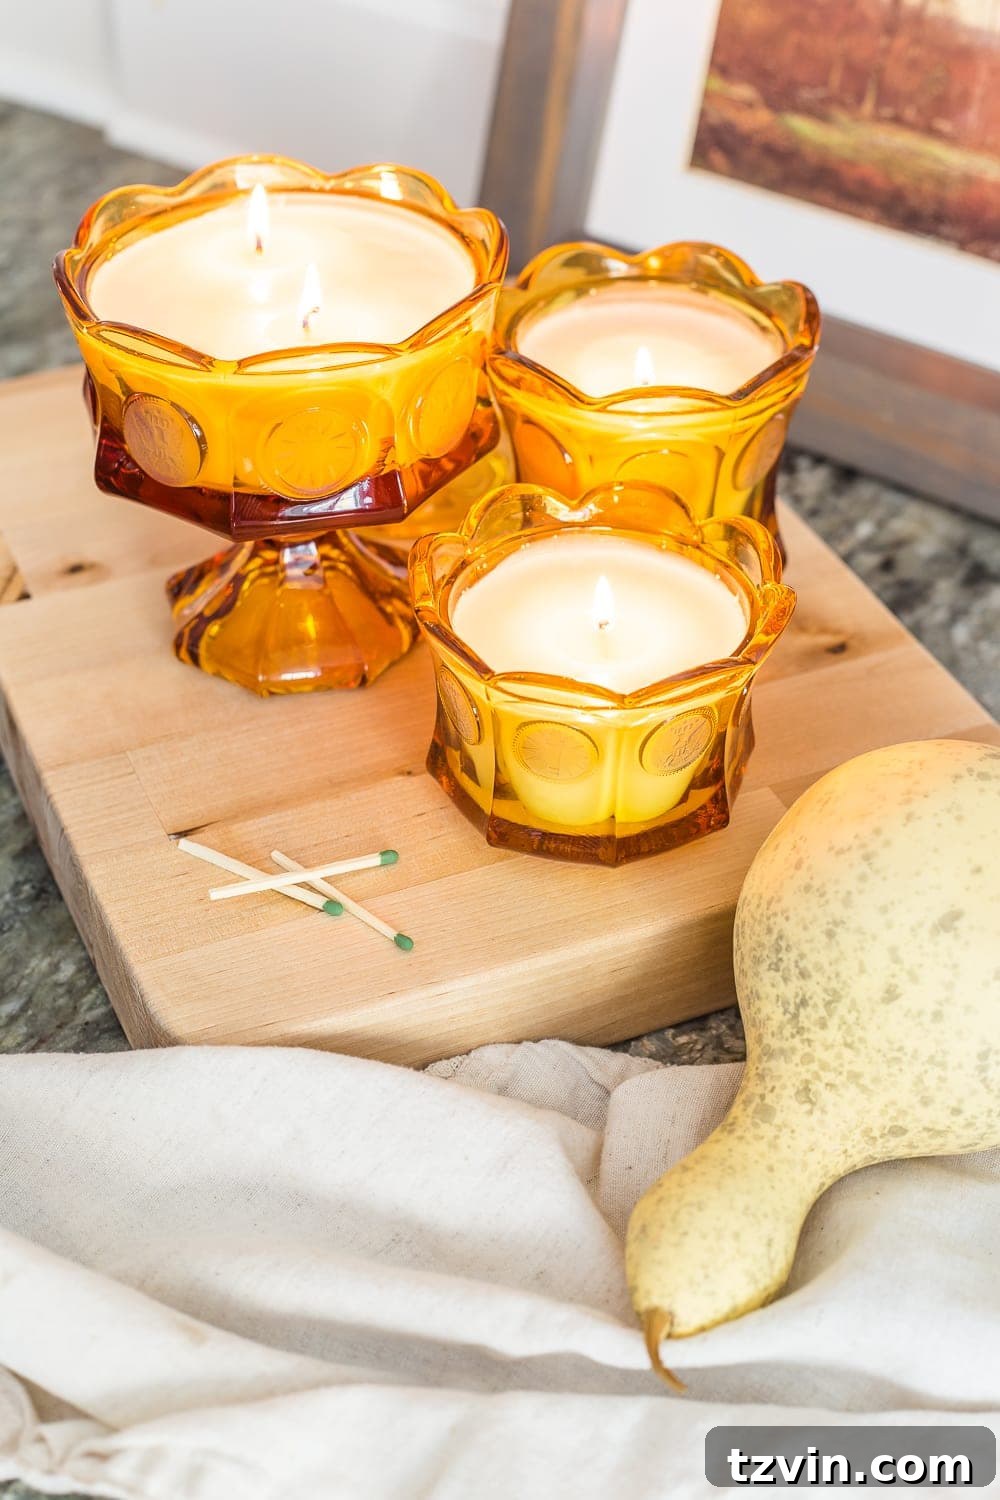
- Cool, Cure, and Trim: Allow the wax to cool completely and harden, which usually takes a couple of hours. For optimal scent throw and burn quality, it’s highly recommended to let your soy wax candles “cure” for at least 24-48 hours, or even a few days, before burning. This allows the fragrance oil to bind properly with the wax. Once fully hardened, use scissors to trim the wick to about half an inch above the wax surface. A shorter wick prevents excessive flickering, mushrooming, and soot, ensuring a cleaner, longer burn. Now, your beautiful upcycled candles are ready to be enjoyed!
Enhancing Your Home Decor with Repurposed Candles
One of the delightful bonuses of using repurposed candy dishes, especially vintage ones, is that many of them come with charming lids. This isn’t just an aesthetic advantage; lids are incredibly practical for keeping dust out of your candles when they’re not in use, and they help preserve the fragrance for longer, ensuring a fresh burst of scent every time you light them. It’s these small details that elevate a simple DIY project into something truly special and thoughtful, adding both beauty and functionality to your home.
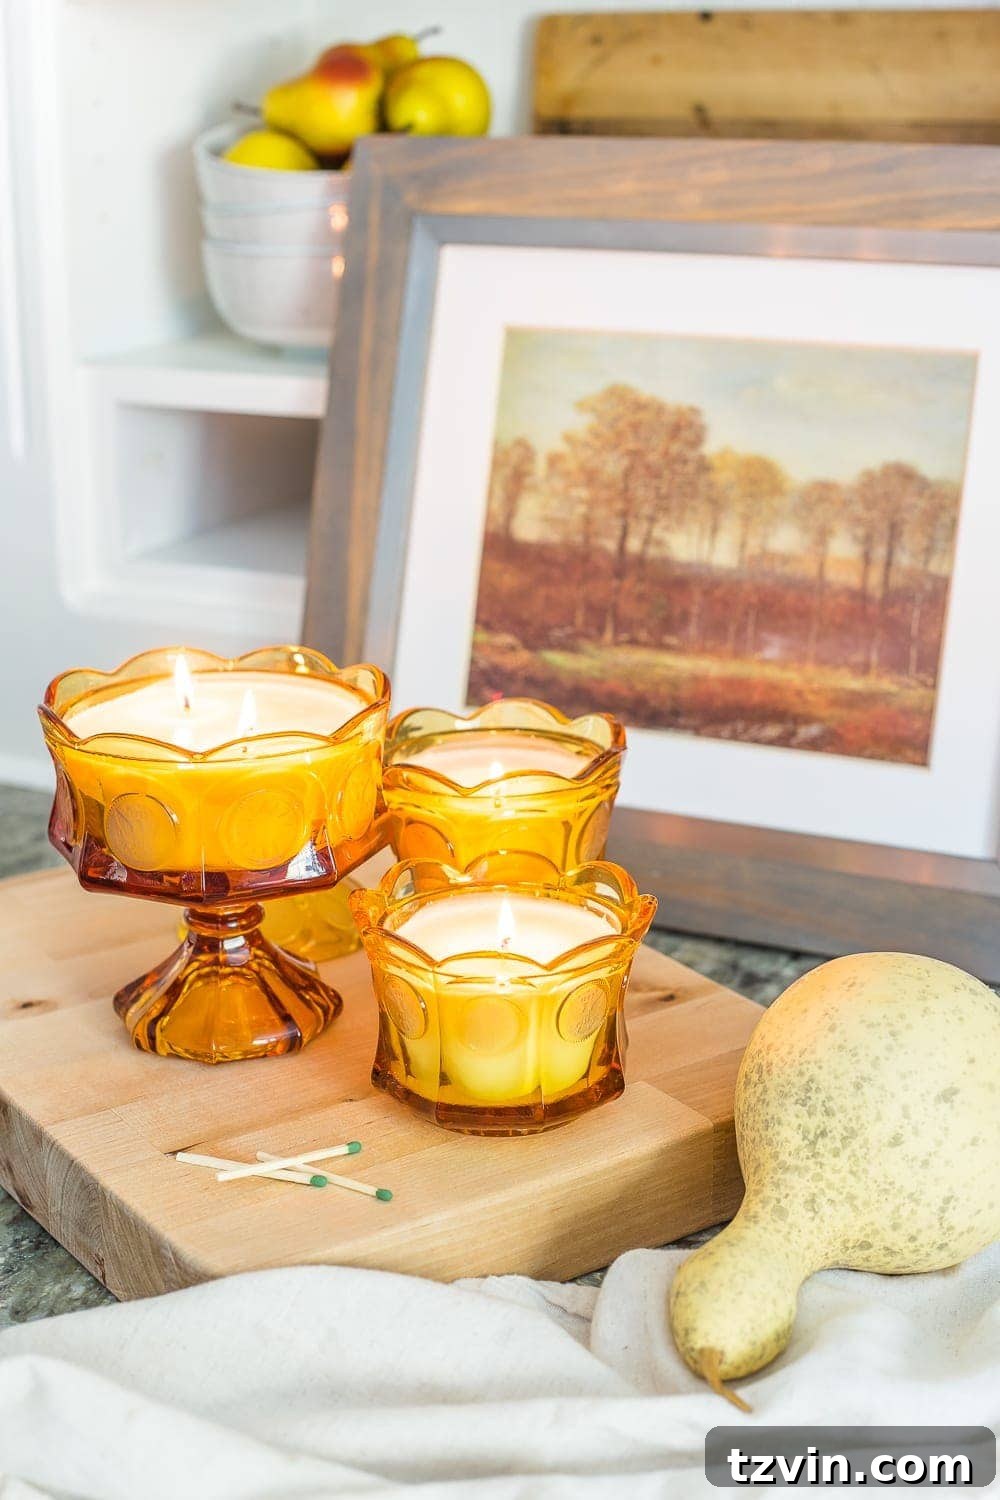
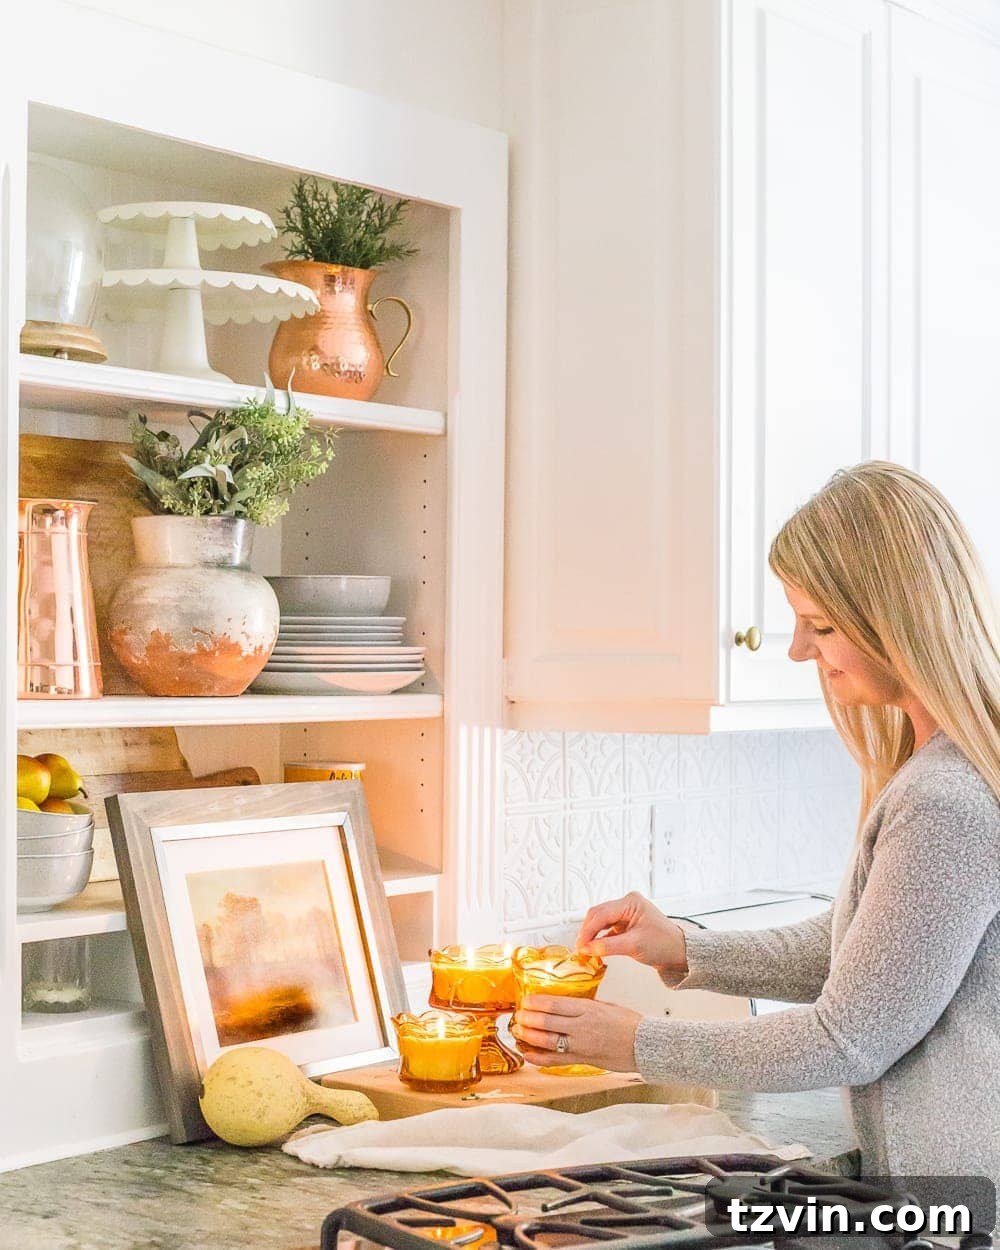
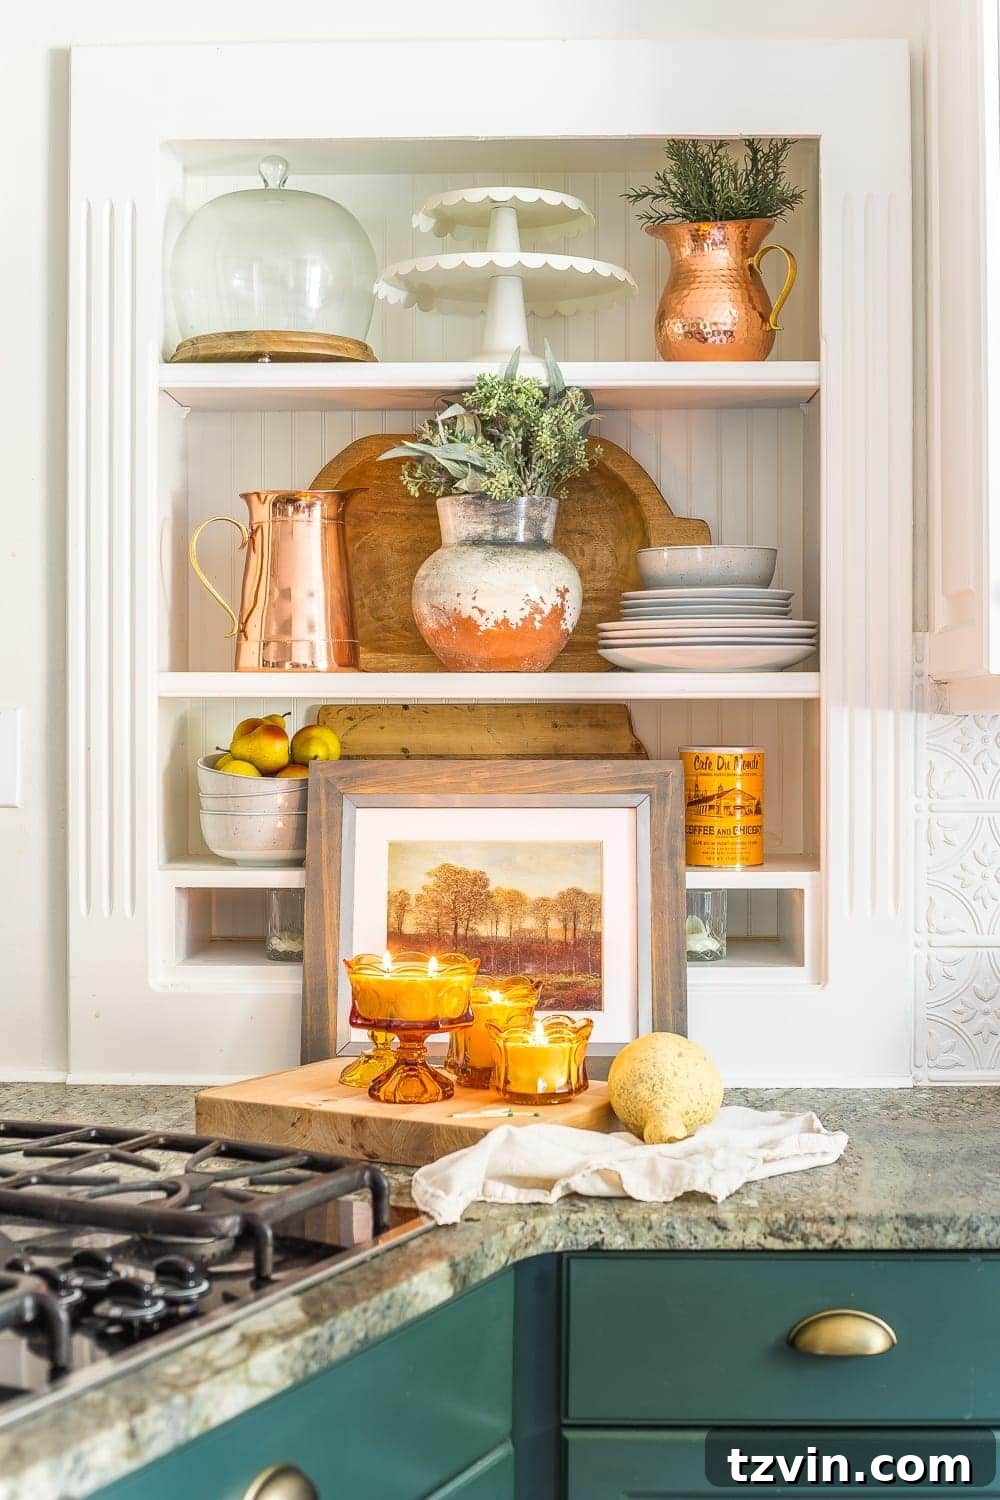
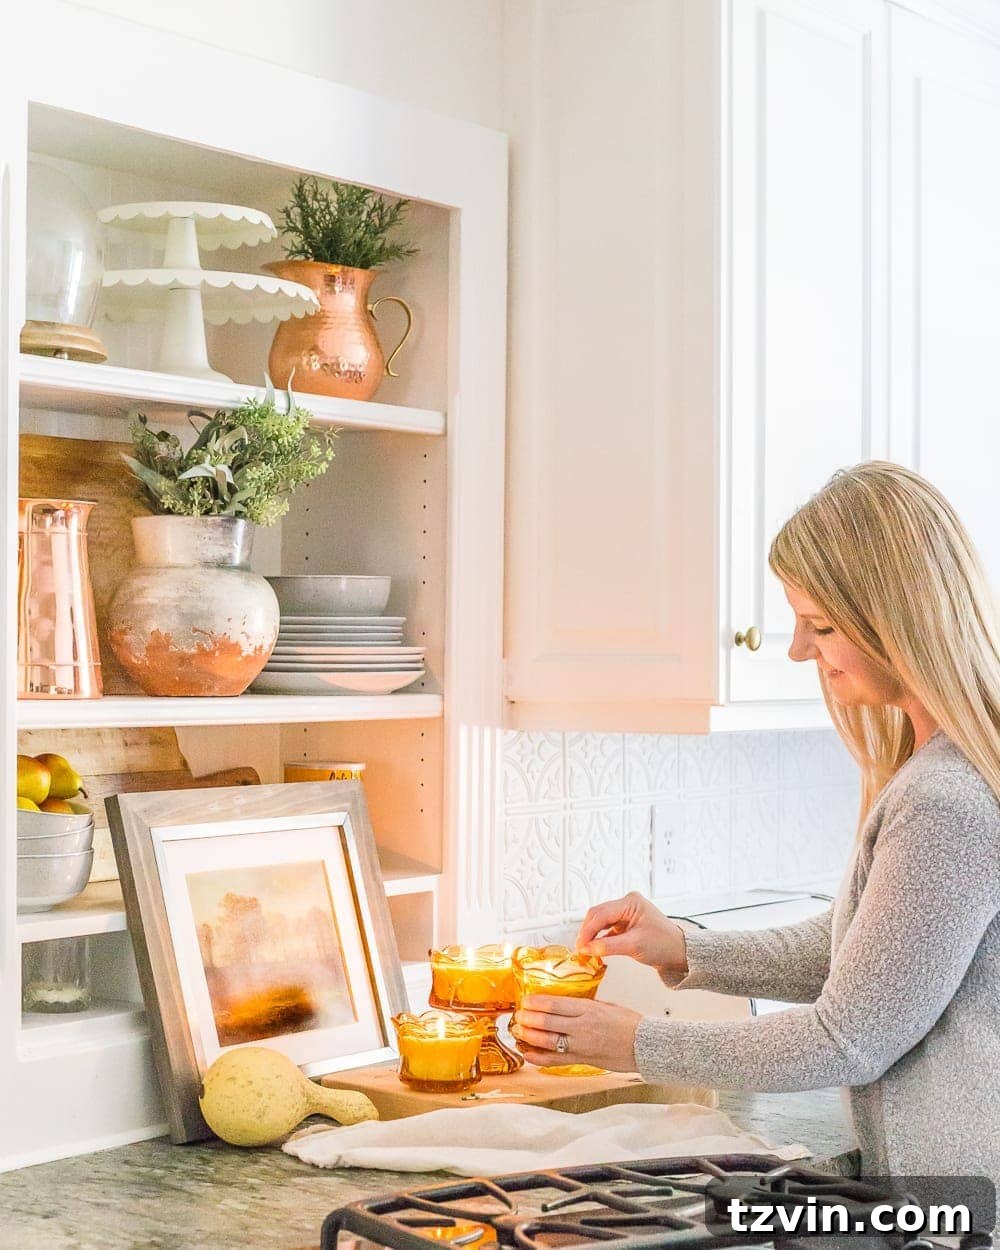
I recently had the pleasure of decorating the shelves in our kitchen, and these repurposed soy wax candles instantly became the stars of the show. They brought such a wonderful dose of fall happiness into the space! Paired with a couple of elegant copper pitchers and some faux greenery that I already had from spring and summer, the whole look came together effortlessly. The beauty of these upcycled candles is how easily they integrate into various decor styles, adding warmth, a touch of vintage charm, and a custom fragrance that truly personalizes your living space.
While the leaves outside are still stubbornly green here, resisting the call of autumn, I anticipate bringing in a branch or two of vibrant fall foliage from our yard towards the end of October. But for now, I’m absolutely loving the fresh green accents with the cozy, amber glow of these candles. It’s a perfect blend of seasons, bringing nature indoors in a subtle yet impactful way, creating an inviting and serene atmosphere. These candles aren’t just light sources; they’re conversation starters and mood setters.
The Perfect Handmade Gift Idea
Making these repurposed candles has sparked an exciting new idea: they are absolutely perfect for thoughtful, homemade gifts, especially as the holiday season approaches! Imagine presenting a beautifully scented, uniquely designed candle crafted from a vintage teacup, a charming candy dish, or a rustic tin. It’s a thoughtful, personal, and sustainable gift that truly stands out from mass-produced items, showing the recipient you put time and creativity into their present. From now on, adding pretty cups and unique dishes to my thrift store shopping list will be a regular habit, just so I can keep creating these delightful treasures for friends, family, and even myself!
Join the Conversation: Your Candle Making Tips and Tricks!
Now, I’m eager to hear from all of you seasoned candle-making gurus out there! What are your favorite fragrances or unique scent combinations you’ve whipped up and loved? Have you experimented with different types of wax, or perhaps discovered a genius method for centering wicks? Are there any essential oil fanatics who can share their wisdom on safely and effectively adding natural oils to soy wax candles to achieve a strong, lasting scent? I’m seriously so excited to try making more, perhaps even tomorrow, and your insights would be invaluable!
If you’re as inspired by transforming forgotten treasures as I am, be sure to explore more of my past Trash to Treasure Transformations right here. There’s a whole world of upcycling waiting for you to discover!
And for even more thrifty inspiration, check out these amazing ideas from my T2T buddies’ blogs:
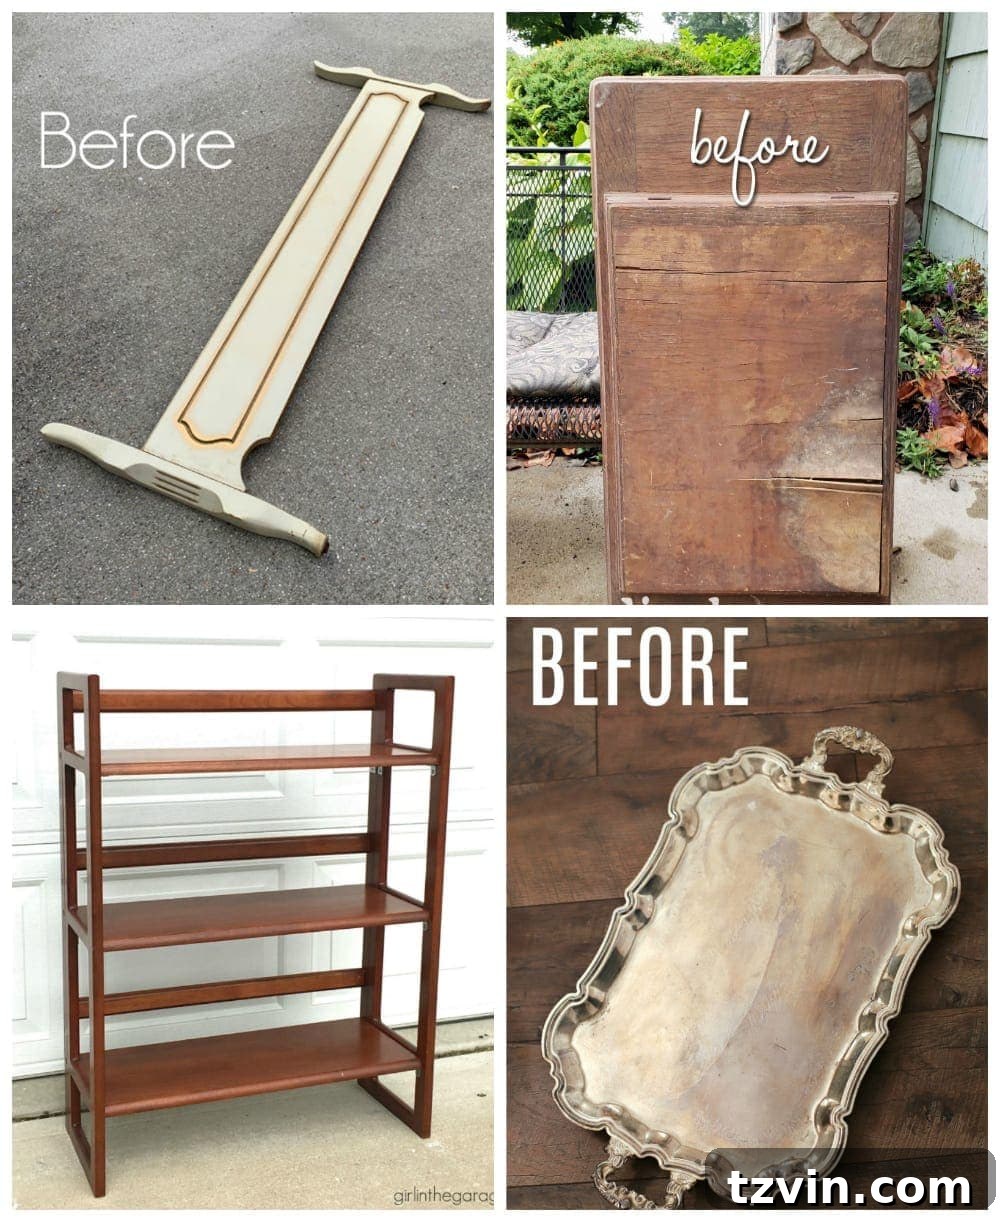
Clockwise from top left:
Confessions of a Serial DIYer |
Prodigal Pieces |
Artsy Chicks Rule |
Girl in the Garage