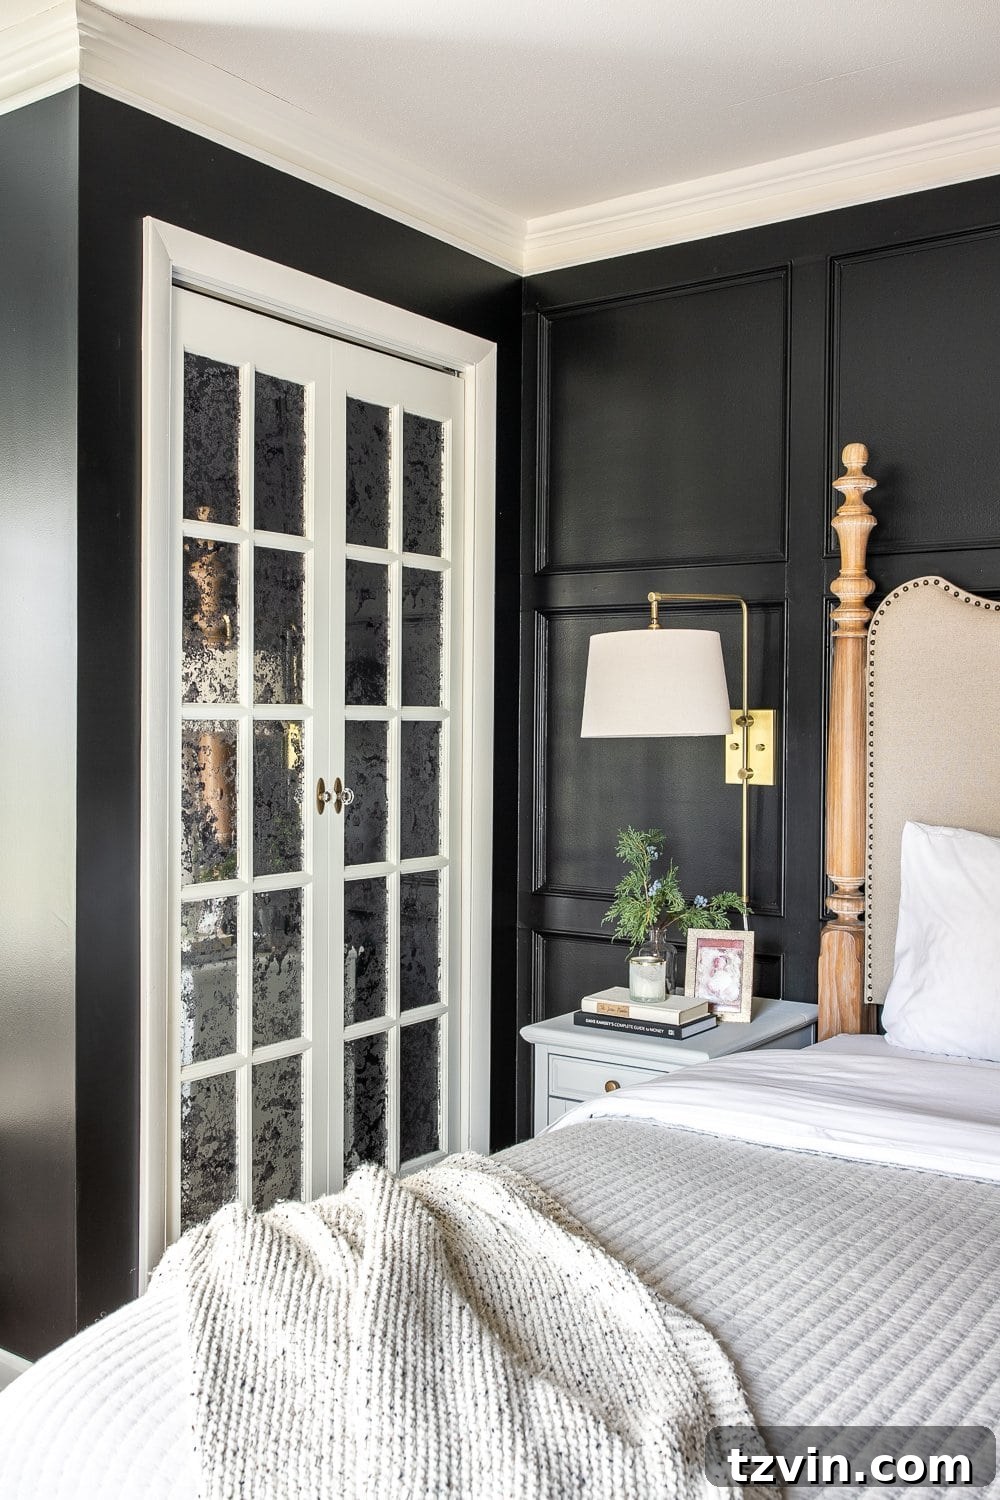
Transforming ordinary bifold closet doors into a vintage-inspired, glamorous focal point can redefine your primary bedroom. Discover how we achieved this elegant solution for our his and hers closets, adding both style and functionality.
Bifold doors, while practical for space-saving, often lack the character and aesthetic appeal desired in a beautifully designed home. They can feel utilitarian, sometimes even an eyesore, especially in a primary bedroom where elegance and comfort are paramount. Our goal was to elevate these essential functional elements into stunning design features, blending vintage charm with a touch of modern glamour. This journey led us to a DIY closet door makeover that has become one of our most beloved home improvement projects to date.
Beginner-Friendly DIY: Crafting Glamorous French Closet Doors
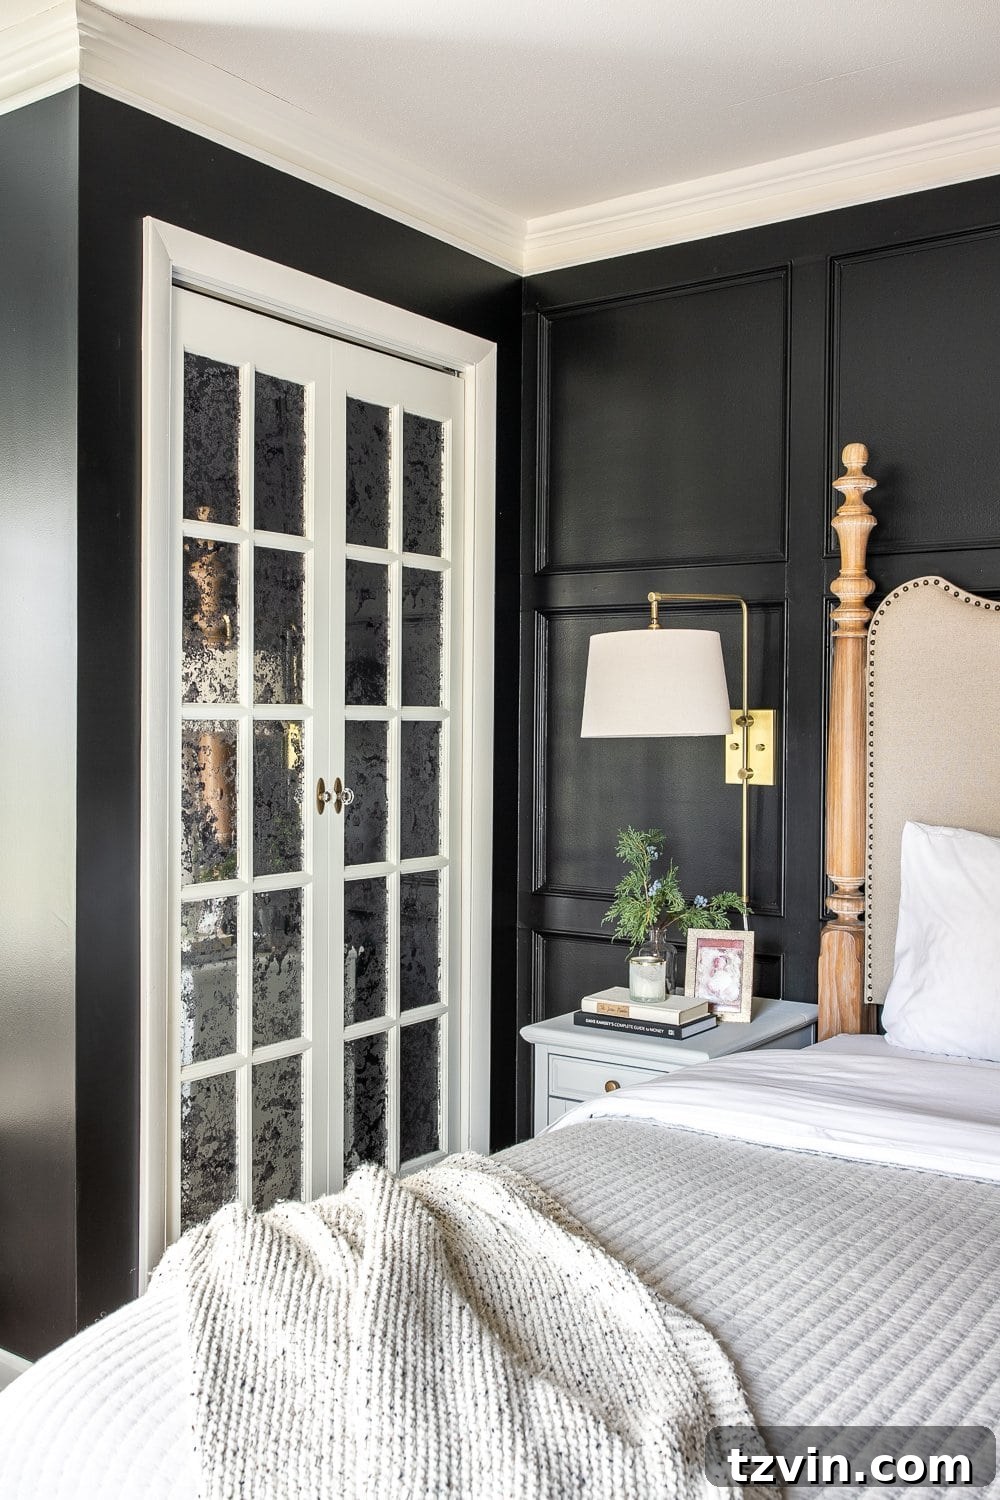
The transformation of our bifold doors into exquisite French closet doors was an absolute success! For those new to DIY, this project is perfect because it’s a semi-DIY, meaning you don’t have to build anything from scratch. It’s about enhancing existing elements to achieve a high-end look without the complexity. We started with new doors featuring clear glass panels, but the vision was to add an antique mirror effect. This wasn’t just about aesthetics; the mirrored surface serves a dual purpose: discreetly concealing closet contents and reflecting natural light, an ingenious trick for making our modest-sized bedroom feel significantly more spacious and airy. This single change truly created a massive impact on the room’s ambiance.
Let’s take a quick look back at the journey of our primary bedroom’s transformation, setting the stage for these spectacular doors.
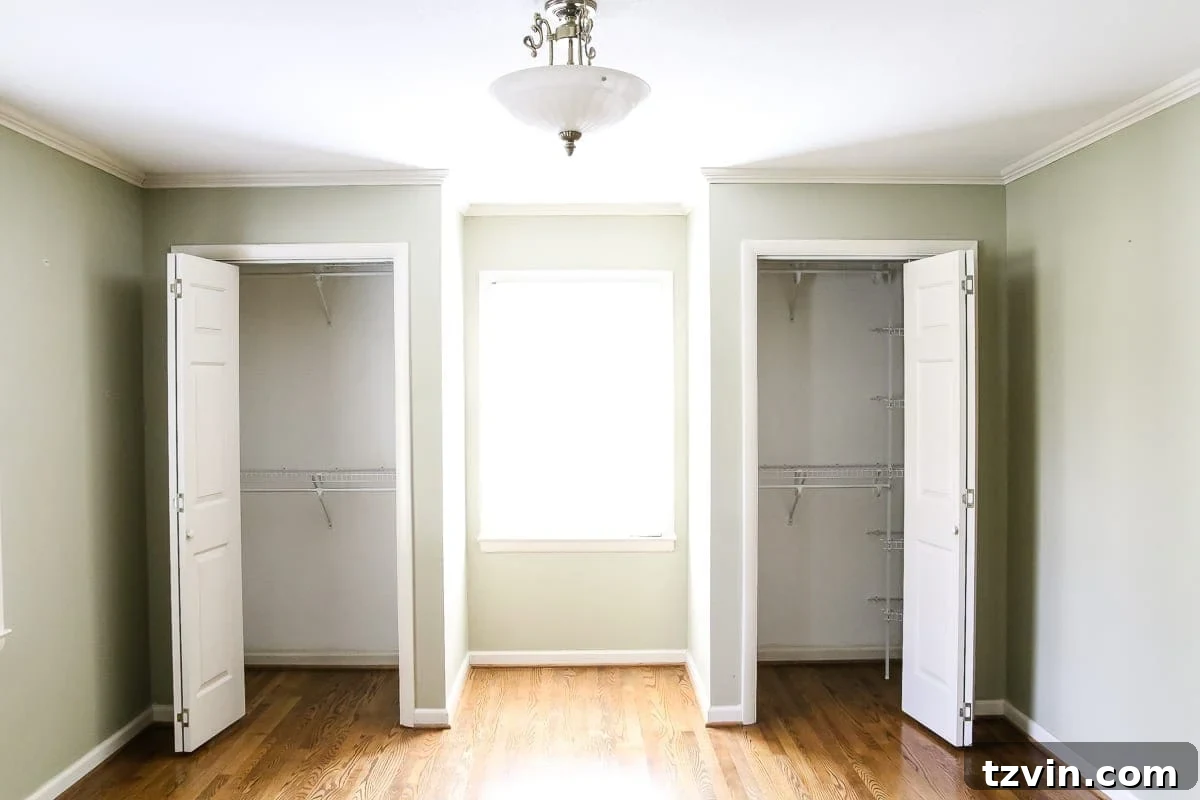
Once upon a time, our bedroom needed a significant aesthetic uplift, and the existing bifold closet doors were certainly ready for a dramatic refresh.
UPDATE: Discover the stunning final reveal of our Primary Bedroom here!
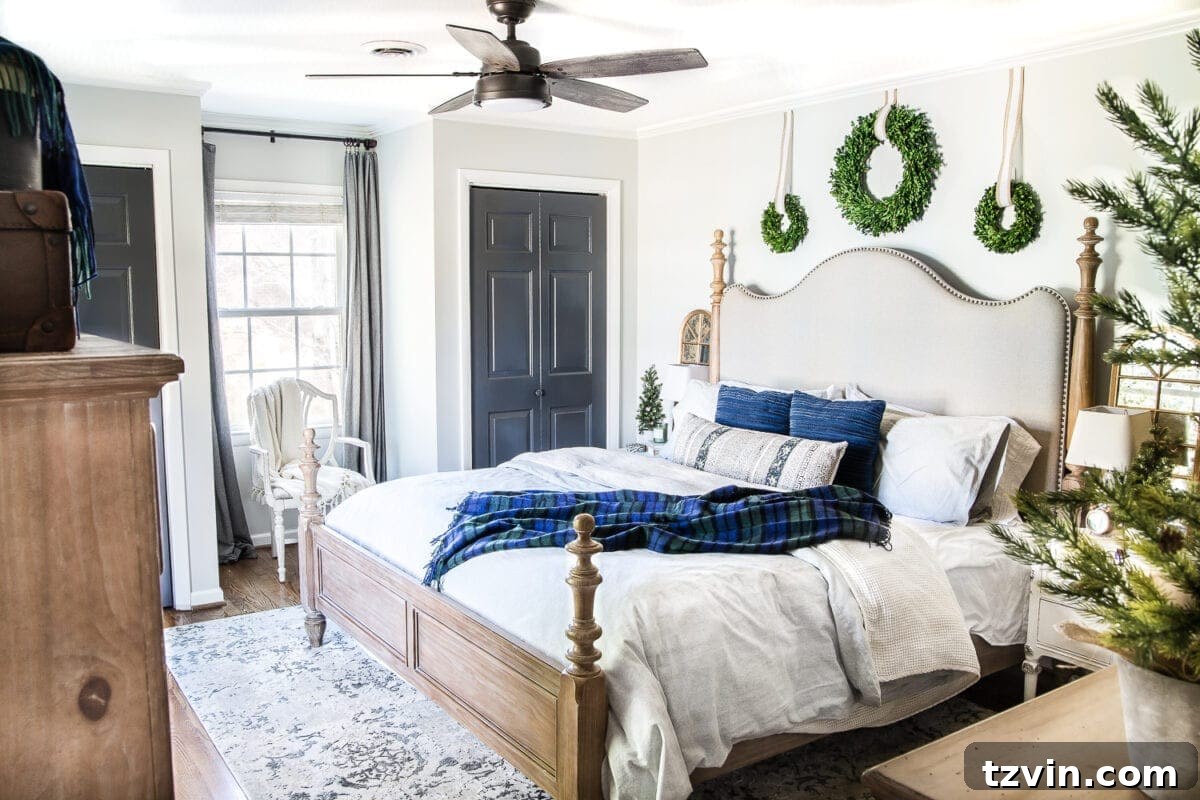
A fresh coat of paint and some festive Christmas decorations back in December 2017 marked the beginning of improvements, but we envisioned even greater potential for the space.
Following that, Paint Job #2 was executed, and the results were overwhelmingly positive, proving it was 1000% worth the effort.
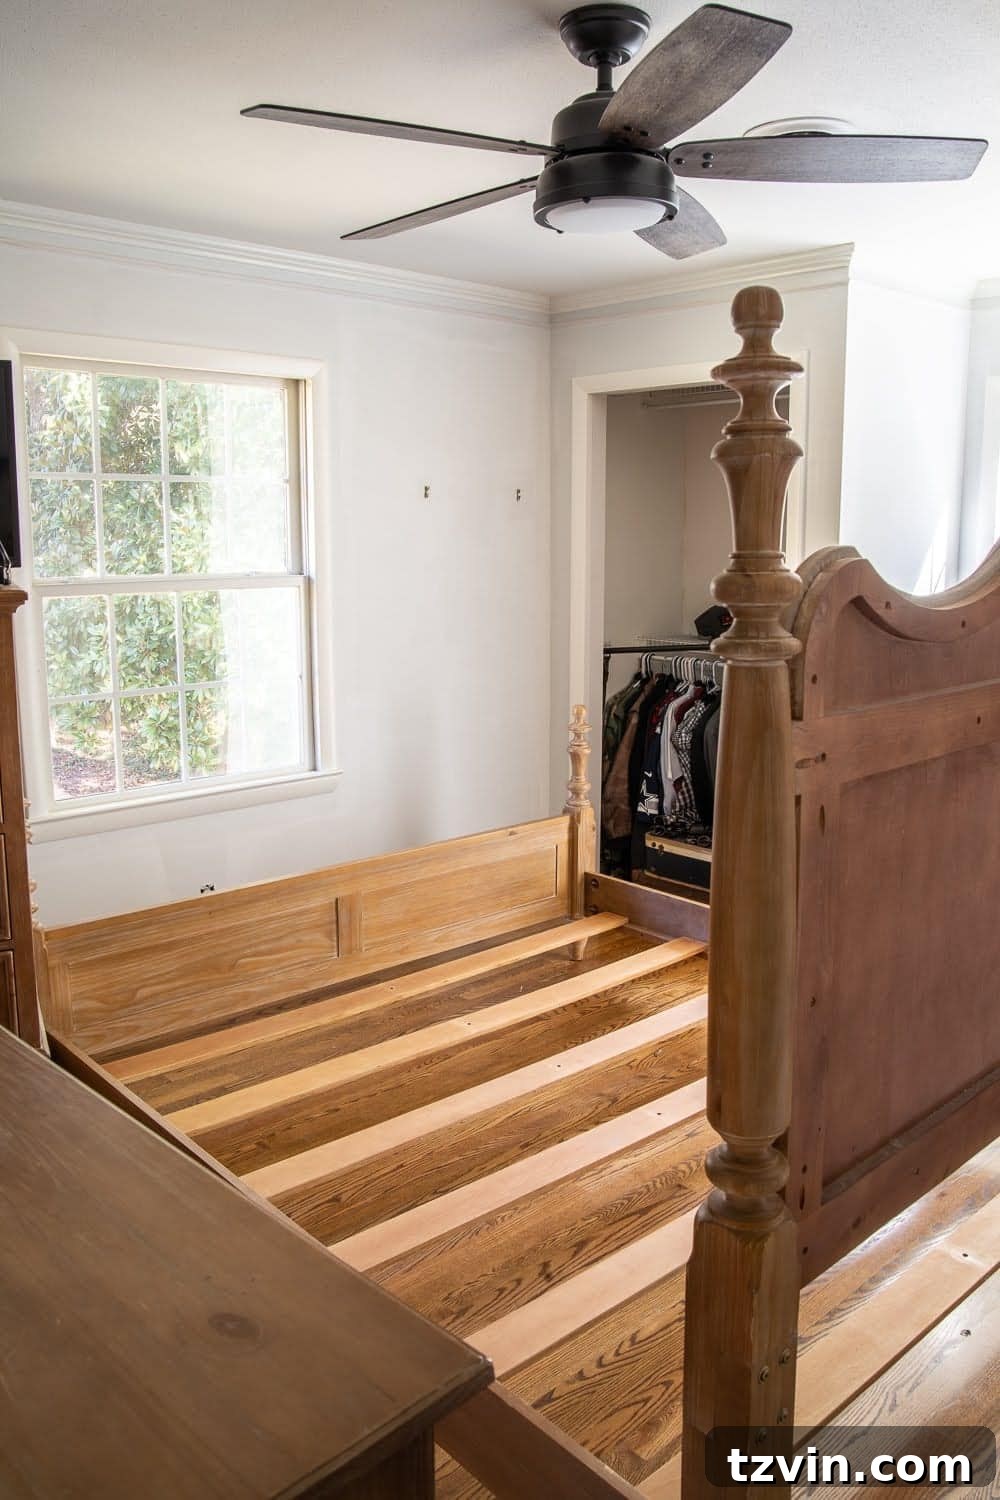
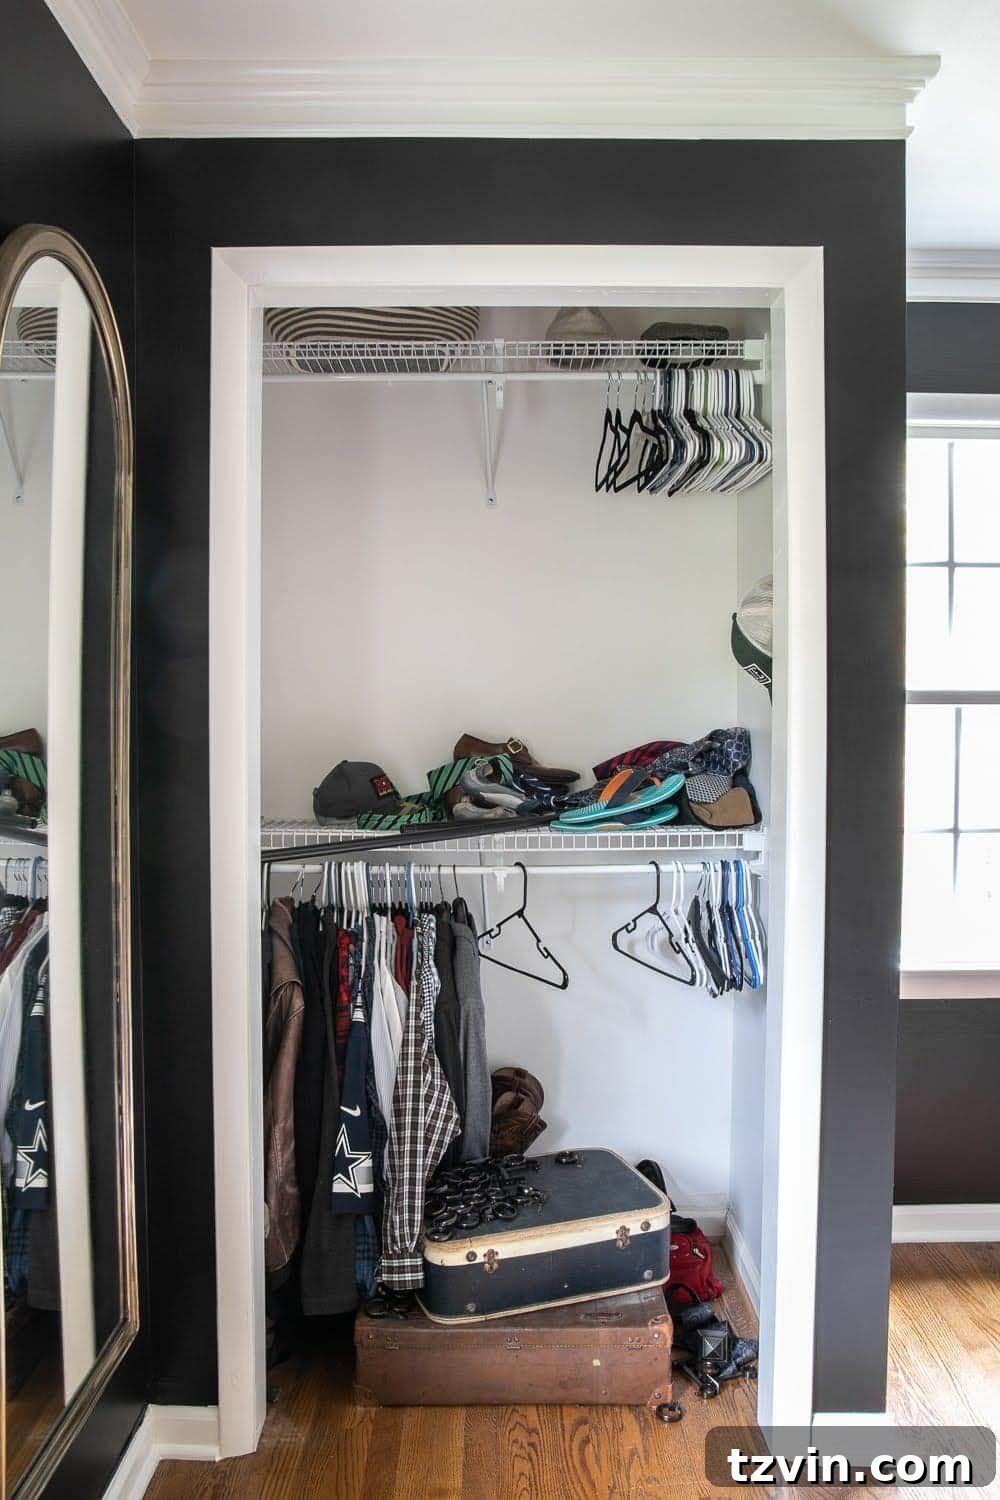
Indeed, while the idea of black paint might initially seem daunting, its dramatic effect can be utterly transformative. This bold decision for our walls brought us face-to-face with the next challenge: the undeniably plain closet doors. We were determined to move beyond the simple hollow core doors, which had been painted a dark charcoal, recognizing a missed opportunity to truly elevate the room’s aesthetic. The room yearned for a statement piece, an element that could seamlessly blend function with high-end design.
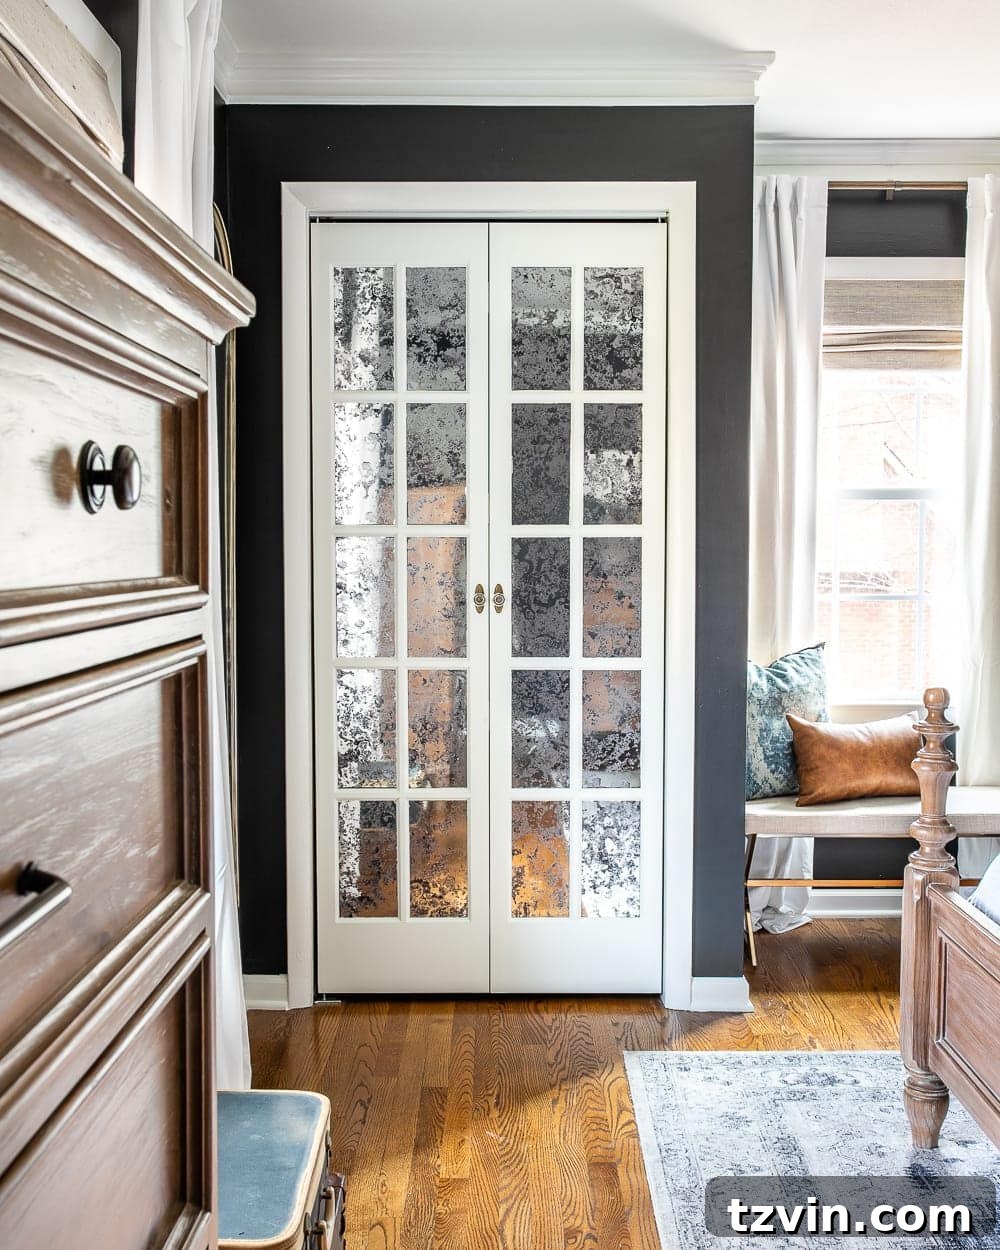
And that missing piece was none other than elegant mirrored French closet doors! The transformation was breathtaking; they instantly infused the space with an unparalleled sense of glamour and sophistication.
How to Create Mirrored French Closet Doors with Vintage Flair
Achieving this sophisticated look is simpler than you might imagine. By combining readily available materials with a few smart techniques, you can transform ordinary bifold doors into a captivating focal point that radiates vintage charm and glamour. Here’s everything you’ll need to embark on your own DIY journey.
Supplies List
- Glass-front French bifold doors
- High-quality primer (e.g., Kilz 2 All-Purpose primer)
- Premium interior paint (we used Benjamin Moore Simply White in a semi-gloss finish)
- Angled paint brush (for precision)
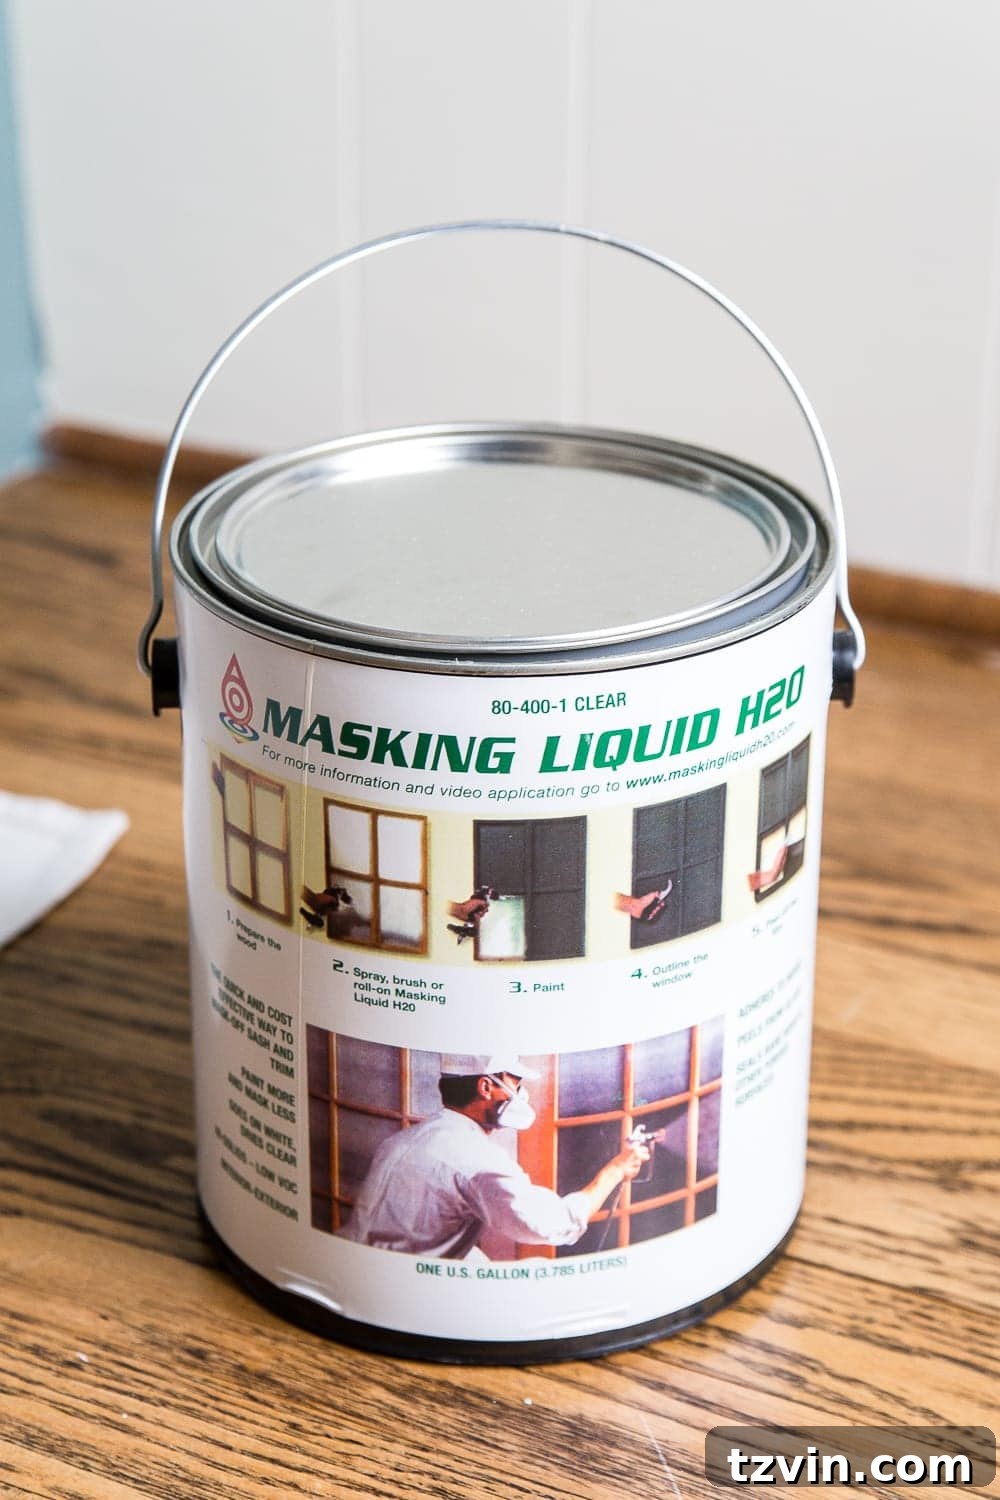
- Masking Liquid (a game-changer for painting glass)
- Antique mirror film (the secret to our vintage look)
- Spray bottle filled with water (for mirror film application)
- X-Acto knife with a supply of sharp blades
- Squeegee or an old credit card (for smoothing film)
- Elegant glass knobs
- Antique brass backplates (to enhance the vintage aesthetic)
The foundation of this project began with the same glass insert French bifold doors we previously installed in our laundry room a couple of years prior. These versatile doors are widely available at major home improvement retailers like Home Depot and Lowe’s, as well as on Amazon and through various other suppliers. To address our desire for both privacy and light reflection in the bedroom, we revisited our beloved antique mirror film trick. This addition not only obscured the closet’s contents but also introduced a soft, diffused light into the room, making it feel larger and more inviting. Applying window film is indeed one of those small yet impactful projects that can dramatically upgrade the appearance of standard bifold closet doors, transforming them into a sophisticated design element.
If you find yourself constantly seeing this particular technique across our various projects, rest assured, it’s for good reason! This antique mirror film has consistently proven to be the perfect solution for infusing texture and depth, all while enhancing luminosity in spaces that often feel dark or enclosed. Its ability to create a faux vintage mirror without the weight or cost of real glass makes it an indispensable tool in our DIY arsenal.
Step 1 – Prepare the Glass with Masking Liquid
The initial and arguably most critical step in achieving a professional-looking finish is proper preparation. For our glass-front doors, we utilized masking liquid – a far superior alternative to traditional painter’s tape, especially when dealing with multiple small panes. As we consistently do when painting interior doors and specifically employing our French door paint tricks, we carefully brushed the masking liquid onto all glass sections. This ingenious product forms a peelable barrier, allowing for a neat and efficient painting process without the tedious, time-consuming effort of applying and removing strips of tape. It’s a true time-saver that ensures crisp paint lines every time.
Step 2 – Apply High-Quality Primer
Once the masking liquid had completely dried, which typically takes several hours, we moved on to the priming stage. We applied Kilz 2 All-Purpose primer generously over the entire door surface, including the glass. The beauty of the masking liquid technique is that you don’t have to be overly precise; the primer (and subsequent paint coats) can be brushed over both the door frame and the masked glass. This ensures excellent adhesion and a uniform base for your chosen paint color, preparing the surface perfectly for a flawless finish. Primer is crucial for durability and preventing bleed-through, especially when changing a door’s color significantly.
Step 3 – Paint for a Seamless Finish and Striking Contrast
With the primer thoroughly dry, it was time to apply the final coat of paint. We opted for Benjamin Moore Simply White in a semi-gloss finish, matching the trim throughout our home. For these particular folding closet doors, a single coat was sufficient to achieve rich, opaque coverage. While a paint sprayer offers a perfectly smooth, factory-like finish, we prefer brushing on Benjamin Moore Advance paint. This product is renowned for its exceptional self-leveling properties, which effectively minimize brush strokes, delivering a remarkably smooth appearance that rivals spraying. Even though many other doors in our home feature a dark charcoal hue, we strategically chose a creamy white for these doors. This decision was deliberate, designed to create a striking balance and visual harmony against the dramatic black walls, which we painted with Kilz Complete Coat Rebel in a satin finish. The two-tone effect adds depth and sophistication to the entire room.
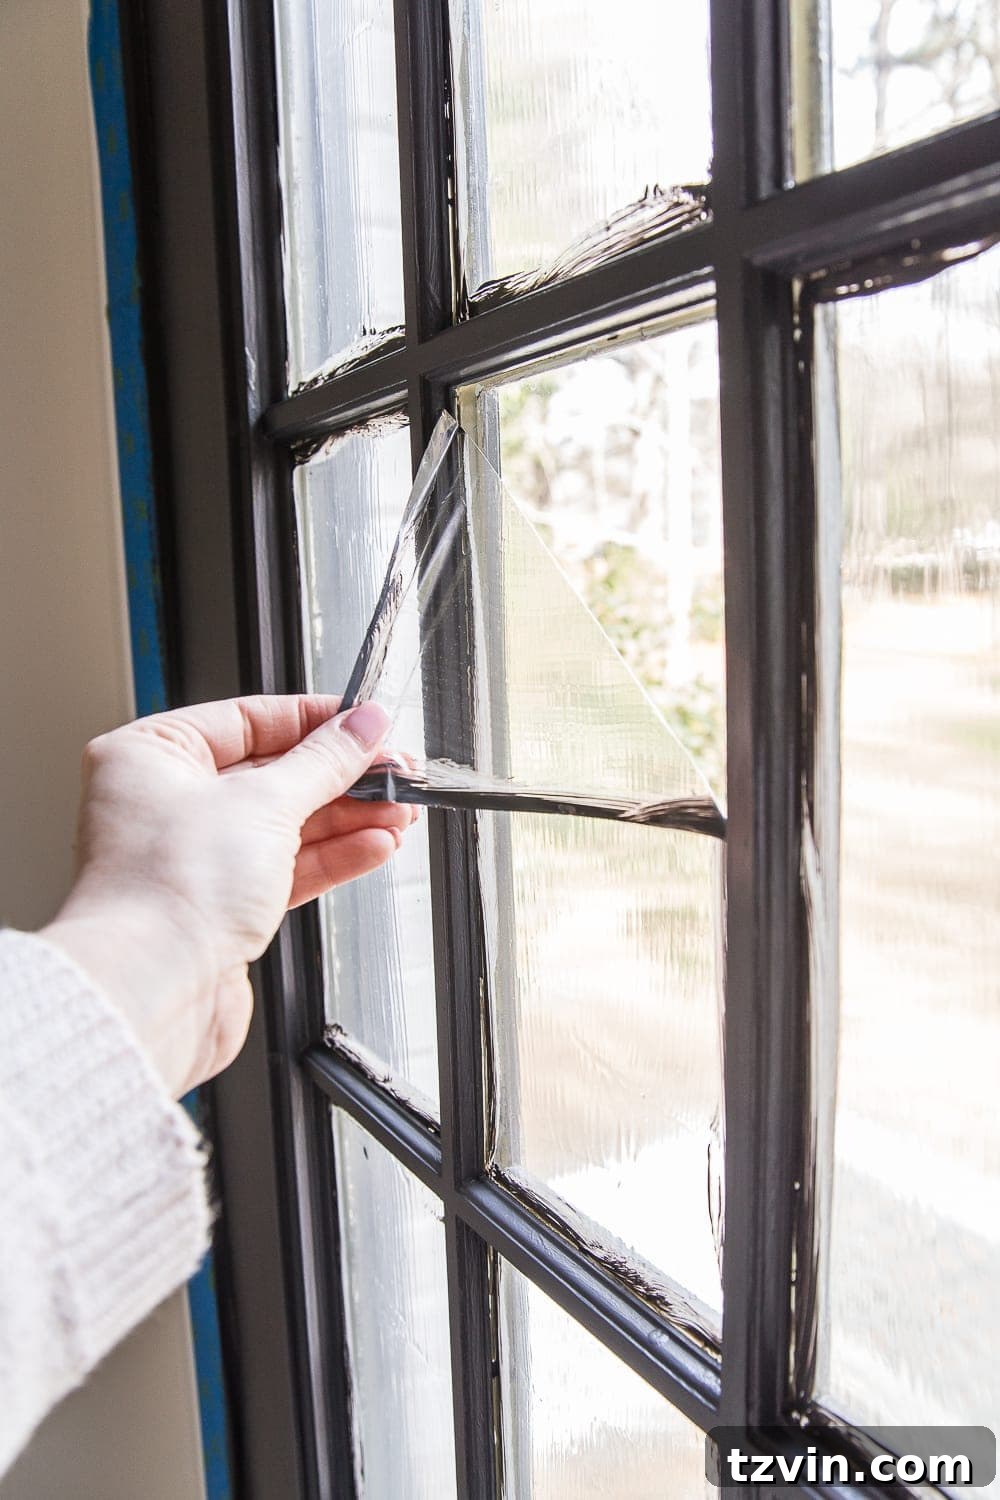
After the paint was completely dry, we carefully scored the edges of the dried masking liquid where it met the door frame, using a sharp utility knife to ensure a clean, straight line. This allowed us to effortlessly peel away the masking liquid from the glass, revealing perfectly clean panes. This method is our go-to for all our French doors, ensuring professional results every time.
Step 4 – Install Elegant Door Handles or Knobs
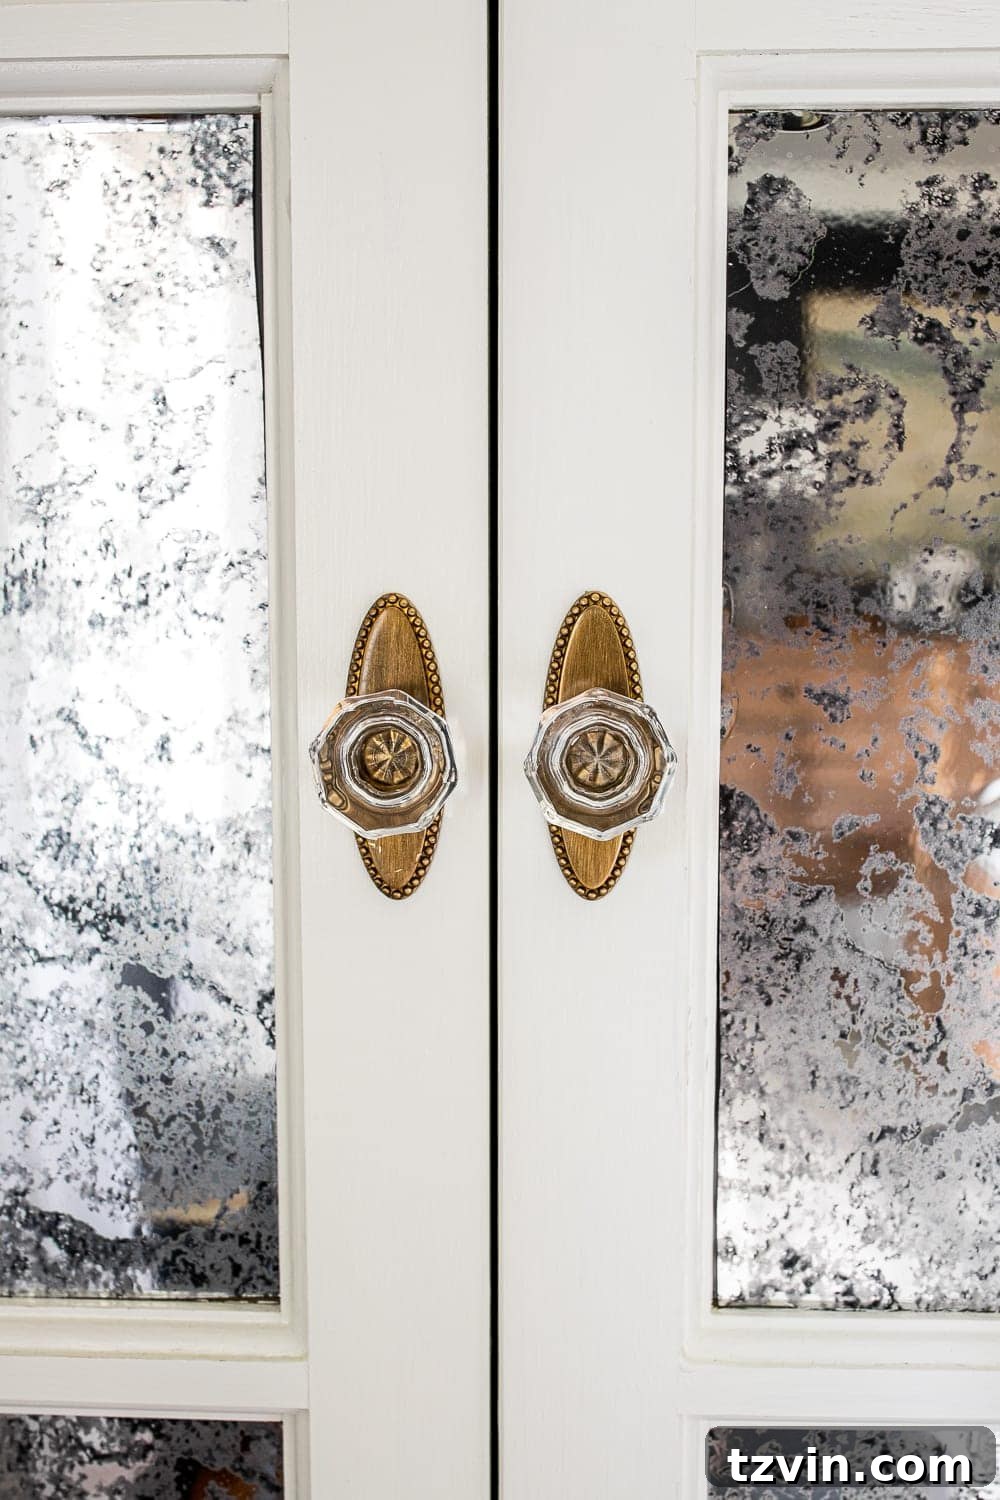
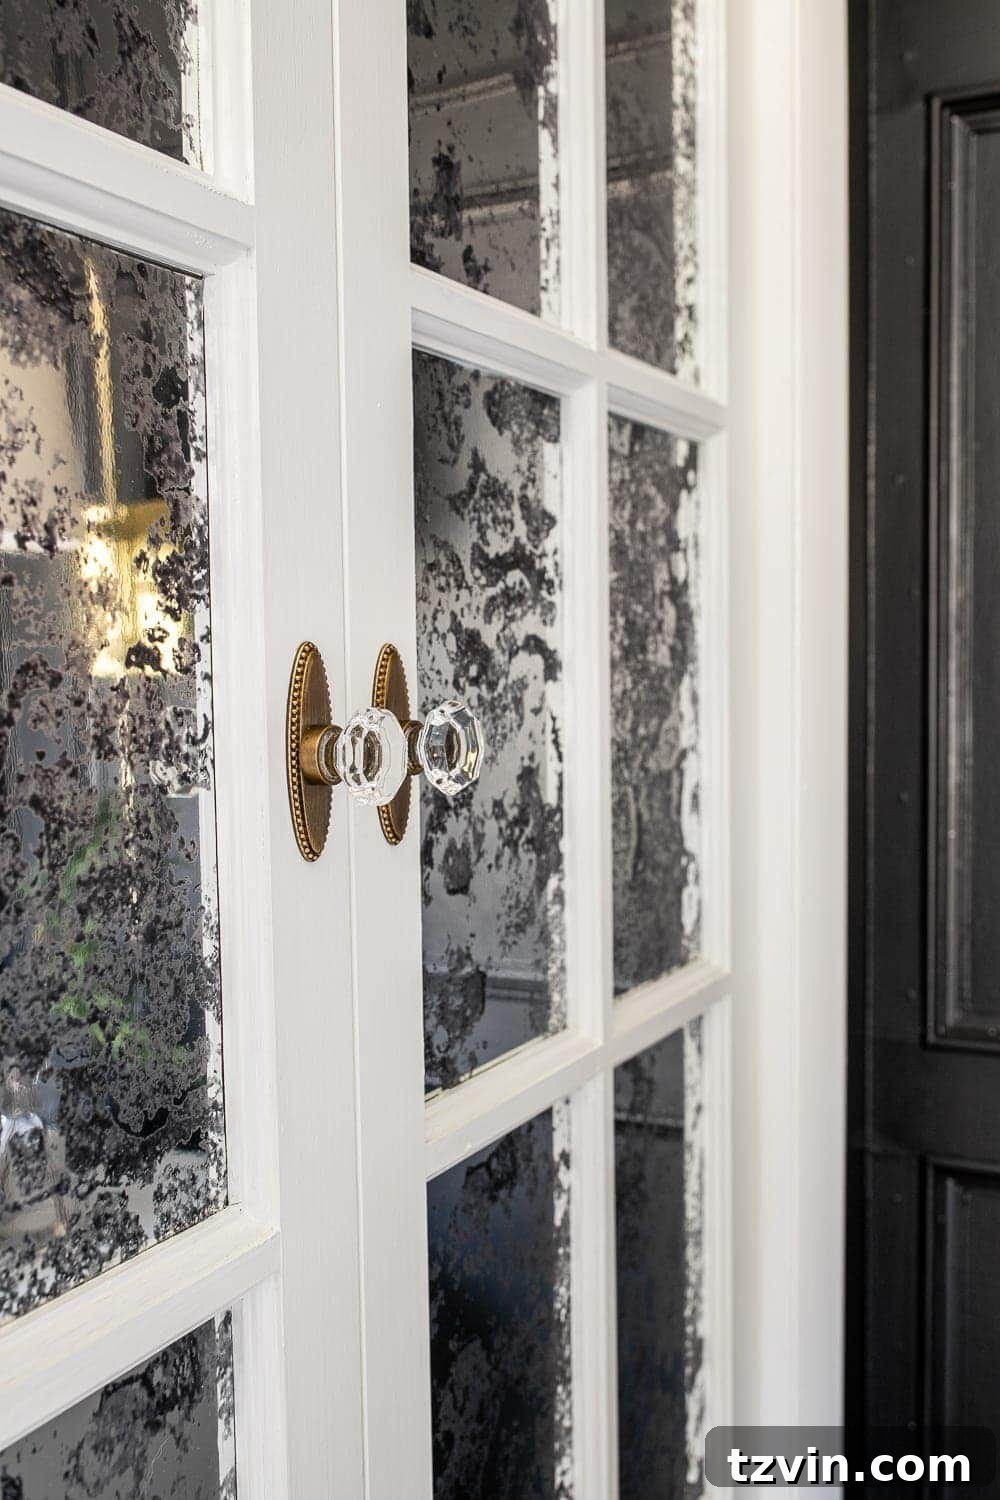
With the painting complete, it was time to add the finishing touches that would truly define the vintage-glamorous style of our doors. We chose exquisite glass knobs paired with antique brass backplates. This combination wasn’t arbitrary; it was a deliberate choice to infuse a touch of classic elegance and timeless appeal, perfectly complementing our desired aesthetic. It’s remarkable how a seemingly minor detail like new hardware can profoundly transform the entire character of a room. New handles or knobs are an easy and effective way to update any door. If your personal style leans more contemporary, opt for sleek, modern hardware; the principle remains the same: choose pieces that resonate with your vision and elevate the overall design.
Step 5 – Apply the Antique Mirror Film for a Glamorous Effect
The final, transformative step was applying the antique mirror film. This was key to both discreetly hiding the contents of our closets behind the glass panels and achieving that desired vintage-inspired, light-bouncing effect. It’s important to note that this mirror film is designed to offer a soft, antique reflection rather than a perfectly clear, functional mirror. This subtle, imperfect reflectivity was exactly what we aimed for—enough to gently diffuse and bounce light from the room’s two windows, creating a perfectly balanced and cozy, yet open, atmosphere, preventing the room from feeling closed in.
- First, accurately measure each individual glass pane. Cut the mirror film slightly larger than each pane; this provides a small margin for error and precise trimming.
- Generously spritz one glass pane with water from a spray bottle. Then, peel off the backing of the mirror film and also spray the sticky side with water. This lubrication allows for easy positioning and helps prevent air bubbles.
- Carefully press the wet mirror film onto the wet glass pane. Using a squeegee or an old credit card, firmly smooth out any air bubbles, working from the center outwards to the edges.
- With a sharp X-Acto knife, meticulously trim any excess film around the edges, ensuring it perfectly fits within the glass pane’s frame. Keep your blades fresh for clean cuts.
- For the final touch, perform another pass with the squeegee to remove any remaining water and air bubbles. Allow the film to dry completely, which will bond it securely to the glass.
And just like that, the transformation is complete!
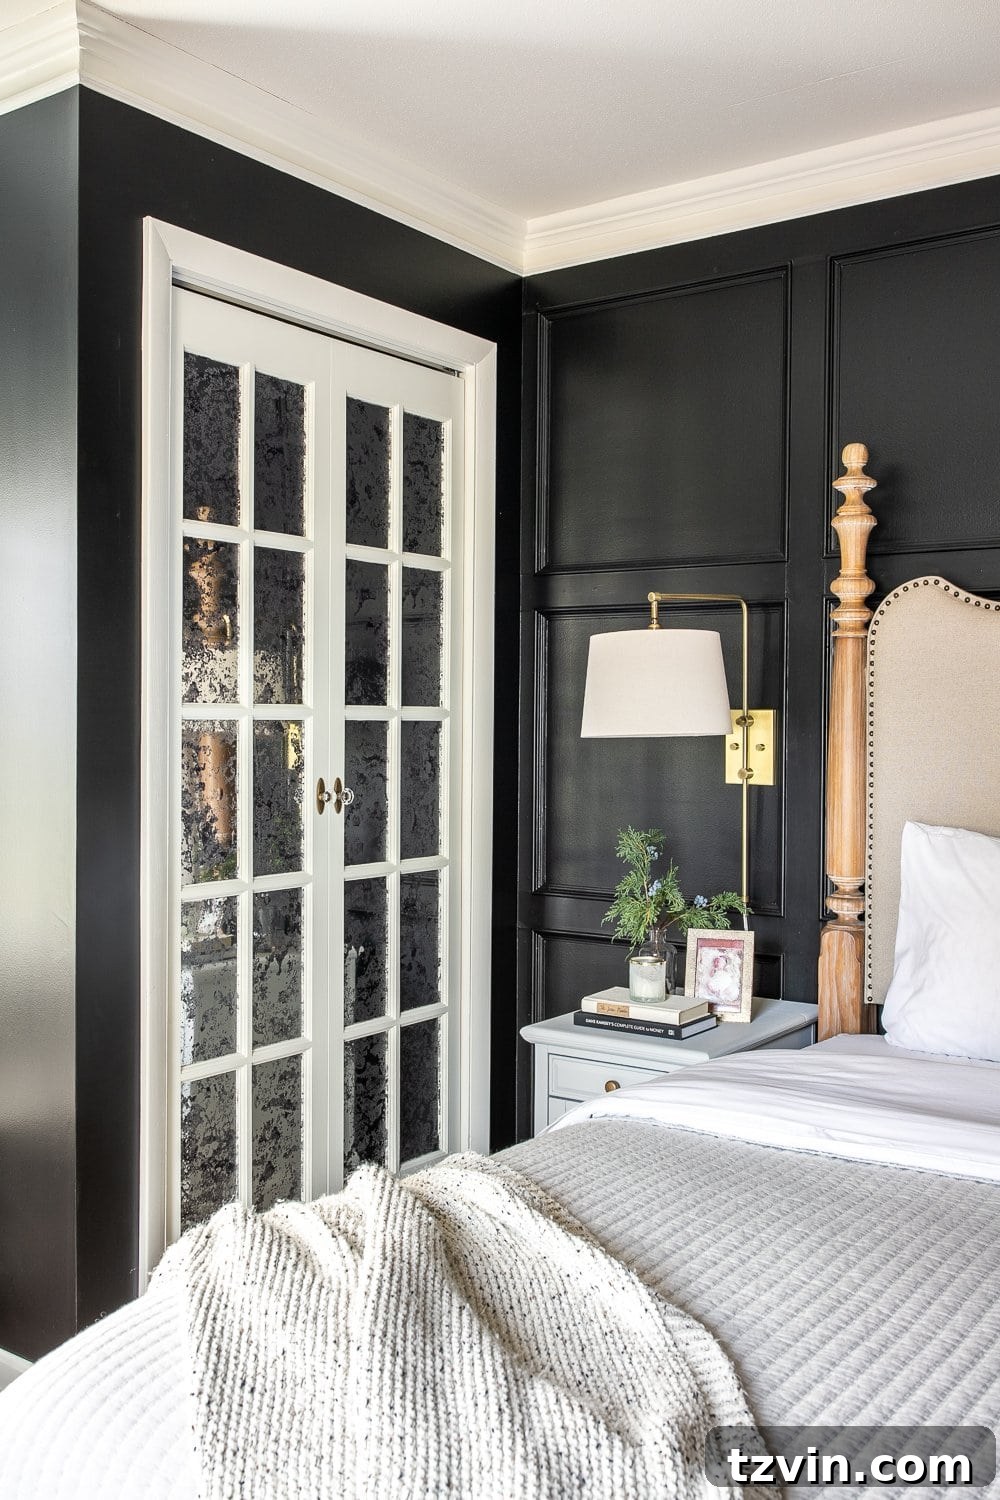
We are absolutely thrilled with how seamlessly everything came together. This project stands out as one of the simplest and most impactful DIY closet door ideas we’ve undertaken. It offers a magnificent upgrade from standard builder-grade doors without the need for any complex power tools, making it accessible for even novice DIY enthusiasts.
For those interested in a slightly different approach, it’s also possible to convert a single bifold unit into two slender French double doors, offering another elegant solution.
Update: Experience the full beauty of our final primary bedroom reveal here!
And let me tell you, residing within these black-painted walls has profoundly improved my sleep quality. The room now envelops you in a comforting cocoon-like atmosphere at night, promoting deep relaxation. The stark yet elegant contrast provided by the creamy white doors against the dark walls makes them truly pop, creating a sophisticated two-tone effect that enhances the room’s overall allure.
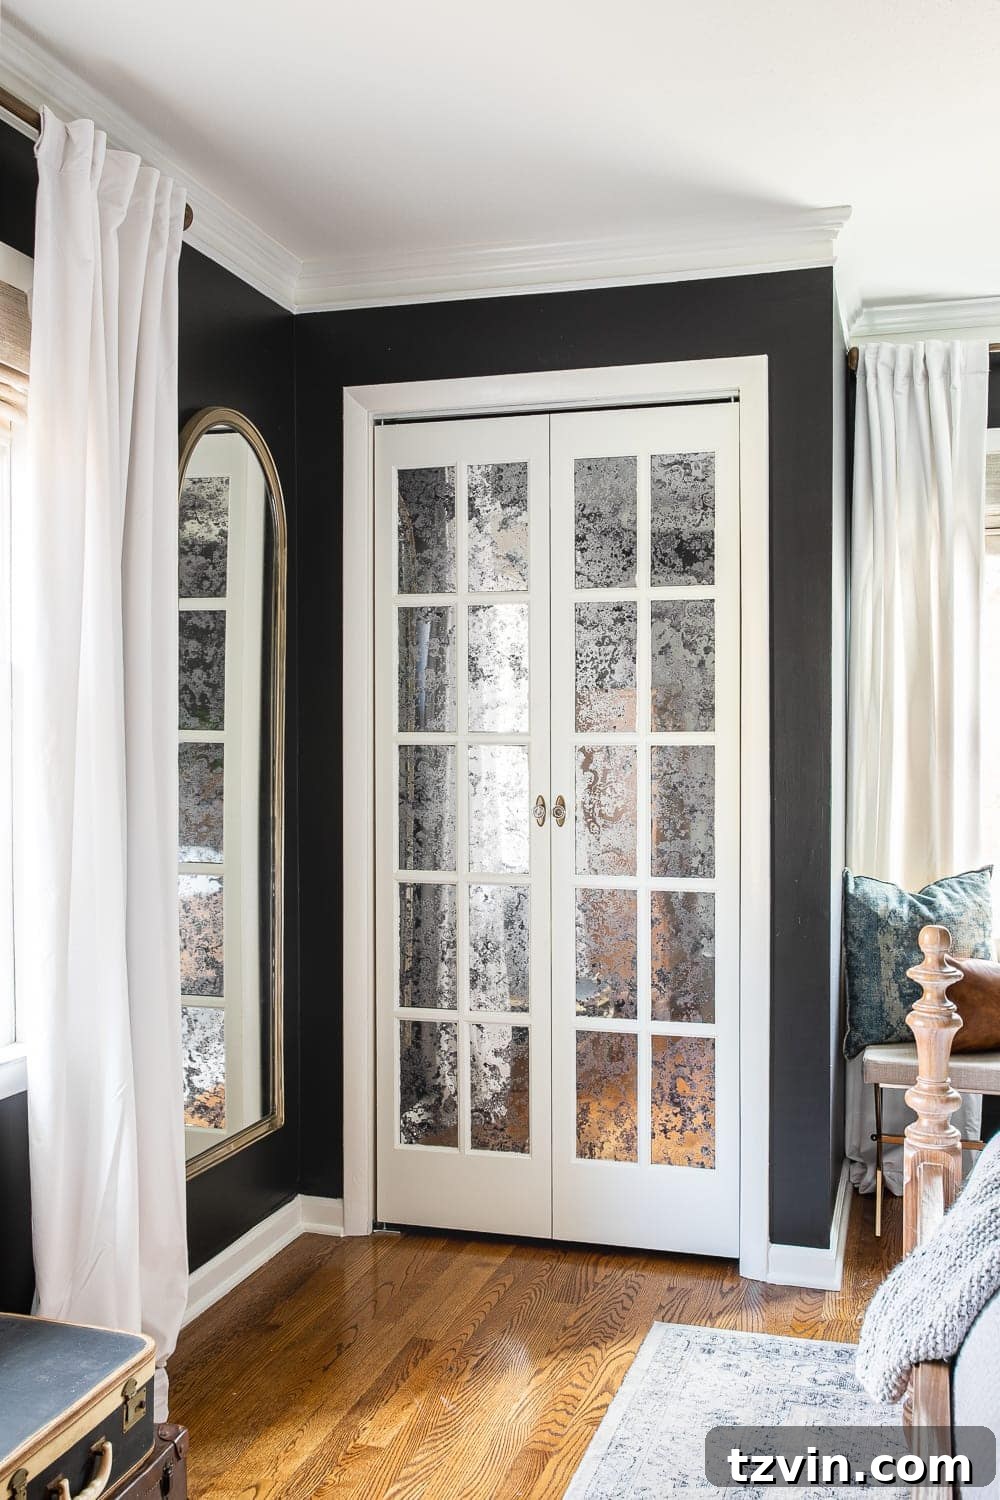
What are your thoughts? Do you love them as much as we do? There’s no doubt they’ve brought a far greater sense of glamour and vintage charm compared to the bifold closet doors that once stood there. This transformation has not only enhanced the aesthetics but also improved the functionality of our bedroom’s closet space.
UPDATE: To see how we further optimized the interior of these closets, check out our DIY IKEA closet makeover using Billy bookcases!
Even after five years, our affection for this door design in our bedroom remains unwavering. Its timeless appeal and practical benefits have inspired us to replicate variations of this concept in other areas of our home, including our home office, a friend’s home office, and even our laundry room. It’s a testament to a design that truly works.
Frequently Asked Questions About Closet Door Makeovers
Can a bifold door be transformed into elegant swinging French doors?
What are some creative alternatives to standard bifold closet doors?
More Inspiring DIY Door Makeover Ideas
DIY Door Update: Quickly Change Hinge Colors for a Fresh Look
Mastering French Door Painting & Understanding DIY Door Replacement Costs
A Comprehensive Guide: How to Expertly Paint Interior Doors