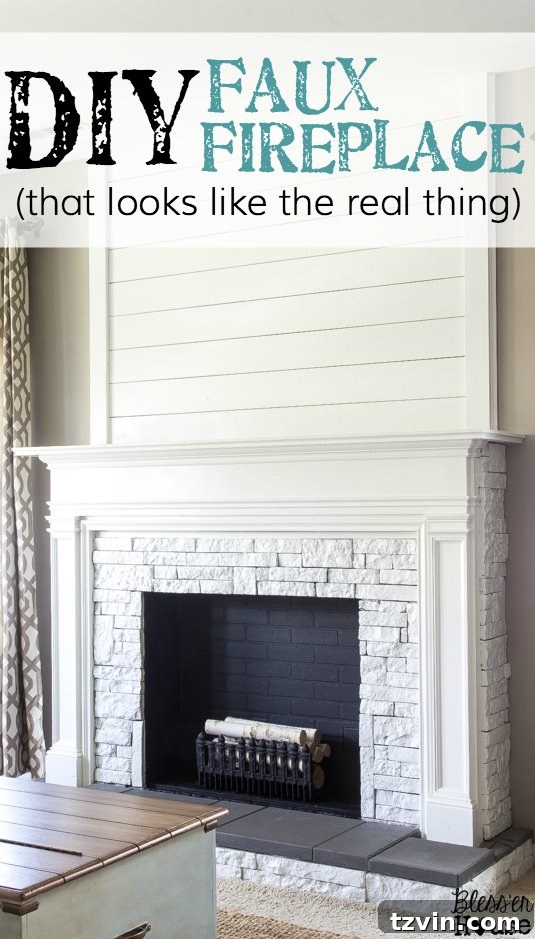
Welcome back to another exciting chapter in our ongoing home transformation journey! You might remember our initial DIY Faux Fireplace project, a budget-friendly endeavor that brought architectural charm to our living room. But as any seasoned DIYer knows, sometimes a good project isn’t truly finished until you’ve given it an “alternate ending” – a fresh perspective, a new purpose, and an even more refined aesthetic. And trust us, this sequel is just as captivating as the original, if not more so!
For quite some time, our colossal 60-inch television commanded attention above our faux fireplace mantel. While my husband, Robert, cherished having the big screen prominently displayed, I found myself constantly battling the visual dominance it exerted over the room’s decor. It felt like a constant compromise, with the TV eclipsing the very focal point we worked so hard to create. Aesthetics aside, craning our necks to watch movies during a Netflix marathon became a literal pain in the neck!
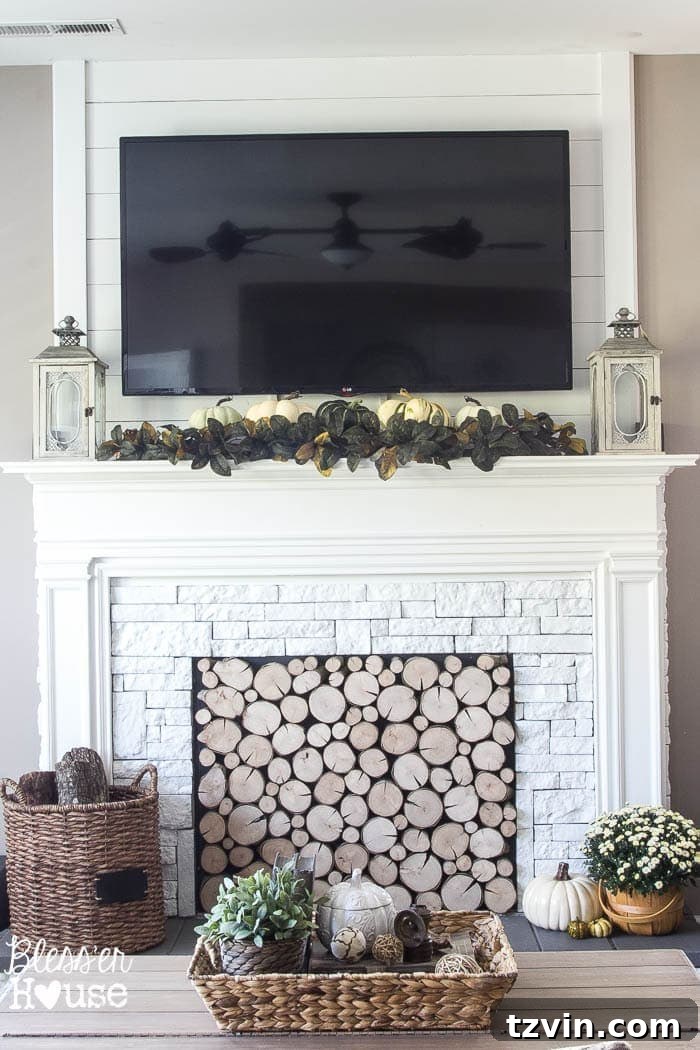
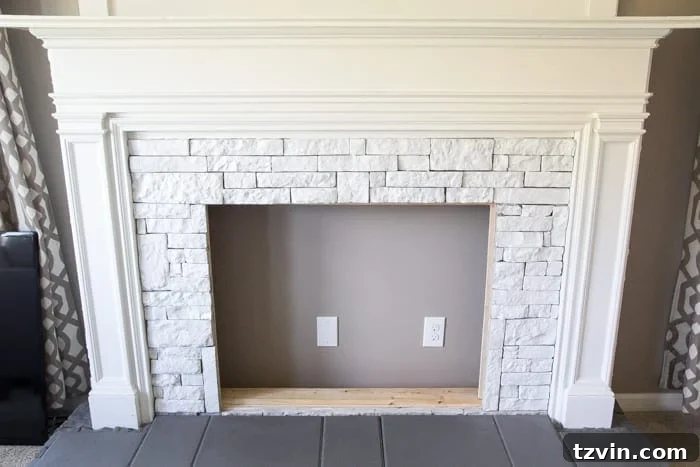
Then, during one of those late-night streaming sessions, Robert had a stroke of genius: why not relocate the big black box to our spacious stairway wall? This brilliant idea immediately opened up a world of possibilities for our faux fireplace. With the television moved, our recently acquired DIY antique printer’s cabinet media console could truly shine, and the fireplace could finally claim its rightful place as the undisputed centerpiece of our living room. This meant the discreet log end door we had painstakingly crafted to conceal all the wiring connecting to the outlet behind the fireplace could happily retire. No more hiding cords behind a bulky door – pure design freedom!
Embarking on the Firebox Transformation
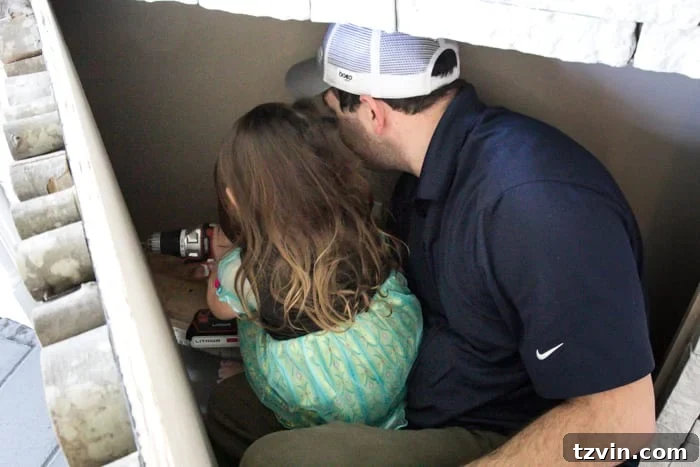
The prospect of transforming the firebox itself was thrilling, promising to elevate our faux fireplace from a charming architectural detail to a truly authentic-looking hearth. It was a significant undertaking, requiring careful planning and execution. Naturally, we enlisted the help of an extra pair of hands for this important DIY project. Our “handyman” for the day, adorned in her indispensable Princess Anna costume, was perhaps smaller than typical, but certainly brimming with enthusiasm and creative spirit. Her dedication to the project was commendable, adding a touch of childlike wonder to our adult DIY efforts.
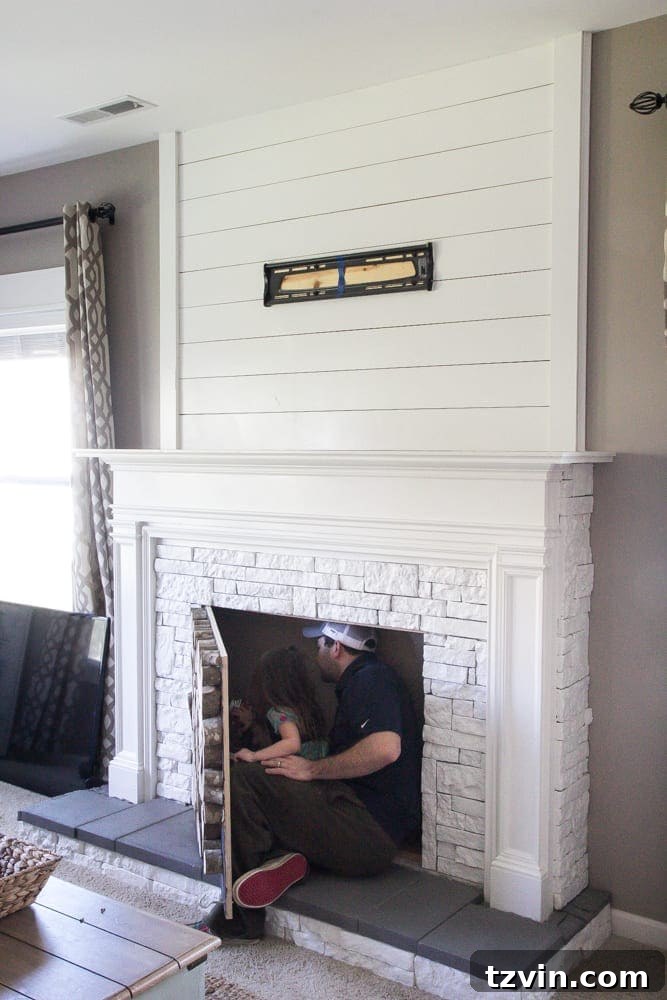
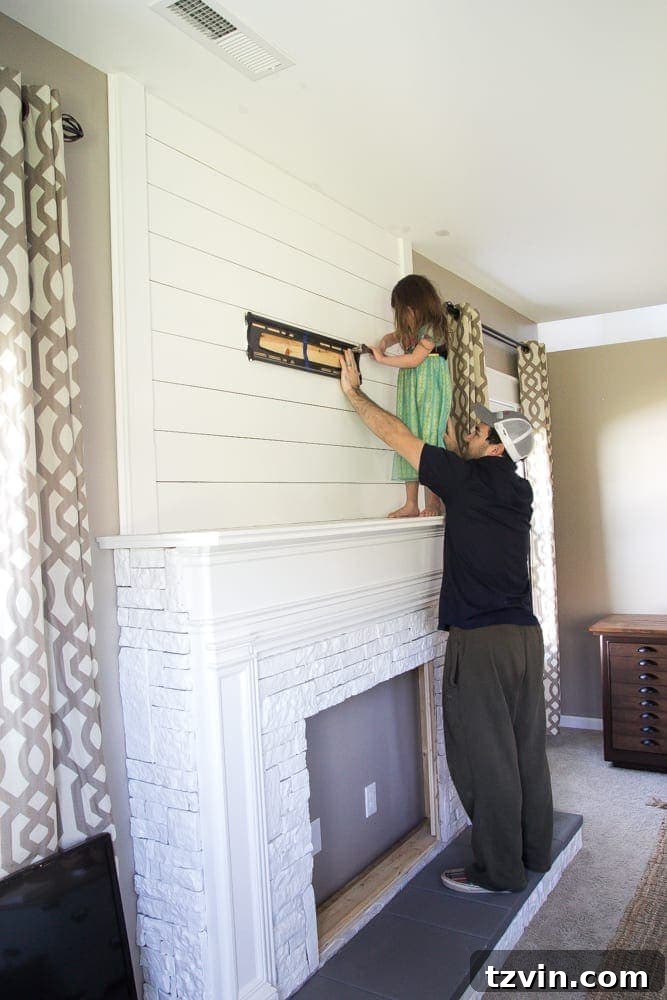
With our tiny assistant on duty, the first step was to remove the existing firebox door. This brought us back to the original, open configuration, a blank canvas ready for its impressive makeover. We then proceeded to tackle the rather intimidating task of removing the television mount that had clung to the wall above the mantel for so long. Watching Robert and Olivia work together to detach it was a nerve-wracking moment – I admit, I had a mini heart attack picturing any accidental damage to our freshly painted fireplace! But with careful coordination, the mount was successfully taken down, leaving behind a clean slate.
Essential Tools and Materials for Your Faux Firebox
For those eager to recreate this stunning transformation, you can find the comprehensive instructions for building the initial faux fireplace in our previous post. However, for the specific firebox upgrade, we relied on a carefully selected list of supplies. These items are readily available and essential for achieving that authentic brick look without the hassle or expense of traditional masonry.
For the Firebox Upgrade, here’s what you’ll need: (Affiliate links are provided below to help you find our favorite tools and materials. For more information on how we use affiliate links, please see our full disclosure here.)
- 1 panel of brick hardboard (a fantastic, budget-friendly way to get the brick aesthetic)
- Circular saw (We highly recommend this reliable model for precise cuts)
- Jigsaw (indispensable for those intricate cuts around outlets)
- Tape measure (accuracy is key in DIY!)
- 1.5″ finishing nails
- Hammer or pneumatic nail gun (a nail gun makes quick work of securing panels)
- Latex caulk (and a caulk tool if you’re prone to messy applications like me – it’s a lifesaver for smooth seams!)
- Paint brush (Our go-to is always this versatile brush for a flawless finish)
- Flat black paint (We achieved a perfect matte finish using some leftover chalkboard paint – it’s surprisingly effective!)
Constructing the Realistic Faux Firebox Interior
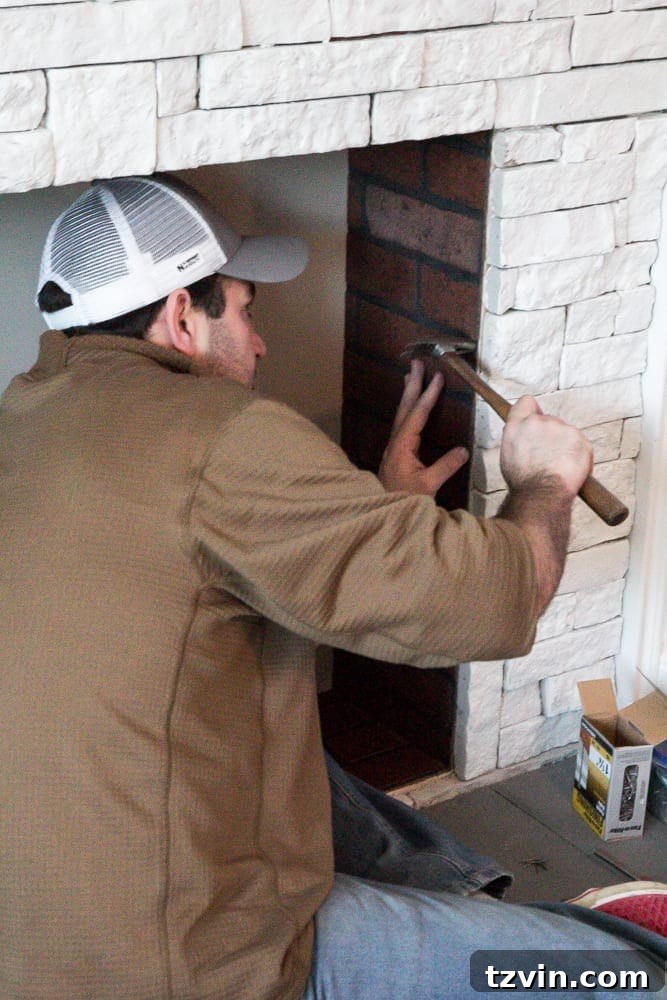
Our goal was to create a firebox that looked incredibly realistic, and part of that authenticity came from ensuring a level and stable base. We began by securing a couple of 2×4 pieces at the bottom of the firebox opening. These served a crucial purpose: providing a perfectly level foundation for the brick hardboard paneling and ensuring it could comfortably support decorative logs or other elements without any wobbling. Once the base was solid, we meticulously measured the width and depth required for our first piece of brick paneling – this would form the floor of our faux hearth. With precise cuts, we anchored this piece securely with finishing nails, creating a firm and attractive base.
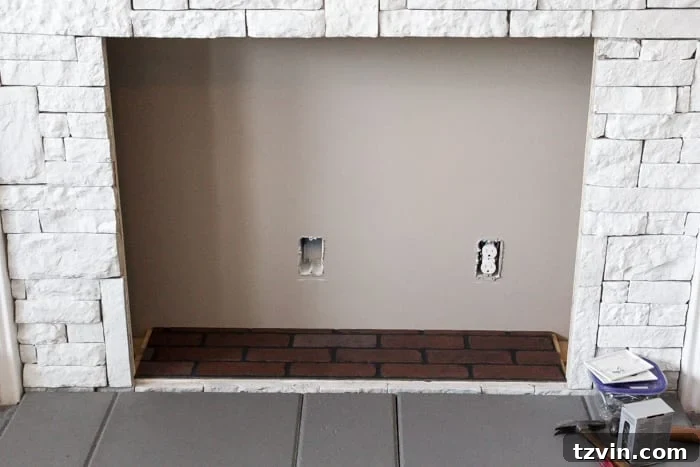
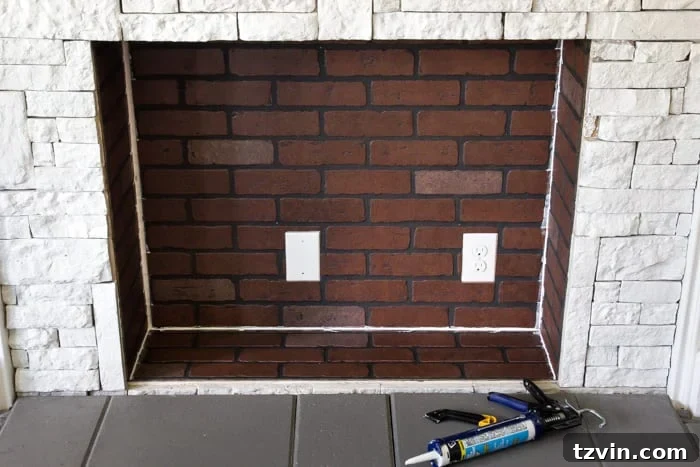
Next, we moved on to the sides of the firebox. Careful measurement was, again, paramount to ensure a snug fit. We cut the brick paneling to the exact dimensions and secured it firmly into place with more finishing nails. The beauty of working with brick hardboard is how quickly it transforms the space, giving the illusion of traditional masonry without the mess or structural challenges. As we worked, we encountered two existing electrical outlets within the firebox area. While we may not need them regularly, having access for future lighting or decorative elements was important. Using our jigsaw, we precisely cut out these sections from the paneling, ensuring the outlets remained accessible yet seamlessly integrated into the brick pattern. After securing all the panels, we applied latex caulk to all the seams, smoothing them out to create a truly professional and finished look, just like real mortar lines.
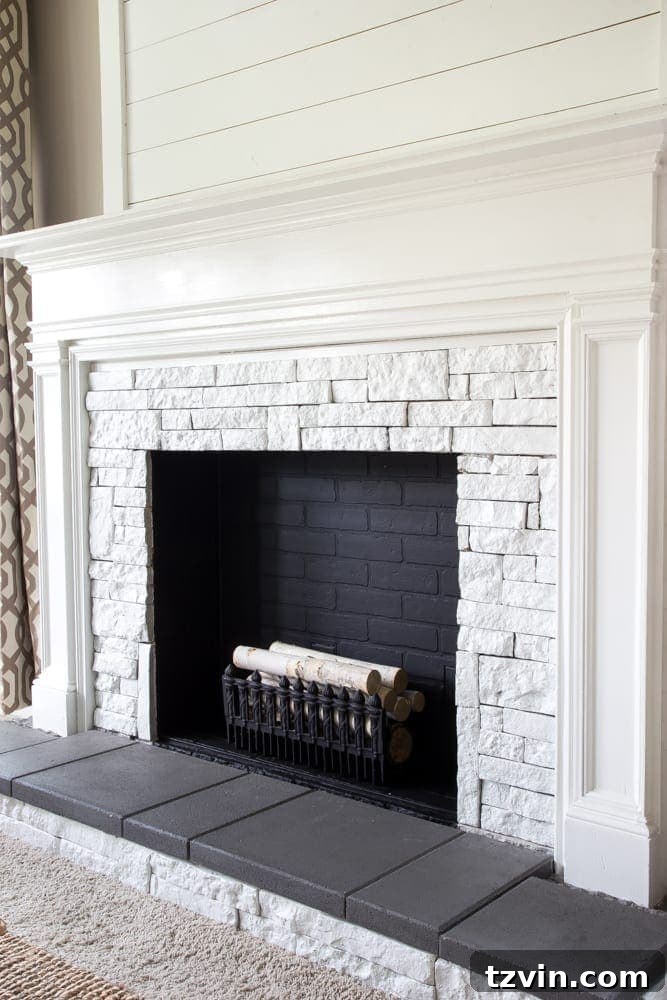
The final touch for the firebox interior was paint. We applied two generous coats of flat black paint, which worked wonders in making the outlets virtually disappear. While black outlet covers were an option, I specifically wanted a matte finish that would blend seamlessly with the dark interior, rather than the subtle sheen that most standard outlet covers possess. The flat paint created a deep, cavernous effect, enhancing the illusion of depth and authenticity within the faux fireplace. This thoughtful detail truly completed the transformation, creating a firebox that looks incredibly convincing.
Styling Your Faux Fireplace: The Finishing Touches
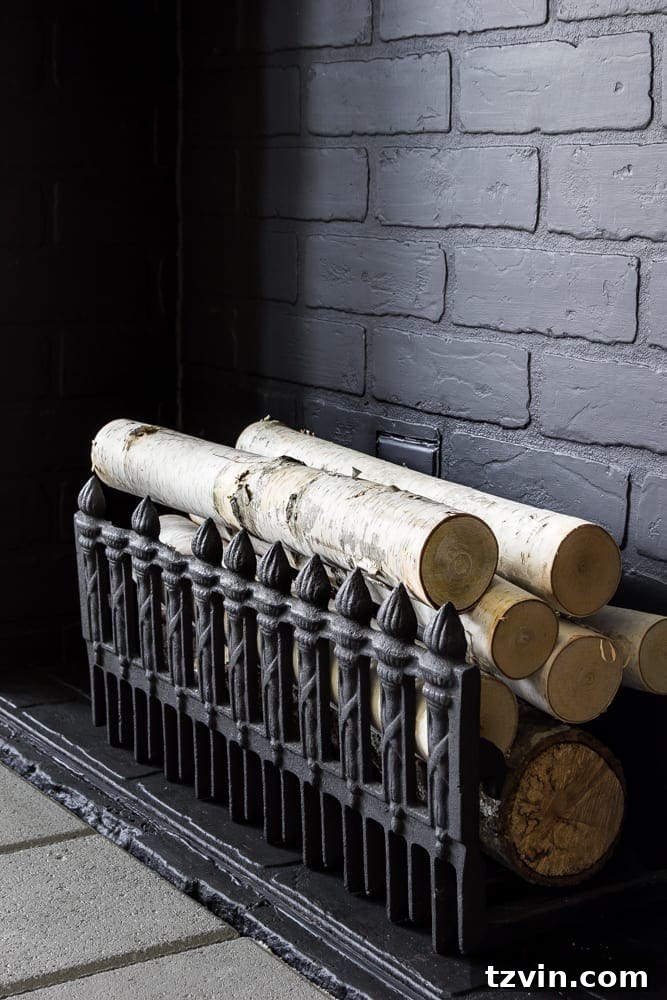
With the structural work complete, it was time for the exciting part: styling our newly updated faux fireplace. As luck would have it, I recently stumbled upon a vintage fireplace grate at a local thrift store. It was a steal at just a few bucks, and the timing couldn’t have been more perfect. To my delight, it was the ideal size for our firebox, fitting snugly and adding an immediate touch of authentic charm. To complete the look, I filled the grate with some beautiful birch logs, purely for decorative purposes. These natural elements instantly brought warmth and texture, making the firebox feel truly inviting, even without a real flame.
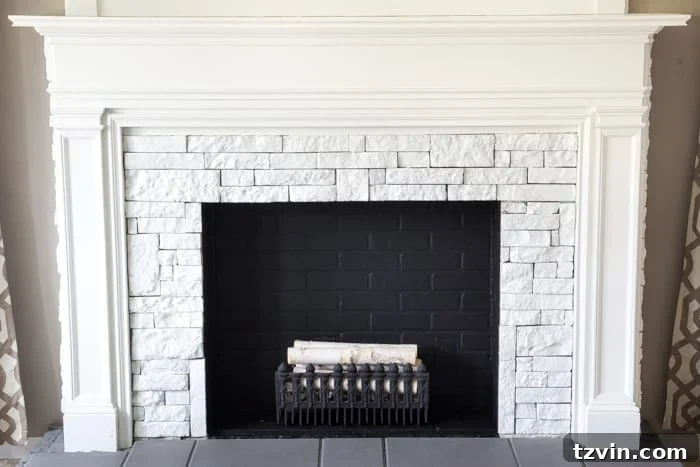
It’s important to remember that this is a purely decorative firebox; we won’t be burning any actual fires in it. But considering that we experienced a mere inch of snow throughout the entire winter season here in Charlotte, I’m confident we’ll survive without a working fireplace! While I seriously considered investing in an electrical fireplace insert for a moment, the cost for a unit of our desired size was close to $500. This DIY firebox, costing us around $35, proved to be an incredibly cost-effective alternative, delivering maximum visual impact for minimal expenditure. The satisfaction of creating such a realistic and beautiful feature on a tight budget is truly rewarding.
Reclaiming Your Mantel: A Blank Canvas for Creative Decor
Now, with the television finally relocated, I am absolutely thrilled with the vast, open decorating space our newly cleared mantel provides! It feels like a breath of fresh air, a truly blank canvas just waiting to be adorned. Thank goodness that large black screen is gone! I’ll be sharing more details about the TV’s new home on the stairway wall in a future post, but for now, my focus is entirely on this amazing mantel. This reclaimed space is perfect for showcasing seasonal decor, cherished heirlooms, or simply creating a serene vignette that reflects our style.
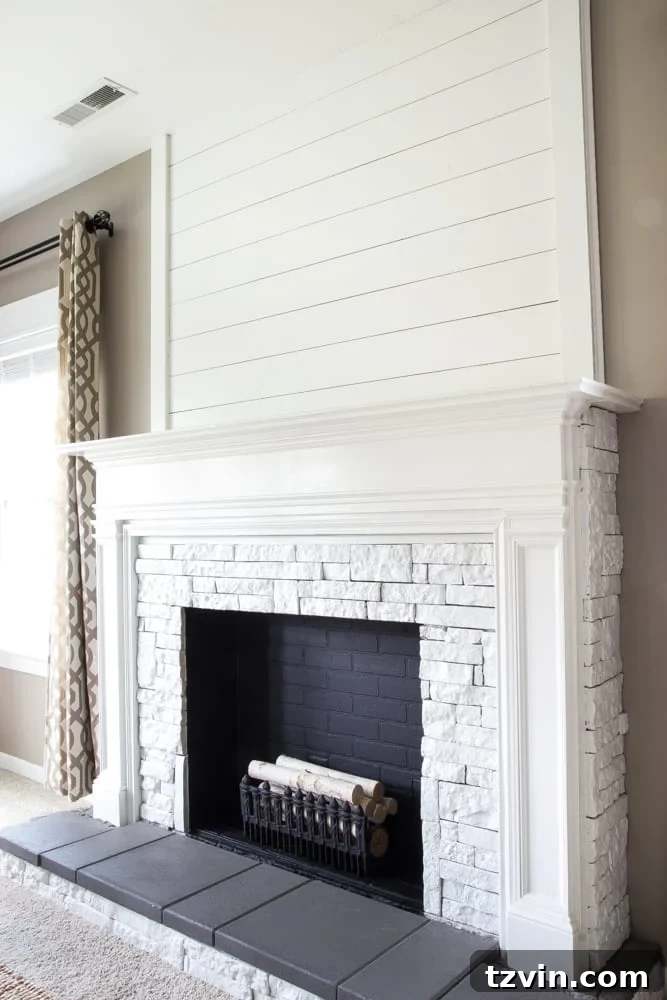
This is where your creativity truly comes into play! What are your favorite ways to decorate a mantel? I’m already brimming with ideas for how I’m going to “fancy it up” for the summer season. Perhaps a collection of vibrant botanical prints, interspersed with delicate vases filled with fresh greenery and fragrant candles? Or maybe a striking oversized mirror reflecting the natural light, flanked by a curated selection of books and unique sculptural pieces. The possibilities are endless, from minimalist arrangements to lush, layered displays. Consider adding varying heights with candlesticks, artwork, or decorative objects. Play with texture using natural elements like woven baskets or ceramic pieces. A well-styled mantel not only enhances the fireplace but also becomes a key focal point, tying together the entire living room’s aesthetic. I’d love to hear your top mantel styling tips in the comments below!
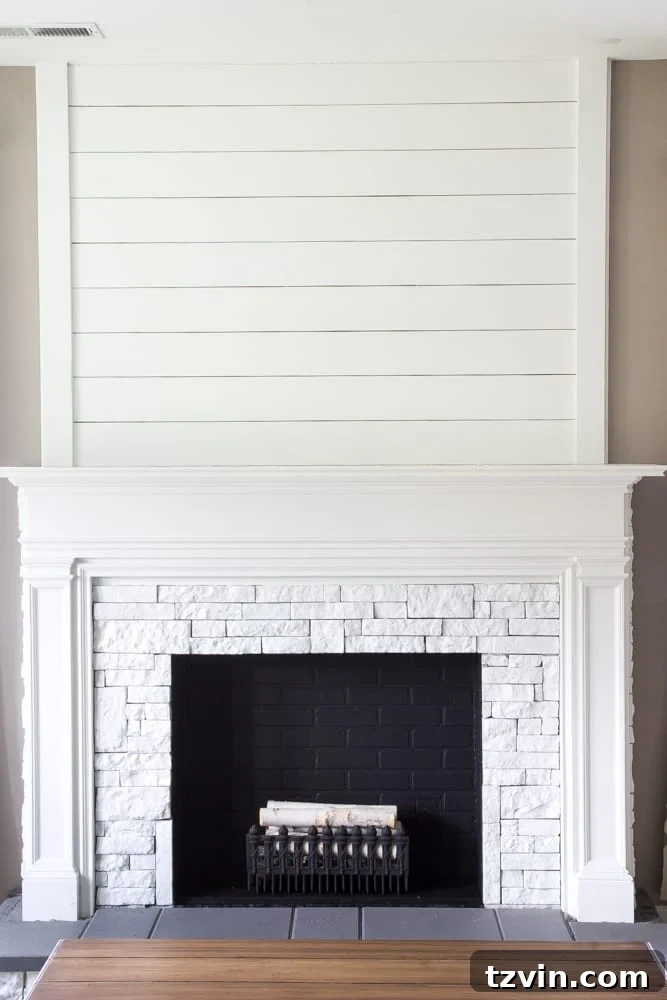
On a side note, I’m so impressed with the versatility of this brick paneling! I already have another exciting place in our house where I’m hoping to incorporate it. If that project turns out even half as amazing as it looks in my mind, it’s going to be absolutely “awesomesauce!” It’s incredible how such an affordable material can be so convincing and open up so many DIY possibilities for adding character and warmth to a home. Are you convinced by the realism of our faux brick firebox? There are truly endless creative applications for this simple yet impactful material.
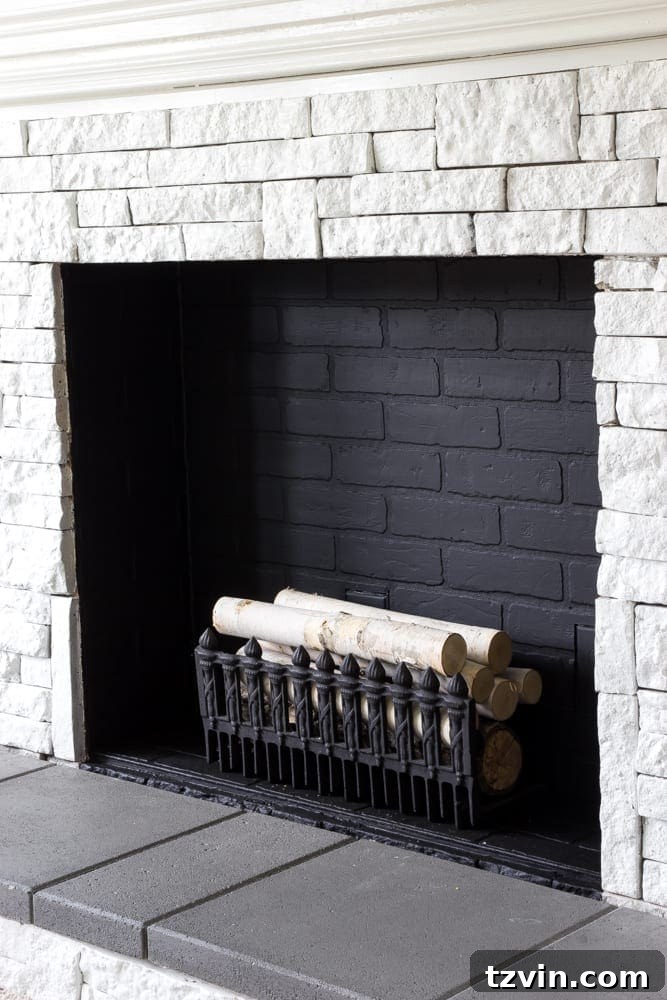
In other living room news, our well-loved coffee table recently received a much-needed new stain job on its top. It had certainly seen a lot of “action” lately, especially with our little one constantly climbing all over it! It’s still a work in progress, but it’s already looking so much better and more resilient. Stay tuned for updates on that project as well!
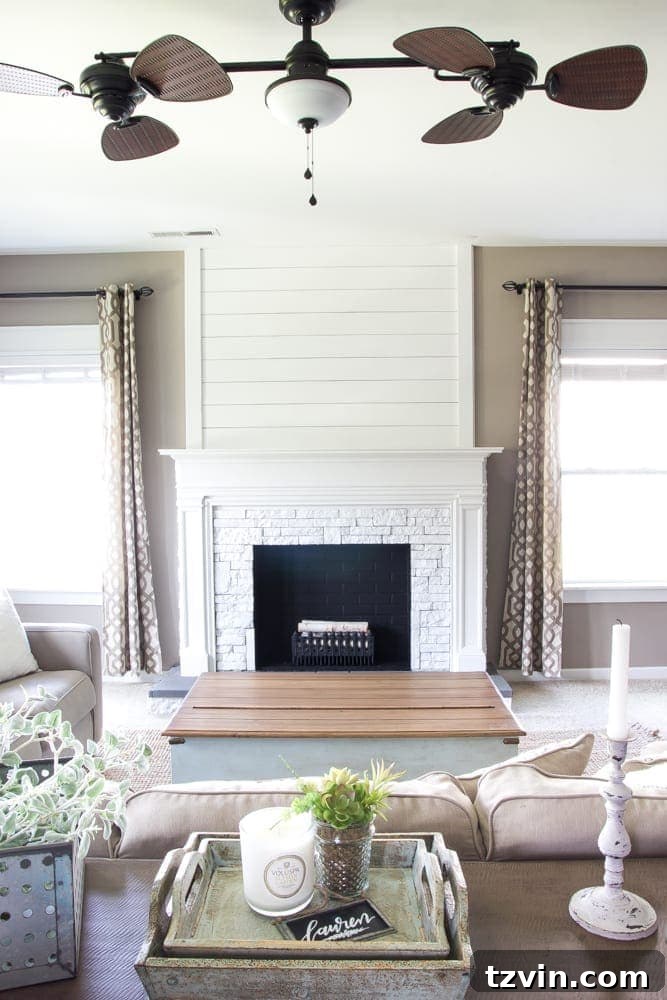
Now, we turn it over to you, our beloved critics and fellow DIY enthusiasts. Are you a fan of this “alternate ending” for our faux fireplace? Do you prefer the new, open firebox design with its decorative logs, or was the original log front door more your style? We love hearing your thoughts and insights! Your feedback helps us continue to evolve and refine our home decor projects.
By the way, if you’re curious about any other items gracing our living room – perhaps that stylish ceiling fan or those elegant curtains that many of you have inquired about – you can find all the sources and details conveniently located on our Shop the House page. It’s a comprehensive guide to recreating the looks you love in our home.
And if you ever get the creative urge to build your own magnificent faux fireplace or embark on a similar firebox makeover, be sure to pin this post for future inspiration and easy reference: