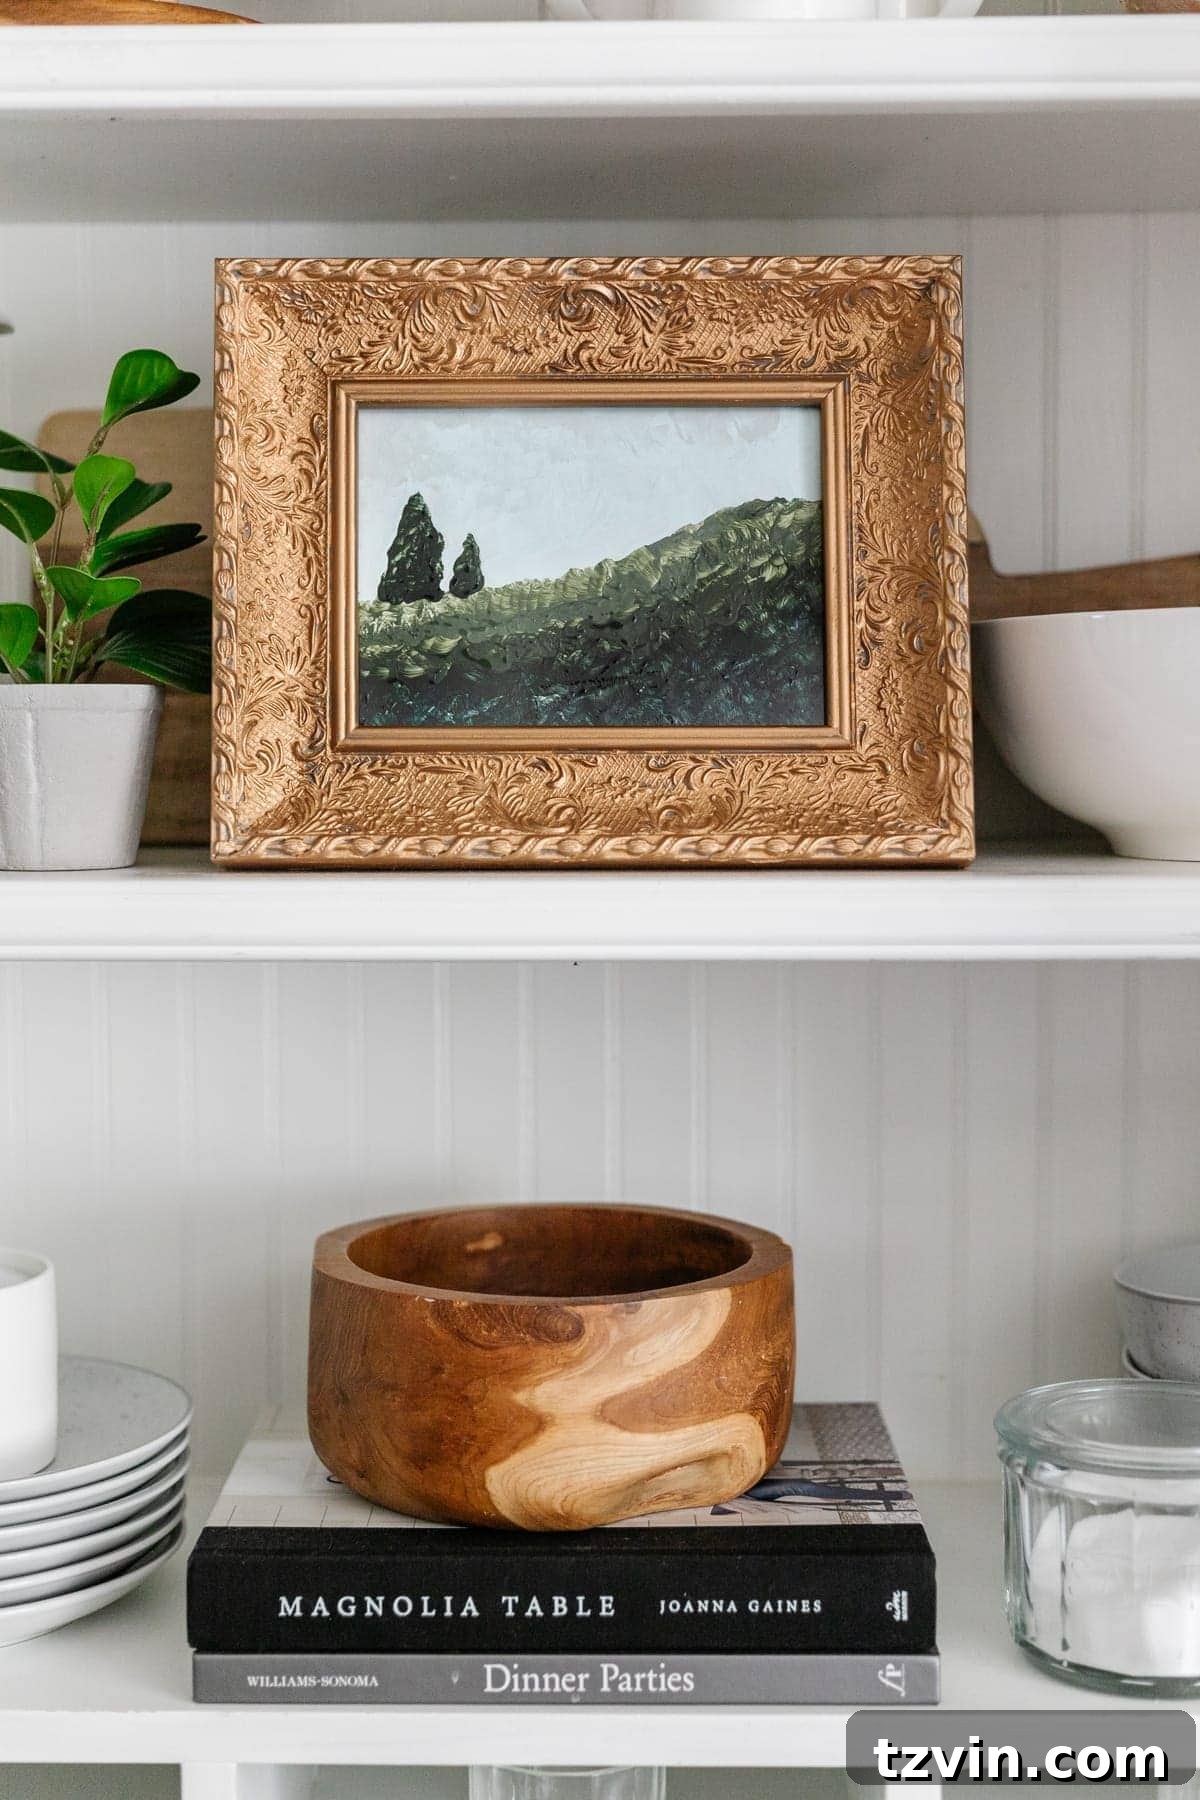
Have you ever stumbled upon a hidden gem at a thrift store and immediately envisioned its incredible potential? That thrilling moment of discovery, paired with a spark of creative inspiration, is precisely how this remarkable DIY art project began. What started as a simple, discarded picture frame, boasting a charming yet faded shabby chic appeal, transformed into a piece of art that genuinely surprised even its creator. It’s a testament to the idea that beautiful home decor doesn’t require a hefty budget or professional artistic skills.
The journey started with a $2 thrift store find – a picture frame that, despite its humble origins, bore a striking resemblance to the popular, high-end Studio McGee art often seen gracing the shelves of stylish homes and Target aisles. The only thing missing, of course, was the actual art itself. This discovery ignited an idea: why not create my own abstract masterpiece to fill its empty space, emulating that coveted aesthetic on a shoestring budget?
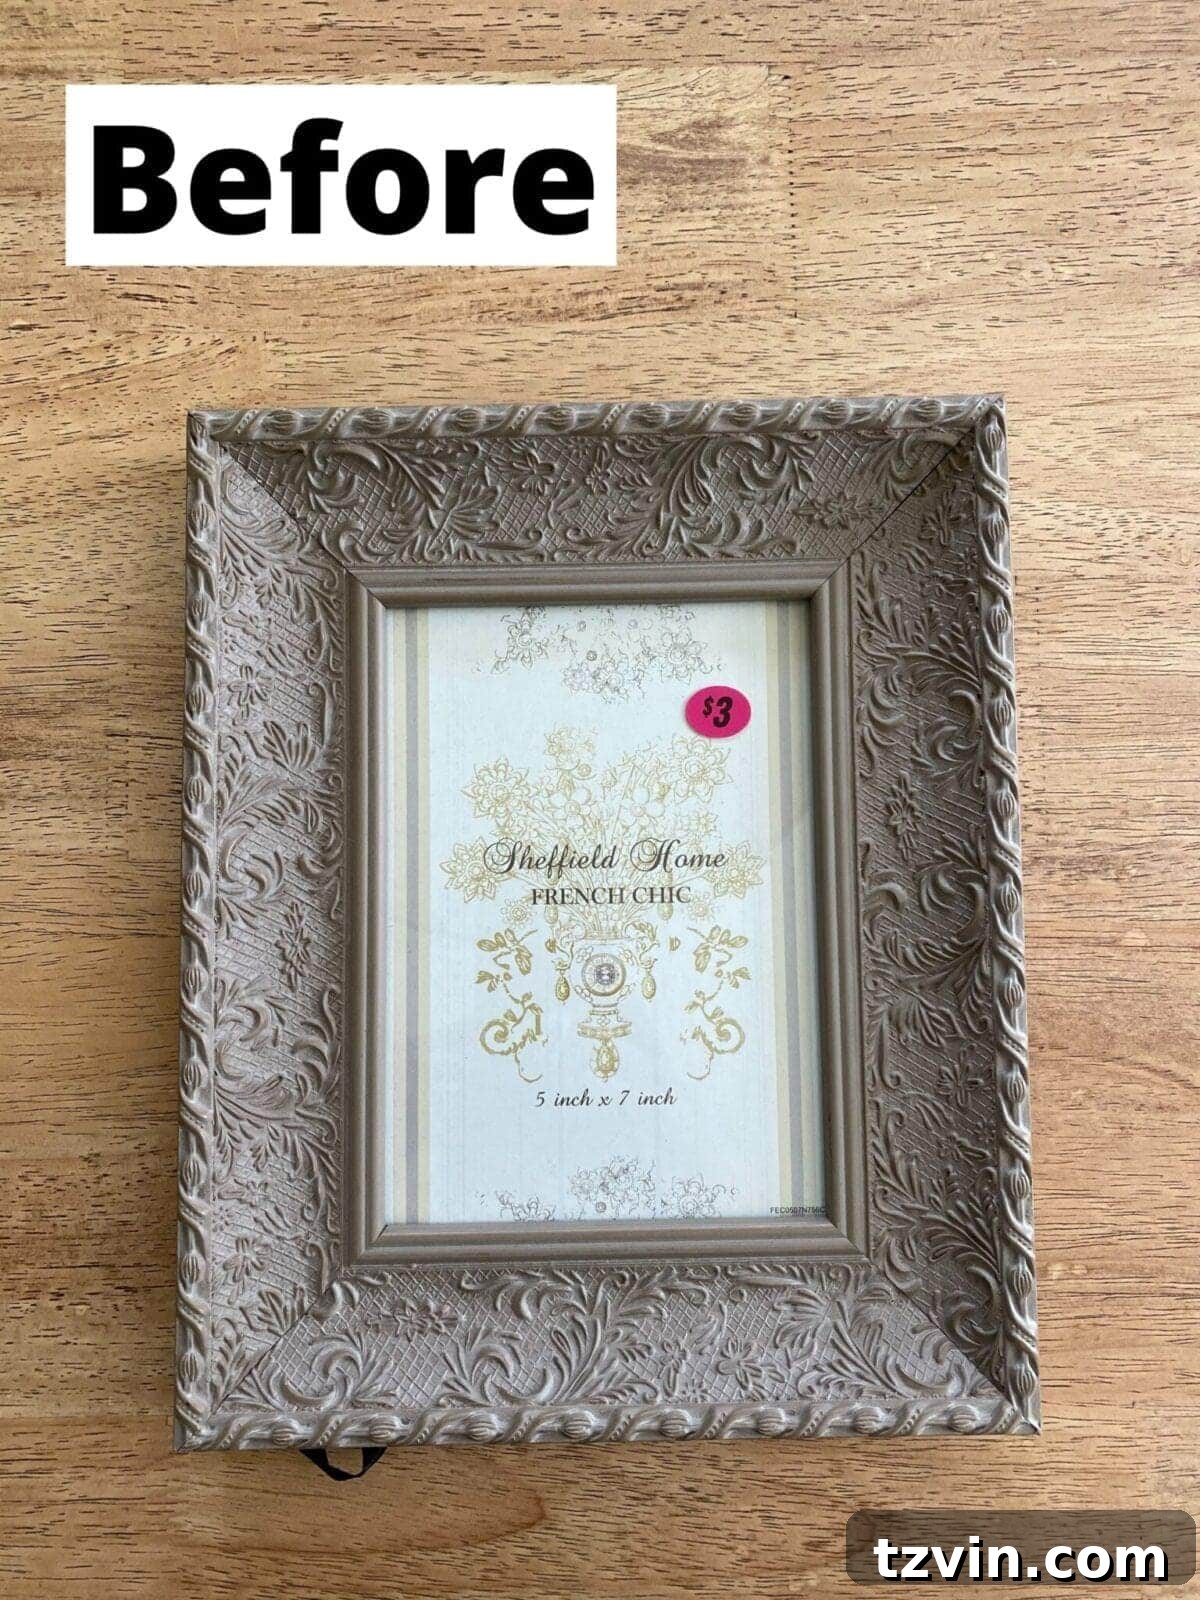
The beauty of this project lies in its accessibility. There’s no need for expensive art supplies or a fine arts degree. With a desire to create something unique, I dove into my children’s arts and crafts bin, retrieved some basic acrylic paints, and repurposed the existing paper insert from the frame. While a heavier weight paper or even a small canvas would have provided a more professional base, the principle here was to work with what was readily available, proving that art can truly be born from everyday items. It was a joyful exploration of color and texture, a spontaneous act of creativity that yielded surprisingly delightful results.
This tutorial will guide you through the process of transforming a simple thrifted frame into a stunning piece of abstract landscape art. Whether you consider yourself an artist or can barely draw a stick figure (like me!), this beginner-friendly approach will empower you to create personalized decor that adds character and charm to any room in your home. Get ready to unleash your inner artist and discover the immense satisfaction of DIY creation!
Why DIY Art? The Benefits of Creating Your Own Decor
Beyond the sheer joy of creation, opting for DIY art offers a multitude of benefits that extend far beyond simply saving money. In an era where personalization and sustainability are highly valued, making your own art checks all the boxes. First and foremost, it’s incredibly cost-effective. High-quality abstract art, especially pieces inspired by popular designers, can often come with a hefty price tag. By utilizing thrift store finds and basic craft supplies, you can achieve a similar aesthetic for a fraction of the cost, making stylish home decor accessible to everyone.
Secondly, DIY art allows for unparalleled personalization. You get to choose the colors, the style, and the overall mood of your piece, ensuring it perfectly complements your existing decor and personal taste. Mass-produced art can sometimes feel generic, but a handmade piece carries a unique story and a personal touch that resonates with the character of your home. It reflects your individuality and makes your living space truly yours.
Moreover, the process of creating art, even something as simple as an abstract landscape, can be incredibly therapeutic. It offers a mindful escape from daily stresses, allowing you to focus on color, form, and texture. There’s a profound satisfaction in seeing a blank canvas (or in this case, a recycled paper insert) transform under your hand into something beautiful. It’s a boost to your creativity and self-confidence, proving that you’re capable of more than you might imagine.
Finally, this project champions sustainability through upcycling. Giving a new life to a discarded picture frame reduces waste and promotes a more environmentally conscious approach to home decorating. It’s a small step towards a greener lifestyle, proving that old items can be reimagined and repurposed into something new and exciting. So, if you’re looking for an affordable, personal, therapeutic, and sustainable way to refresh your home, DIY art is an undeniable winner.
Gathering Your Supplies: Essential Tools for Your Artistic Endeavor
The beauty of this project lies in its simplicity and the minimal, often everyday, supplies required. You likely have many of these items around your house already, especially if you have kids who enjoy crafting. Here’s a detailed look at what you’ll need to get started:
- Thrifted Frame: The star of our show! Look for frames with interesting shapes, textures, or even ornate details. Don’t be deterred by a less-than-perfect finish; we’ll be giving it a makeover. Any size or style can work, so choose one that speaks to you and fits your decor needs.
- Antique Gold Rub n Buff: This magical wax metallic finish is a game-changer for transforming dull frames into elegant pieces. A tiny bit goes a long way, providing a rich, antique gold luster with minimal effort. If antique gold isn’t your preference, Rub n Buff comes in various metallic shades, or you could opt for spray paint for a different finish.
- Acrylic Paint Set: You don’t need professional-grade artist paints. A basic set of acrylic paints, similar to those found in craft stores or even kids’ craft supplies, will work perfectly. Acrylics are versatile, easy to clean up, and dry relatively quickly. Choose a palette that inspires you – think earthy tones for landscapes, or brighter hues for a more contemporary abstract look.
- Disposable Bowl and Spoons (for mixing colors): Essential for blending your chosen paint colors to create unique shades and gradients. Old plastic containers, paper plates, or even a piece of wax paper can also serve as effective palettes.
- Paint Brushes in Assorted Sizes: Having a few different sizes will give you more control and allow for varied strokes. A larger brush is good for laying down base colors, while smaller brushes can be used for details or fine lines (even “wonky trees”). Don’t forget a wide, flat brush for smooth blending, and perhaps a stiffer brush for creating texture.
- Surface for Painting: While I initially used the paper insert from the frame, a heavier weight paper (like watercolor paper or cardstock) or a small canvas board would offer a more robust and professional surface. If using the existing paper insert, be gentle as it may buckle with too much moisture.
- Water Cup: For rinsing your brushes between colors. An old jar or plastic cup works perfectly.
- Paper Towels or Rags: For dabbing excess water from brushes and cleaning up any accidental spills.
Gathering these simple supplies is the first exciting step towards creating your personalized piece of abstract art. Once you have everything ready, you’re just moments away from transforming your thrift store find into a cherished decorative item.
Unleashing Your Inner Artist: How to Paint a Simple Abstract Landscape for Beginners
Let me preface this by saying, if my artistic abilities are limited to drawing stick figures (and not particularly good ones at that), then anyone, truly anyone, can create this type of abstract art. The beauty of abstract landscapes lies in their forgiving nature; there’s no right or wrong way, only exploration and expression. This method is incredibly simple, making it perfect for those who are new to painting or simply want a fun, low-pressure creative outlet. You can quickly grasp the fundamental process by watching the video below:
Step 1: Preparing Your Frame – The Gold Standard Makeover
Before diving into the “super fancy painting” (as I lovingly refer to it), the first crucial step is to give your thrifted frame a much-needed facelift. This is where the Antique Gold Rub n Buff comes into play. It’s an incredibly versatile product that I find myself using on almost everything that needs a touch of vintage elegance or a metallic refresh.
To apply, simply squeeze a tiny amount of the Rub n Buff onto a clean rag or even your fingertip. Then, gently rub it onto the surface of your frame. Work in small sections, using light, circular motions. You’ll immediately notice the transformation as the dull or worn finish is replaced with a rich, antique gold sheen. The beauty of Rub n Buff is its buildable nature; you can apply more layers for a deeper, more opaque finish, or use a lighter hand for a subtle, aged patina. Ensure you get into any ornate details or crevices for a consistent look. This simple step elevates the entire piece, making the final artwork pop even more.
Step 2: Choosing Your Color Palette – Setting the Mood
For an abstract landscape, think about the colors you might see in nature – blues for skies and water, greens and browns for land and foliage, and perhaps some lighter tones for highlights or clouds. Don’t be afraid to mix and match. Start with 3-5 colors that you feel complement each other. For instance, a base of muted blue, a soft green, a touch of cream, and a deep brown can create a serene landscape. Use your disposable bowl or palette to mix custom shades; a little white can lighten a color, while a touch of black (use sparingly!) can deepen it.
Step 3: Laying the Foundation – The Background
Take your prepared painting surface (the paper insert or small canvas). Begin by applying a base layer of your lightest color, or a mix of two soft colors, across the top third of your surface. This will represent your sky. Don’t strive for perfection; let the brushstrokes be visible, adding to the abstract quality. Use a larger brush for this to cover the area quickly. While this layer is still slightly wet, you can gently blend in a second color if you wish to create a soft gradient.
Step 4: Building the Landscape – Mid-Ground and Foreground
Move down to the middle section of your surface. Here, you’ll introduce colors for hills, fields, or a body of water. Use a different brush or clean your existing one. Apply broad strokes of your chosen colors, overlapping slightly with the “sky” section to create a seamless transition. For example, a band of muted green for rolling hills, or a streaky blue for a distant lake. Remember, the goal isn’t realism but an impression of a landscape.
For the bottom third, the foreground, use deeper or richer colors. This area will feel closer to the viewer. You might use a darker brown or a more vibrant green. Apply the paint with varying pressure and direction to create visual interest and implied texture. Don’t be afraid to let colors merge slightly on the paper; this can create beautiful, natural blends unique to abstract art.
Step 5: Adding Depth and Details – The “Wonky Trees” and Texture
Once your base layers have dried a bit (acrylics dry quickly, but give them a few minutes), it’s time to add character. This is where those “wonky trees” or other abstract elements come in. Using a smaller brush and a darker color (like deep brown or dark green), create simple, vertical strokes or irregular shapes to suggest trees, shrubs, or other distant elements. The key is not to draw perfect trees but to imply their presence with simple forms. Embrace any imperfections; these add to the charm of your handmade piece.
You can also use your brush to add texture. Try dabbing, flicking, or dragging your brush lightly over some areas to create a sense of rough terrain, clouds, or foliage. Experiment with mixing a tiny bit of white into a color and adding highlights to give dimension to your abstract forms. This layering of colors and textures is what brings abstract art to life.
Step 6: Step Back and Assess – The “Happy Accidents” Philosophy
Periodically, step away from your painting and look at it from a distance. This gives you a fresh perspective and helps you see the overall composition. Does it need more color in one area? A darker shade to create more contrast? Don’t be afraid to add more layers or adjust sections. Remember, in abstract art, there are no mistakes, only “happy accidents.” What might seem like a flaw up close can often contribute to the unique charm and character of the piece when viewed as a whole.
Step 7: Drying and Framing Your Masterpiece
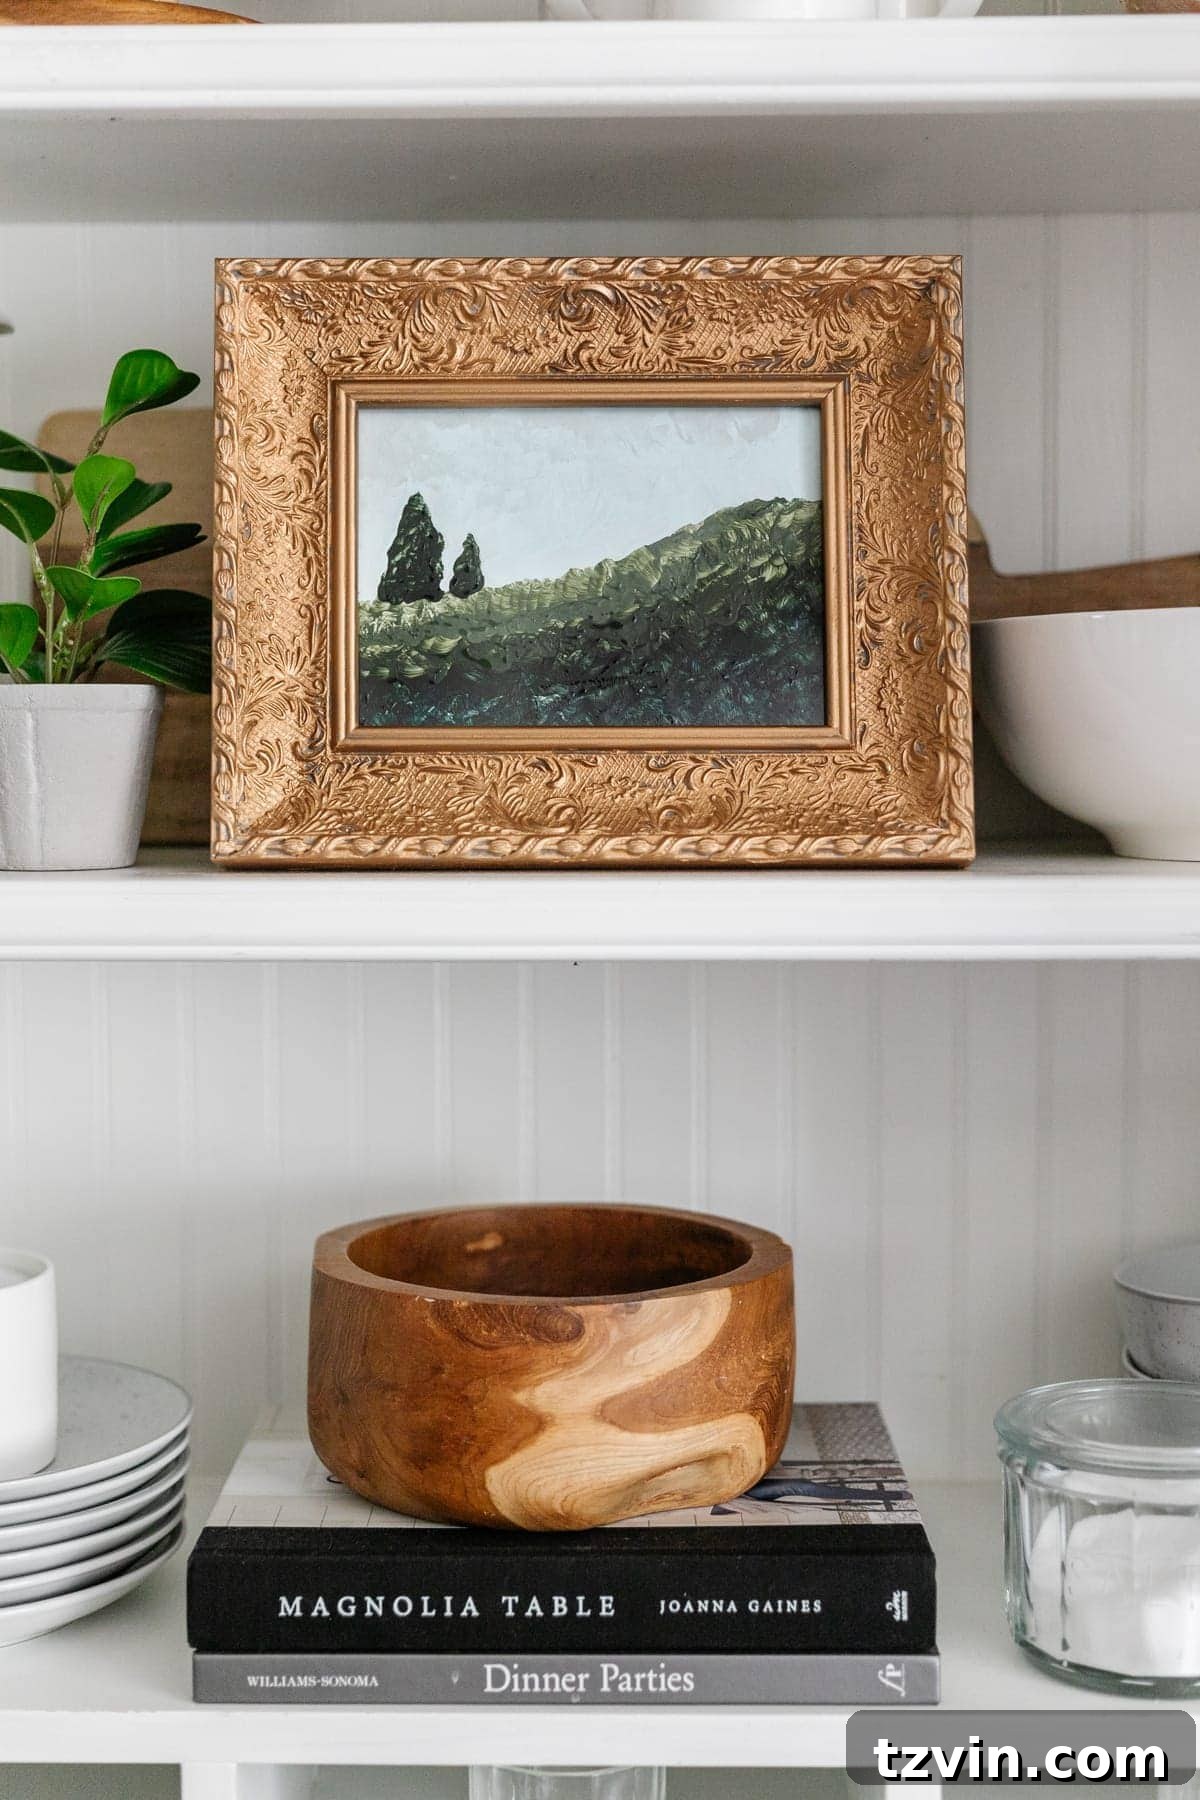
Once you are satisfied with your painting, allow it to dry completely. Acrylic paints are usually touch-dry within an hour, but it’s best to let them cure for several hours or overnight before handling too much. Once dry, carefully place your new abstract landscape into your beautifully refinished antique gold frame. Secure it in place, and voilà! You’ve created a stunning piece of art that looks far more expensive than its humble origins.
While my initial attempt was, admittedly, a bit amateurish, the beauty of abstract art is that it doesn’t demand technical perfection. From afar, it genuinely holds its own, creating the illusion of a sophisticated, high-end piece. Perhaps I’m biased, or maybe my eyes are just accustomed to its charm, but I believe it passes for the real deal. So, don’t scrutinize those “wonky trees” too closely; embrace the playful imperfection!
Displaying Your Masterpiece and Beyond
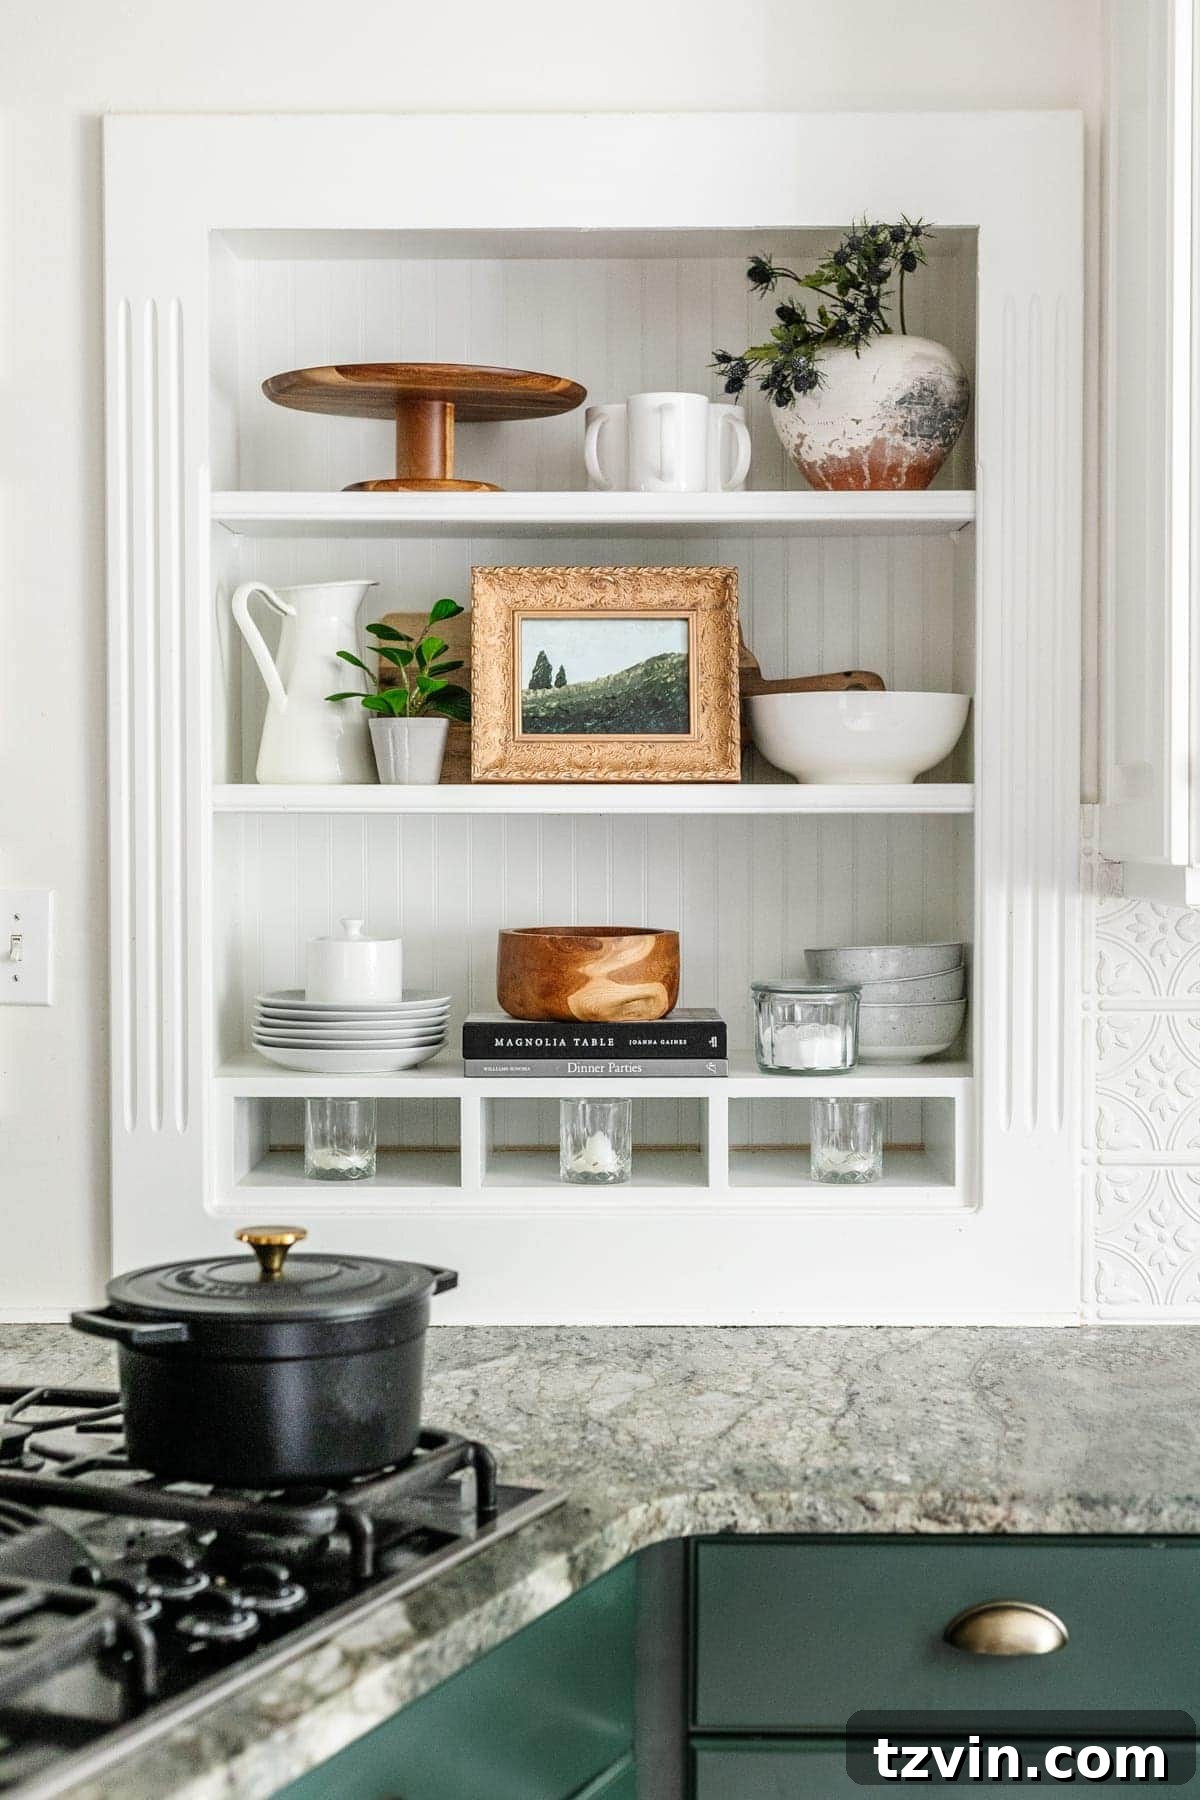
Now that your abstract landscape is complete, the exciting part is finding the perfect spot to display it. Its versatile nature means it can complement a variety of decor styles and rooms. Imagine it as a focal point on a kitchen shelf, adding a touch of rustic elegance to your culinary space. It could also enhance an entryway console table, welcoming guests with a unique piece of art, or bring a calming, artistic vibe to your bedroom nightstand. Its neutral yet rich tones allow it to blend seamlessly while still making a subtle statement.
The true success of this project isn’t just in the finished piece but in the profound satisfaction derived from the creative process itself. This wasn’t just about painting; it was about transforming something ordinary into something extraordinary, all with a bit of imagination and a few inexpensive supplies. If, for any reason, you’re not completely thrilled with your painting (which I highly doubt will happen!), remember there are always other options. You could easily swap it out for a beautiful free art printable, giving your frame another new lease on life. The frame itself is a treasure, capable of holding endless possibilities.
Ultimately, this project embodies what DIY should truly be about: having fun, experimenting, and embracing the journey of creation. It’s a wonderful reminder that art is accessible to everyone, regardless of perceived talent or experience. So, I wholeheartedly encourage you to give this a try. Who knows? You might just surprise yourself and uncover a hidden artistic talent!