Are you ready to transform your living space with unique, personal touches that don’t break the bank? We’re diving deep into the fascinating world of guest bedroom decor, and it turns out, the most exquisite wall art can often be found flourishing right outside your door.
For those familiar with our little corner of the internet, you’ll know my undeniable affection for botanical prints. There’s something timeless and elegant about capturing nature’s beauty. The irony, of course, is that my own gardening skills leave much to be desired; keeping a live plant thriving often feels like an impossible feat. So, what’s a nature-loving, plant-challenged DIY enthusiast to do? Simple: embrace the art of preservation!
Rather than lamenting over wilting blossoms, we’re turning them into stunning, long-lasting works of art. This guide will walk you through creating beautiful pressed flower art, a vintage-inspired decor solution that is both incredibly affordable and deeply personal. It’s an ideal way to infuse your home with natural charm, bringing a piece of your garden indoors, no green thumb required!
How to Create Breathtaking Pressed Flower Art for Your Home
Some embrace the philosophy of making lemonade from lemons. In our creative journey, we’re transforming delicate blooms and lush leaves into captivating art pieces. This project isn’t just about crafting; it’s about creating lasting memories and bringing a touch of nature’s serenity into your home. Imagine adorning your walls with unique botanical arrangements that tell a story – a story of your garden, a special occasion, or simply the fleeting beauty of a season.
This method offers an incredibly accessible and nearly free way to produce stunning wall art. If you’re fortunate enough to have a garden or access to fresh flowers, you’re already halfway there. Even if your backyard isn’t overflowing with blooms, you can easily pick up an inexpensive bundle of flowers from your local grocery store, farmer’s market, or a specialty store like Trader Joe’s, often for less than $10. Look for flowers with vibrant colors and interesting shapes that will retain their charm once pressed.
PRO TIP: Keep an eye out for unique picture frames at thrift stores, flea markets, or garage sales. These hidden gems can be scored for pennies and often come with beautiful antique details or interesting textures. Mixing and matching thrifted frames allows you to create an eclectic gallery wall that exudes character and tells a unique visual story, far more engaging than a set of identical new frames.
(Some affiliate links are provided below to help you find the right supplies. Full disclosure here.)
Essential Supplies for Your Pressed Flower Project
Gathering your materials is the first exciting step in any DIY project. For pressed flower art, you’ll find that many items might already be in your home, making this an even more budget-friendly craft. Here’s what you’ll need to get started:
- A variety of fresh leaves and flowers: The best time to pick them is on a dry, sunny day, ideally after any morning dew has completely evaporated. This minimizes moisture content, which is crucial for successful pressing.
- Flower press: While a dedicated flower press is a wonderful tool for consistent results and ease of use, it’s not strictly necessary. If you prefer a DIY approach, you can achieve excellent results using layers of parchment paper, heavy books (like textbooks or encyclopedias), or even an old phone book. The key is consistent, even pressure over time. Save your money if you have these household alternatives!
- Textured paper: This will serve as the canvas for your pressed flowers. Opt for acid-free paper to prevent yellowing over time, especially if you want your art to last. Textured paper, like watercolor paper or specialty scrapbook paper, adds an elegant backdrop that enhances the natural beauty of the pressed botanicals.
- Picture frames: Choose frames that complement your home decor. As mentioned, thrift stores are treasure troves for unique frames that add character. Consider various sizes and styles to create an engaging display. Double-paned floating frames are also an excellent choice, allowing the pressed flowers to “float” between two pieces of glass, creating a delicate, ethereal look.
Step 1 – Carefully Gather Your Flowers and Leaves
The success of your pressed flower art begins with selecting the right botanical specimens. Focus on flowers with thin, relatively flat petals. These types dry more quickly and evenly, reducing the risk of mold and preserving their color better. Thicker, “juicier” flowers, like roses or carnations, contain a lot of moisture and can take significantly longer to press, often losing their vibrant color or becoming prone to mold if not dried properly.
Best Flowers for Pressing (and why they work well):
- Anemones: Their delicate, flat petals press beautifully, retaining their striking colors.
- Pansies and Violas: These charming flowers are naturally flat and come in a dazzling array of colors, making them ideal for pressing.
- Daisies: Simple yet elegant, daisies press easily and add a classic touch.
- Cosmos: With their thin petals and vibrant hues, cosmos are fantastic for botanical art.
- Forget-Me-Nots: Tiny and delicate, perfect for creating intricate designs or adding subtle accents.
- Buttercups: Their bright yellow petals are thin and press well, maintaining their cheerful color.
- Poppies: While sometimes a bit more delicate to handle, their papery petals press into stunning, translucent forms.
- Sweet Peas: Their unique shapes and lovely colors are beautifully preserved.
- Larkspur: Tall and elegant, individual florets can be pressed for graceful arrangements.
- Lily of the Valley: The small, bell-shaped flowers press surprisingly well, offering delicate details.
- Hydrangea petals: Separate the individual petals from the larger bloom; they press beautifully and offer a range of soft colors.
- Bluebells: Their enchanting blue tones are well-retained when pressed carefully.
Don’t limit yourself to just flowers! Greenery such as ferns, delicate herbs like dill or parsley, various grasses, and flat leaves (like maple, ginkgo, or oak) are excellent for pressing. They add texture, contrast, and depth to your botanical compositions. Incorporating these elements can create a more dynamic and visually interesting piece.
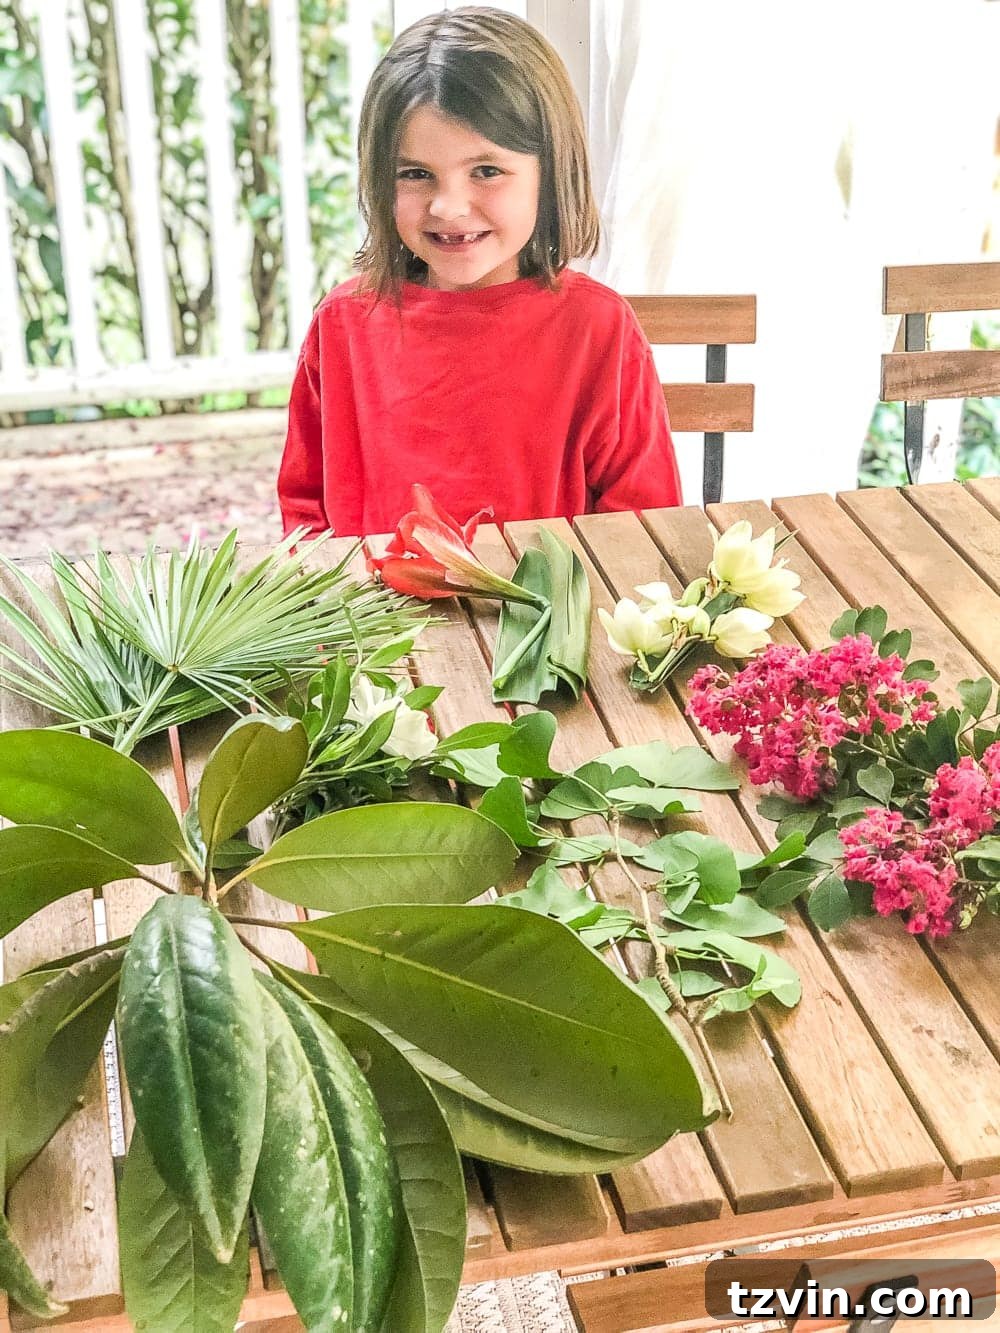
To make the activity even more special, consider turning it into a family outing. Robert, Olivia, Regan, and I often enjoy a leisurely walk around our backyard, hand-picking a diverse assortment of leaves and flowers. It’s a wonderful way to connect with nature, spend quality time together, and let everyone contribute to the creation of the art. Just look at this sweet face – the pride of discovery is truly heartwarming!
Step 2 – Prepare and Arrange Flowers for Pressing
Proper preparation is key to preventing mold and ensuring vibrant, long-lasting results. Before placing your chosen botanicals into the press, ensure they are completely dry to the touch. Any residual moisture can lead to discoloration or, worse, mold growth during the pressing process. If you picked them after a rain shower or they still have dew, let them air dry for a few hours indoors before proceeding.
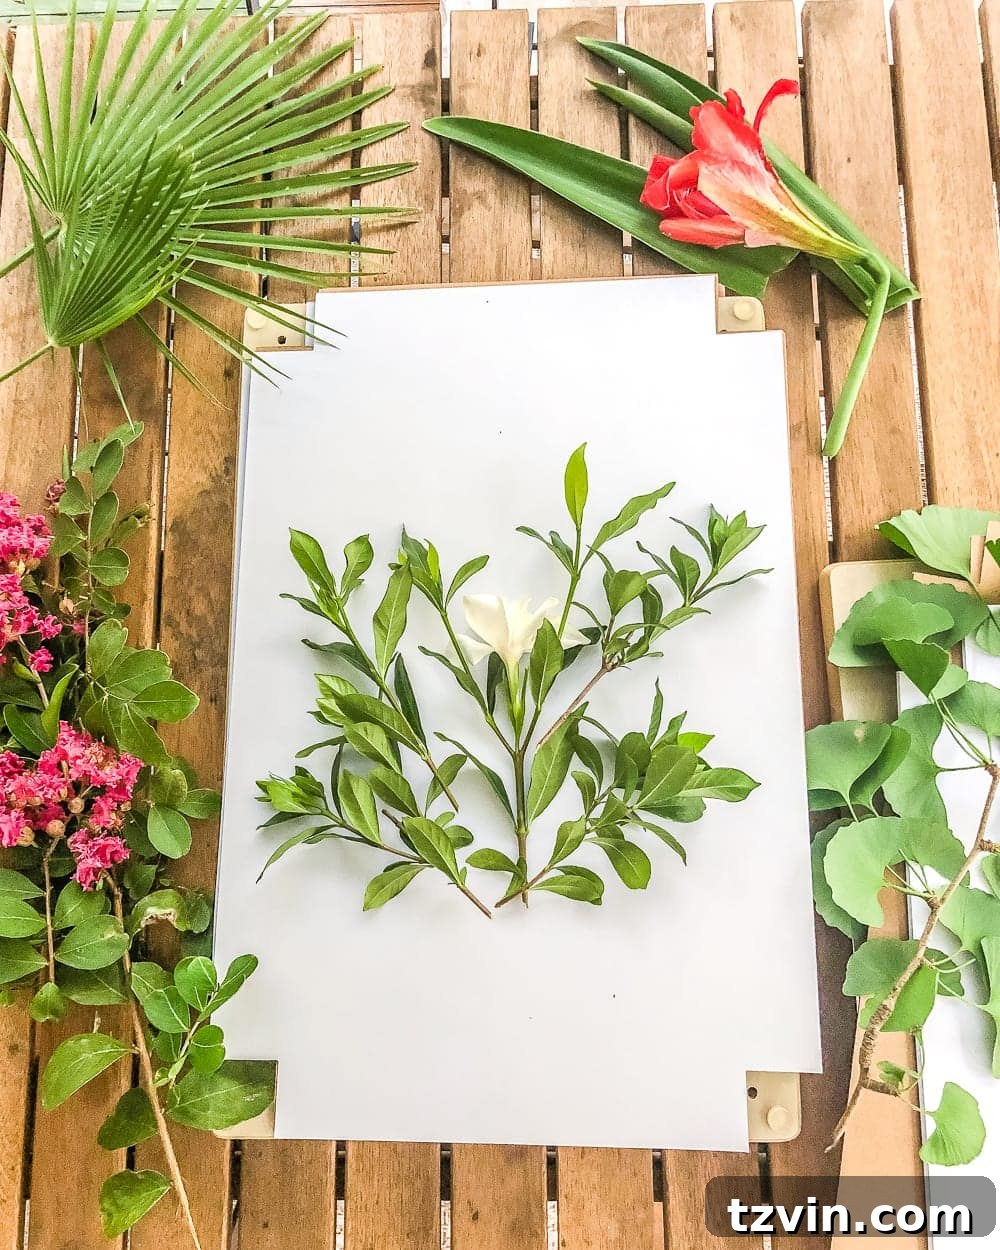
Once dry, carefully arrange each individual flower or leaf on a piece of blotting paper. It’s important to give each specimen a little space – at least an inch between them – to allow for proper airflow and prevent them from sticking together. Blotting paper (or even plain paper towels or newsprint in a pinch) helps absorb moisture. Once your flowers are laid out, gently place another piece of blotting paper directly on top, creating a protective layer.
Step 3 – Construct the Pressing “Sandwich”
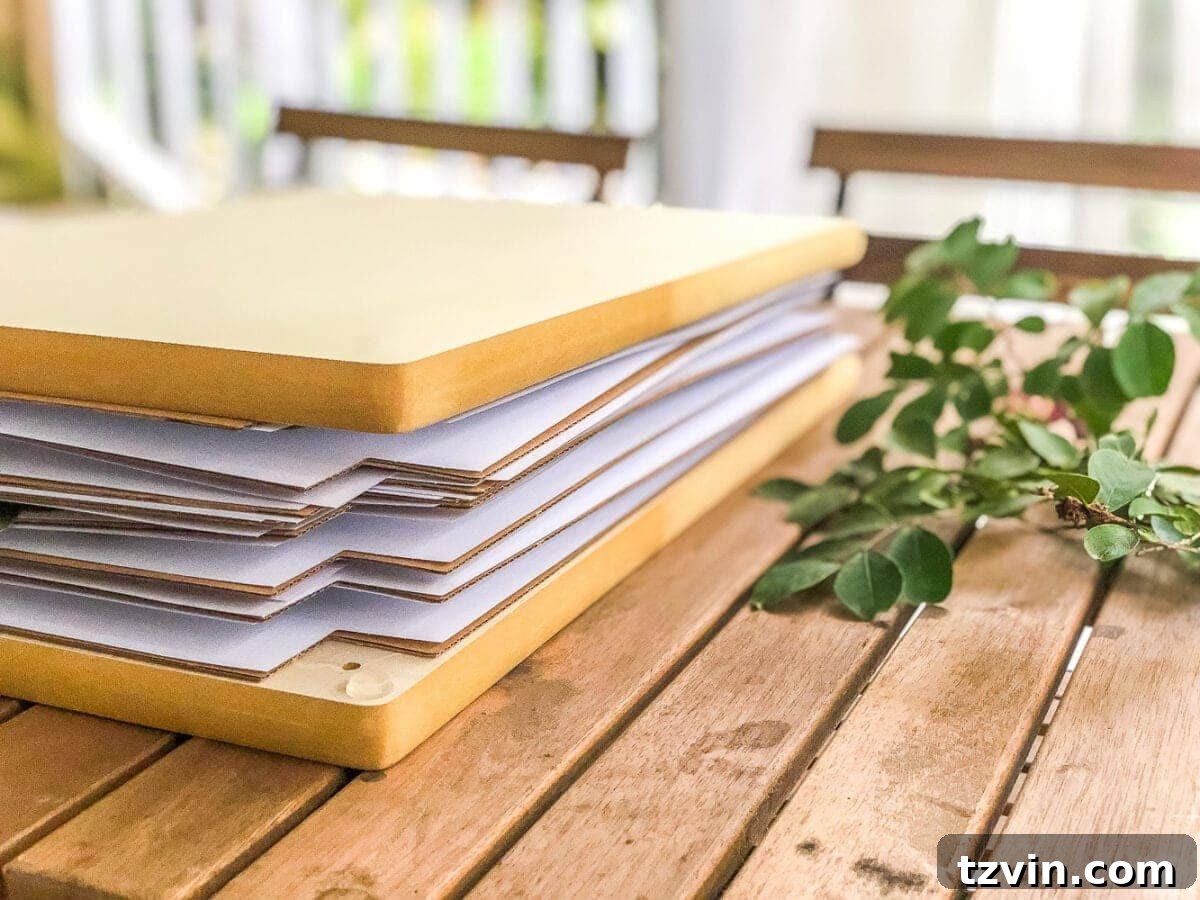
Whether you’re using a dedicated flower press or a stack of heavy books, the layering process is essentially the same. You’re aiming to create a “sandwich” that applies even pressure across all your botanical samples. Begin with a sturdy piece of cardboard as the base. On top of this, place your first blotting paper layer with the flowers, followed by another piece of blotting paper. Then, add another piece of cardboard. Repeat this sequence – cardboard, blotting paper with flowers, blotting paper, cardboard – until you’ve layered all your flowers. The cardboard provides rigidity and helps distribute pressure evenly, while the blotting paper absorbs moisture, ensuring the flowers dry flat and crisp.
Step 4 – Apply Consistent Pressure
Once your botanical “sandwich” is assembled, it’s time to apply pressure. If you’re using a traditional flower press, place your layered stack between the two wooden boards and clamp them down as tightly as possible using the provided screws or straps. The goal is to press the flowers flat and remove moisture effectively. If you’re using the heavy book method, stack your heaviest books directly on top of your cardboard and blotting paper layers. Ensure the stack is stable and the pressure is evenly distributed across the entire surface. The more consistent the pressure, the better and more uniformly your flowers will press.
Step 5 – The Patience Game: Waiting for Perfection
Now comes the hardest part: waiting! The pressing time can vary significantly depending on the type of flower, its moisture content, and the humidity of your environment. Small, thin-petaled flowers and delicate leaves might only need about a week to fully press. However, larger or thicker flowers could take up to three weeks, or even longer, to completely dry and flatten. Patience is truly a virtue here; rushing the process can result in brittle, discolored, or moldy specimens.
If you’re using a flower press, it’s beneficial to tighten the screws every few days. As the flowers release more moisture, they will shrink, and tightening the press ensures that continuous, firm pressure is applied. You can carefully open the press periodically to check on their progress, but avoid handling the flowers too much until they are completely dry and stiff. They should feel like dried paper, not limp or damp. Full dryness is crucial for preventing deterioration and ensuring your pressed flowers last for years to come.
Step 6 – Design and Frame Your Botanical Masterpiece
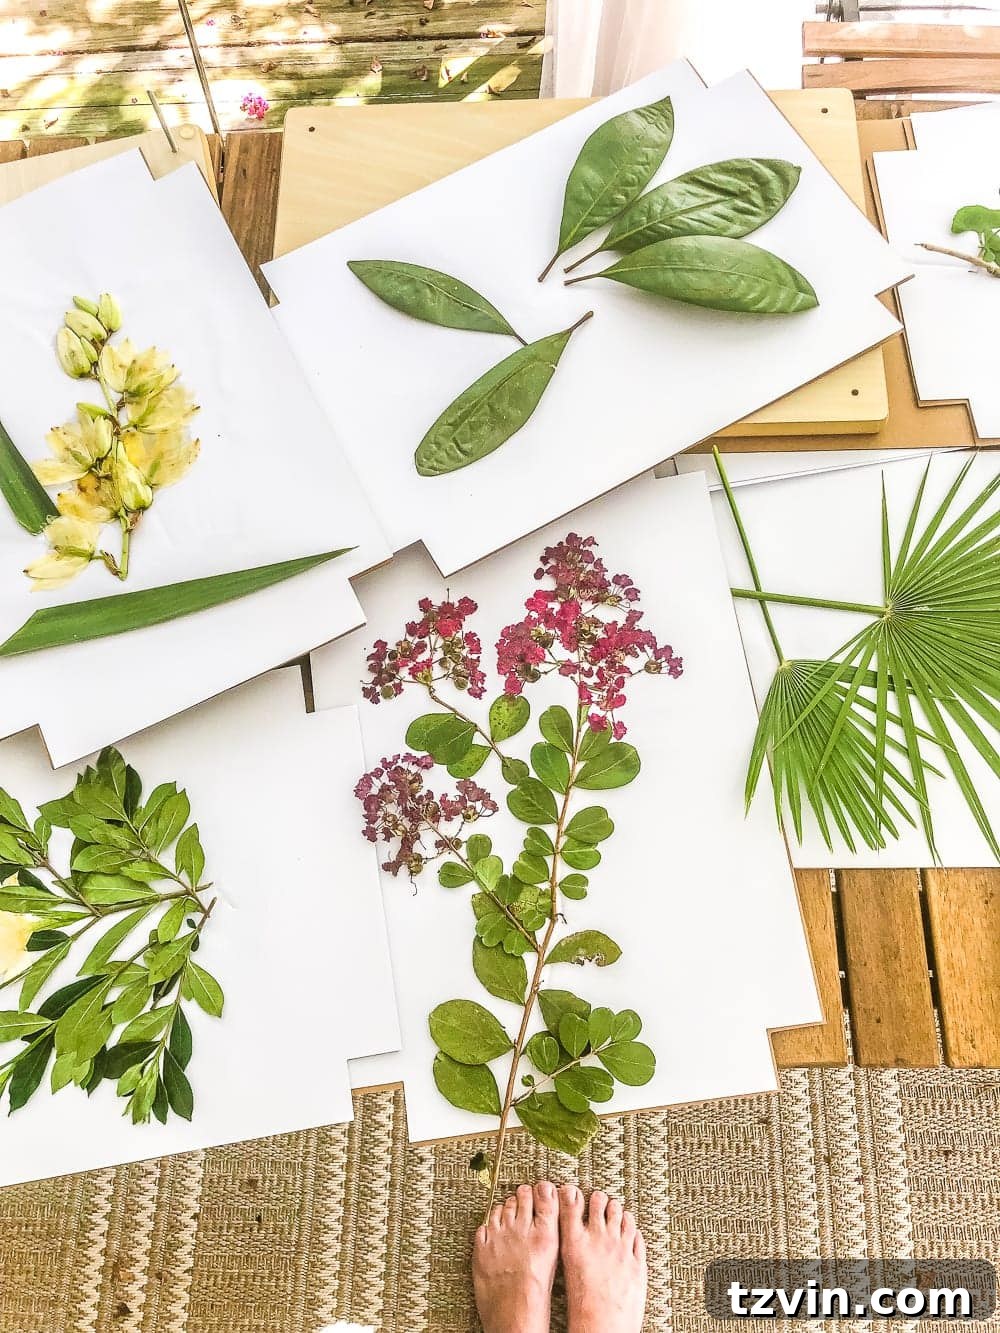
Once your flowers and leaves are perfectly pressed and completely dry, it’s time for the truly artistic part: creating your arrangements! Carefully remove the pressed botanicals from the press. They will be delicate, so handle them with tweezers or a very gentle touch. Lay them out on your chosen textured paper and experiment with different layouts. Consider principles of design like balance, color harmony, and visual flow. Do you want a symmetrical, formal arrangement, or a more whimsical, naturalistic display?
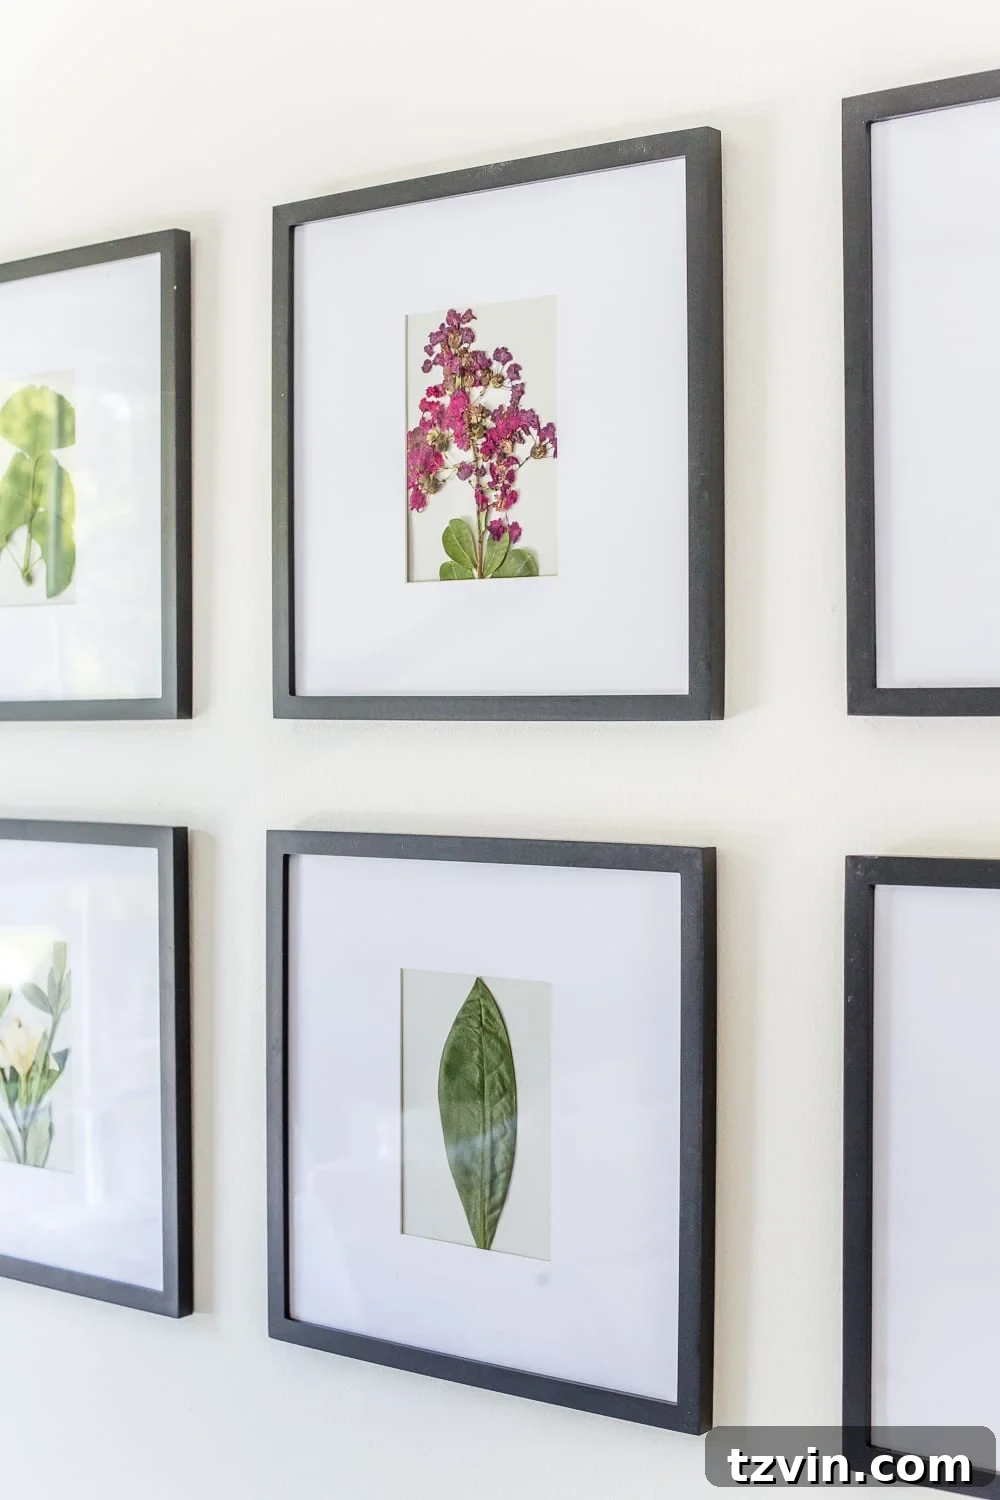
Once you’re satisfied with your composition, you can secure the pressed flowers to the paper. A tiny dab of clear-drying craft glue (like PVA glue) applied with a toothpick to the back of each piece works well. Alternatively, some crafters simply rely on the pressure of the frame’s backing to hold the flowers in place, especially if using a floating frame. Place your beautifully arranged paper into your chosen picture frame, ensuring it’s centered and secured properly with the frame’s backing.
For enhanced longevity and protection, especially if your art will be displayed in direct sunlight or high-traffic areas, consider upgrading to museum glass or conservation glass. These types of glass offer UV protection and reduce glare, preventing your delicate pressed flowers from fading over time. It’s a small investment that can significantly extend the life and vibrancy of your botanical art.
And just like that, you’ve created a stunning, personalized piece of decor – easy peasy, flower squeezey! 😉
How Long Can Pressed Flower Art Last?
One of the most appealing aspects of pressed flower art is its incredible longevity. With proper care and preparation, your botanical creations can last for many years, even decades, and in some cases, over a century! The lifespan of your pressed flowers is influenced by several factors:
- Type of Flowers Used: Some flowers naturally retain their color and structure better than others. For example, thin-petaled flowers tend to fare better than very thick, fleshy ones.
- Pressing Quality: Thorough pressing that removes all moisture is paramount. Any residual moisture can lead to decay or color degradation.
- Storage and Display Conditions: The environment where your art is displayed plays a huge role. Excessive light, humidity, or heat are the biggest culprits for fading and damage.
- Protection: Using UV-protective glass (like museum or conservation glass) can dramatically extend the vibrancy of colors by blocking harmful sunlight.
While many pressed flowers can maintain their integrity for extended periods, it’s natural for some colors to soften and fade slightly over time, typically after 5-7 years, especially if exposed to bright light. This natural aging can also add a beautiful, antique patina to your pieces, contributing to their vintage charm.
Essential Care Tips for Your Pressed Flower Art
To ensure your beautiful pressed flower creations stand the test of time, a little preventative care goes a long way. Here are the key considerations for preserving their beauty:
- Avoid Direct Sunlight: This is arguably the most crucial tip. Direct sunlight, even through a window, contains UV rays that are the primary cause of color fading in pressed botanicals. Position your art on walls that receive indirect light or are shaded.
- Control Heat and Humidity: High temperatures and excessive humidity can accelerate deterioration. Keep your framed art away from heat sources like radiators, fireplaces, or areas prone to steam, such as bathrooms or kitchens without proper ventilation. A stable, moderate indoor environment is ideal.
- Consider Protective Glass: As mentioned earlier, investing in conservation glass or museum glass is highly recommended. These types of glass filter out a significant percentage of harmful UV rays, offering superior protection against fading and preserving the integrity of your flowers’ colors. They also offer anti-glare properties, enhancing the viewing experience.
- Keep Airtight: Ensure your frames are well-sealed. This helps to protect the delicate flowers from dust, moisture, and potential insect damage.
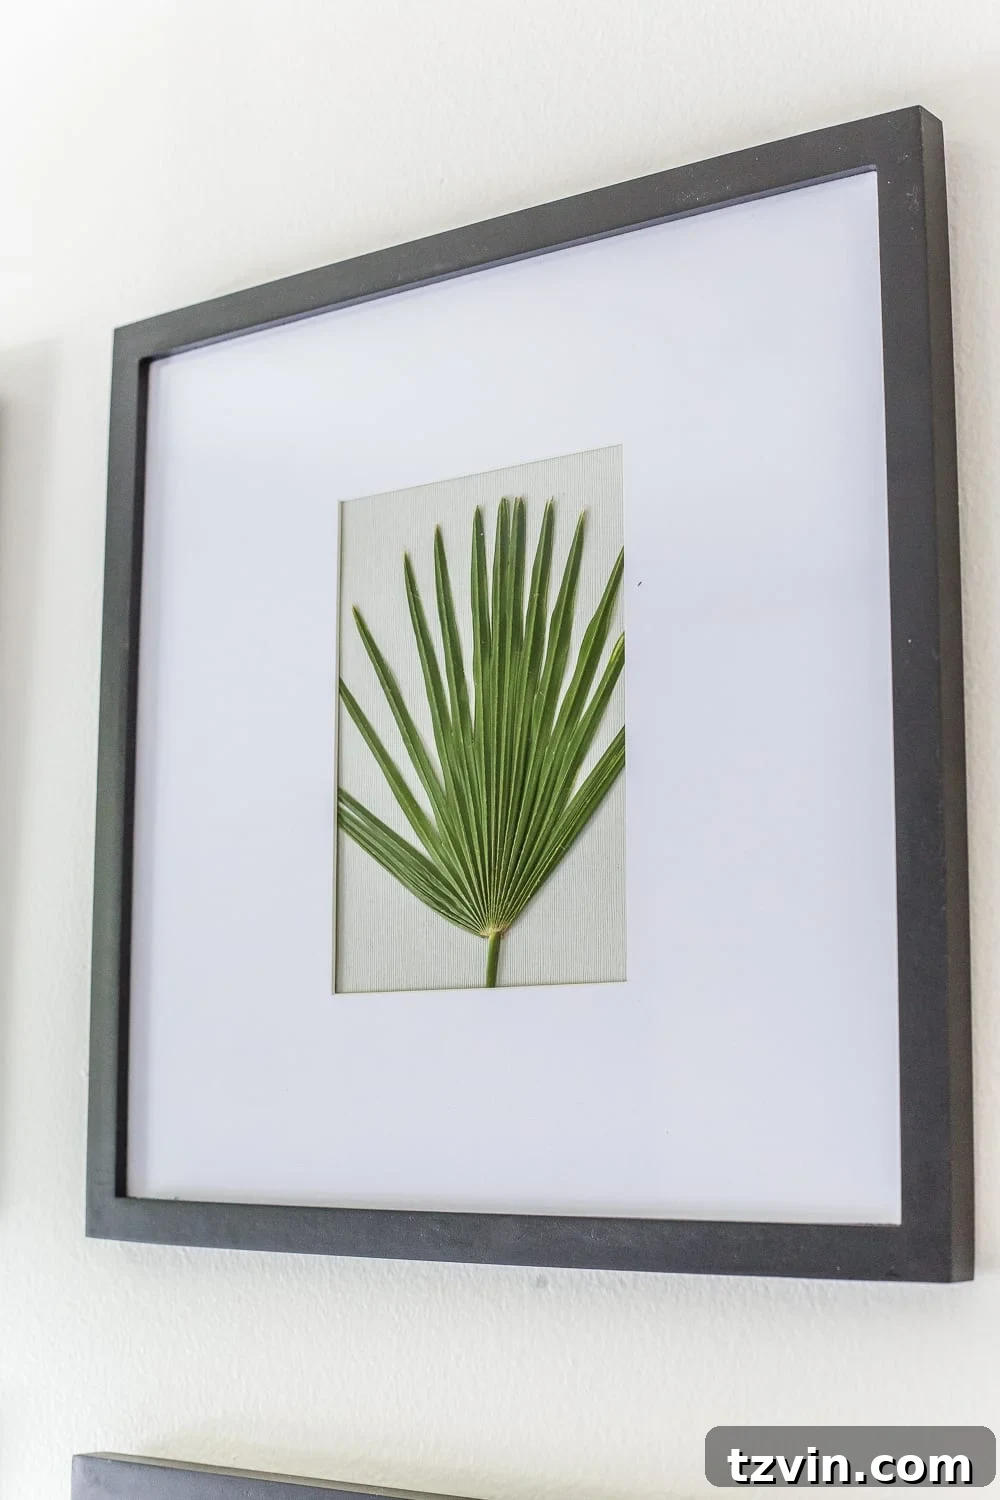
Where to Find Pre-Pressed Flowers (and Why You Might)
While the DIY process of pressing flowers is incredibly rewarding, it might not be for everyone, or perhaps you’re looking for specific types of flowers or an instant solution. If you adore the aesthetic of pressed flower art but prefer to bypass the pressing process yourself, there are fantastic options available. Many talented artisans and small businesses specialize in creating and selling already-pressed flowers, perfect for your crafting needs.
Online marketplaces like Etsy are vibrant hubs for these unique botanical supplies. You can find an extensive variety of pressed flowers, often in curated collections or large packs, making it easy to get started on your art projects right away. These pre-pressed flowers are usually carefully prepared and dried, offering good quality and a wide selection of colors and species that might not be available in your local area or season.
Online Shops for Pressed Flowers:
Here are a couple of excellent places where you can often find large packs of beautiful pressed flowers for less than $10, making them an accessible option for any crafter:
- Dried Flower Mary: Known for a lovely selection of colorful and well-preserved botanicals.
- Avis Florals and Gifts: Offers a diverse range of pressed flowers and leaves suitable for various projects.
Opting for pre-pressed flowers is also a brilliant solution for year-round crafting. It allows you to create stunning botanical art even in fall and winter when fresh flowers from your garden aren’t readily available. This way, the joy of creating beautiful, nature-inspired decor is never limited by the seasons.
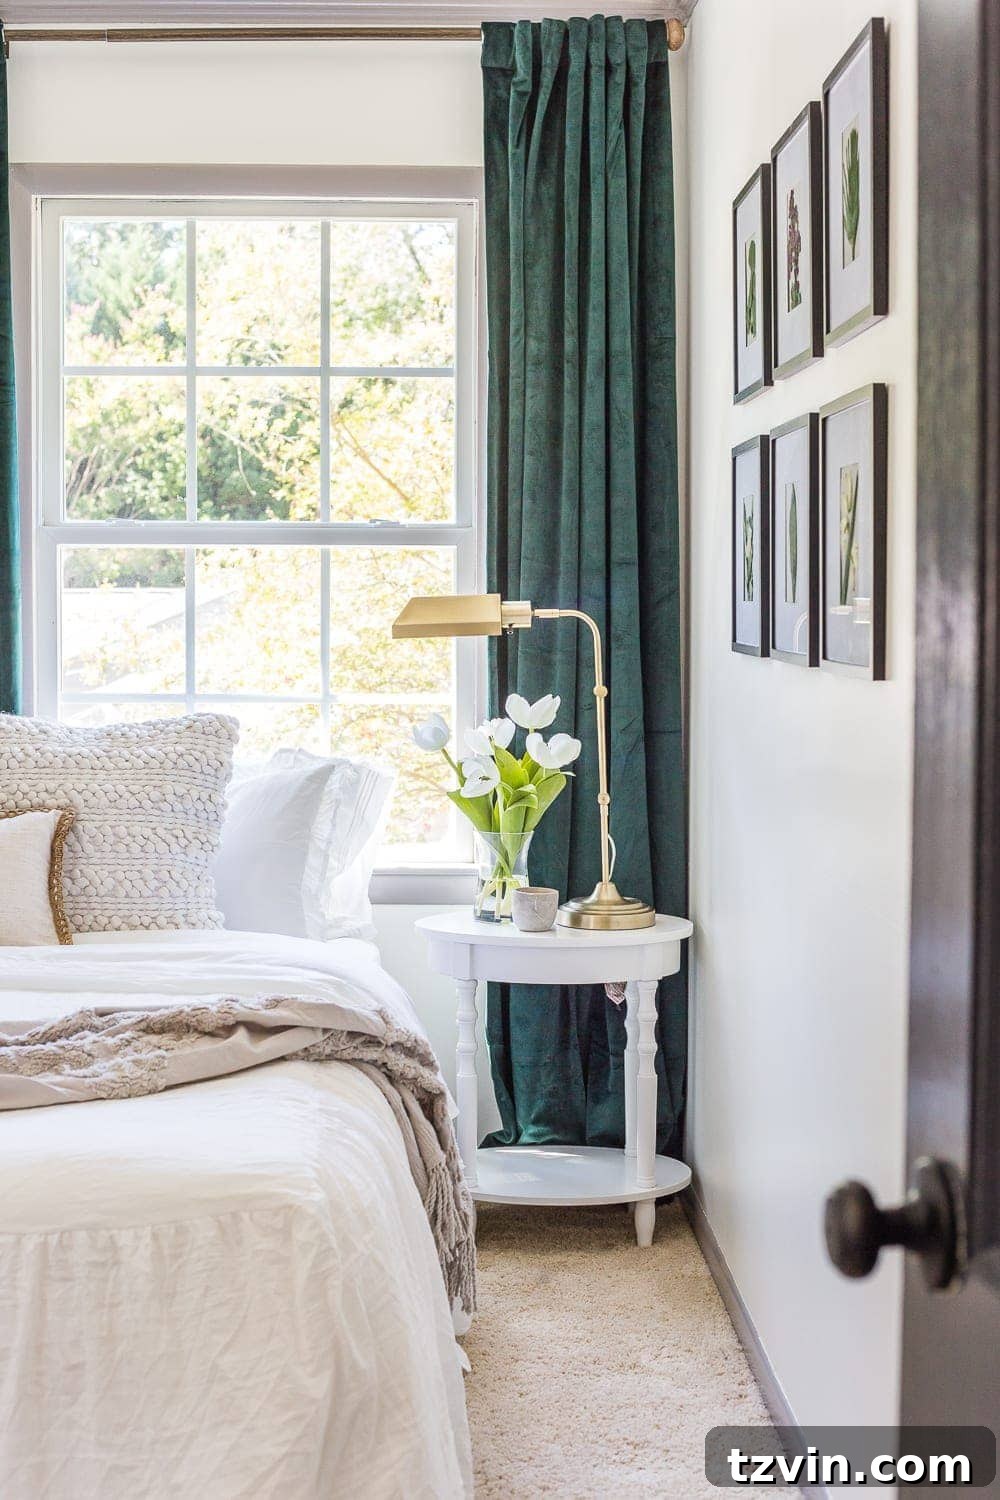
For the frames, I managed to find some fantastic options at Walmart, proving that beautiful decor doesn’t require a hefty price tag. The textured paper pieces that serve as the background for the pressed flowers were simply inexpensive textured scrapbook pages from Michael’s, costing about 80 cents each. Always remember to check thrift stores or dollar stores for similar affordable finds that can elevate your projects.
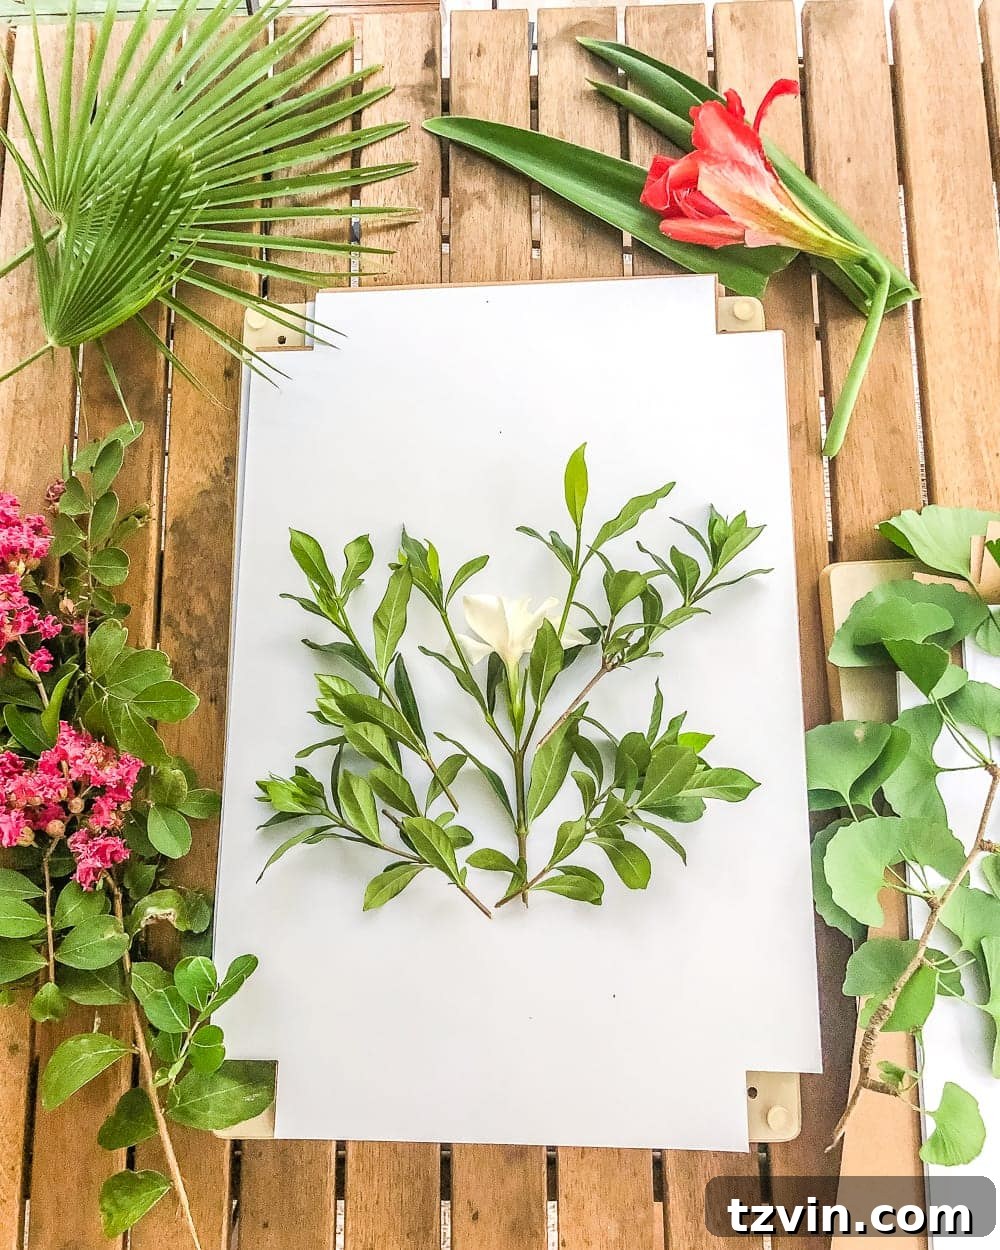
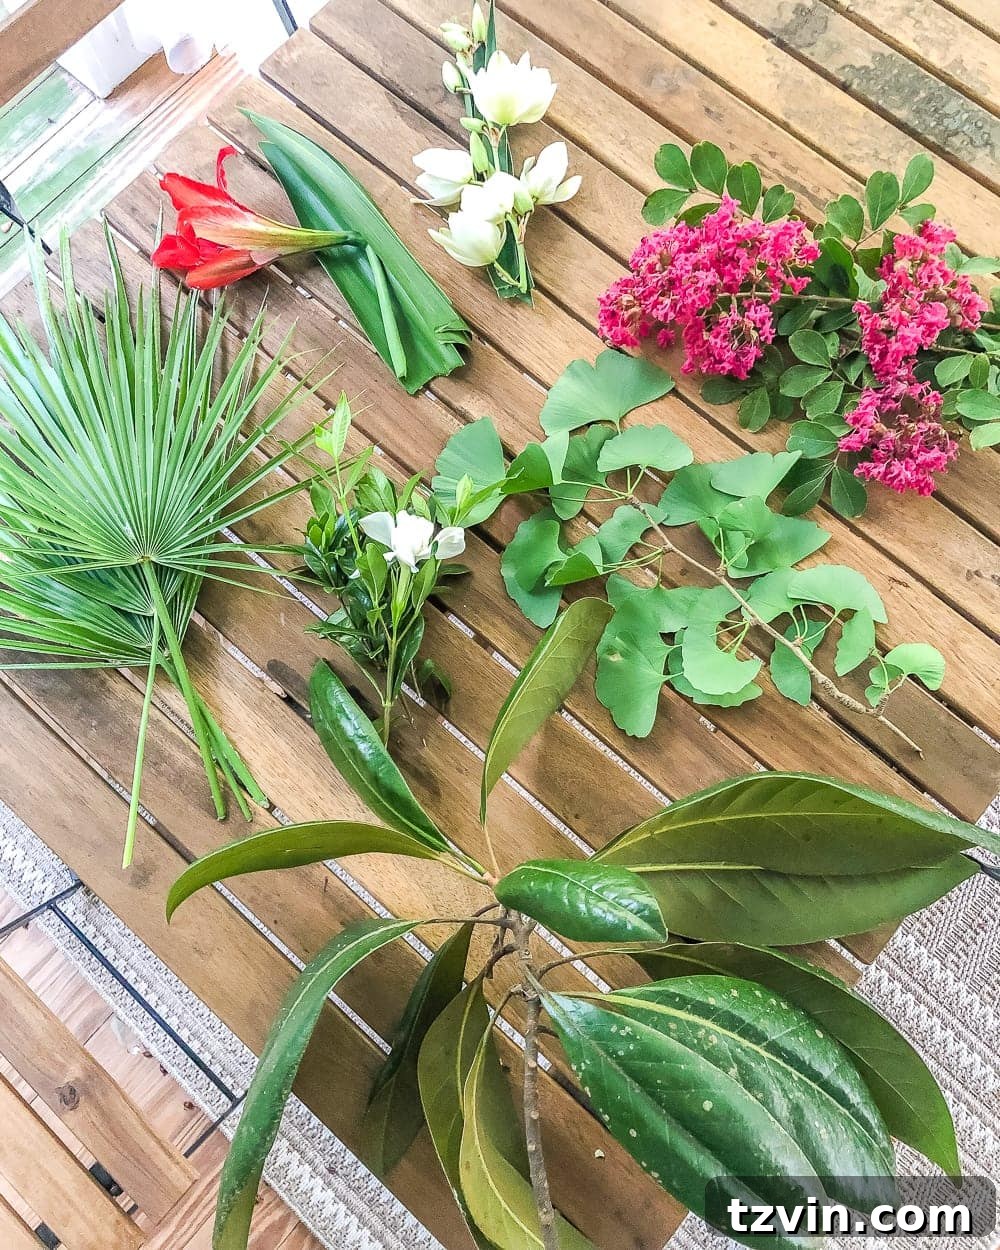
With these new botanical art pieces, our guest room makeover is truly progressing! What makes these particular pieces even more special is the personal significance of the plants chosen. Each flower and leaf represents a native or beloved species from South Carolina, where we live – including magnolia, crape myrtle, palmetto, and gardenia. It’s a subtle nod to our home and the natural beauty surrounding us.
The frames themselves are deliberately on the smaller side. This is part of a larger design plan, as I intend to place a grand leaner mirror right beside them, which will dramatically open up the space. Additionally, a massive statement piece of art will command attention on the opposite wall, creating a balanced yet dynamic visual flow in the room.
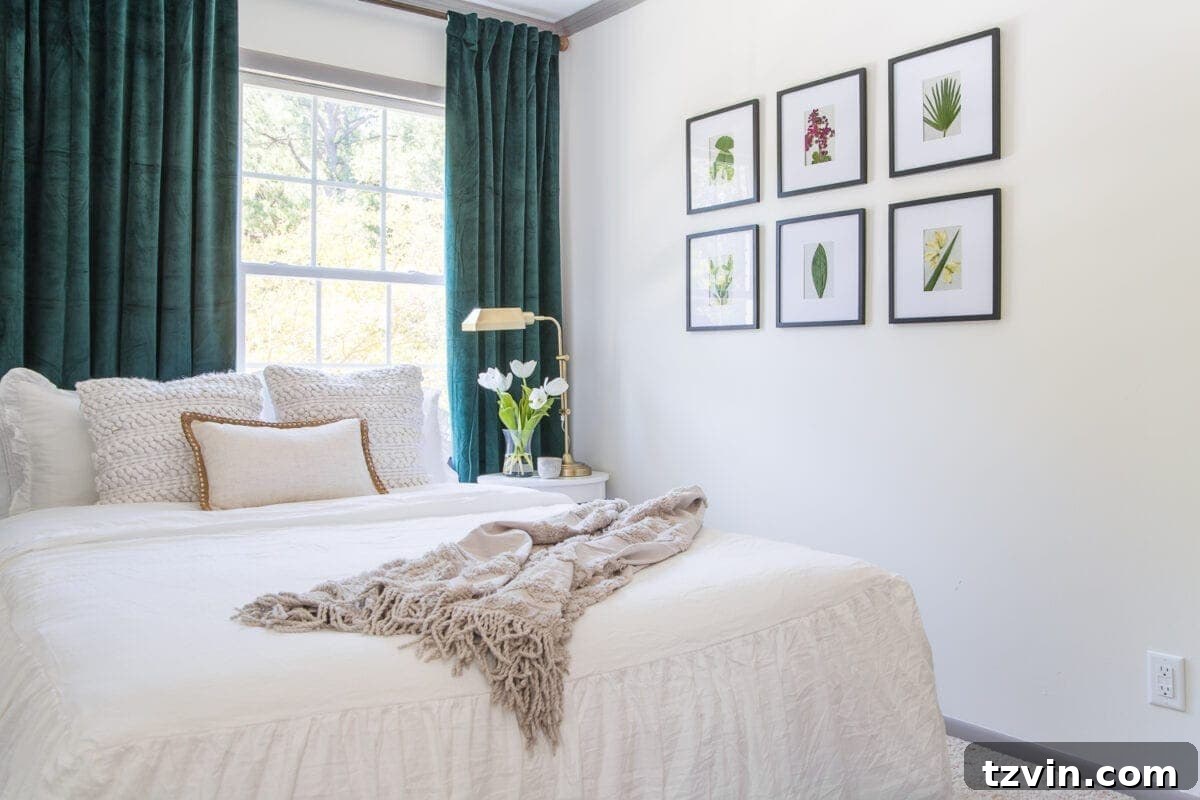
Among the local flora, I also included ginkgo leaves and what I believe might be snapdragon blooms. And yes, this is where my botanical knowledge truly hits its limit! My inability to identify plants is likely why they often meet a sad, untimely end under my care. But with pressed flower art, their beauty lives on, eternally captured without the need for watering cans or sunlight.
Beyond Flowers: DIY Pressed Fall Leaf Art
The art of pressing isn’t exclusive to flowers. This technique translates beautifully to autumn leaves, offering a different but equally stunning aesthetic. Imagine capturing the vibrant reds, oranges, and yellows of fall foliage to create seasonal decor. It’s a project that brings the warmth and rich colors of autumn indoors. I once spent a delightful #crafternoon whipping up another set of pressed art using various fall leaves, resulting in a cozy, inviting gallery wall perfect for the season.
If you’re finding inspiration and have more blank walls yearning for attention, you can explore a plethora of DIY art ideas right here. From paintings to unique wall hangings, there’s always a project waiting to add personality to your home.
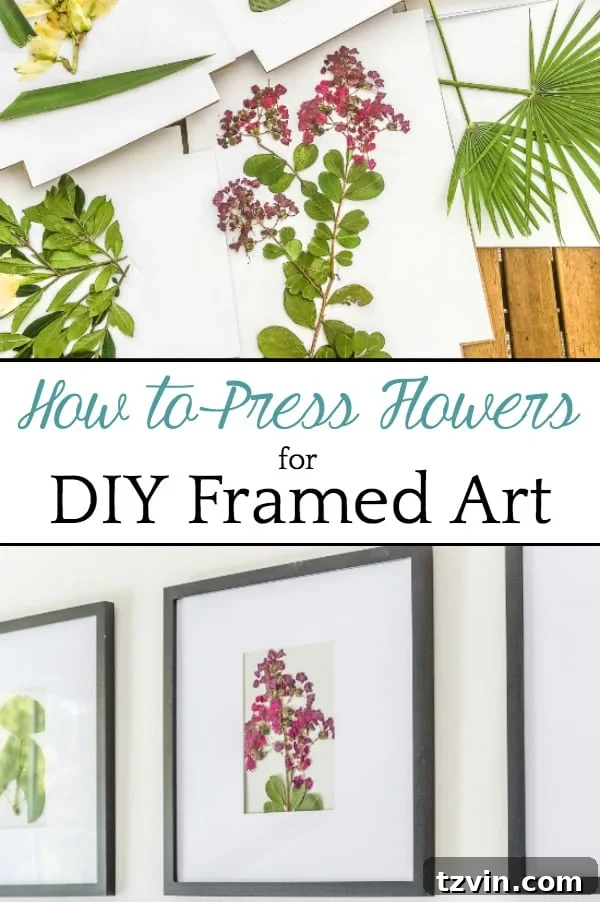
If you found this guide helpful and want to revisit it later, feel free to pin it for future reference:
Expand Your Floral Decorating Horizons: Related Projects
If you’ve enjoyed the journey into botanical decor, you’ll be thrilled to discover more ways to incorporate the beauty of flowers and plants into your home, whether fresh, dried, or faux. These related guides offer further inspiration and practical tips for creating stunning floral arrangements and decorations.
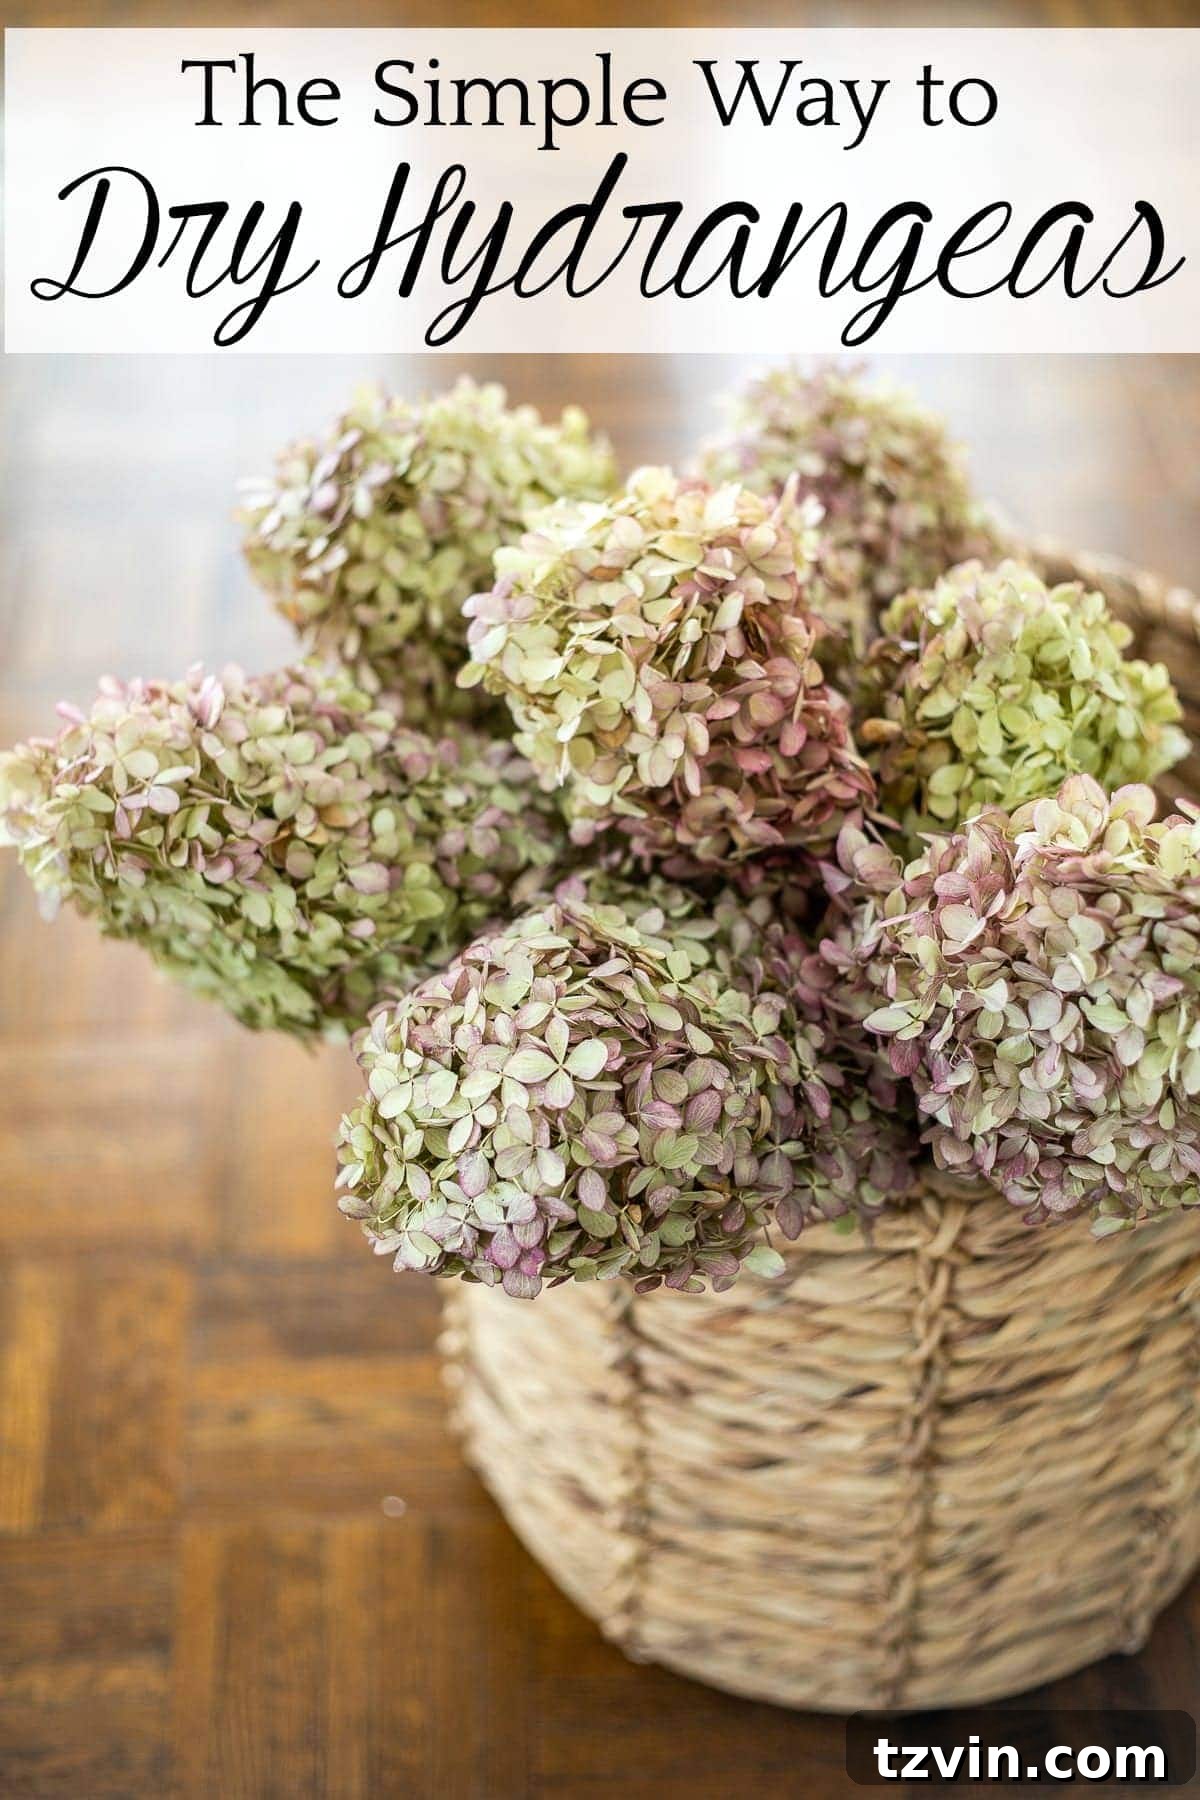
Mastering the Art of Drying Hydrangeas for Exquisite Fall Decor
Hydrangeas are renowned for their magnificent blooms, which transition beautifully into dried decor. Learn the best techniques for drying hydrangeas to preserve their color and form, making them perfect additions to your fall arrangements and autumnal home styling. This guide provides all the steps to ensure your hydrangeas remain a focal point of beauty long after their growing season.
Preserved Flowers & How to Dry Leaves and Flowers for Decor
Beyond hydrangeas, discover a wider world of preserved botanicals. This comprehensive guide delves into various methods for drying a multitude of flowers and leaves, equipping you with the knowledge to create lasting decorative elements. From air-drying to silica gel, explore different techniques and uncover a list of favorite flowers and stems that are ideal for preservation, adding a timeless touch to your interior design.
Crafting a Simple DIY Flower Arrangement Using Faux Florals
For those times when fresh or pressed botanicals aren’t an option, or when you desire a maintenance-free solution, faux florals come to the rescue. This guide demystifies the process of creating elegant and realistic-looking flower arrangements using high-quality artificial blooms. Learn tips and tricks for selecting the best faux flowers and arranging them to mimic natural beauty, ensuring your home always has a vibrant floral display, no matter the season or your green thumb status.