In the expansive and often rewarding world of DIY furniture makeovers, few things can dampen enthusiasm quite like encountering stubborn, sticky residue after meticulously applying a chemical stripper to a beloved piece of wood furniture. It’s a common frustration that can turn a creative endeavor into a sticky, exasperating mess, often leading to muttered words and fleeting thoughts of giving up entirely.
I distinctly recall a time when my partner and I embarked on a project to strip old paint from our fireplace mantle. During that experience, I developed a genuine affection for Citristrip gel. Its fresh, invigorating citrus scent made the task of stripping paint considerably more pleasant than other conventional paint strippers, which often come with harsh chemical odors. It felt like a breakthrough, a kinder, gentler way to tackle tough finishes.
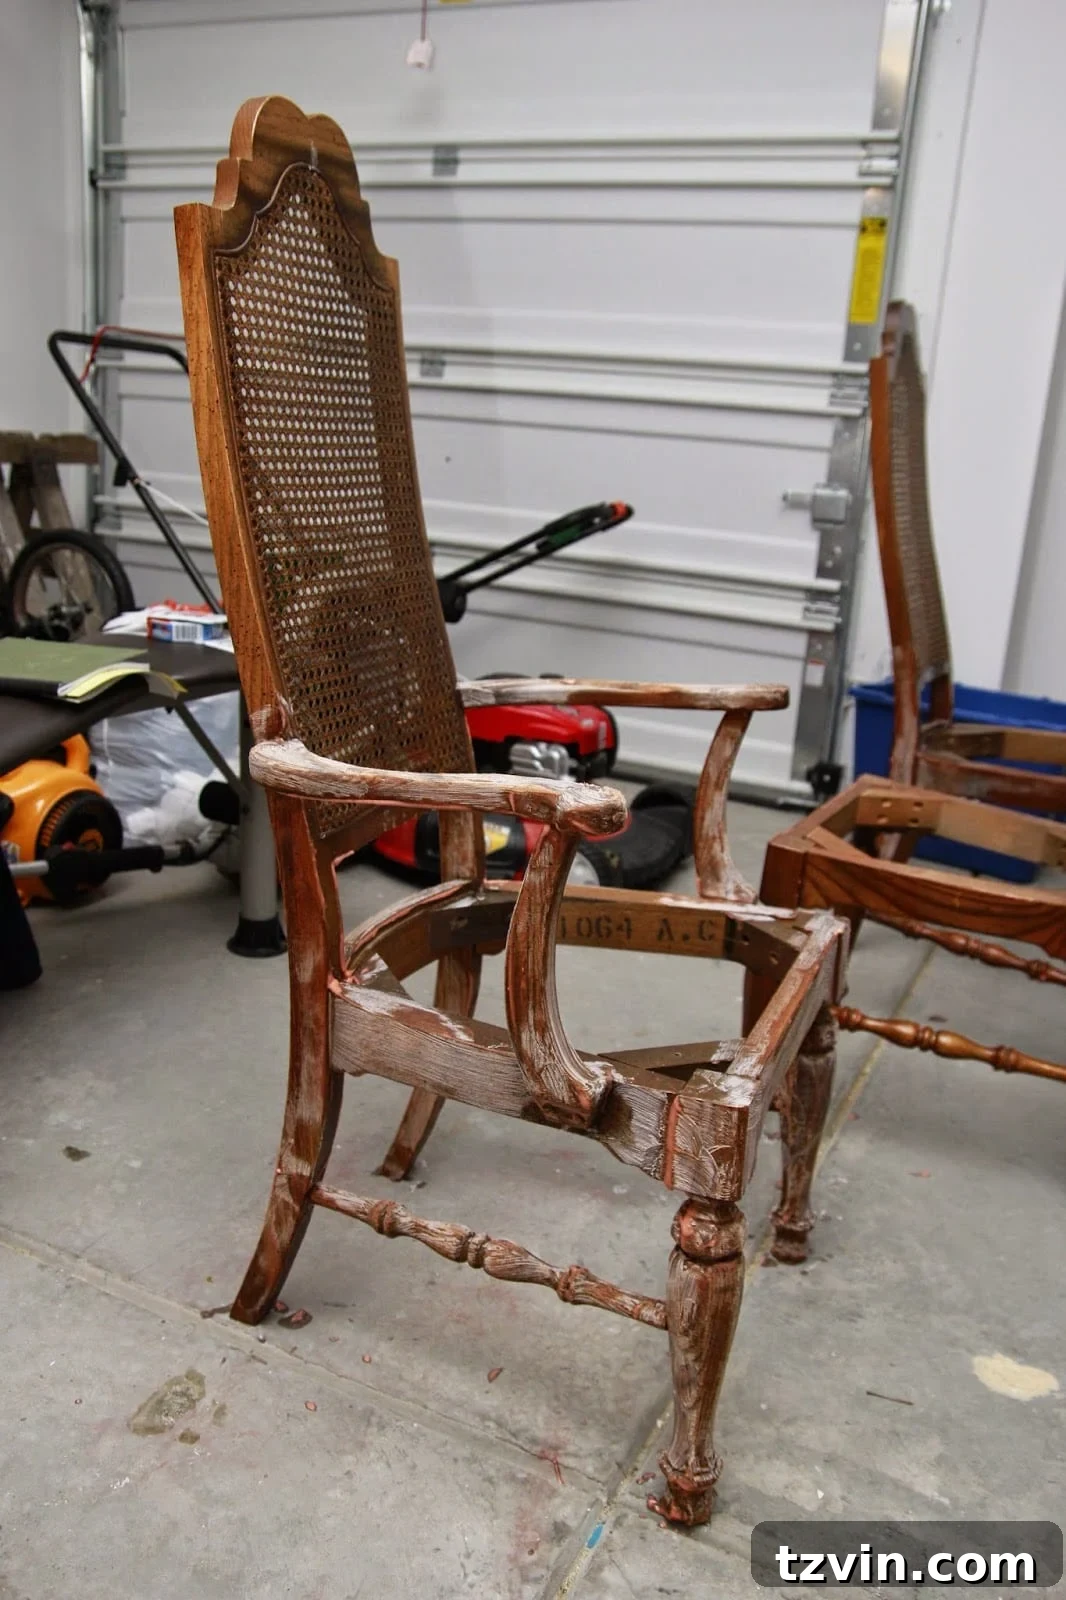
However, much like any relationship, my affair with Citristrip has, shall we say, run its course. After my most recent furniture stripping project, it became painfully clear that it was time for a parting of ways. No hard feelings, Citristrip, it’s not you, it’s me… or rather, it’s the incredibly persistent, gummy residue you left behind. And, just as one might turn to a comforting vice after a difficult breakup, I too found solace in alcohol – denatured alcohol, that is. (Let’s keep it family-friendly, folks! We’re talking about DIY solutions here.)
The journey of furniture restoration is often filled with unexpected twists and turns. While the initial application of a paint or varnish stripper can be satisfying as old finishes begin to bubble and lift, the real challenge often lies in the cleanup. That moment when you scrape away the loosened material only to find a stubborn, sticky film clinging to the wood, resistant to all conventional cleaning methods, is enough to test the patience of even the most seasoned DIY enthusiast. It’s this precise hurdle that separates a smooth refinishing process from a frustrating, prolonged ordeal.
The Frustration of Stubborn Stripper Residue
My recent experience involved an older piece of furniture with decades of varnish, a challenging adversary for any stripper. My initial confidence, based on previous successes, quickly evaporated as I faced a seemingly insurmountable problem. After applying Citristrip and waiting the recommended time, I began the scraping process. While some of the old finish came off, a thick, gooey, incredibly sticky residue remained, stubbornly clinging to every curve and crevice of the wood. This wasn’t just a minor inconvenience; it was a full-blown obstacle course.
I spent what felt like an eternity, far exceeding 24 hours, meticulously scraping and scrubbing, trying every trick in the book. The gummy residue seemed to multiply, creating an even bigger mess rather than diminishing. It was disheartening, to say the least. The promise of an easy furniture makeover quickly dissolved into a sticky nightmare. While Citristrip had performed admirably on lighter latex paints in the past, it simply couldn’t stand up to the challenge of this particular 40-year-old varnish. The product’s label suggested cleaning up any remaining residue with mineral spirits. Trusting the instructions, I invested more time and money, diligently applying and scrubbing with mineral spirits. Yet, after hours of effort, the situation showed little improvement. The wood was still coated in that infuriating, gummy film, making it impossible to move forward with priming or painting.
It was a battle, but one I was determined to win. And win I did! This is where the real secret comes in, a game-changing hack that I discovered through sheer desperation and trial-and-error.
You might also like: Designer Knock Off No Sew Dining Chairs
Choosing the Right Stripper for Your Project
While my recent experience with Citristrip wasn’t ideal for heavy varnish, it’s crucial to understand that not all strippers are created equal, and choosing the right product for the job is paramount. For significantly tough finishes like oil-based paint and especially thick, old varnish, a more potent formula is often necessary. In such cases, I highly recommend considering products like Dumond Smart Strip. It boasts a much more powerful formula that is specifically designed to tackle multiple layers of challenging finishes, often outperforming milder, citrus-based alternatives.
Looking back, I have a clear image of the chair legs right after applying the Citristrip. At that moment, I was filled with optimism, blissfully unaware of the hours of frustration that awaited me. The gummy gunk was so horrific that I didn’t even think to grab a photo of it. You’ll simply have to trust me on this one; it was truly awful, a sticky, clumpy disaster that adhered to everything it touched.
Related Reading: How to Refinish Wood Furniture Without Stripping
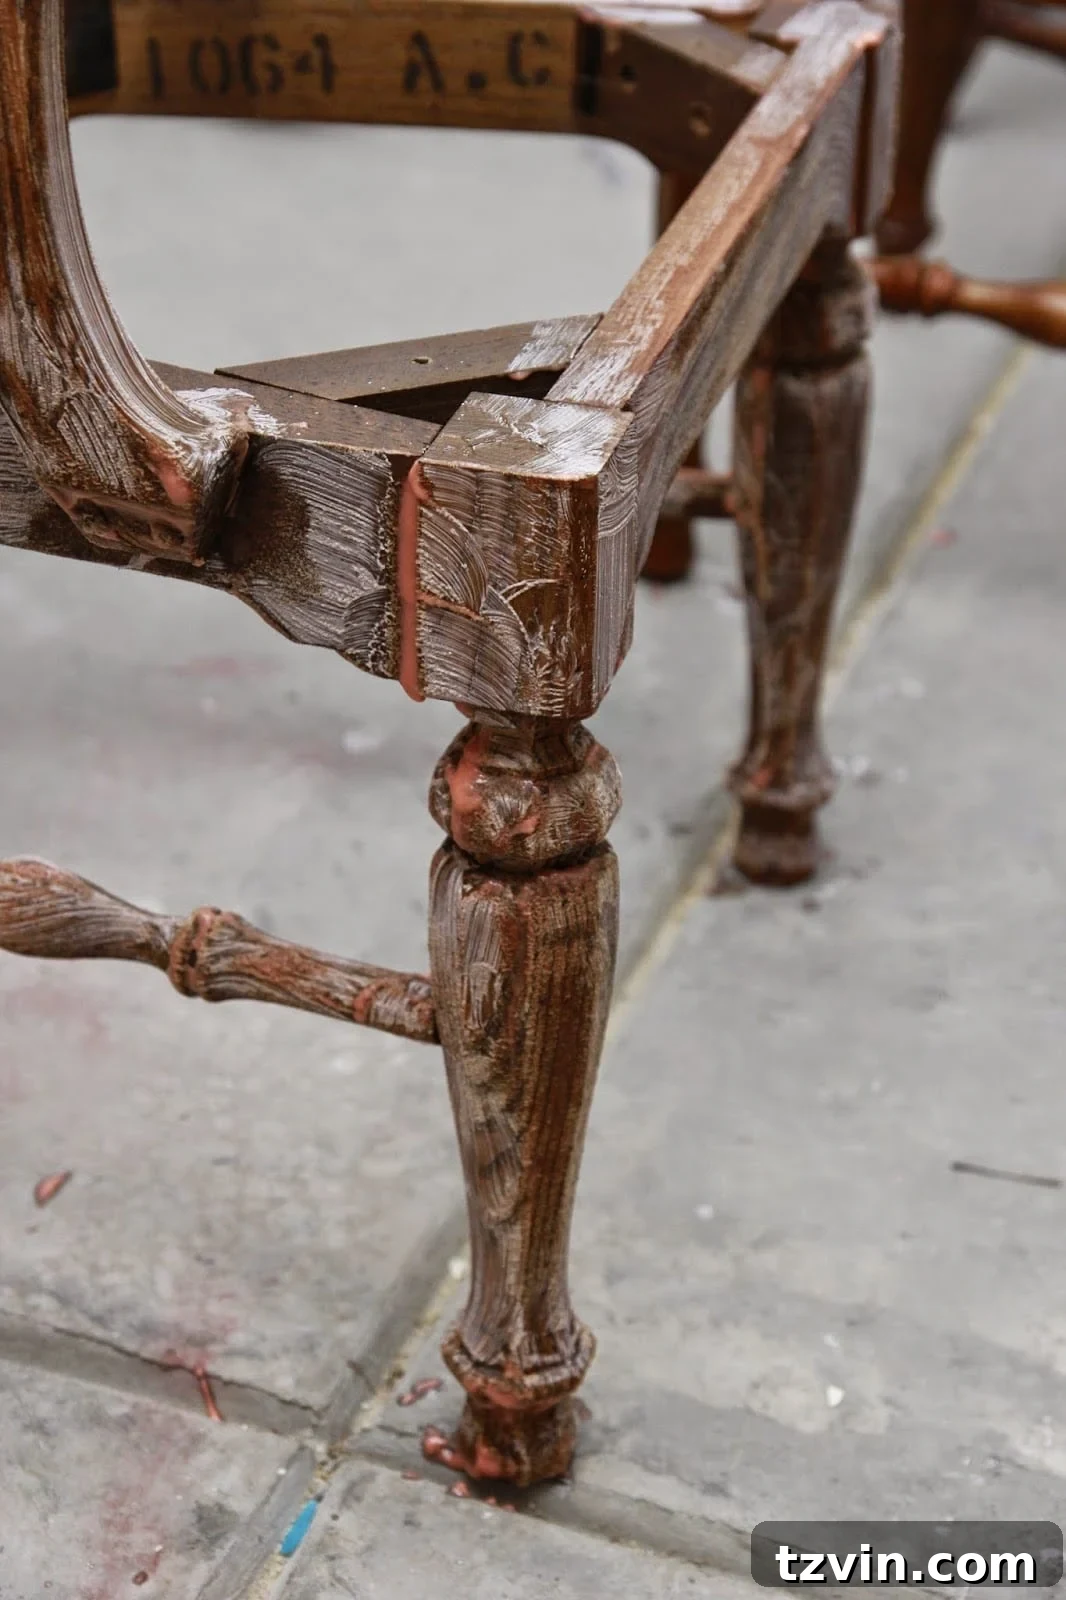
The Ultimate Solution: How to Remove Citristrip Dried Residue
Faced with this persistent, dried Citristrip residue, I scoured countless online resources, forums, and DIY guides, desperate for an effective solution. I explored every recommendation, hoping to find an easy fix for the disaster I had inadvertently created. Many sources suggested applying another coat or two of the varnish stripping gel, a thought that made me cringe. “No way!” I remember thinking, “I cannot go through this again. There has to be a shortcut, a simpler way!” While shortcuts in home improvement often lead to even bigger problems, this was one rare instance where my impatience led to a remarkable discovery, thankfully saving the day.
At one point, I was so utterly exhausted and frustrated that I almost resigned myself to leaving some leftover stain and varnish behind, just to get rid of the dreadful residue so I could finally prime and move on. My goal shifted from a perfectly clean strip to simply making the surface workable. So, if you ever find yourself in a similar gummy, gunky stripping mess, feeling defeated and desperate, I am thrilled to share the solution I uncovered through extensive trial and error. This simple yet incredibly effective product became my salvation.
The answer to my Citristrip disaster, the hero of my DIY nightmare:
Denatured Alcohol!
This potent yet surprisingly versatile solvent proved to be the ultimate game-changer. Its properties allow it to cut through the sticky, gummy residue left by many chemical strippers, dissolving it into a manageable liquid that can be easily wiped away. Unlike other cleaners that merely spread the stickiness around or have no effect at all, denatured alcohol actually breaks down the chemical bonds of the residue, preparing the wood for a pristine finish.
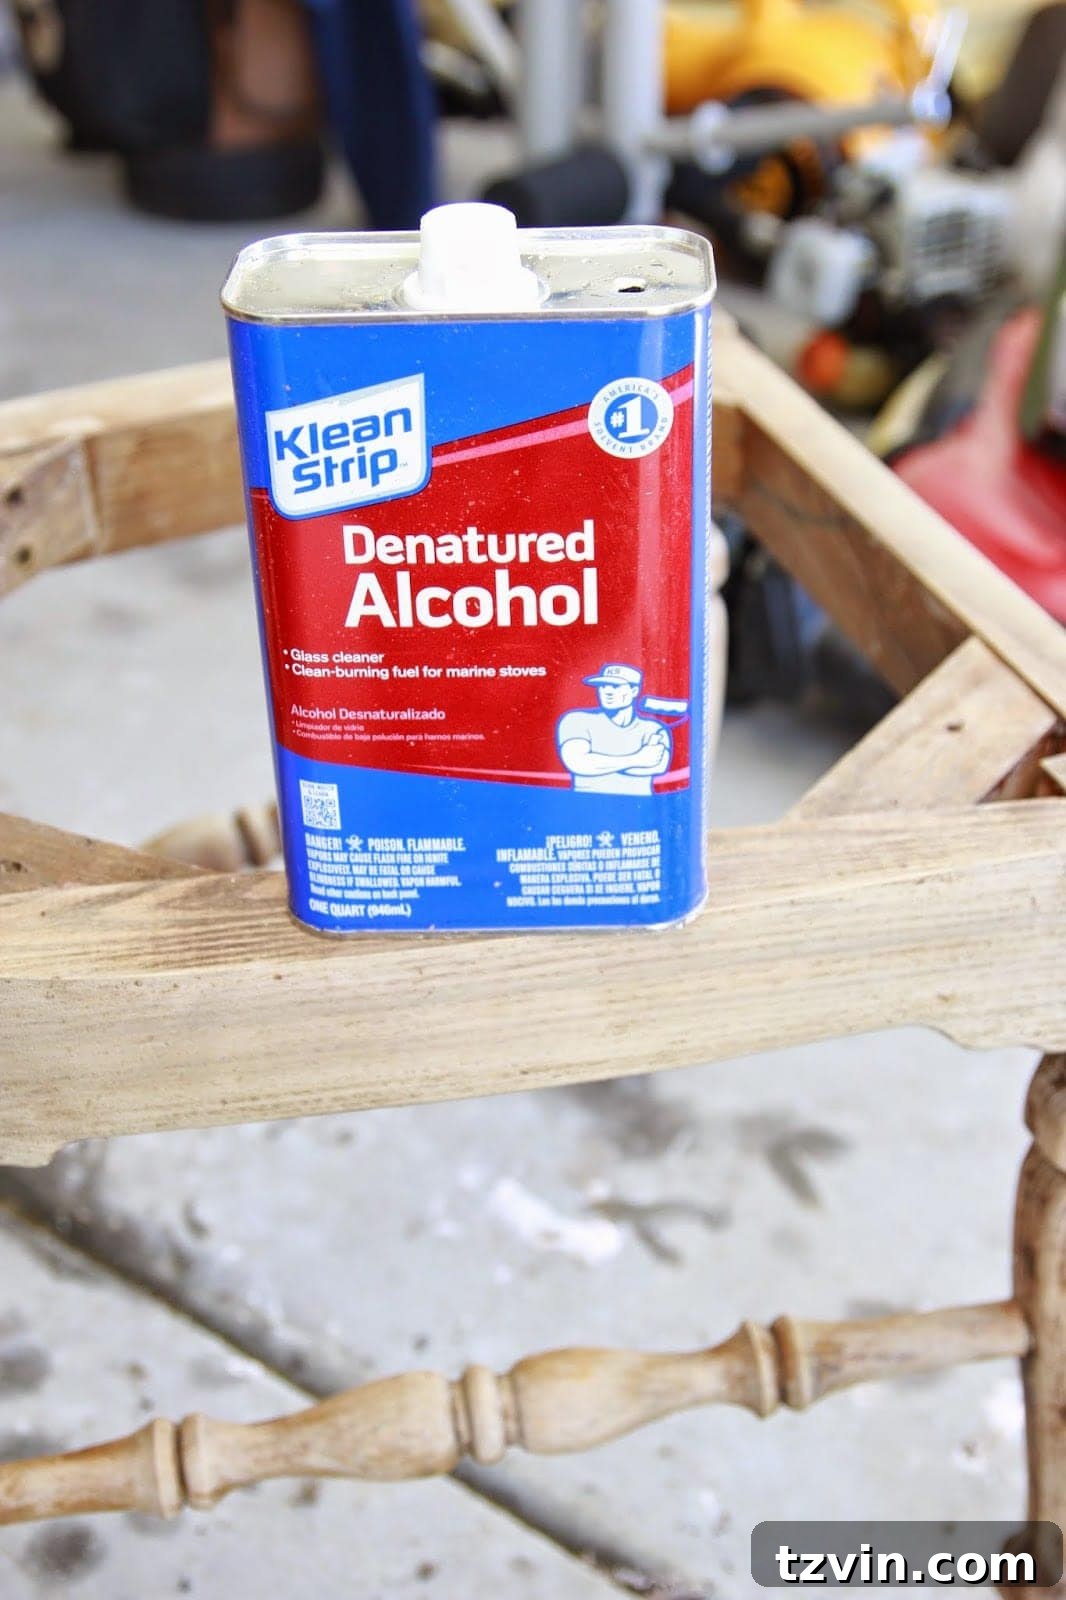
The Magic of Denatured Alcohol: A Step-by-Step Guide
The relief was almost palpable! As I swiped on the denatured alcohol, I could practically hear angels singing. The transformation was immediate and astonishing. All the products that had failed me – mineral spirits, Goof Off, Goo Gone, even vigorous sanding – were put to shame. Hot water only made the residue stickier, and applying additional stripper merely exacerbated the mess, especially on these chairs with their many layers of ancient varnish.
But denatured alcohol? It worked wonders. The gummy substance dissolved right before my eyes, turning into a liquid that was easily wiped away. It was truly the best result I could have hoped for after such a frustrating ordeal. Perhaps a little prayer for patience helped too, but the chemical reaction was definitely the hero!
Here’s exactly how I applied this miraculous solution:
- Ensure Ventilation and Protection: Before beginning, make sure you are in a well-ventilated area. Wear chemical-resistant gloves and safety glasses to protect your hands and eyes from the denatured alcohol.
- Apply to a Small Area: Dip a clean cloth or a piece of fine steel wool (for flat surfaces) into the denatured alcohol. Start by applying it to a small, inconspicuous area to test its effectiveness and ensure it doesn’t harm the wood (though it’s generally safe for most finishes once the residue is gone).
- Wipe and Scrub: For flat surfaces, firmly wipe the denatured alcohol-soaked steel wool over the sticky residue. You’ll notice the gunk starting to loosen and dissolve almost immediately. For intricate details, carvings, or tight crevices, a small brass wire brush (soft enough not to scratch the wood) or an old toothbrush can be incredibly effective in working the denatured alcohol into every nook and cranny.
- Repeat and Refresh: As the cloth or steel wool becomes saturated with residue, replace it with a clean one to avoid redistributing the dissolved gunk. Continue this process, section by section, until the wood surface is completely clean and free of any stickiness.
- Final Wipe Down: Once all the residue is removed, give the entire piece a final wipe down with a fresh cloth dampened with clean denatured alcohol to ensure no traces are left behind.
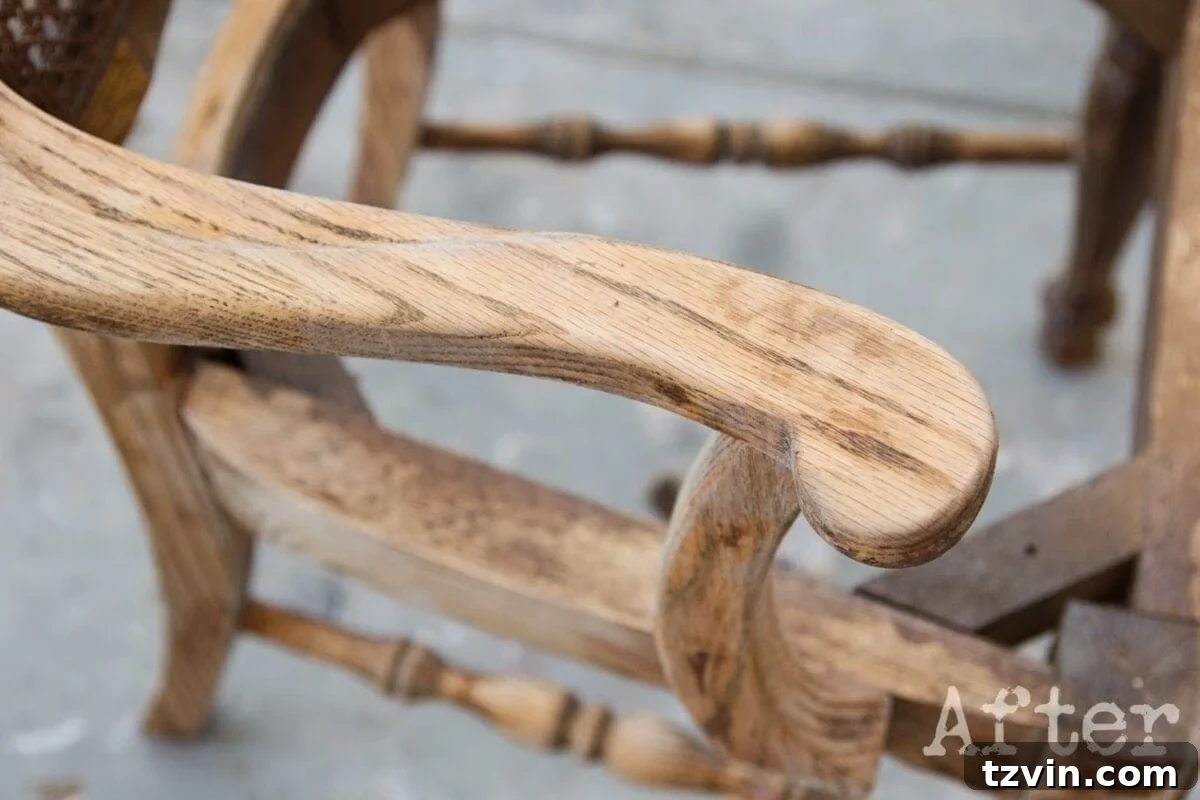
After this thorough wipe-down and scrubbing with steel wool on the flat areas, complemented by the brass wire brush for those tricky crevices, I finally saw the light at the end of the tunnel. The wood beneath was revealed, clean and ready for its next stage. To be extra cautious, especially since a few minute varnish spots might have lingered in the deepest grain, I opted to give the wood a solid coat of oil-based primer, specifically Kilz Original. This ensures a uniform surface and excellent adhesion for the new paint or finish.
I have genuinely never been so thrilled to capture an “after” shot in my entire DIY career.
Explore More: How to Clean Wood Furniture to Make It Look New
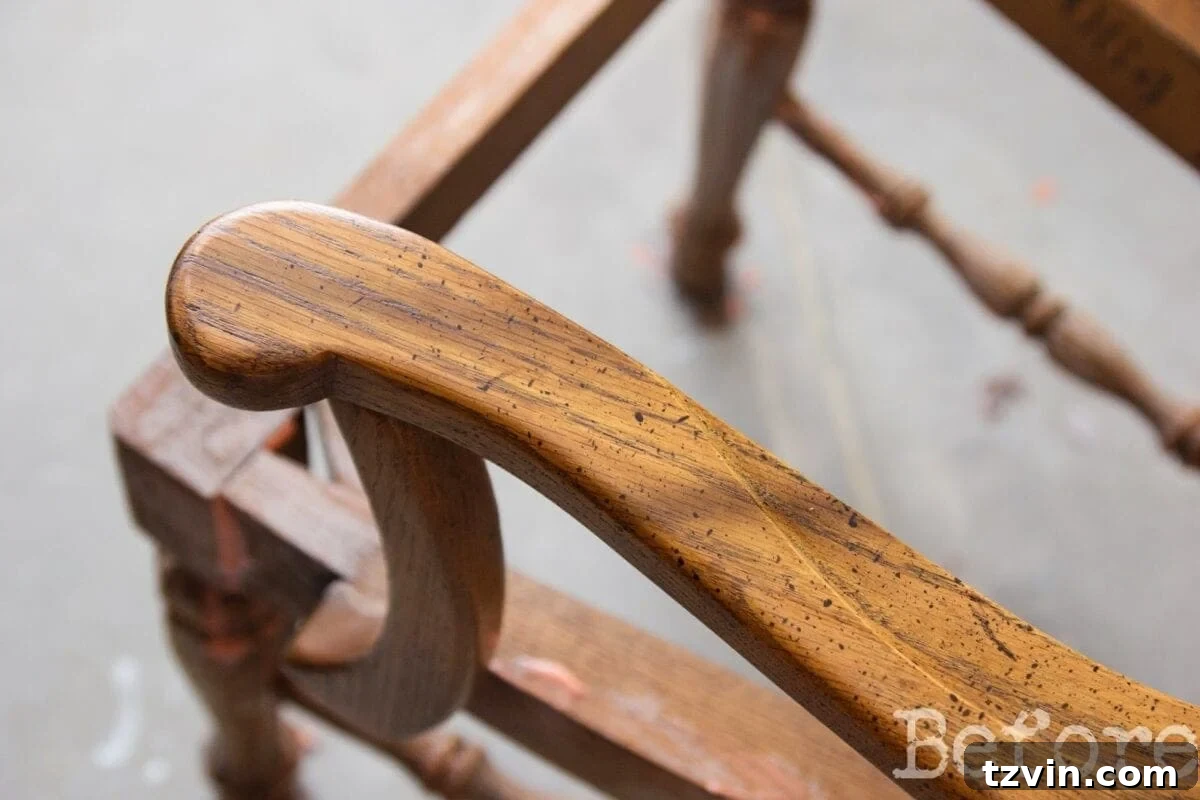
Essential Safety Precautions for Furniture Stripping
Working with chemical strippers and solvents like denatured alcohol requires careful attention to safety. Always prioritize your well-being and protect your workspace. Here are some critical precautions to keep in mind:
- Ventilation is Key: Always work in a well-ventilated area. Open windows and doors, or work outdoors. If working indoors, consider using fans to circulate air and draw fumes away from your breathing zone.
- Personal Protective Equipment (PPE):
- Eye Protection: Safety glasses or goggles are non-negotiable to protect against splashes.
- Gloves: Wear chemical-resistant gloves (butyl rubber or nitrile are often recommended) to prevent skin contact with strippers and solvents.
- Respiratory Protection: Depending on the product and ventilation, a respirator with appropriate cartridges may be necessary, especially for strong chemical fumes. Check product labels for specific recommendations.
- Protective Clothing: Long sleeves and pants are advisable to minimize skin exposure.
- Protect Your Work Area: Lay down a thick drop cloth (plastic sheeting or canvas) to protect your floors or work surface from spills and residue. Secure it in place to prevent tripping.
- Read Product Labels: Every stripper and solvent has specific instructions and warnings. Read them thoroughly before you begin to understand proper application, dwell times, and safety measures.
- Fire Safety: Many strippers and solvents are flammable. Work away from open flames, sparks, and heat sources. Have a fire extinguisher readily available.
- Proper Disposal: Dispose of spent stripper, residue, and contaminated cloths according to local regulations. Never pour chemicals down the drain.
- Keep Away from Children and Pets: Store all chemicals securely and out of reach of children and pets.
Mastering Citristrip: Tips for Optimal Results (If You Still Choose It)
Despite my recent challenging encounter, Citristrip can still be a valuable tool in certain situations, especially for lighter paint removal. To achieve the best possible results and minimize the dreaded sticky residue, here are some comprehensive tips based on my experience and best practices:
- Thorough Surface Preparation: Before applying any stripper, lightly clean the furniture piece to remove dirt and grime. This allows the stripper to penetrate directly to the finish.
- Generous Application: Don’t be shy with the stripper. Apply a thick, even layer of Citristrip over the entire surface you intend to strip. A thin coat will dry out too quickly and won’t be as effective, potentially leading to more residue.
- Cover for Extended Dwell Time: For optimal results, cover the applied stripper with plastic wrap or saran wrap immediately after application. This prevents the stripper from evaporating and drying out, allowing it to penetrate deeper into the finish. Let it sit for at least 30 minutes, or even several hours for tougher finishes, as recommended by the product.
- Gentle Scraping: Once the stripper has had enough time to work, begin to remove the softened finish using a plastic putty knife or a plastic scraper. Avoid metal tools, which can easily damage the wood surface.
- Work in Sections: For larger pieces, work in manageable sections. This prevents the stripper from drying on one part while you’re still working on another.
- Immediate Residue Removal: As you scrape, wipe away the paint stripper residue and old finish with paper towels or a clean cloth. Don’t let the softened gunk sit and re-harden on the wood.
- Second Coat for Thick Layers: If you’re dealing with multiple layers of paint or a very thick finish, a second application of Citristrip might be necessary. Repeat the entire process for stubborn areas.
- Post-Stripping Cleanup: After removing the bulk of the finish, thoroughly clean off any remaining residue. While the label suggests mineral spirits, based on my experience, for truly stubborn residue, a final wipe-down with denatured alcohol can be incredibly effective. Alternatively, a dedicated Paint Stripper After Wash product can also be used. Ensure the surface is completely clean and dry before moving on to sanding or priming.
I am so incredibly relieved to have moved past that challenging first step in my project. Whenever a DIY fiasco occurs, I always try to find the silver lining. In this case, it was the invaluable lesson learned and a new skill acquired—a secret weapon to keep in my arsenal for any future furniture stripping projects. Every challenge in DIY is an opportunity to learn and grow!
More Expert Resources for Your Wood Furniture Projects
How to Refinish Wood Furniture Without Stripping
How to Clean Wood Furniture to Make It Look New
How to Restore Wood Outdoor Furniture
See more DIY furniture makeover resources here.