
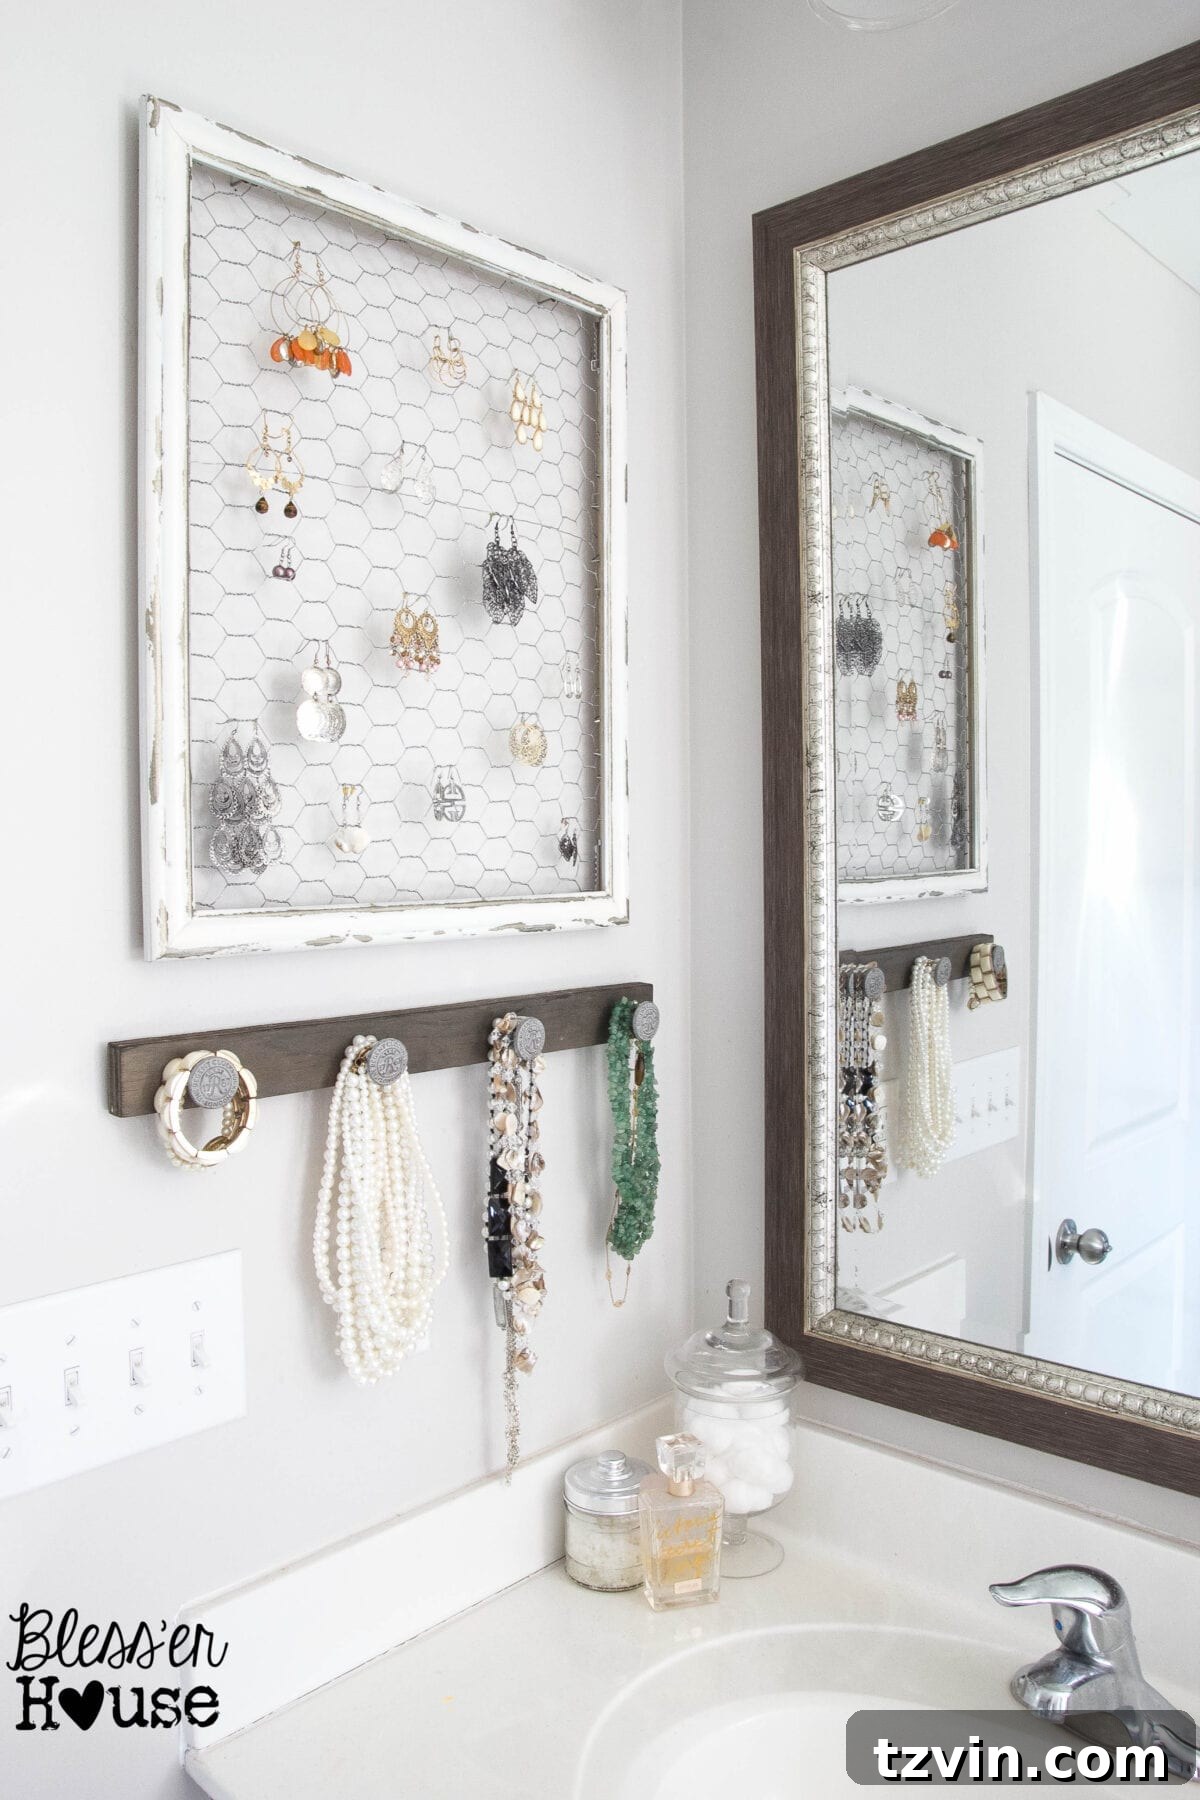
Hey there, DIY enthusiasts! I’m thrilled to be back and sharing a new project with you. I hope you all had a fantastic Valentine’s Day! If you were lucky enough to receive some beautiful jewelry, or even treated yourself, then you’re going to love this DIY project: a Rustic Industrial Jewelry Wall Organizer.
Say goodbye to tangled messes and hello to organized elegance. This project is all about creating a functional and stylish jewelry storage solution that complements your decor, all while staying within a reasonable budget.
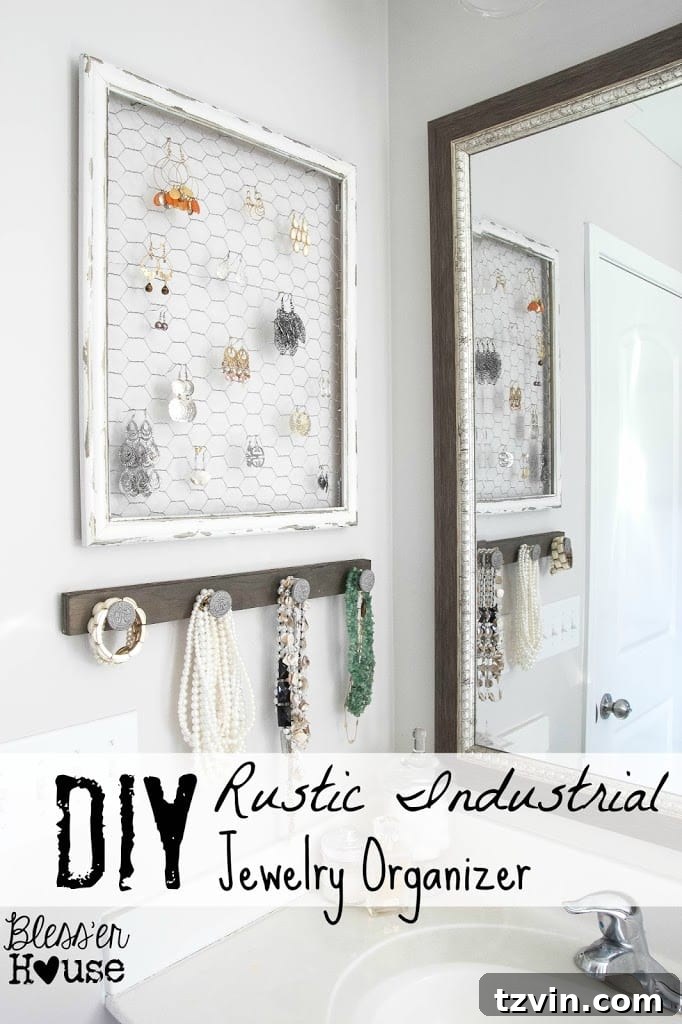
For years, my jewelry has been crammed into a cluttered jewelry box. It was a constant source of frustration! This DIY jewelry organizer project was the perfect solution.
Let’s dive into how you can make your own.
Here’s the journey of my jewelry organizer:
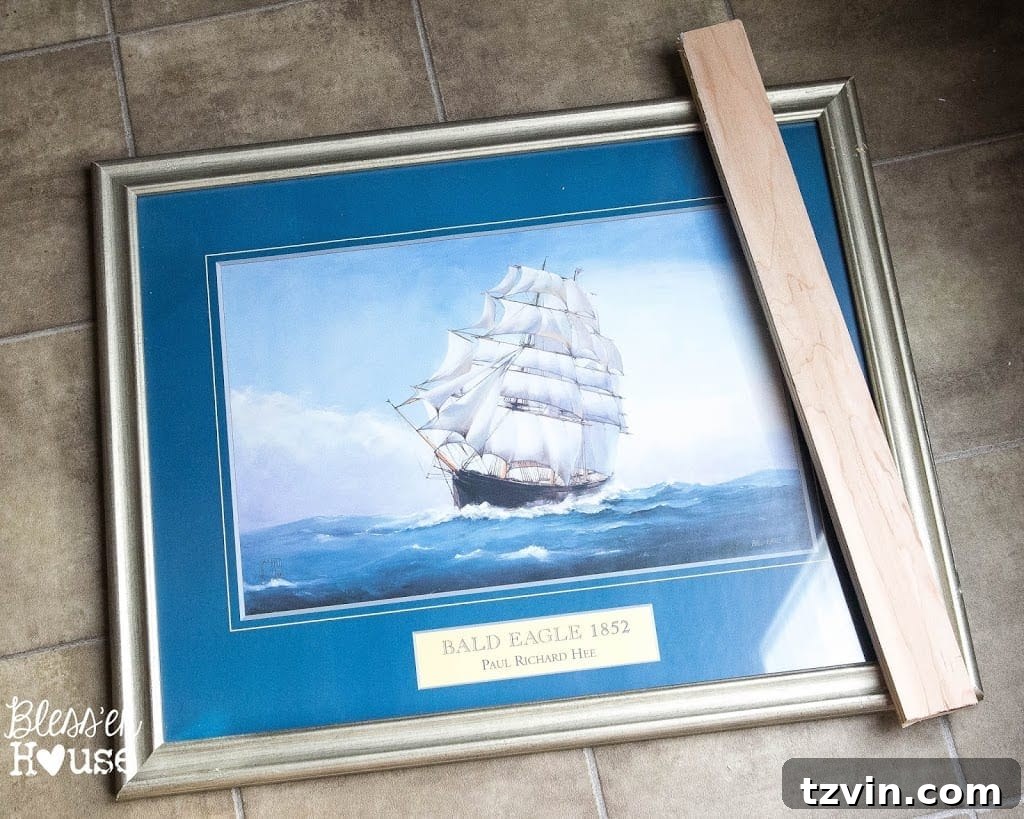
Initially, I had a nautical-themed picture that I found at a thrift store for just $2 because I liked the frame. The wood piece was a leftover scrap from a previous bathroom project.
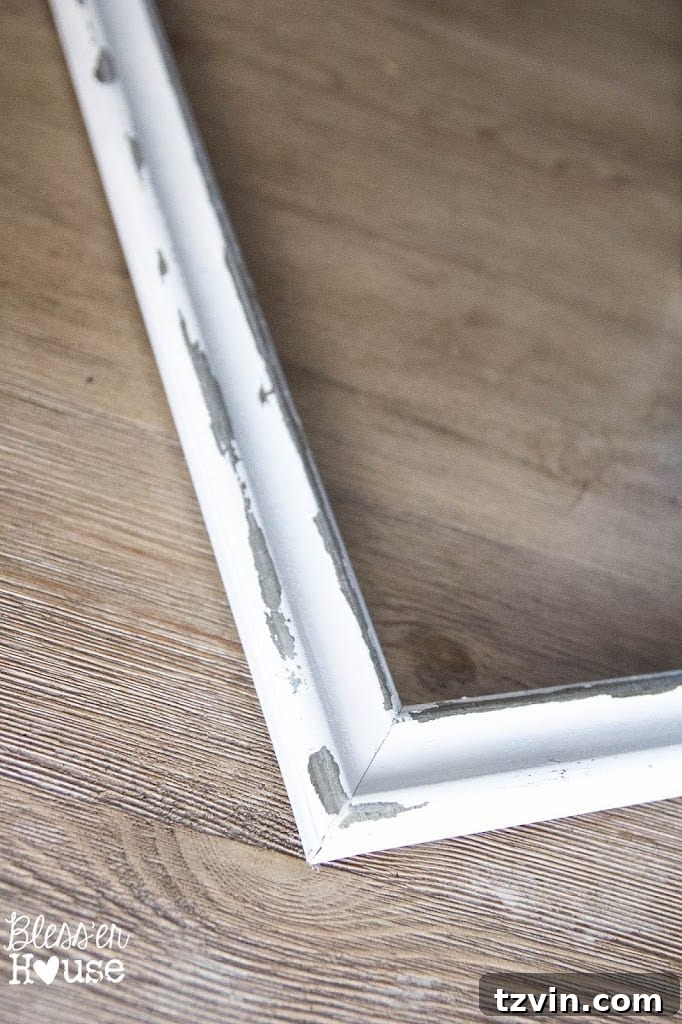
The first step was to remove the picture and glass from the frame. I used my go-to frame distressing technique to give it a weathered, vintage look. A simple trick, really.
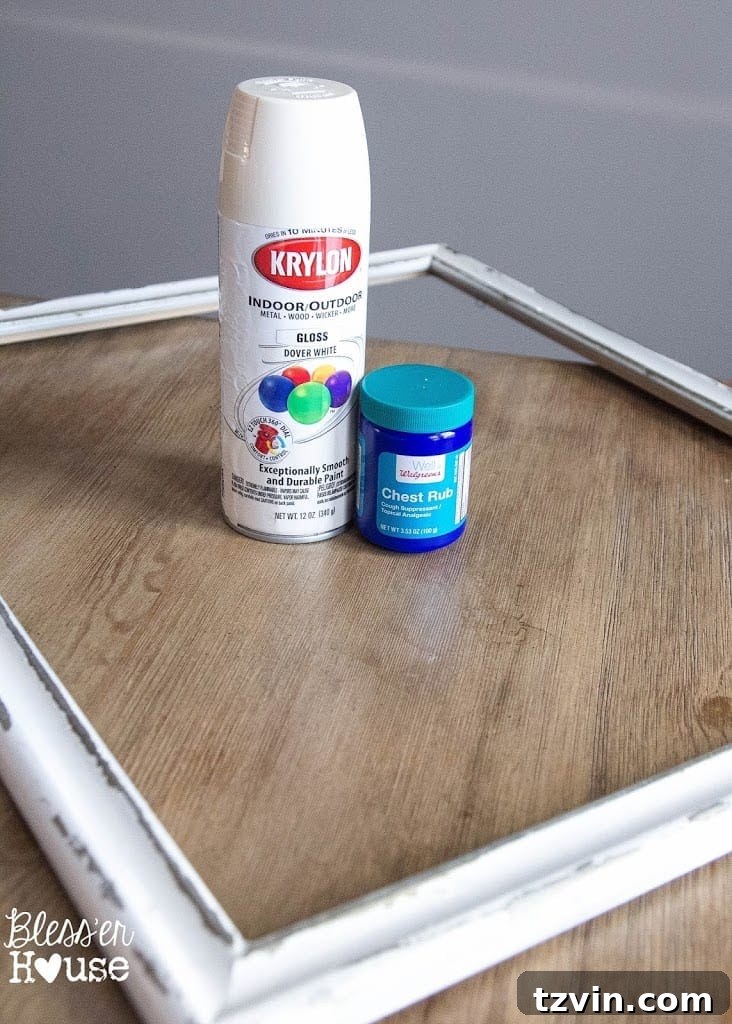
The result? A beautiful, weathered, and chippy finish. I absolutely adore it! The silvery hints of the original finish peeked through the Krylon Dover White spray paint. It created the perfect rustic charm.
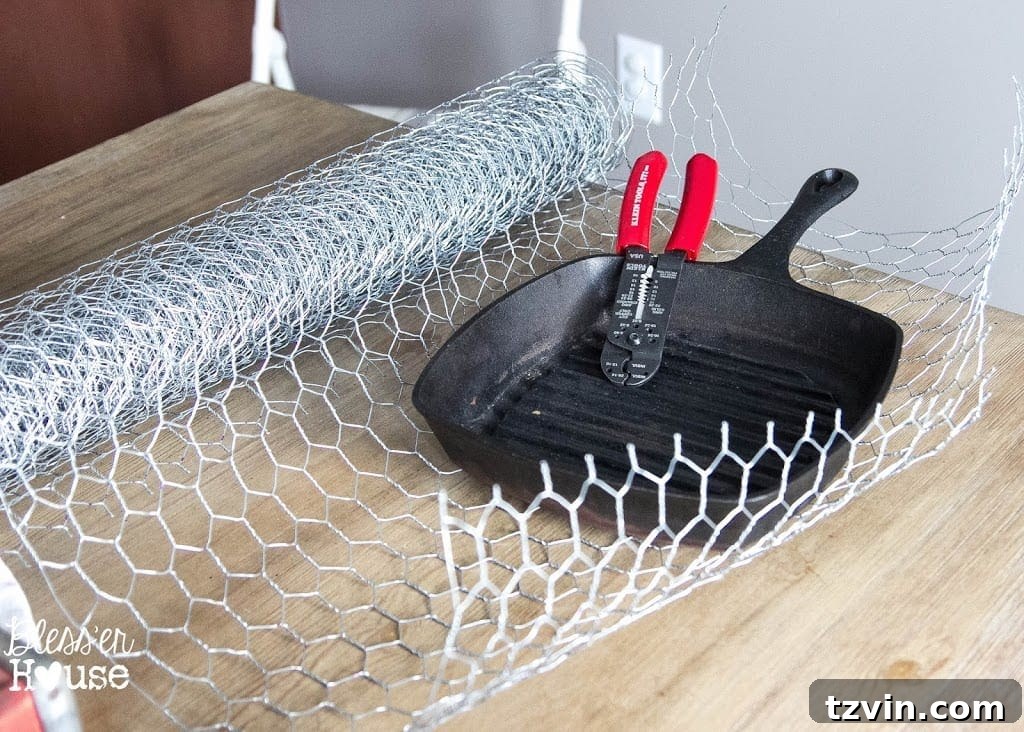
To create the earring holder, I used chicken wire, which I had left over from a previous project. Working with chicken wire can be a little tricky, but it’s manageable. I measured and cut a piece to fit the frame dimensions.
The chicken wire was carefully stretched and secured around the back of the frame.
Using a manual staple gun, I carefully secured the chicken wire to the back of the frame, ensuring it was taut. This is important to ensure the earrings hang nicely.
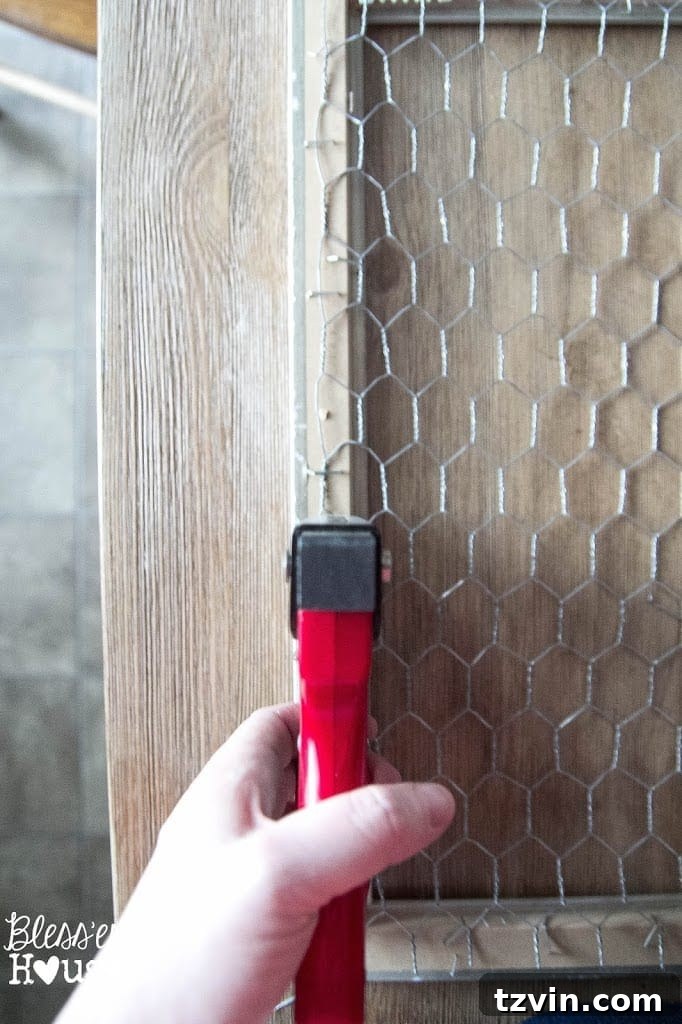
I pulled the wire as tight as possible and secured it with staples every couple of inches for added durability.
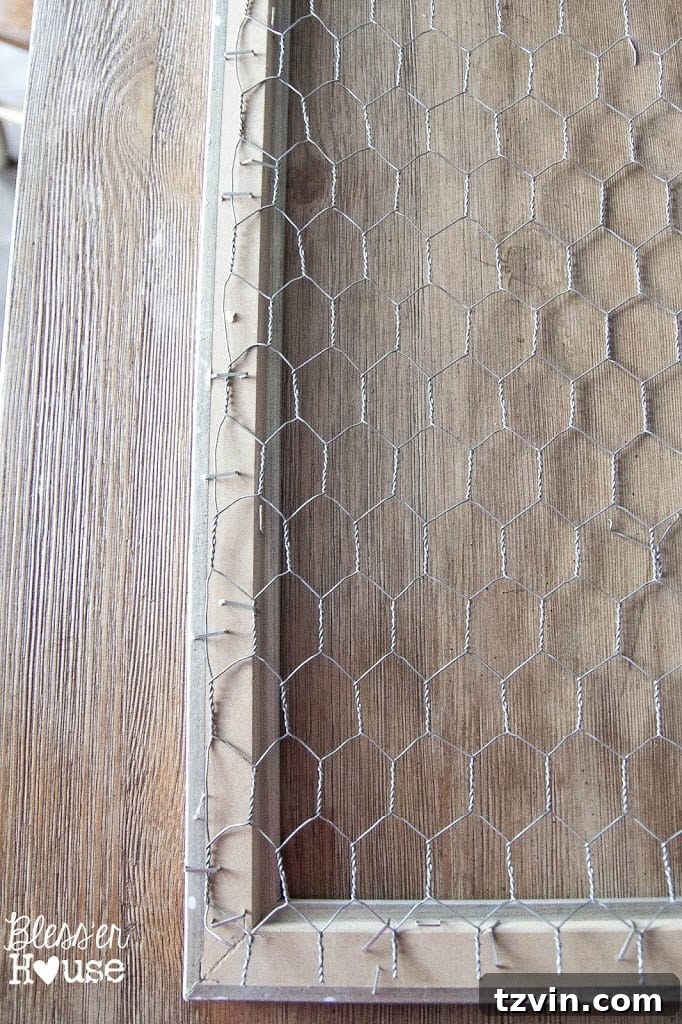
And that’s it – the earring holder was done!
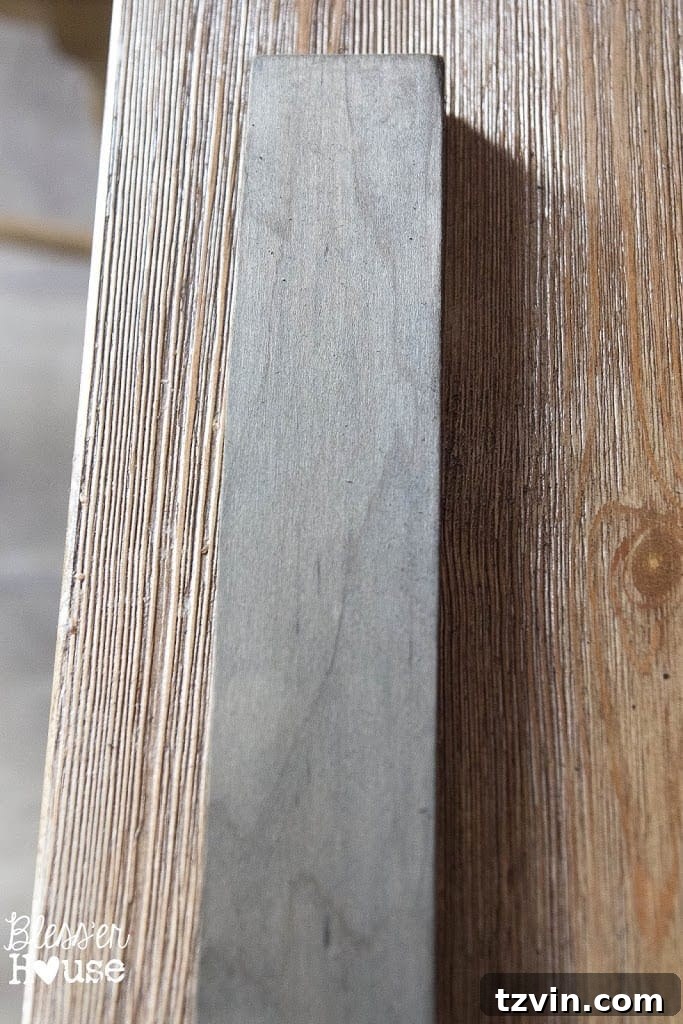
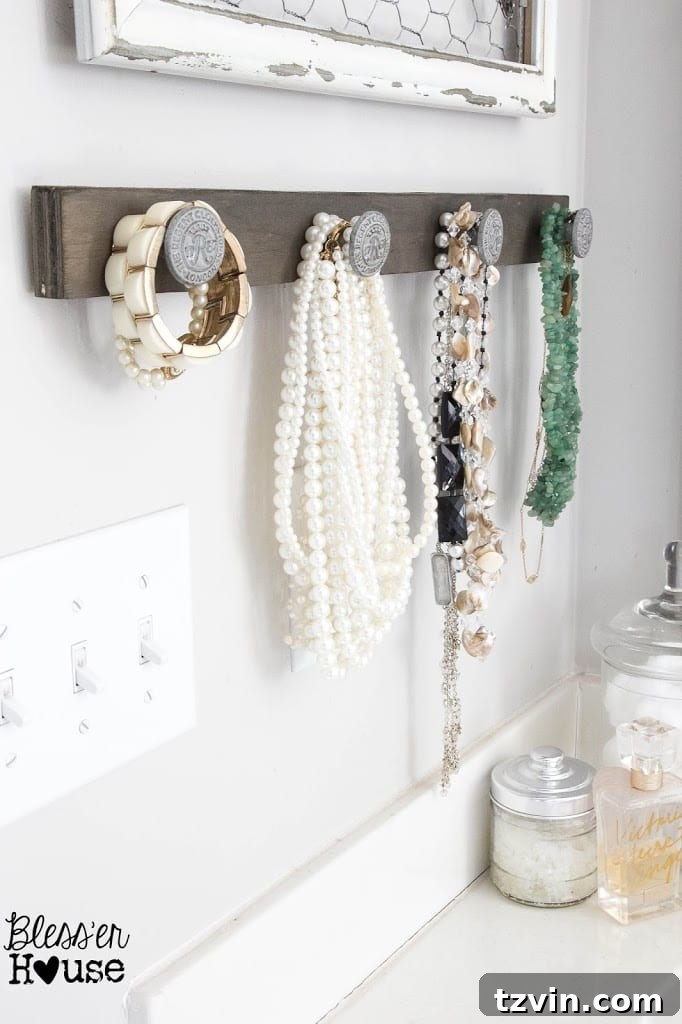
For the necklace and bracelet holder, I used a scrap piece of wood that I stained with my DIY barnwood staining method to match the plank wall in my bathroom.
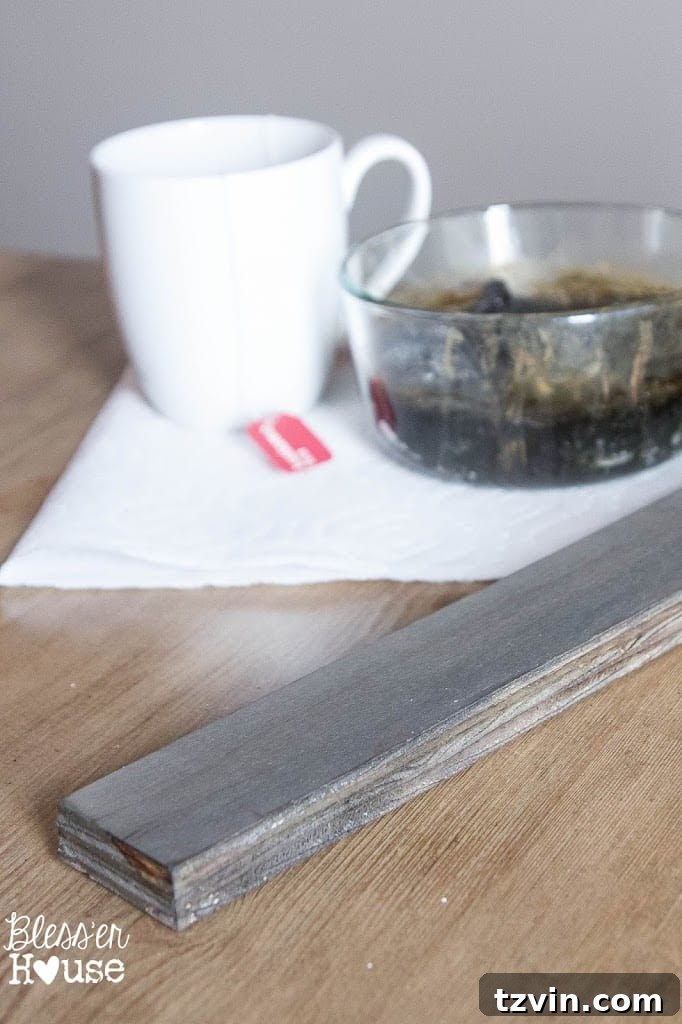
I’m still loving this stain! It’s so much easier and less messy than store-bought options.
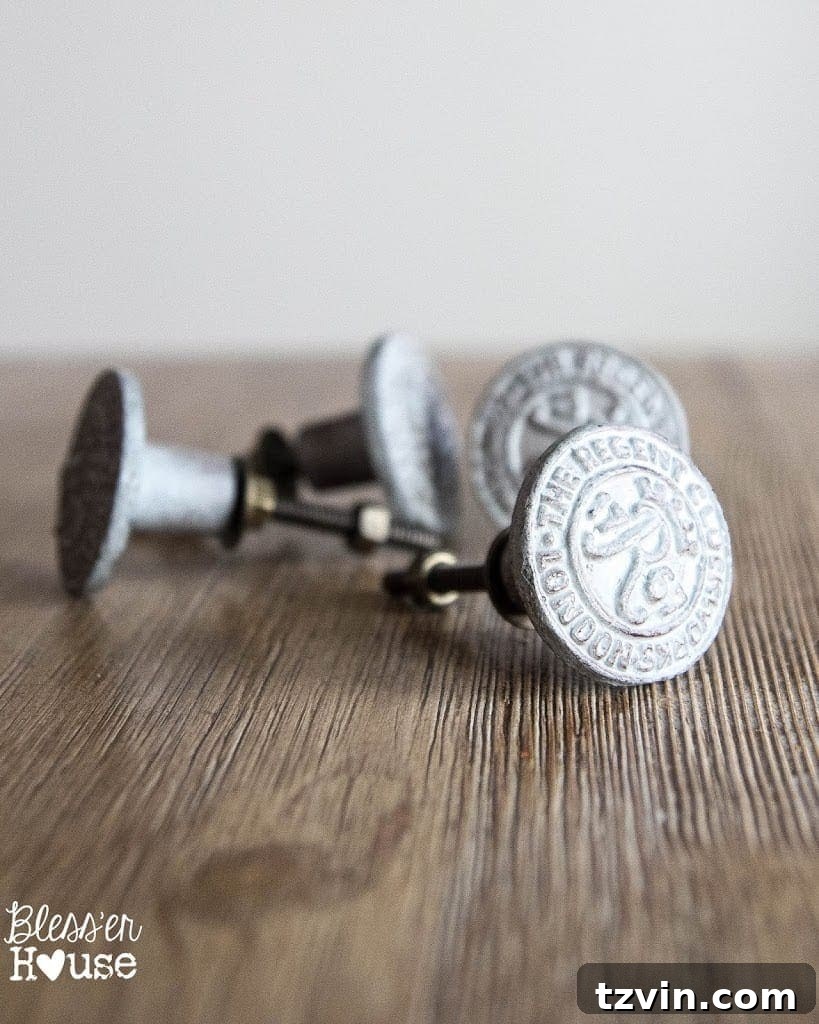
To add some extra detail, I splurged a little on some cool industrial knobs from World Market. They really completed the look.
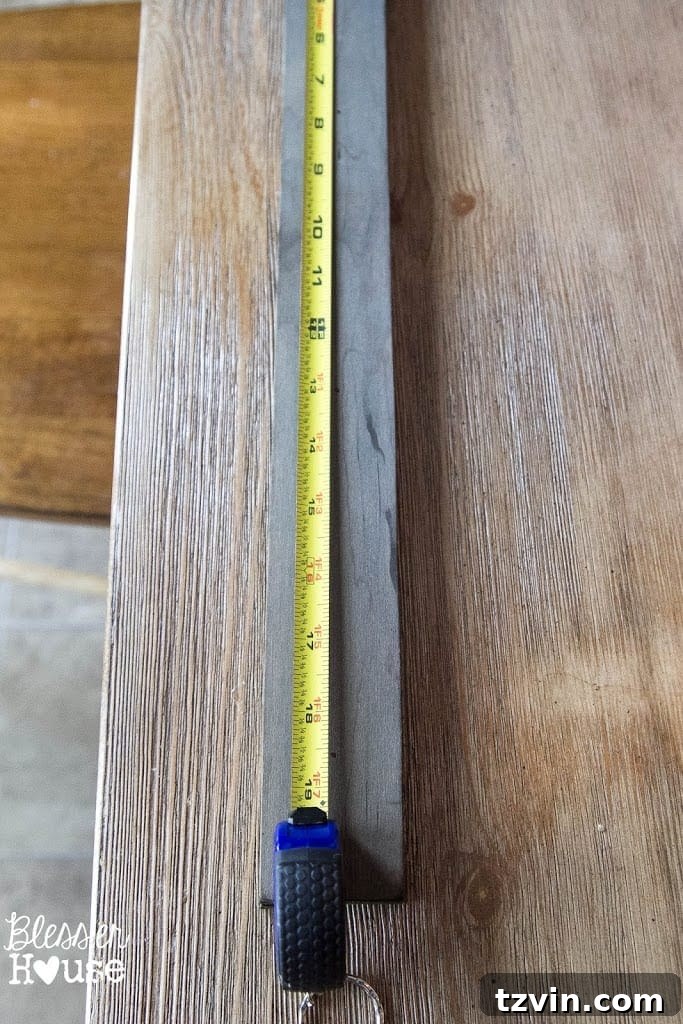
I measured and marked where I wanted the knobs on the wood piece.
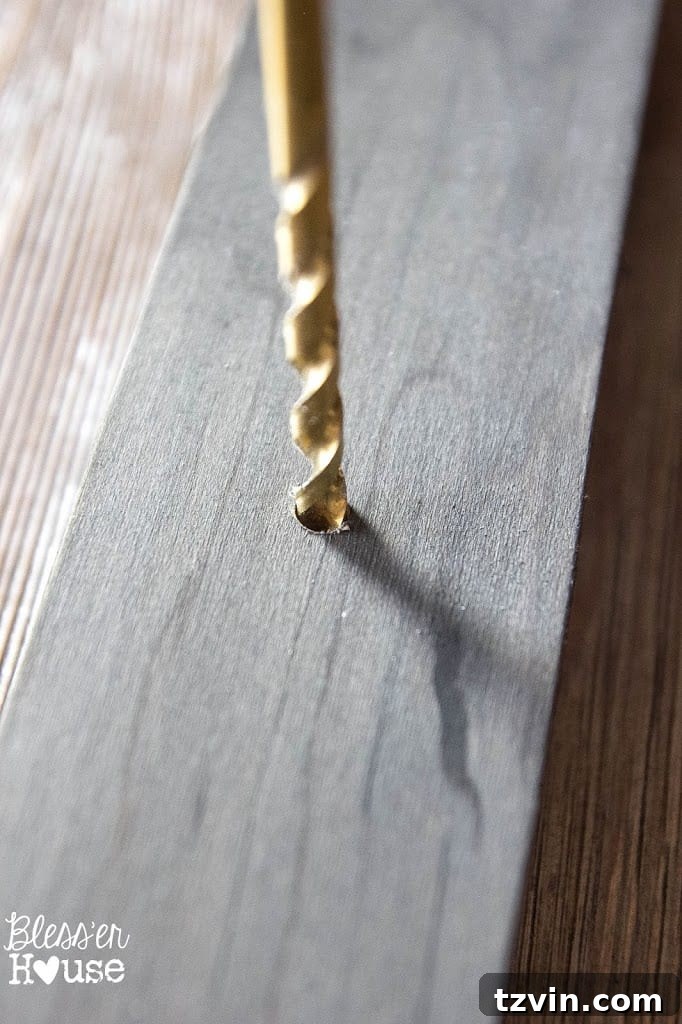
Next, I drilled holes for the knobs.
(Please note: I’m not actually drilling into the table in that shot! It’s a bit tricky to manage a drill and a camera simultaneously, so I staged the photo for clarity.)
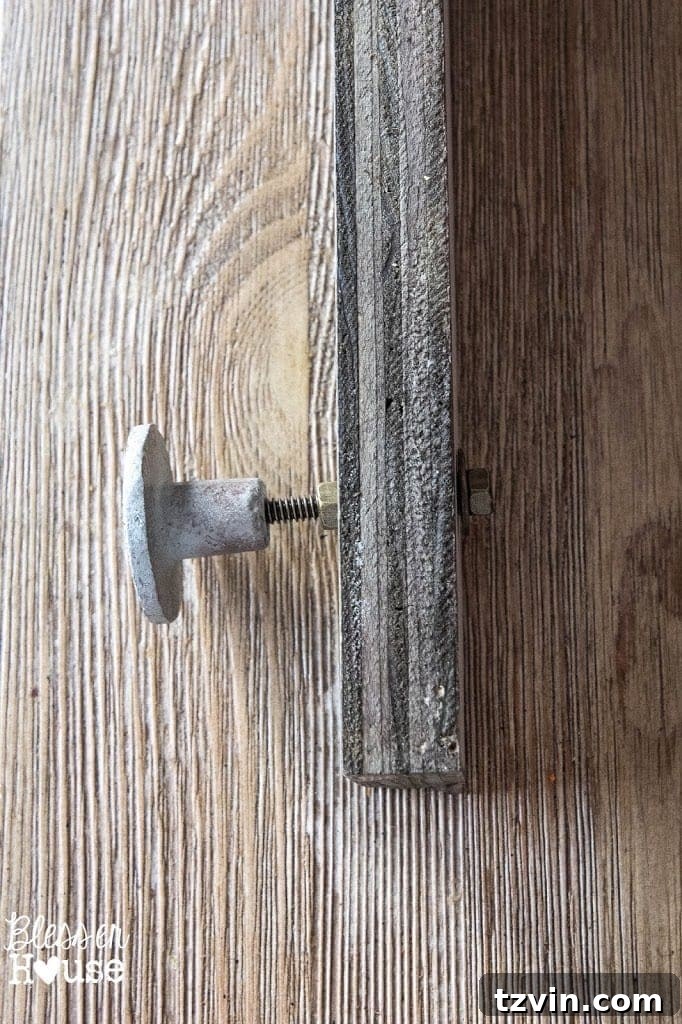
Once the holes were drilled, I screwed in the knobs.
The whole project took about 45 minutes and cost me around $17. It really pays to be a craft supply hoarder, doesn’t it?
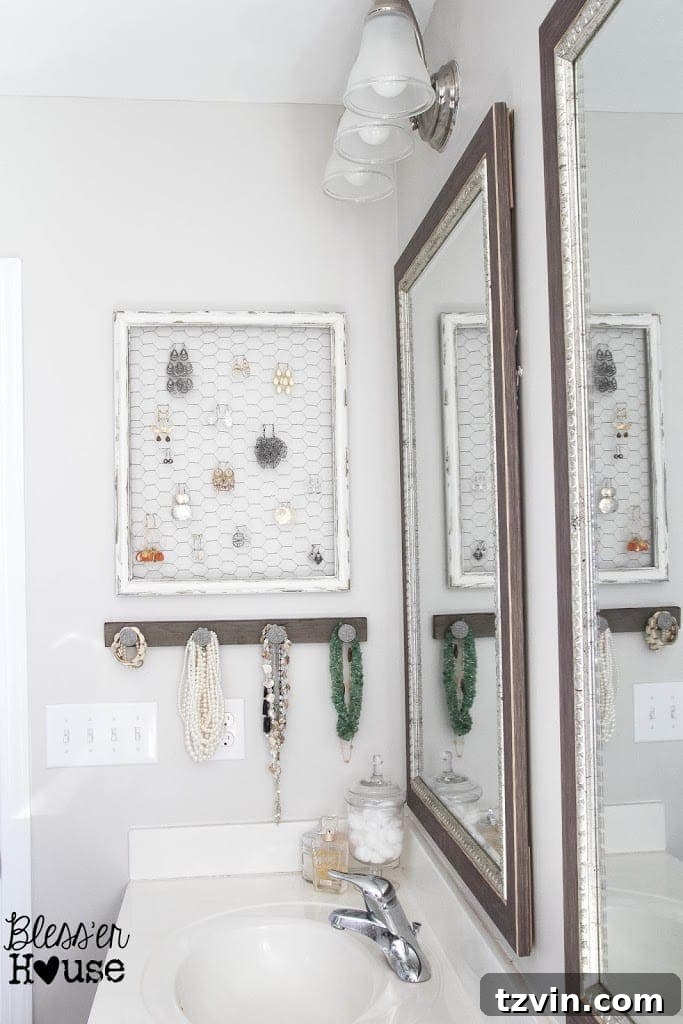
Now, instead of a jewelry box, all my accessories are neatly displayed, easy to see, and ready to wear.
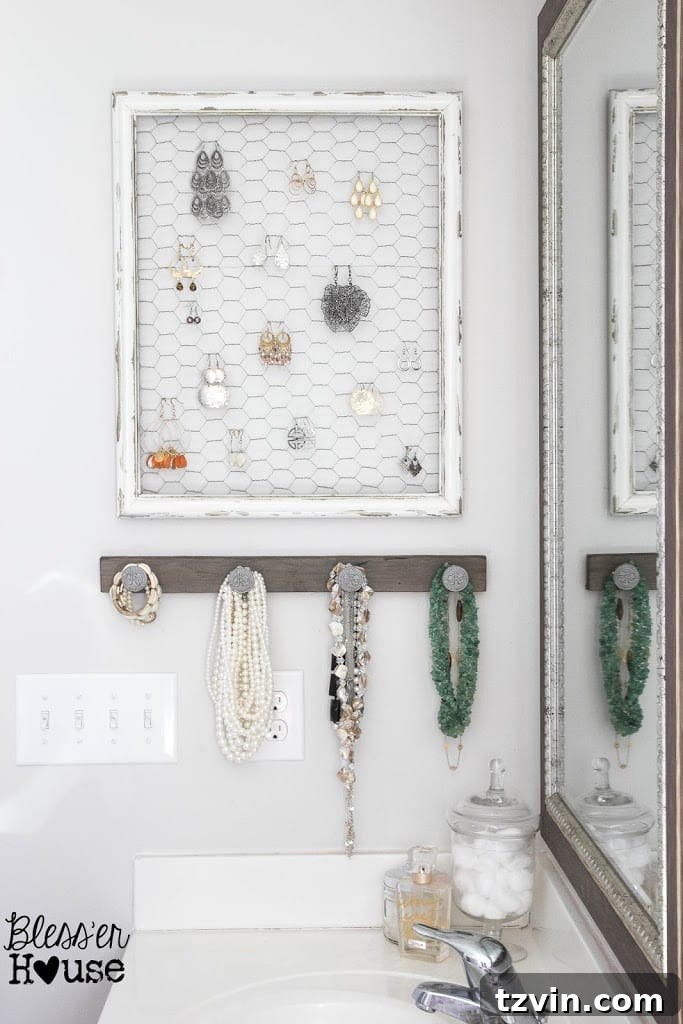
Plus, it serves as a bit of wall decor in our bathroom!
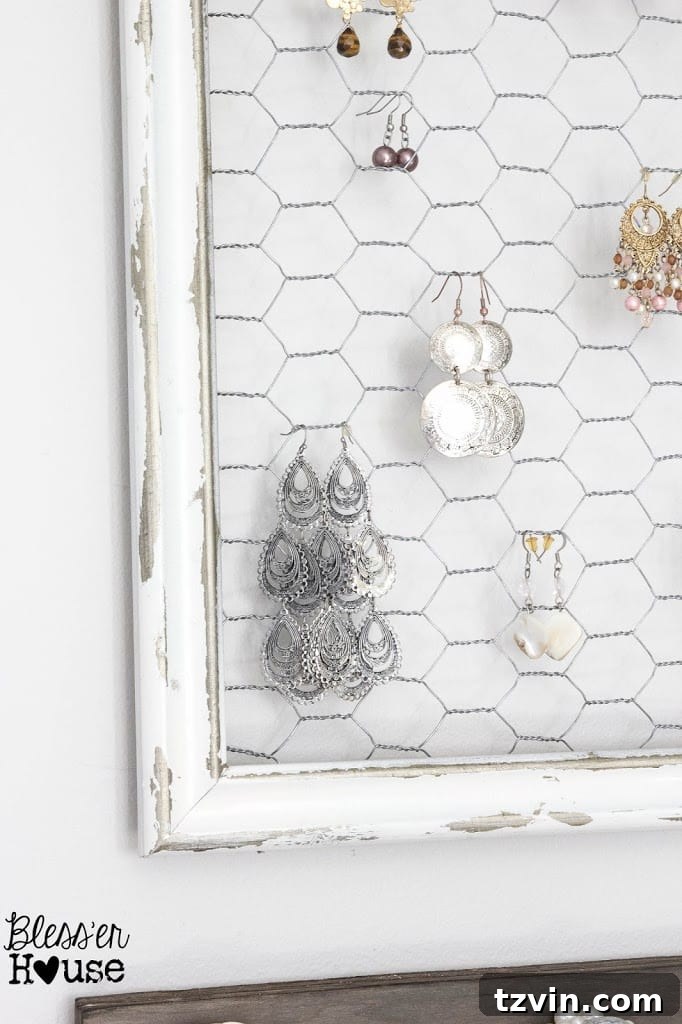
The look of the frame and the knobs fit seamlessly with our bathroom mirrors.
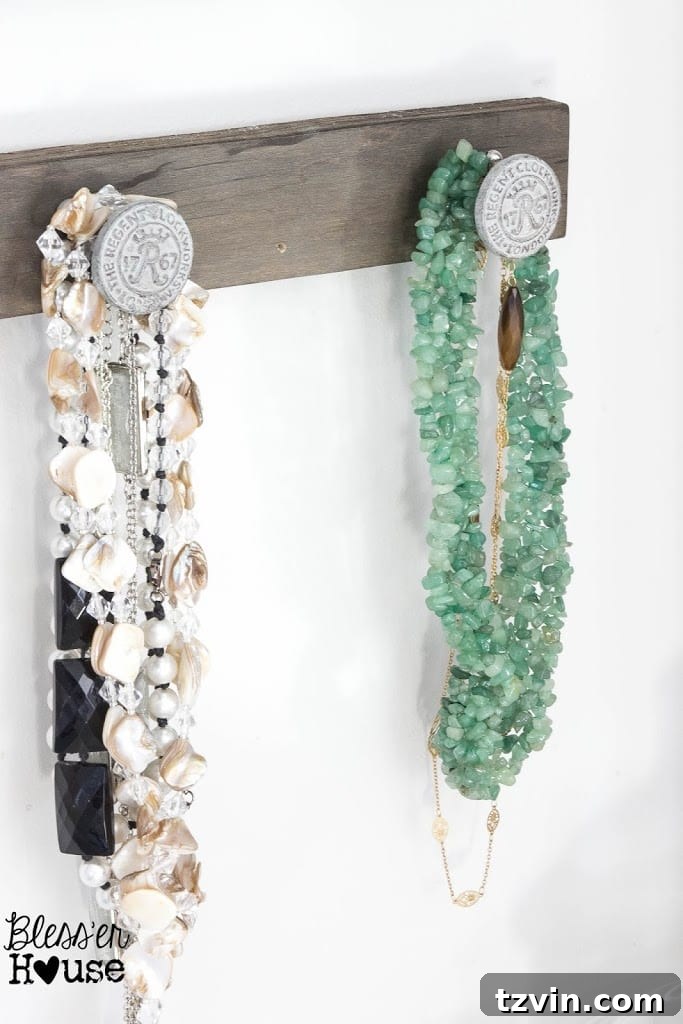
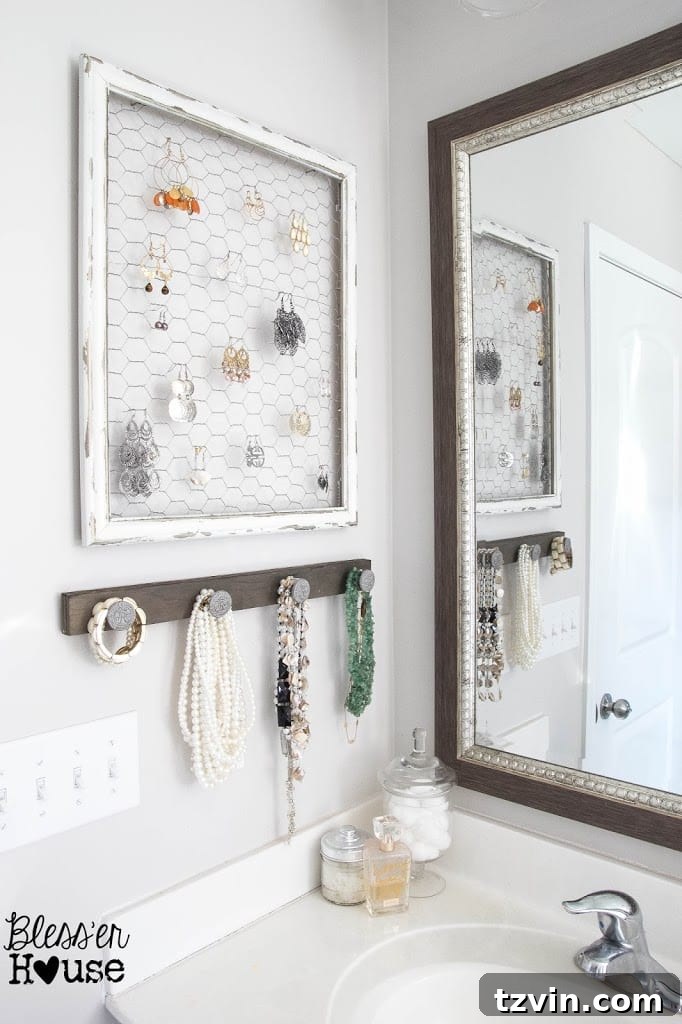
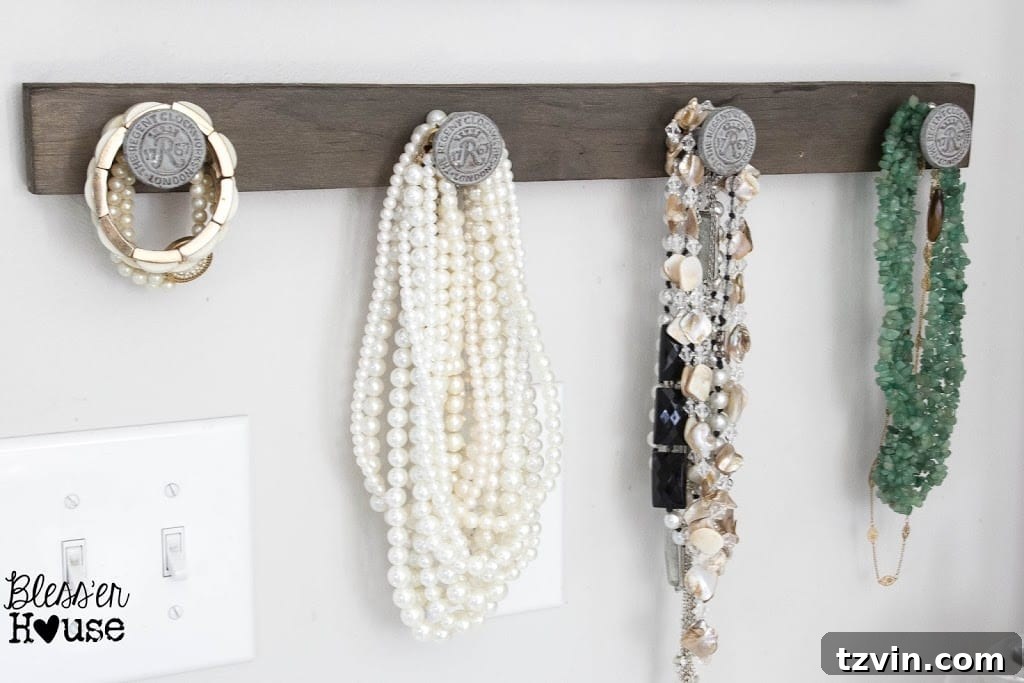
It’s so much easier to find the jewelry I want when it’s out in the open instead of hidden away in a box.
If you’d like to try this project yourself, you can find old picture frames at your local thrift store for a few dollars. A piece of wood and some chicken wire can be found at your local hardware store.
Happy crafting, and I can’t wait to share more of our bathroom makeover with you over the coming weeks. If you want to see behind-the-scenes content in real time, be sure to follow me on Instagram.
If you enjoyed this project, check out these ideas as well:
Best wishes,

Find me on:
Or connect with me on: