
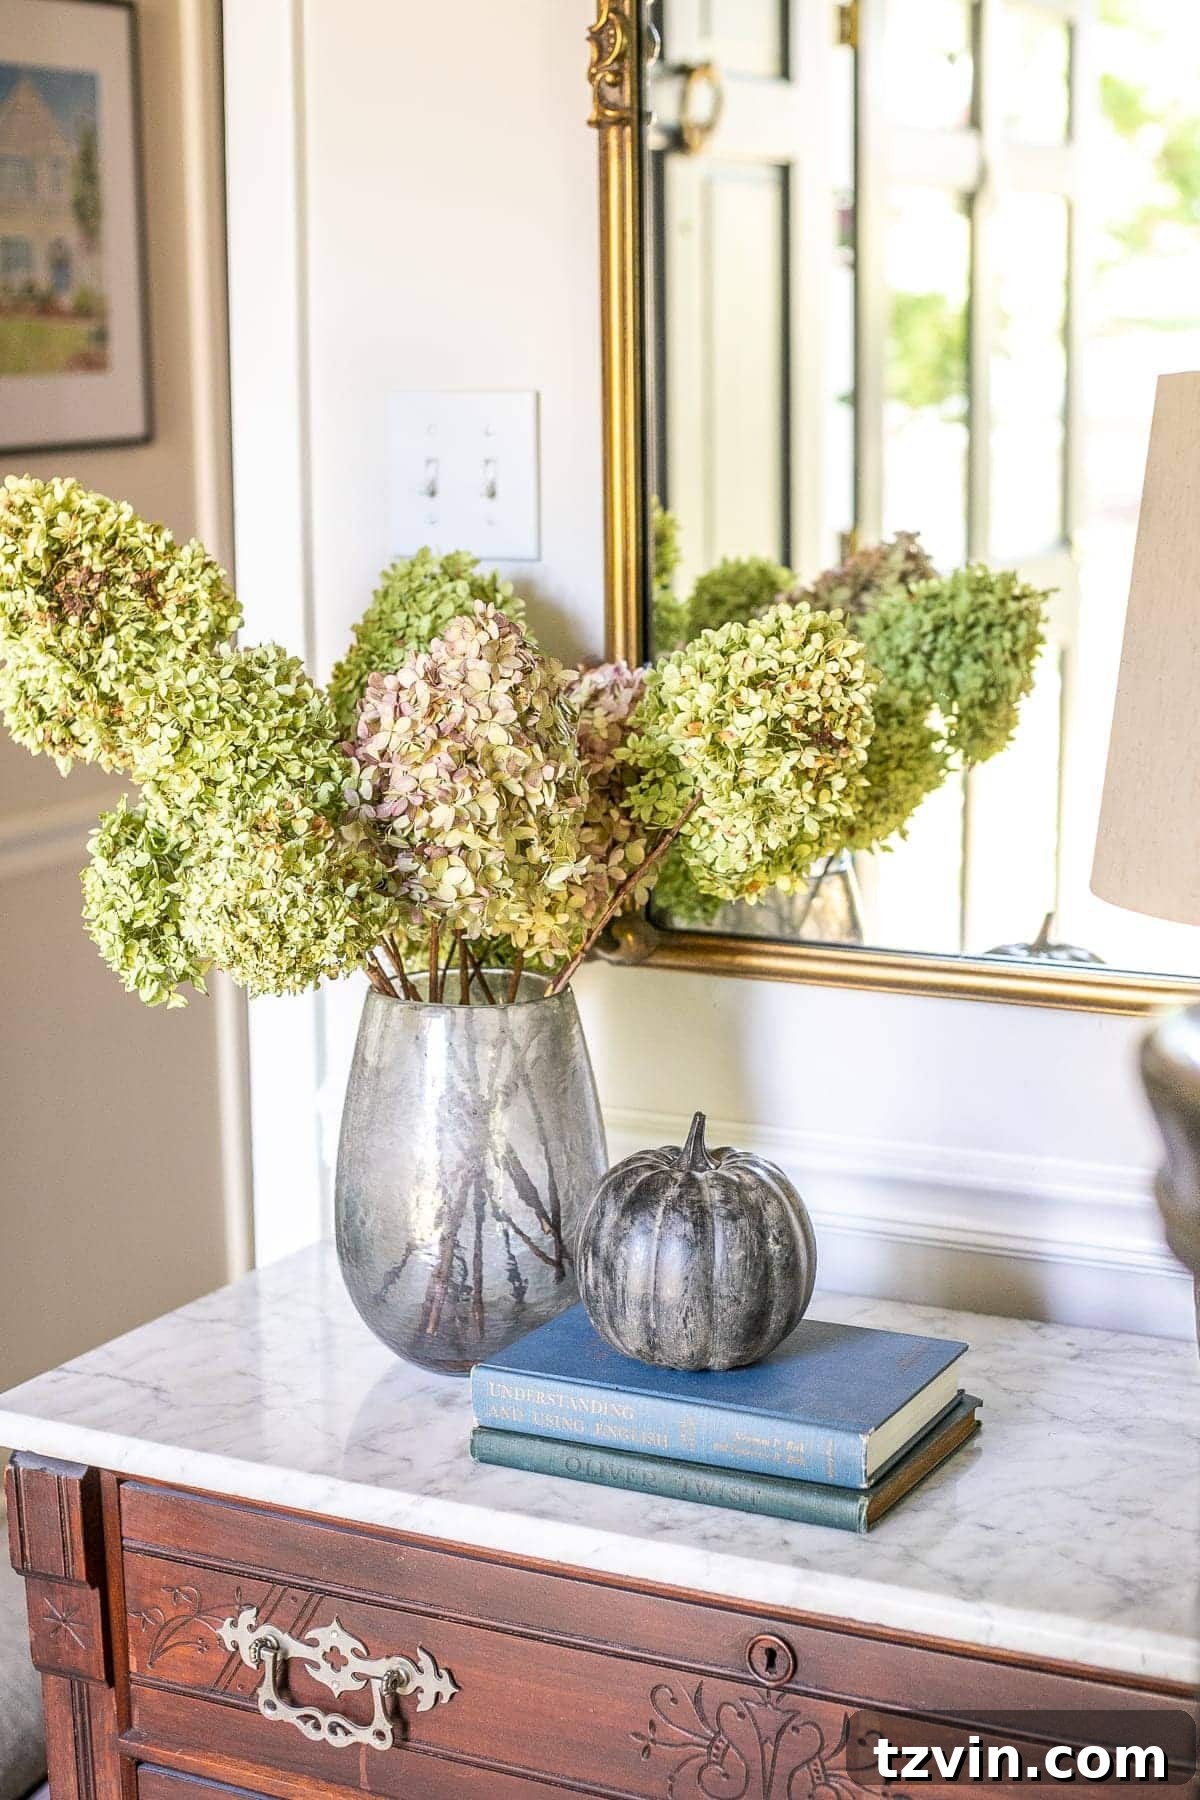
DIY Painted Pumpkins: 3 Modern Techniques for Fall Decor
Sometimes the best ideas come from breaking the rules, right? Especially when it comes to fall decorating! I found myself with a few inexpensive faux pumpkins and a cabinet full of paint, and inspiration struck. The result? Three fantastic DIY painted pumpkin techniques that are perfect for adding a touch of modern flair to your fall decor. And the best part? They’re all super affordable and easy to do!
I’m not one to go overboard with pumpkins, but these techniques are so fun, and the results are so chic that I couldn’t resist. Whether you’re a seasoned DIYer or just starting out, these projects are a great way to unleash your creativity and give your home a seasonal update without breaking the bank.
Ready to get started? Let’s dive into these three amazing techniques!
3 Modern Pumpkin Painting Techniques
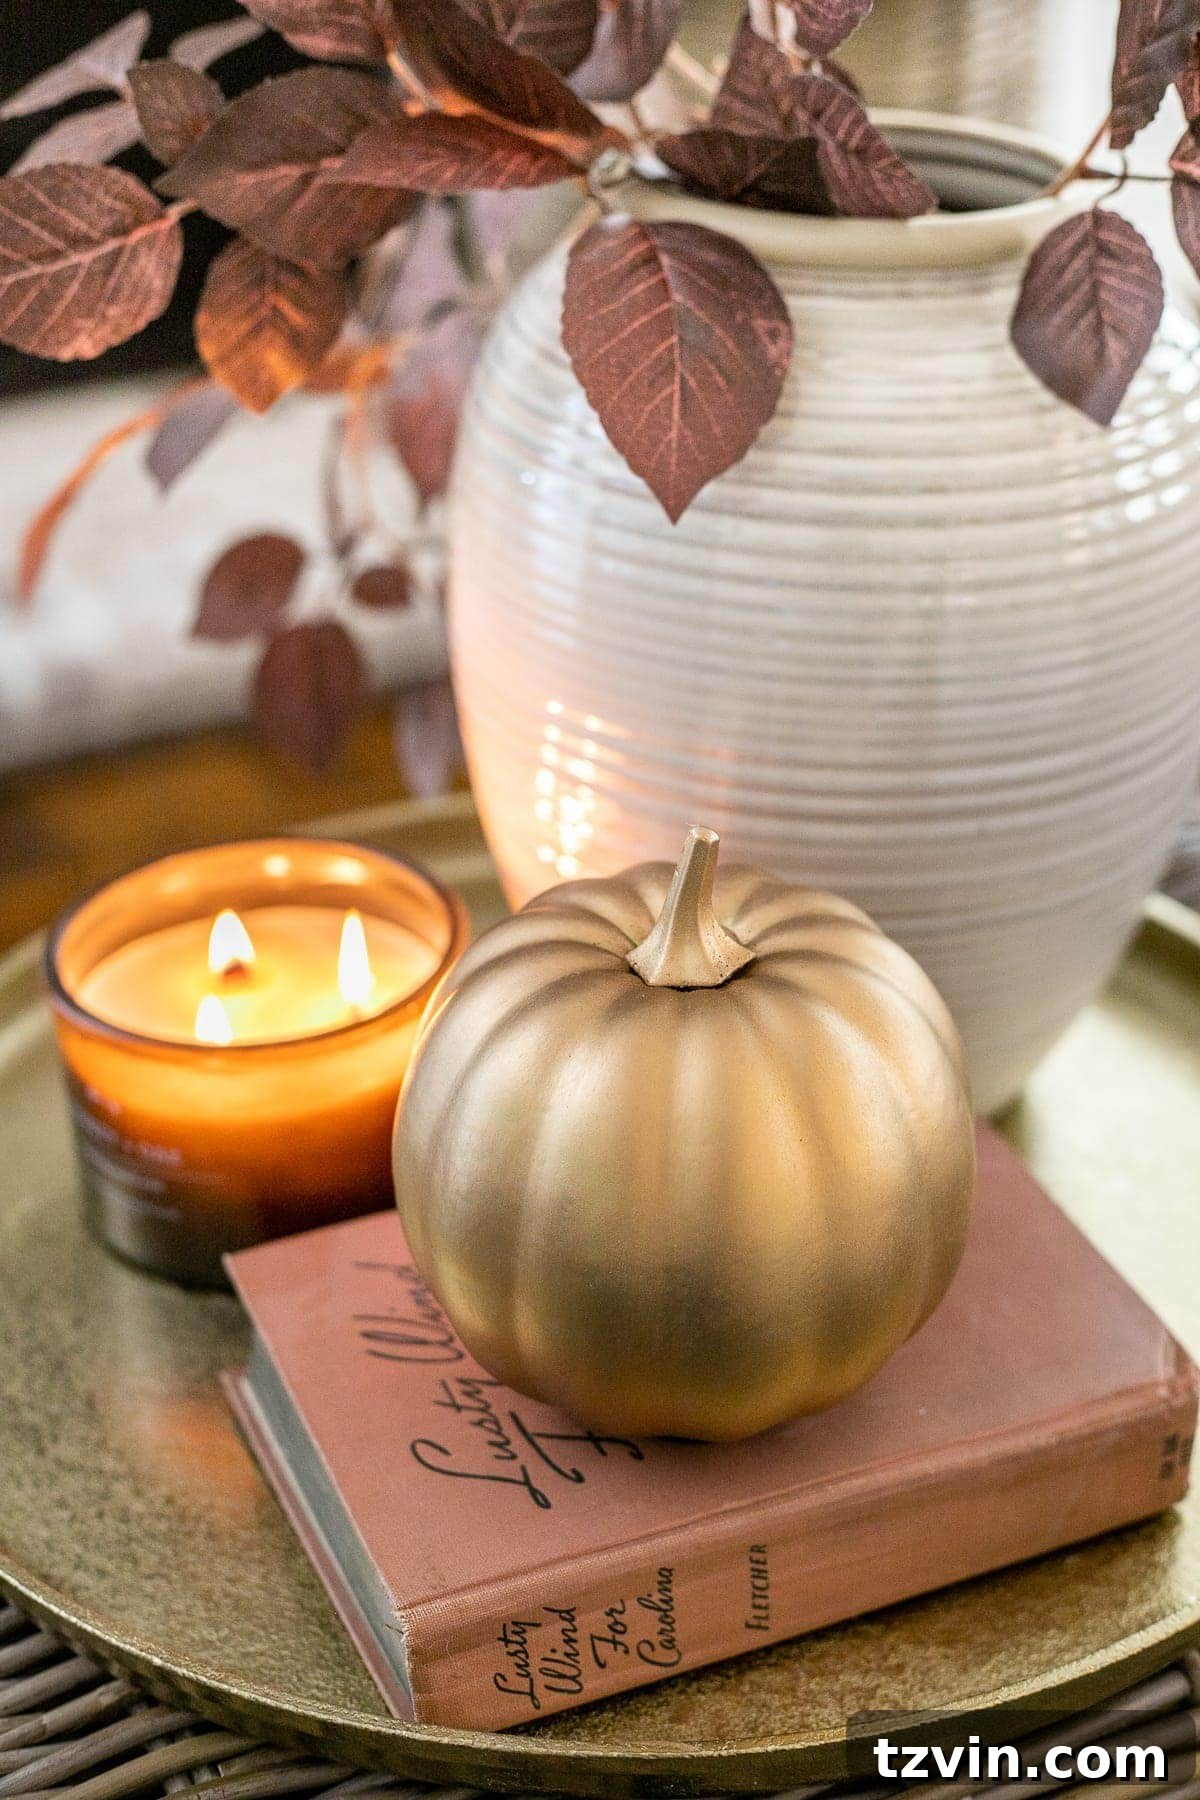
Antique Brass Pumpkin
This technique creates a beautiful, aged brass finish that looks incredibly elegant. It’s perfect for adding a touch of sophistication to your fall displays.
Supplies You’ll Need:
- Spray Primer (Optional, but recommended for better paint adhesion)
- Gold Metallic Spray Paint
- Antique Gold Rub ‘n Buff
Instructions:
- Prime: If using, apply a thin, even coat of spray primer to your pumpkin. Allow it to dry completely.
- Spray Paint: Apply a few coats of gold metallic spray paint, letting each coat dry before applying the next.
- Rub ‘n Buff: Once the spray paint is dry, use an old craft brush or your fingers to apply Rub ‘n Buff to your pumpkin. Wipe away any excess with a paper towel. This adds depth and that gorgeous aged brass look.
The finished product is a stunning antique brass pumpkin that looks like a high-end decor piece. It’s the perfect statement piece for your fall mantel or table.
Concrete Pumpkin
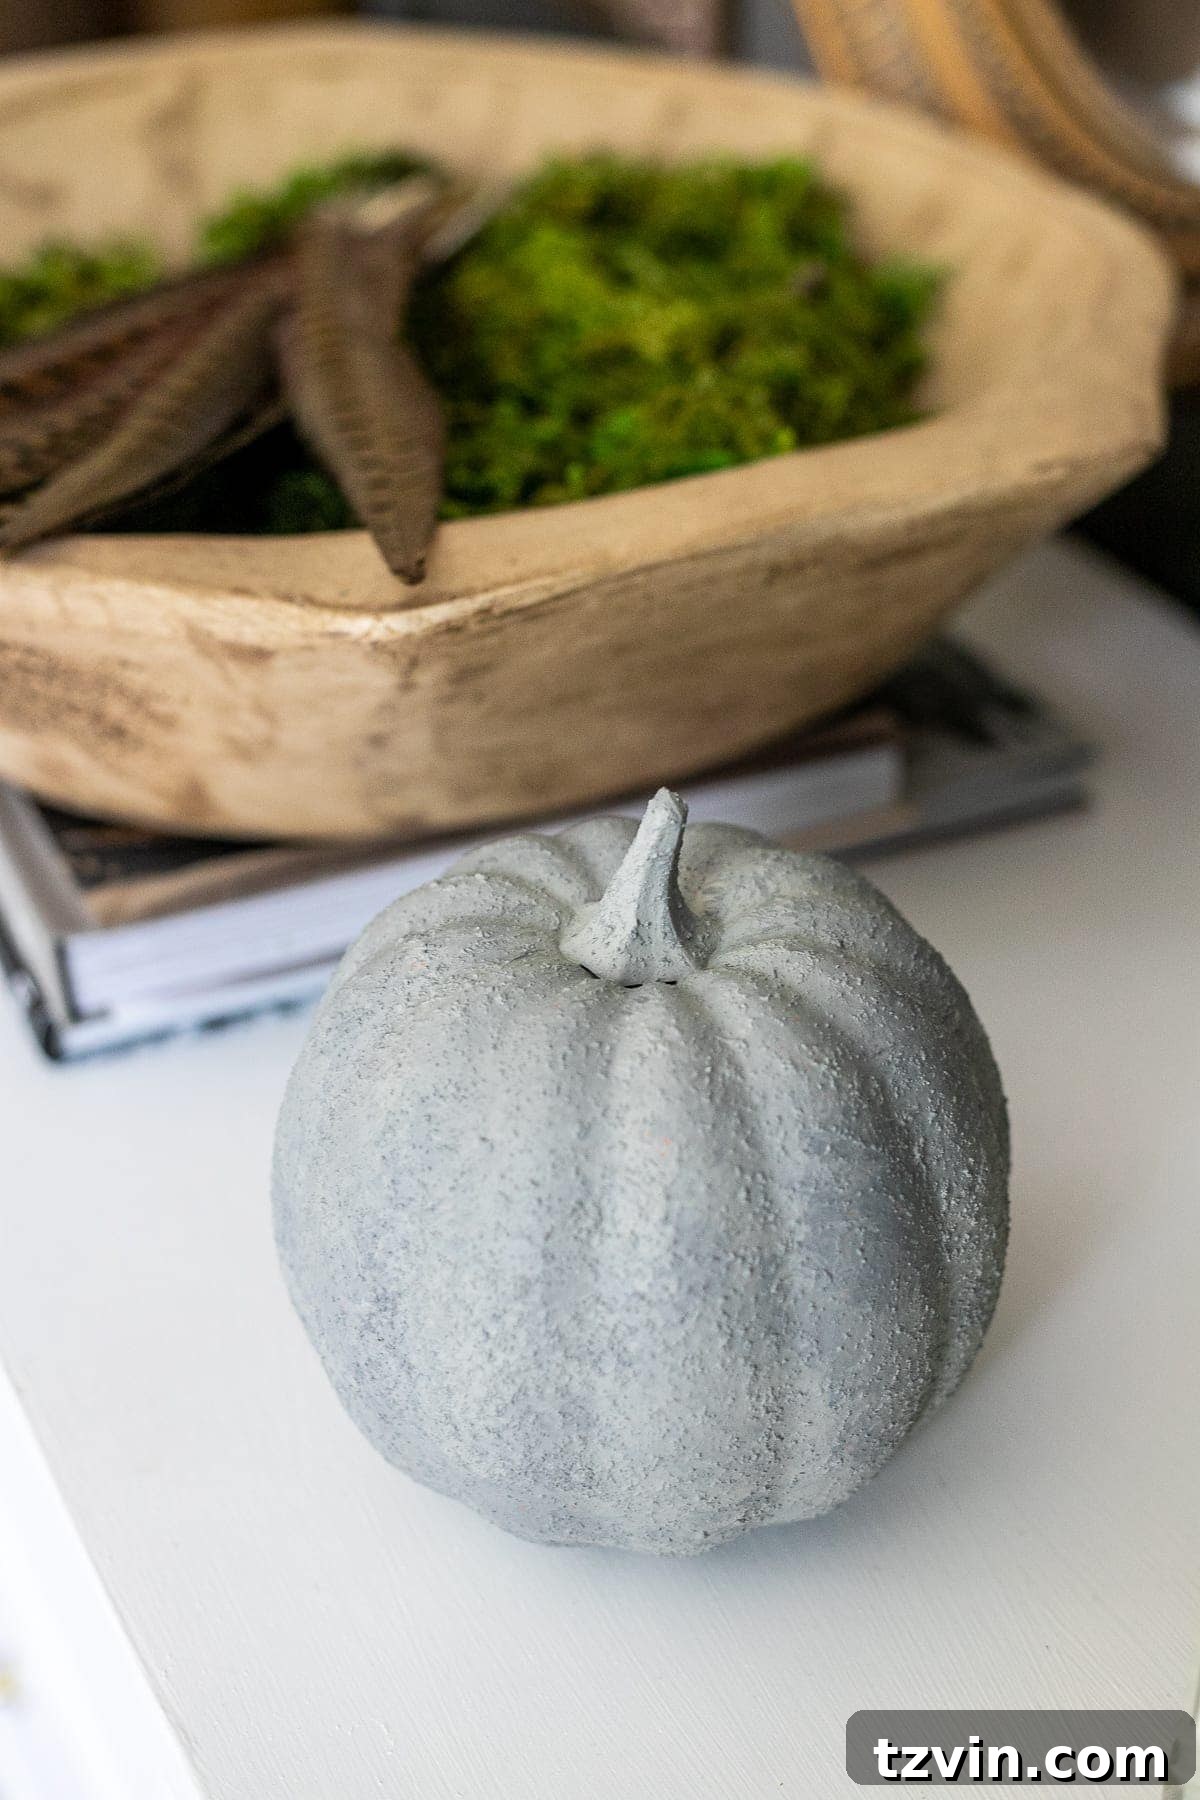
Embrace the modern farmhouse aesthetic with this easy concrete pumpkin technique. It’s a simple way to create a textural, industrial look.
Supplies You’ll Need:
- Plaid FolkArt Concrete Hobby Paint (or create your own with light and medium gray craft paint and a touch of sand)
- Chip Brush
Instructions:
- Base Coat: Using your chip brush, apply a coat of light gray paint to the entire pumpkin.
- Textured Effect: While the base coat is still wet, dab on some darker gray paint to create a mottled, concrete-like texture.
This technique gives your pumpkins a realistic concrete appearance that’s perfect for adding a touch of industrial chic to your fall decorations. They look fantastic on a porch, entryway, or anywhere you want to add a touch of modern flair.
Black Earthenware Pumpkin
This technique creates a gorgeous, earthy look, reminiscent of vintage pottery. It’s a great way to add a touch of rustic elegance to your fall decor.
Supplies You’ll Need:
- Spray Primer (Optional)
- Flat Black Spray Paint
- Dirt from your yard mixed with water to make a thick mud (approximately 2-3 tablespoons of water per cup of dirt)
- Paper towels
Instructions:
- Prime (Optional): Apply a coat of primer if desired. Let it dry completely.
- Spray Paint: Apply several coats of flat black spray paint, allowing each coat to dry.
- Mud Application: Cover the entire pumpkin with the mud mixture. Let it dry for several hours or overnight.
- Reveal the Texture: Use a paper towel to rub off some of the dried mud, revealing the black underneath and creating a beautiful, earthy texture.
The result is a striking black earthenware pumpkin that adds a touch of rustic charm to any space. It’s a unique and eye-catching addition to your fall decorating.
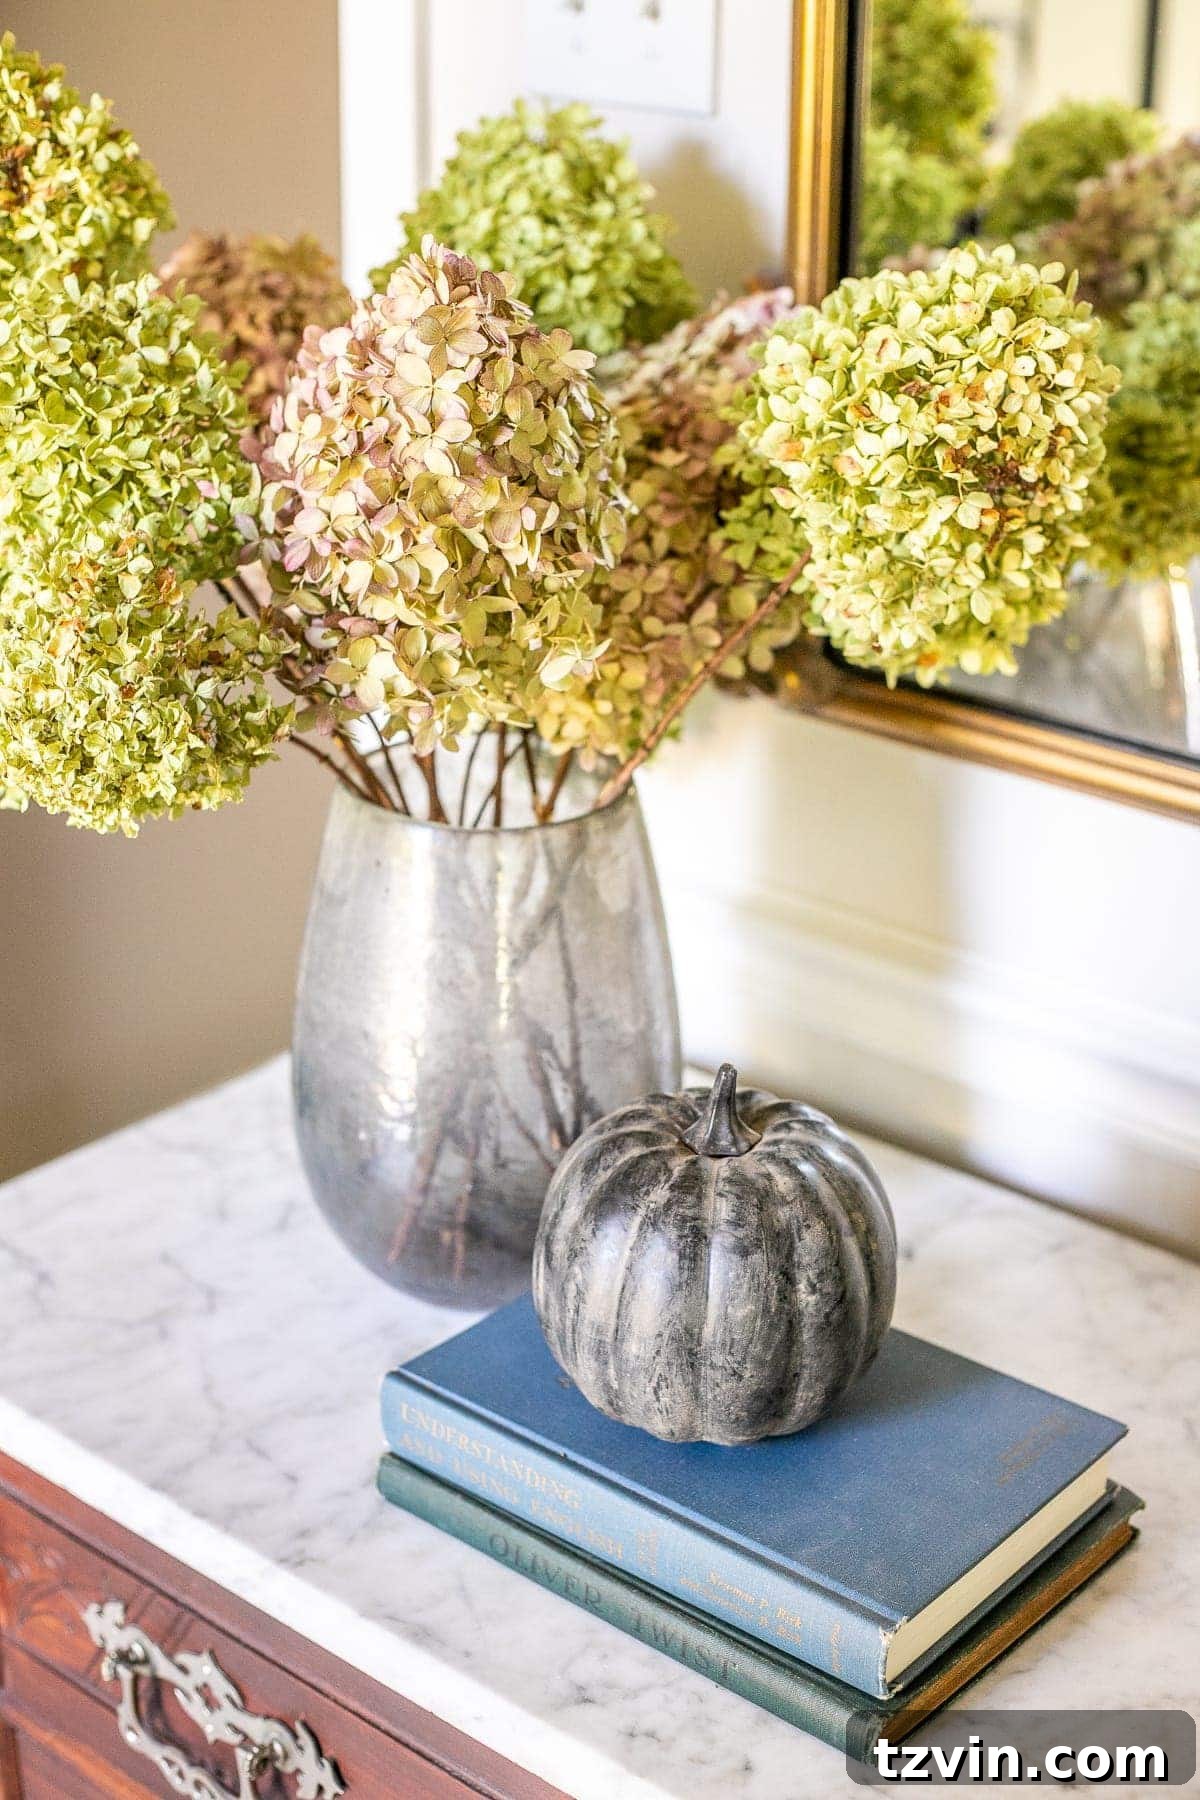
Which of these techniques will you try first? I hope you have fun creating these easy DIY painted pumpkins. They are a wonderful way to personalize your fall decor and bring a touch of creativity to your home.
Happy painting!