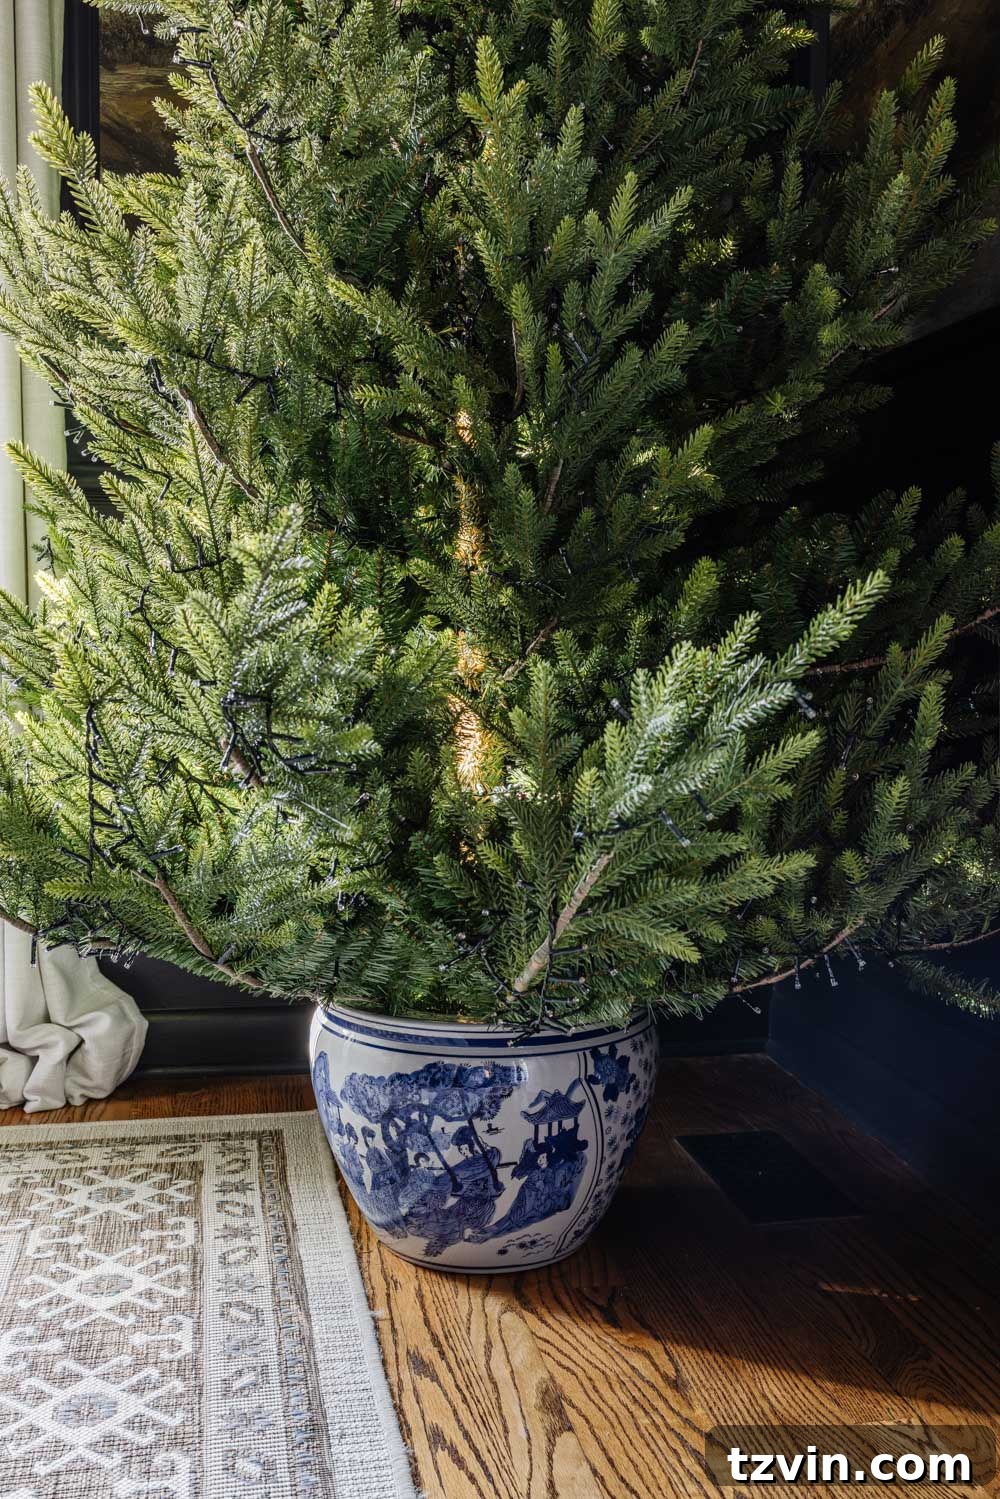
DIY Potted Christmas Tree Stand: A Stylish and Sturdy Solution
Transform your Christmas tree into a designer-worthy centerpiece with this easy and affordable DIY potted Christmas tree stand. Perfect for any style, this method works with baskets, barrels, buckets, and more!
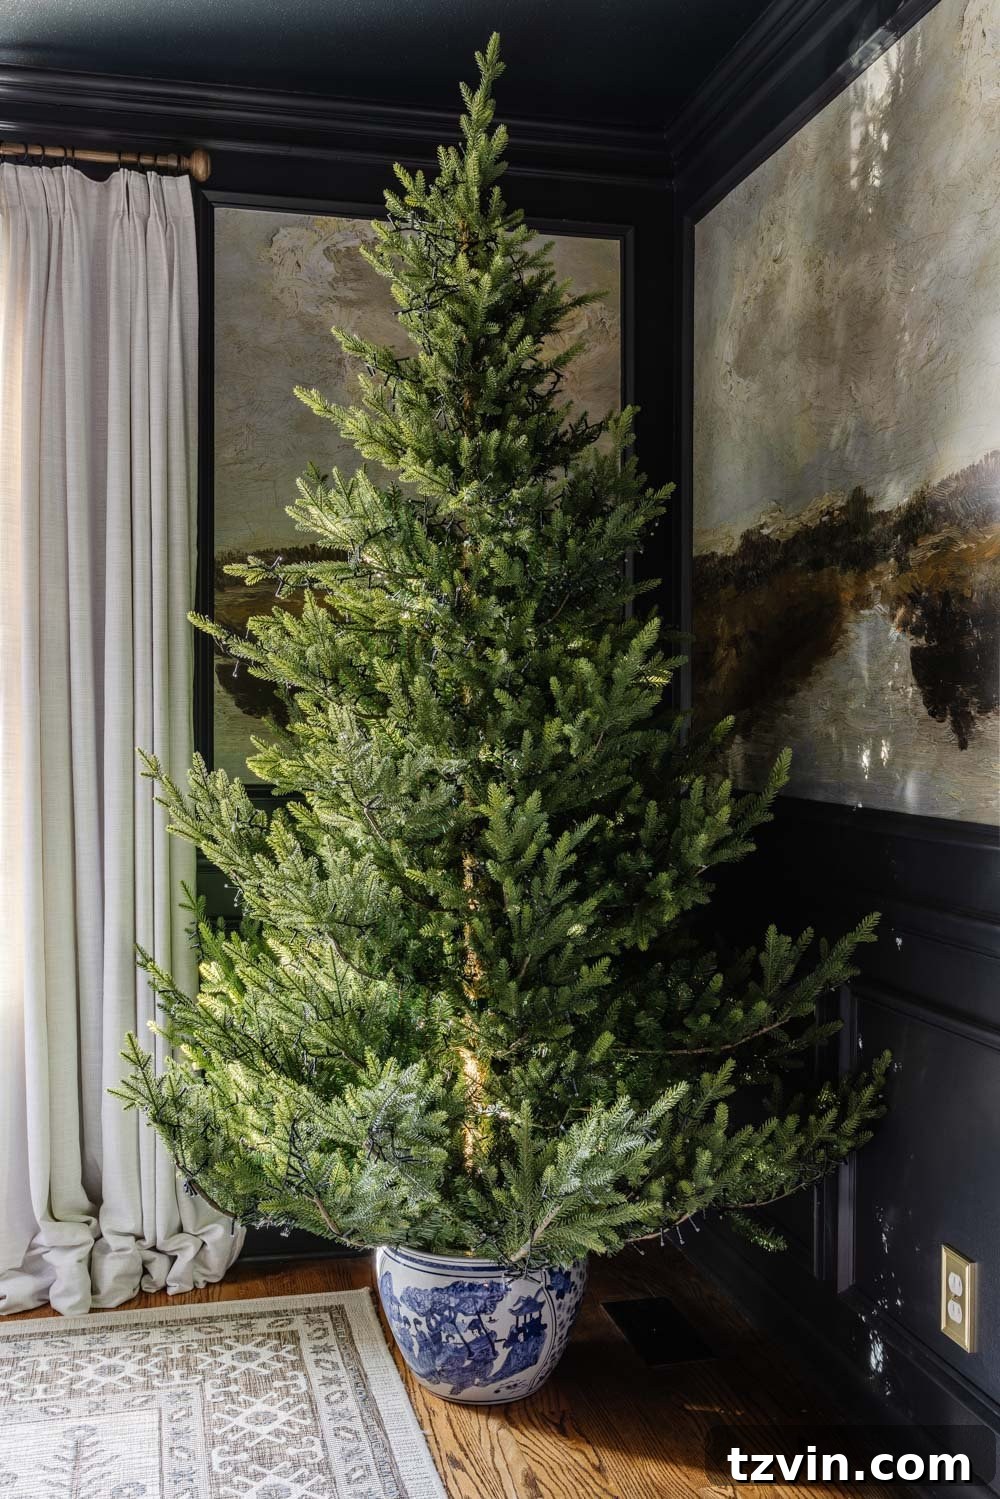
For years, I’ve admired Christmas trees nestled in beautiful planter pots online, always intending to try it myself. This year, I finally made it happen, transforming our tree into a “potted Christmas tree” using a planter we already had. The result is simply stunning!
The beauty of this DIY project lies in its versatility. It works with practically any decorative container you can imagine: a classic planter, a rustic basket, a charming ceramic urn, a vintage barrel, a weathered wooden trunk, an antique crock, a galvanized bucket, or even something as unexpected as a tire or a bass drum! The more unique, the better.
I initially shared a DIY tree stand tutorial as an Instagram reel. If you prefer a visual guide, head over there for a quick video walkthrough. But, I wanted to provide a comprehensive step-by-step guide here so you can easily create your own potted Christmas tree stand.
Let’s create a custom, designer look for your Christmas tree without breaking the bank. The best part? The supplies will only cost you around $20! (That excludes the planter, which I repurposed from our front porch.)
Disclosure: As an Amazon Associate, I earn from qualifying purchases.
Supplies You’ll Need to Build Your Own Potted Christmas Tree Stand
- Artificial Christmas tree (remove the original stand)
- Decorative planter, basket, bucket, or barrel
- 1-gallon plastic bucket (this will serve as the weighted base)
- PVC pipe sized to match your tree’s center pole
- Quick-set concrete
- Painter’s tape or duct tape
- Drop cloth or cardboard
- Small level
- 5-gallon bucket and shovel for mixing
- Hand saw or circular saw
- Wooden boards or concrete blocks
- Optional: moss, fabric, or filler
(For trees larger than 7.5 feet, consider using a 3-gallon or 5-gallon bucket for added stability.)
Step-by-Step Guide to Creating Your DIY Potted Christmas Tree Stand
Step 1: Choose Your Container – Let Your Style Shine
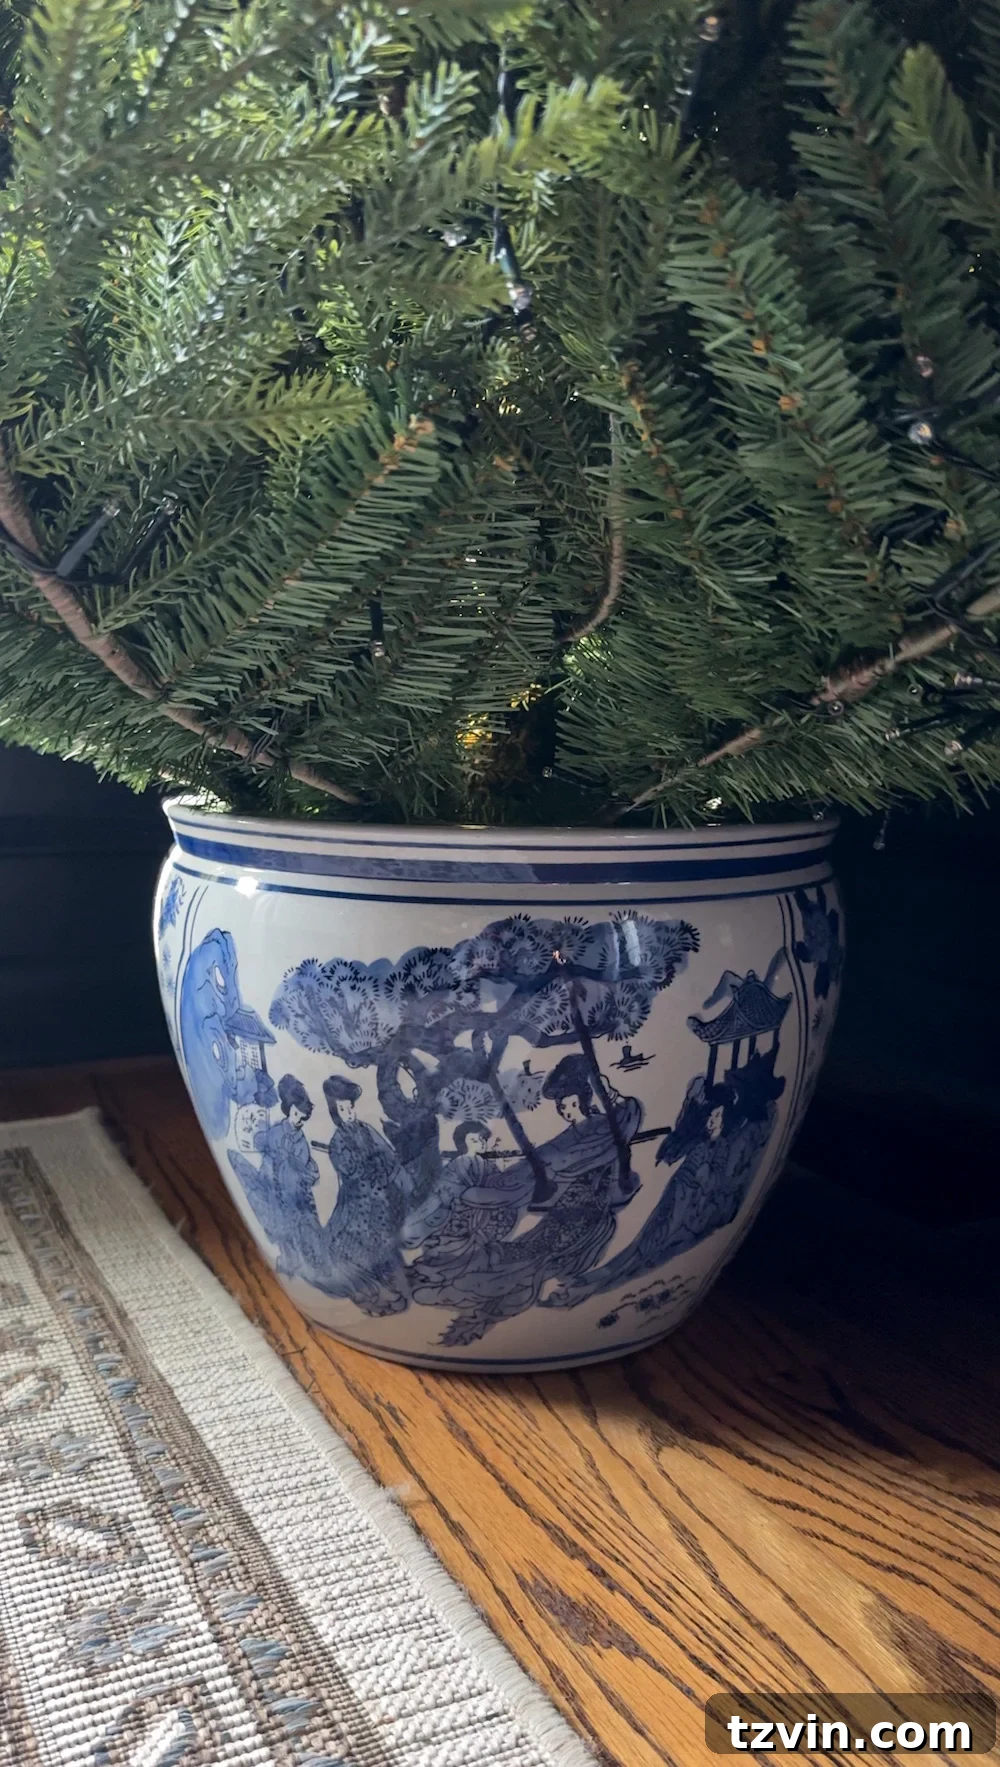
The first step is selecting the perfect decorative container that reflects your personal style and complements your existing Christmas décor.
Here are some inspiring ideas:
- Large ceramic planters: Elegant and timeless.
- Vintage wood barrels: Rustic and charming.
- Galvanized metal buckets: Industrial and modern.
- Woven baskets: Cozy and natural.
- Wooden trunk: Unique and adds character.
Pro Tip: Ensure your chosen container is wide enough to comfortably accommodate a 1-gallon bucket inside, leaving a bit of wiggle room. A flat bottom is also essential for stability.
Step 2: Prep the Base – The Key to a Sturdy Tree
This step is crucial for ensuring your tree is incredibly stable, even more so than many store-bought stands. A secure base is especially important if you have children or pets around.
- Place the 1-gallon bucket inside your chosen decorative planter.
- Measure your tree’s trunk (or pole) to determine the correct diameter PVC pipe you’ll need. This will ensure a snug and secure fit.
- Cut the PVC pipe to a length that allows it to sit inside the bucket while extending high enough to support the majority of the tree pole. Aim for about two-thirds the height of the bucket.
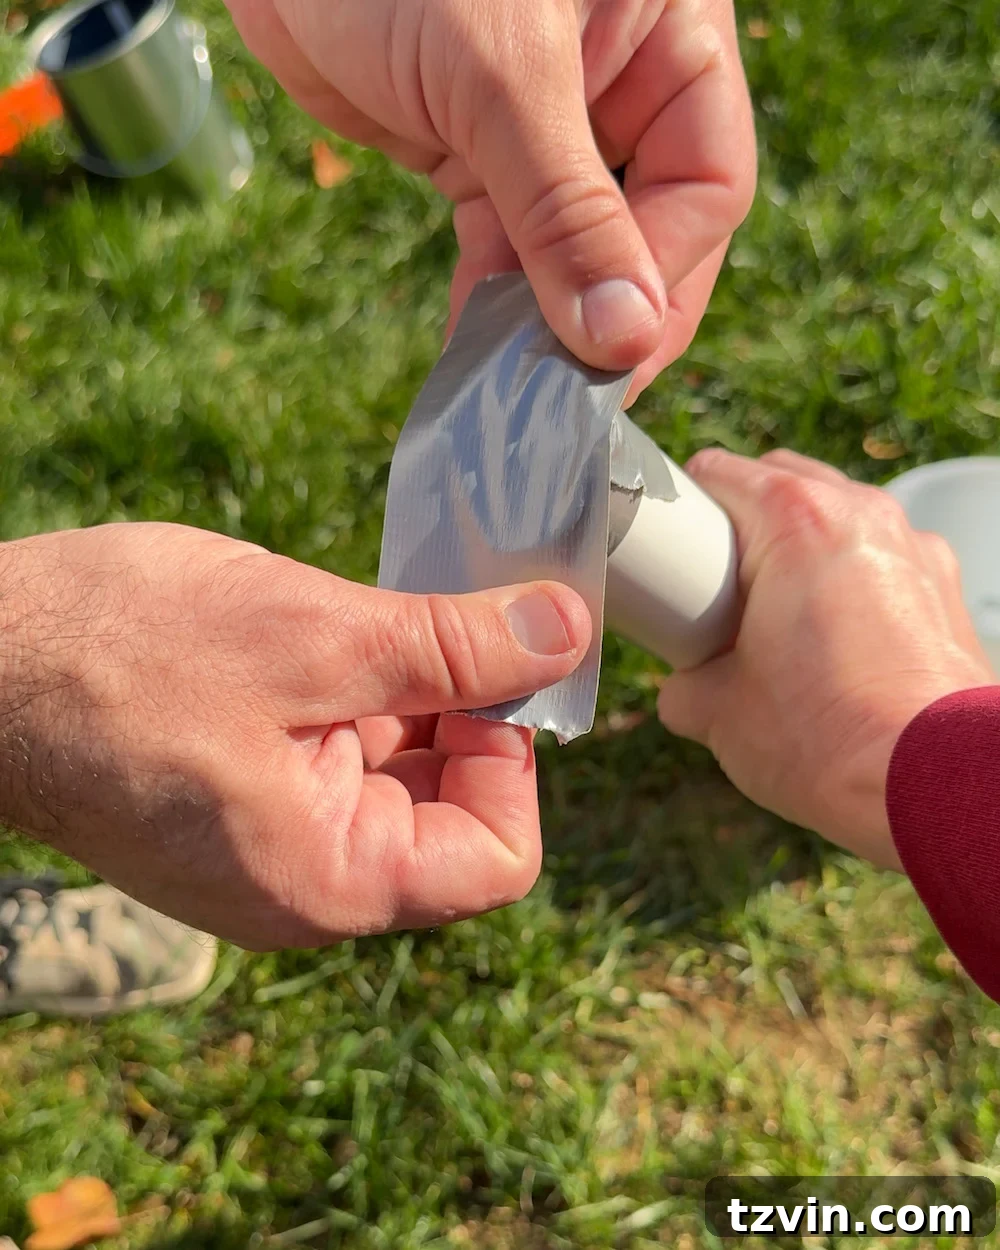
- Seal the bottom of the PVC pipe with painter’s tape or duct tape to prevent concrete from seeping inside.
This PVC “sleeve” will act as your new tree stand, so it’s important to test the fit before proceeding.
Step 3: Mix the Concrete – Creating a Solid Foundation
- Lay down a drop cloth or cardboard to protect your floors from spills and splatters.
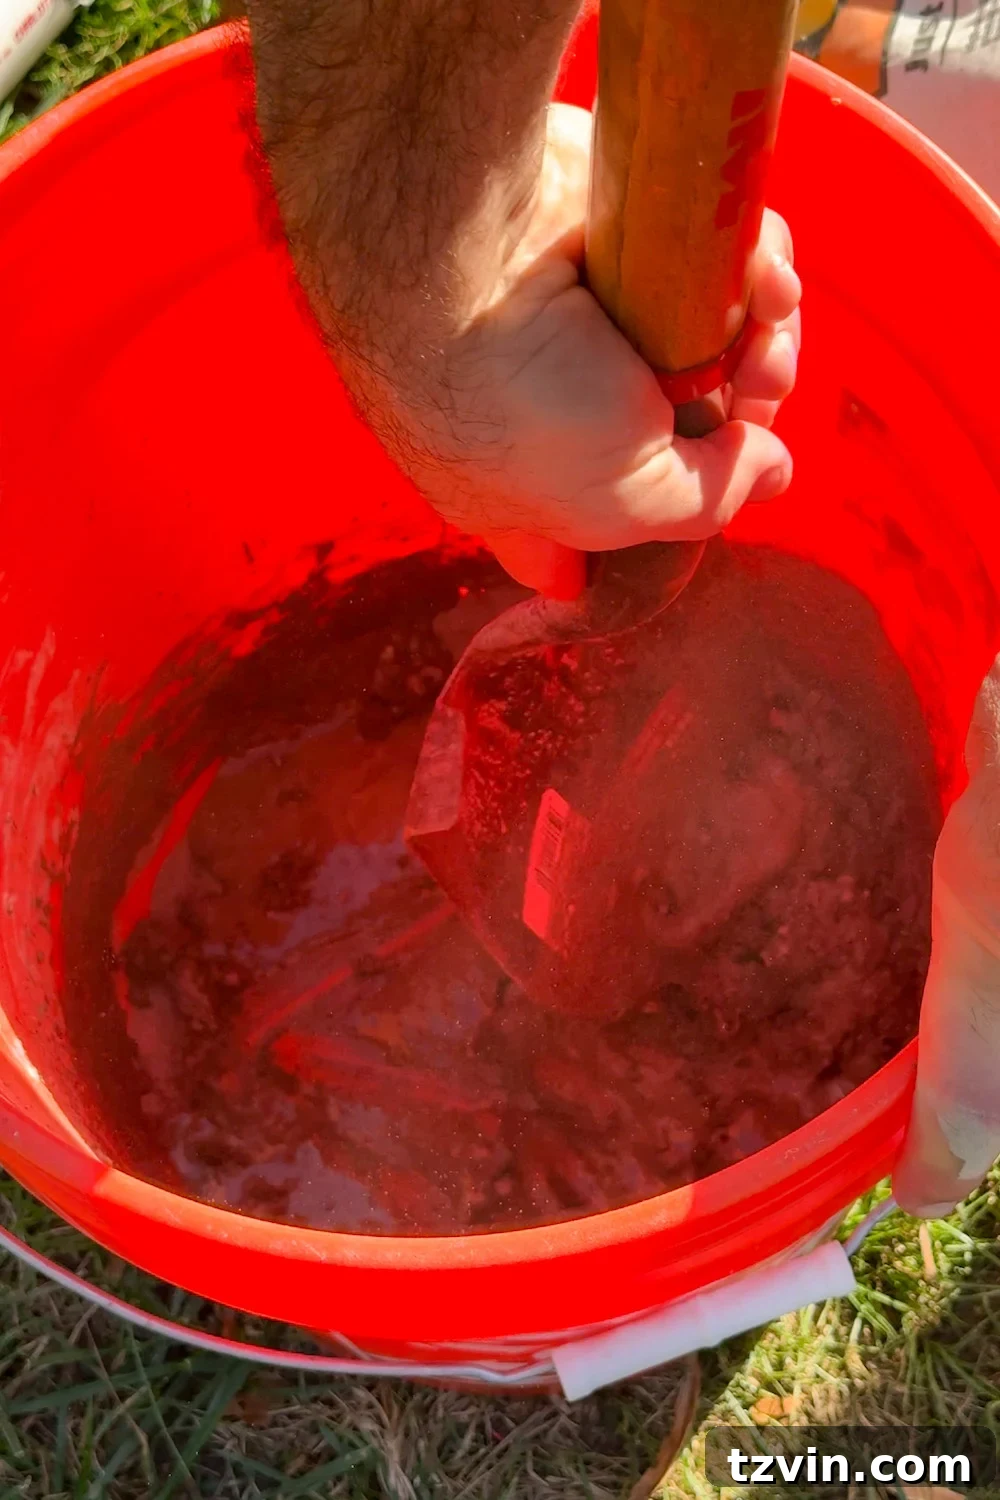
- Mix the quick-set concrete according to the instructions on the bag. Be sure to wear appropriate safety gear, such as gloves and a mask.
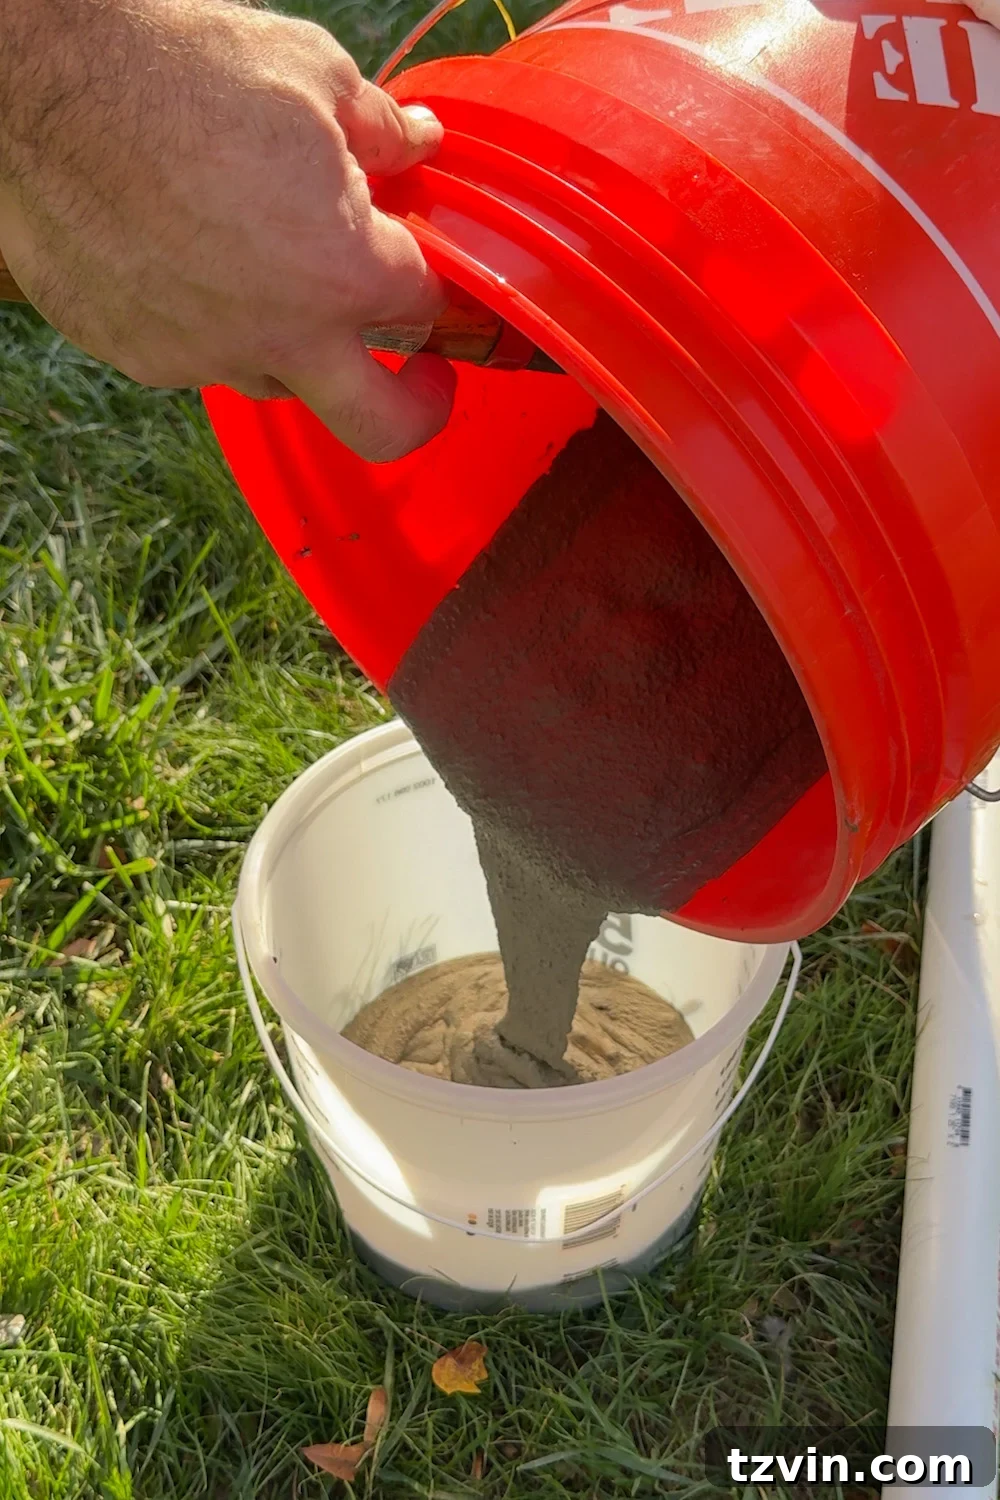
- Pour the wet concrete into the bucket until it’s approximately ¾ full, leaving some space at the top.
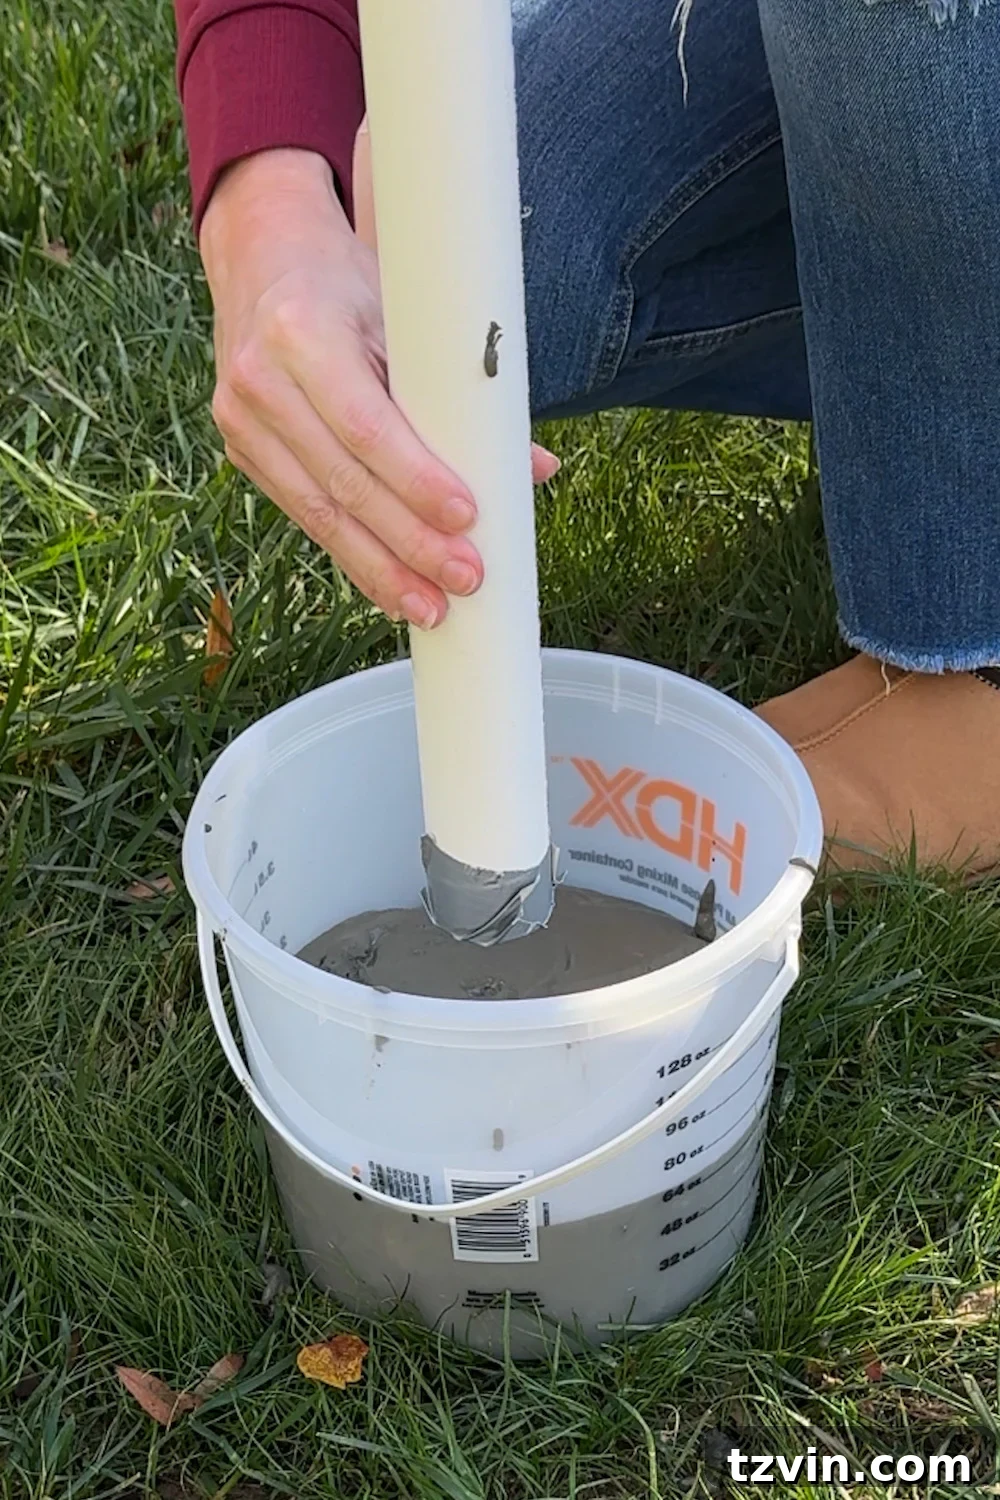
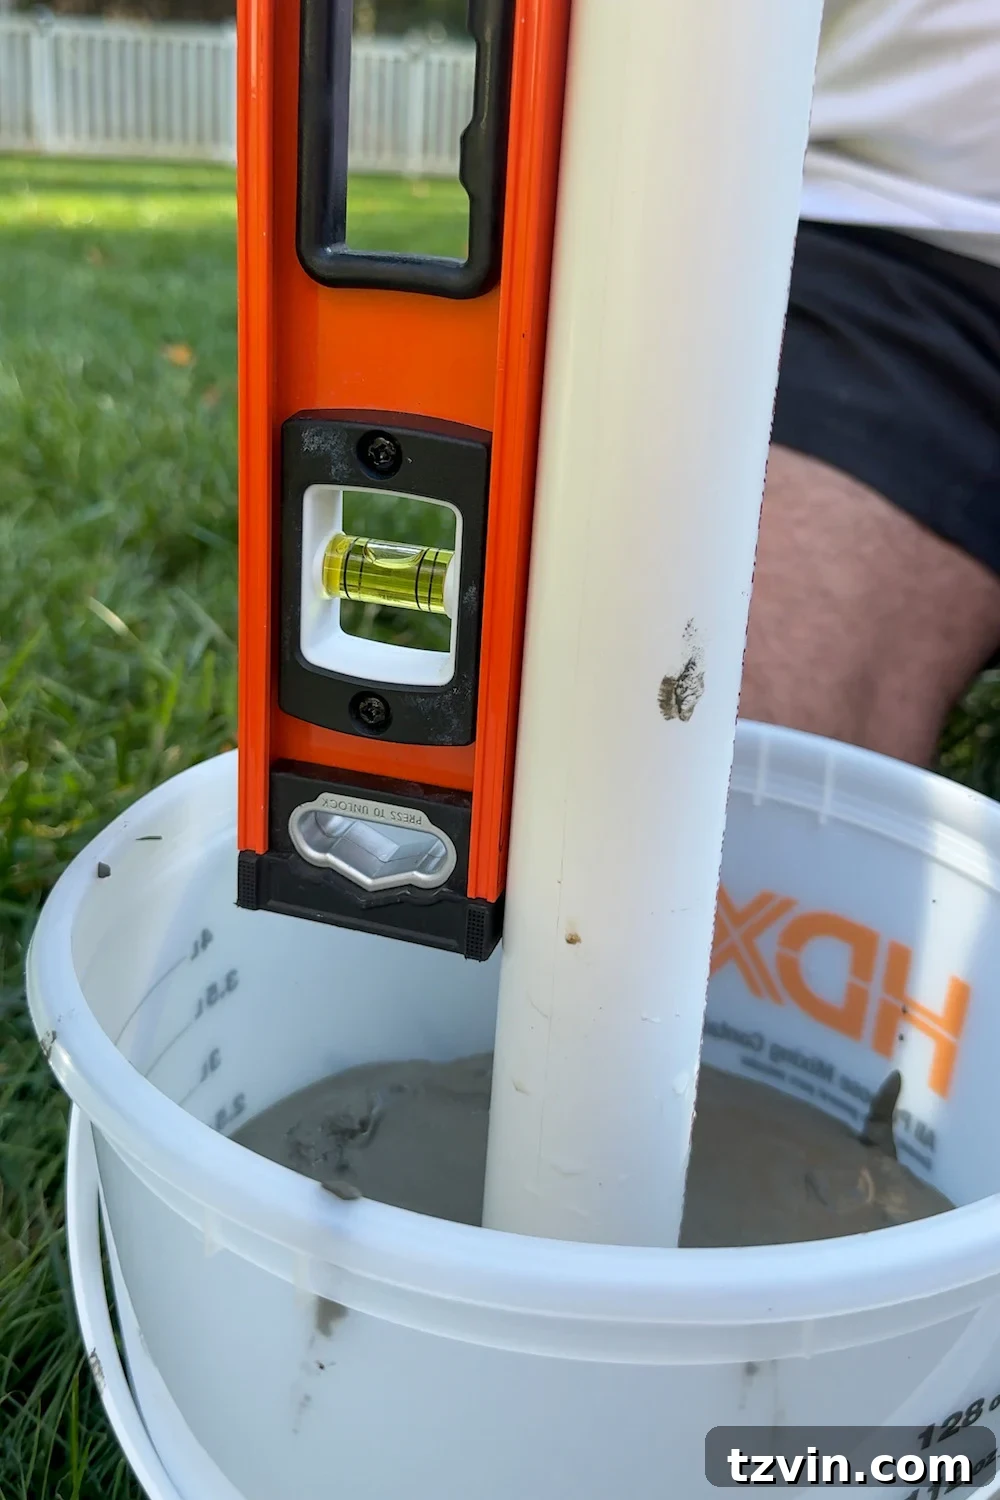
- Carefully insert the PVC pipe into the center of the wet concrete, ensuring it’s positioned vertically.
- Use a level to check that the PVC pipe is perfectly straight on all sides. This will ensure your tree stands upright.
- Place wooden boards or concrete blocks across the top of the bucket to hold the pipe securely in place while the concrete dries and cures. This prevents the pipe from shifting.
- Allow the concrete to fully cure. Ideally, leave it overnight for the best results.
Once the concrete is fully cured, you’ll have a heavy, solid base that provides exceptional stability for your tree.
Step 4: Insert the Tree into the PVC Pipe – A Seamless Fit
Once the concrete has completely set and hardened:
- Carefully slide the bottom pole of your Christmas tree into the PVC pipe.
- If the fit is too loose, wrap a small amount of electrical tape around the pole until it fits snugly within the pipe.
- If the fit is too tight, gently sand the inside of the PVC pipe or remove any pre-installed grip tape from the tree pole.
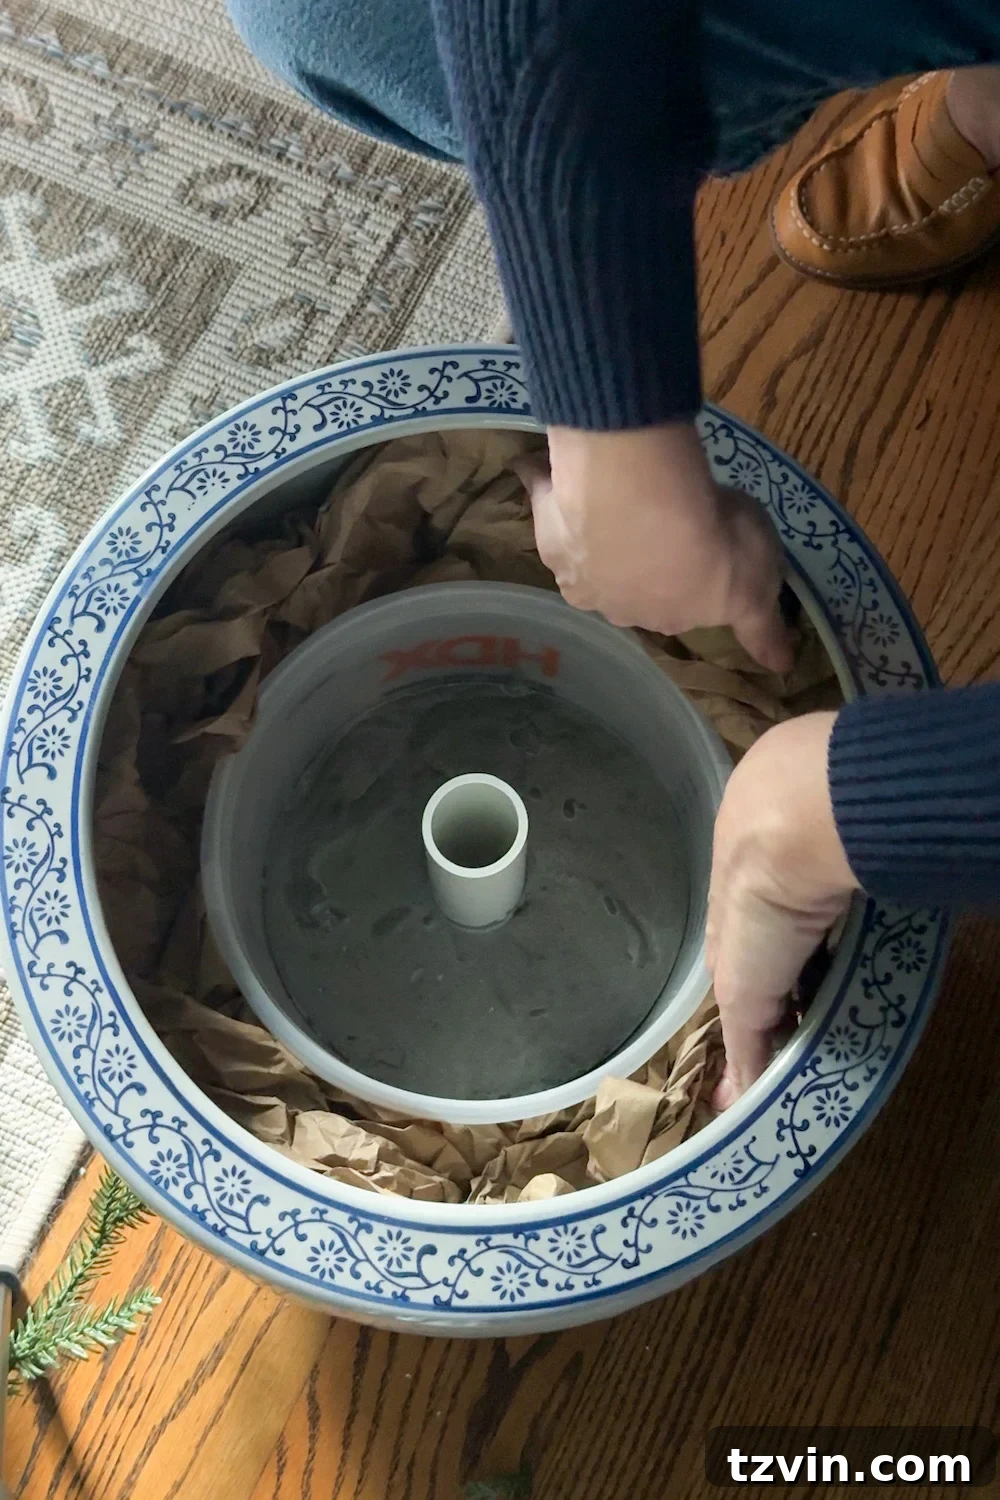
- Give the tree a gentle shake to ensure it feels solid and secure. If it wobbles, add packing paper tightly around the bucket inside the planter for added support.
Now, assemble the remaining sections of your Christmas tree, fluff the branches, and shape them as desired.
Step 5: Hide the Bucket & Style the Base – The Finishing Touches
Depending on the depth of your planter, the 1-gallon bucket may or may not be visible. If the top edge of the bucket is exposed, it’s easy to conceal with a few decorative touches.
Consider adding:
- Spanish moss: Adds a touch of elegance and texture.
- Wood shavings: Creates a rustic and natural look.
- Burlap: Complements farmhouse or vintage décor.
- A small blanket or scrap fabric: Provides a cozy and inviting feel.
- Fake snow: Perfect for a winter wonderland theme.
- Crinkle paper filler: Adds color and dimension.
These finishing touches create a cohesive and intentional look, elevating the entire Christmas tree display.
Why This Potted Christmas Tree Stand Works So Well
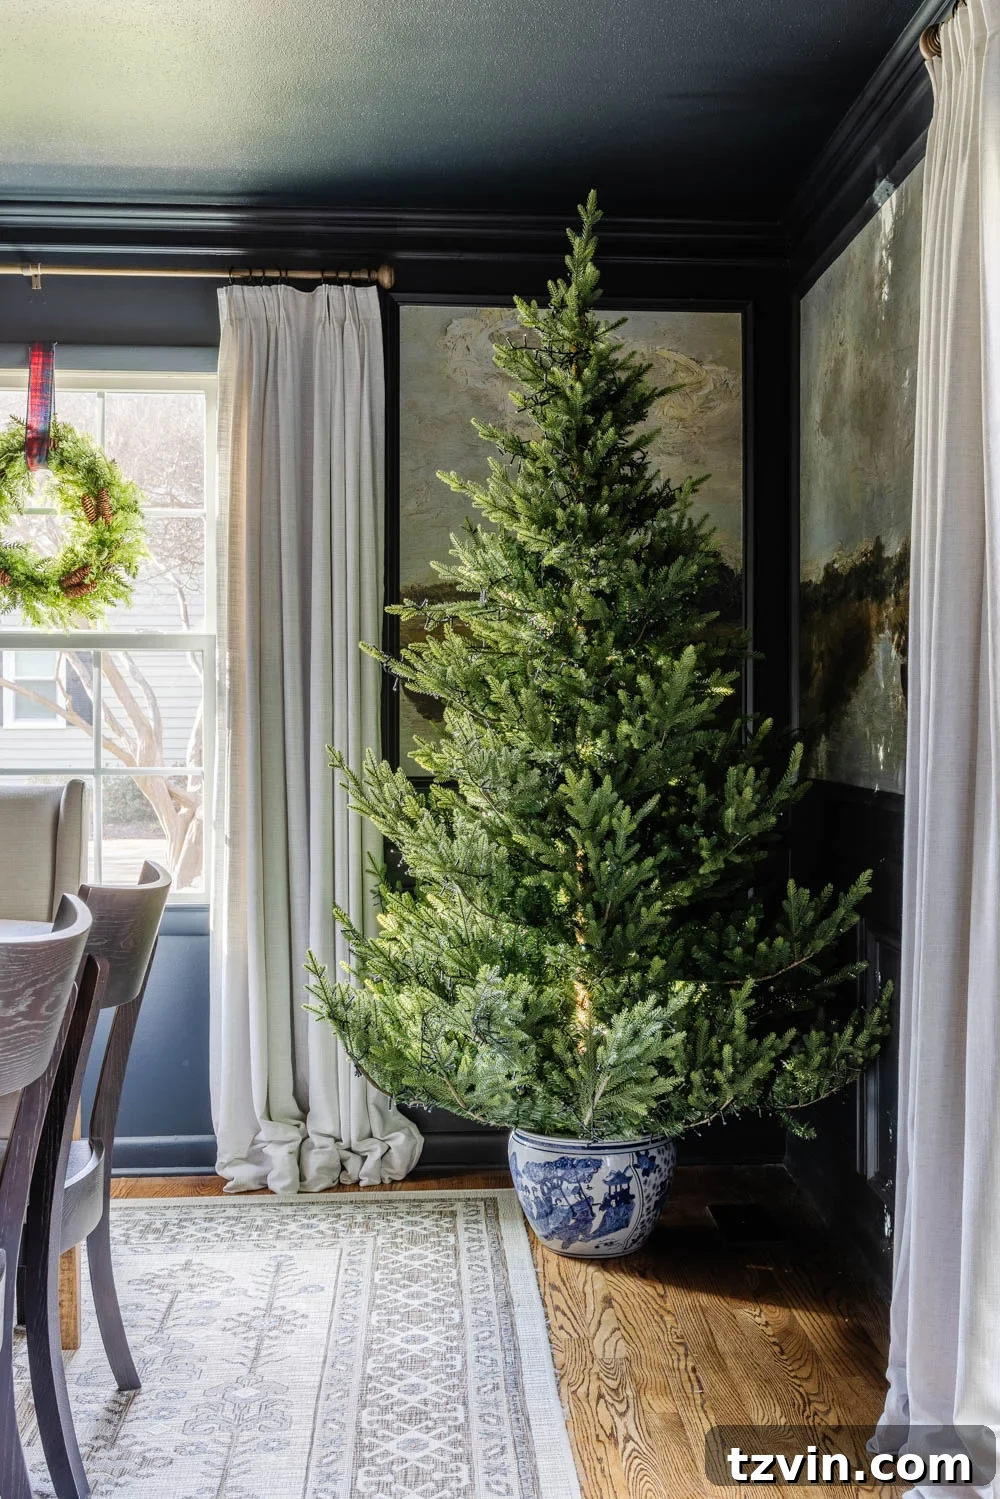
- Designer Aesthetics: The planter seamlessly integrates into your décor, transforming a functional element into a stylish statement piece.
- Unmatched Stability: The heavy concrete base offers exceptional stability, making it ideal for homes with children, pets, or taller trees.
- Versatile Adaptability: This method works perfectly with slim trees, tabletop trees, and full-sized trees, offering endless possibilities.
- Reusable Year After Year: Simply swap out the planter each year for a fresh new look without having to rebuild the base.
Frequently Asked Questions About Potted Christmas Tree Stands
What size planter should I use for my Christmas tree?
As a general guideline, choose a planter that’s approximately ⅓ the width of your tree’s bottom branch spread. For example, if the diameter of your tree’s bottom branches is 58 inches, an 18-inch wide planter would be a suitable base.
Can I use a lightweight basket for my potted tree stand?
Absolutely! The weight and stability are provided by the concrete in the bucket, not the basket itself.
Can I use this method for real Christmas trees?
This method is best suited for artificial trees. Using real trees requires a waterproof container and a proper water reservoir.
What if my PVC pipe isn’t a perfect fit for my tree pole?
If the fit is too loose, wrap the pole with tape. If it’s too tight, sand the inside of the pipe. It’s an easy fix!
Tree Decorating Tip: Maximize Style and Space
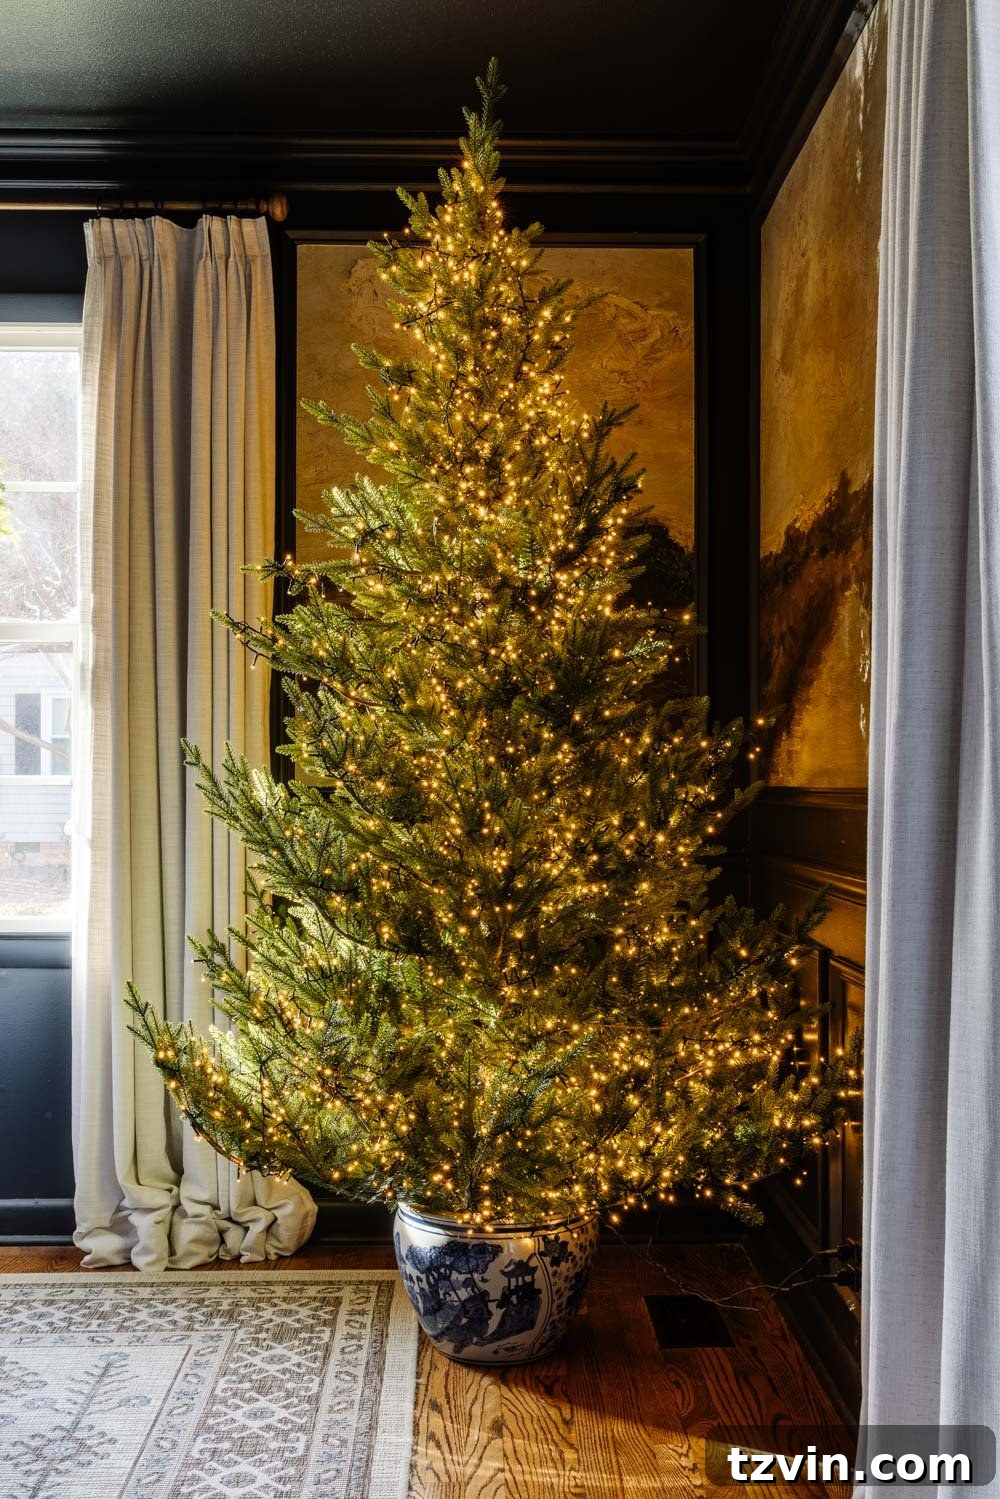
This method is particularly effective for slimmer trees, which can sometimes look out of place in oversized tree collars. “Potting” them in a planter creates a Nancy-Meyers-meets-cottage-classic vibe without the expense of a high-end decorative base.
Plus, it frees up valuable floor space, providing more room for presents underneath the tree compared to traditional tree collars.
If you’ve ever desired a Christmas tree that looks custom and elevated, this DIY planter stand is a simple and impactful upgrade. It’s budget-friendly, renter-friendly, and adapts to any style, from farmhouse to modern to traditional.
If you give it a try, be sure to tag me in your photos! I love seeing your creative interpretations of these projects!
More Christmas Tree Decorating Resources
- The Most Realistic Christmas Trees for All Budgets
- How to Make Antique Style DIY Christmas Tree Candles
- How to Put Ribbon on a Christmas Tree 3 Ways