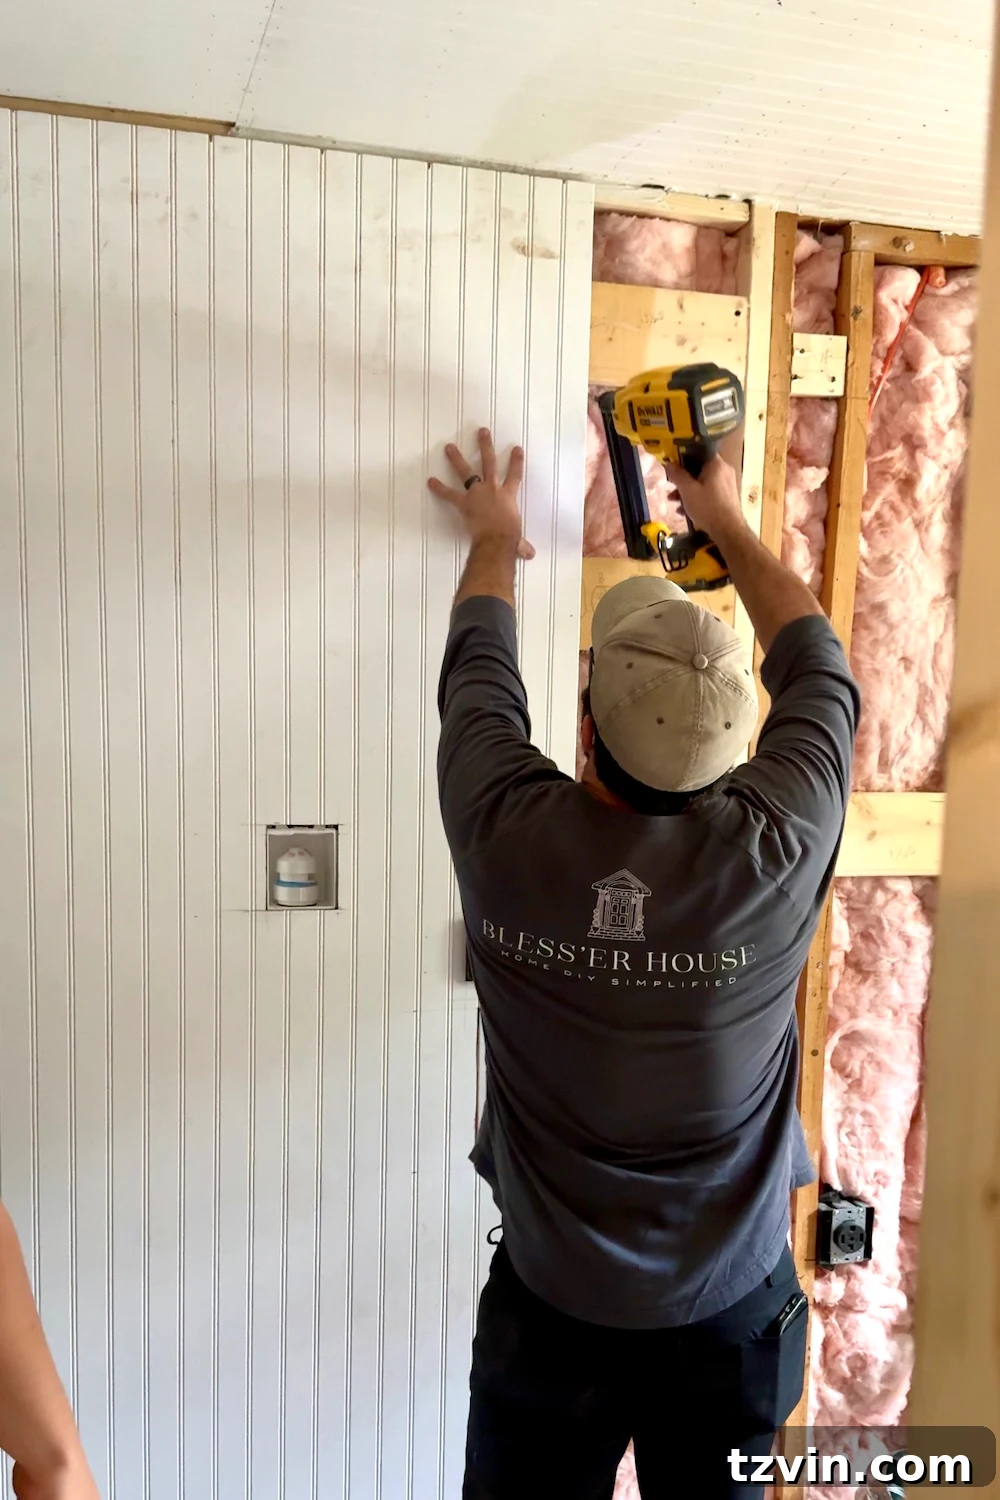
Embarking on a home renovation journey often leads to unexpected discoveries and pivotal decisions. When we first stripped our laundry room down to its bare studs, the traditional path of installing drywall seemed like the only logical next step. It’s the standard, the expected, the method we’d always defaulted to in previous projects. However, as we stood amidst the exposed framework, tape measures in hand, a crucial realization began to surface: drywall, in this particular space, was far from our best option. This compact utility room presented unique challenges that demanded a more innovative and space-efficient solution, prompting us to rethink conventional wisdom and explore alternatives that would truly transform our laundry area.
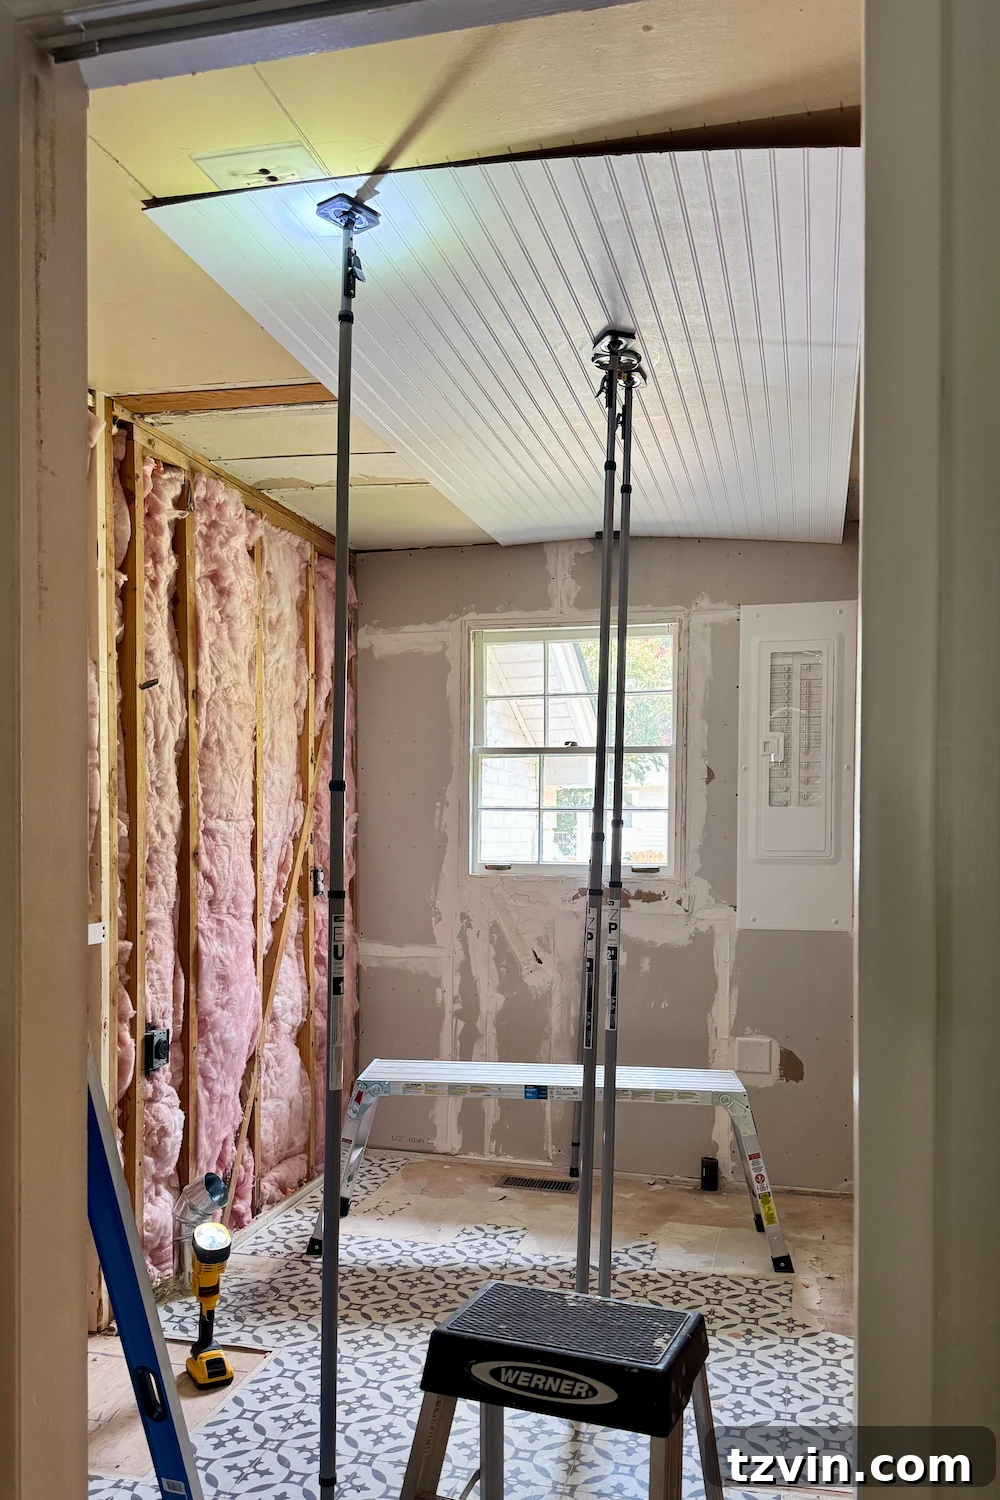
In a room where every square inch is precious, such as our narrow laundry space, traditional drywall installation presented a significant drawback. The cumulative thickness of drywall panels, combined with the subsequent layers of mud and tape, would have unacceptably encroached upon our meticulously planned cabinet layout. In a tight area where storage is paramount, losing even a mere two inches of depth can feel like a monumental sacrifice, severely impacting functionality and design. This spatial constraint alone was a compelling reason to reconsider our approach.
Beyond the critical issue of space, our renovation timeline was already stretched thin. The mere thought of the extensive process involved with drywall – the messy joint compound application, the multiple rounds of sanding, and the infamous lingering dust – was enough to make us cringe. Anyone who has endured a drywall project understands that the fine, pervasive dust doesn’t just settle; it infiltrates every nook and cranny of your home, becoming an unwelcome guest for weeks. We desperately sought a solution that would be quicker, cleaner, and less labor-intensive, allowing us to regain momentum and avoid unnecessary delays.
It was at this juncture that beadboard emerged as the ideal contender, a revelation that promised to resolve all our dilemmas simultaneously. This classic wall treatment offered a compelling blend of practicality and aesthetic appeal, perfectly aligning with our project goals:
- Space-Saving Design: Beadboard panels are considerably thinner than standard drywall, which meant we could maximize every precious inch for our cabinet installation without compromising on valuable storage space. This was a game-changer for our narrow layout.
- Rapid & Clean Installation: Unlike drywall, beadboard installs swiftly, requiring no arduous mudding, taping, or extensive sanding. This dramatically cut down on installation time and, more importantly, eliminated the dreaded drywall dust that so often plagues renovation projects.
- Instant Charm & Character: Perhaps the most delightful benefit was the immediate transformation it brought. Beadboard instantly injects a timeless vintage cottage charm and architectural interest that we absolutely adore, elevating the room from a simple utility space to a beautifully designed area.
Opting for beadboard was, in hindsight, one of the most brilliant DIY decisions we’ve ever made. It not only simplified our renovation but also imbued our laundry room with a character and functionality that drywall simply couldn’t have achieved.
Related: DIY Shiplap Ceiling With Crown Molding
Related: How to Install DIY Stair Wainscoting the Easy Way
DIY Beadboard Wall Installation: A Step-by-Step Guide for a Flawless Finish
Transforming our laundry room with beadboard was a straightforward process that yielded incredible results. If you’re considering this stylish and practical wall treatment, here’s a detailed look at how we achieved our stunning beadboard walls.
Disclaimer: Before you begin any wall treatment project, always ensure you’re using appropriate materials, such as fire-rated MDF or PVC beadboard, especially in utility spaces. Additionally, it’s crucial to check your local building codes and regulations to ensure compliance. Safety first!
Step 1: Precise Measuring and Cutting for a Perfect Fit
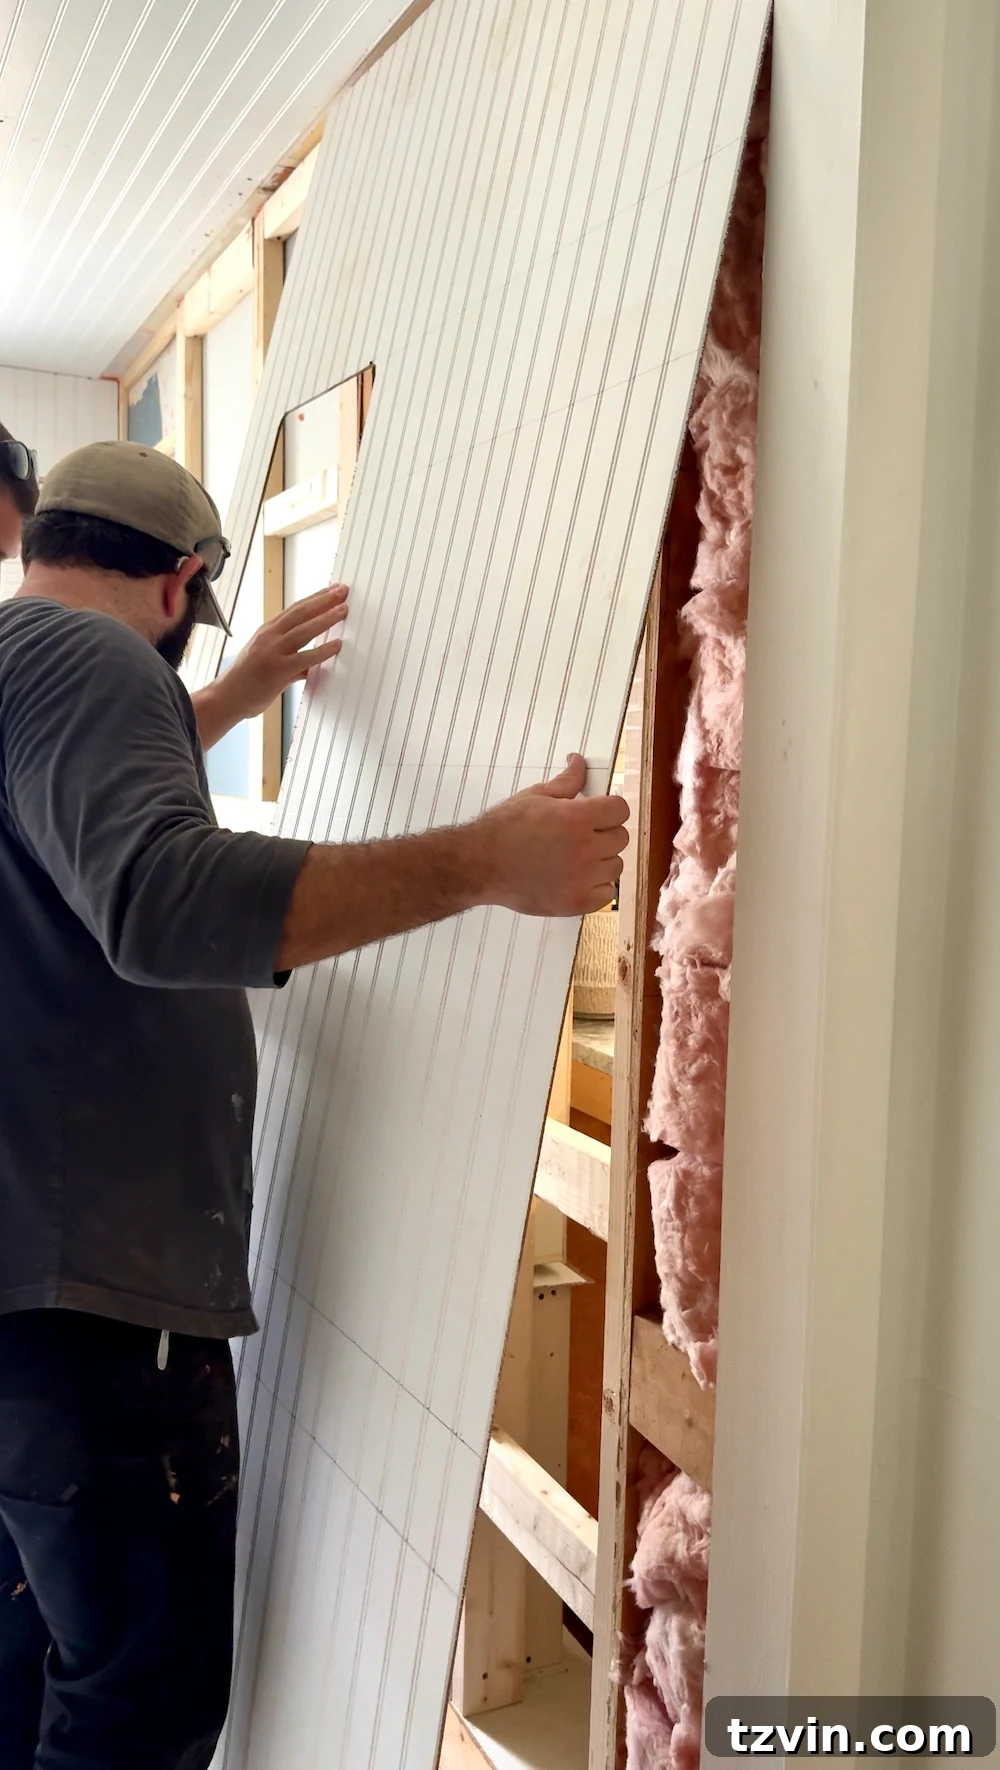
The foundation of a professional-looking beadboard wall lies in accurate measurements and precise cuts. We began by meticulously measuring the height of each wall section where beadboard would be installed. Transferring these measurements to our beadboard panels, we then used a circular saw for the long, straight cuts, ensuring clean and consistent edges. For more intricate shapes, such as navigating around electrical outlets, light switches, or window frames, a jigsaw proved to be the indispensable tool. Its maneuverability allowed us to achieve custom cuts with ease and precision, creating a snug fit around all obstacles. This step, while requiring careful attention, came together surprisingly quickly, setting the stage for the rest of the installation.
Step 2: Essential Wall Preparation and Stud Mapping
Proper wall preparation is paramount for a secure and lasting beadboard installation. Before attaching any panels, we used a reliable stud finder to locate and mark the exact positions of the wall studs with a pencil. This seemingly small step is incredibly critical. Nailing beadboard directly into studs provides the necessary structural support, ensuring the panels are firmly anchored to the wall rather than just relying on adhesive or fastening into hollow spaces. A well-marked wall makes the installation process significantly smoother and guarantees a robust finish, preventing any future sagging or detachment of the panels.
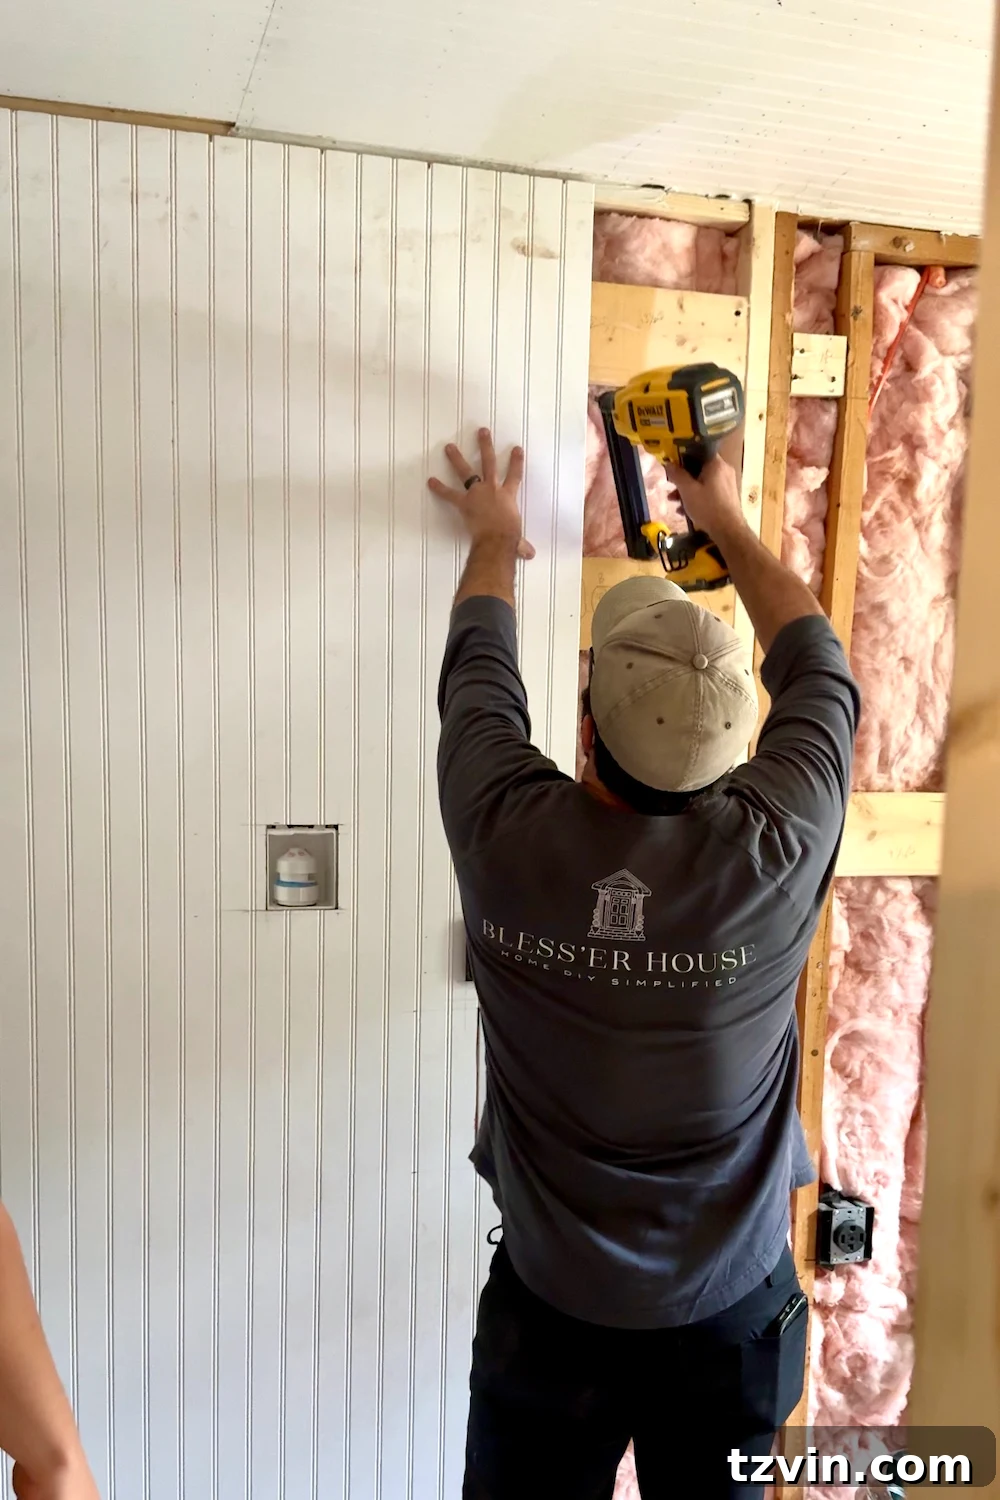
Step 3: Seamless Panel Installation with Adhesive and Finishing Nails
With our panels cut and studs marked, it was time for the satisfying process of installation. We applied a generous, yet even, layer of construction adhesive to the back of each beadboard panel. This adhesive provides strong initial grab and long-term stability. Carefully aligning the first panel, we pressed it firmly against the wall, ensuring it was level and plumb. We then secured it further with finishing nails, strategically placing them along the marked stud lines. The interlocking edges of the beadboard panels made subsequent pieces click into place with surprising ease, creating a seamless connection. This systematic approach meant that, by the end of a single afternoon, all the walls in our laundry room were beautifully covered, instantly transforming the space with its classic texture and charm.
Related: Inexpensive DIY Batten Wall Using Lattice Strips
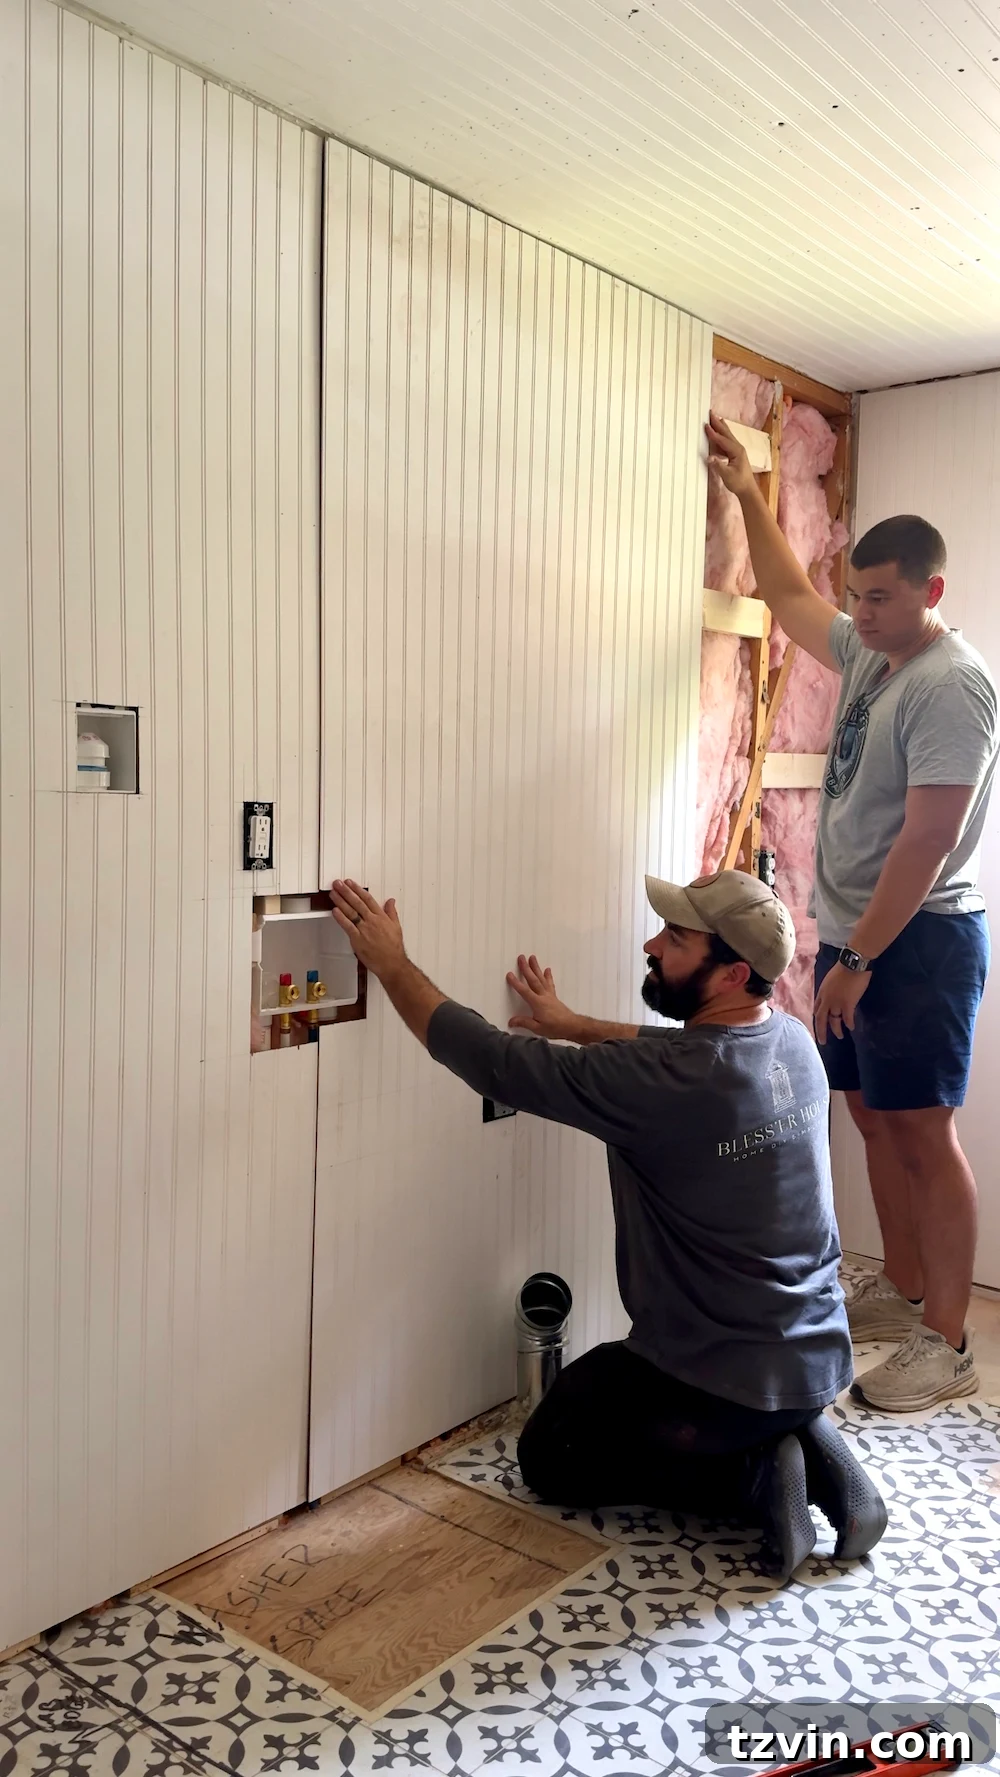
Step 4: Caulking the Seams and Filling Nail Holes for a Professional Finish
While the beadboard panels immediately elevated the room’s aesthetic, it’s the meticulous application of caulk that truly brings a professional and polished finish. We carefully ran a thin bead of paintable caulk along all internal and external corners, as well as where individual beadboard panels met. Smoothing the caulk with a wet finger ensured a clean, seamless transition, making the entire wall treatment appear as if it were a single, custom-built piece. This step effectively conceals any minor gaps or imperfections, creating a truly intentional and integrated look. Concurrently, we applied wood filler to all visible nail holes, letting it dry completely before sanding the filled spots smooth and flush with the panel surface. This attention to detail is what distinguishes a good DIY project from a truly outstanding one.
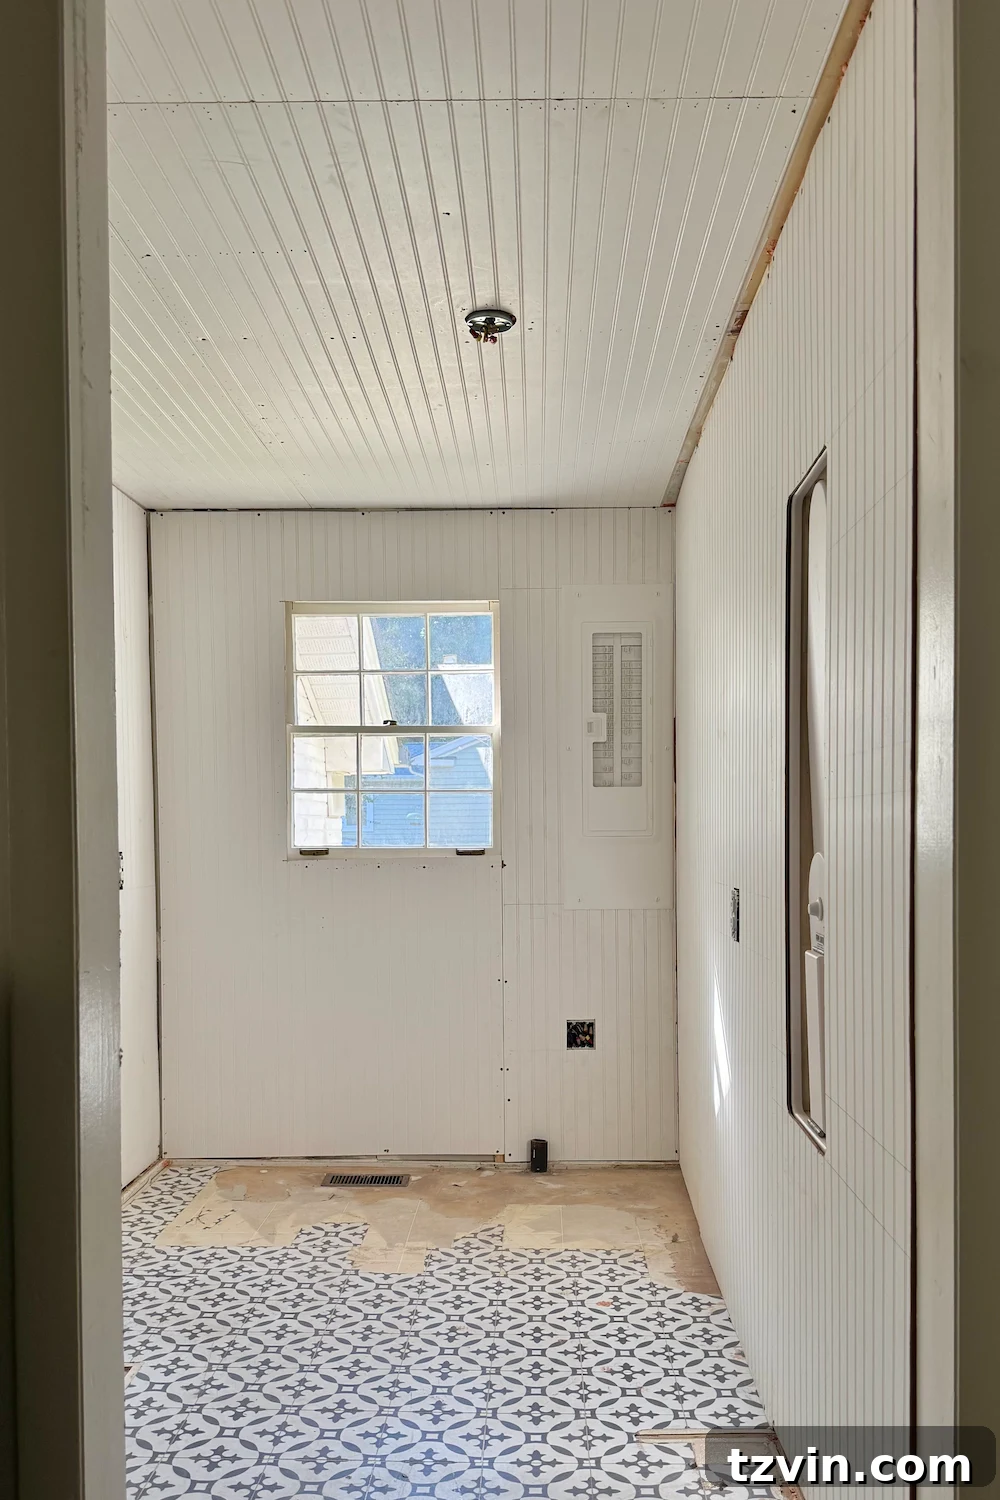
Related: DIY Faux Wall Planking for $20
Step 5: The Finishing Touch – Painting for Enhanced Aesthetics
Once the caulk had fully cured and the wood filler was sanded smooth, it was time for the final, transformative step: painting. We opted for a durable, semi-gloss paint in a crisp white shade that perfectly matched our existing trim work, enhancing the cohesive feel of the room. Using a roller for the flat surfaces and a small brush or foam applicator for the grooves, we applied an even coat, allowing the paint to highlight the beadboard’s distinctive vertical lines. This not only protected the panels but also visually elongated the walls, contributing to a sense of greater height and adding a refined layer of character that truly completed our laundry room’s vintage-inspired makeover. The paint brought all the elements together, resulting in a bright, clean, and elegant space.
Why Beadboard is Our Go-To DIY Wall Treatment – And Why We’d Choose It Every Time
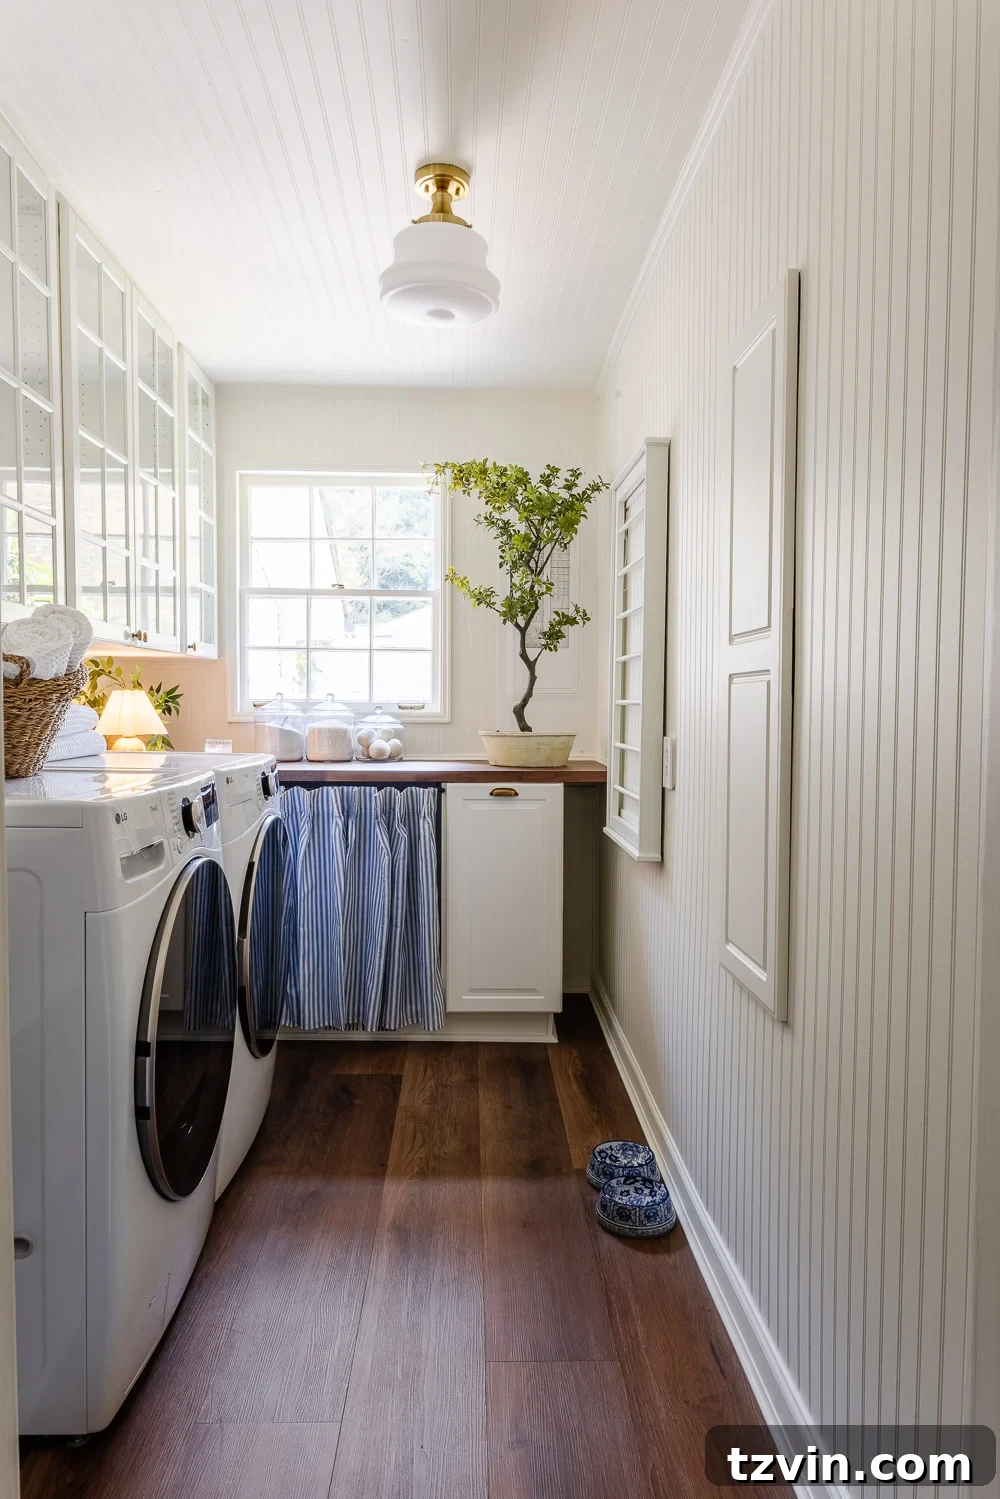
This beadboard project was nothing short of a lifesaver amidst the usual chaos of a home remodel. It delivered exactly what we needed: speed, affordability, and an instant infusion of charming character. The decision to skip traditional drywall was a game-changer, saving us not just countless hours of labor and the associated costs, but also the dreaded, extensive cleanup that follows any drywall installation. It has officially earned its place as my favorite DIY shortcut. Rather than ending up with a utilitarian, uninspired box of a room, our laundry space now boasts a distinctive wall treatment that feels both timelessly classic and thoughtfully custom-designed.
Related: DIY Faux Brick Walls
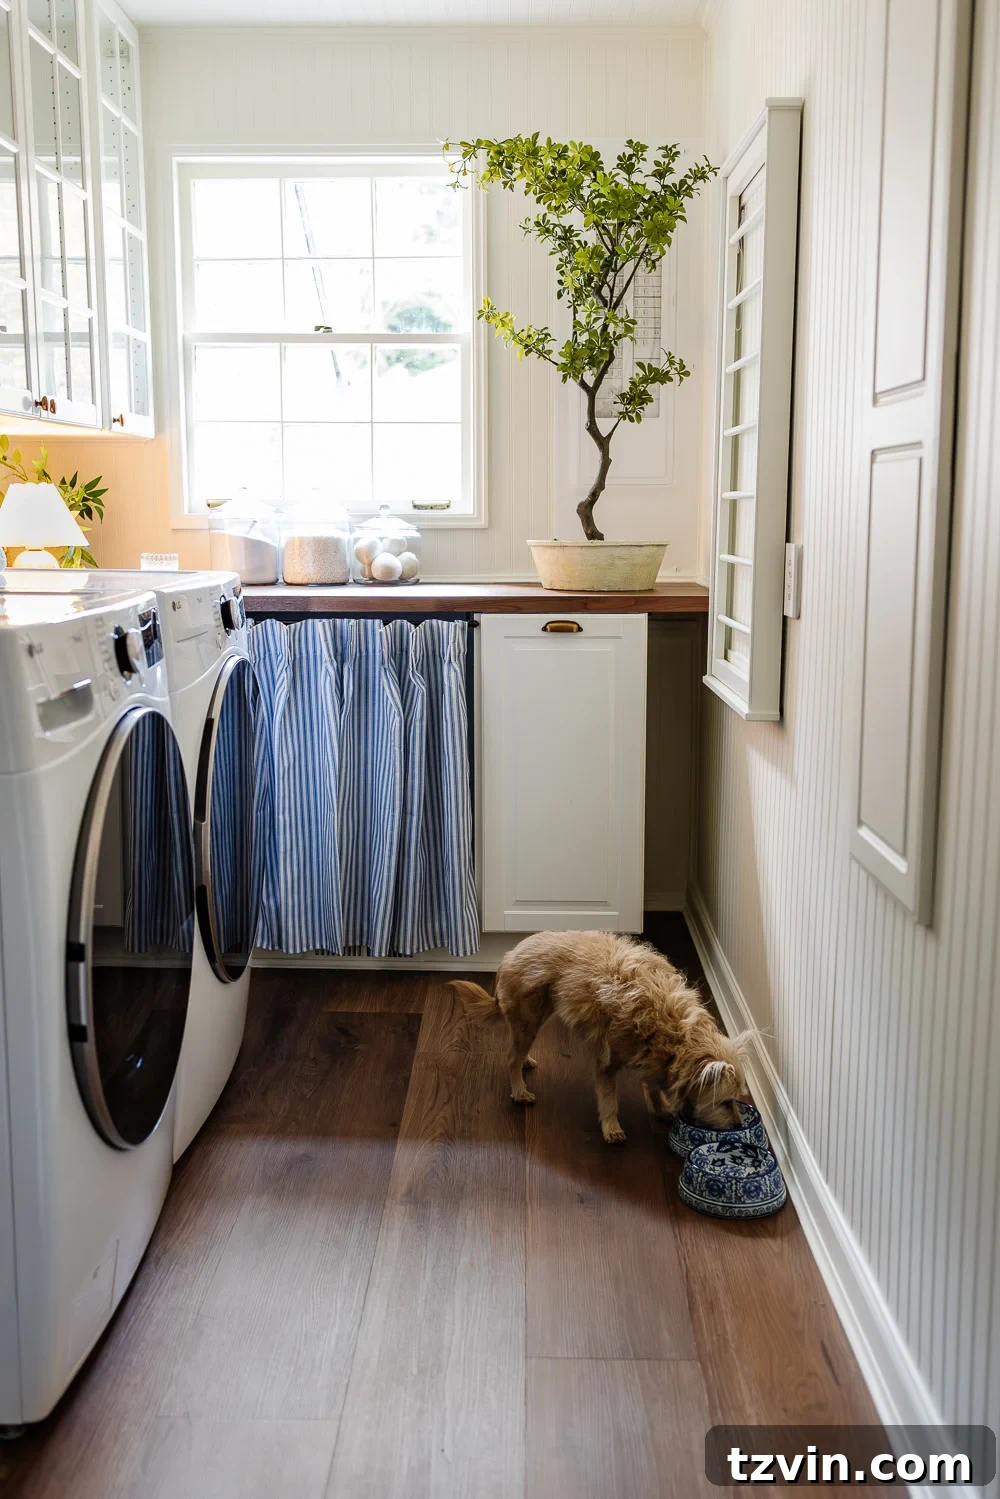
As dedicated DIY enthusiasts, we often learn through trial and error that what appears to be the “easy” route isn’t always the most efficient or satisfying. However, in the case of our laundry room renovation, embracing beadboard proved unequivocally that the shortcut truly was the smarter, superior path. Beadboard provided the sophisticated, vintage aesthetic we envisioned without the usual headaches, mess, or spatial compromises of traditional wall treatments. Given the opportunity, I would unequivocally choose beadboard over drywall again in a heartbeat, and highly recommend it for anyone looking for a beautiful, practical, and surprisingly simple way to transform their space.