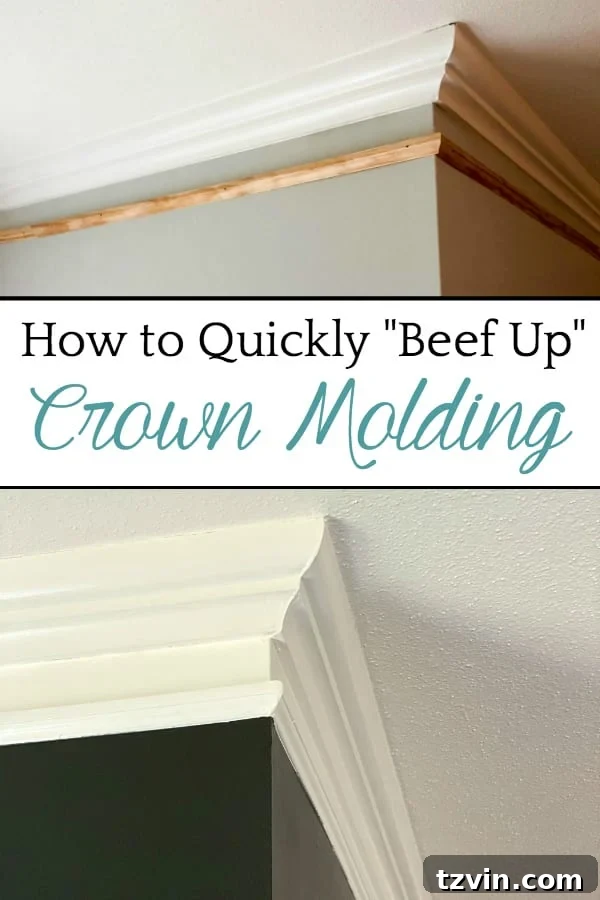
Make Your Crown Molding and Baseboards Look Thicker: A Simple & Affordable DIY
Are you looking for a simple, budget-friendly way to elevate the look of your home’s interior? One easy trick to significantly enhance the aesthetic of any room is by making your crown molding and baseboards appear thicker and more substantial. This DIY project is surprisingly straightforward and can be achieved for less than $1 per foot! It’s the perfect way to add a touch of elegance and character without a major renovation.
We recently realized we hadn’t shared this simple yet effective trick when we got wrapped up in our larger grid trim project in the master bedroom. (That focal wall still makes us smile!)
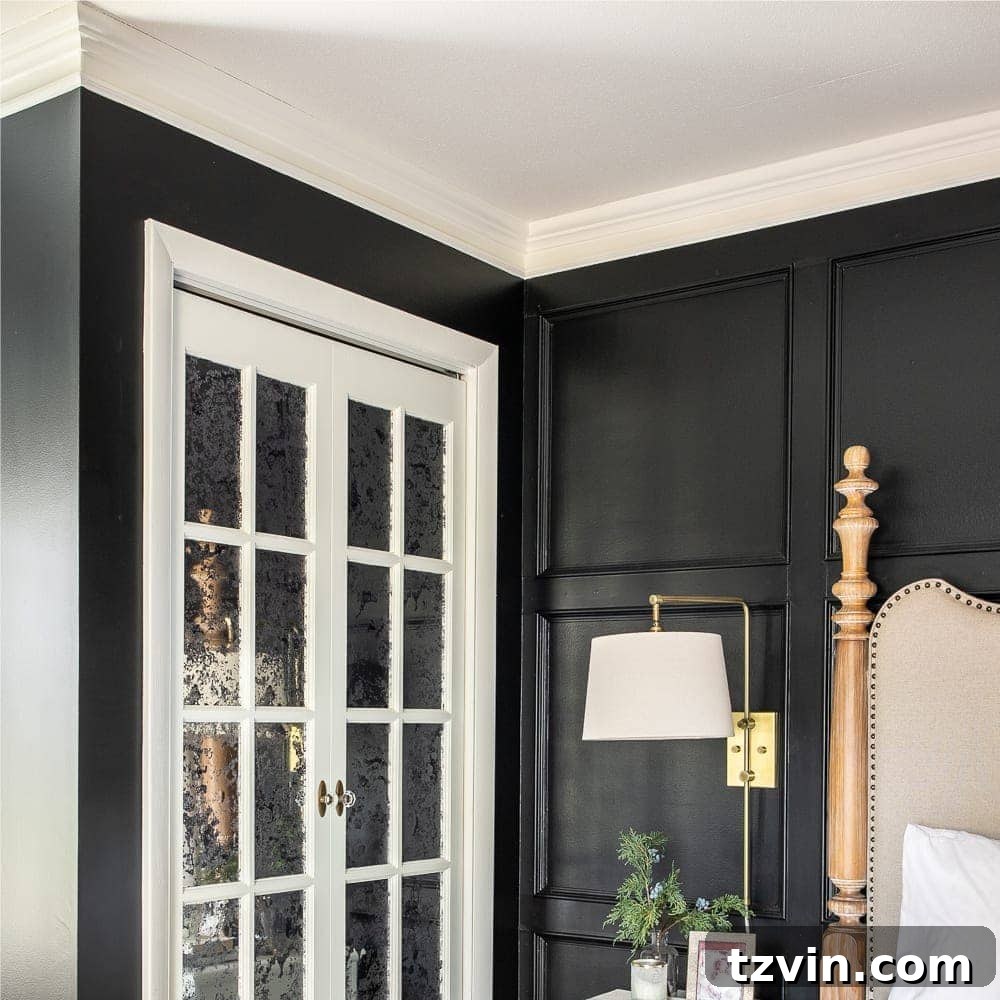
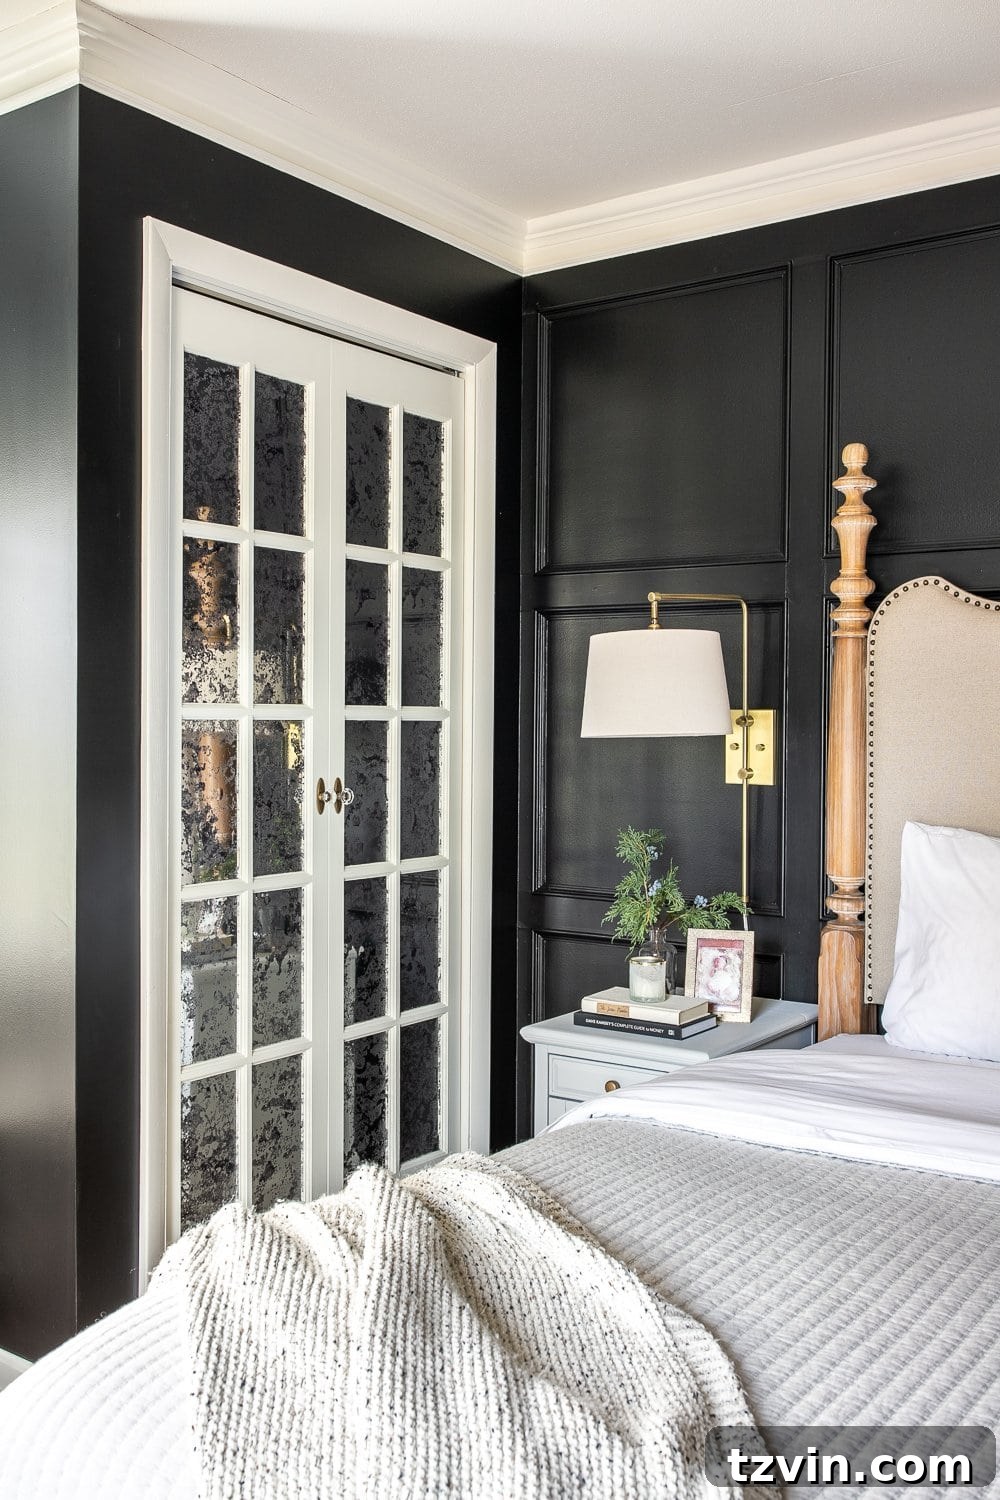
When we unveiled our antique mirror French bifold closet doors, we received several questions about the crown molding. This made us realize we had neglected to share this amazing, easy, and inexpensive DIY tip!
(Please note: This post may contain affiliate links. See our full disclosure here.)
If you’re dealing with thin or standard crown molding or baseboards and want to give them a more impressive, “beefed up” appearance, this is the solution. It’s so simple, you’ll wonder why you didn’t try it sooner!
Here’s the secret:
Nail a strip of base cap molding 2-3 inches below your existing crown molding and above your baseboard. The exact distance will depend on your desired thickness. Then, simply paint the drywall area in between the new base cap molding and the existing molding with your preferred white trim paint.
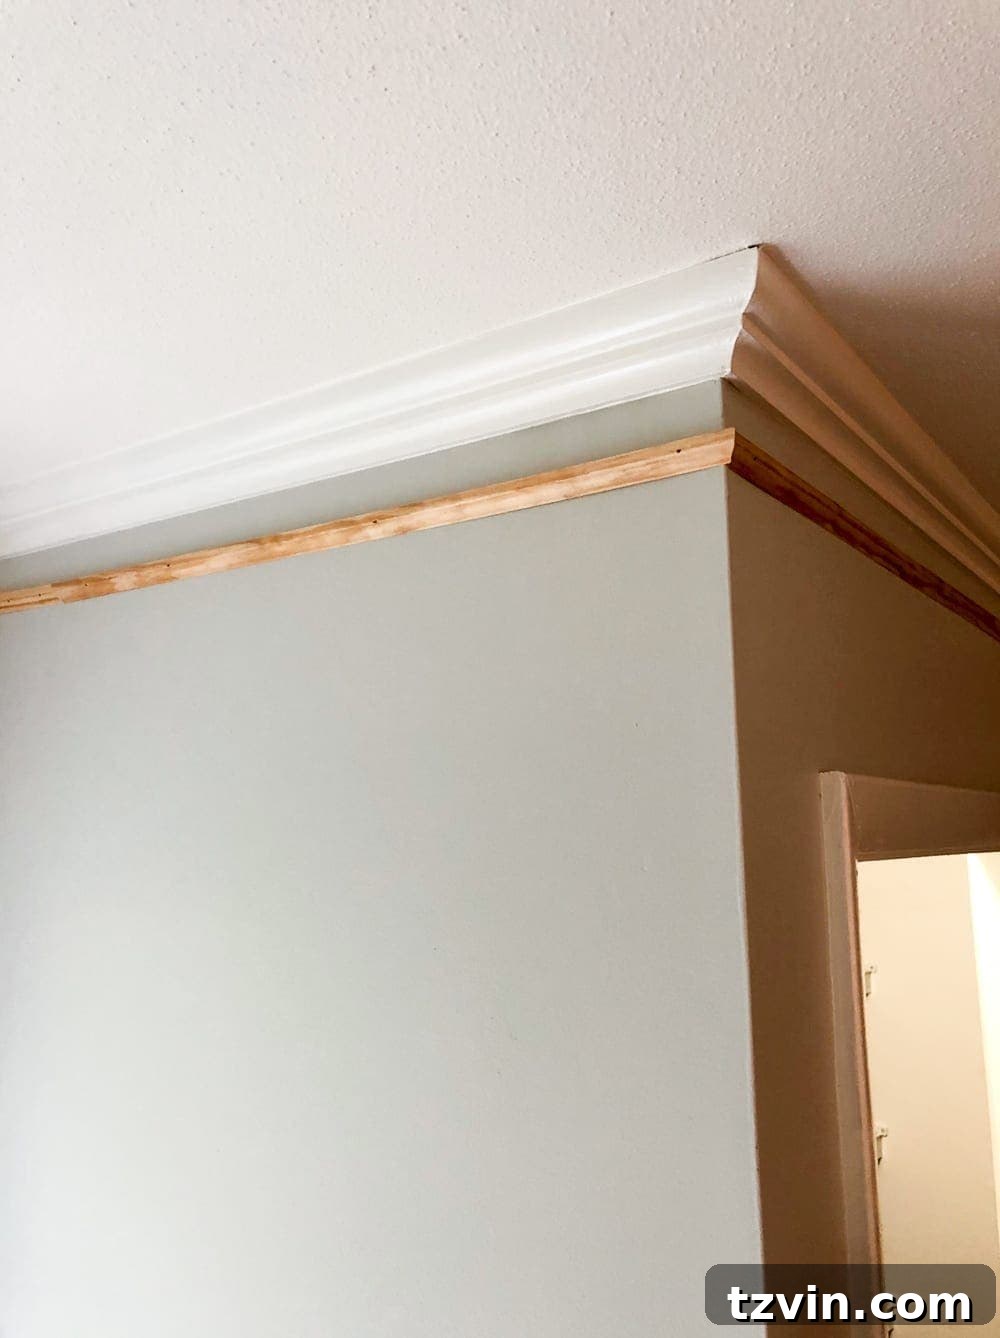
Seriously, it’s one of the easiest carpentry projects you can undertake. No major demolition is required, and the cost is incredibly low. The impact, however, is significant. This small detail can make a huge difference in the overall feel of a room, instantly adding visual interest and a custom look.
We’ve already implemented this technique in our master bedroom, and the transformation has us excited to do it in every room of the house. It’s amazing how a subtle change can completely transform a space!
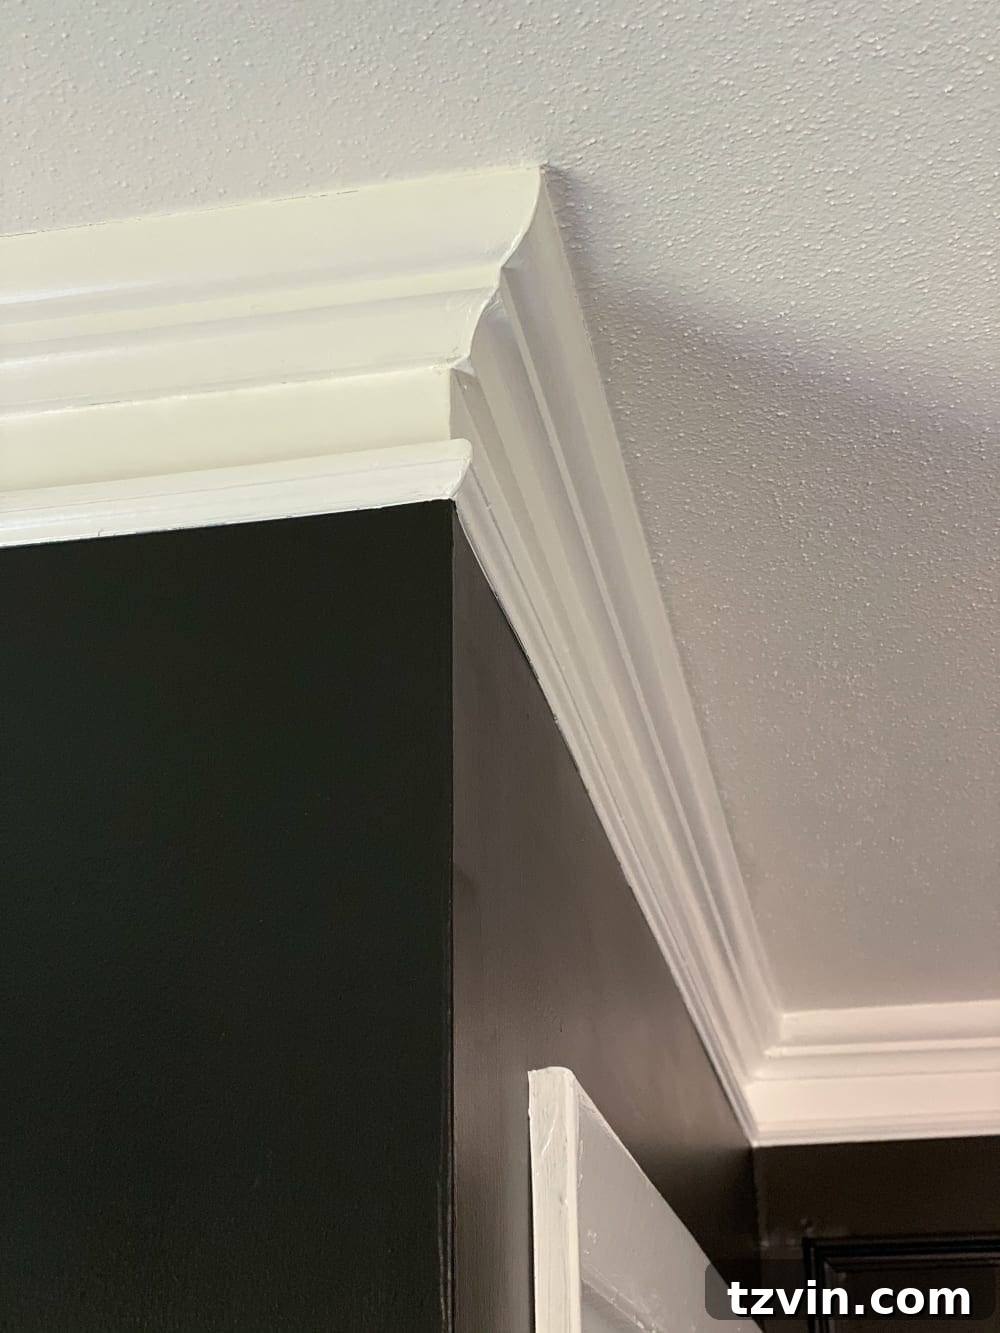
We hope this simple tip helps you create a more beautiful and stylish home! It’s a quick and easy way to elevate your space without breaking the bank.
Looking for more DIY carpentry projects to add character to your home? Check out these other great ideas:
- DIY Traditional Grid Molding Focal Wall
- DIY Picture Frame Molding
- DIY Window Seat from a Kitchen Cabinet
- DIY Built-Ins Using IKEA Bookcases
- DIY Whitewashed Faux Brick Backsplash
- DIY Realistic Looking Faux Fireplace
- DIY Planked Board and Batten Focal Wall
- DIY Board and Batten Hallway
P.S. We’re still eagerly awaiting the arrival of some throw pillows to complete the master bedroom makeover. We’re hoping they’re absolutely stunning, considering the anticipation! Stay tuned for the full reveal!
Want to save this post for future reference? Pin the image below!