
The Ultimate Guide to Cleaning Your Fabric Sofa: 7 Steps to a Fresh, Bright Upholstery (No Harsh Solvents Needed!)
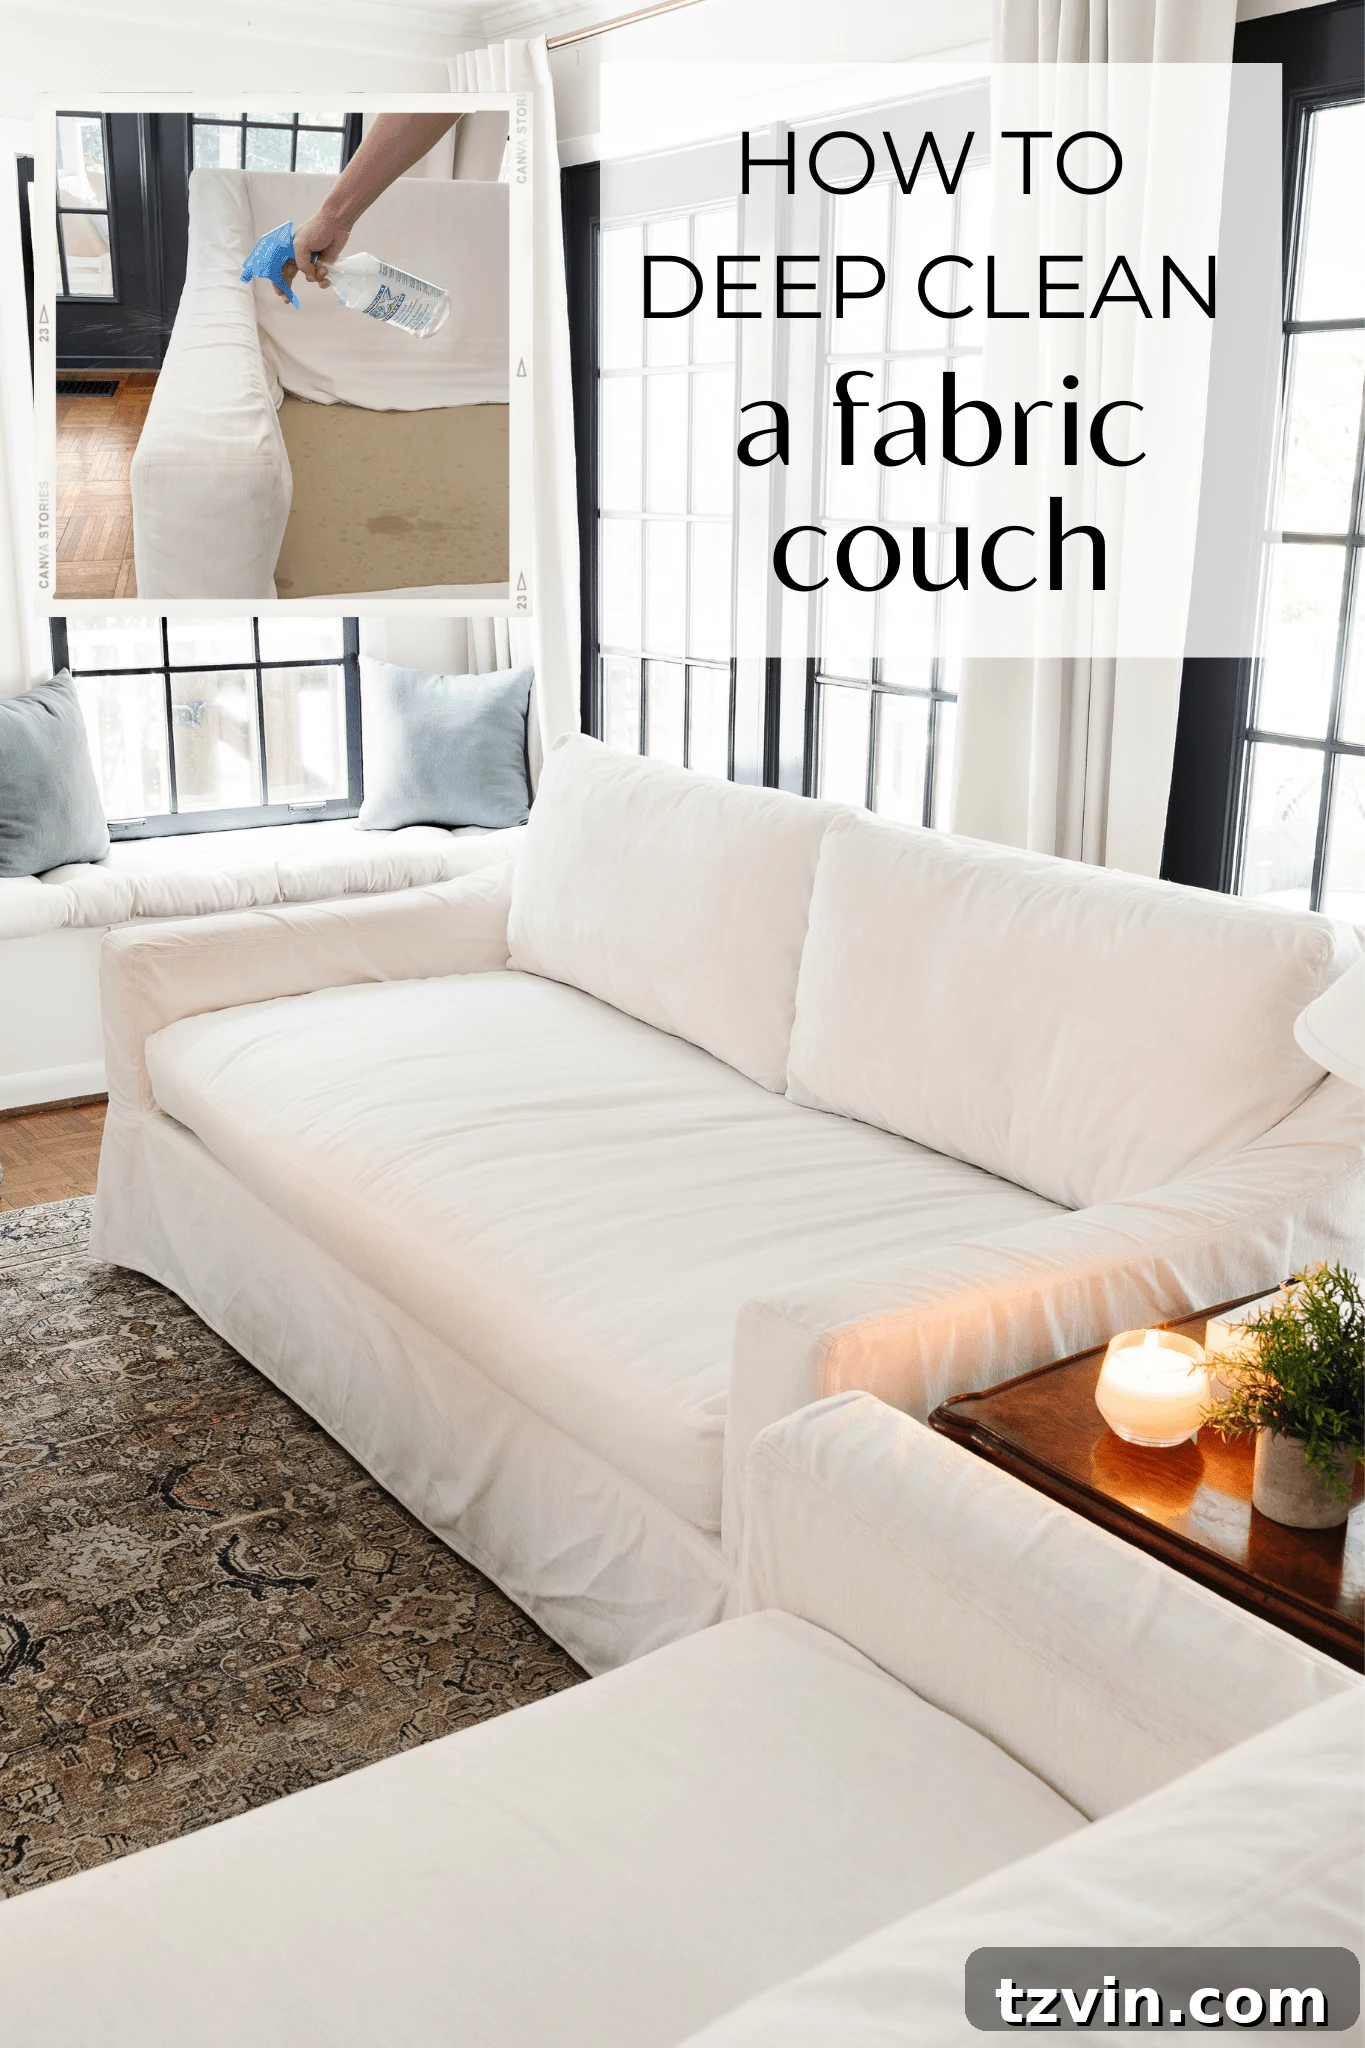
Keeping a fabric sofa clean can often feel like an uphill battle, especially in busy households with pets, children, or frequent entertaining. The thought of tackling a grimy couch might rank high on your list of dreaded chores, right alongside scrubbing the oven or deep cleaning the bathroom. Yet, the reward of a pristine, fresh-smelling sofa is immeasurable – it’s like welcoming a brand new piece of furniture into your home.
Through years of trial and error with various types of sofas, from slipcovered IKEA models to deeply upholstered pieces, we’ve refined a highly effective, natural cleaning method. This guide will walk you through seven simple steps, culminating in a bright, fresh sofa using a budget-friendly DIY cleaning solution. Forget about harsh, solvent-based cleaners; our approach is gentle on your upholstery and safe for your family, while still delivering professional-level results.
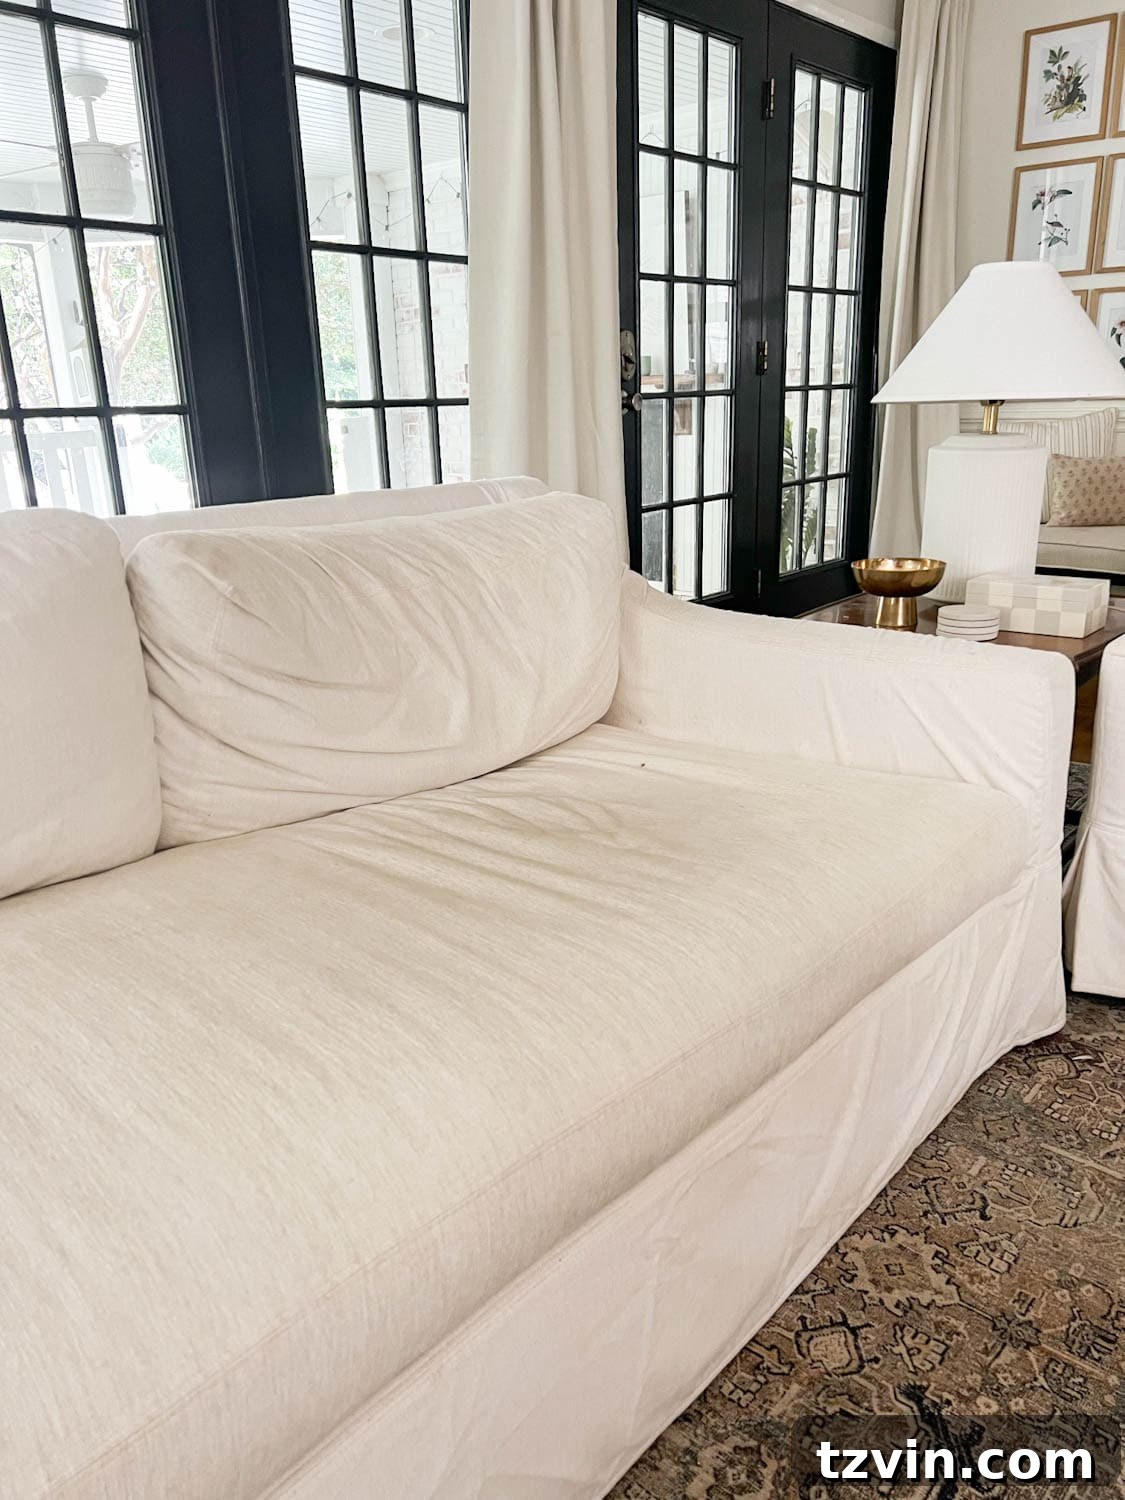
Take a look at the “before” state of our two down-blend Pottery Barn York couches (you can read our unbiased review here). When we first invested in these sofas about a year ago, I was confident that their Sunbrella removable covers, known for their high-performance upholstery fabric, would maintain a crisp white appearance with minimal effort. I envisioned only needing occasional spot treatments for stubborn stains. However, reality soon set in; even high-performance white fabric accumulates dinginess over time, much like any other white sofa.
With a playful dog and two energetic children, our sofas endure a lot – spills, dirt tracks, and pet hair are daily occurrences. My husband and I aren’t always the gentlest on them either, often relaxing with food and drinks without strict rules. The combined chaos called for a comprehensive, deep clean. This powerful yet gentle method isn’t just for sofas; it works wonders on various fabric chairs, whether slipcovered or traditionally upholstered.

Step-By-Step Guide to Deep Clean Your Fabric Sofa Upholstery
To extend the life of your furniture and keep it looking its best, we recommend performing this deep cleaning method once or twice a year, ideally in spring and fall. For daily maintenance, a monthly vacuuming session is ideal, and addressing spills immediately is crucial to prevent permanent stains from setting in. This comprehensive approach has consistently delivered beautiful, like-new results on all our fabric furniture over the years.
Supplies You’ll Need
Gathering your tools before you begin will make the cleaning process smoother and more efficient. Most of these items are common household staples, making this a truly accessible DIY project.
- Vacuum cleaner with an upholstery attachment wand (Our Shark Navigator is a fantastic choice for this!)
- Large box of baking soda
- OxiClean White Revive (especially beneficial for white or light-colored fabrics)
- Spray bottle
- 2 Cups distilled water (essential for preventing water spots and mineral buildup)
- 2 Tbsp clear Dawn dish soap (gentle yet effective degreaser)
- 2 Tbsp distilled white vinegar (natural deodorizer and cleaner)
- Clean, lint-free cloths or microfiber towels
- Optional: Portable upholstery cleaning machine (for an extra deep clean or tackling persistent stains)
Crucial Steps Before You Begin
Before applying any cleaning solution to your entire sofa, it’s vital to perform a spot test in an inconspicuous area, such as the back of the sofa, underneath a cushion, or a hidden seam. Apply a small amount of your chosen cleaning solution (or our DIY mix) to a clean cloth and gently scrub a tiny section in a circular motion. Wait for it to dry completely. If you notice any color transfer onto the cloth or discoloration on the fabric, immediately cease use of that solution on your couch. This simple step can prevent potential damage to your upholstery.
Additionally, always refer to your couch manufacturer’s instructions, usually found on a tag beneath the cushions or on the frame. These labels contain specific cleaning guidelines tailored to your sofa’s fabric type.
Understanding Upholstered Furniture Cleaning Codes
Before you begin any cleaning process, locate the cleaning code on your sofa’s label. This code is crucial as it dictates the appropriate cleaning method for your specific upholstery fabric. Not all fabrics are created equal, and using the wrong cleaning agent can cause irreversible damage. Here’s a quick breakdown of common codes:
- W (Water-Based): This is the most common and versatile code. It indicates that you can safely use water-based cleaning agents or foam. Distilled water is often recommended to prevent water spots and mineral deposits, especially on lighter fabrics. Our DIY solution is ideal for ‘W’ coded fabrics.
- S (Solvent-Based): Fabrics with an ‘S’ code require water-free cleaning solvents. These are typically delicate fabrics that can be damaged or stained by water. Avoid any water-based solutions, including steam cleaners, on ‘S’ coded upholstery.
- S/W (Solvent and Water-Based): This code offers flexibility, allowing for both water-based cleaning agents and mild, water-free solvents. Distilled water is still highly recommended for any water-based cleaning to ensure the best results.
- X (Vacuum Only): This code is the most restrictive. ‘X’ coded fabrics should only be cleaned by vacuuming or light brushing to remove dry soil. Do not use any liquid cleaners, including water, as they can cause shrinking, staining, or pile distortion.
Always double-check your sofa’s specific code to ensure you’re using the safest and most effective cleaning method.
Step 1 – Remove and Prepare Cushion Covers
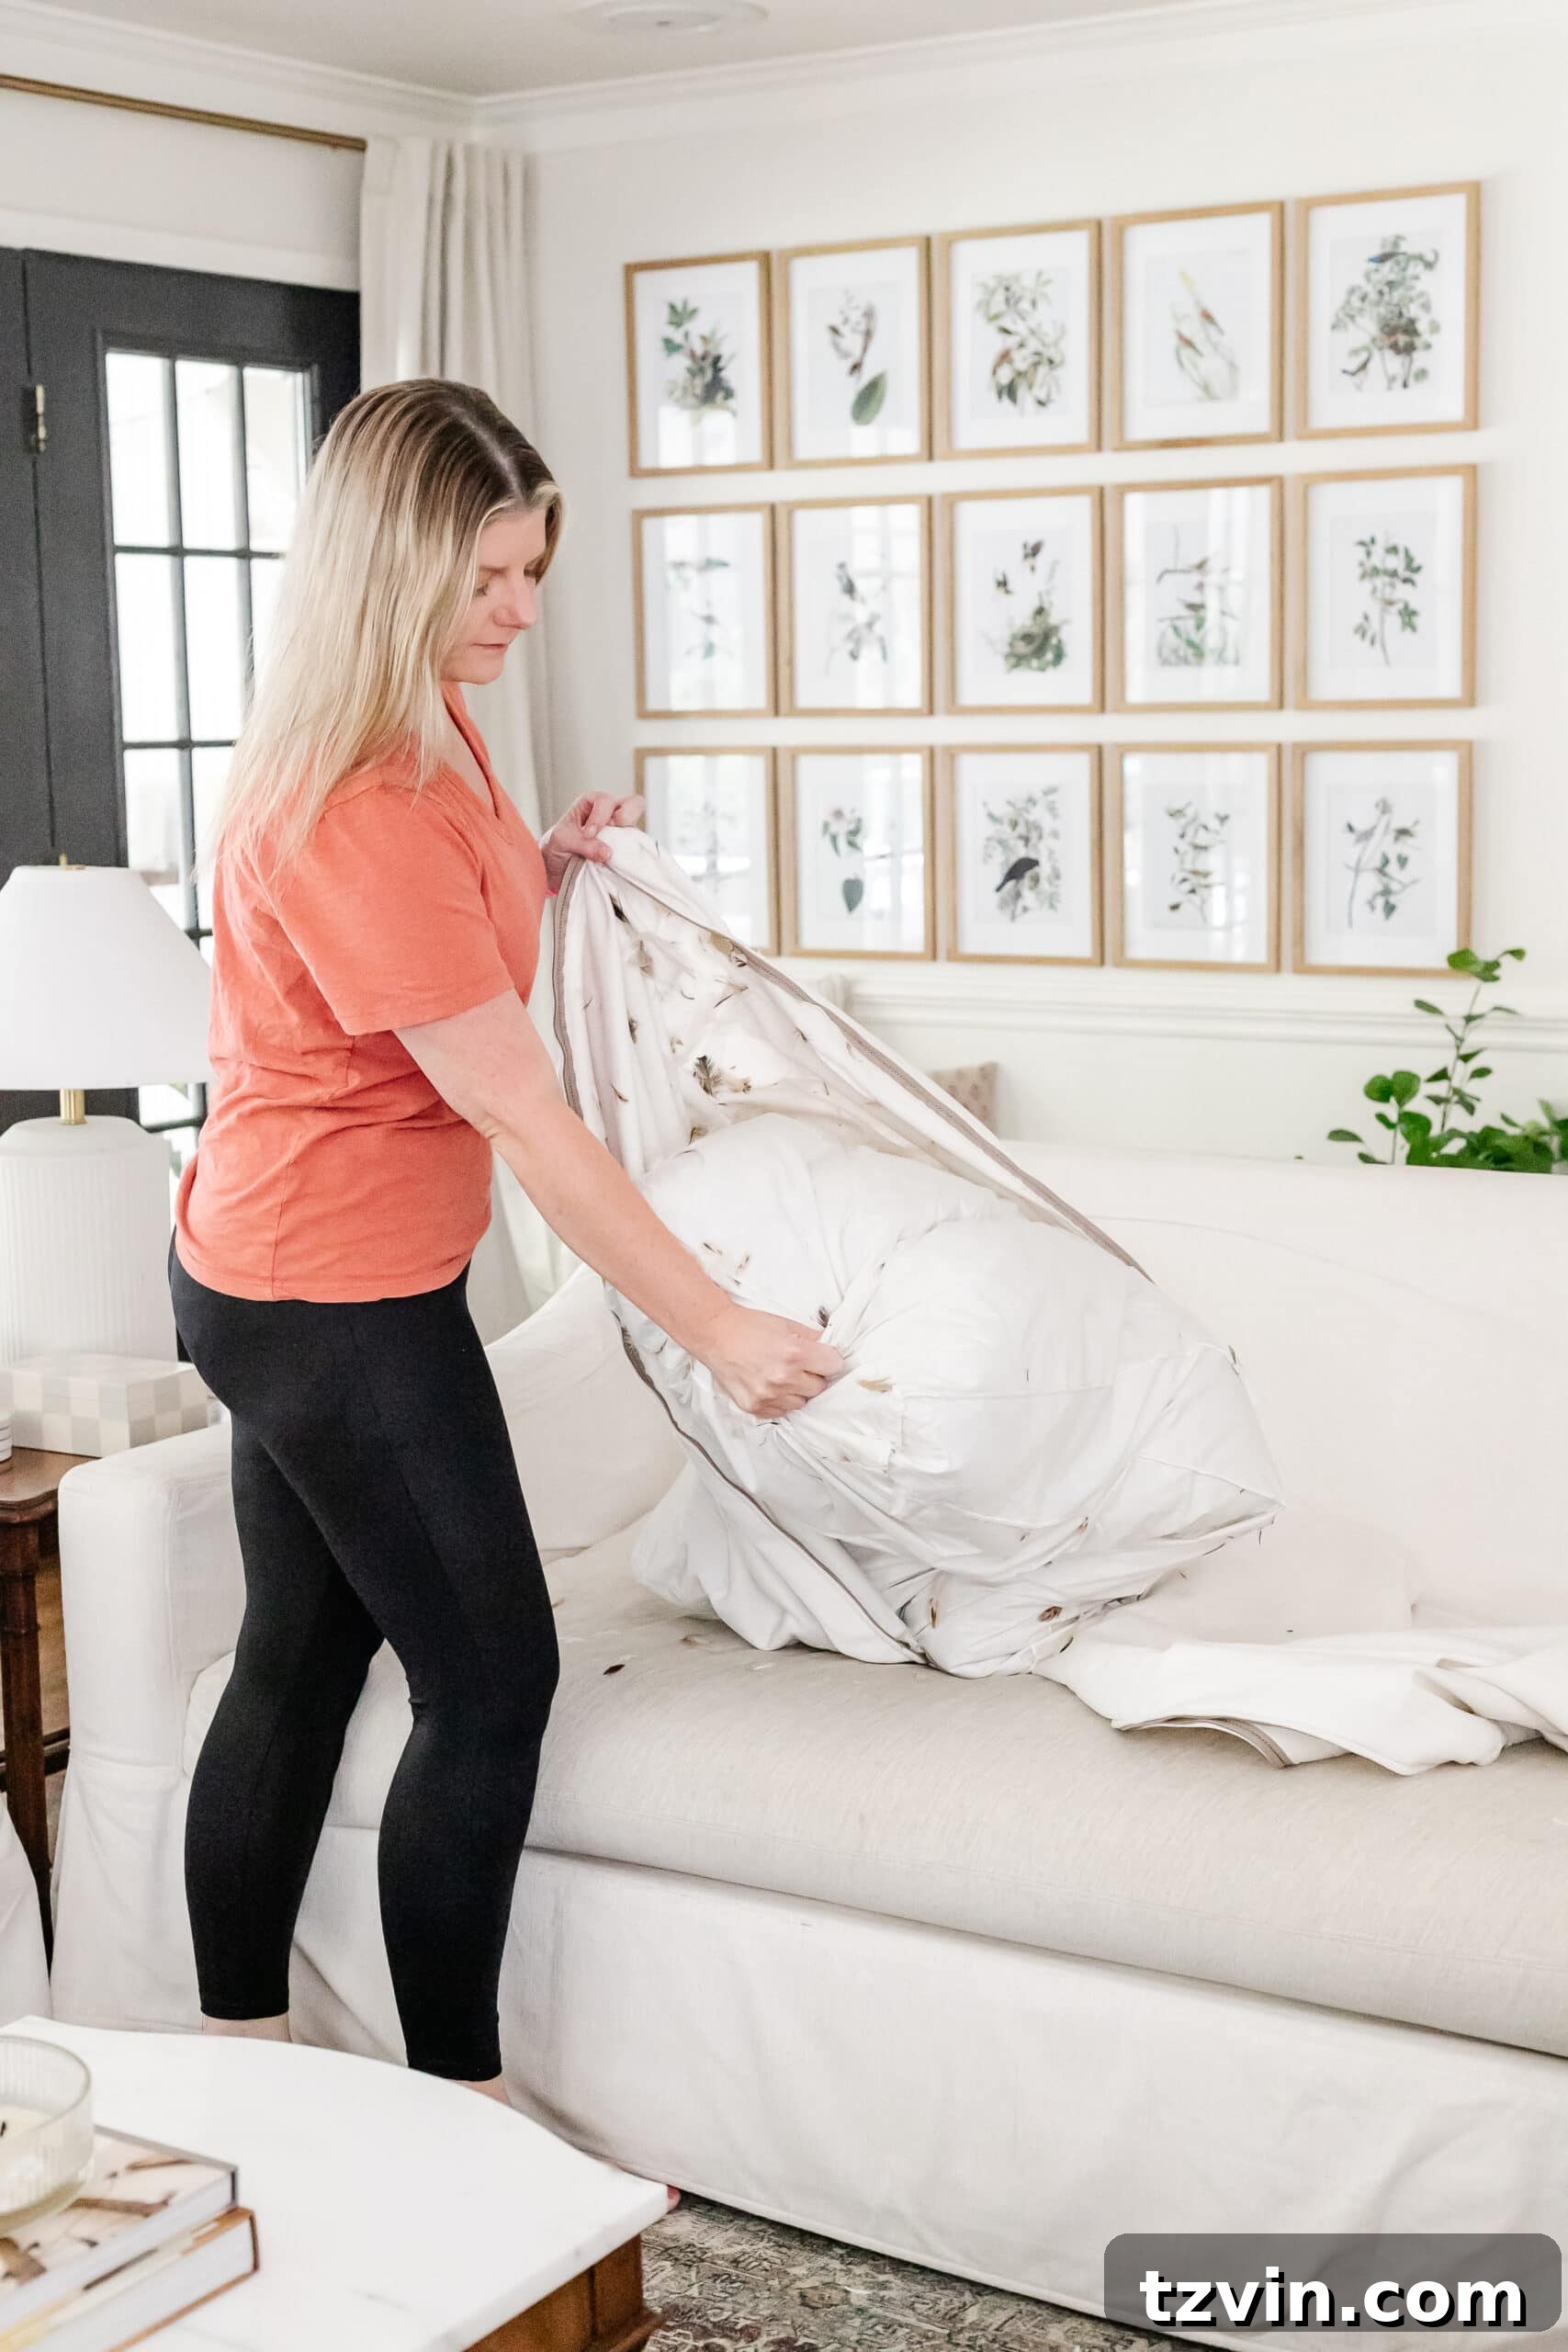
If your sofa cushions feature zippers, carefully remove their covers. This crucial first step allows for a more thorough cleaning of both the covers and the inner cushions. While the covers are off, take a moment to “fluff” the inner cushions and their batting. This not only helps restore their shape and comfort but also allows you to inspect them for any hidden pet stains or odors. Give the removed covers a good shake outdoors to dislodge any loose debris, crumbs, or pet hair before washing.
What if your cushion covers aren’t removable? If your sofa has fixed upholstery or non-removable covers, don’t worry! You can proceed directly to Step 3. For any visible stains on attached upholstery, you may need to spot clean those areas more intensely during Step 6 and 7.
Step 2 – Wash Cushion Covers on Cold/Gentle Cycle
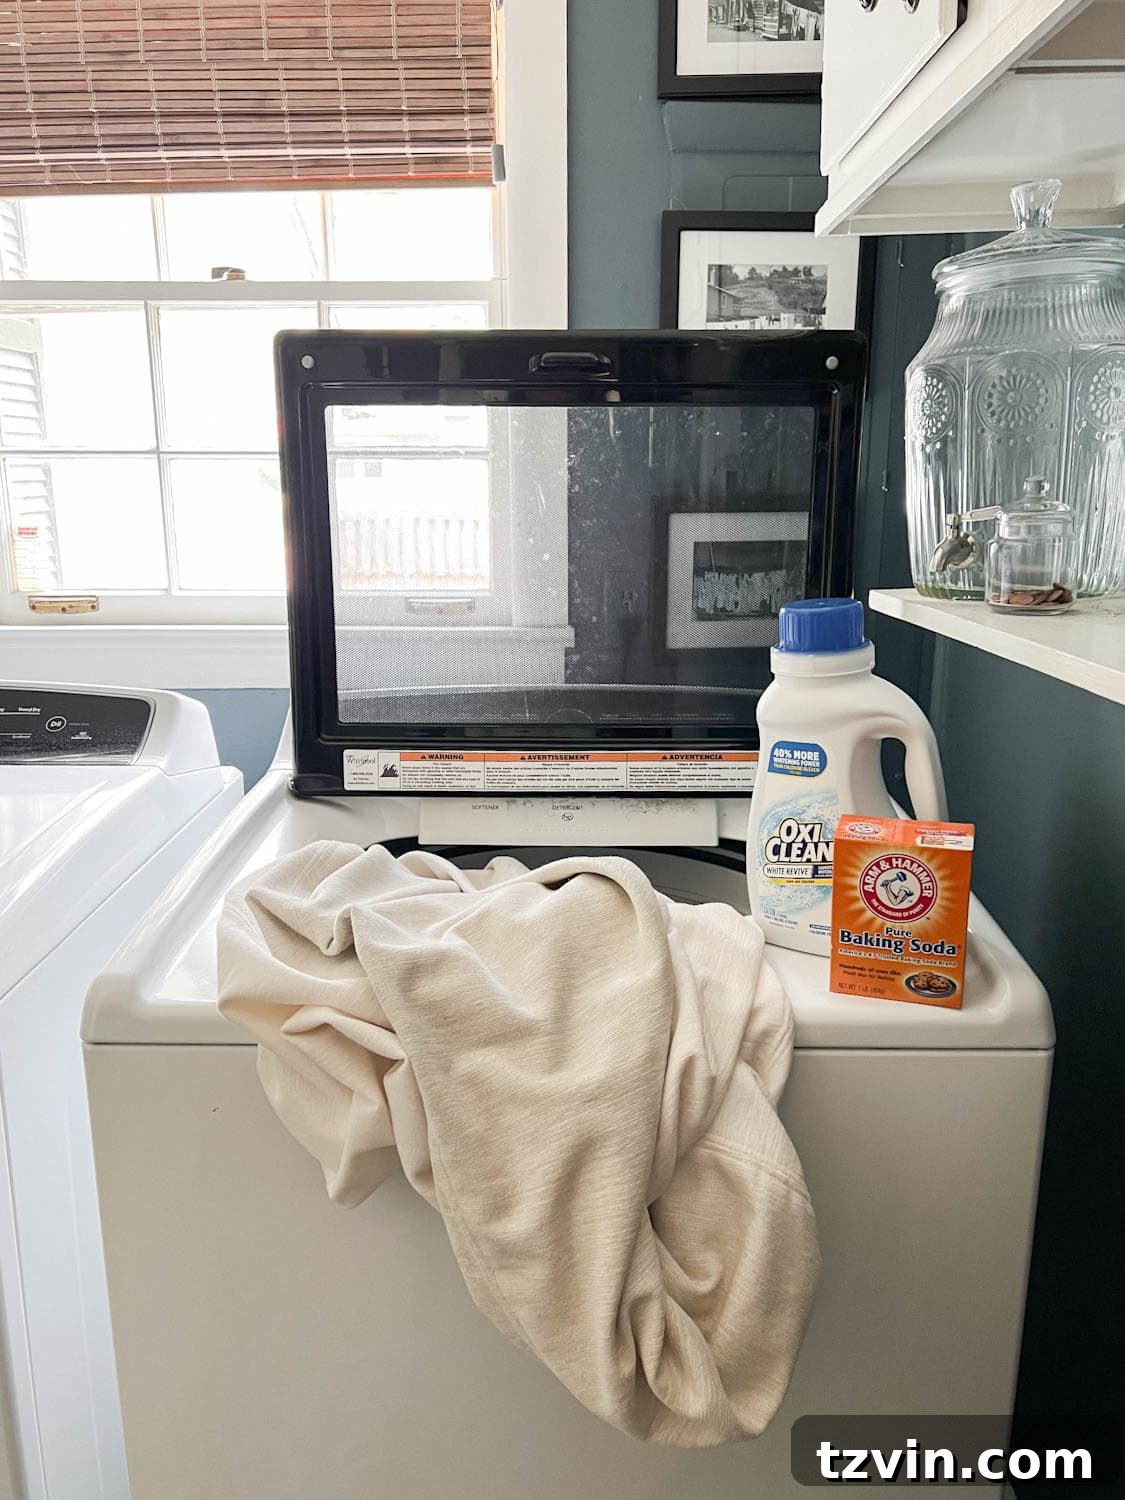
For brilliant whites and light-colored fabrics throughout our home, including sheets, towels, and slipcovers, my go-to washing machine combination is 1 cap full of OxiClean White Revive and 1 cup of baking soda. This powerful duo works wonders at restoring dingy, dirty whites to a bright, clean state without the use of harsh bleach! The OxiClean White Revive is also color-safe, making it suitable for many fabrics, and septic-safe, which can be a relief for some homeowners. I’ve successfully used it for years on our white IKEA slipcovers to achieve maximum whiteness.
It’s crucial to wash sofa cushion covers in cold water and on a gentle cycle. Hot water can cause fabric shrinkage, making it difficult, if not impossible, to put the covers back on. Once the wash cycle is complete, line dry the covers until they are just damp – absolutely avoid tumble drying. The secret to a smooth, wrinkle-free finish and an easier reassembly is to put the clean covers back on the sofa cushions while they are still slightly damp. This allows them to stretch and conform perfectly to the cushion shape as they air dry.
If you’re cleaning full slipcovers that encompass the entire sofa, you can wash them separately from the cushion covers. This prevents overcrowding in the washing machine and ensures each piece gets a thorough clean. However, if, like our sofas, only certain areas (like the arms) need attention, you can opt to use the spot cleaning method (Steps 5-7) on the attached upholstery without the hassle of washing the entire slipcover.
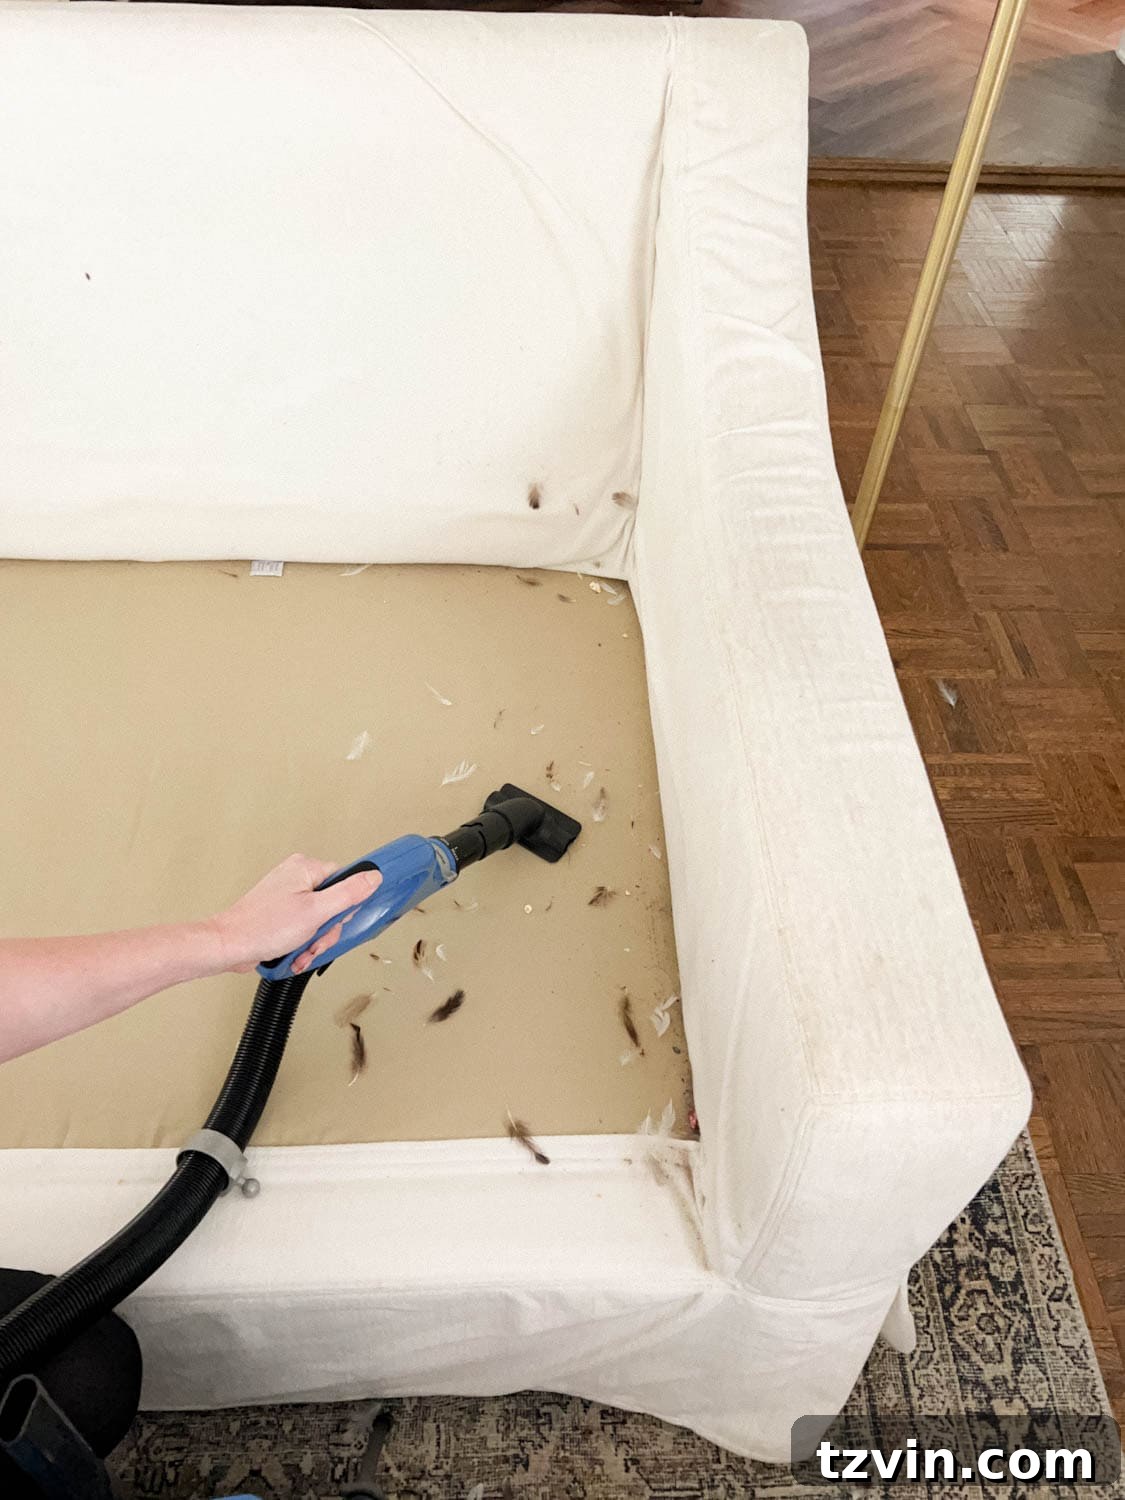
Step 3 – Thoroughly Vacuum Couch Upholstery
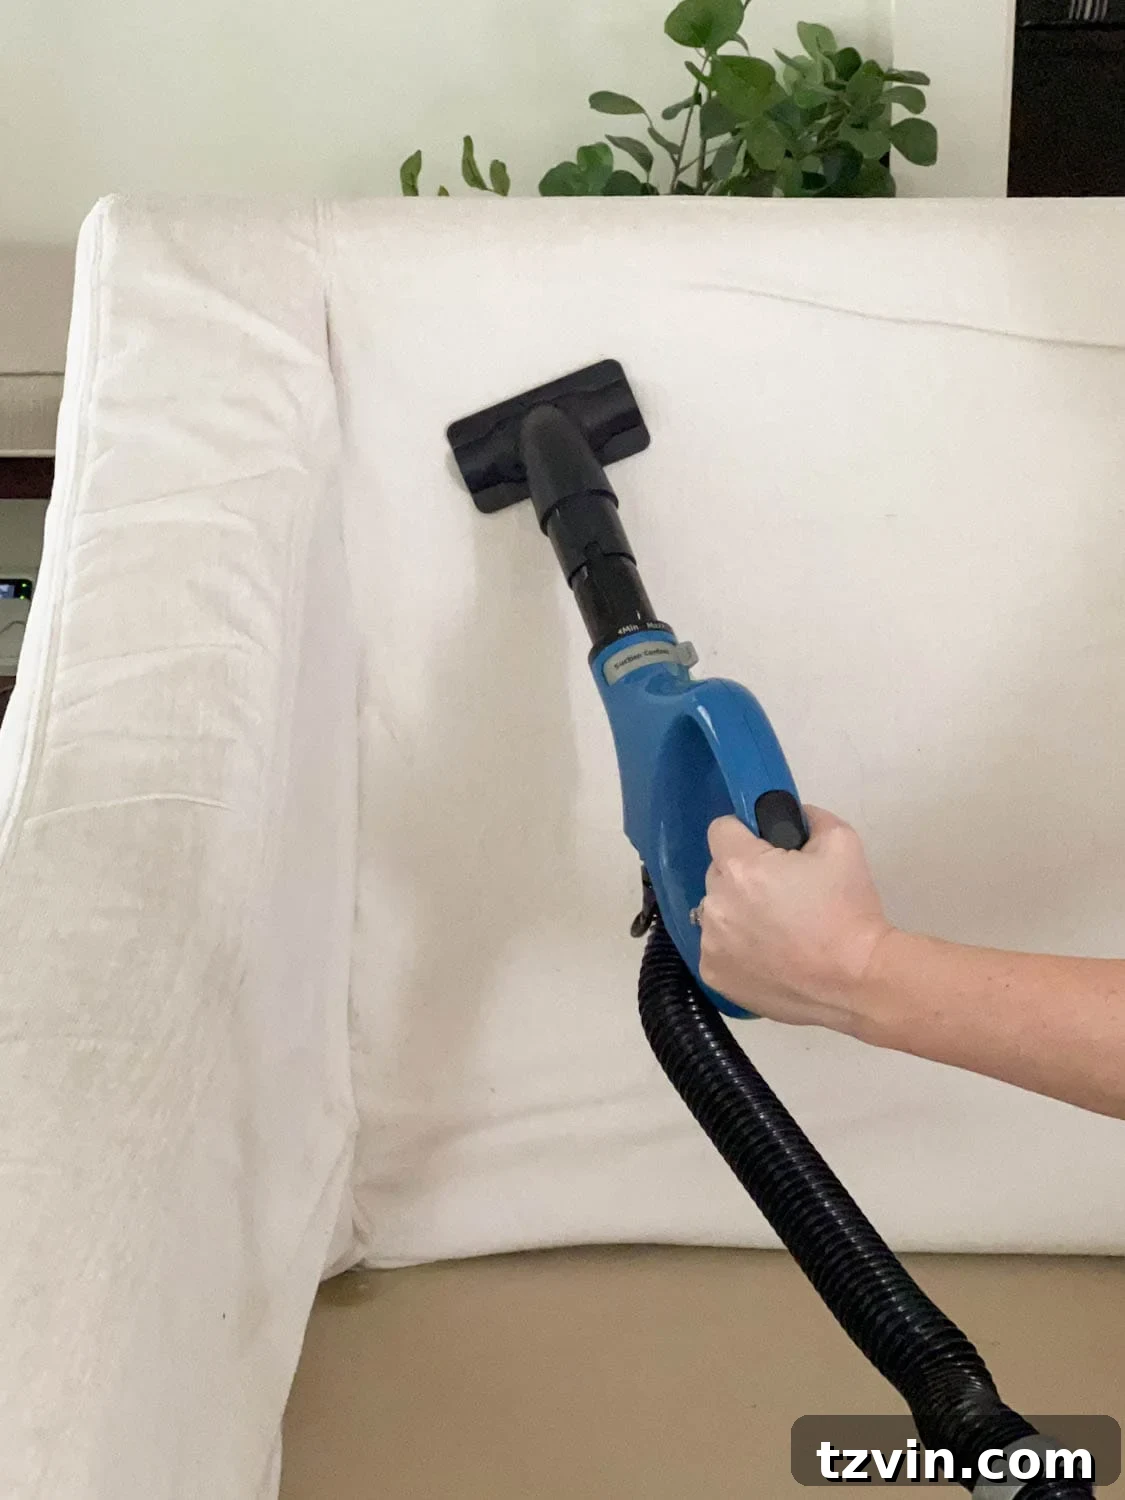
Before introducing any moisture, a thorough vacuuming is essential. This step removes all loose dirt, crumbs, pet hair, and debris, preventing them from turning into muddy smears once cleaning solutions are applied. Using your vacuum cleaner’s upholstery attachment wand, meticulously go over every surface of your sofa. Pay special attention to hidden areas: under the cushions, along seams, in crevices, and between the backrest and armrests. These are often forgotten zones where dirt and debris accumulate the most.
Our Shark Navigator Lift-Away Vacuum, with its versatile attachments, makes this process incredibly efficient, reaching into the tightest spots to pull out embedded grime. The goal here is to get the upholstery as free of dry particles as possible, setting the stage for a truly deep clean.
Step 4 – Sprinkle Baking Soda for Odor Absorption
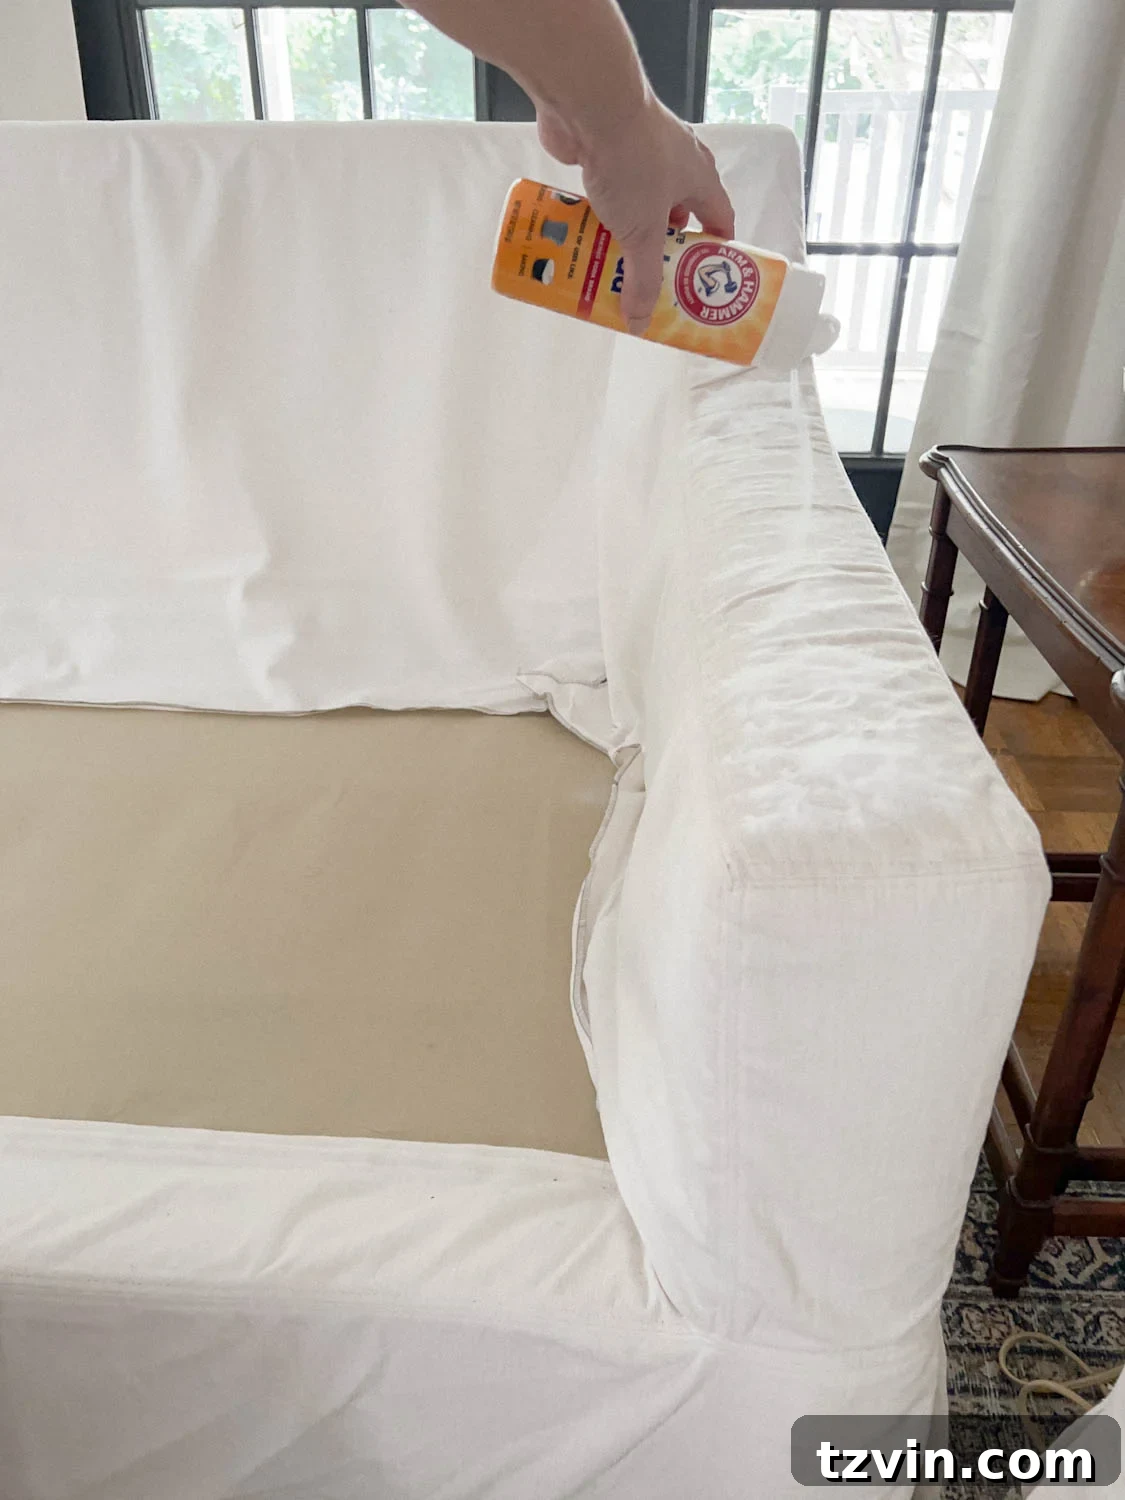
Baking soda is a natural marvel when it comes to neutralizing odors. After vacuuming, generously sprinkle a layer of baking soda over the entire surface of your sofa, making sure to focus on high-traffic areas like the armrests, seating areas, and any spots where odors tend to linger. Don’t forget to gently work some into the fabric and any accessible crevices.
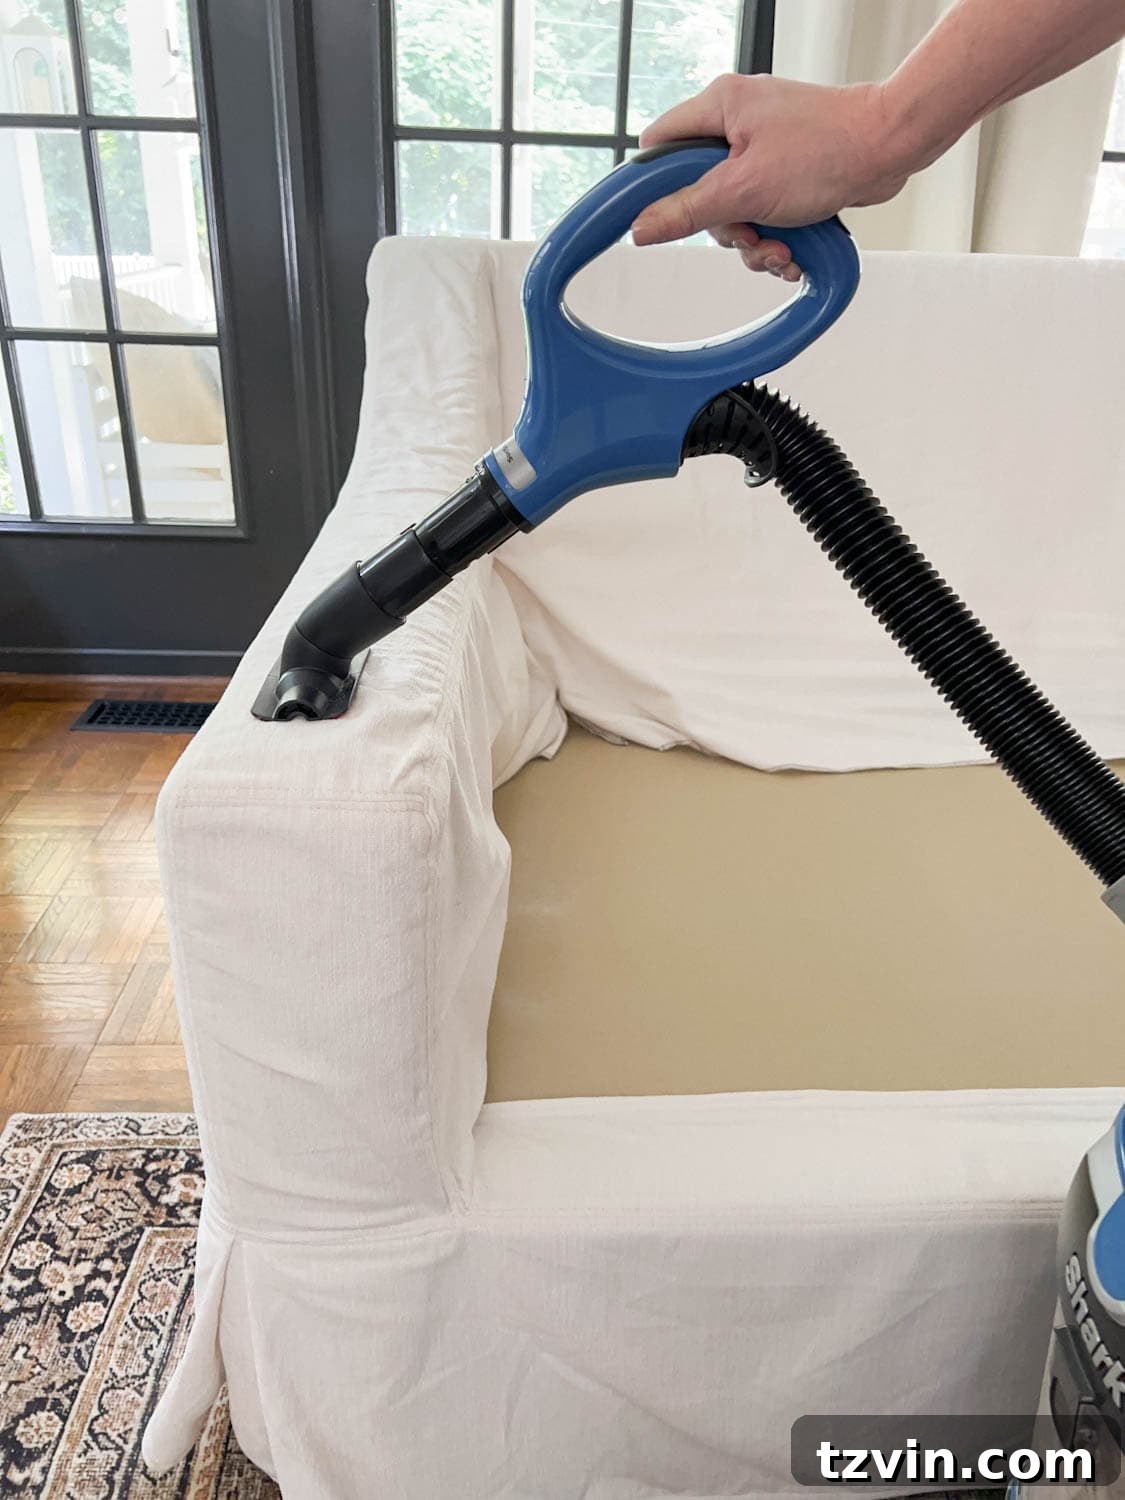
Allow the baking soda to sit for at least 30 minutes, or even longer if you’re dealing with particularly strong odors (an hour or two, or even overnight, is ideal for a deep deodorization). The baking soda will absorb unpleasant smells caused by pets, food, or general use. Once it has had sufficient time to work its magic, use your vacuum wand attachment to thoroughly vacuum up all the baking soda. You’ll immediately notice a remarkable difference in the freshness of your sofa.
Step 5 – Create Your Effective DIY Couch Cleaner Solution
While various commercial upholstery cleaners exist, including effective ones like Folex, we’ve found that a simple, homemade solution is often just as powerful, safer, and much more economical. This DIY cleaner harnesses the gentle yet effective properties of common household ingredients to lift dirt and stains without harsh chemicals.
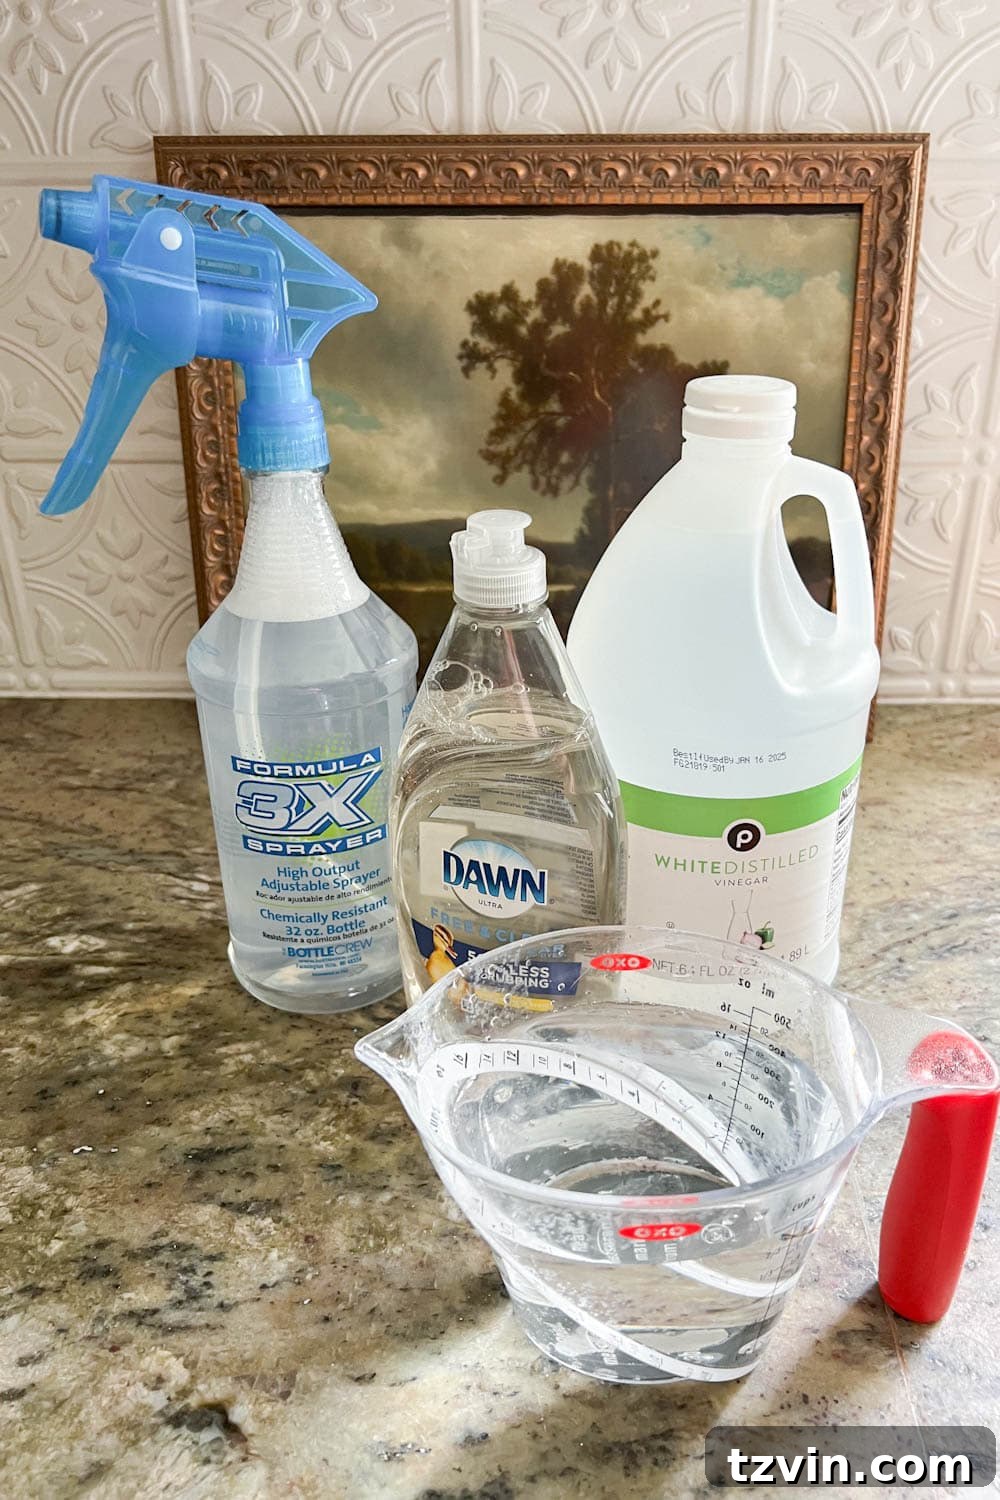
To make your solution, combine the following in a clean spray bottle:
- 2 cups distilled water (Using distilled water is key to avoid mineral deposits and water rings, especially on lighter fabrics, as tap water can leave behind impurities.)
- 2 Tbsp clear Dawn dish soap (Dawn is renowned for its grease-cutting power, making it excellent for breaking down grime and food stains. Opt for a clear version to prevent any potential color transfer to your upholstery.)
- 2 Tbsp white distilled vinegar (Vinegar is a natural deodorizer and mild acid that helps to break down dirt and brighten fabrics. Its acetic acid helps to dissolve tough stains and leaves no residue once dry.)
Shake the spray bottle gently to mix the ingredients. Remember, only use this cleaning solution if your couch’s manufacturer label permits water-based cleaning agents (‘W’ or ‘S/W’ codes). Always perform a spot test first, as outlined in the “Before You Start” section.
Step 6 – Evenly Spray Couch Fabric with Cleaner
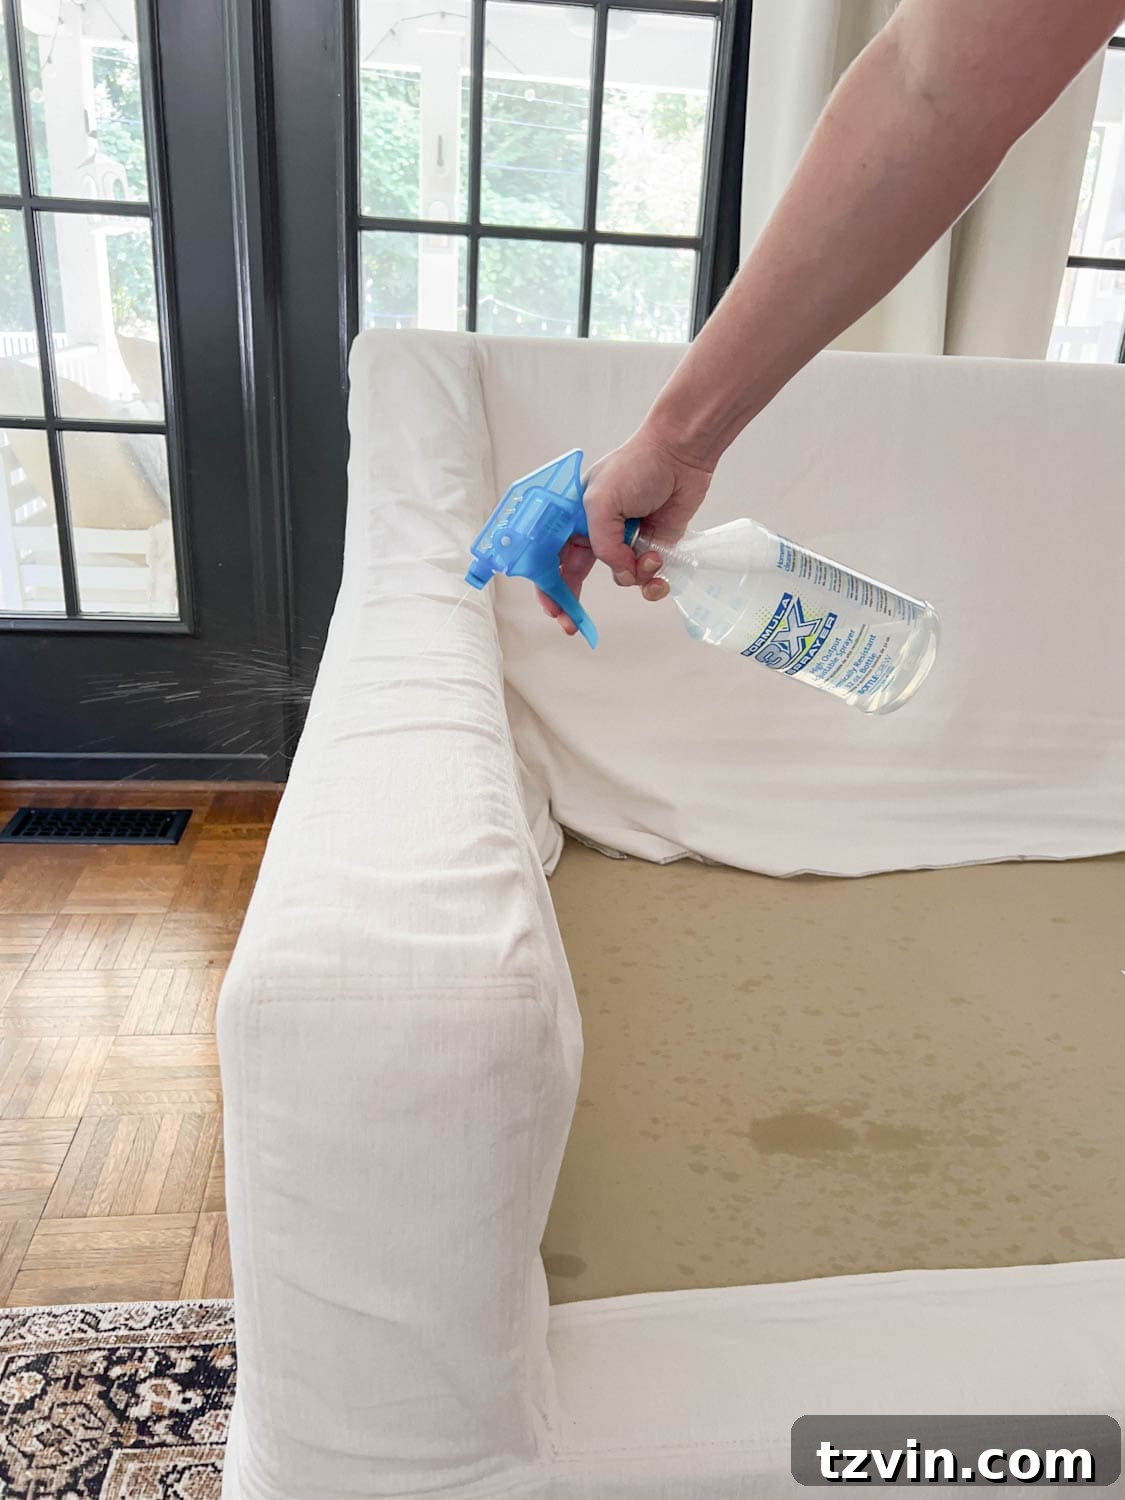
Once your DIY solution is ready and you’ve confirmed your sofa’s cleaning code is compatible, it’s time to apply the cleaner. Lightly mist the couch upholstery with your water, soap, and vinegar solution. The key here is to dampen the fabric, not saturate it. You want to apply enough solution to allow it to penetrate the fibers and lift the dirt, but not so much that it soaks the padding underneath, which can lead to prolonged drying times and potential mildew growth.
Work in sections if your sofa is large, ensuring an even application. Focus on areas with visible stains, grime, or heavy use. For particularly stubborn spots, you can apply a slightly more concentrated mist and let it sit for a few minutes to allow the solution to break down the dirt.
Step 7 – Wipe Sofa Fabric Surface and Air Dry
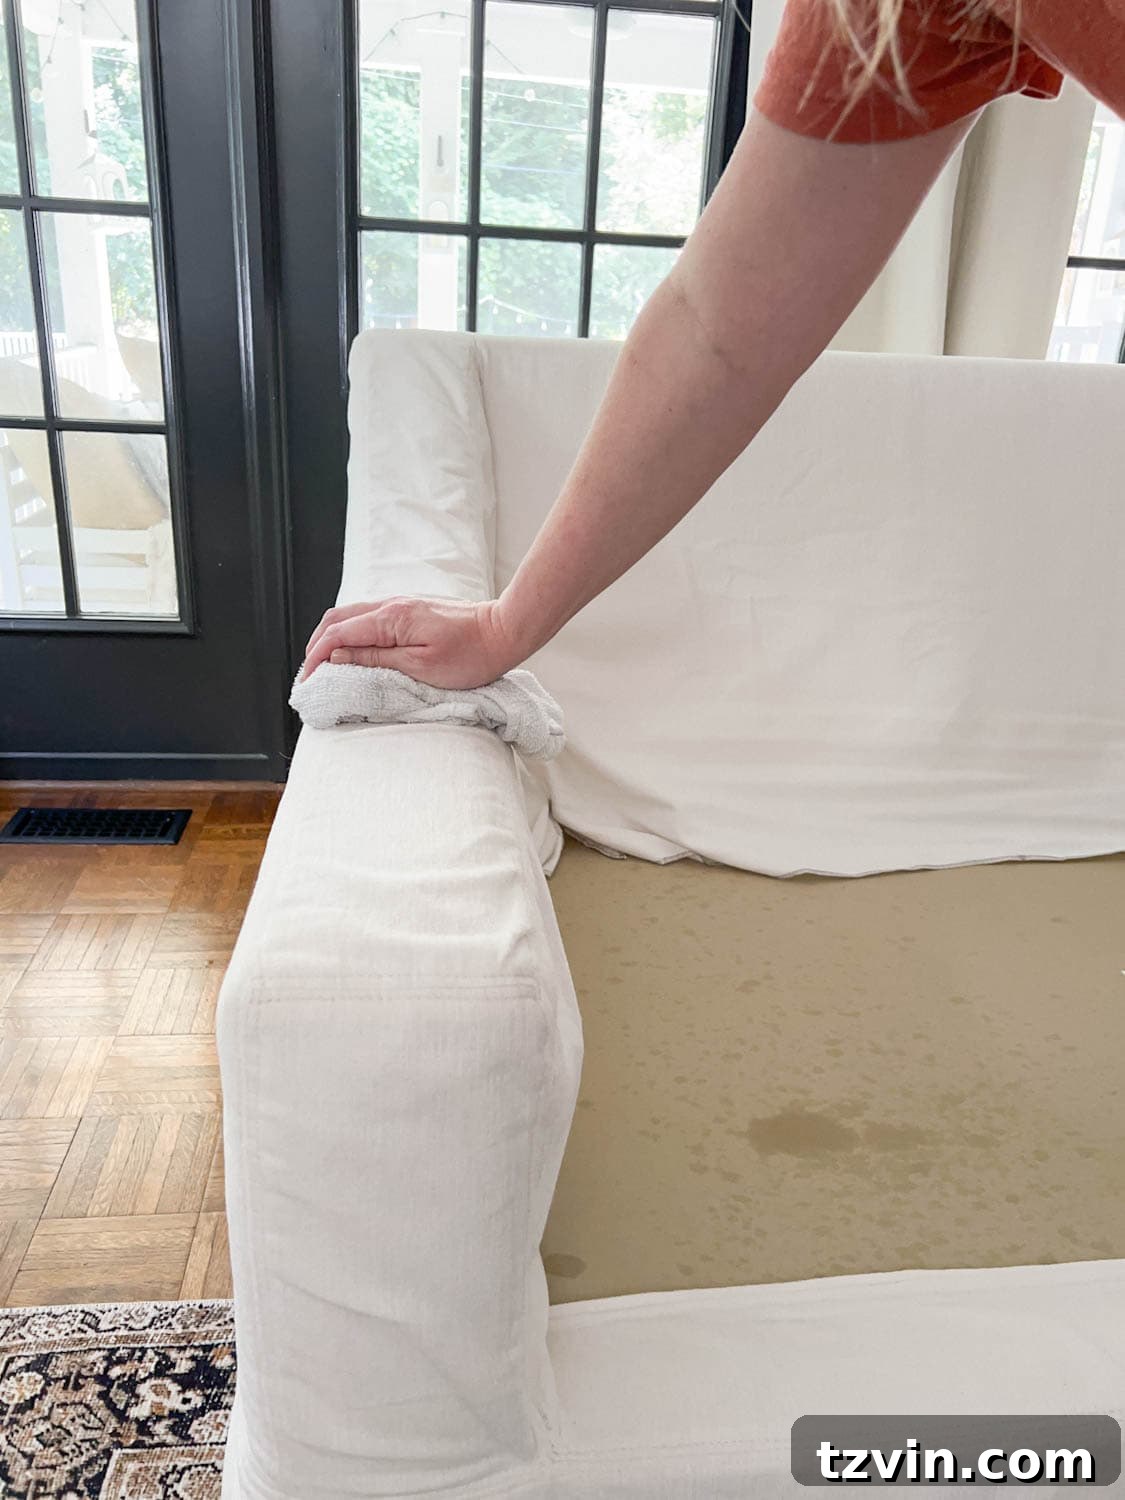
Immediately after spraying a section, take a clean, dry, lint-free cloth or microfiber towel and begin to gently wipe the soiled sofa fabric surface. Use a dabbing or blotting motion, rather than harsh scrubbing, to lift and absorb the dirt and grime. As you wipe, you’ll see the dirt transferring from the upholstery to your cloth. Fold your cloth to expose a clean section frequently to avoid spreading dirt back onto the sofa.
Optional Deep Clean: For an even more intense clean, especially if you have deep-set dirt or stains, consider using a portable upholstery cleaning machine after wiping. We highly recommend a model like the Bissell Little Green Stain Cleaner. These machines are excellent at extracting deeply embedded dirt and excess moisture, significantly speeding up drying time and ensuring a truly fresh finish.
Once you’ve treated all desired areas, allow your sofa to air dry completely. This is a critical step to prevent mildew and ensure the fabric feels fresh. Good air circulation is key; open windows, use fans, or run a dehumidifier to help expedite the drying process. Avoid placing cushions back on the sofa until all parts are thoroughly dry to the touch.
The Incredible Transformation: A Sparkly Clean Sofa!
The difference is truly remarkable, isn’t it? After completing these steps, your sofa won’t just look cleaner; it will feel and smell absolutely amazing. My husband continuously comments on how our couches now feel like they’re brand new – so fluffy, bright, and invigorating! This intensive cleaning process breathes new life into your furniture, transforming a tired, dingy sofa into a welcoming, pristine centerpiece once more.
The good news is that while this might seem like a significant chore, integrating it into your regular spring and/or fall cleaning routine, combined with diligent spot cleaning for spills, will greatly extend the life and beauty of your fabric couches. It’s an investment in your home’s comfort and hygiene that pays dividends.
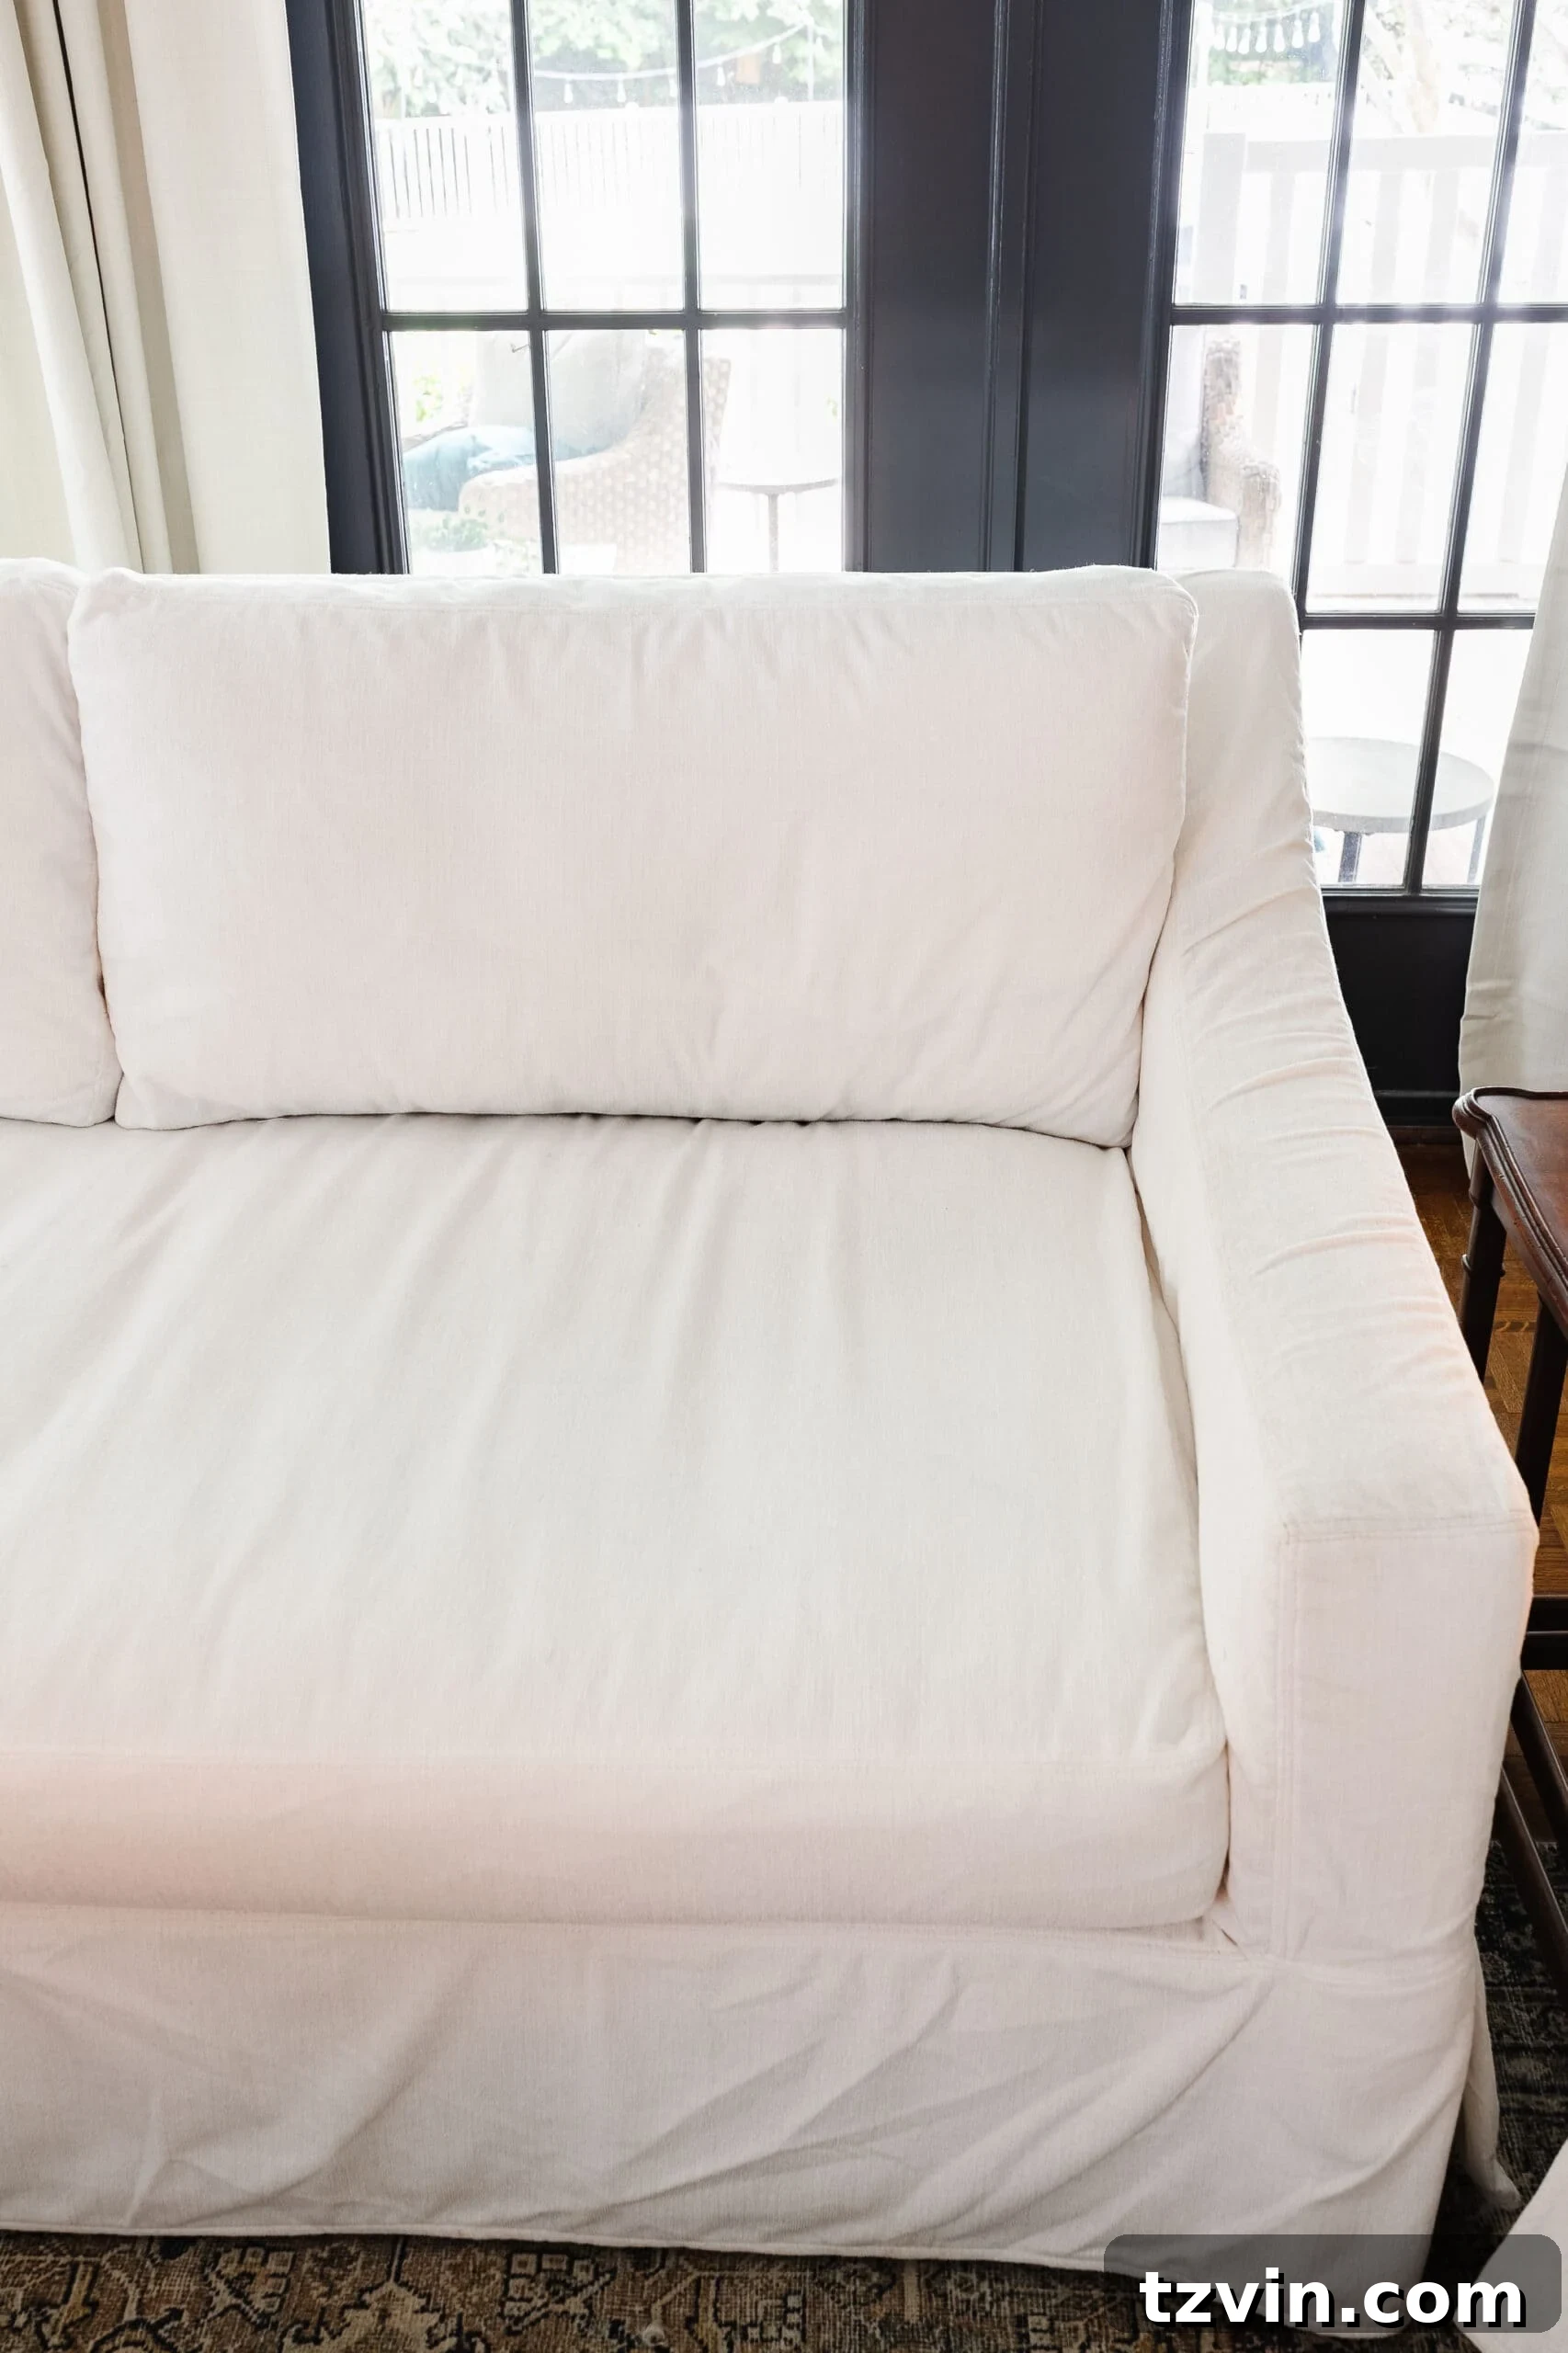
Last week, I was genuinely questioning our decision to opt for white sofa fabric. However, now that these Pottery Barn couches, which we saved up for years to acquire, have undergone this deep clean, I am absolutely thrilled with them all over again. Even if the cleaning process involved a minor feather explosion from the down-blend cushions, the resulting squishy softness and unparalleled comfort are unequivocally worth every effort.
All in all, this deep cleaning method is an undeniable success. It revitalizes your living space and restores the joy of lounging on truly clean, fresh furniture.

As my reward for conquering this major couch cleaning project, I’m excited to start bringing out some beautiful fall decor to make our living room feel extra cozy and inviting. You can probably guess what’s next on the agenda here! 😉
By the way, for those curious about our living room’s aesthetic, here’s a breakdown of the decor sources:
Living Room Decor Sources
- Wall color: Benjamin Moore Swiss Coffee
- Door color: Benjamin Moore Wrought Iron
- Trim color: Benjamin Moore Simply White
- Couches
- Curtains
- Curtain rod
- Area rug
- Coffee table (Facebook Marketplace find – similar linked)
- Nesting end table (Facebook Marketplace find – similar linked)
- Ceiling fan (I spray painted it gold)
- Table lamp
- Picture frames
- Audubon art (free printable set)

More Essential House Cleaning Ideas
- How to Remove Stains from Marble
- The Best Vacuum Cleaners & Cleaning Tools We Use and Love
- Deep Cleaning Checklist Printable
- How to Clean Wood Furniture to Make It Look New
- How to Clean Outdoor Cushions and Furniture
Frequently Asked Questions About Fabric Sofa Cleaning
Synthetic microfiber couches are generally considered the easiest to clean and maintain, making them an excellent choice for homes with children or pets. Their tightly woven fibers resist spills and stains, and they often carry a ‘W’ or ‘S/W’ cleaning code, meaning they can be cleaned effectively with water-based solutions.
The most effective way to deodorize a fabric couch is by using baking soda. First, vacuum the entire couch thoroughly to remove any loose dirt, pet hair, and debris. Then, generously sprinkle baking soda all over the upholstery, making sure to work it into the fabric and any crevices. Allow the baking soda to sit for at least an hour, or even up to 24 hours for stubborn odors, to absorb smells. Finally, vacuum off the baking soda completely. This simple method will leave your couch smelling fresh and clean.
Using a steam cleaner can be very effective for deep cleaning and sanitizing some fabric sofas, but it’s crucial to check your couch’s cleaning code first. Steam cleaners use water vapor, so they are generally safe for ‘W’ and ‘S/W’ coded fabrics. However, they should never be used on ‘S’ (solvent-only) or ‘X’ (vacuum-only) fabrics, as this can cause water damage, shrinkage, or discoloration. Always do a spot test in an hidden area and avoid over-saturating the fabric to prevent mildew.
The drying time for a couch after cleaning can vary significantly depending on several factors: the amount of cleaning solution used, the humidity in the room, the type of fabric, and whether an extraction machine (like an upholstery cleaner) was used. Generally, a couch can take anywhere from 4 to 24 hours to fully air dry. To speed up the process, ensure good ventilation by opening windows, using fans, or running a dehumidifier. Avoid using the couch or replacing cushions until it is completely dry to prevent mildew and lingering odors.