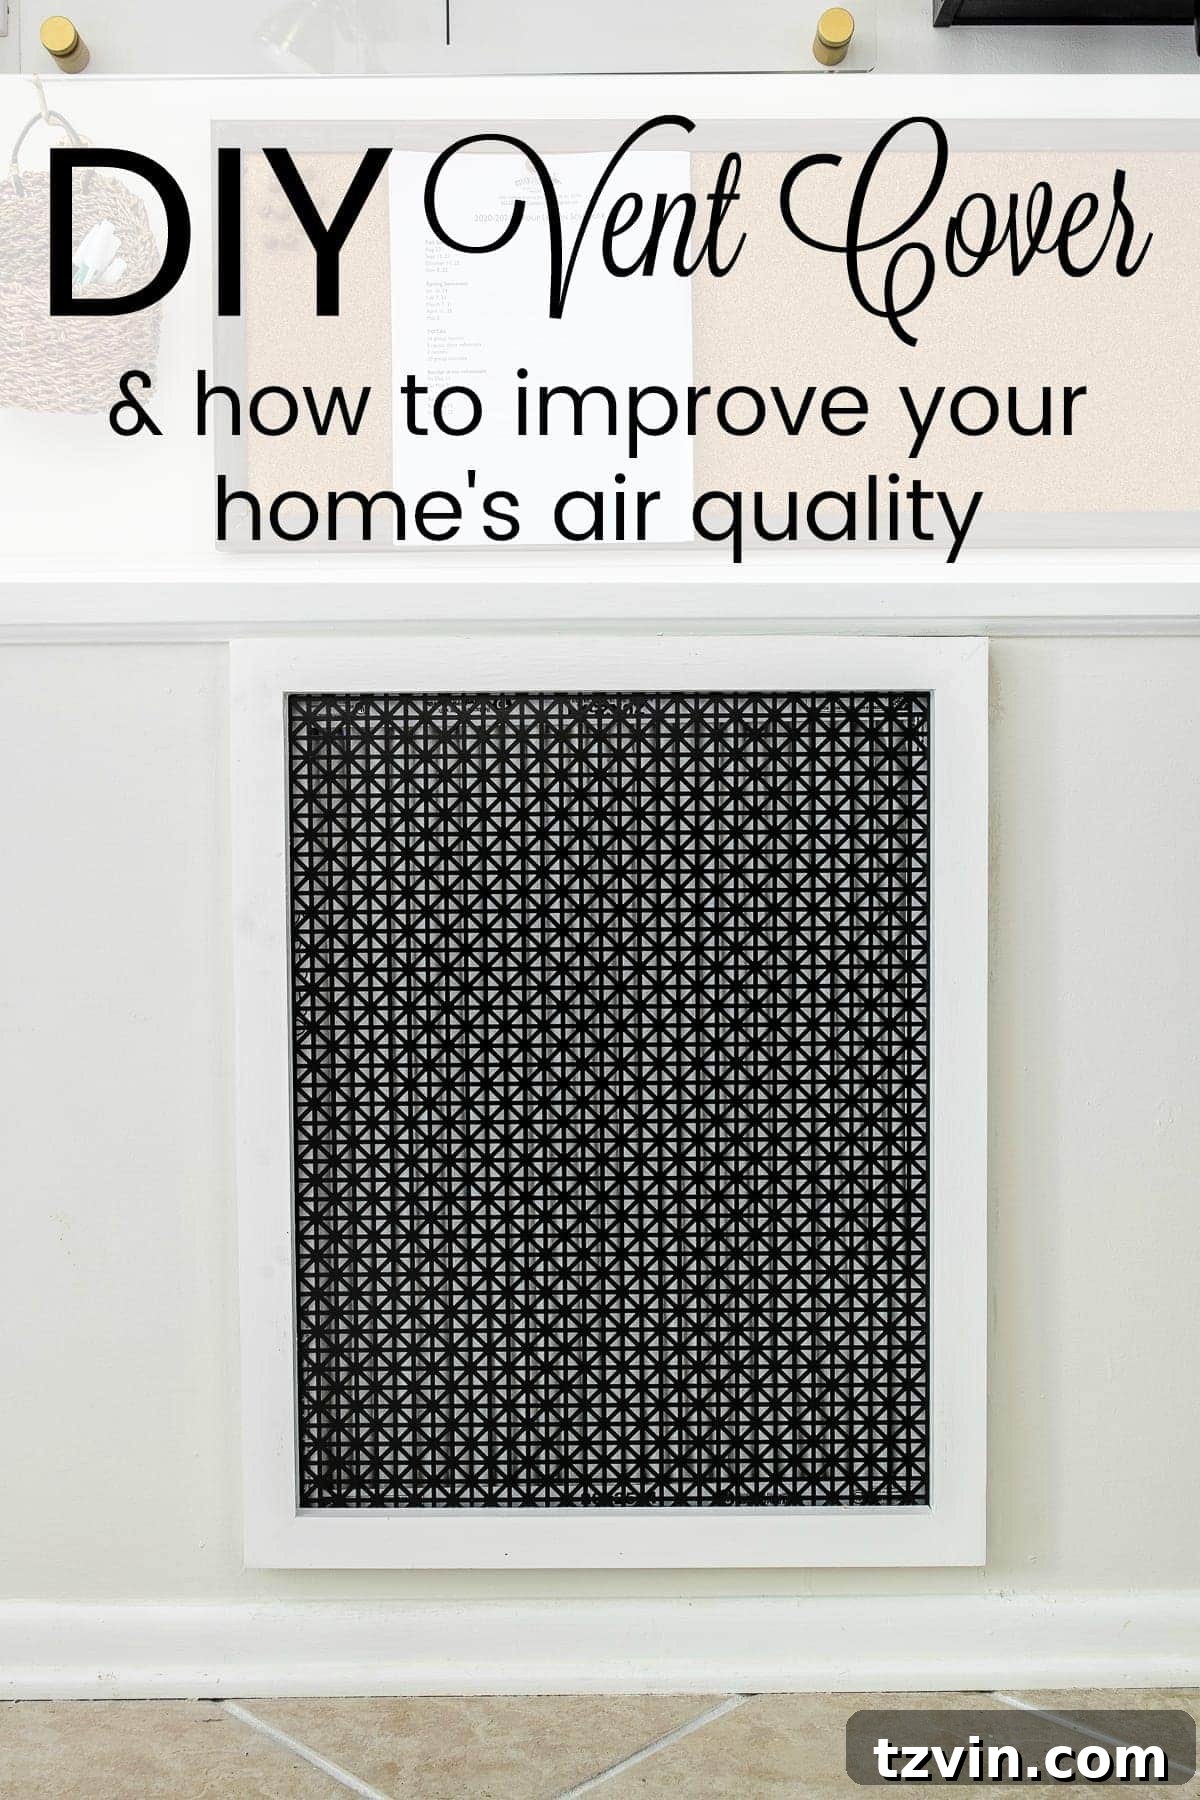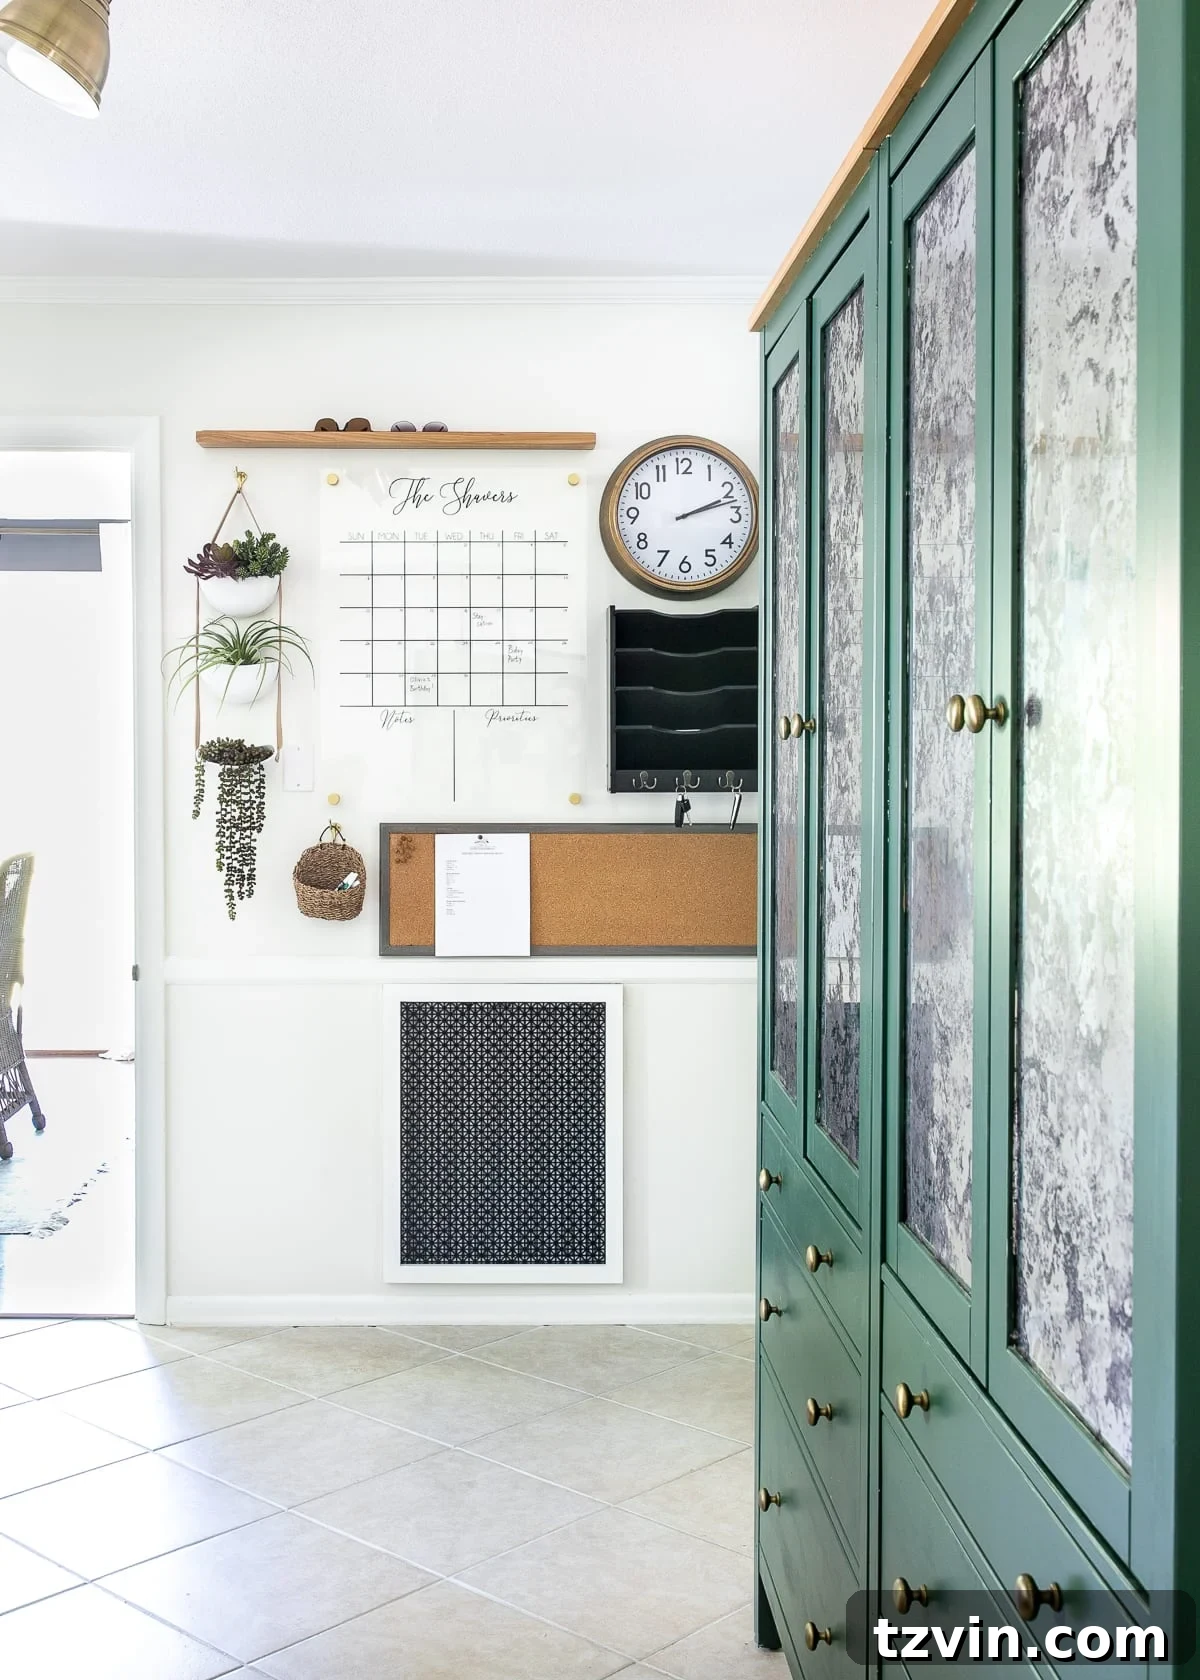
Transforming your home’s air quality and aesthetics has never been easier. Discover the ultimate DIY solution for reducing airborne particles and allergens, coupled with a simple guide to crafting a beautiful, customized air vent cover.
Living in a home that boasts character and history, perhaps one that’s older than yourself, often comes with its unique set of charming quirks and occasional challenges. Over the years, I’ve come to recognize two undeniable truths about these beloved, seasoned abodes:
- Wear and tear will inevitably lead to unexpected breakdowns, often at the most inconvenient times (and yes, frequently during holidays).
- Dust accumulation and persistent, “funky old house” odors operate on an entirely different plane of existence. It’s almost as if our dust bunnies have become permanent, furry residents we ought to name!
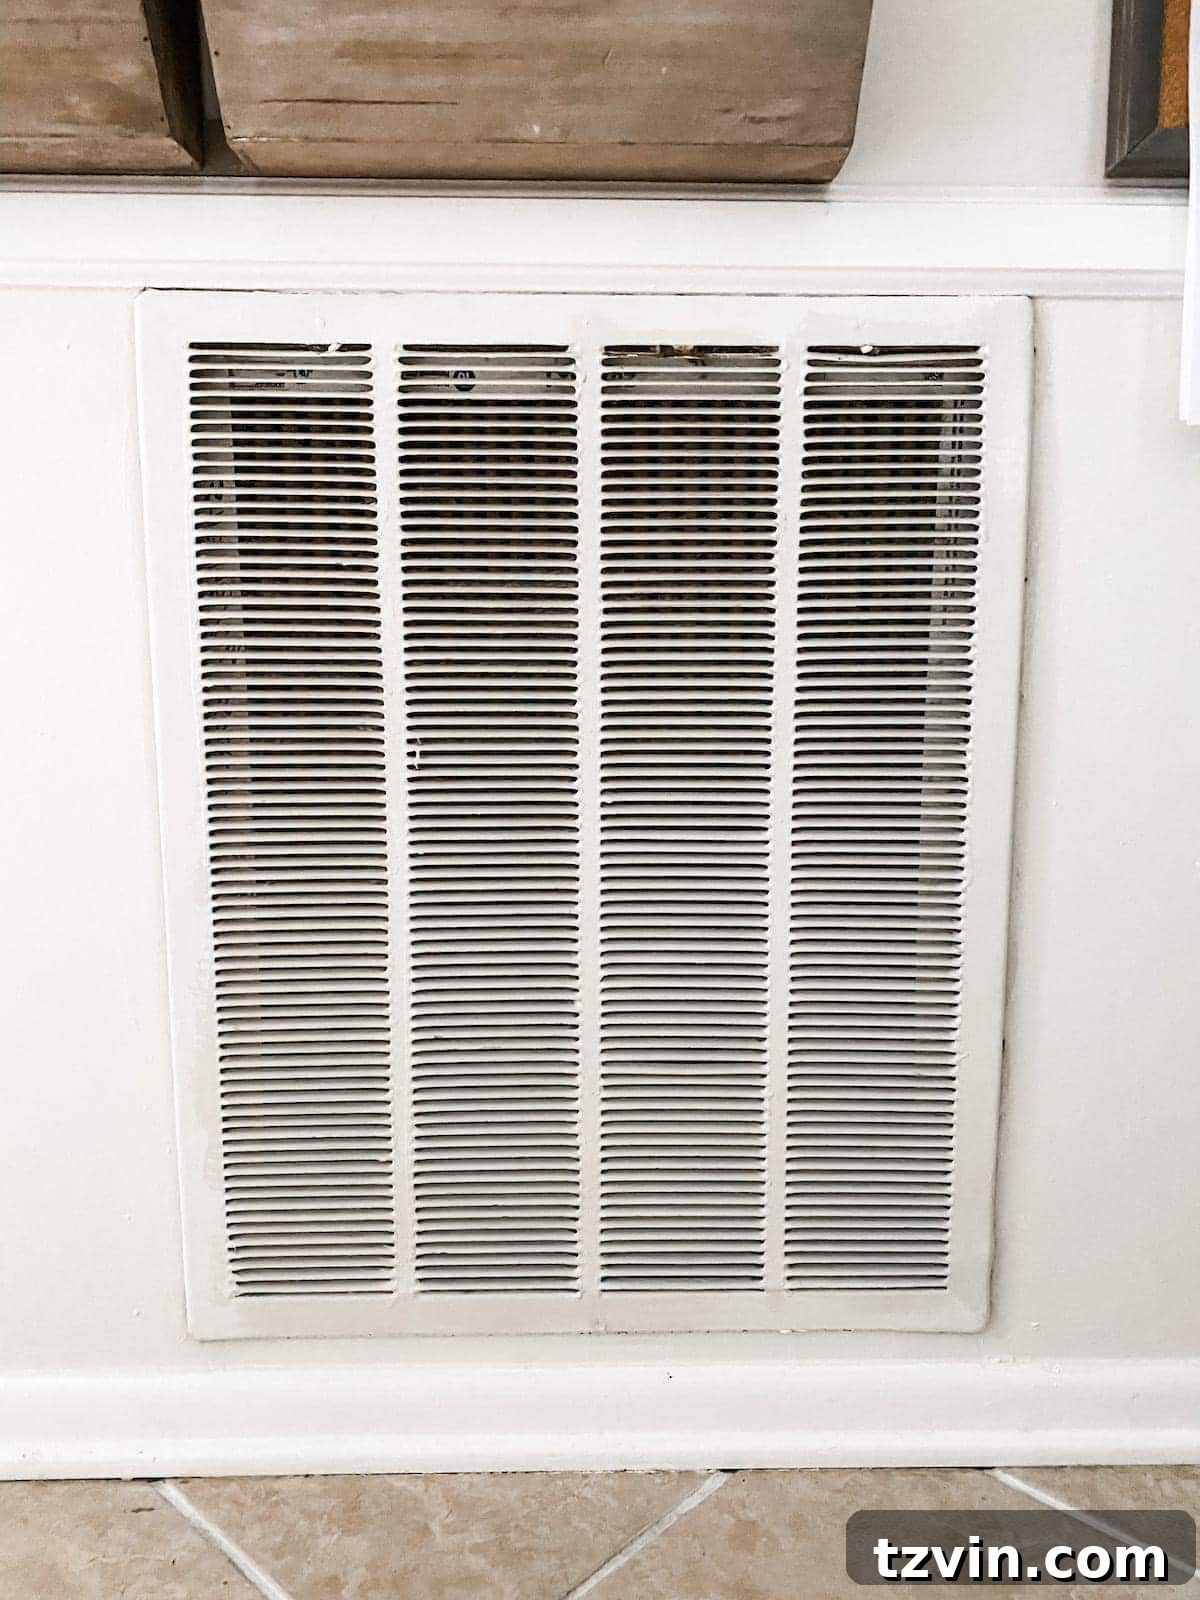
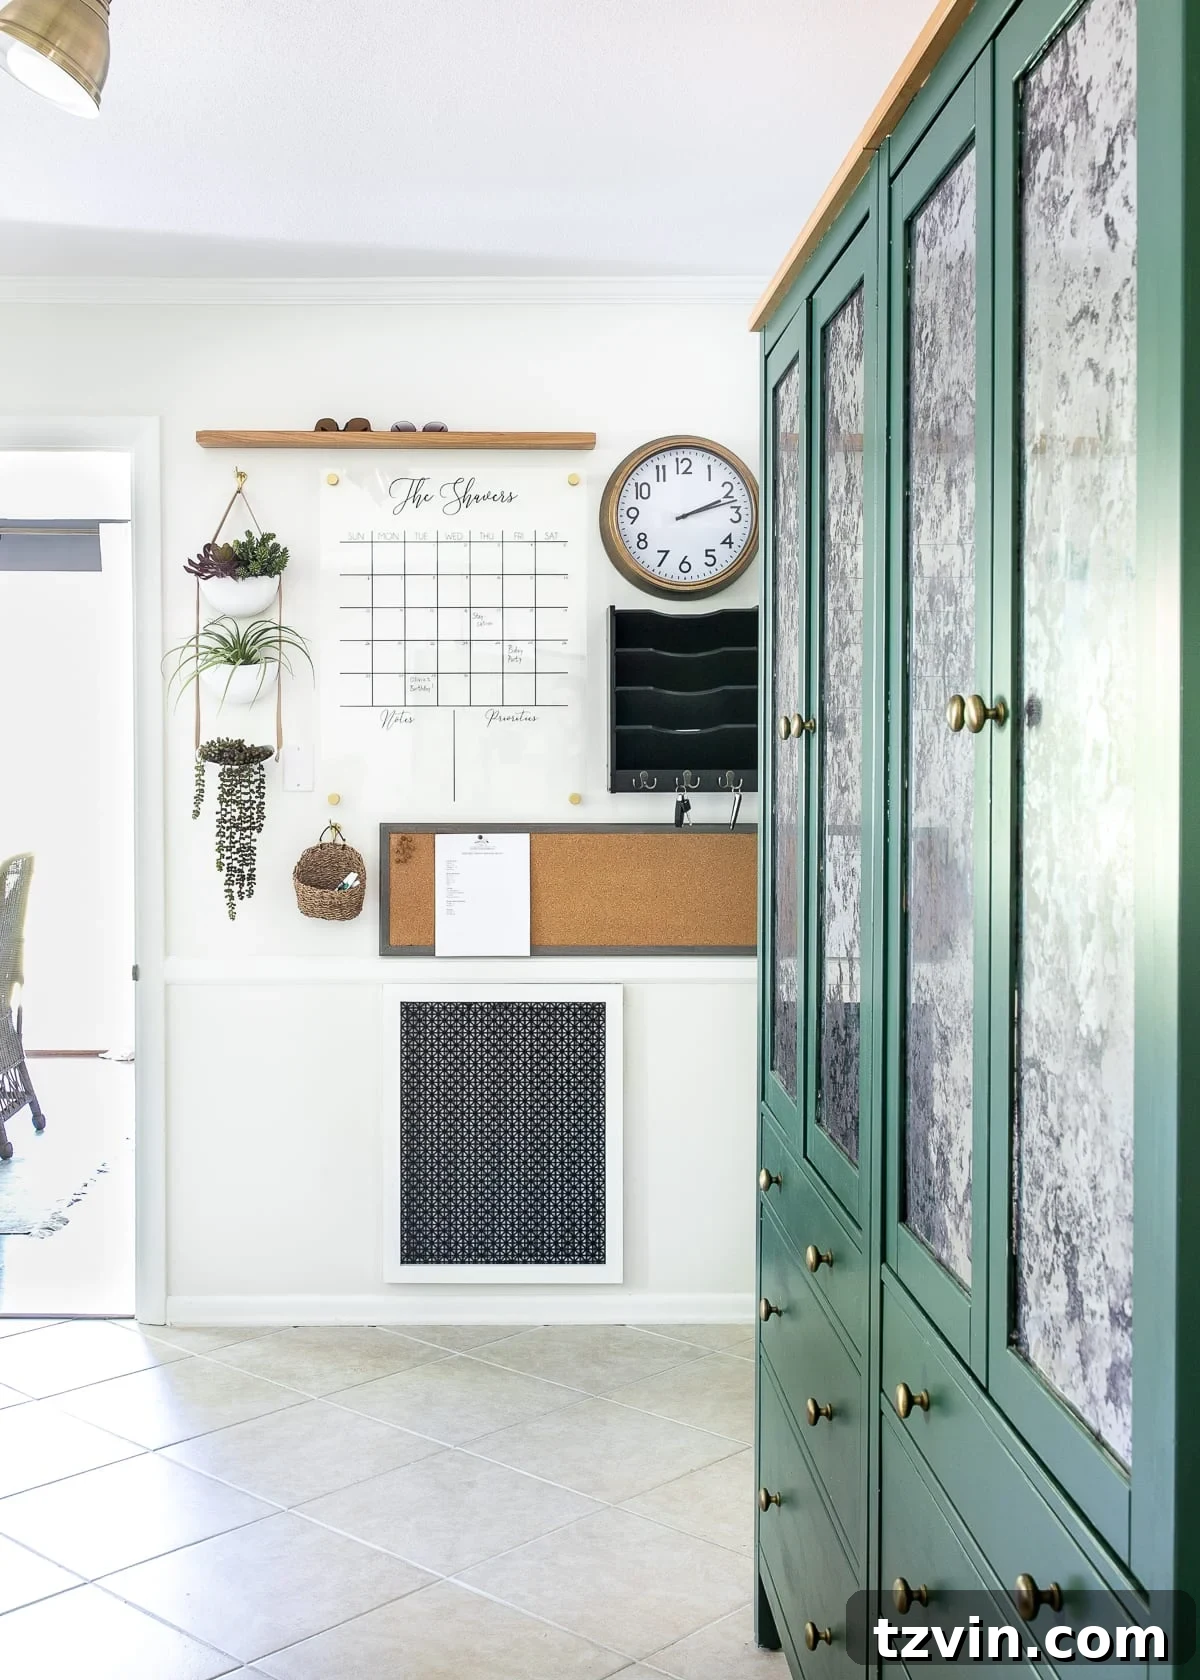
Among the various charming imperfections, one particular air return vent in our home had become an undisputed champion of dust collection. Its unsightly presence and constant accumulation of grime had finally reached a tipping point. Yesterday, a surge of determination led us to a decision: that old, dingy vent had to go! We swiftly removed it, not just to replace it with a prettier, more functional cover, but also to tackle a related project. In a classic “if you give a mouse a cookie” scenario, we also seized the opportunity to refresh our command center and replace the air filter, ensuring a more organized and healthier living space.
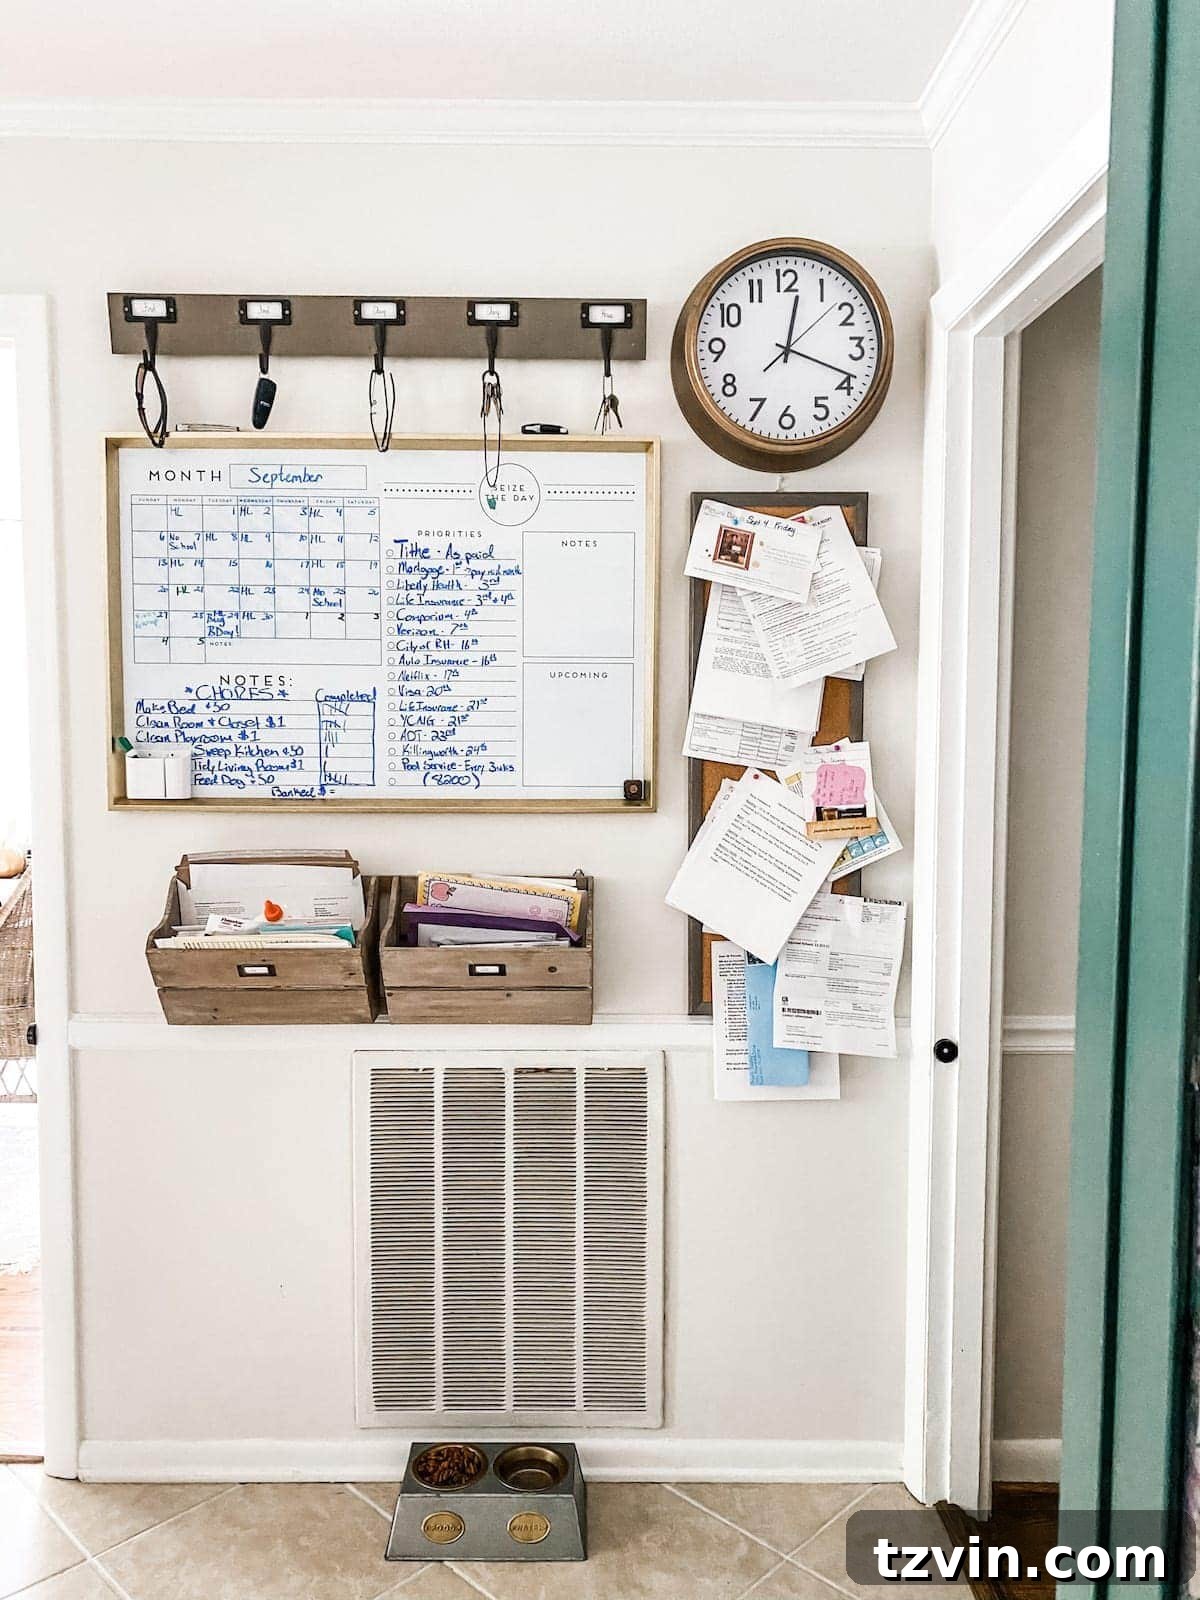
The good news amidst the dust and disarray is that the area behind that old vent, often a forgotten space, can be tidied up and integrated into a more attractive solution with surprising ease. This DIY air return cover project is not only incredibly cost-effective but also remarkably straightforward, making it an ideal endeavor for even the most novice DIY enthusiast. The transformation, both aesthetic and practical, will be immediate and impactful.
Why Improving Indoor Air Quality Matters
Before diving into the DIY specifics, let’s consider why investing time and effort into your home’s air quality is so crucial. Indoor air quality significantly impacts our health, comfort, and the overall cleanliness of our living environments. Homes, especially older ones, can harbor a surprising amount of airborne particles, including dust, pet dander, pollen, mold spores, and other allergens. These microscopic invaders can trigger allergies, respiratory issues, and generally contribute to a less healthy indoor atmosphere. An inefficient or dirty air return vent can exacerbate these problems, acting as a visible reminder of the unseen pollutants circulating in your home. By addressing these issues, you’re not just improving aesthetics; you’re actively contributing to a healthier, more comfortable sanctuary for you and your family.
The Aesthetic Problem with Standard Air Vents
Beyond health considerations, standard, utilitarian air return vents are often glaring eyesores that disrupt the visual harmony of a room. They come in generic designs, collect dust, and often show signs of age, becoming discolored or dented over time. In a well-designed home, every element contributes to the overall ambiance, and an ugly vent can undermine even the most thoughtful decor. This DIY project offers a fantastic opportunity to replace a purely functional element with one that is both functional and beautifully integrated into your home’s style. Imagine a custom-made vent cover that complements your existing trim, wall color, or even serves as a subtle decorative accent – it’s a small change with a big impact.
DIY Air Return Cover: A Project for Every Homeowner
Creating a custom air return cover is a rewarding project that combines practical home improvement with creative expression. It’s perfect for those looking to add a personalized touch to their space while simultaneously tackling issues of dust and indoor air quality. The process is straightforward, requiring only basic tools and materials, making it accessible for anyone eager to enhance their home.
Supplies You’ll Need
Gathering your materials beforehand ensures a smooth and efficient DIY experience. Most of these items can be found at your local hardware store or ordered online.
- 1×2 Board(s): Choose a smooth, knot-free wood for a clean finish. The length will depend on the size of your existing vent.
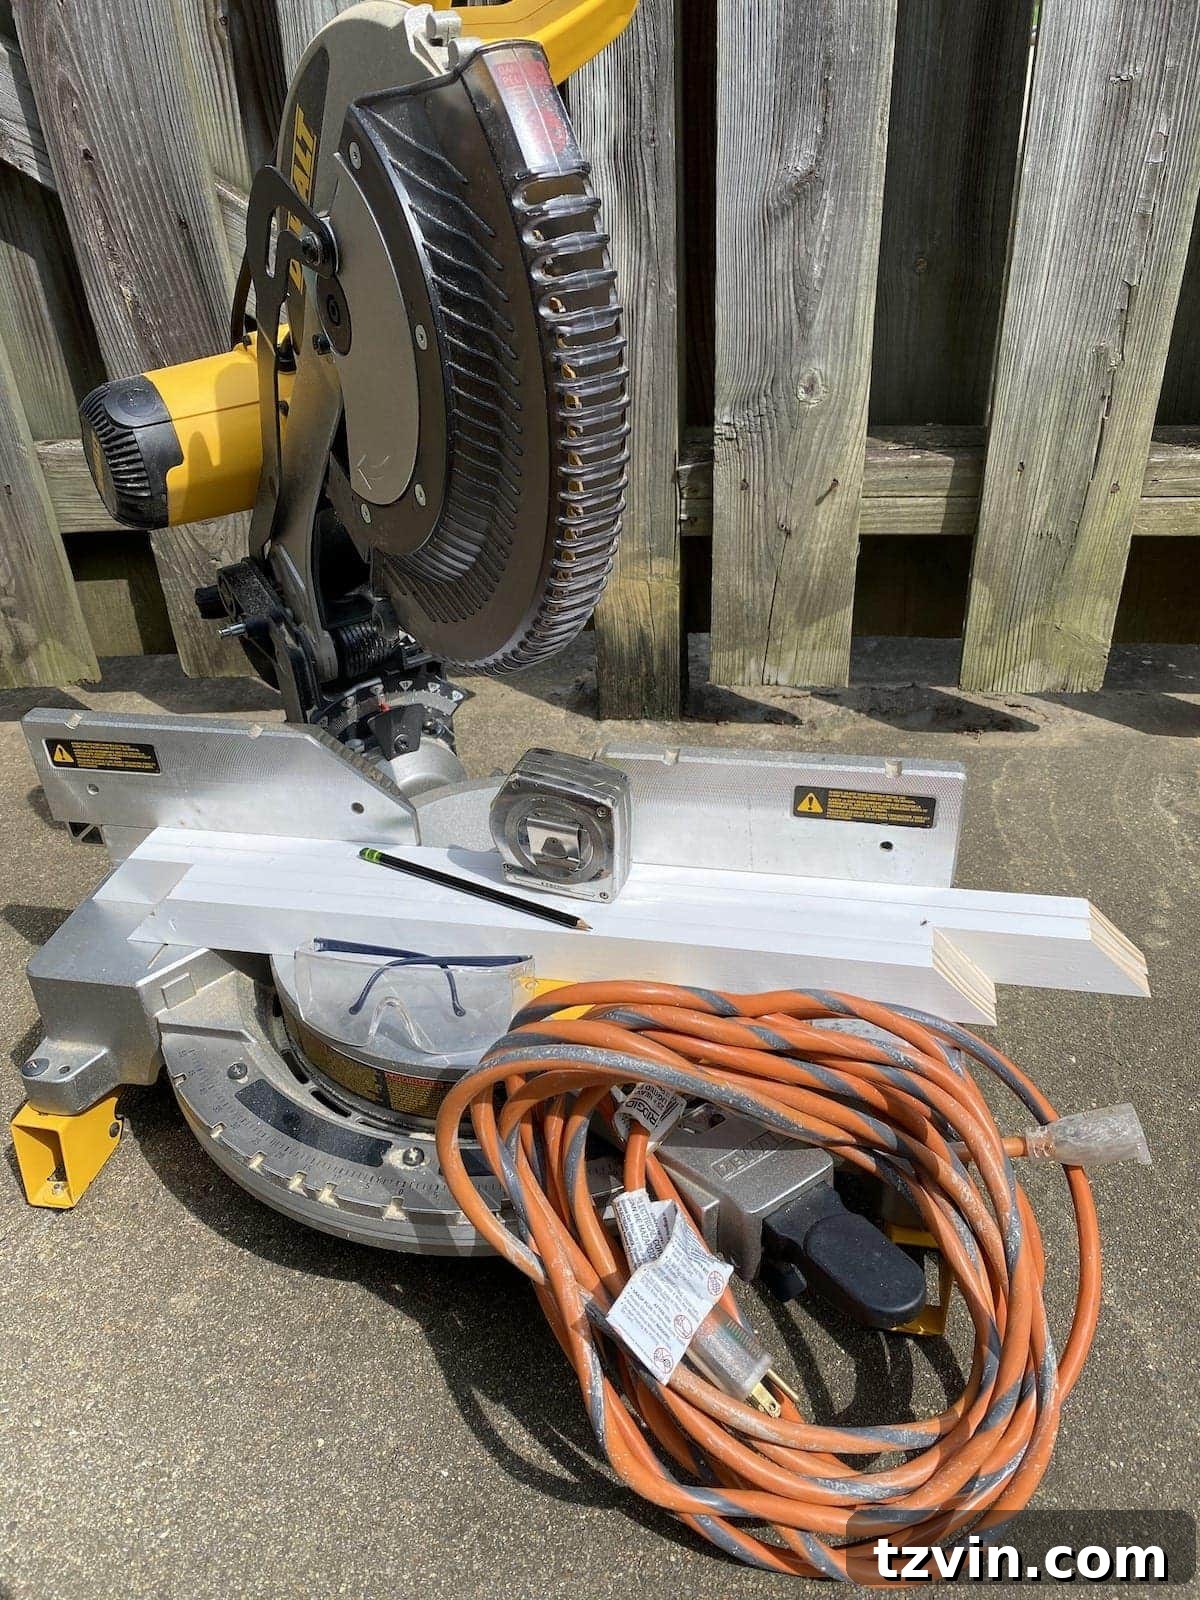
- Miter Saw: Essential for making precise, angled cuts, ensuring tight corners for your frame.
- Primer and Paint of Your Choice: Select a primer suitable for wood and a paint color that matches or complements your wall trim or overall decor.
- Finishing Nails: Small nails that create minimal holes, ideal for a refined appearance.
- Nailer or Hammer: A nail gun (nailer) will make the job quicker and easier, but a hammer works perfectly well.
- Wood Filler: For seamlessly patching any gaps, nail holes, or imperfections in the wood.
- Medium Grit Sandpaper: To achieve a smooth, professional finish after filling and before painting.
- Decorative Metal Sheet: This is where you can truly personalize your vent cover. Look for patterns like quatrefoil, honeycomb, or simple grilles that resonate with your home’s style. Ensure the sheet is thin enough to cut but sturdy enough to hold its shape.
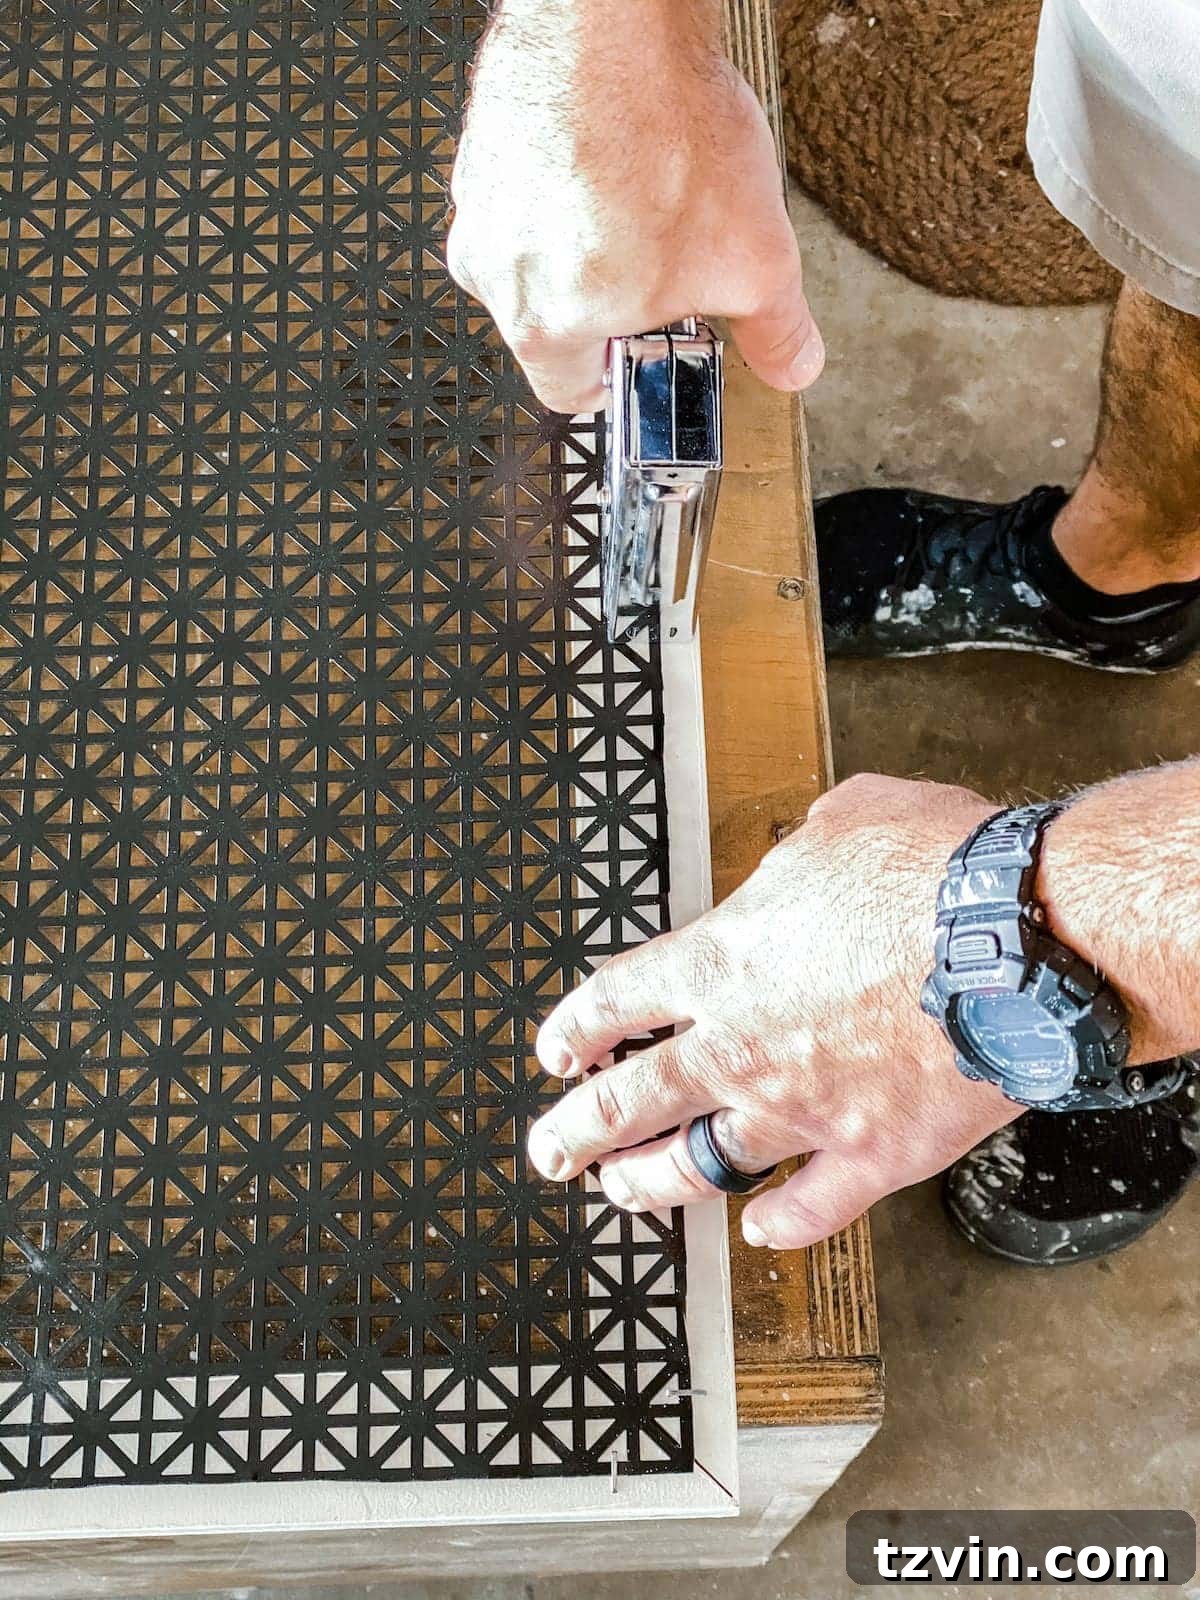
- Manual Staple Gun and Staples: For securely attaching the metal sheet to the wooden frame.
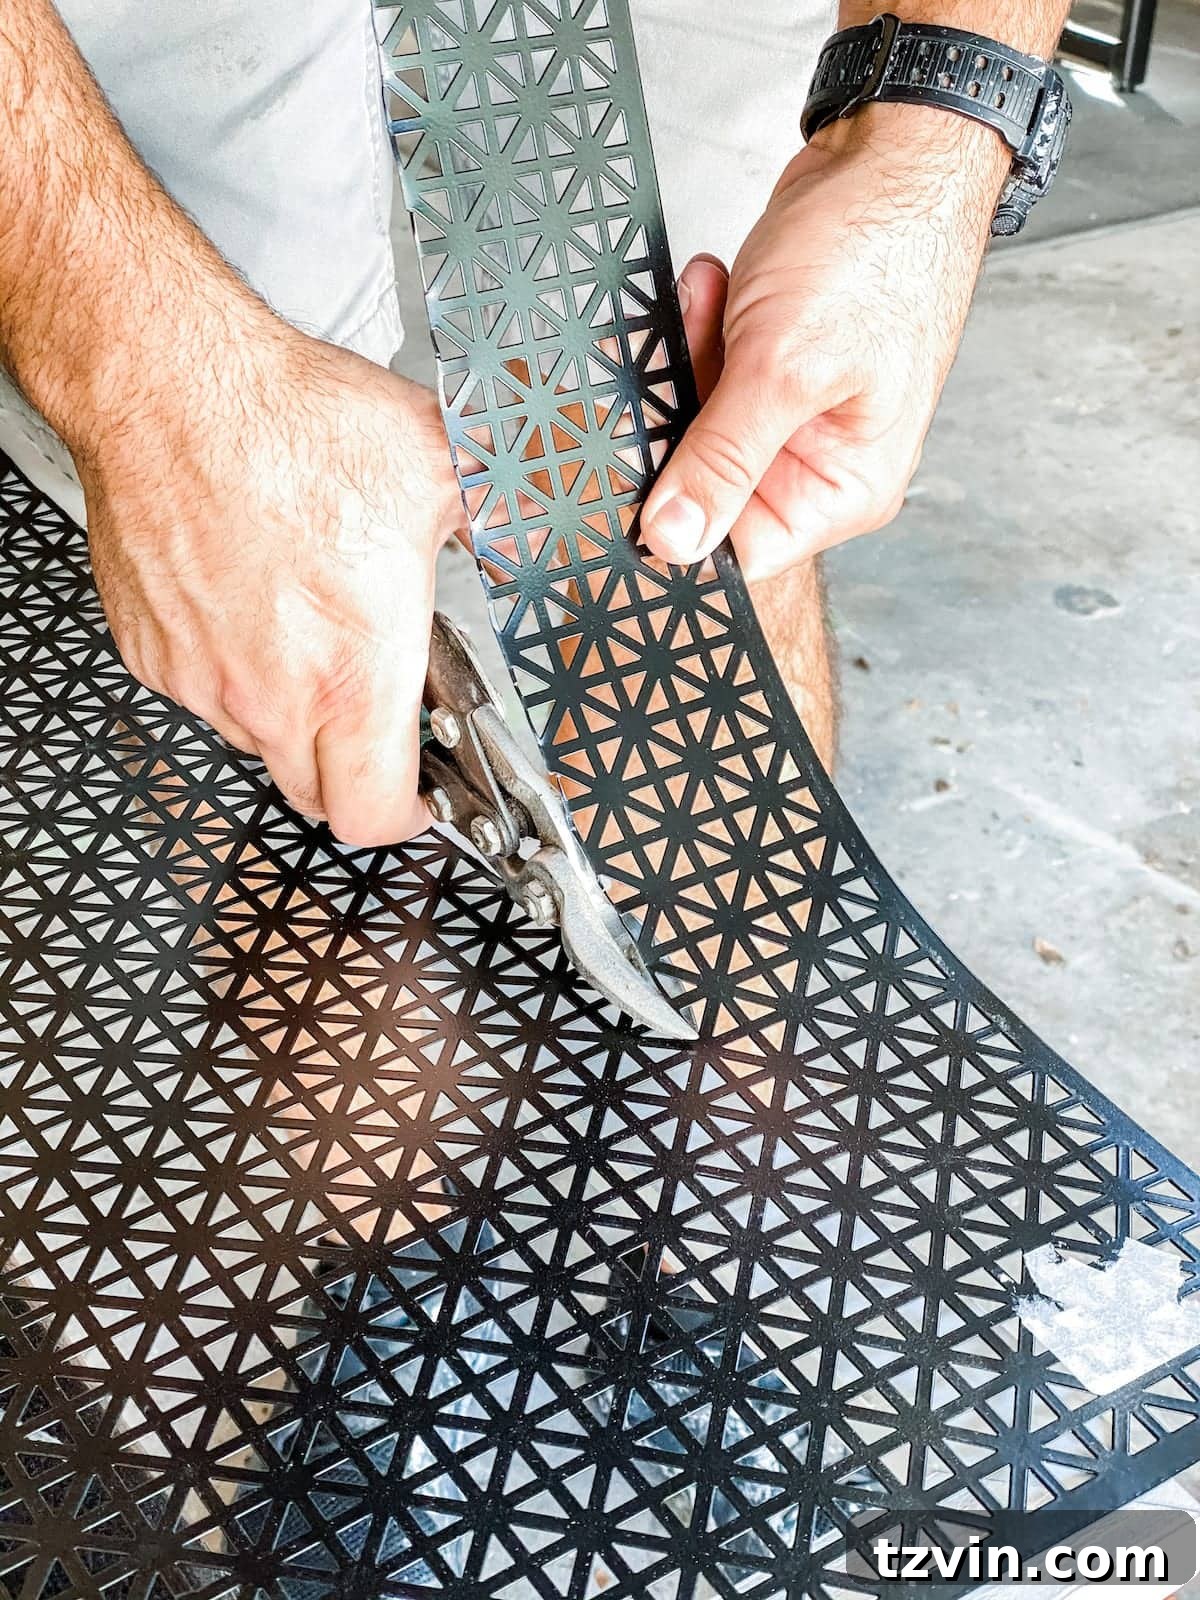
- Metal Snips (or Aviation Snips): Necessary for cleanly cutting the decorative metal sheet to size.
- Command Strips (Velcro Type): These are key for mounting your finished vent cover to the wall. They allow for easy removal when it’s time to change your air filter, without damaging your walls.
Step-by-Step Guide to Creating Your Decorative Vent Cover
Follow these detailed instructions to craft a beautiful and functional air return cover that enhances your home’s environment.
1. Measure Your Existing Air Return Cover:
Begin by accurately measuring the length and width of your current air return cover. These measurements will serve as the foundation for the outer dimensions of your new wooden frame. Precision here is crucial for a perfectly fitting new cover. Consider adding a small overlap (e.g., 1/4 inch on each side) if you want the new frame to slightly cover the existing opening for a cleaner look.
2. Mark and Cut Your Wooden Frame Pieces:
Based on your measurements, mark the 1×2 board. You will need four pieces to form a rectangular or square frame. Using your miter saw, carefully cut each end at a 45-degree angle. This allows the pieces to join together seamlessly at the corners, creating a professional mitered joint. Double-check your measurements and cuts before assembling. Safety tip: Always wear appropriate eye protection when operating power tools.
3. Assemble the Wooden Frame:
Carefully align the mitered ends of your cut 1×2 boards to form your rectangular or square frame. Use finishing nails to join the corners. Apply a small amount of wood glue to the mitered joints before nailing for extra strength and durability, then wipe away any excess glue immediately. If using a nailer, be sure to set the depth correctly to avoid blowing through the wood. If using a hammer, pre-drilling small pilot holes can prevent the wood from splitting.
4. Fill and Sand for a Smooth Finish:
Once your frame is assembled, inspect the corners and any nail holes. Apply wood filler to all cracks, gaps, and nail marks. Allow the filler to dry completely according to the product instructions. Once dry, use your medium-grit sandpaper to sand all filled areas smooth, ensuring a flush and even surface. Sand the entire frame lightly to prepare it for painting, removing any splinters or rough patches.
5. Prime and Paint the Wood Frame:
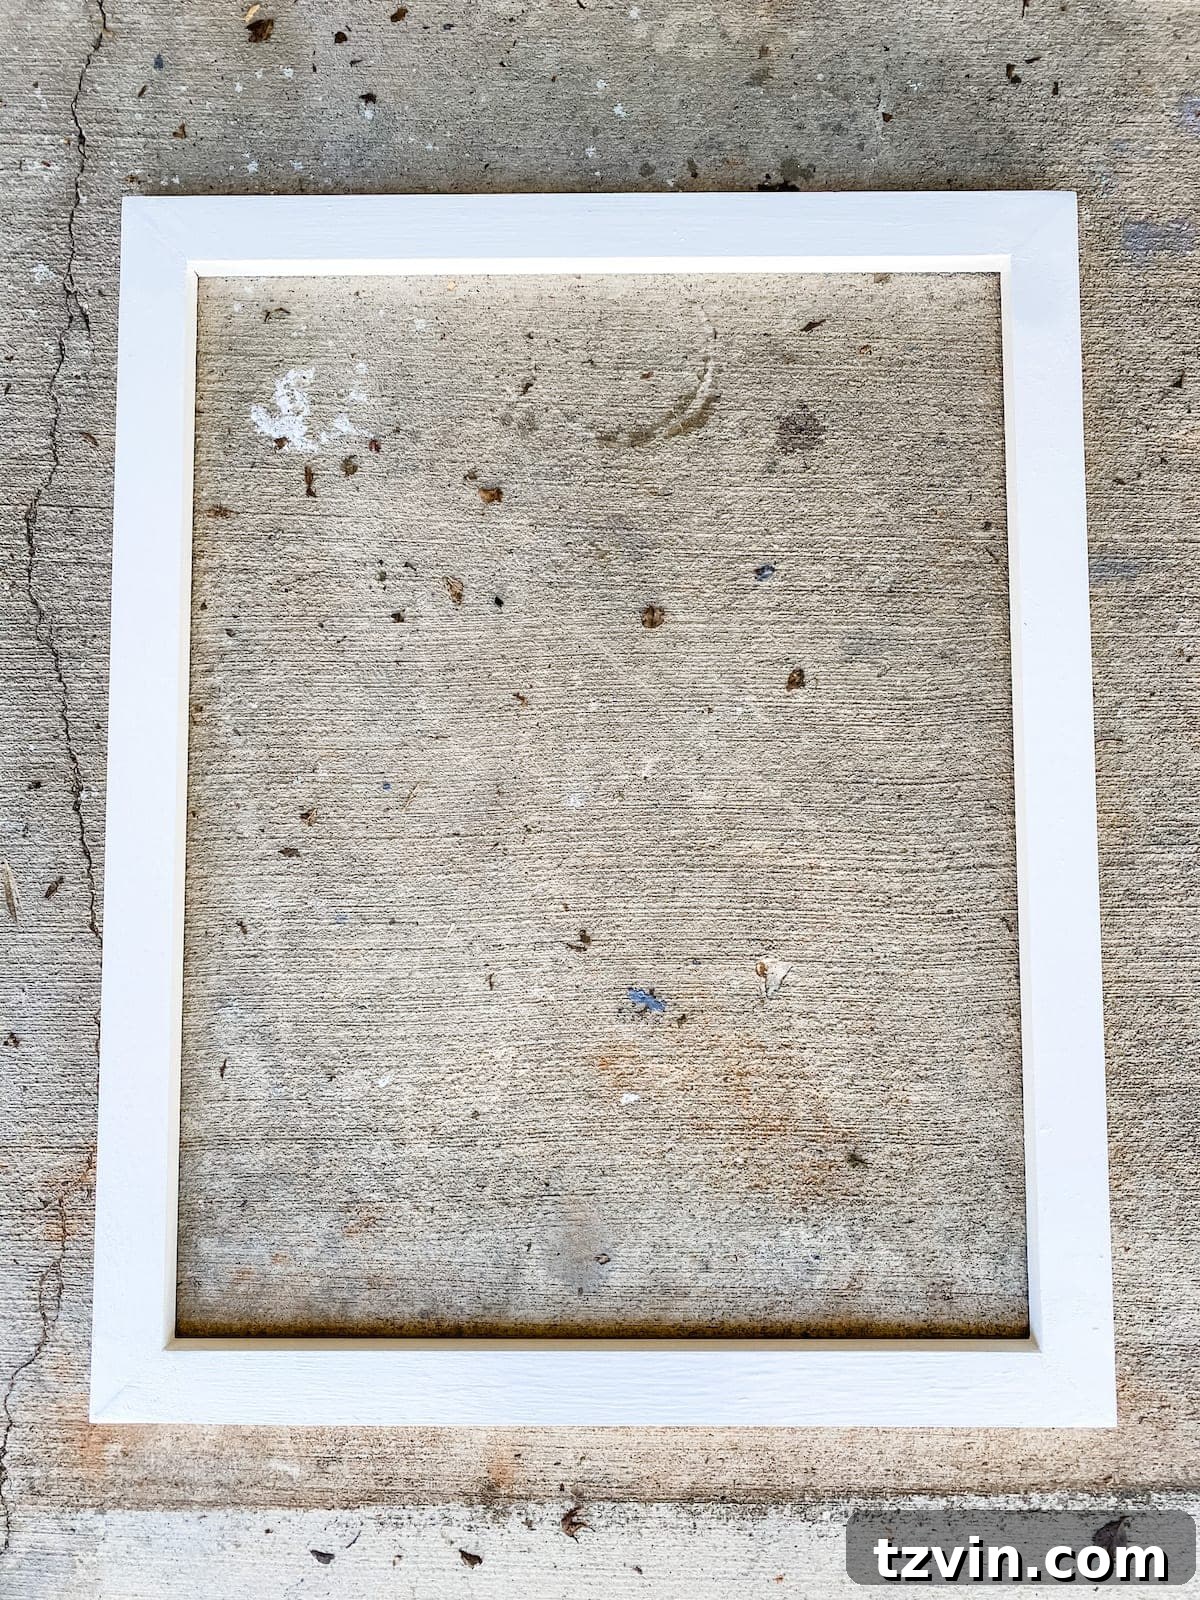
Apply a coat of wood primer to your frame. Primer helps seal the wood, prevents knots from bleeding through, and provides a uniform base for your paint, ensuring a professional, long-lasting finish. Once the primer is dry, apply two thin coats of your chosen paint, allowing adequate drying time between coats. Lightly sand with fine-grit sandpaper between coats for an ultra-smooth result.
6. Prepare and Cut the Decorative Metal Sheet:
Place your finished wooden frame on top of the decorative metal sheet. Using the inner opening of the frame as a guide, mark the dimensions where you need to cut the metal. You want the metal sheet to be slightly larger than the inner opening, allowing it to be stapled securely to the back of the frame, but still hidden from the front. Carefully cut the metal sheet using your metal snips. Be cautious, as the edges can be sharp. Wear protective gloves.
7. Attach the Metal Sheet to the Frame:
Flip your painted wooden frame so the back is facing up. Position the cut decorative metal sheet over the inner opening of the frame. Ensure it is centered and lies flat. Using your manual staple gun, securely attach the metal sheet to the back edge of the wooden frame. Place staples every few inches around the perimeter to hold it firmly in place. This creates a durable and aesthetically pleasing front for your vent cover.
8. Install Your New Air Return Cover:
With your beautiful new air return cover complete, it’s time for installation. Apply Command velcro strips to the back corners and midpoints of your wooden frame. These adhesive strips provide a strong hold while allowing for easy removal when you need to access and replace your air filter. Align the cover over your air return opening on the wall and press firmly to secure the Command strips. The removable nature of these strips is a huge advantage, preventing wall damage and ensuring convenient maintenance.
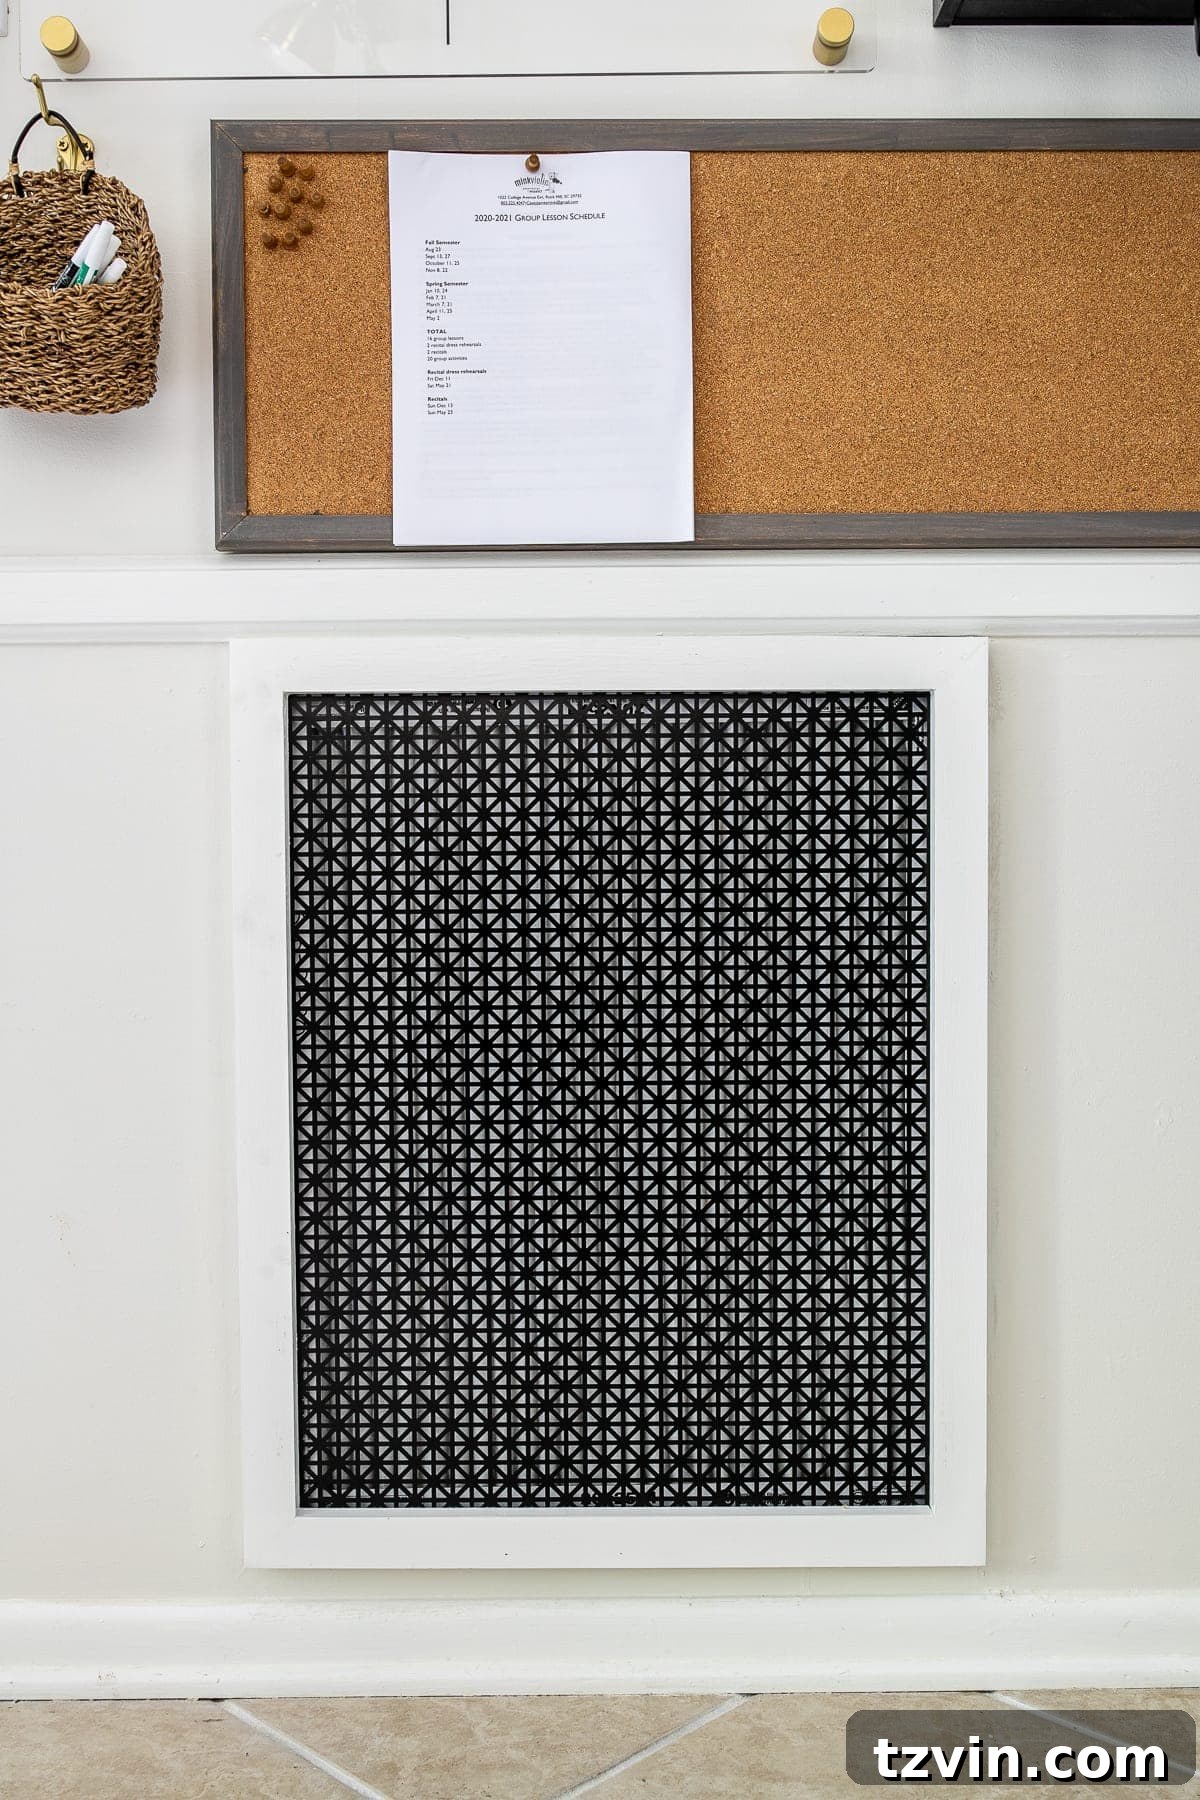
The transformation is truly remarkable! Not only is the new vent cover visually appealing, but it also signals a renewed commitment to cleaner air and a more organized home.
Integrating Your New Vent Cover with Home Decor
The beauty of a DIY vent cover is its customizability. You can choose a paint color that perfectly matches your wall trim, blend it seamlessly into your wall color for a discreet look, or select a contrasting shade for a subtle architectural detail. The decorative metal sheet also offers endless possibilities, allowing you to incorporate intricate patterns or simple geometric designs that enhance your existing decor. This small detail can significantly elevate the overall aesthetic of a room, turning a functional necessity into a stylish feature.
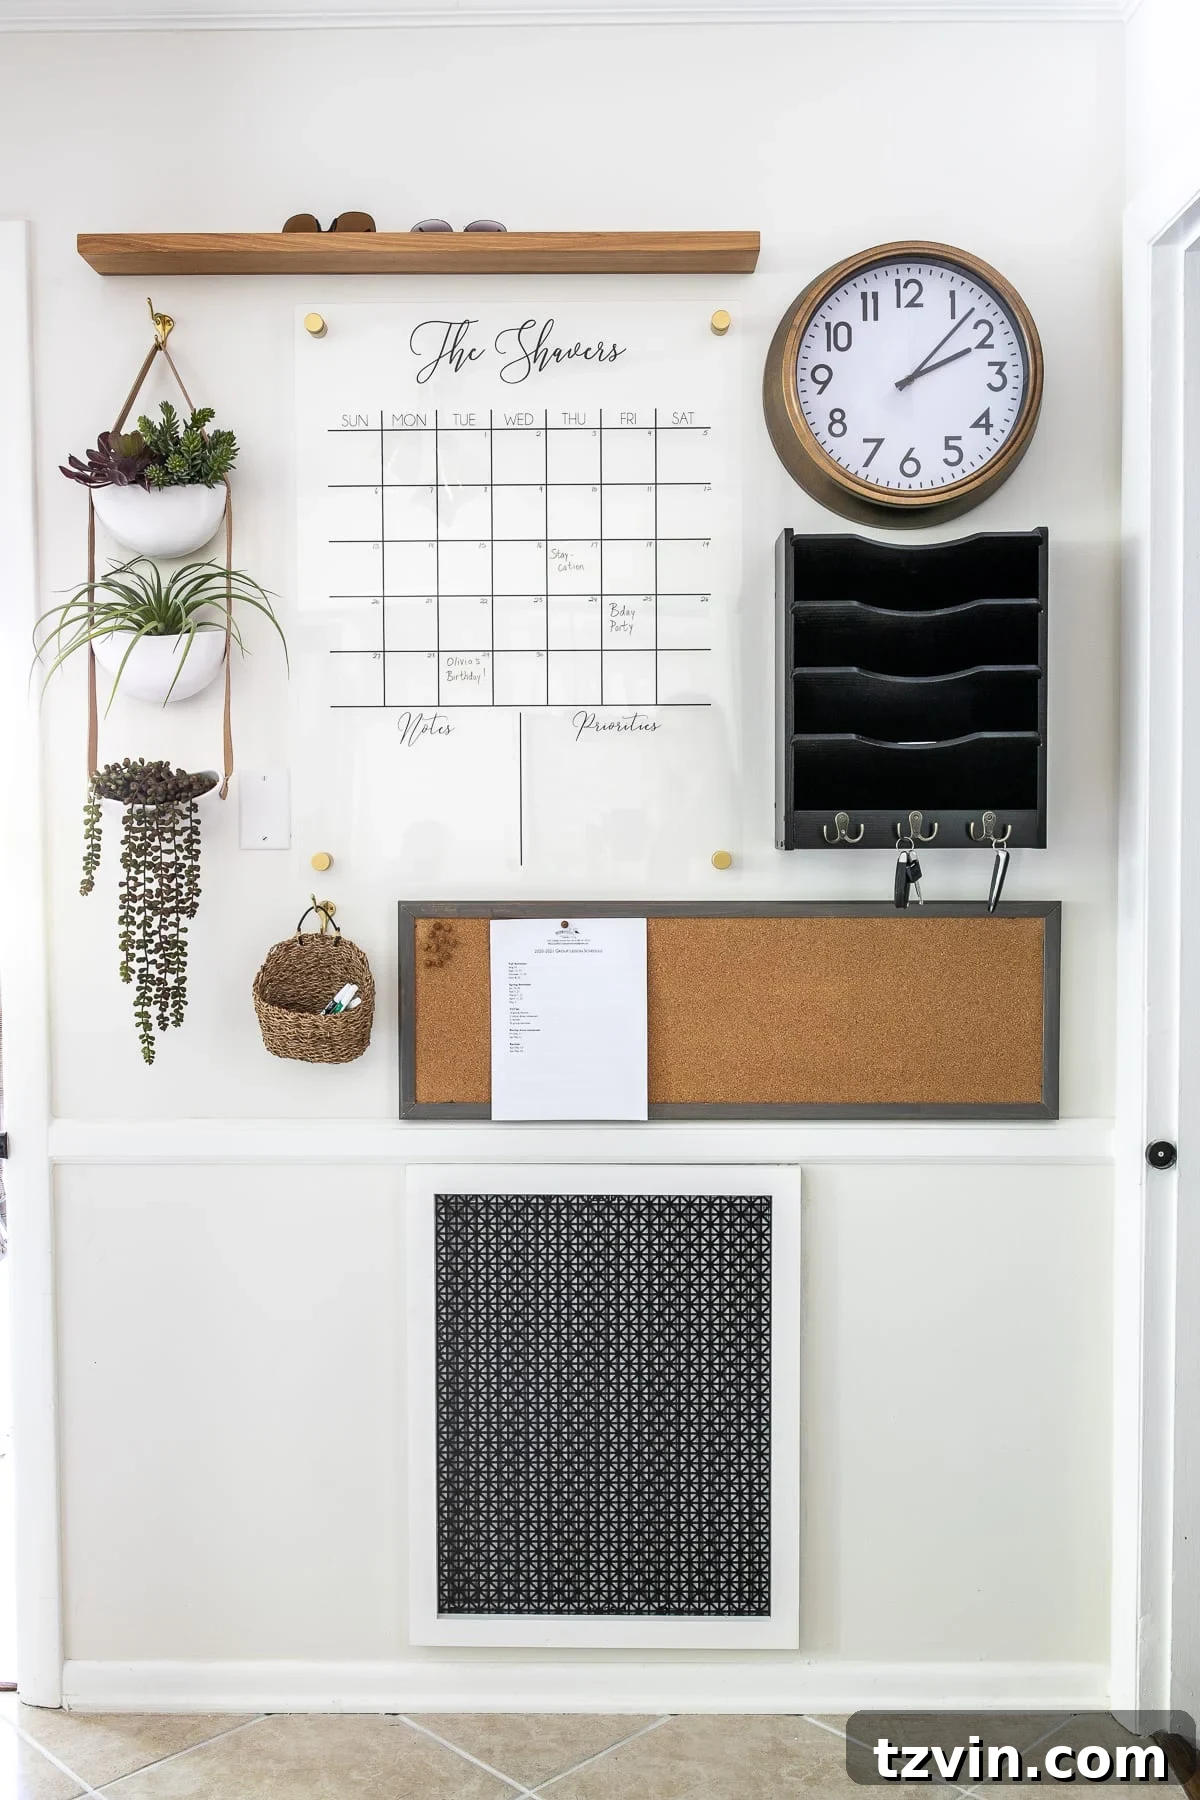
Command Center Wall Decorating Tips and Organization
As for the surrounding area, our command center wall has also undergone a significant refresh! What do you think of the new look? It’s certainly a vast improvement from its previous state. This dedicated space is the pulsating heart of our home’s organization, centralizing everything from daily to-do lists and family schedules to incoming mail and important documents. It’s where chaos meets order, ensuring that our family life runs as smoothly as possible.
For more inspiration on creating an efficient and beautiful family command center, explore additional ideas here. Do you recall how it appeared just a few years ago? The transformation highlights the power of intentional design and smart organization.
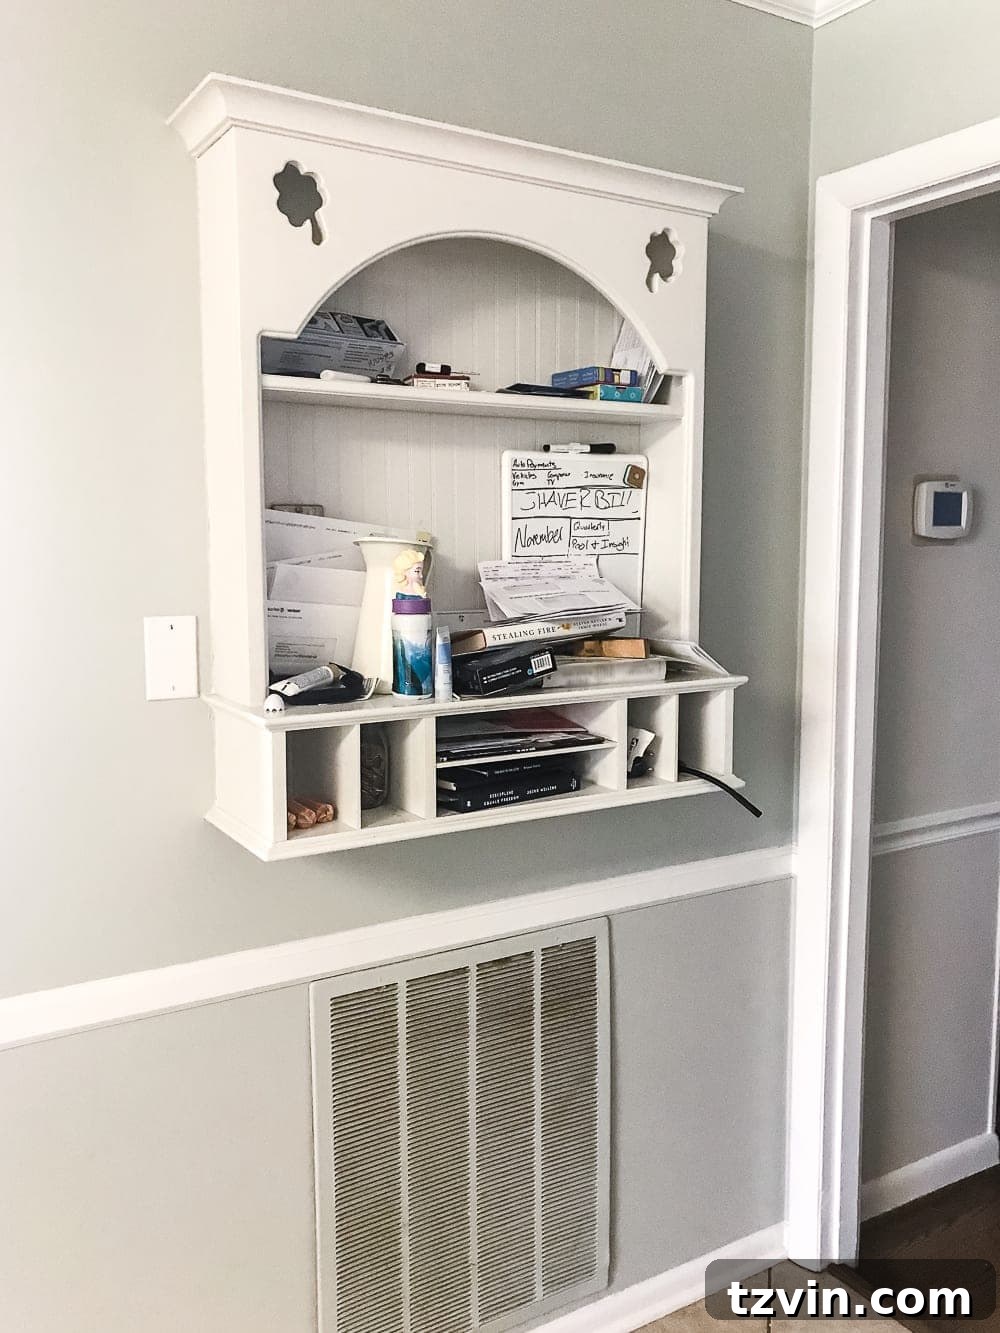
While a major kitchen renovation is still on our future wish list, the immediate impact of improving this particular spot has already dramatically enhanced our daily lives. A well-organized and aesthetically pleasing command center, combined with a discreet and efficient air return, makes a tangible difference in the functionality and comfort of our home. It proves that even small, focused projects can yield significant improvements.
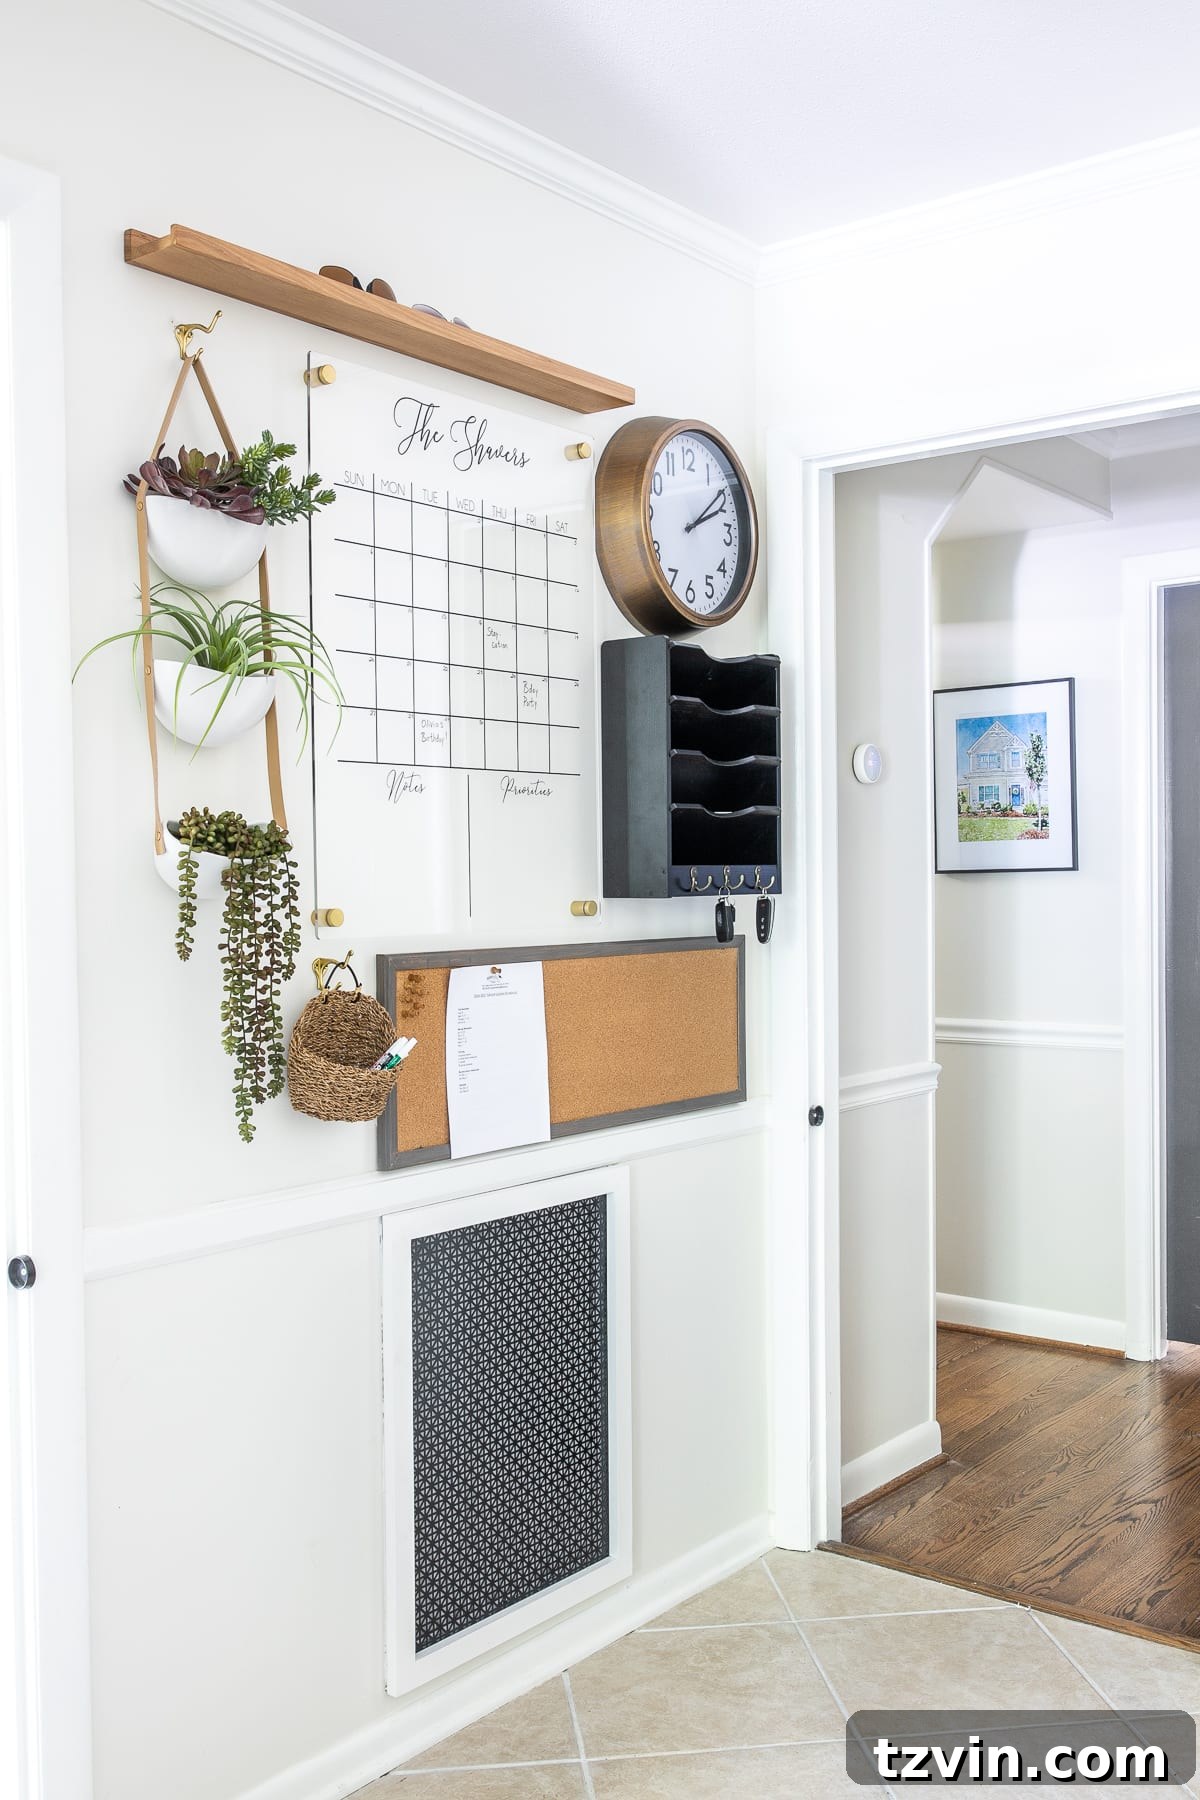
Beyond the Vent Cover: More Home Improvement Ideas
This project is just one example of how a simple DIY can significantly impact your home’s functionality and visual appeal. If you’re inspired to tackle other common household eyesores or improve your home’s hidden elements, you can find a comprehensive list of ideas and tutorials here. From concealing cables to clever storage solutions, there’s always a way to make your home more beautiful and efficient.
If you found this guide helpful and wish to save it for future reference or share with friends, feel free to pin it now: