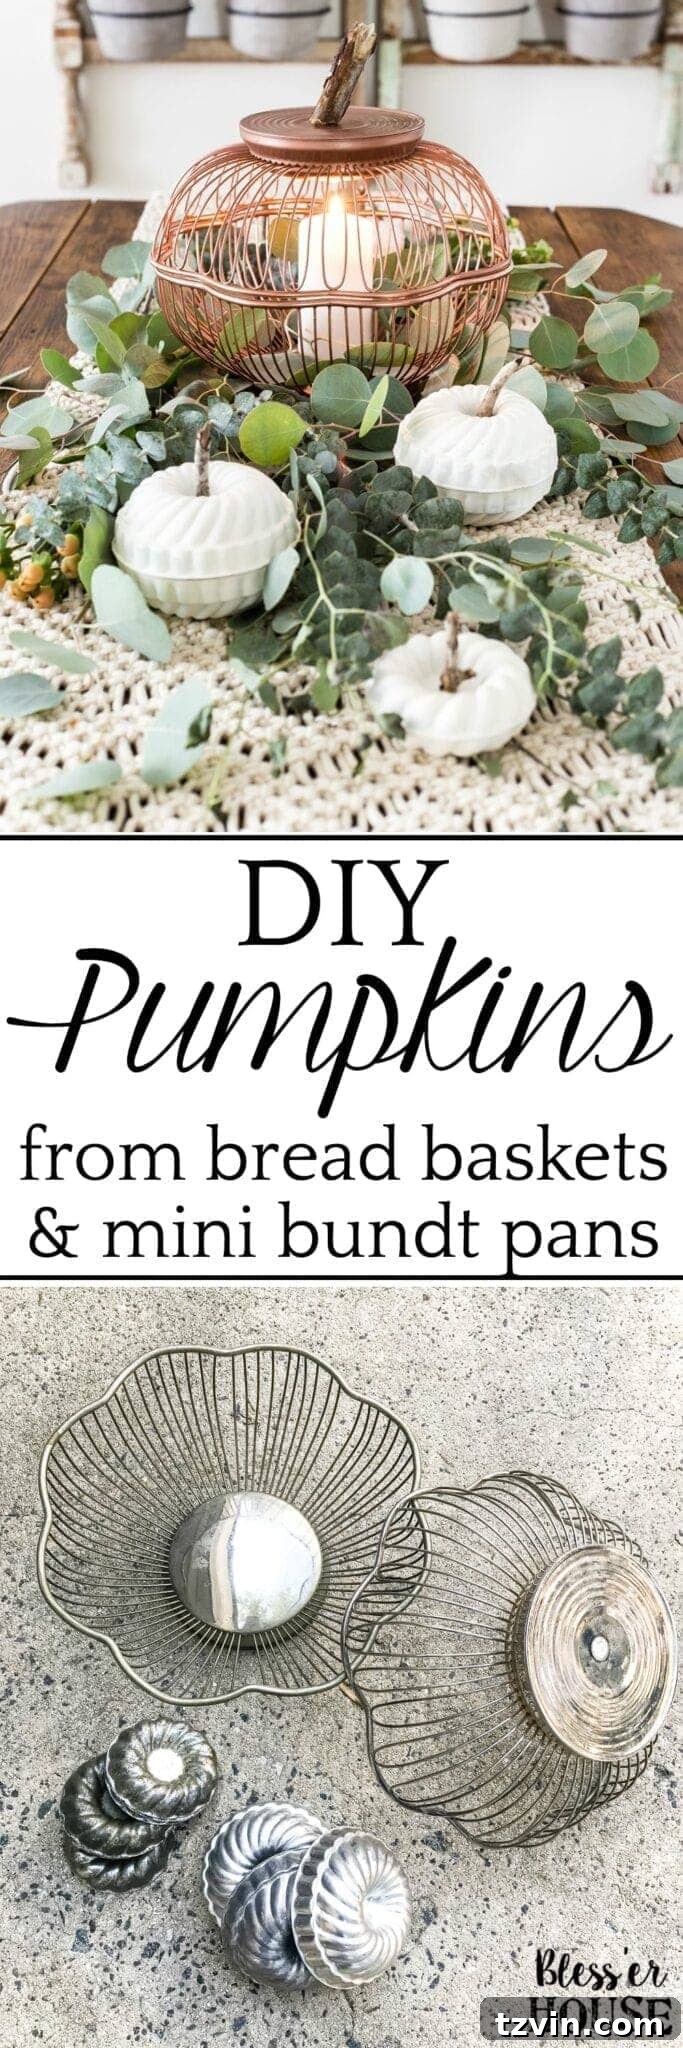
DIY Fall Pumpkins: Crafting Unique Decor with Thrifted Wire Baskets and Mini Bundt Pans
There’s a special kind of magic that happens when you’re browsing the aisles of a thrift store. Amidst the eclectic collection of forgotten treasures, a sudden spark of inspiration can ignite, transforming ordinary objects into extraordinary decor. For me, these “light bulb” moments are the heart of creative thrifting, offering a sustainable and budget-friendly path to unique home accents. It’s truly amazing what a little imagination can achieve when paired with a good bargain.
I distinctly remember one such moment. As I ambled through a thrift store, my eyes caught sight of a scalloped wire bread basket, turned upside down on a dusty shelf. Instantly, an idea clicked: “That looks just like the perfect top for a pumpkin!” It was an unexpected discovery, especially since I’d seen countless wire baskets before, never once considering their potential beyond their original purpose. This serendipitous encounter was the beginning of a beautiful fall craft project.
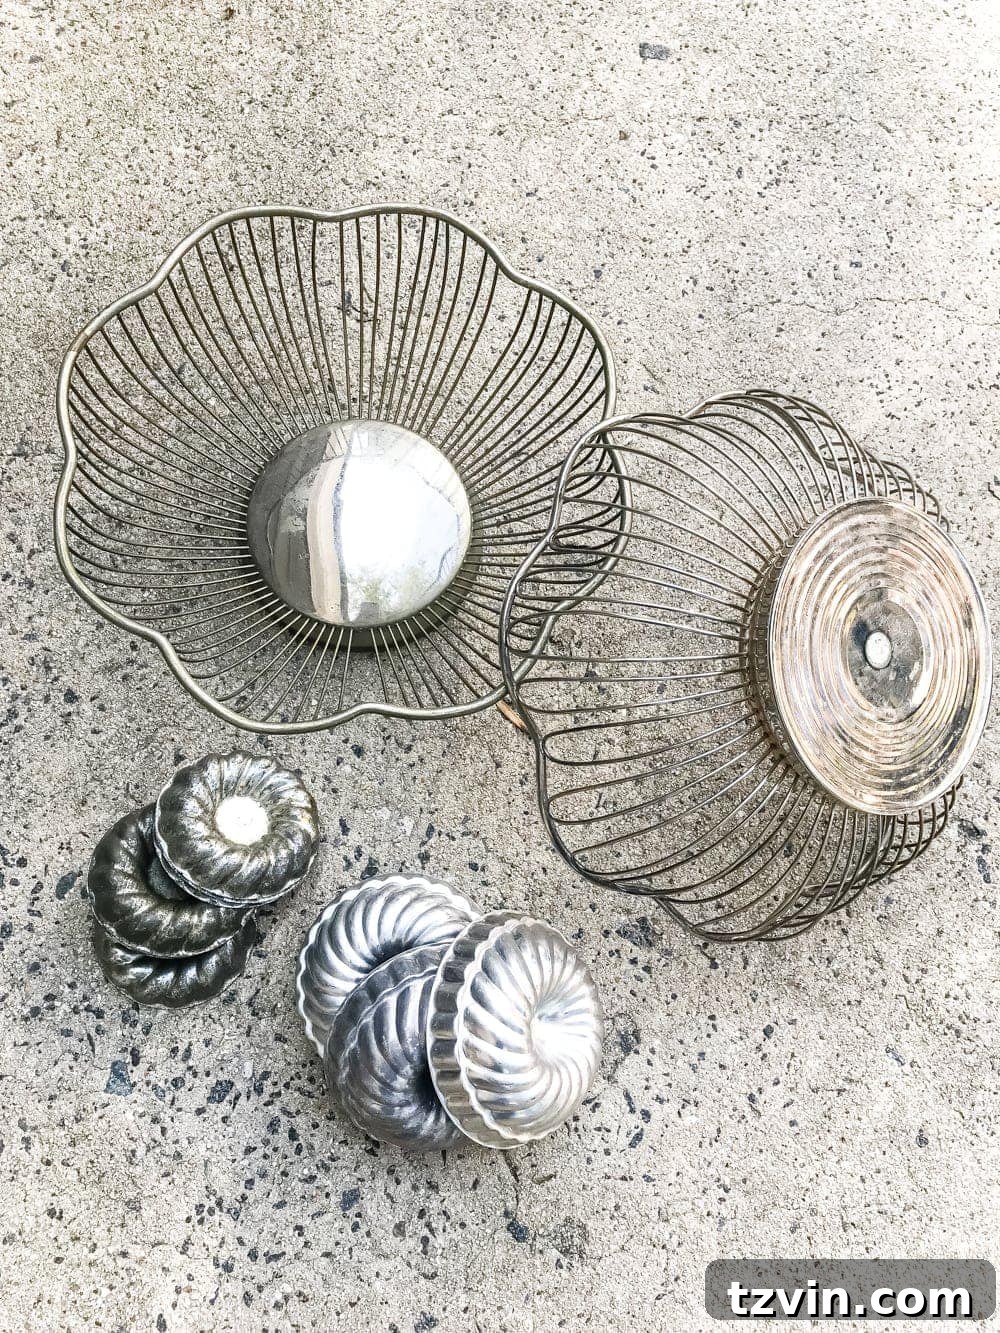
Inspired by this vision, I eagerly gathered several of these charming wire baskets and, in a stroke of complementary creativity, snagged a collection of mini bundt pans and Jello molds. These inexpensive finds would soon be transformed into a stunning set of DIY fall pumpkins, perfect for adding a touch of rustic elegance to any autumn tablescape. Crafting your own fall decor is not only incredibly rewarding but also allows you to infuse your personality into your seasonal styling without breaking the bank. It’s an opportunity to create pieces that tell a story, each with its own unique history and newfound purpose.
Crafting Unique Fall Pumpkins: A Step-by-Step Guide
Embrace the autumn season by creating your own beautiful and budget-friendly pumpkin decor. This project combines the charm of thrifted items with a simple crafting process to produce stunning results. Here’s everything you’ll need and how to bring these lovely pumpkins to life.
Supplies You’ll Need:
- 2 Thrifted Wire Bread Baskets: Look for scalloped or uniquely shaped baskets that can form the body of your larger pumpkin. These are often found for just a few dollars at second-hand stores, or sometimes online marketplaces like eBay or Etsy.
- 2 Sets of Thrifted Mini Bundt Pans / Jello Molds: These small, circular molds are perfect for creating adorable mini pumpkins. Search for those with a defined center hole, which adds to the pumpkin-like appearance.
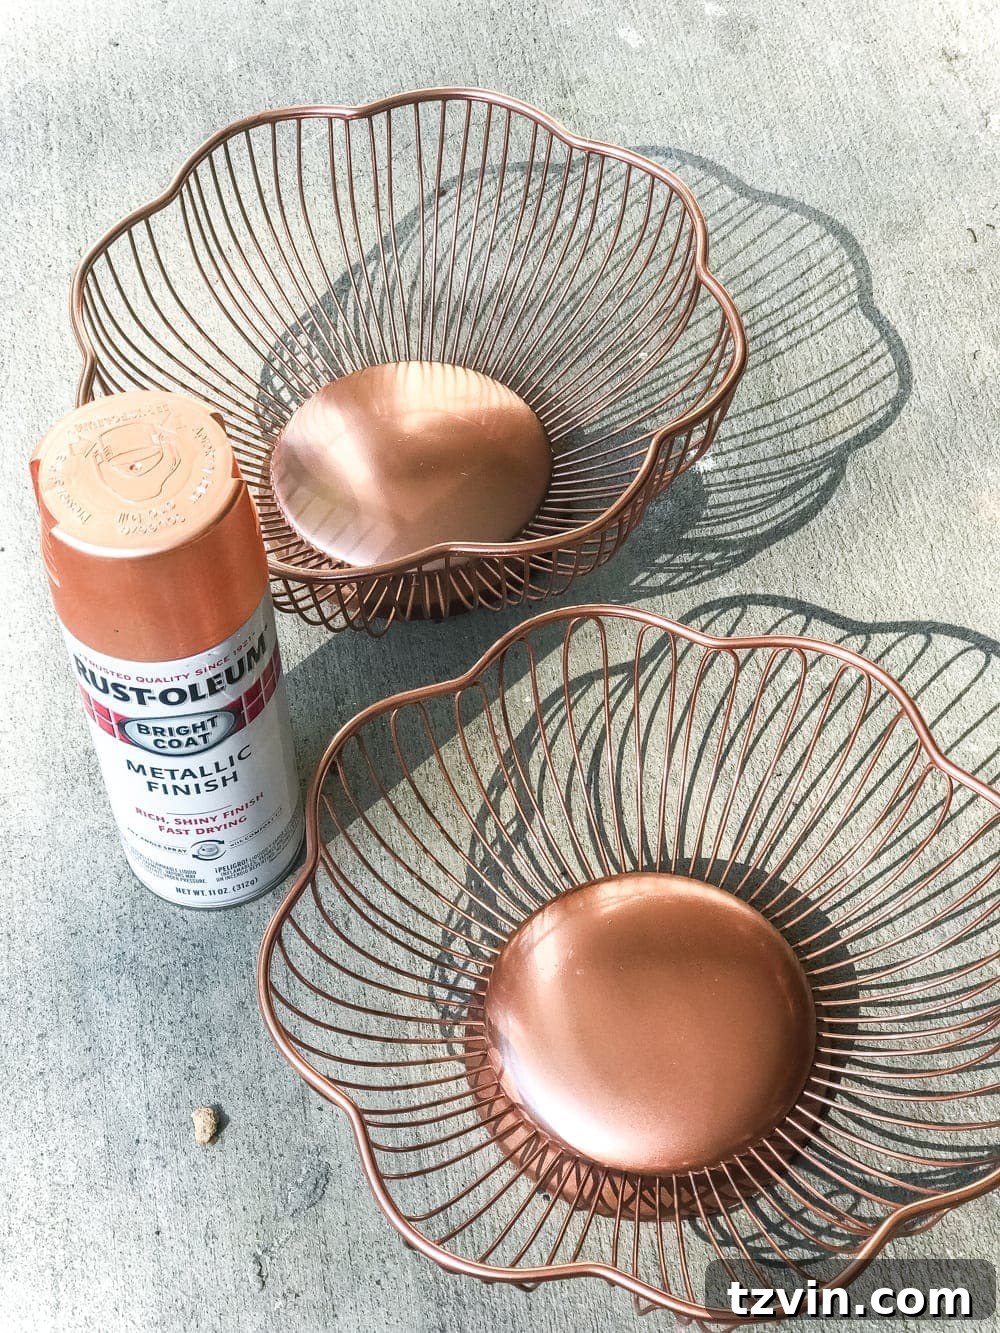
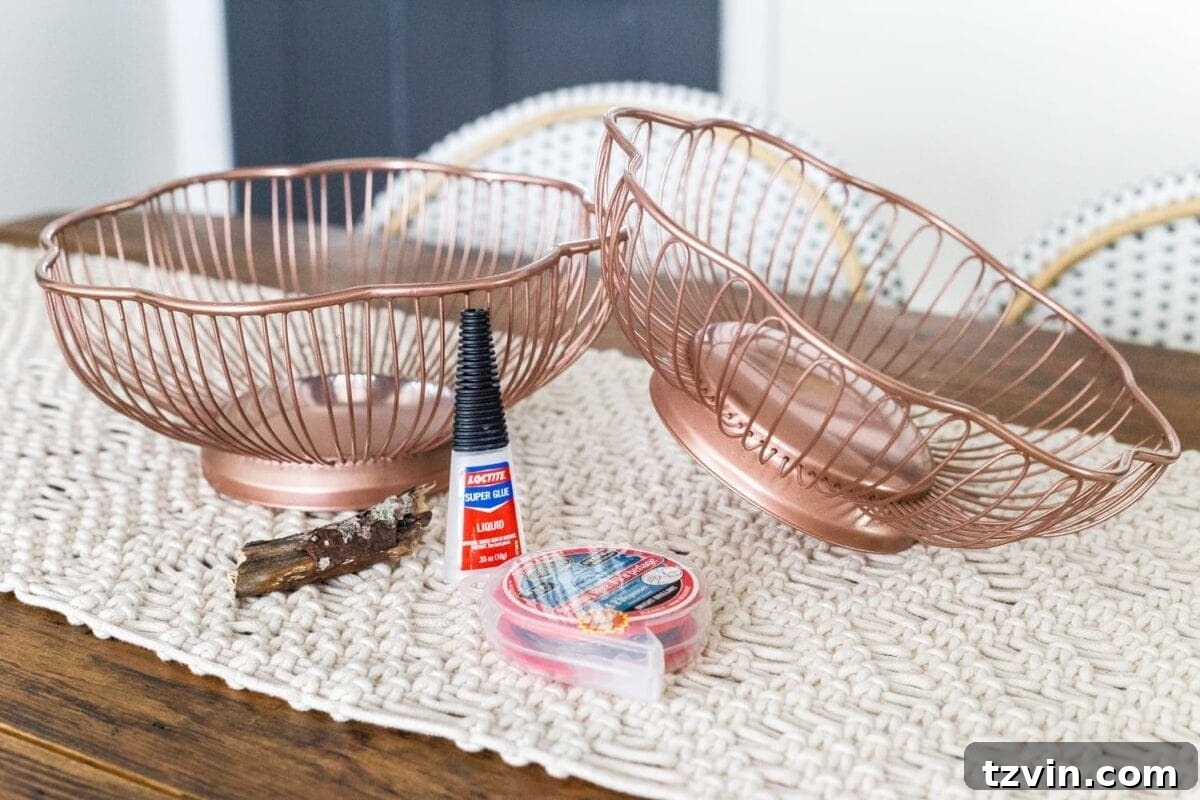
- Rustoleum Copper Spray Paint: For a warm, metallic finish that perfectly captures the essence of fall. This rich color adds a touch of sophistication to your decor.
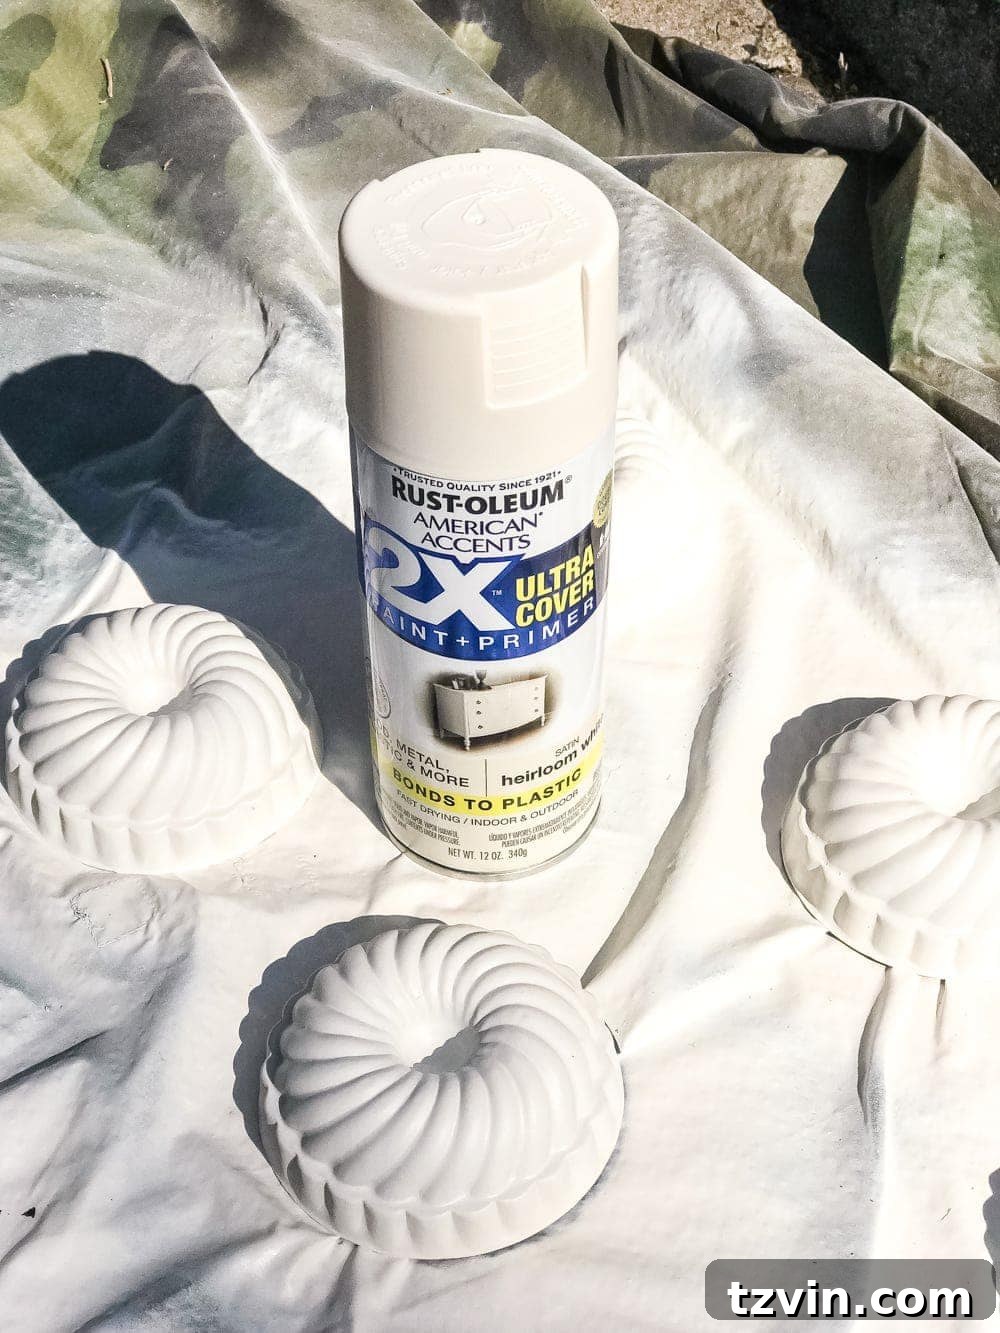
- Rustoleum Heirloom White Satin Spray Paint: Ideal for creating classic, understated white pumpkins that complement any decor style. The satin finish provides a smooth, elegant look.
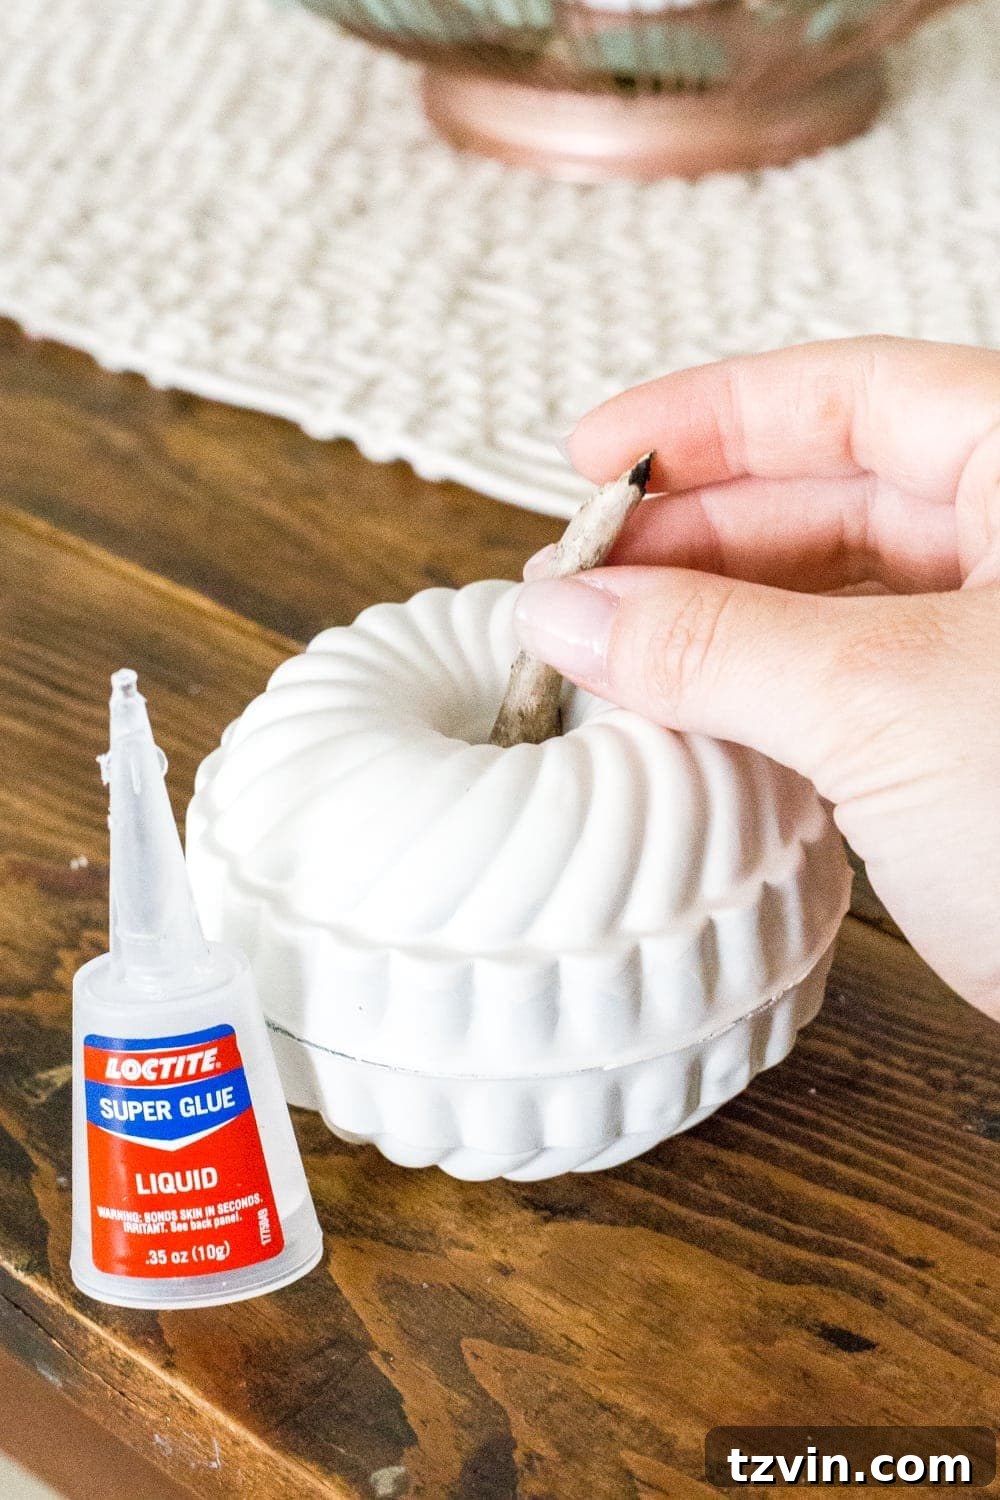
- Loctite Super Glue: A strong adhesive is crucial for securely attaching the various components of your pumpkins.
- 2 x 2″ Lengths of Craft Wire: Used for binding the wire baskets together, ensuring a stable and durable structure for your large pumpkin.
- A Couple of Sticks from Your Yard: Natural twigs and branches make perfect, authentic stems for your finished pumpkins. Gather a few varying in size and shape for added character.
Detailed Crafting Steps:
1. Preparing Your Wire Baskets with a Touch of Copper Radiance:
The first step in crafting your large pumpkin is to prepare the thrifted wire bread baskets. I adore the warm, inviting glow of copper, especially for autumn decor, which is why I opted to spray paint my baskets with a beautiful copper finish. This step instantly elevates the appearance of the baskets, transforming them from simple utilitarian items into elegant decorative pieces. Before painting, ensure your baskets are clean and dry. Apply several light, even coats of the copper spray paint, allowing each coat to dry thoroughly between applications. This technique prevents drips and ensures a smooth, professional-looking finish. While copper adds a contemporary fall flair, you could also choose to leave the baskets in their original silver hue, especially if you appreciate the authentic vintage patina they already possess. Experiment with other metallic colors like gold or bronze for a different aesthetic, or even a deep forest green for a more rustic feel.
2. Transforming Mini Bundt Pans into Charming White Pumpkins:
Next, turn your attention to the mini bundt pans or Jello molds. These small molds are perfectly shaped to mimic miniature pumpkins. To give them a fresh, clean look that complements any fall setting, I applied a couple of coats of heirloom white satin spray paint. I’m a big fan of white mini pumpkins; they offer a versatile and sophisticated touch to seasonal displays, easily blending with various color palettes. As with the wire baskets, clean the molds thoroughly before painting. Apply the spray paint in thin, even layers, rotating the molds to ensure complete coverage and prevent paint buildup in the crevices. Allow adequate drying time between coats for the best results. You could also choose traditional orange, muted greens, or even metallics for these mini pumpkins to match your specific decor theme.
3. Assembling Your Large Wire Basket Pumpkin:
Once all painted components are completely dry, it’s time to assemble your large pumpkin. Take two of your spray-painted wire baskets. Position one basket right-side up and the other upside-down, carefully aligning their edges so they create a rounded, pumpkin-like shape. To secure them firmly, use the 2-inch lengths of craft wire. Thread the wire through corresponding sections of the baskets and twist them together tightly. You may need to use pliers to ensure the wire is securely fastened and any sharp ends are tucked away. This creates the hollow body of your large pumpkin, which can later be used as a lantern or filled with other decorative elements.
4. Attaching the Natural Stem to Your Large Pumpkin:
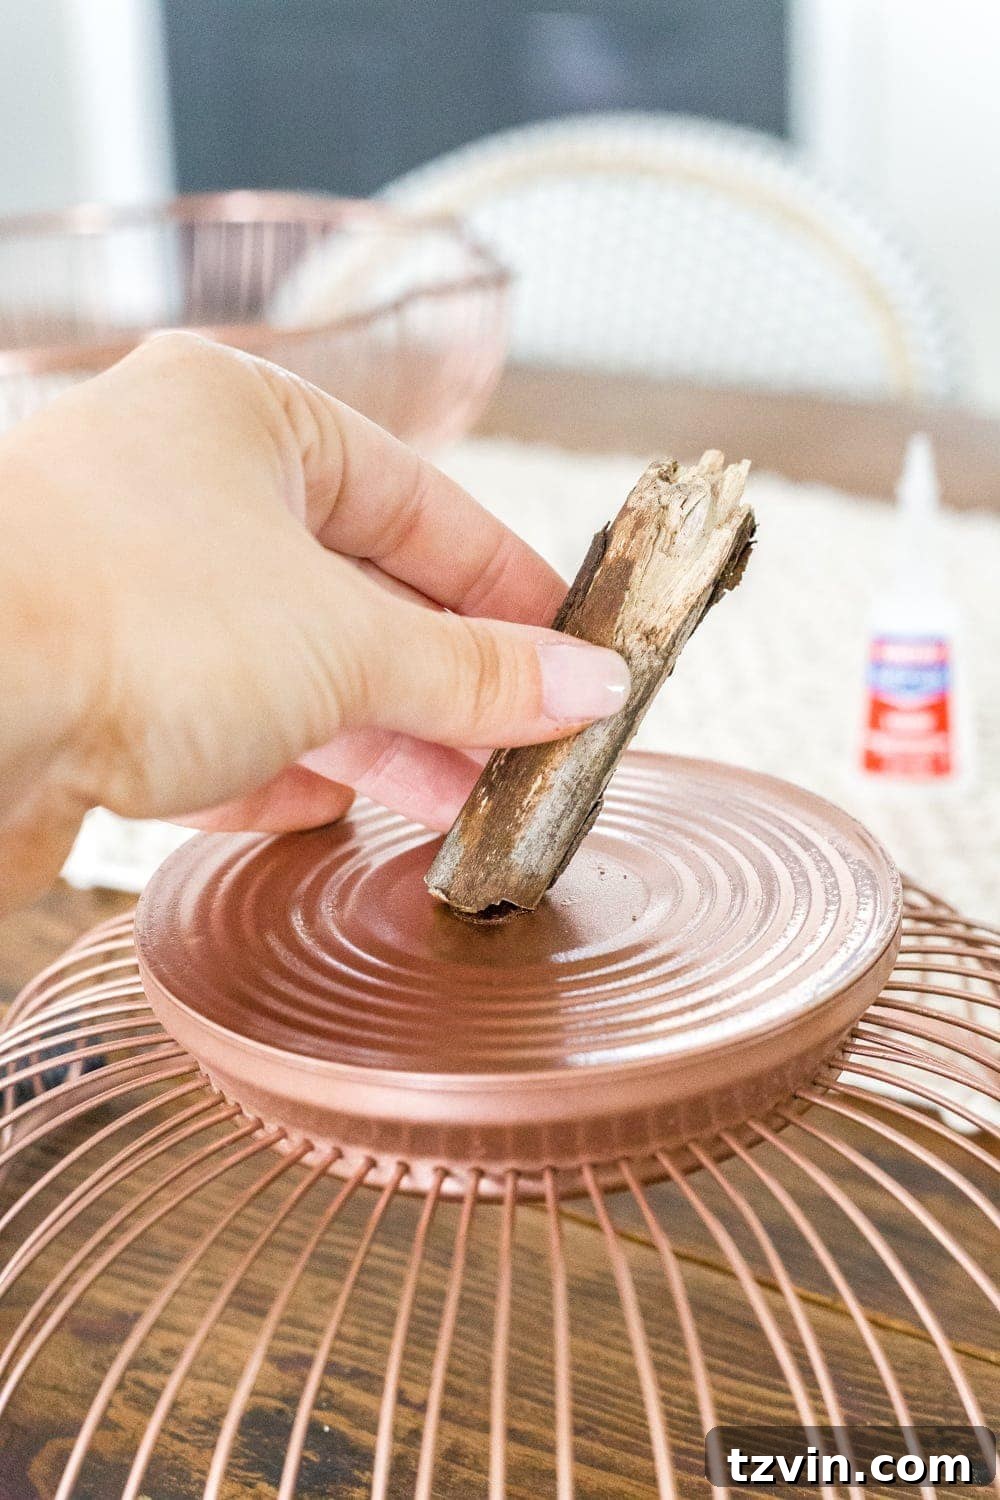
With the body of your wire pumpkin assembled, the next step is to add its stem. Select a sturdy stick from your yard – one with a bit of character is always best. Apply a nickel-sized dot of Loctite Super Glue to the top center of your assembled wire baskets. Carefully press the chosen stick onto the glue, holding it firmly in place for a minute or two until the glue begins to set. Ensure the stem stands upright and is securely attached. This simple addition instantly gives your wire creation the unmistakable look of a charming, oversized pumpkin, blending industrial thrift finds with organic natural elements.
5. Crafting Your Adorable Mini Bundt Pan Pumpkins:
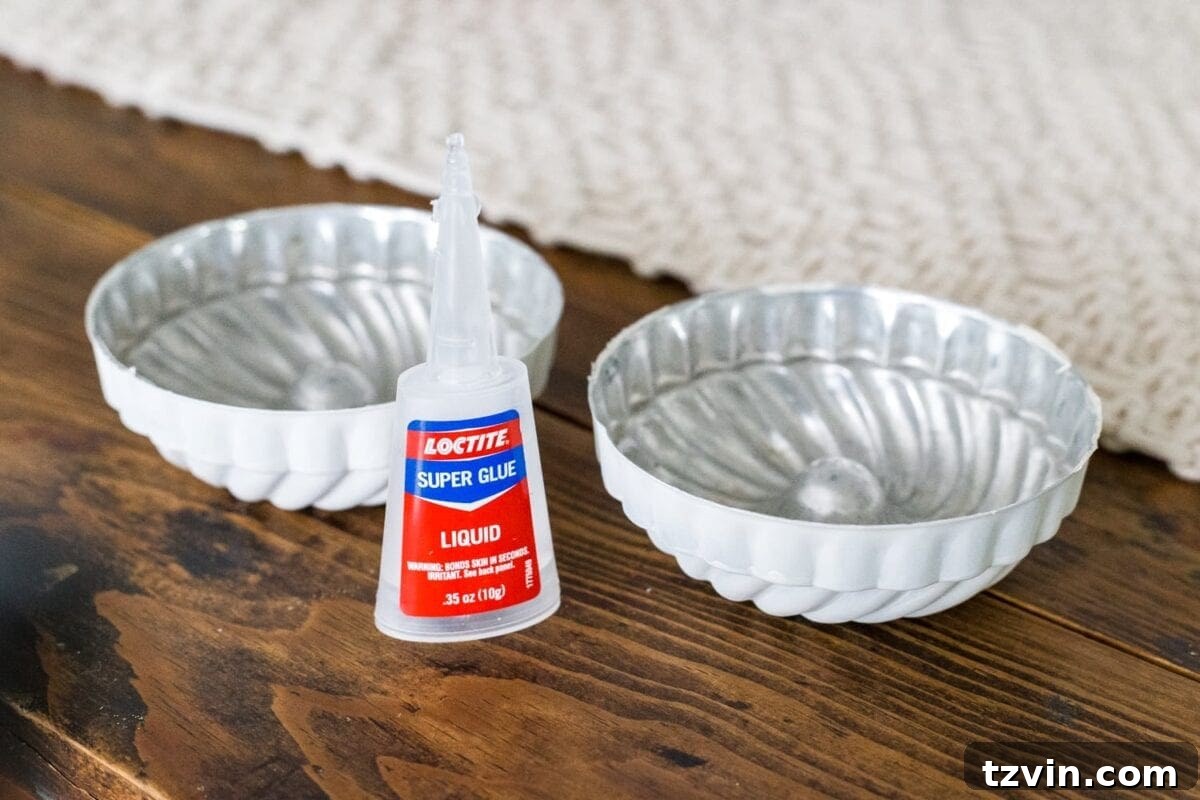
Now, let’s create the smaller, equally charming pumpkins using the mini bundt pans. Take two of your white spray-painted bundt pans. Apply a thin but continuous line of super glue around the outer rim of one bundt pan. Carefully align the second bundt pan on top, pressing them together firmly to form a complete, rounded pumpkin shape. The central hole of the bundt pans creates the perfect indentation, making them look remarkably like miniature pumpkins. Hold the two halves together until the glue has securely bonded them, ensuring there are no gaps.
6. Adding Twig Stems to Your Mini Pumpkins:
To complete your mini bundt pan pumpkins, attach a small twig stem to each one. Choose thin, delicate twigs that are proportionate to the size of your mini pumpkins. Apply a small dab of super glue into the central indentation of the assembled bundt pans, then gently press the twig into the glue. Hold it in place for a few moments until it sets. Repeat this process for all your mini pumpkins. These tiny, natural stems provide an authentic touch, completing the transformation of simple Jello molds into delightful fall decor. The beauty of these mini pumpkins lies in their simplicity and the clever repurposing of everyday kitchen items.
Displaying Your Unique Fall Pumpkin Creations
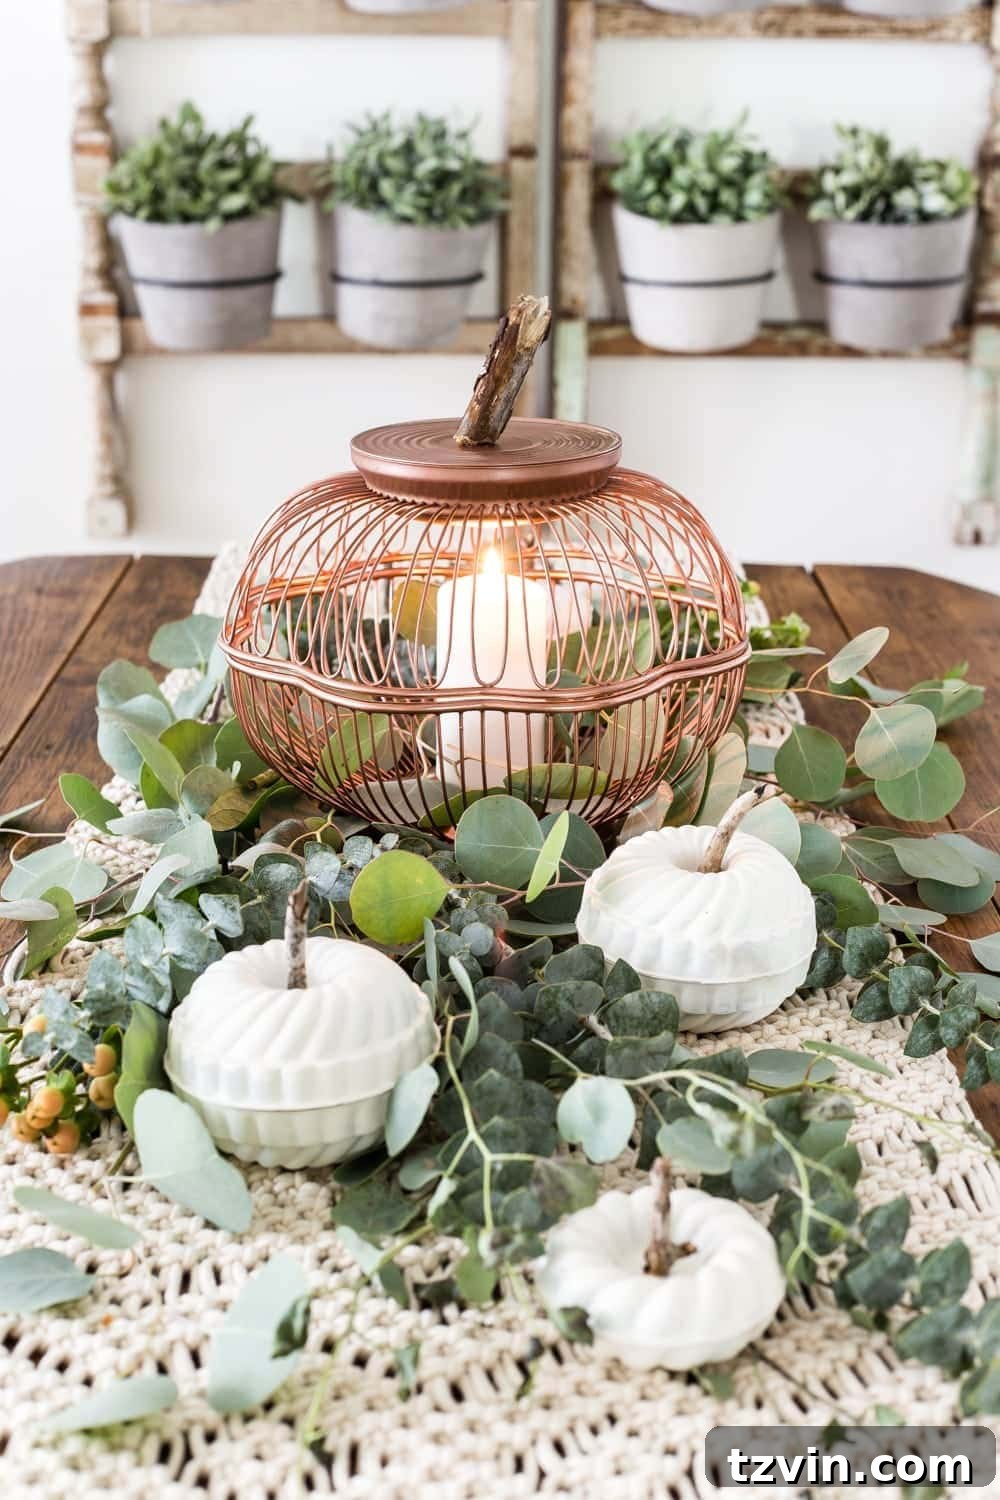
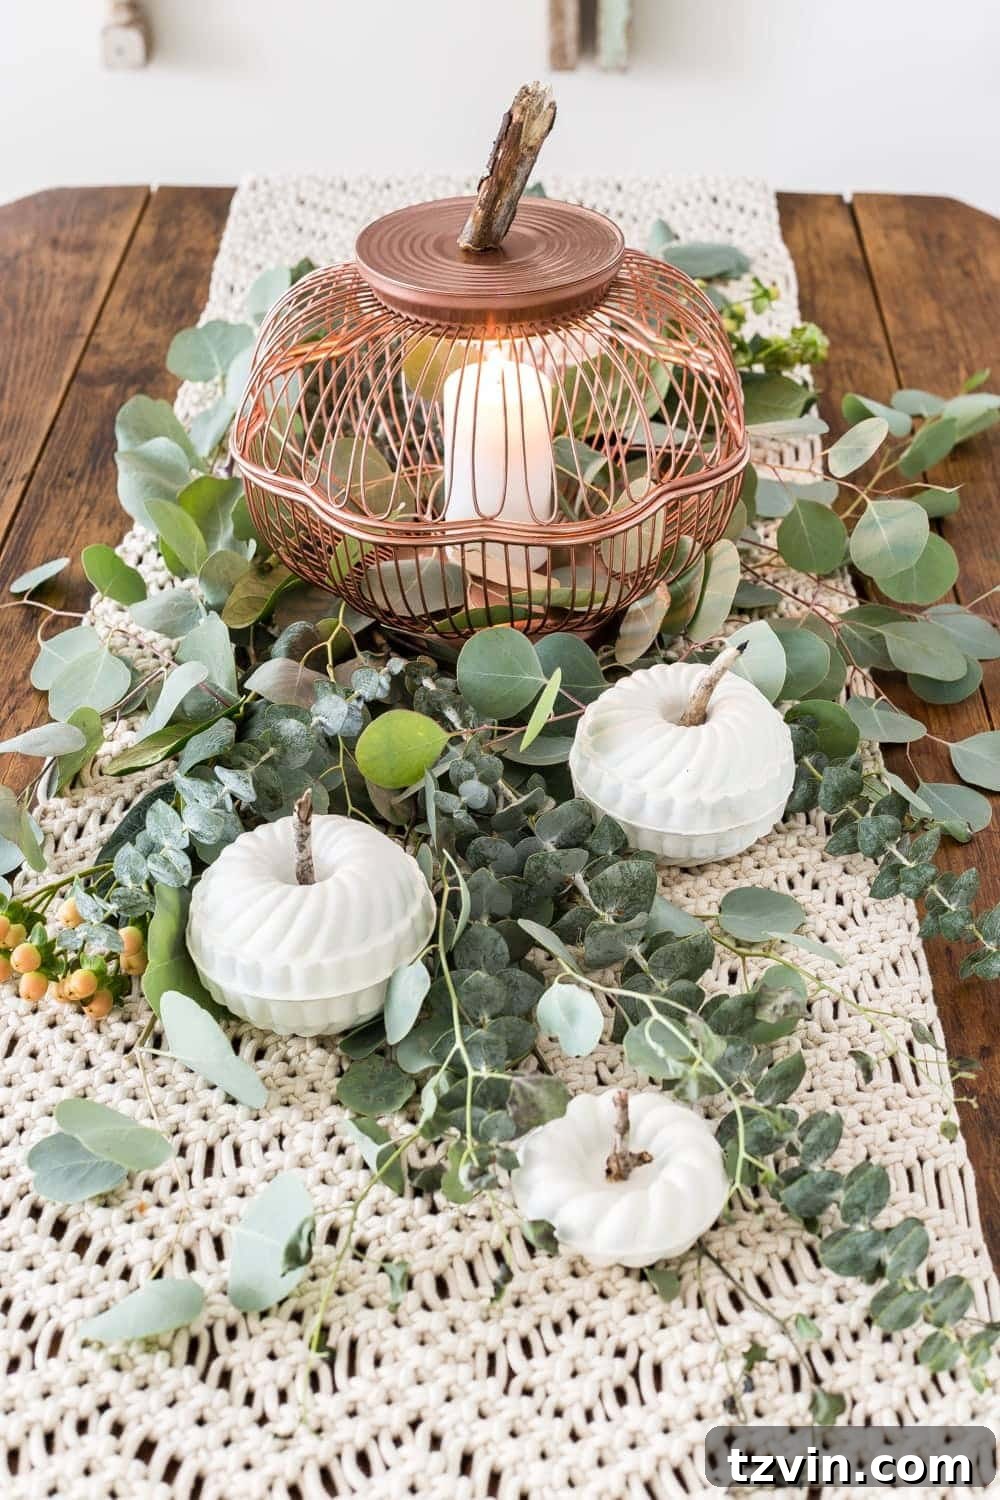
The beauty of these DIY pumpkins lies not only in their charming appearance but also in their versatility. The large wire basket pumpkin, with its airy structure, is perfectly suited to become a captivating lantern. Simply place a battery-operated candle or a string of fairy lights inside to cast a warm, inviting glow, creating a cozy ambiance for your fall evenings. Alternatively, you could fill it with other seasonal items like faux leaves, pinecones, acorns, or even smaller decorative pumpkins to create a unique display. Imagine it brimming with colorful gourds or a collection of dried flowers – the possibilities are endless for creating a stunning centerpiece that truly reflects your style.
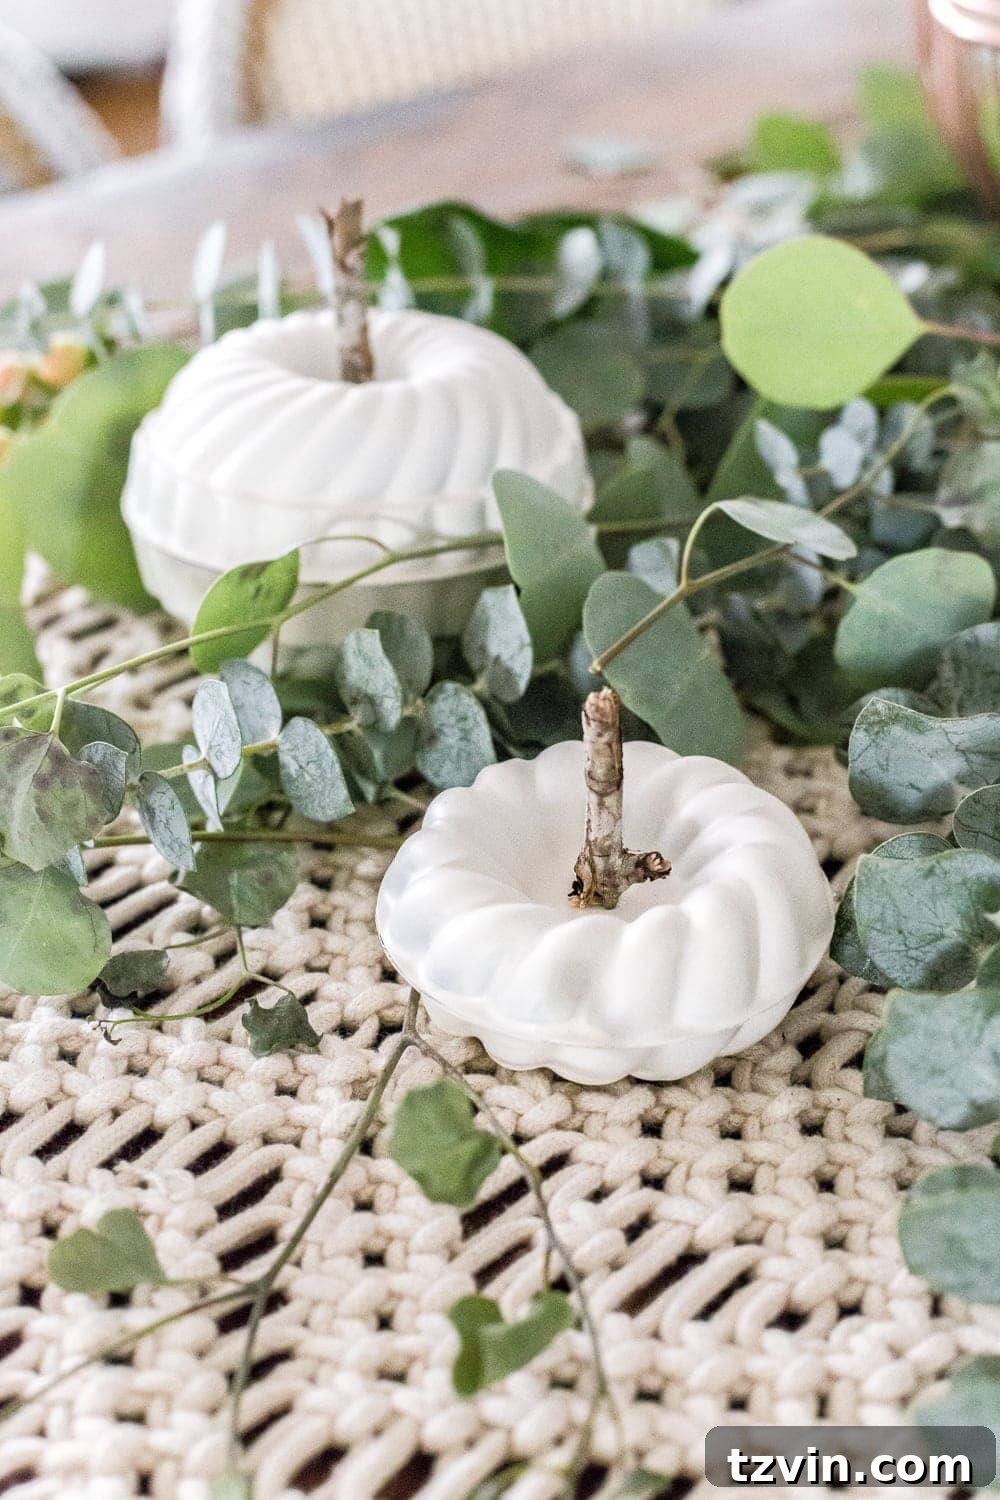
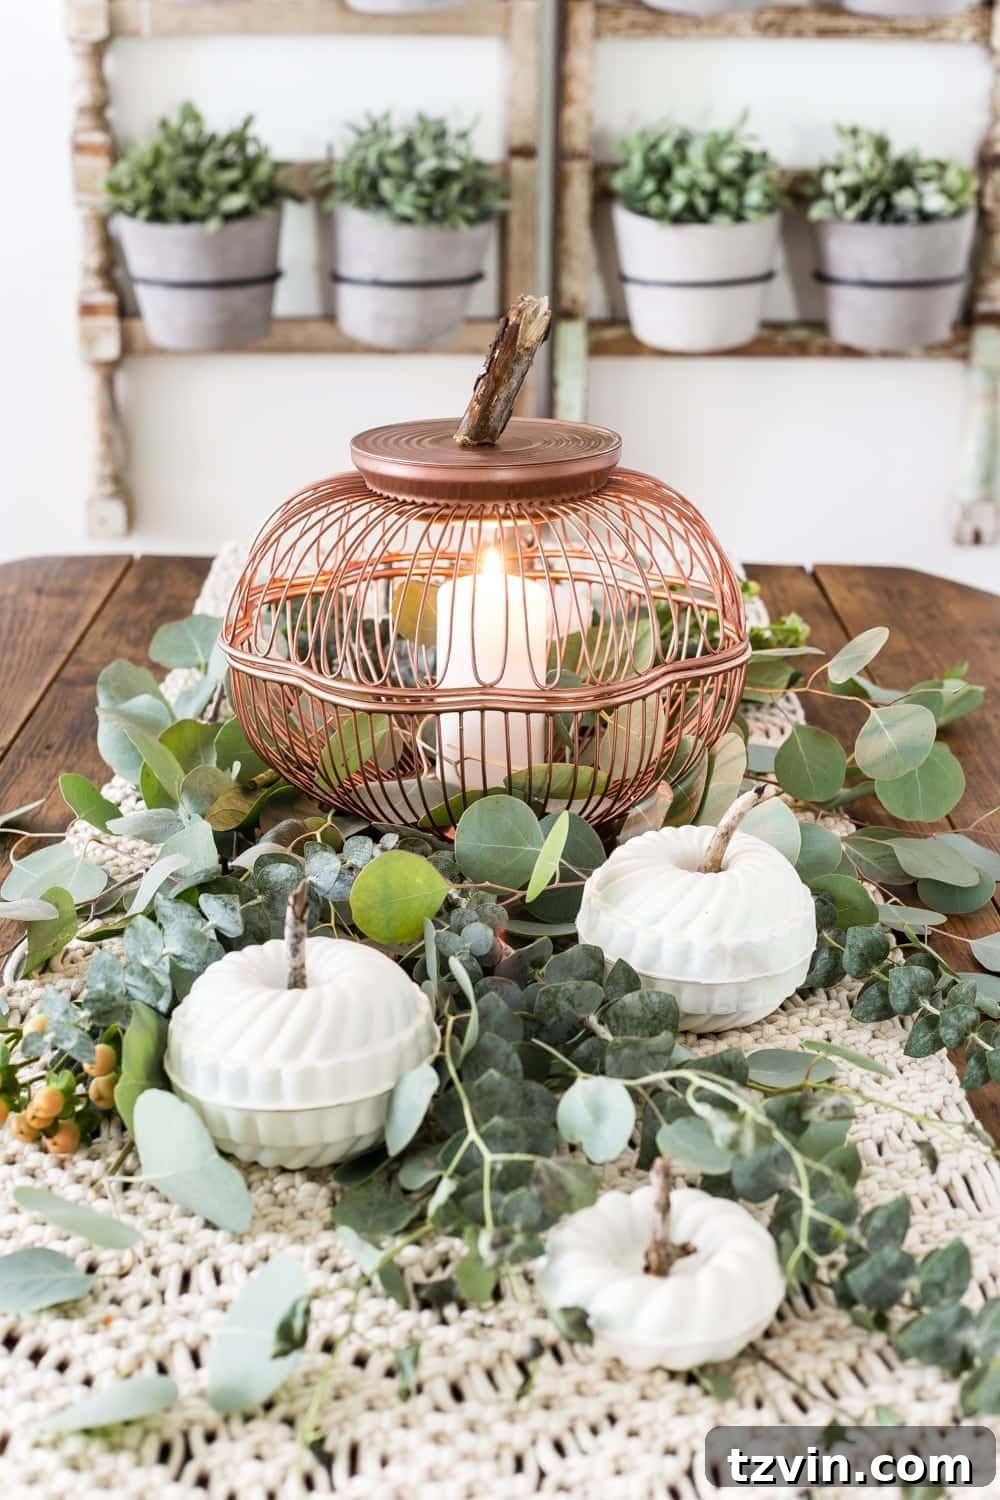
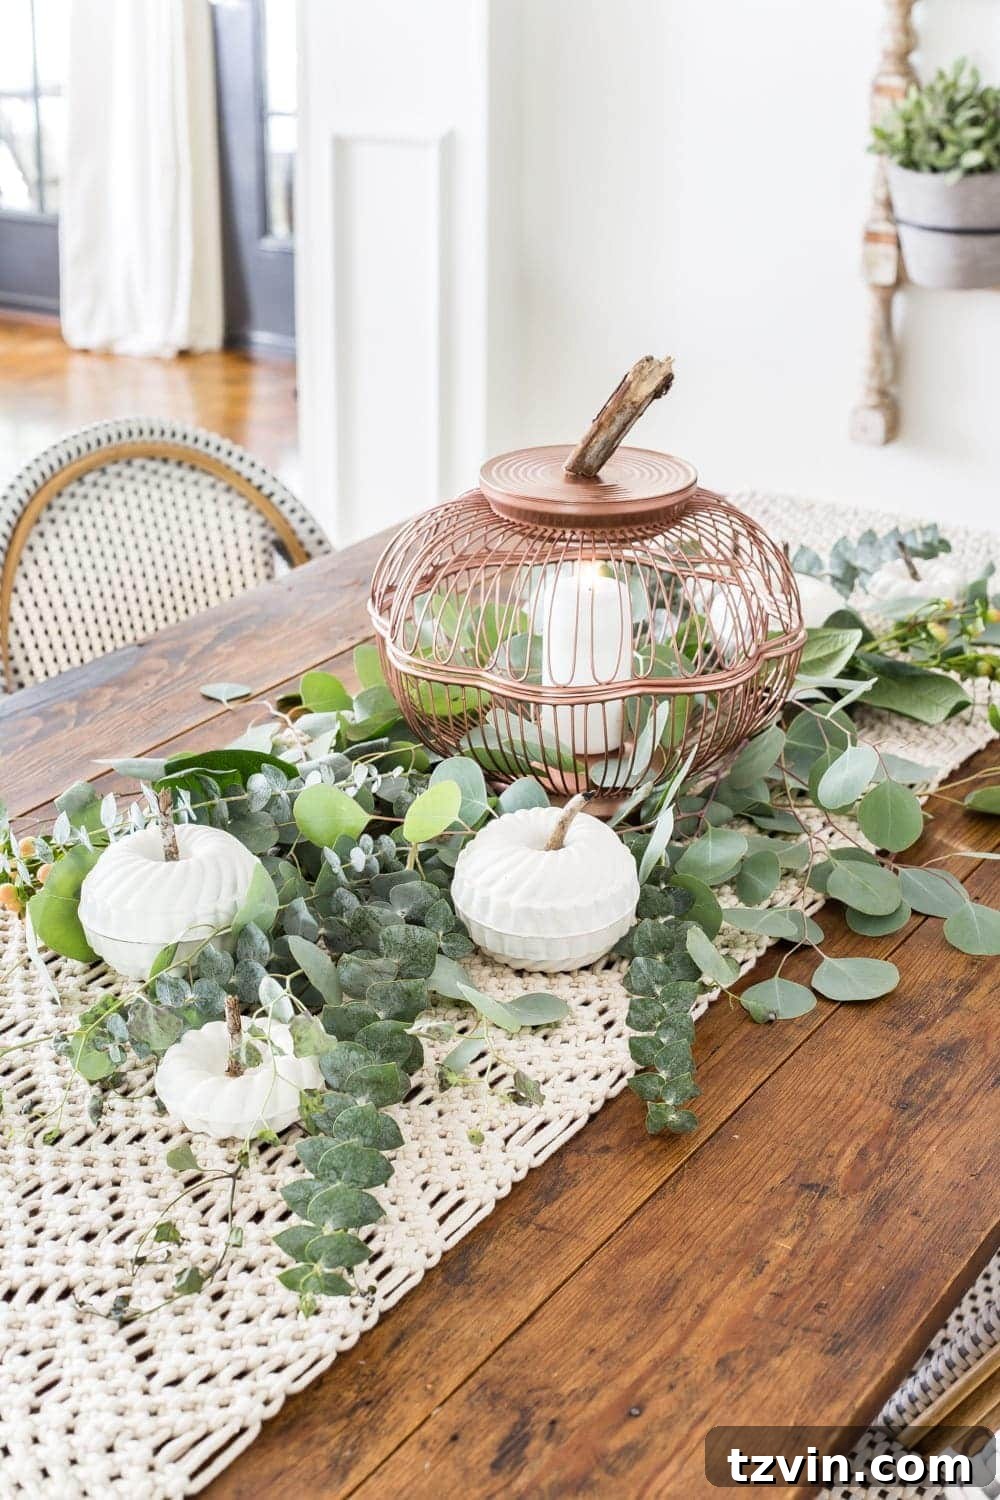
Currently, this delightful set of wire and bundt pan pumpkins serves as a whimsical fall centerpiece on our breakfast nook table. The combination of the larger copper wire pumpkin with the smaller white bundt pan pumpkins creates a balanced and visually interesting arrangement. Paired with fresh eucalyptus bundles, the entire display exudes a neutral yet inviting fall aesthetic that perfectly complements our home’s decor. The versatility of these DIY projects means they can be easily integrated into various spaces, from a formal dining table to a cozy entryway console, adding a touch of handmade charm wherever they go.
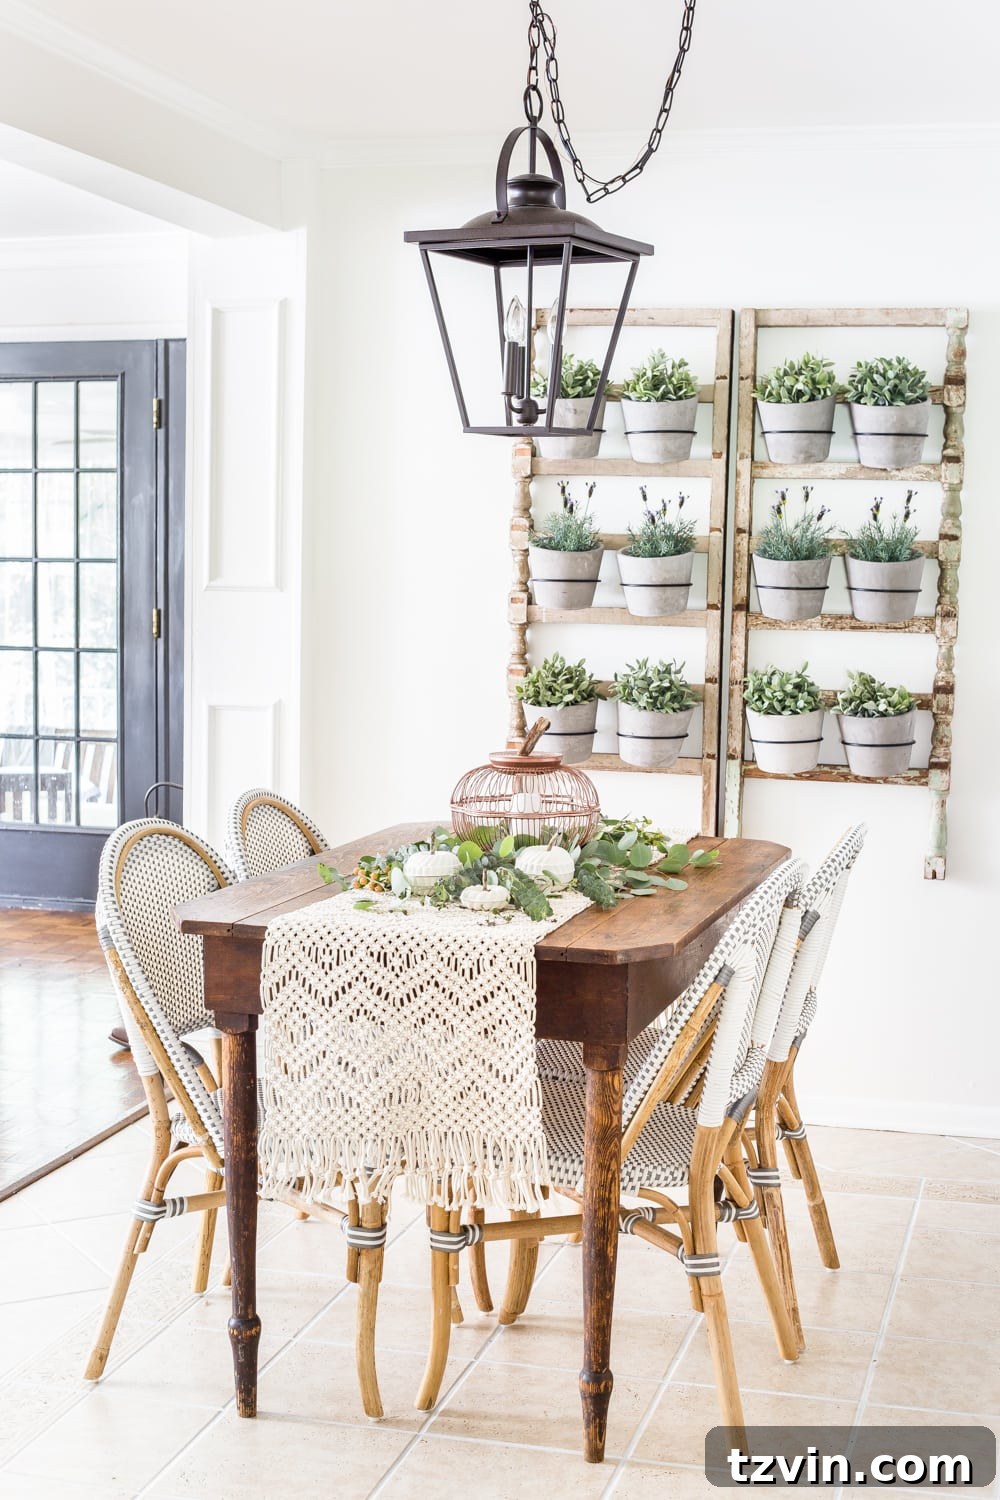
For those curious about the other elements adorning our breakfast nook, here are some sources to inspire your own home styling:
- DIY Wall Planter using Antique Banisters (tutorial)
- Craigslist Antique Table (a similar option is linked)
- Lantern Pendant Light
- French Bistro Chairs (ours were TJ Maxx finds, but similar ones are linked)
- Macrame Table Runner
- Wall Color: Benjamin Moore Swiss Coffee
- Trim Color: Benjamin Moore Simply White
- Door Color: Benjamin Moore Wrought Iron
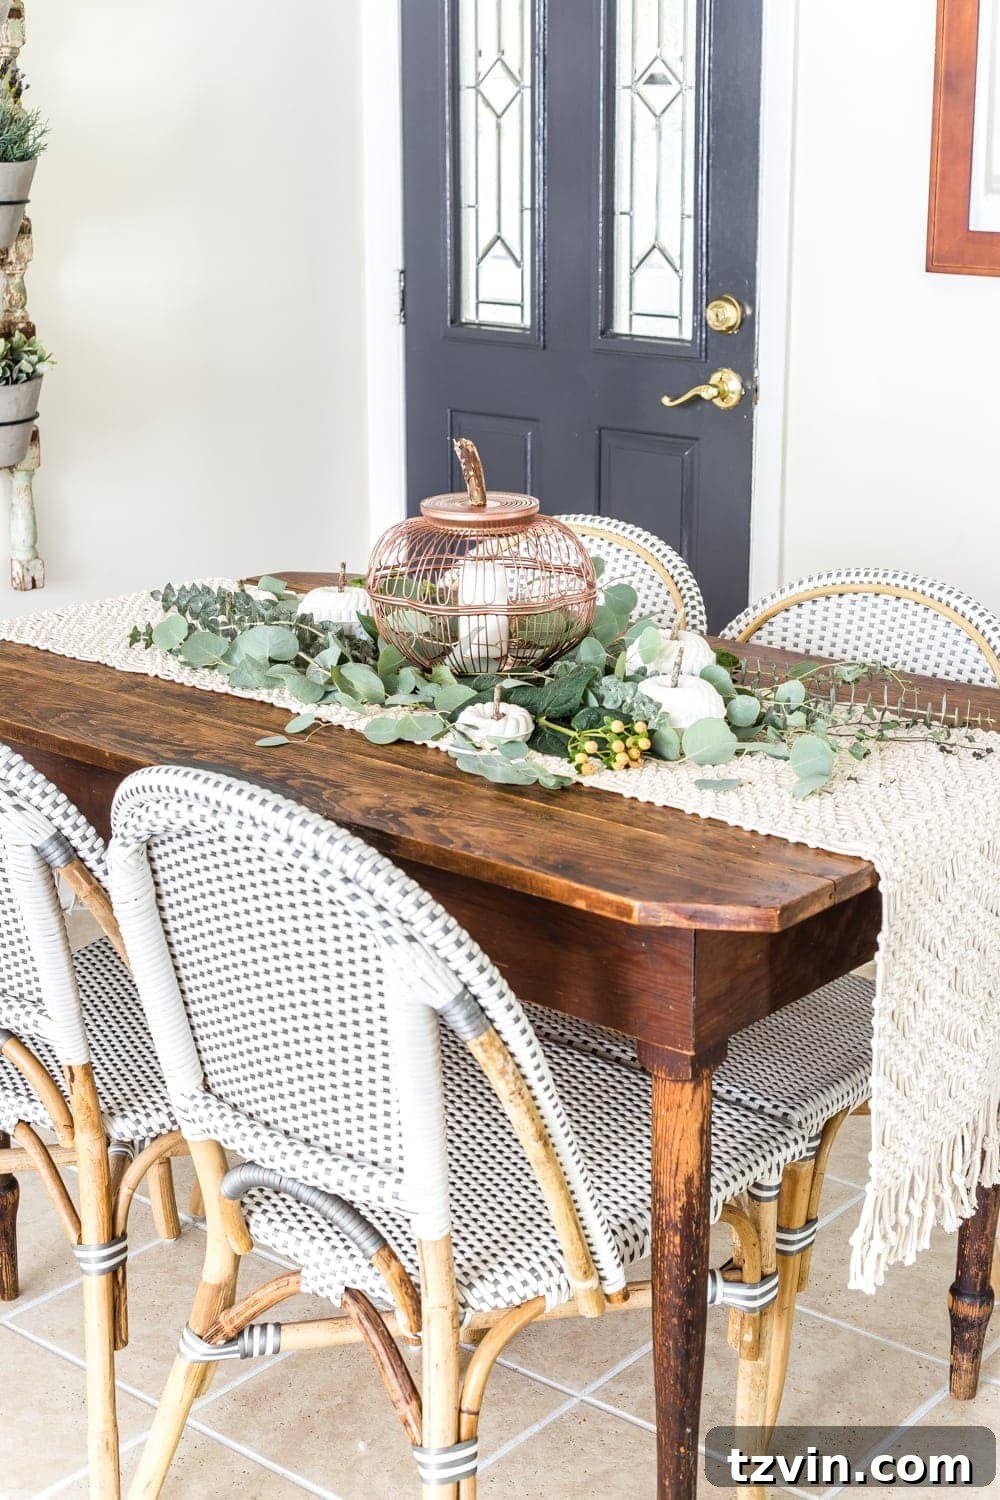
The fresh eucalyptus bundles, picked up for a steal at Trader Joe’s, add a touch of natural elegance and a lovely scent. Eucalyptus is a personal favorite year-round, but its muted tones and graceful appearance make it particularly perfect for early fall arrangements, lending an organic touch to any display.
Customization and Personalization: Make These Pumpkins Truly Yours
One of the greatest joys of DIY crafting is the freedom to personalize your creations. While copper and heirloom white offer a timeless look, don’t hesitate to experiment with different colors and finishes. Consider painting your wire baskets a vibrant orange or a deep sage green for a traditional fall palette. For the mini bundt pan pumpkins, think about ombré effects, glitter accents, or even hand-painted designs. You could wrap the stems with twine, tie small bows of burlap ribbon, or hot-glue faux fall leaves around the base of the stems for added texture and charm. The possibilities are limitless, allowing you to tailor these pumpkins to perfectly match your existing decor or create a completely new aesthetic.
The Art of Thrifting for DIY Projects
This project beautifully highlights the potential of thrift store finds. Thrifting isn’t just about saving money; it’s about seeing beyond an item’s original purpose and envisioning its new life. When you’re at a thrift store, try to look at objects with a crafter’s eye. A bread basket might not just be for bread, and a jello mold isn’t solely for desserts. Consider shapes, materials, and textures. Could that old lampshade frame be a unique wreath? Could those discarded ceramic tiles become a mosaic tabletop? Developing this creative vision opens up a world of sustainable and unique DIY opportunities, making every thrift store trip an exciting treasure hunt.
Conclusion: Embrace Your Inner Fall Crafter!
Creating these DIY fall pumpkins from thrifted wire baskets and mini bundt pans is a testament to how simple, affordable materials can be transformed into stunning, personalized decor. It’s a project that’s not only easy and quick but also incredibly rewarding, allowing you to infuse your home with unique autumn charm. So, head to your local thrift store, let your imagination run wild, and enjoy the process of crafting beautiful, one-of-a-kind fall accents that will delight guests and warm your home throughout the season. Happy crafting!
Explore More Fall DIY and Craft Projects:
If you’re eager for even more creative ideas to decorate your home this autumn, be sure to explore the inspiring projects from my fellow crafters in this seasonal blog hop:
Sweater Pumpkins at The Happy Housie // Chinoiserie Pumpkins at Shabbyfufu // Wire Basket Bundt Pan Pumpkins at Bless’er House // Plastic Fall Fruit Makeover at Craftberry Bush // Pumpkin Topiary at Inspiration for Moms
Forest Pine Candle at Setting for Four // Wooden Trough at Deeply Southern Home // Thrifty Magnolia Wreath at Home Made Lovely // Pumpkin Vase at Amber Tysl // Autumn Watercolour Place Cards at Finding Silver Pennies
Wooden Pumpkin at The Turquoise Home // Cotton Wreath at My Uncommon Slice of Suburbia //No-Sew Burlap Table Runner at Jenna Kate at Home // Cute Pumpkin Plants at House by Hoff // Fall Flannel Quilted Pillow at TIDBITS
Hoop Wreath at Lolly Jane //Tiled Coffee Table Tray at In My Own Style // Pom Pom Garland at Modern Glam // Acorn Garland at Jen Woodhouse // Hello Fall Pillow at Love Create Celebrate
Silk Fall Floral Arrangement at Town and Country Living // Simple Fabric Pumpkins at Confessions of a Serial Do It Yourselfer // Soy Candles at The DIY Mommy // Lighted Pumpkin Bucket at Clean and Scentsible
Handprinted Pumpkin Pillow at Hallstrom Home // Corn Husk Pumpkins at Paint Me Pink // Fall Glam Candle Wreaths at Summer Adams
Pin this project for future fall crafting inspiration!