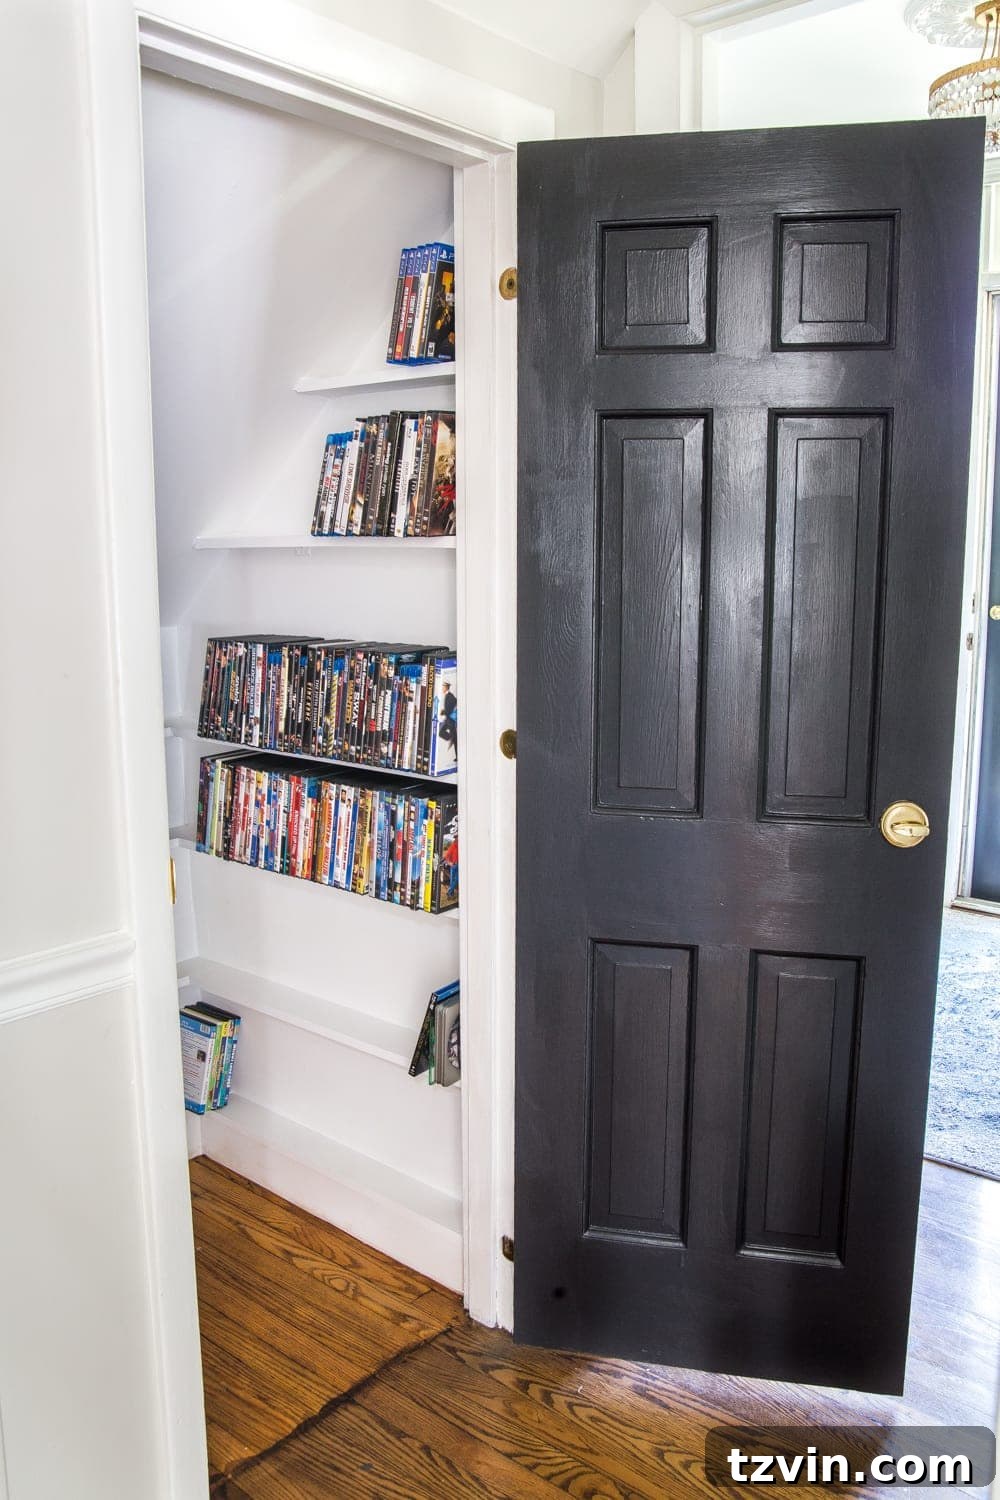
Maximize Your Space: Building an Ultimate Under-Stairs DVD & Media Storage Closet
In an era dominated by streaming services and digital downloads, there’s a growing appreciation for tangible media. For many of us, the joy of owning a physical movie collection, whether it’s classic DVDs, Blu-rays, or even cherished VHS tapes, remains unparalleled. However, managing and organizing these collections can quickly become a challenge, especially in homes where space is at a premium. Cluttered shelves, overflowing bins, and stacks of movies scattered around can detract from an otherwise organized living area. This article guides you through a clever, DIY solution to transform an often-overlooked and underutilized space – the closet under your stairs – into a highly efficient and aesthetically pleasing media storage hub. This weekend project requires only a few pieces of lumber and a bit of DIY spirit to create a custom storage system that beautifully houses your entire collection.
Long before the advent of instant streaming, there was a unique charm to a Friday night ritual: a trip to the local video store. For those who remember, the excitement of browsing aisles, the thrill of finding a new release (or the disappointment of discovering all copies of Titanic were rented out), and the simple pleasure of holding a movie in your hands defined an era. While those days might be gone, the sentiment behind them – the desire to curate and own a physical library – persists. We, too, cherish our collection of DVDs and Blu-rays, preferring the reliability and quality of hard copies over fluctuating streaming libraries. Our challenge was finding a dedicated, organized home for these beloved films without sacrificing valuable living space.
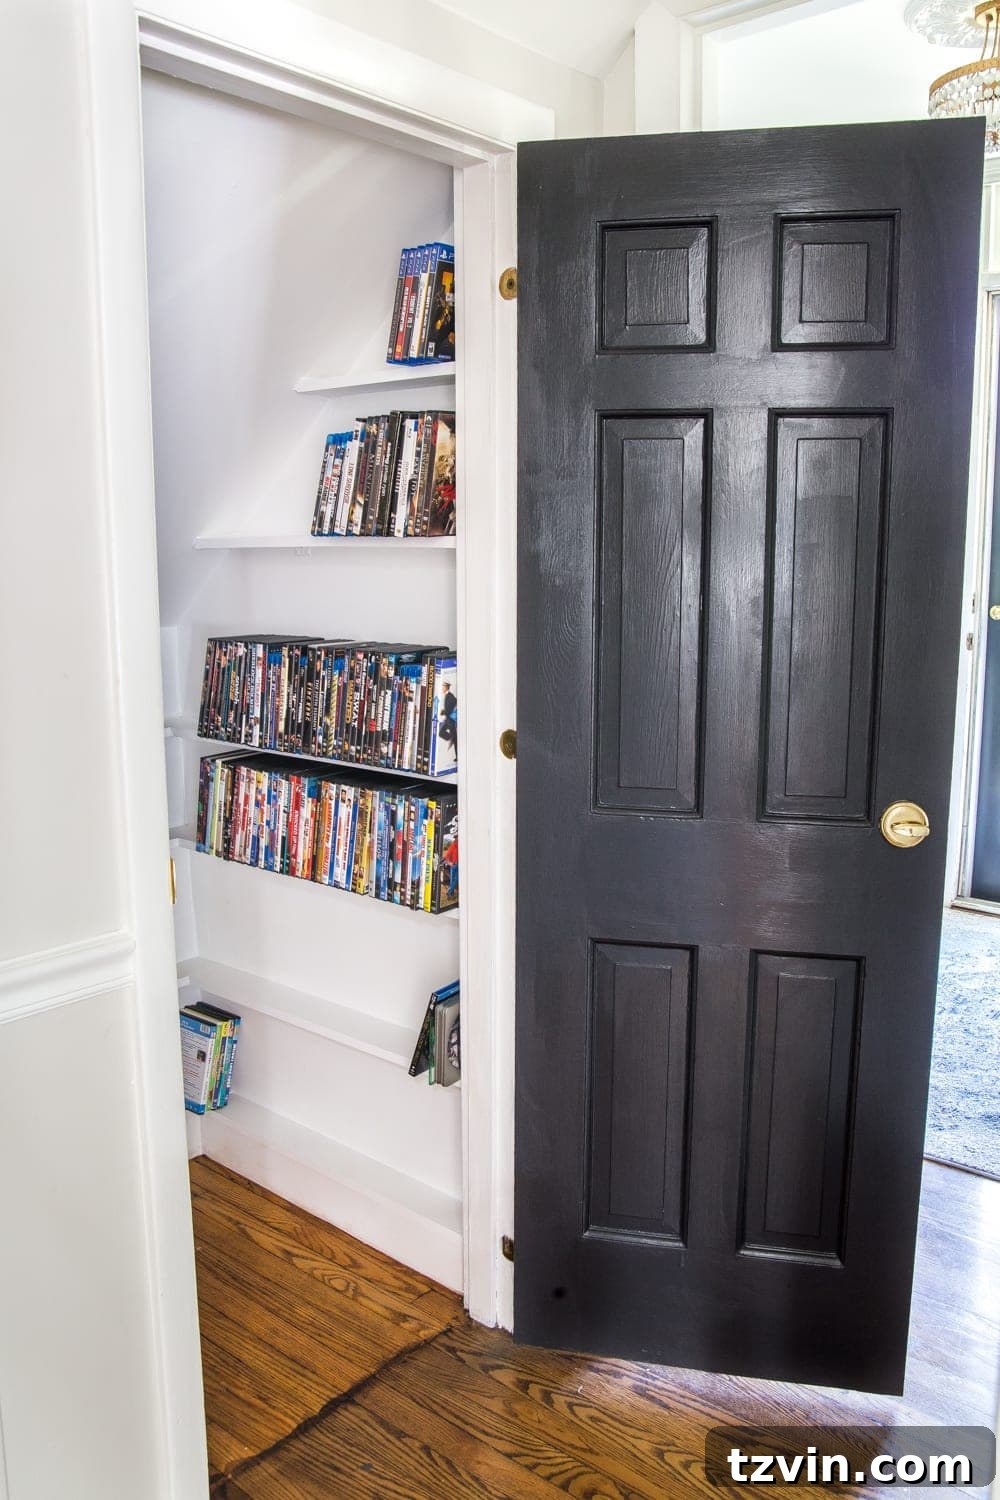
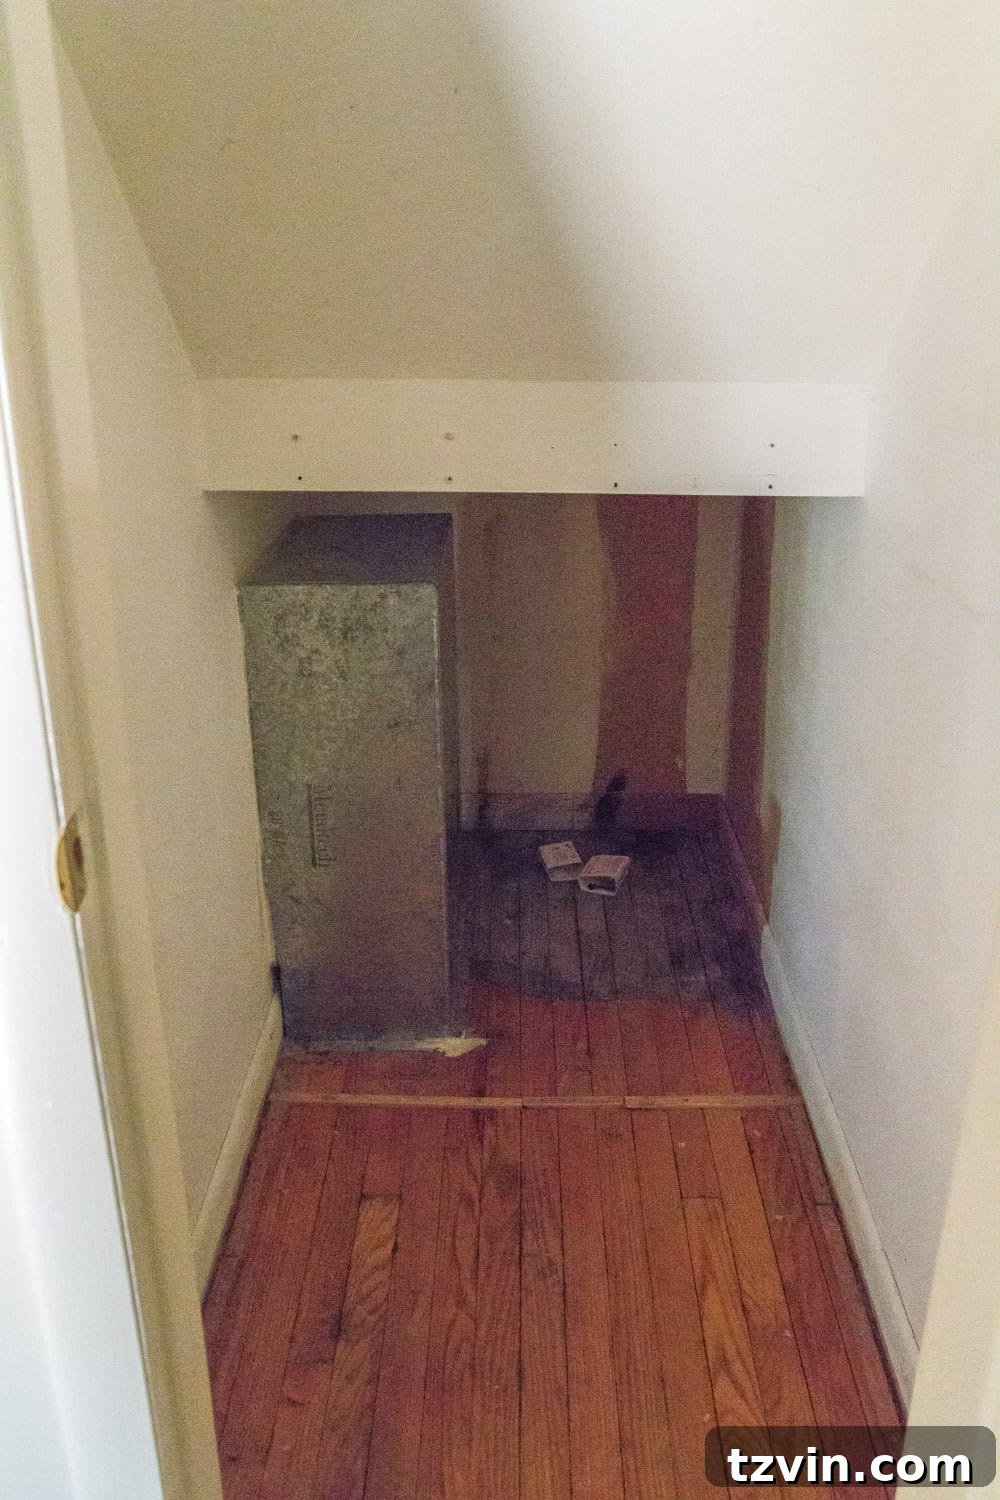
Our solution transformed a small, dingy, and inefficient under-stairs closet into what we affectionately call our “miniature Blockbuster.” This space, previously home to little more than dust bunnies and the occasional mouse trap (a common reality of living in an older home, alas!), was ripe for a complete overhaul. It was an awkward, oddly shaped area that offered tremendous potential for smart storage, but it required a vision and a dedicated effort to unlock it. The existing lack of organization for our extensive movie collection meant films were piled haphazardly, making it difficult to find what we wanted and failing to utilize the available vertical space. This project was not just about storage; it was about reclaiming wasted space and bringing order to our entertainment hub.
The idea sparked during a casual conversation about home organization and maximizing every square inch. My husband, Robert, envisioned turning this neglected nook into a functional storage space. With a clear plan in mind, he and our daughter Olivia dedicated a weekend to this exciting daddy-daughter project. This not only provided a practical solution for our media storage but also created lasting memories and imparted valuable DIY skills. The result is a testament to what can be achieved with thoughtful planning, a few basic tools, and a determination to create a more organized and efficient home. This transformation proves that even the most challenging, oddly shaped spaces can be converted into highly functional and valuable areas, contributing significantly to overall home organization and decluttering efforts.
Essential Supplies for Your DIY Under-Stairs Media Closet
Embarking on any DIY project requires the right tools and materials. For this media storage transformation, we focused on affordability and readily available items to ensure the project was accessible for most homeowners. Below is a comprehensive list of the supplies we used. Please note that some links are affiliate links, providing convenience for sourcing materials, and at no extra cost to you. Full disclosure details are available here.
- 2 – 2″x4″x8′ Lumber Boards: These will form the structural frame for your new wall, ensuring stability and durability.
- 1/4″ Plywood Sheet: Ideal for creating a smooth, flat surface for your new interior wall. A standard 4×8 sheet should suffice for most under-stairs closets.
- 1 – 1″x4″x8′ Lumber Board: These narrower boards are perfect for crafting the individual shelves that will hold your media collection.
- Circular Saw: Essential for making precise, straight cuts on both the lumber and plywood. Ensure you have appropriate safety gear like eye protection and gloves.
- Finishing Nail Gun: Great for quickly and securely attaching the plywood to the frame, providing a clean finish.
- 1 3/4″ Finishing Nails: The appropriate size nails for use with your nail gun to secure the plywood.
- Power Drill: Necessary for driving screws, especially when assembling the structural frame and attaching shelf brackets.
- Wood Screws: Used for assembling the 2×4 frame and providing strong connections.
- Caulk & Caulk Gun: For sealing seams, filling gaps, and creating a seamless, professional finish between surfaces.
- Primer and/or Paint & Paint Brush: To prepare and beautify your newly constructed storage space, ensuring a clean, bright look.
- 1-1/2″ L Brackets: Crucial for providing sturdy support for your individual shelves, especially important for holding the weight of many DVDs.
Before you begin, gather all your materials and tools. Lay out your workspace, ensuring it’s clear and safe. Always prioritize safety by wearing appropriate protective gear, such as safety glasses and gloves, especially when operating power tools. Having everything organized from the start will make the project smoother and more enjoyable, allowing you to focus on the craftsmanship of building your custom under-stairs DVD and media storage.
Step-by-Step Guide to Building Your Custom Media Closet
Transforming an under-stairs closet into an organized media storage haven is a rewarding project that can significantly enhance your home’s functionality. Follow these detailed steps to achieve a professional and durable finish.
1. Constructing the Interior Frame for Optimal Space Utilization
Our under-stairs closet had an awkward, unusable section that extended beyond the main access point, adjacent to our air return vent. To maximize the usable storage area and create a clean, defined space, our first step was to close off this inaccessible portion. We began by carefully measuring the dimensions of this specific section. Using 2″x4″ lumber boards, we constructed a sturdy frame, essentially creating new interior “studs.” This frame acts as the backbone for our new wall, providing necessary structural integrity and a solid surface to attach the wall material. Precision is key here: ensure all cuts are straight and measurements are accurate to create a square and plumb frame. We joined the 2x4s using wood screws, driving them securely at each joint to form a robust skeleton. This step is critical not only for defining the new boundaries of your closet but also for preventing pests from entering and improving the overall aesthetic by concealing unsightly ducts or unused voids.
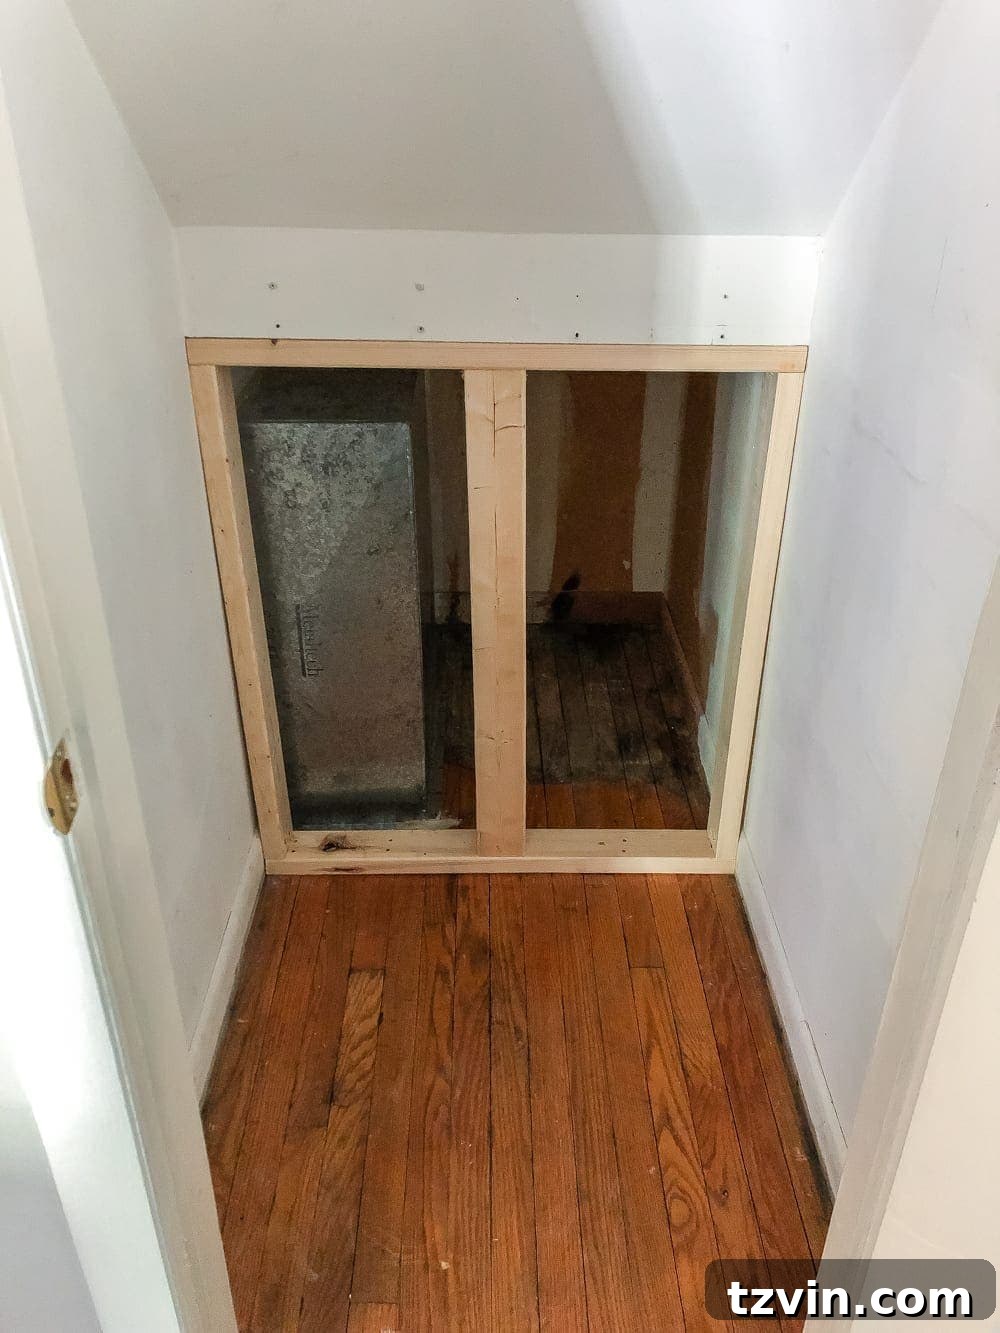
2. Installing the Plywood Wall for a Clean Finish
With the 2×4 frame securely in place, the next step was to enclose it, creating a finished wall. For this, we opted for 1/4″ plywood. Plywood is an excellent choice for a project like this due to its durability, ease of cutting, and smooth surface, making it ideal for painting. Plus, we had a scrap piece readily available, which made the project even more budget-friendly. Alternatively, if you prefer the look and feel of traditional walls, sheetrock (drywall) would also work, though it requires additional steps for taping and mudding. We precisely measured the dimensions of our newly built 2″x4″ frame and cut the plywood to fit perfectly. Using a finishing nail gun, we then securely attached the plywood panels to the frame. Start from one edge and work your way across, ensuring the plywood is flush with the frame. Place nails approximately every 6-8 inches along the studs to prevent bowing and ensure a tight, professional fit. This creates a solid, uniform surface that forms the backdrop for your future media shelves.
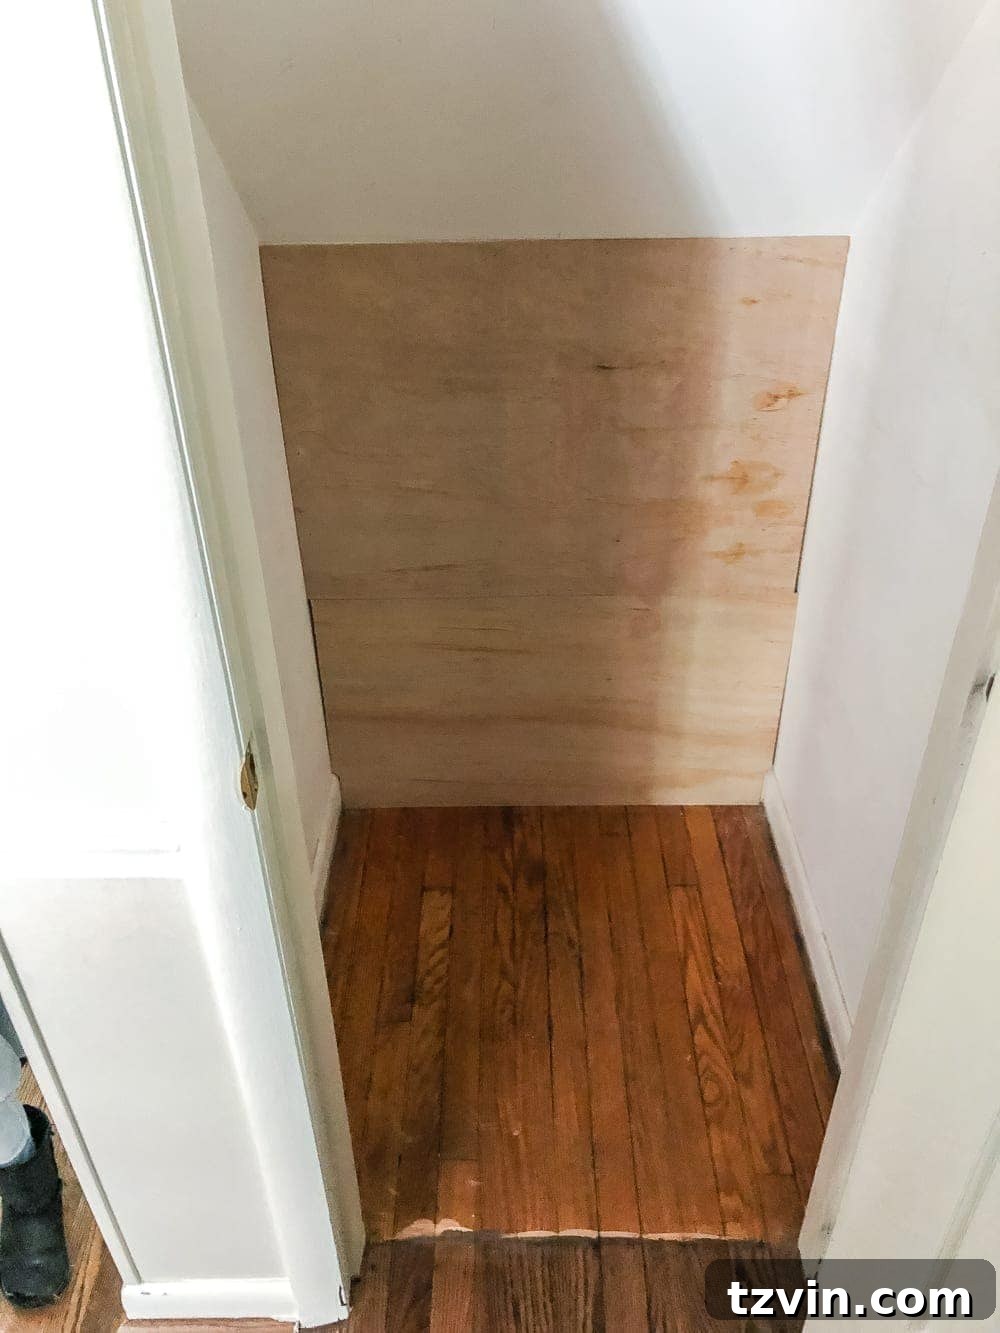
3. Sealing Gaps with Caulk for a Seamless Look
Once the plywood wall was firmly installed, the crucial step of caulking began. Caulking might seem like a minor detail, but it plays a significant role in achieving a professional and polished appearance. It seals any gaps or seams between the newly installed plywood and the existing closet walls or ceiling, creating a smooth, continuous surface. This not only makes the space look cleaner and more finished but also helps to prevent dust and drafts from entering the storage area. Using a caulk gun, apply a steady, even bead of caulk along all seams and joints. Smooth the caulk immediately with a wet finger or a specialized caulking tool for a clean, uniform line. This attention to detail ensures that your DIY project looks like a seamless, custom-built feature rather than an add-on. Even young helpers can master this skill, contributing to the overall quality of the finish!
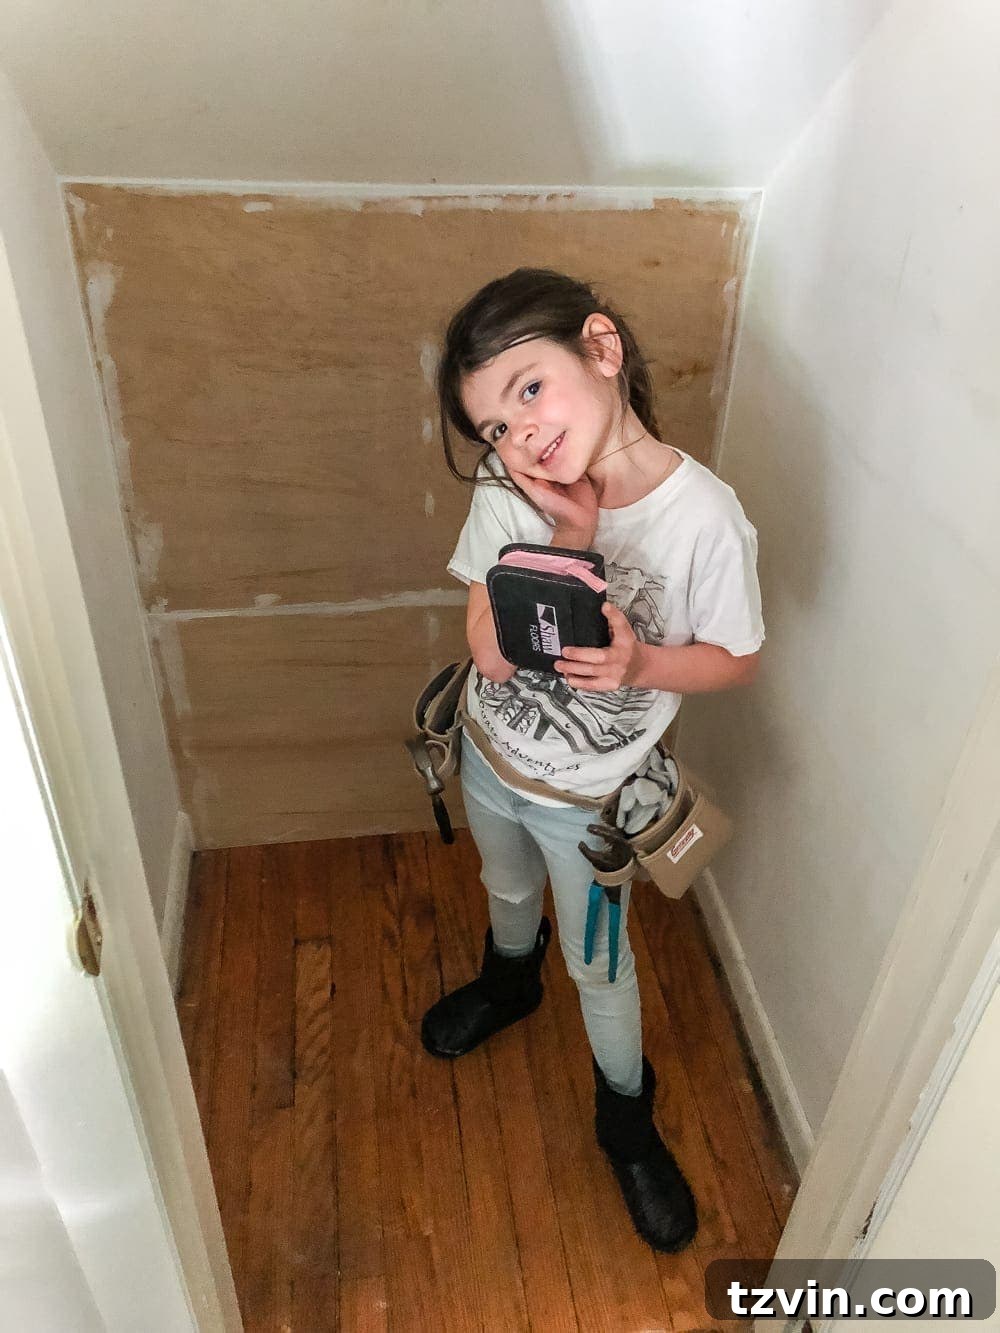
4. Precisely Measuring and Marking for Shelf Placement
With the structural elements complete and sealed, it was time to plan the layout of our DVD shelves. Effective organization relies on consistent spacing and optimal utilization of vertical space. We determined that a 10-inch spacing between shelves would be ideal, accommodating standard DVD and Blu-ray cases with a little extra room for easy access. Starting from the bottom of the closet, we carefully measured and marked the wall every 10 inches. Given the angled nature of an under-stairs closet, it’s essential to measure the width of the wall at each marked height. The width of the closet might change as you move up due to the slope of the stairs, so each shelf will likely require a slightly different length. Use a measuring tape and a pencil to accurately mark both the height and the varying width at each shelf level. This meticulous measurement process ensures that your shelves will fit perfectly into the unique contours of your space.
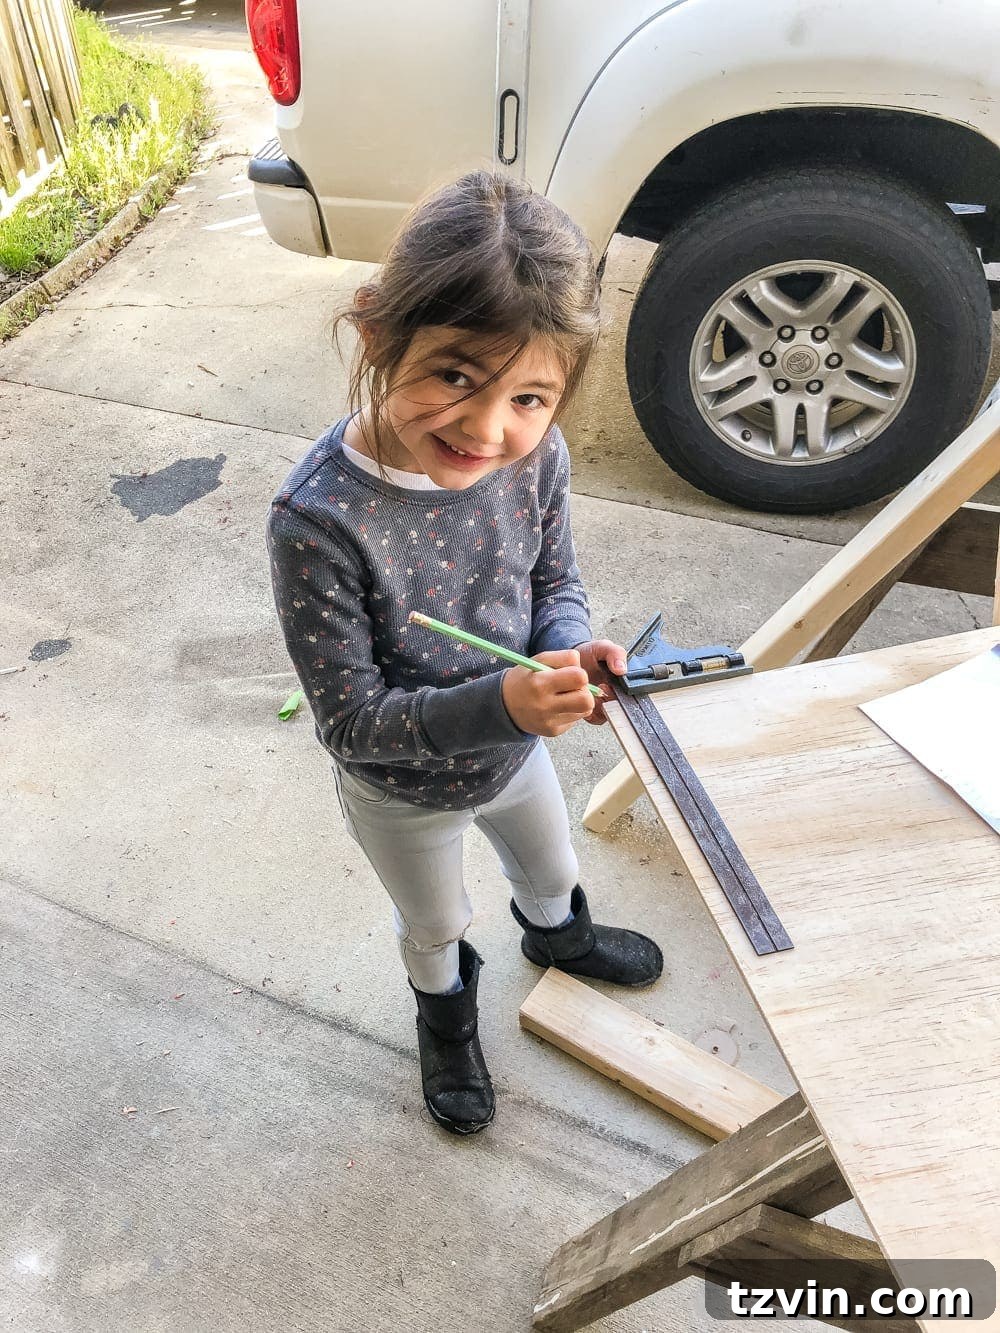
5. Cutting Shelf Boards to Fit the Angled Space
Following the precise measurements taken in the previous step, we proceeded to cut the 1″x4″ lumber boards to the required lengths for each shelf. The 1″x4″ dimensions are perfect for DVD shelves – sturdy enough to hold the weight of numerous movies but narrow enough to not protrude excessively into the limited closet space. This step requires careful attention, especially for the angled cuts. Each shelf board must be cut to perfectly fit the varying width of the closet at its designated height. Use your circular saw to make clean, straight cuts. Double-check each measurement before cutting to avoid waste and ensure a snug fit. Labeling each cut board with its corresponding shelf height can prevent confusion during installation, making the assembly process much smoother. These custom-cut boards are the foundation for your organized media display.
6. Installing Shelves with L Brackets for Robust Support
With all the shelf boards cut to size, the next critical step is installation. We opted for 1-1/2″ L brackets to support each shelf. L brackets provide excellent stability and strength, crucial for holding the considerable weight of a large DVD collection. For each shelf, measure and mark the positions for the L brackets, ensuring they are evenly spaced and align with the existing studs or the new 2×4 frame for maximum support. Using a power drill, screw the L brackets securely to the wall at the marked heights. Then, place the pre-cut 1″x4″ shelf boards on top of the L brackets and attach them from underneath with screws, ensuring they are level. Using a level throughout this process is vital to guarantee that your shelves are straight and your media will sit evenly. This creates a series of robust, fixed shelves perfectly tailored to the dimensions of your under-stairs closet, ready to house your film library.
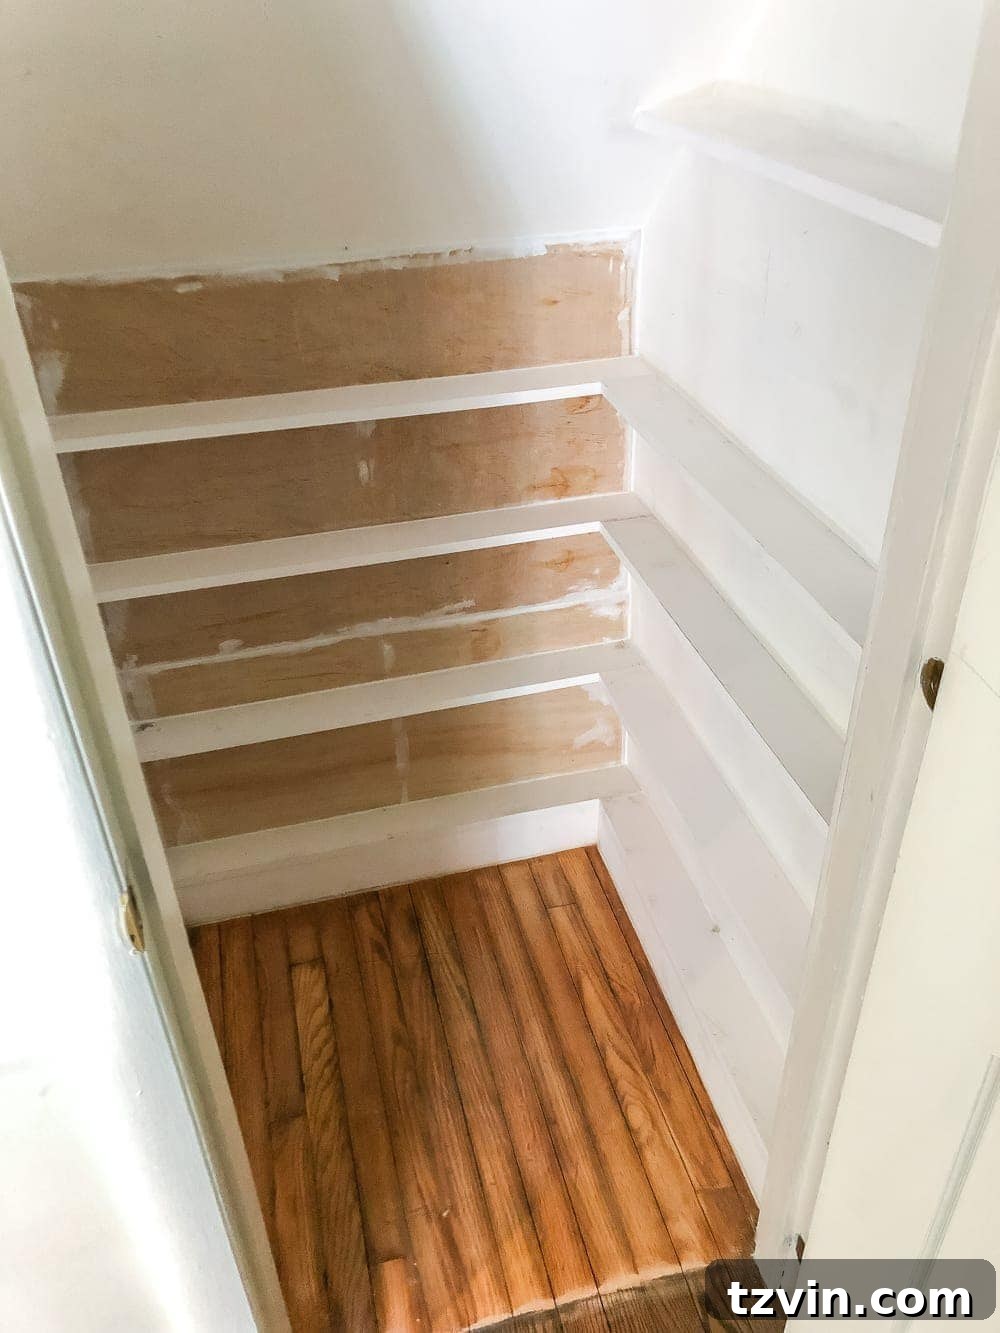
7. Finishing Touches: Caulking, Priming, and Painting
With all the shelves firmly in place, it’s time for the final aesthetic touches that transform your functional build into a polished, professional space. Just as with the wall, we meticulously caulked all the seams and joints around the newly installed shelves. This includes where the shelves meet the wall and any gaps between the L brackets and the shelf boards. Caulking creates a seamless, built-in look and eliminates any visual imperfections. Once the caulk was dry, we applied a high-quality primer. Priming is an essential step as it prepares the raw wood and plywood surfaces for paint, ensuring better adhesion, a more uniform finish, and preventing wood tannins from bleeding through the paint. After the primer dried, we applied two coats of paint. Opting for a light, bright color helps to make the small closet feel more open and clean. The result was astonishing: an incredible amount of organized DVD storage that far exceeded our expectations. The once-dingy closet was now a bright, efficient, and highly functional media hub.
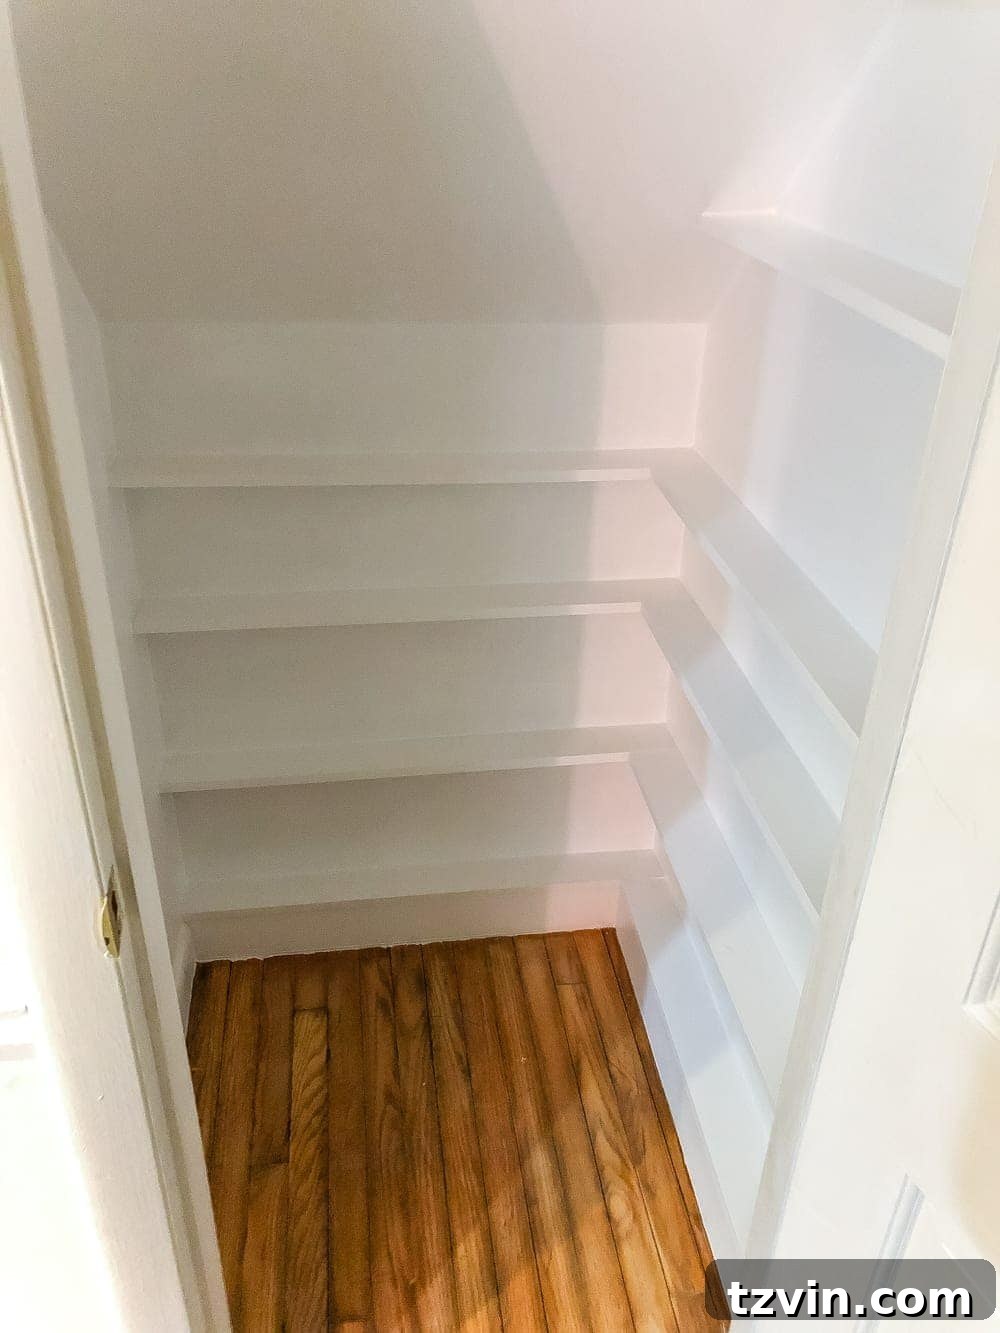
The Final Transformation: An Organized Media Haven
The transformation was complete, and the results were truly satisfying. While the purpose of this space is purely functional, the act of decluttering and creating such a well-organized system is inherently beautiful. Every DVD and Blu-ray now has its designated spot, neatly lined up and easily accessible. No more rummaging through stacks or searching for misplaced cases. The once wasted, awkward space under the stairs is now one of the most efficient areas in our home, a testament to the power of thoughtful DIY. It’s a dedicated “media library” that perfectly accommodates our physical collection, proving that you don’t need extensive square footage to achieve superior home organization. This project didn’t just provide storage; it provided peace of mind and an enhanced appreciation for our cherished movie collection.
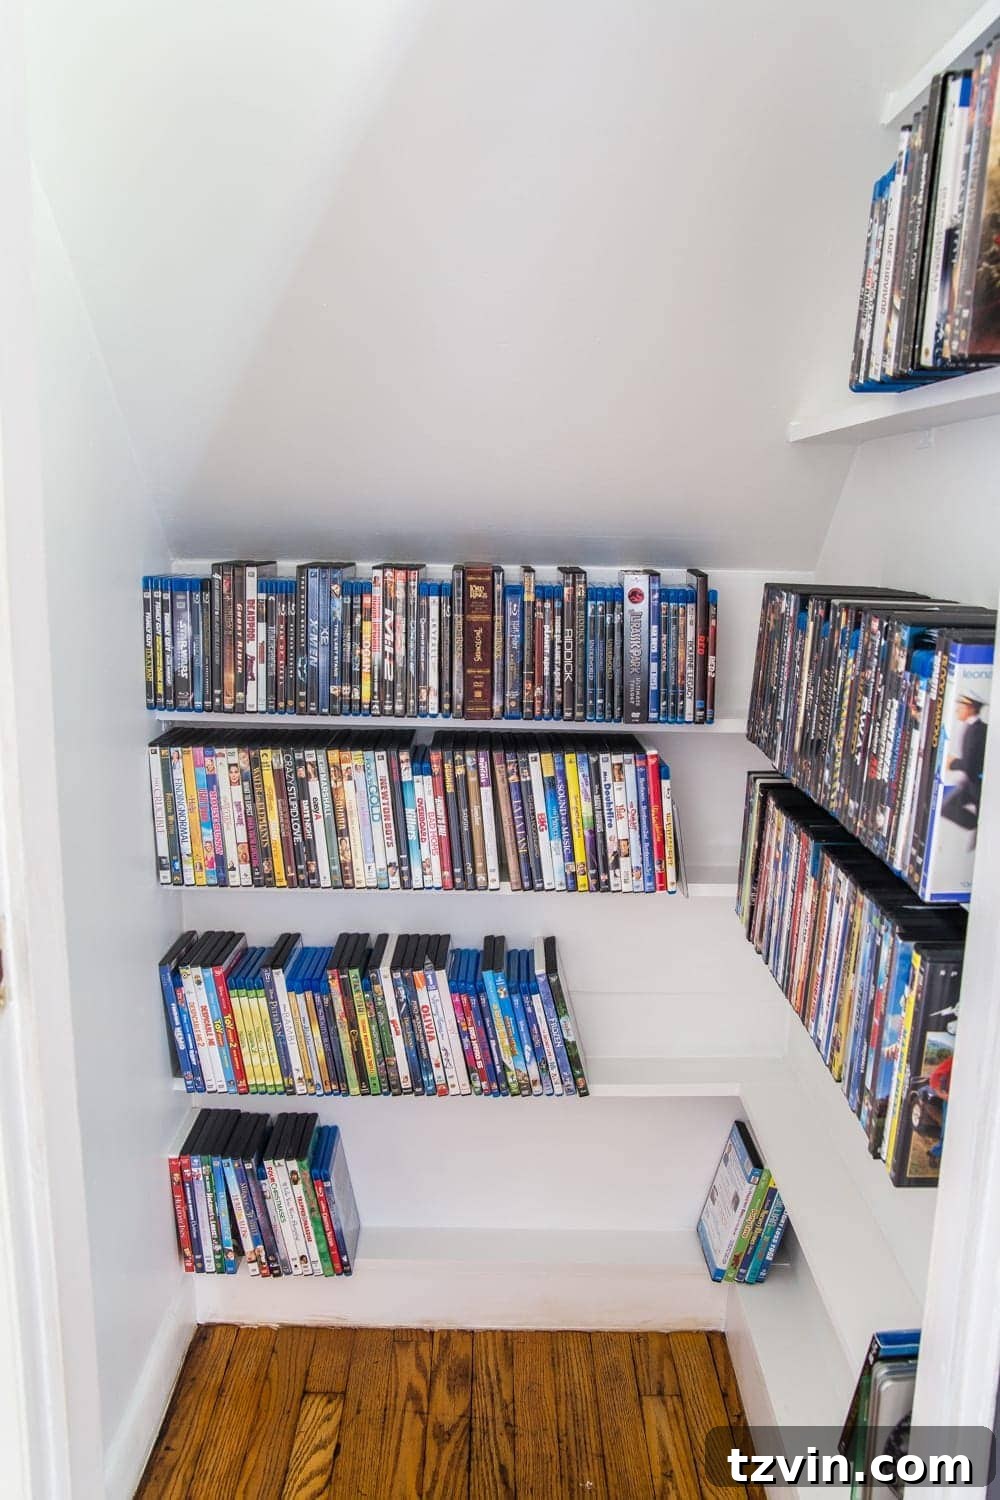
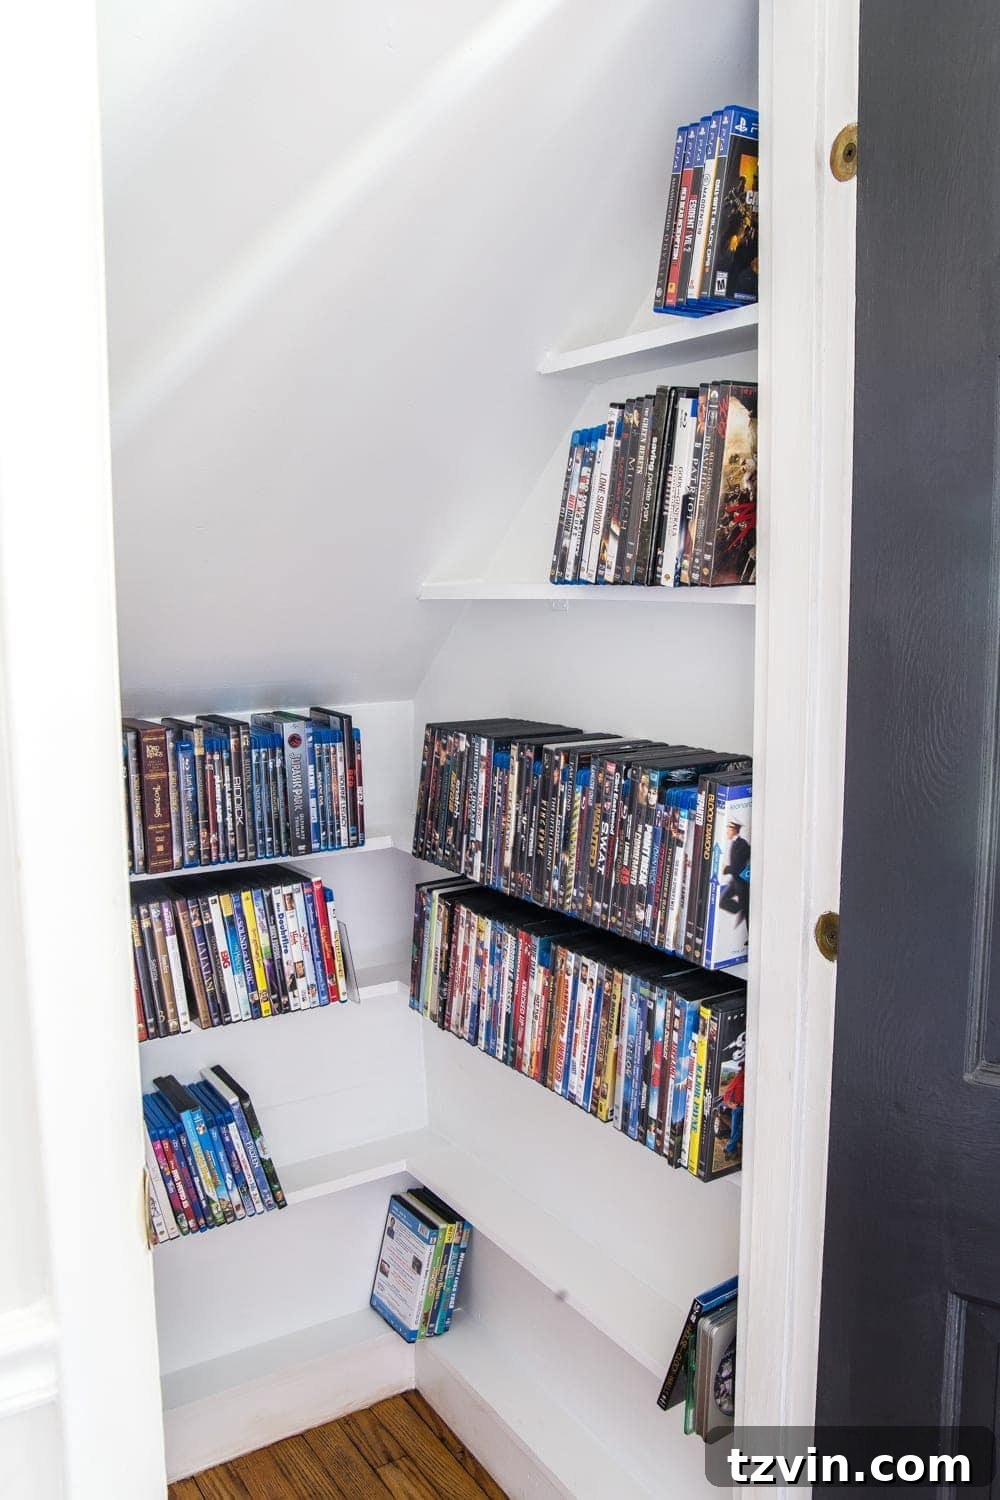
This project exemplifies how a weekend of effort, a few basic materials, and a clear vision can significantly impact your home’s functionality and aesthetic. For those grappling with media clutter or seeking creative storage solutions for small spaces, an under-stairs closet offers immense, often untapped, potential. It’s an opportunity to embrace DIY, save money on custom solutions, and create something truly tailored to your needs. This efficient use of space not only helps to keep your home tidy but also preserves your valued collections in an easily accessible manner. We encourage you to consider similar DIY approaches to transform neglected corners of your home into highly organized and practical areas.
We’re always curious about how others manage their media. Do you still “kick it old school” with physical media, or have you fully embraced the digital revolution? Share your innovative storage ideas or your journey to a 100% digital library in the comments below. We’d love to hear about your experiences and perhaps inspire future projects. While the digital age continues to advance, our commitment to our physical media collection remains strong, and with smart storage like this, we’re certainly not worried about keeping up with every single digital trend!