Thank you all so much for the incredibly kind comments on our recent powder room reveal earlier this week! Reading them genuinely made my day, and I’m still smiling just thinking about how supportive and encouraging you all are. It’s truly heartwarming to have such a wonderful community cheering us on.
I honestly thought I was done sharing all the intricate details of our powder room transformation. In fact, I almost kept this particular project to myself, pretending it magically appeared. But the result is simply too striking, the process too straightforward, and the impact too beautiful not to share! If you have a mirror, a piece of furniture, or any wooden decor item that feels a bit bland and could use an injection of character and texture, this tutorial is for you.
Transform Your Home Decor with a DIY Dry Brush Mirror Makeover
This entire house journey has been about embracing contrast and infusing spaces with personality. Our powder room mirror, in its original plain white state, was no exception. I wasn’t about to let it remain a blank canvas, devoid of the dramatic flair and textural depth that defines our home’s style. It harbored a secret, subtle yet significant, hidden beneath that pristine white paint: beautiful, authentic wood grain. My mission was clear: I had to reveal and celebrate its inherent beauty.
If you’ve ever discovered a piece of furniture or a wooden decor item with a layer of paint over a discernible, raised wood grain, you’re in for a treat. The dry brushing technique is a game-changer. It’s an incredibly simple yet powerful method that will make that hidden wood grain come alive before your very eyes, adding depth, character, and a touch of aged elegance.
Essential Supplies for Your Dry Brush Mirror Makeover
Before diving into the creative process, gathering your materials is key. I’ve found these specific items work wonders for achieving a beautiful, professional-looking finish. Some affiliate links are provided below for your convenience, helping you easily find the products I recommend.
- Fusion Mineral Paint in Coal Black: This will serve as your deep, dramatic base coat. Fusion Mineral Paint is known for its excellent coverage, durability, and smooth, matte finish, making it ideal for furniture and decor projects.
- Fusion Mineral Paint in Picket Fence: This crisp white will be your dry brushing color, creating the stunning contrast and highlighting the texture.
- 2″ Angled Brush: This is my go-to brush for applying a solid, even coat of paint. Its angled bristles make it easier to get into corners and edges for a flawless base.
- Chip Brush: Essential for the dry brushing technique. The stiff, natural bristles of a chip brush are perfect for picking up minimal paint and distributing it in fine strokes.
- Paper Towels or Dry Rags: Crucial for offloading excess paint from your chip brush. This step ensures you achieve that signature “dry” look rather than a solid painted line.
- Painter’s Tape (Optional but Recommended): To protect your mirror glass or any other areas you don’t want painted.
- Cleaner and Damp Cloth: For preparing your surface before painting.
The Power of Contrast: Black and White for High Drama
Whenever I aim to infuse a piece with remarkable texture and visual interest, my strategy is simple yet effective: pair a rich, dark paint color with a crisp, light one. In this particular project, the timeless elegance of black and white was the perfect combination. This striking contrast instantly elevates an ordinary item into a focal point, drawing the eye and adding a layer of sophistication that can complement various interior design styles, from modern farmhouse to industrial chic.
Step-by-Step Guide: Achieving the Perfect Dry Brushed Finish
1. Prepare Your Mirror Frame
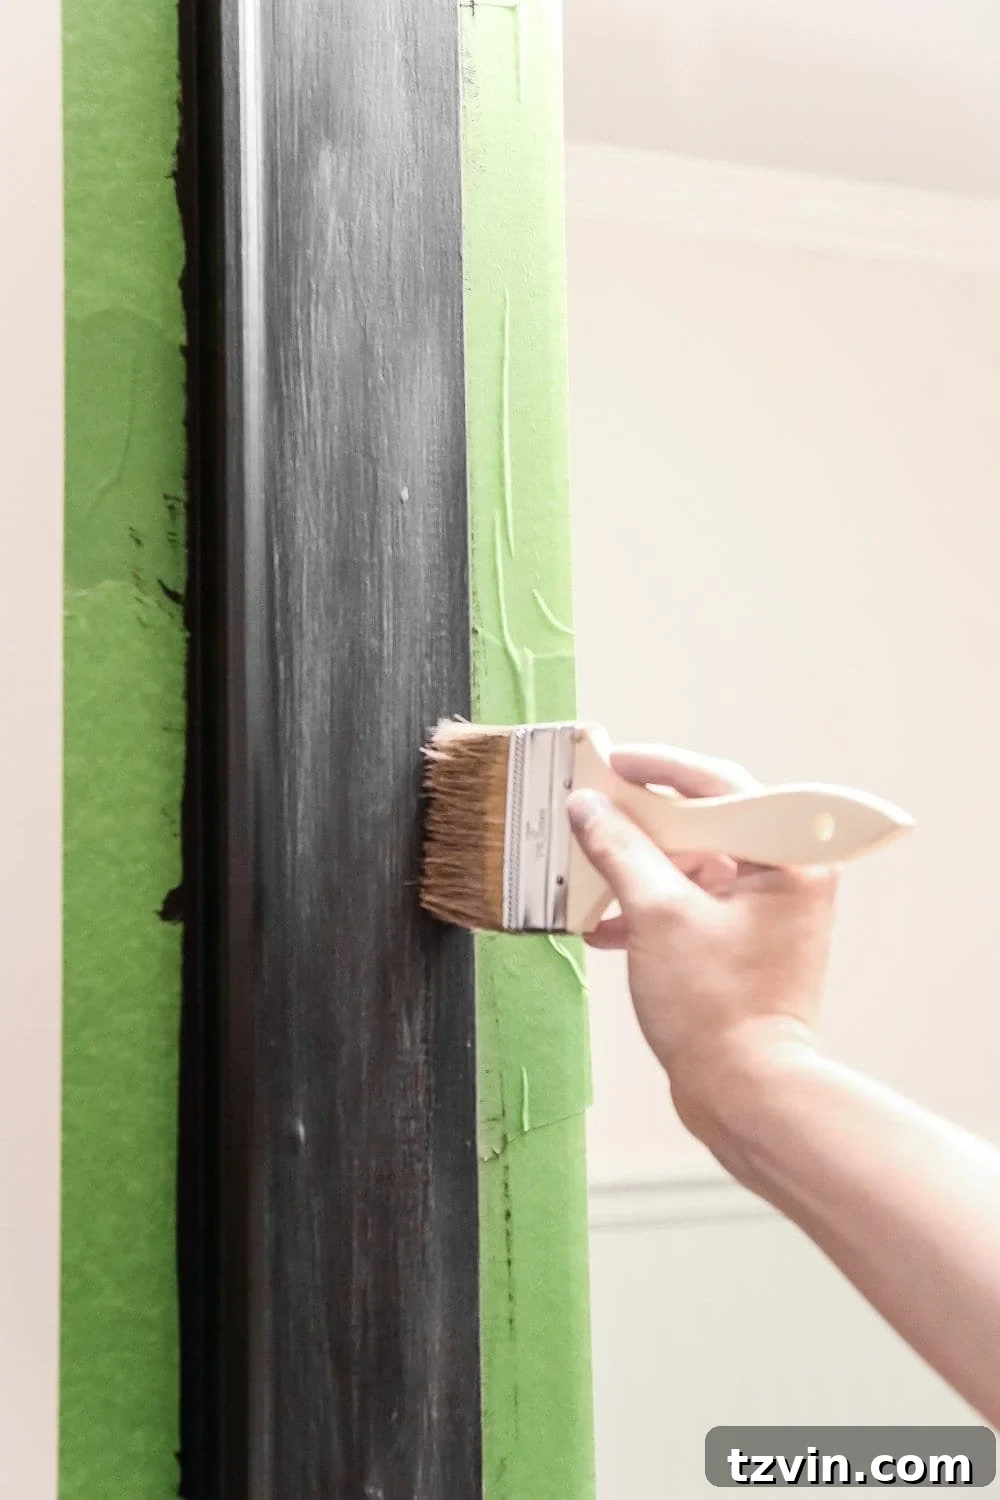
Before any paint touches your mirror, thorough preparation is vital for a lasting and beautiful finish. Begin by cleaning the entire wooden frame with a mild cleaner to remove any dust, grime, or oils that might hinder paint adhesion. Wipe it down with a damp cloth and allow it to dry completely. If your mirror has intricate details or a valuable glass surface, carefully apply painter’s tape around the edges of the mirror glass to protect it from stray paint. This small step can save you a lot of clean-up later.
2. Apply the Base Coat
With your mirror frame clean and prepped, it’s time for the first layer of transformation. Using your 2″ angled brush, apply two even coats of the Fusion Mineral Paint in Coal Black to the entire wood frame. Ensure each coat is thin and smooth to avoid drips and brush marks. Allow the first coat to dry completely before applying the second. Fusion Mineral Paint typically dries to the touch quickly, but always refer to the manufacturer’s recommendations for recoat times to ensure optimal adhesion and durability. This dark base is crucial; it provides the rich backdrop against which the dry-brushed white will truly pop, revealing the wood grain and creating an illusion of depth.
3. Master the Art of Dry Brushing
This is where the magic happens and where you transform a simple black frame into a piece with character, making it look almost like brushed zinc or aged metal. The dry brushing technique is all about control and subtlety.
First, dip only the very tips of your chip brush bristles into your light paint – the Fusion Mineral Paint in Picket Fence. Remember, less is more here. You want just enough paint to catch the raised texture, not enough to cover the base coat entirely.
Next, and this is the most critical step, brush off nearly all the excess paint onto a dry paper towel or rag. Continue brushing the paper towel until the brush looks and feels almost dry. When you drag it across the paper, it should leave a very faint, streaky mark, not a solid line. This ensures that when you apply it to your mirror, you’re merely depositing a whisper of color, creating a delicate, weathered effect.
Once your brush is properly “dry,” lightly brush it onto the dark, dried base coat of paint on your mirror frame. I find it most effective to brush in one consistent direction, keeping the bottom of my brush bristles relatively flat against the surface. This technique allows the raised wood grain to pick up the light paint, instantly highlighting its natural texture and creating a beautiful, distressed finish. Start with a very light hand; you can always add more layers to build up the effect, but it’s much harder to remove excess paint. Observe how the fine lines of the wood grain become pronounced, giving the mirror an incredible sense of age and sophistication.
The Grand Reveal: A Mirror Transformed
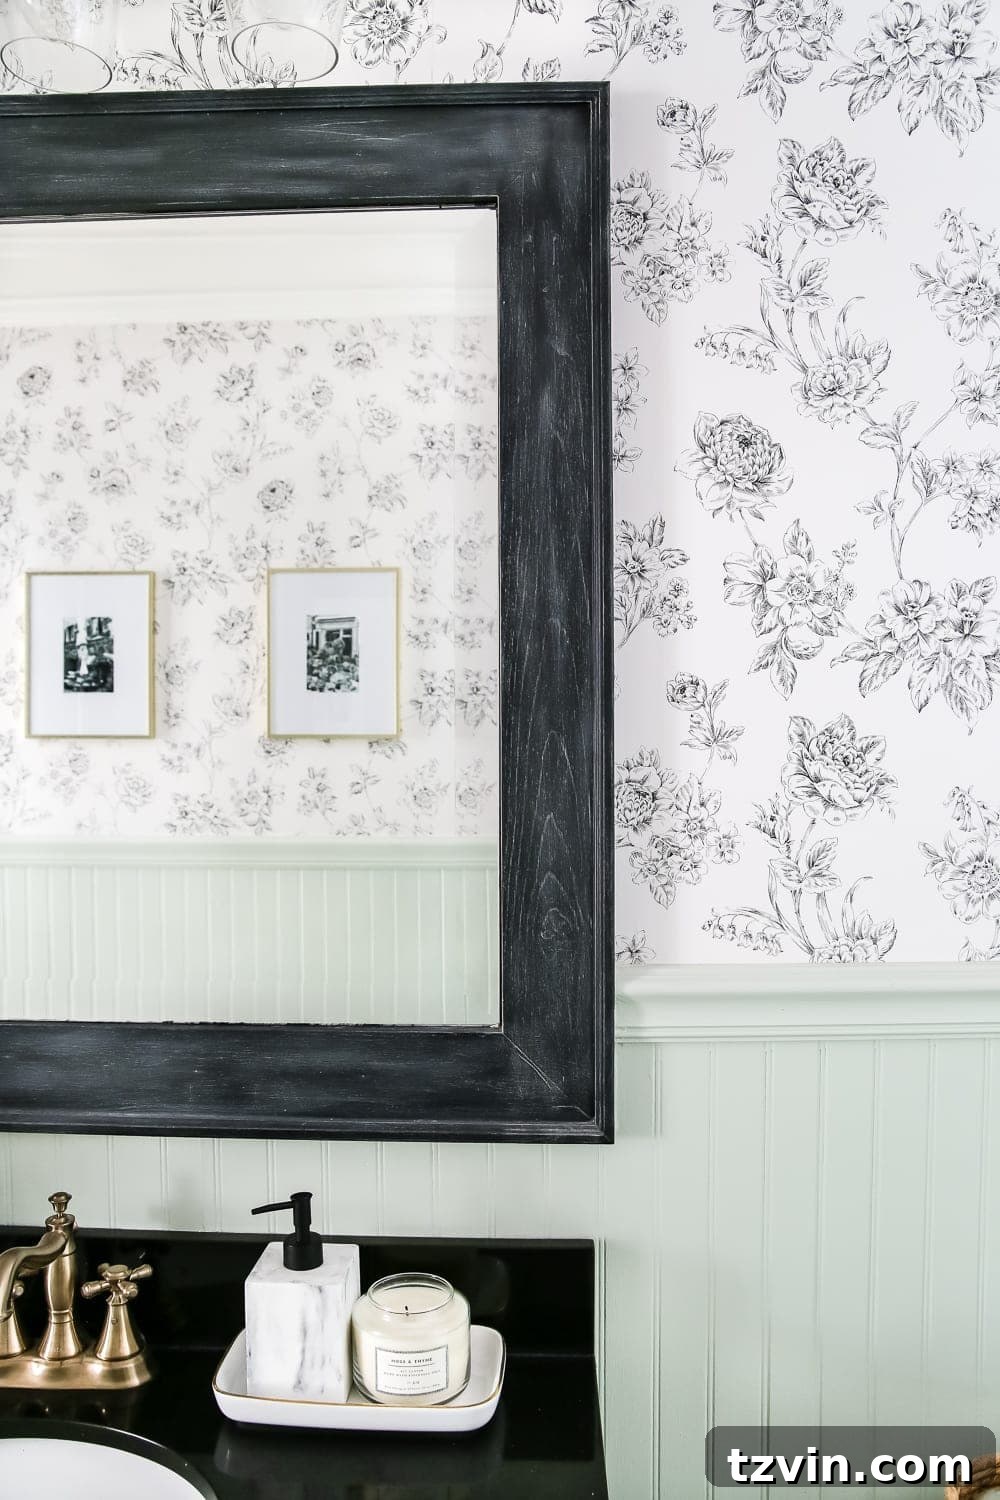
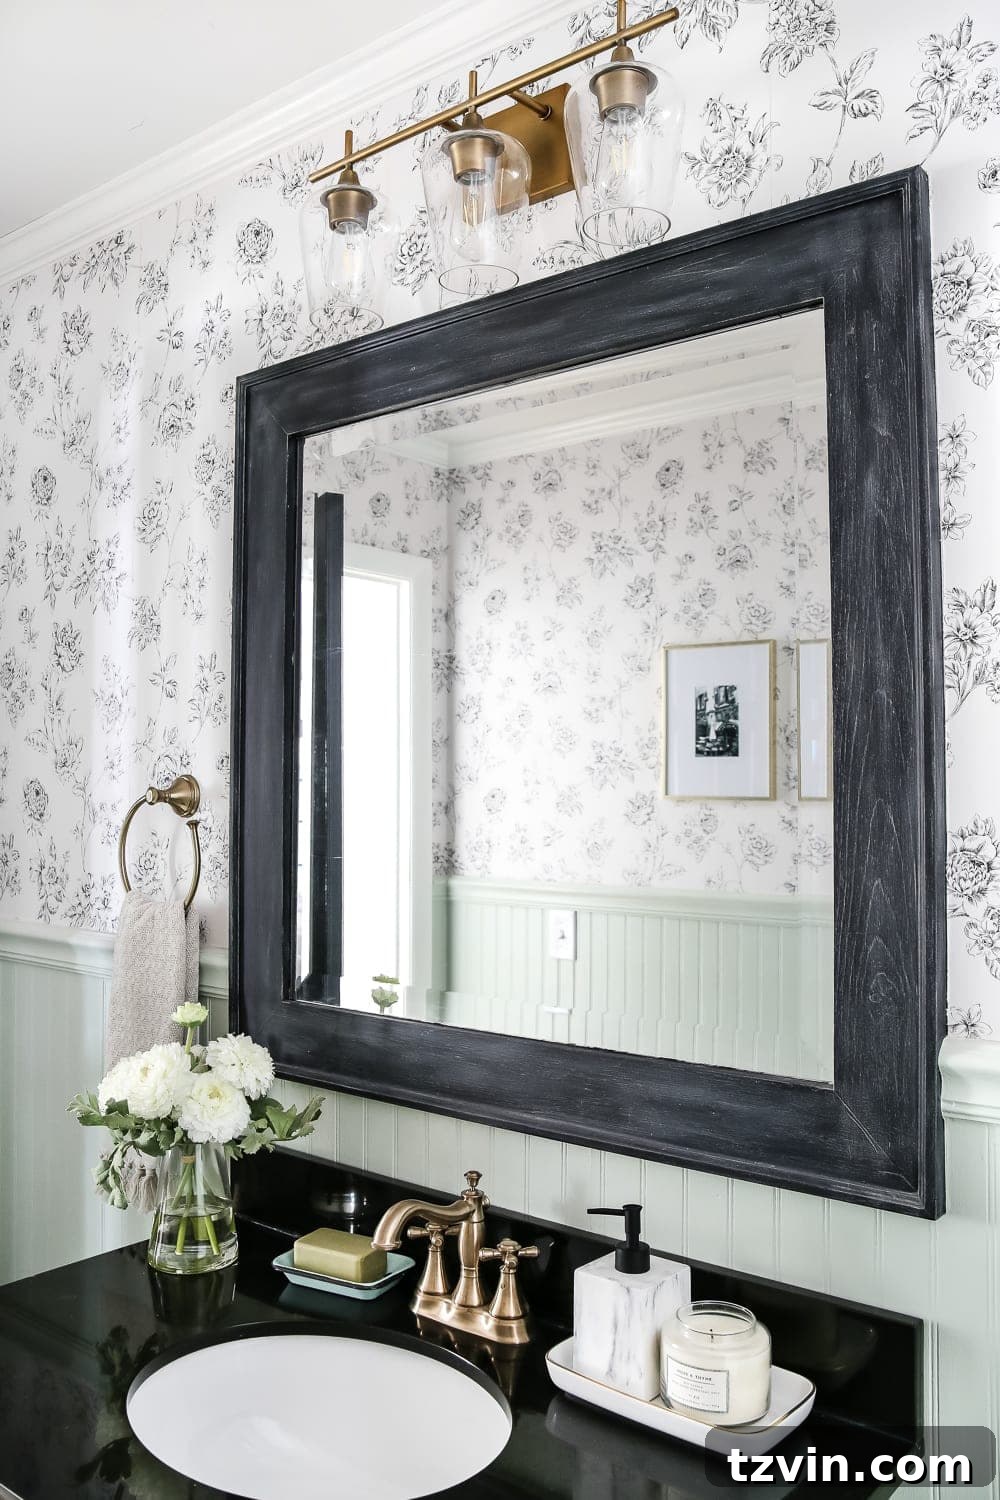
Once you’re satisfied with the dry brushed effect and the paint has had ample time to dry, carefully peel off the painter’s tape. And then, prepare to be amazed! The transformation is truly stunning. What was once a simple, plain white mirror now boasts a high-drama, weathered aesthetic. The contrasting black and white, combined with the revealed wood grain texture, creates a look that is both industrial and elegantly shabby farmhouse. This unique finish adds incredible character and depth to any space, making a powerful statement without overwhelming the room.
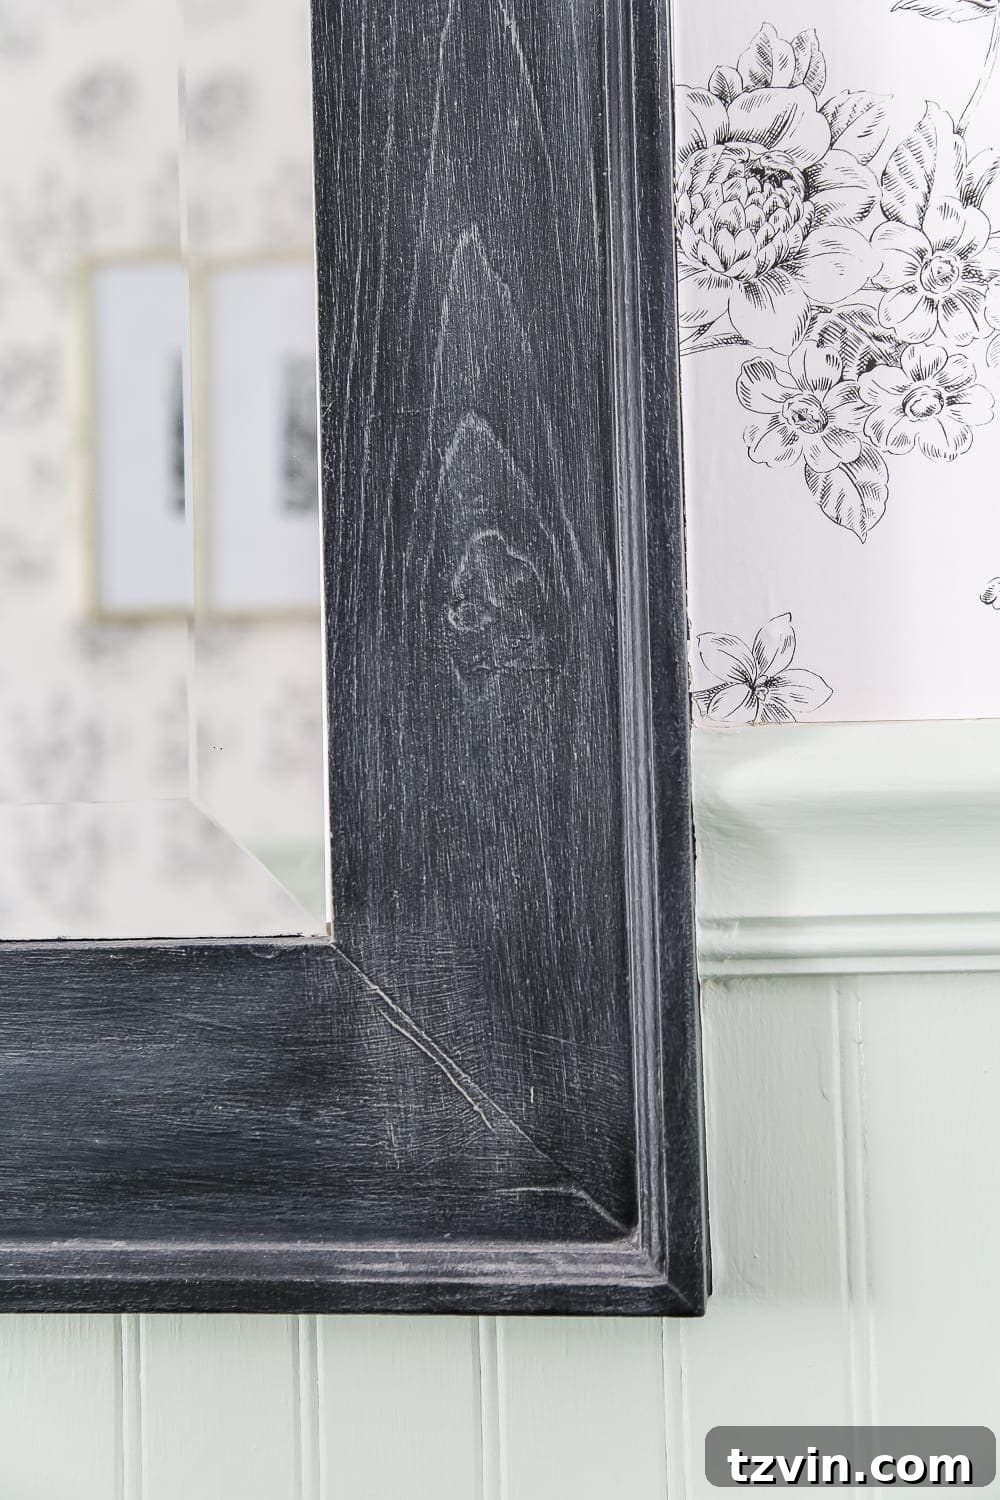
That blend of industrial edge and rustic, shabby farmhouse charm brings me so much joy. It perfectly captures the eclectic yet cohesive style we’re cultivating throughout our home. This mirror is no longer just a functional item; it’s a piece of art, telling a story of thoughtful design and creative revitalization.
Versatility of the Dry Brushing Technique
While this tutorial focuses on a mirror, the dry brushing technique is incredibly versatile and can be applied to a multitude of items to give them an aged, textured, or rustic look. Imagine transforming a plain wooden dresser into a farmhouse-style masterpiece, giving an old picture frame a sophisticated antique finish, or adding character to a simple wooden shelf. This technique works wonders on any piece with existing texture or wood grain that you wish to emphasize, making it a go-to method for DIY enthusiasts looking to personalize their home decor.
Wrapping Up & Looking Ahead
Okay, so this is it! I pinky promise, no more powder room talk… for now! This stunning dry brushed mirror makeover truly deserved its own moment in the spotlight. It’s a testament to how a simple technique can yield incredibly dramatic and satisfying results, turning an overlooked item into a cherished piece of decor.
With the powder room officially checked off our project list, Robert and I have been diligently wrapping up a few final touches in the living room and our laundry room. We’re eager to officially declare those spaces complete as well. Oh, and of course, our minds are already shifting towards decorating for fall! Yes, that’s definitely happening!
As much as I’ll miss the vibrant energy of summer, the thought of cozy autumn days and festive fall decor fills me with giddy excitement all over again. There’s just something magical about the changing seasons and the opportunity to refresh our home’s ambiance. #DontHateMeCuzImBasic, but I’m wholeheartedly embracing the pumpkin spice and autumnal cheer!
I hope this detailed tutorial inspires you to pick up a brush and try your hand at dry brushing. It’s a fantastic way to add character and personalized charm to your home decor without a massive investment of time or money. Happy creating!