After three years of dedicated effort, our journey to transform our house is nearing its grand finale! While a home truly finished? We still have a few small projects, like the laundry room and some minor flooring work, but the vast majority of our vision has come to life. This momentous occasion has me incredibly excited to revisit the very beginning – those initial “before” shots from December 2013, when we first stepped through the front door of our new home. It was at that precise moment, filled with dreams and determination, that this blog was born.
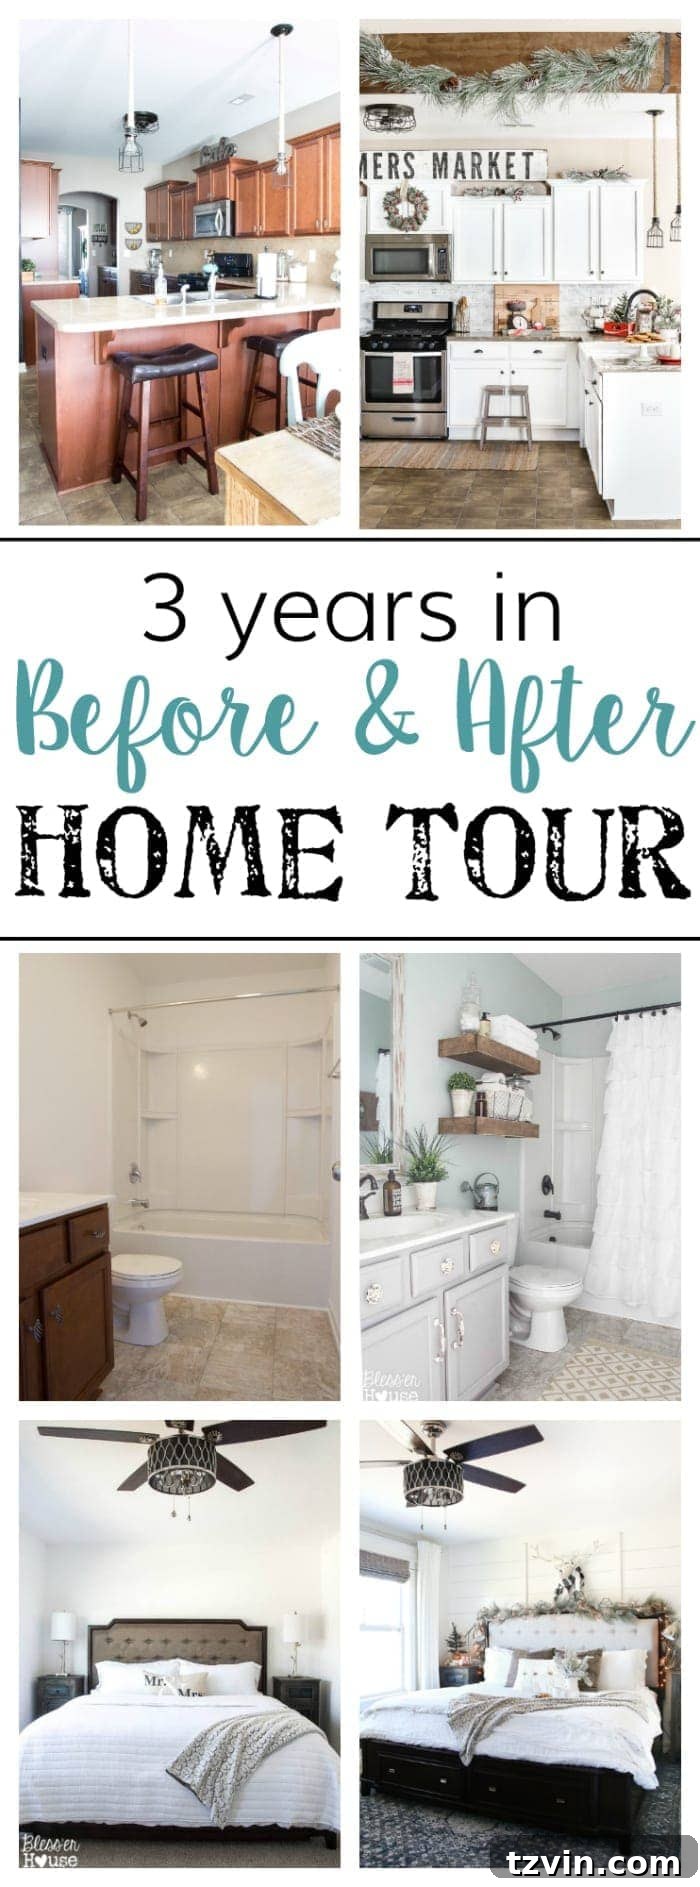
This entire process has been a whirlwind of excitement, stress, and sheer exhaustion, much like raising a young child. Our house is a typical suburban tract home, meaning that any “upgrades” during construction came with a hefty price tag for what often felt like standard quality. We strategically purchased this house for its generous square footage, knowing that we could infuse it with our unique style and personality over time. Our initial goal was simply to maximize space while minimizing the upfront cost.
As we celebrate this significant milestone, I thought it would be a wonderful opportunity to share a comprehensive, customized before-and-after home tour, infused with a touch of festive Christmas charm. Get ready to see how a plain canvas evolved into a personalized sanctuary!
The Foyer: A Welcoming Transformation
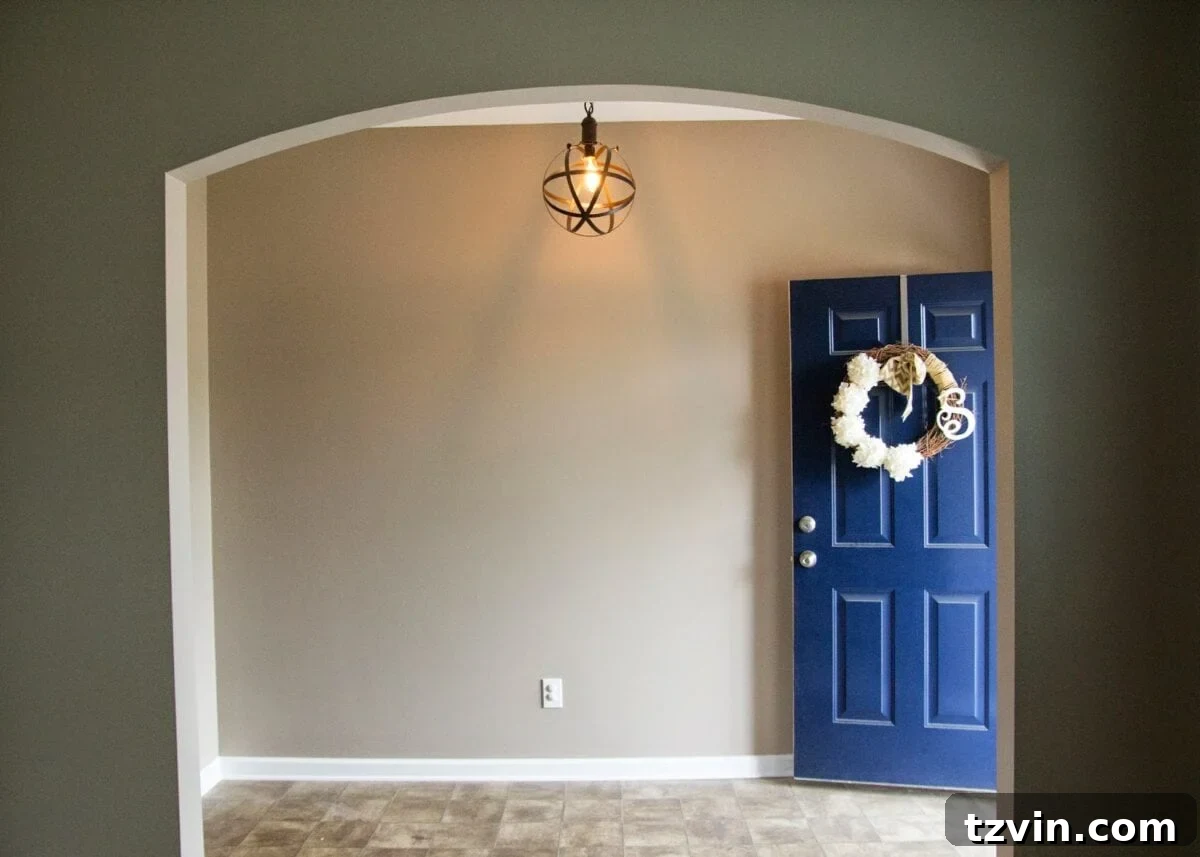
When we first moved into our house, furniture was a luxury we couldn’t yet afford beyond a crib and an old sofa. Robert was just embarking on his career after college, I was teaching, and our daughter, Olivia, was a spirited one-year-old. Funds were undoubtedly tight, but our enthusiasm for our very first home fueled our determination. We recognized its potential as an excellent starting point for our DIY dreams.
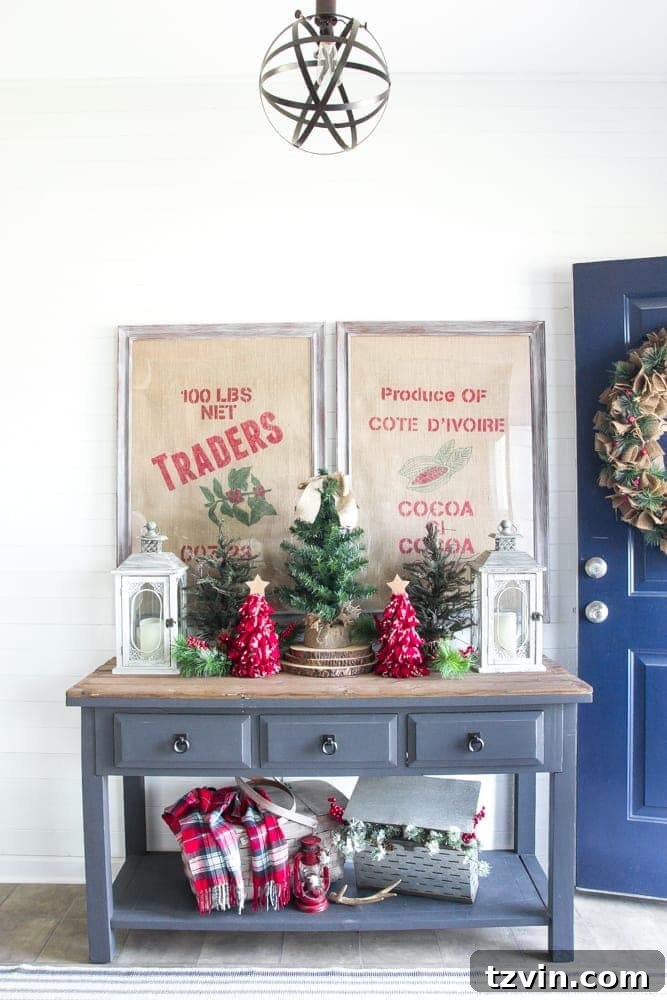
Our foyer, initially a blank and somewhat uninviting space, was one of our first projects. We furnished and transformed it largely with budget-friendly finds from Craigslist, combined with sheer willpower – a recurring theme throughout our entire home renovation journey. The goal was to create a functional and aesthetically pleasing entryway that offered a warm welcome without breaking the bank. We focused on durable pieces that could withstand the comings and goings of a young family, ensuring both practicality and style were achieved.
Discover all the DIY projects, design choices, and a detailed source list for our modern farmhouse foyer makeover.
The Hallway: Maximizing a Narrow Space
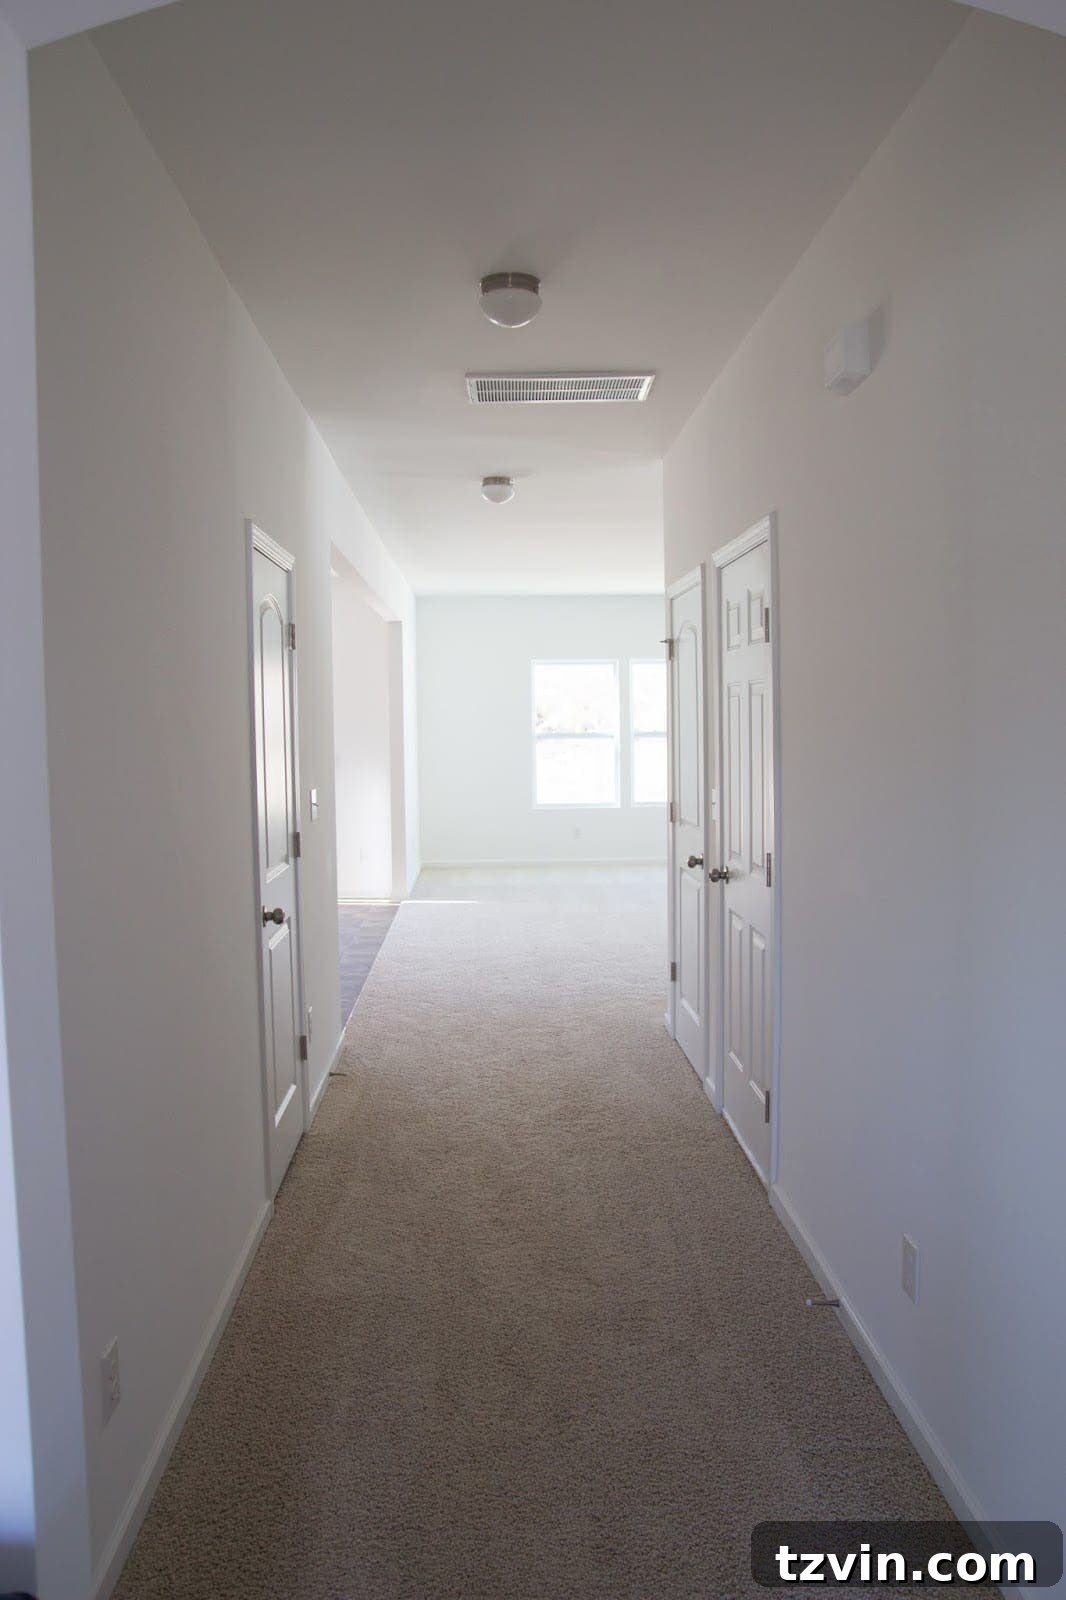
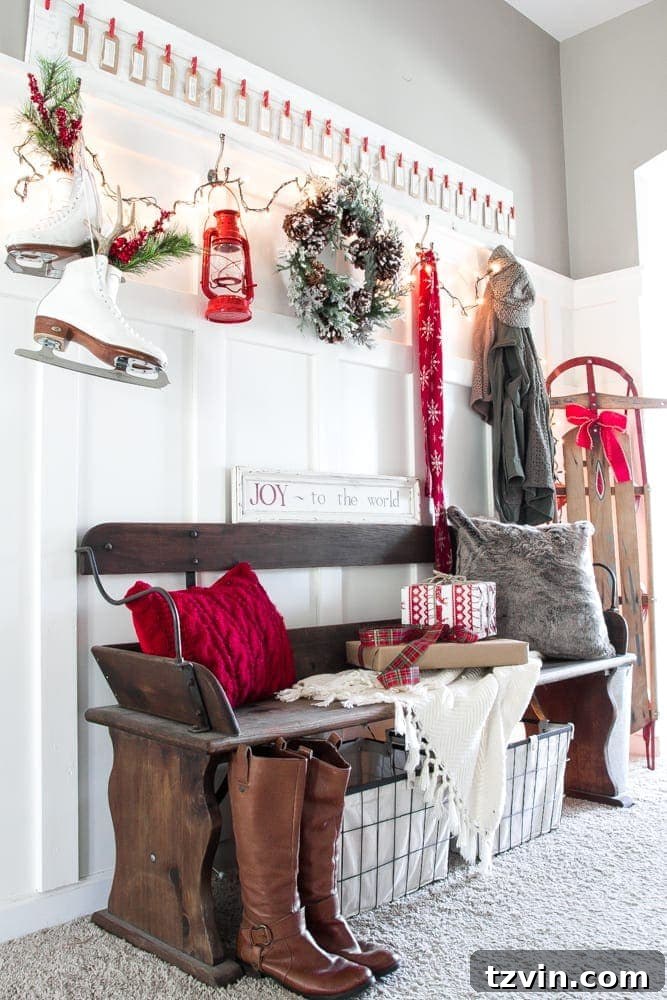
Initially, our hallway felt quite narrow and somewhat claustrophobic. We knew we needed to make this transitional space feel more expansive and purposeful. Our solution involved incorporating a fantastic bench we snagged on Craigslist for just $35 – a true bargain that anchors the space. To visually enlarge the hallway and add architectural interest, we installed classic board and batten paneling. This simple yet effective DIY project instantly elevated the aesthetic and made the hallway feel significantly more open. Now, it serves as our essential drop-zone, the perfect spot to kick off shoes and set down bags after a busy day.
Explore more details about our festive Christmas entryway here, showcasing how seasonal decor further enhances this inviting space.
The Dining Room: Elegant & Economical Entertaining
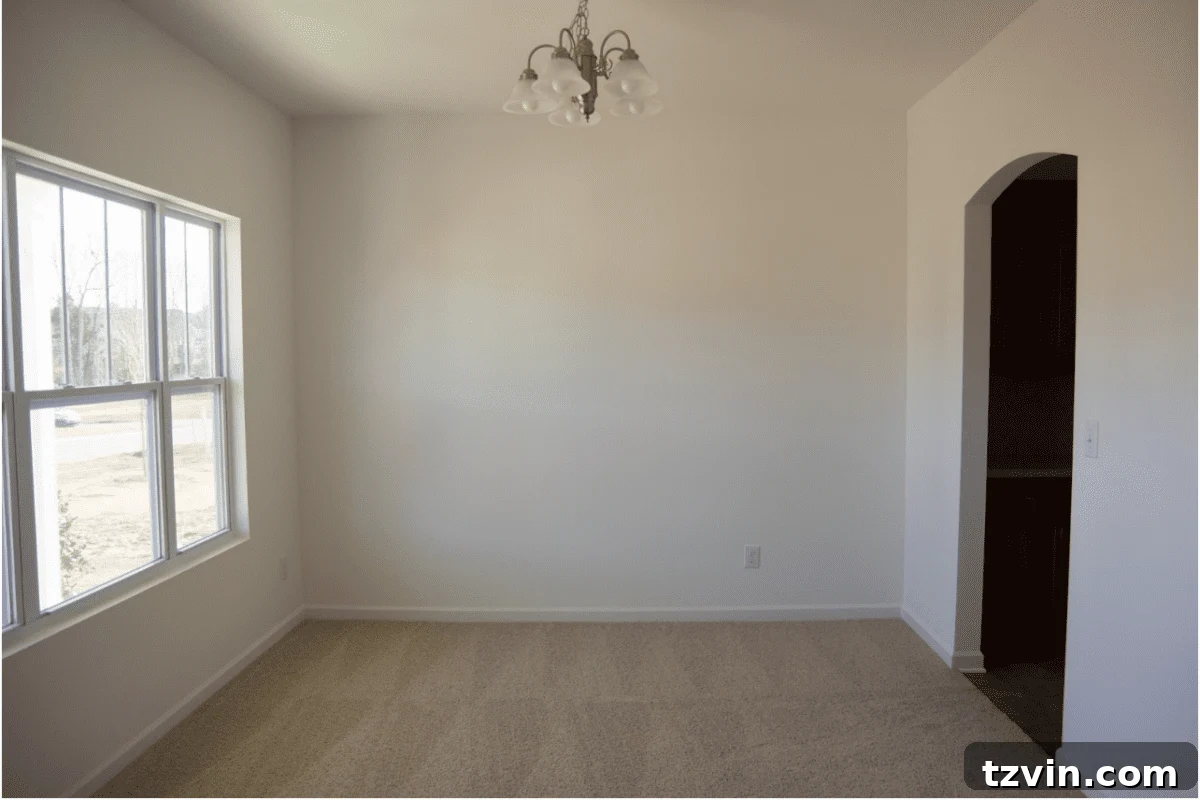
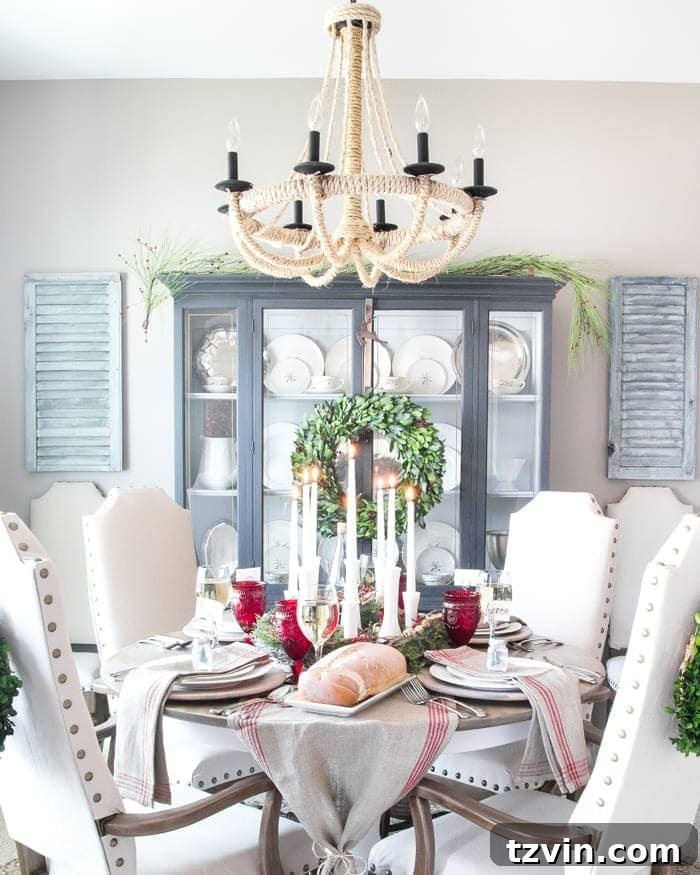
Our dining room stands as a testament to the power of secondhand finds and creative DIY. The entire space was furnished for under $700, proving that beautiful design doesn’t require a large budget. Each piece has a story and a personal touch, making this room uniquely ours.
I crafted the eye-catching rope chandelier from a simple thrift store fixture, using hot glue and a hula hoop to achieve a high-end look on a budget. The flea market china cabinet received a quick, transformative paint job, bringing it into our modern farmhouse aesthetic. The dining table, a central feature, was also a DIY project, where I meticulously painted and refinished it to achieve a weathered oak appearance. The dining chairs, sourced from an estate sale, were a significant undertaking, but the effort was well worth it. We tackled a DIY reupholstering project using durable drop cloth canvas, creating stylish and comfortable seating that perfectly complements the room’s design.
Explore our Christmas dining room tour for festive tablescape ideas and decor inspiration.
The Kitchen: From Drab to Dreamy
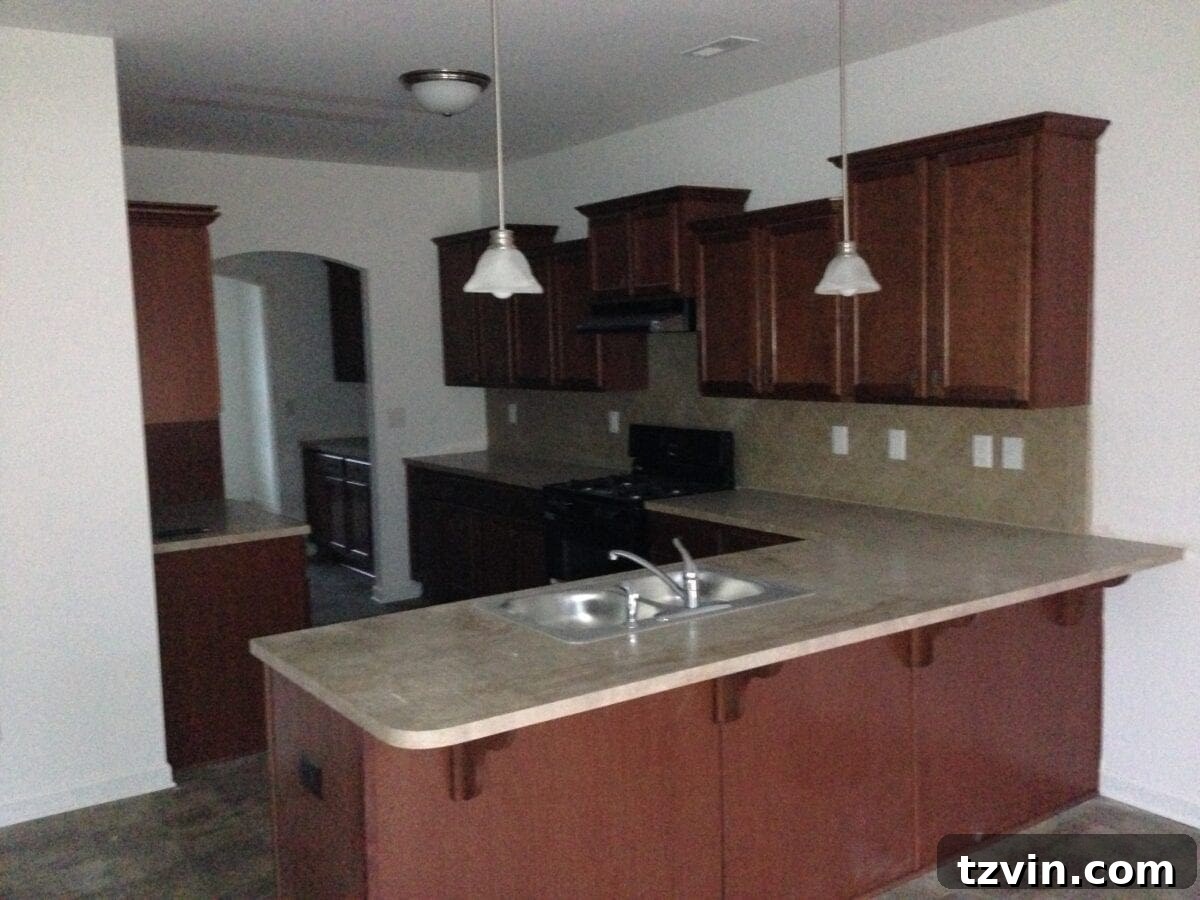
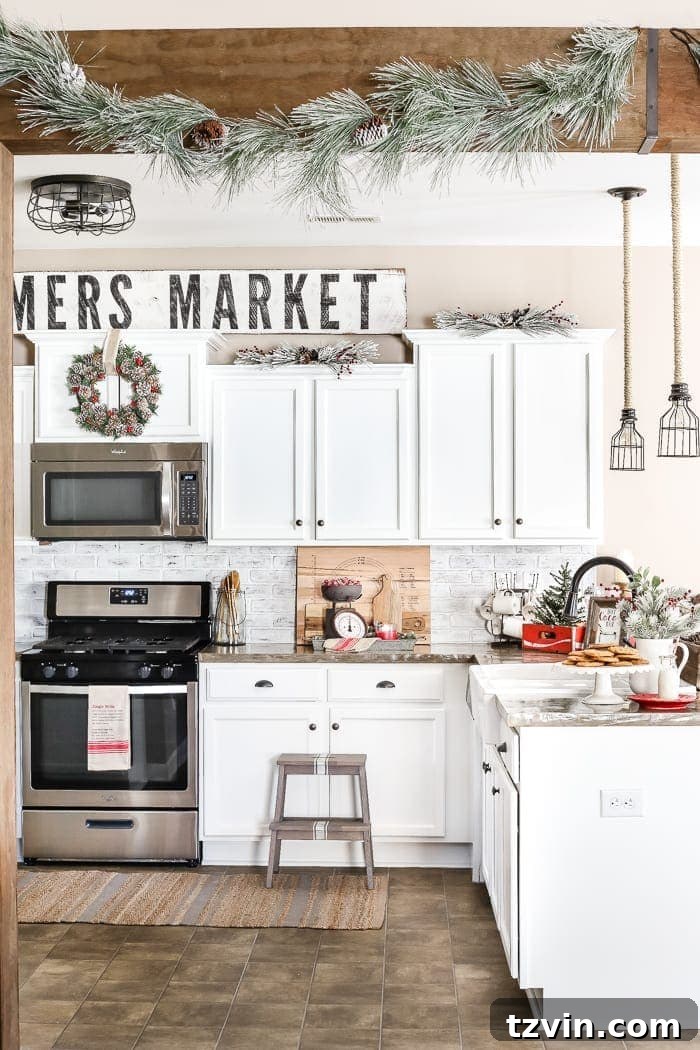
I always envisioned a bright, airy kitchen with white cabinets to truly open up what was initially a very dim and dark space. However, our builder offered only one standard cabinet color: a dull brown. This meant a substantial amount of personal labor went into transforming our kitchen, and because of that effort, I believe I love it even more. There’s an incredible satisfaction in stepping into a room and realizing, “I DID that!” It’s a powerful feeling, especially when you never thought you’d be capable of tackling such a large-scale project.
Our kitchen renovation was a testament to our commitment to DIY. We painstakingly painted the existing brown cabinets white, which immediately brightened the entire area. We also made strategic updates to the hardware, lighting, and backsplash to further enhance the modern farmhouse aesthetic we were aiming for. The transformation was dramatic, proving that with enough effort and a clear vision, even a builder-grade kitchen can become a custom dream space. The process was challenging, but the daily joy of cooking and gathering in this beautiful, hand-crafted kitchen makes every brushstroke and decision worthwhile.
Dive deeper into our modern farmhouse kitchen makeover, including all the DIY projects, a detailed budget breakdown, specific paint colors, and a comprehensive source list.
The Living Room: Creating Warmth and Character
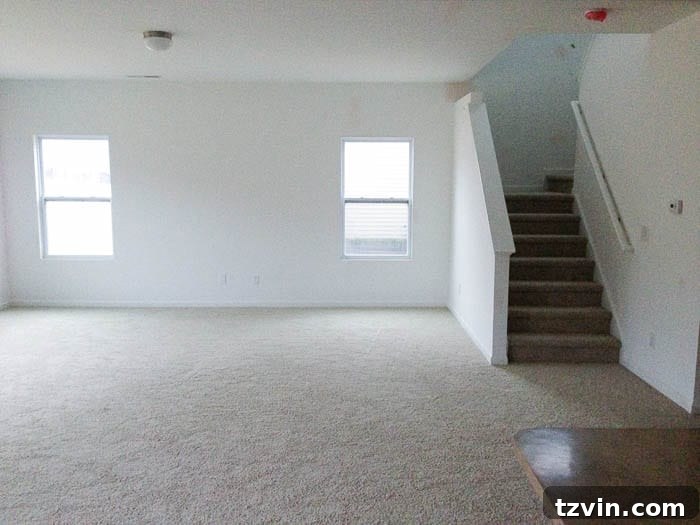
This image, captured from our breakfast nook, offers a glimpse into our living room before its significant transformation. Over the past few years, this space has truly been at the heart of our home improvement efforts, undergoing the most projects. To infuse character into our otherwise plain doorway, we undertook a rewarding DIY faux wood beam project for an incredible $80. This simple addition instantly added warmth and a custom, architectural detail that dramatically changed the feel of the transition between rooms, proving that impactful changes don’t always require a hefty investment.
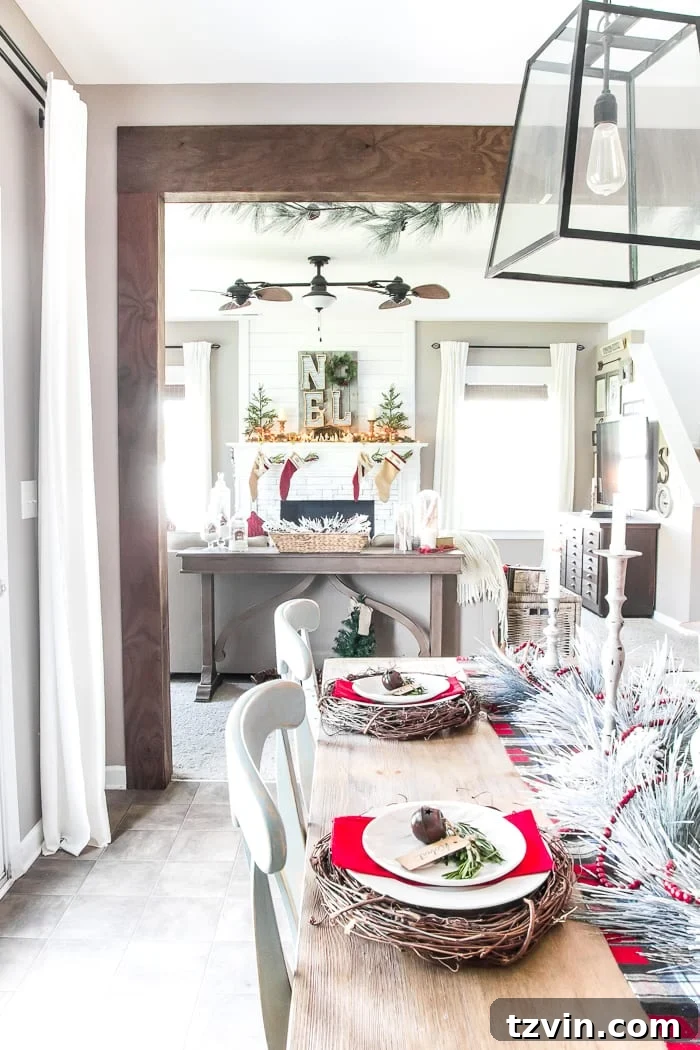
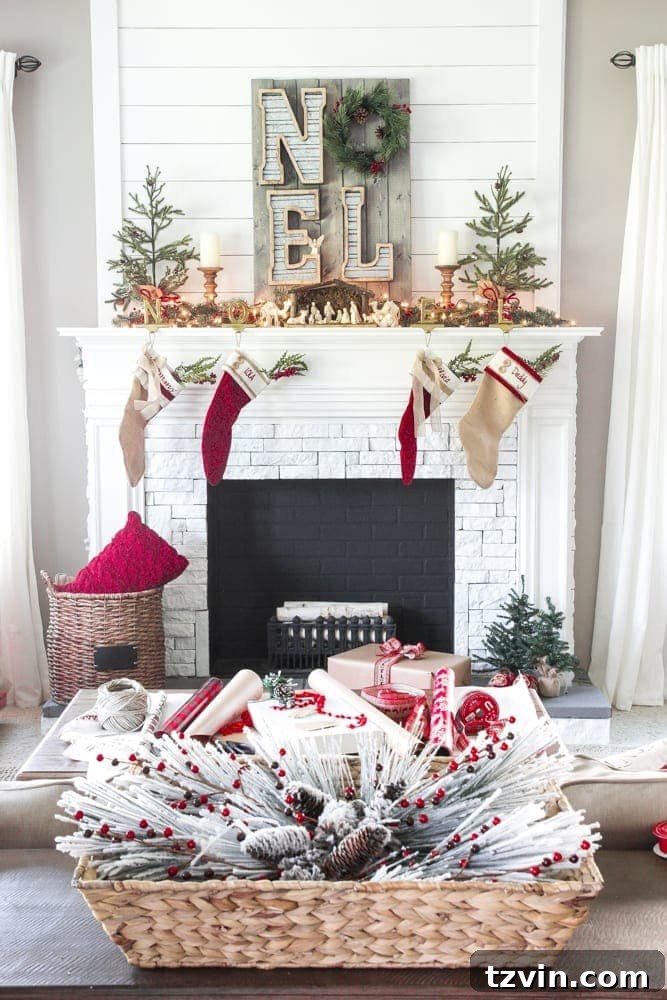
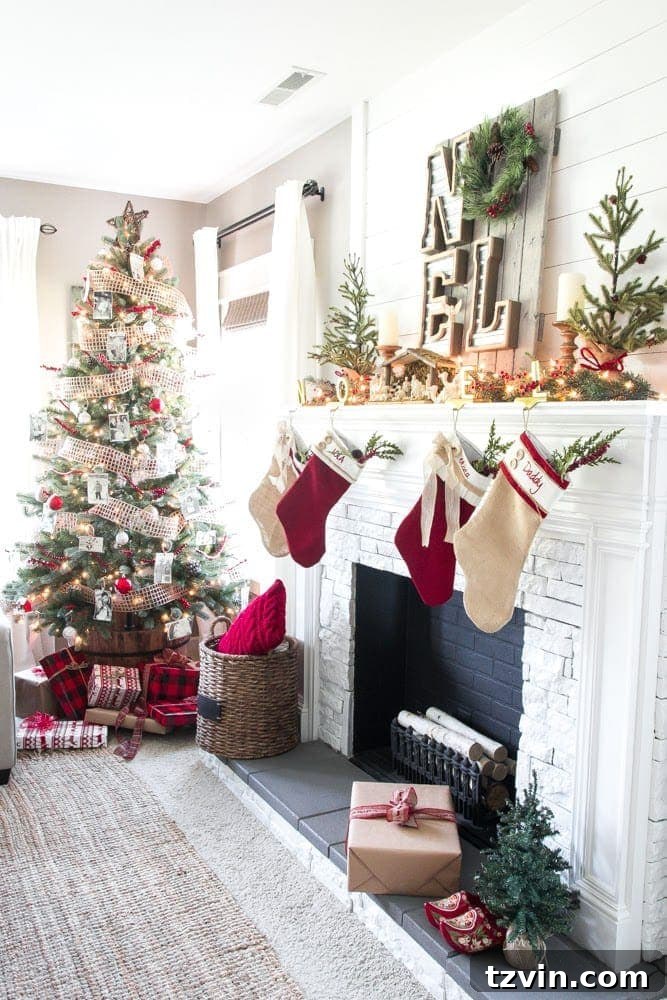
One feature we always dreamed of having was a fireplace, but the $5,000 upgrade cost for a small, basic unit from our builder felt unjustified, especially since we live in sunny South Carolina and didn’t require it for warmth. The solution? A DIY faux fireplace! (Those initial “before” shots, however, were certainly not as glamorous!)
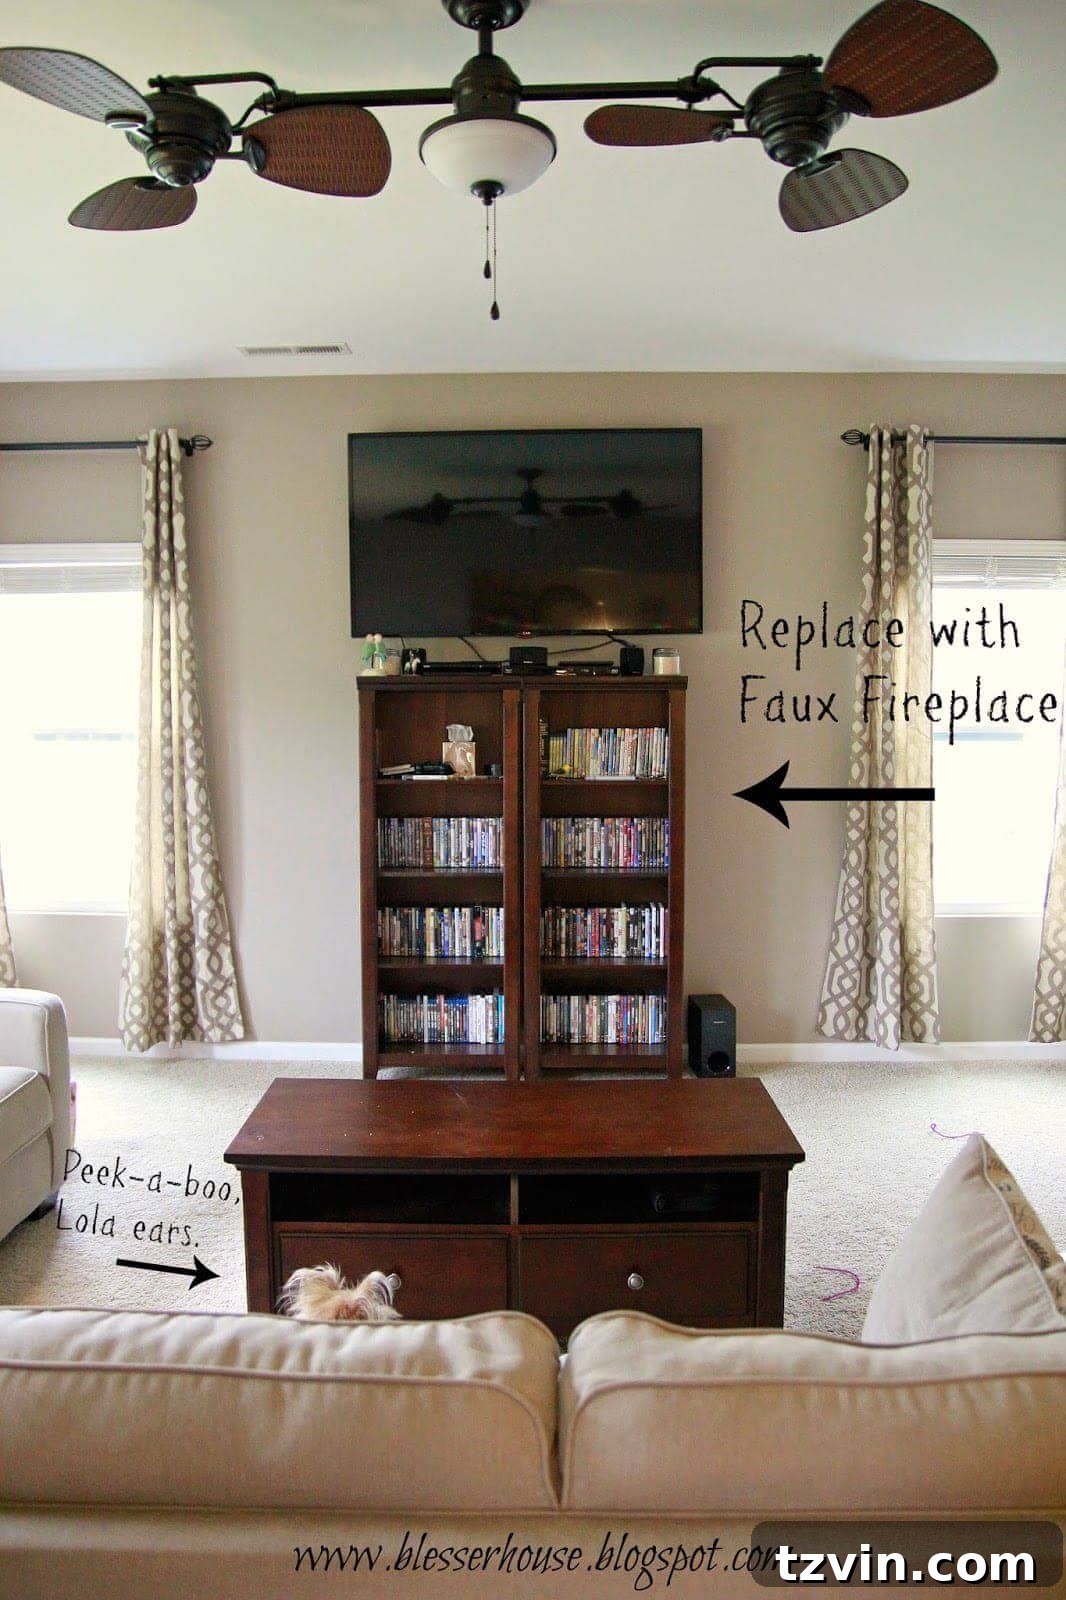
Building the faux fireplace was our very first major home improvement project, a true leap of faith. In retrospect, there might be minor details I’d tweak, and it’s certainly not 100% perfect, but I absolutely adore the significant statement it makes in the room. The best part? It cost us a mere $600 compared to the builder’s $5,000 for a much less impressive version. A decision absolutely worth every bit of effort and research.
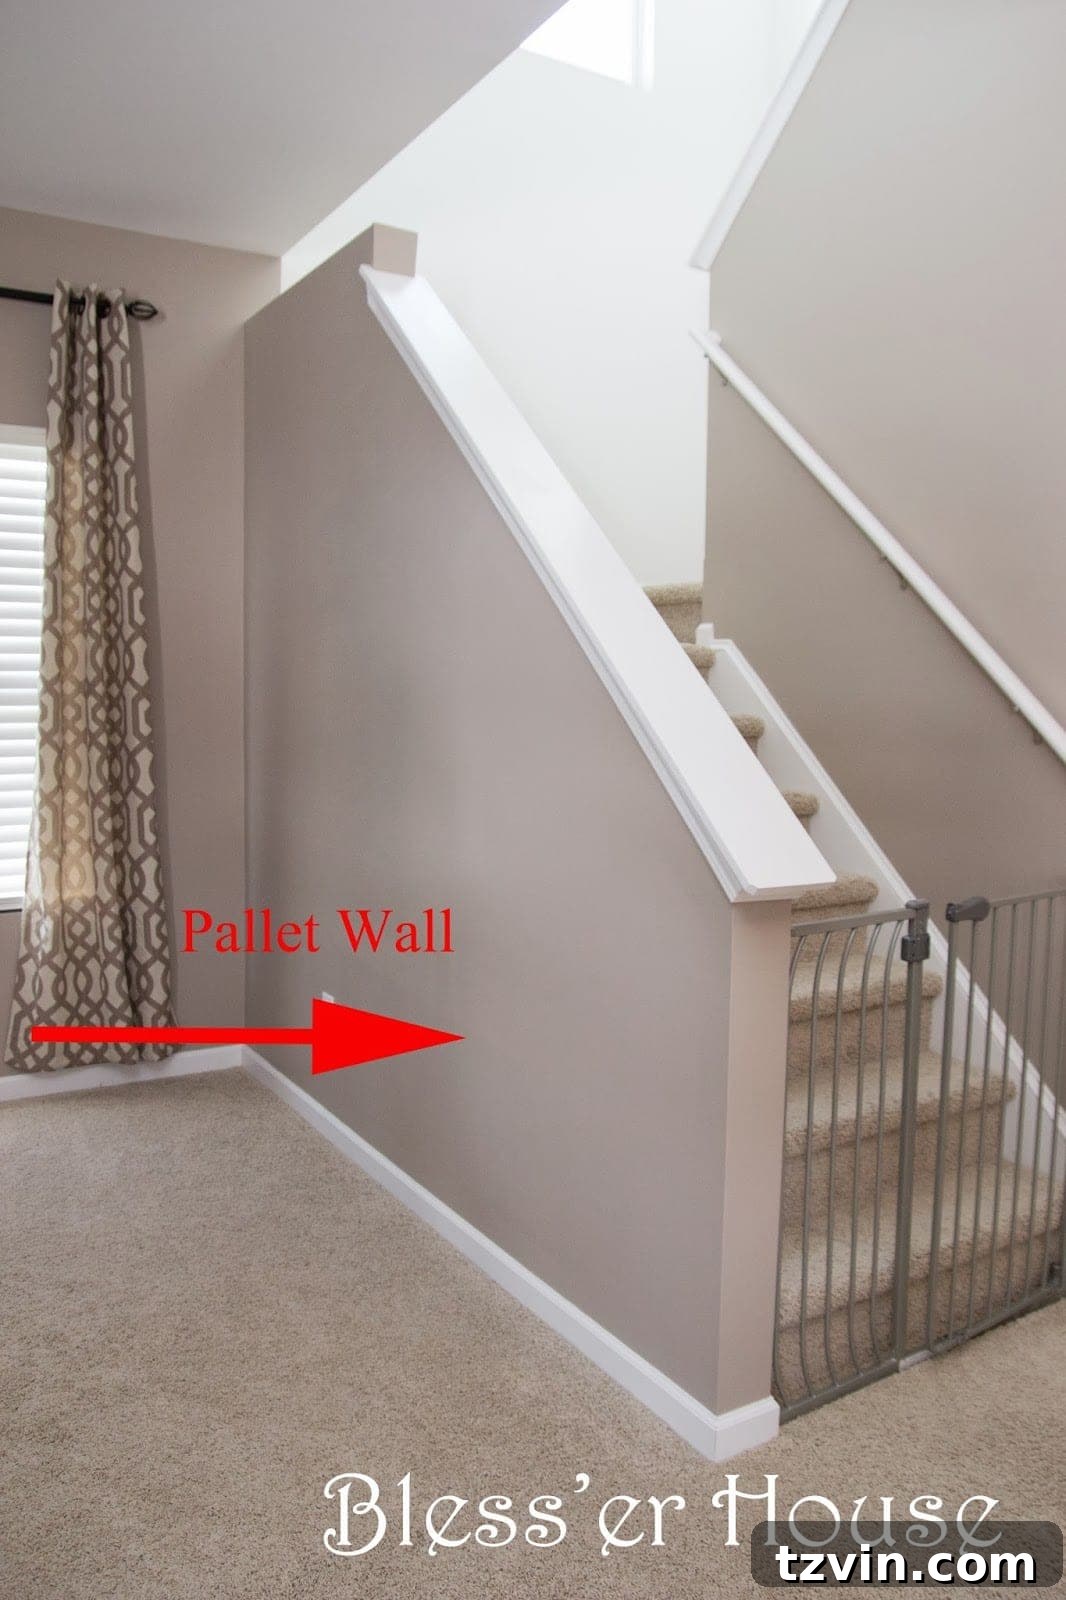
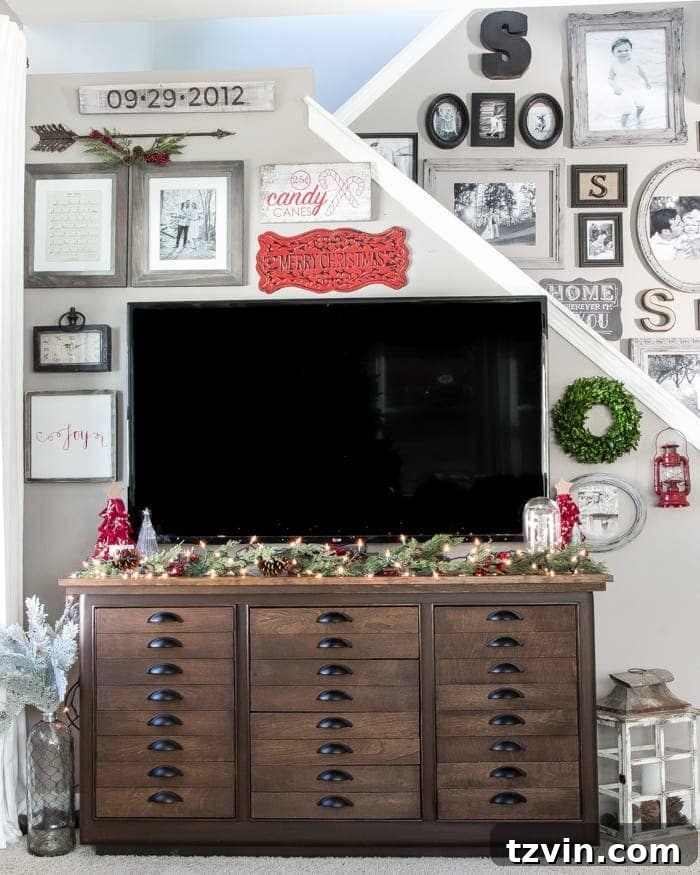
For our stairs, I wisely decided against my initial plank wall idea (a decision I’m very grateful for!) and instead created a stunning gallery wall using an eclectic collection of thrifted frames. This personal touch adds character and visual interest to the stairway. To accommodate our generously sized television, we discovered a plain buffet table on Craigslist, which we ingeniously reworked to mimic the look of an antique printer’s cabinet. This piece now serves as both a functional TV console and a stylish storage solution, seamlessly blending with our rustic modern aesthetic.
Step into our cozy Christmas living room tour for more festive decorating ideas and design insights.
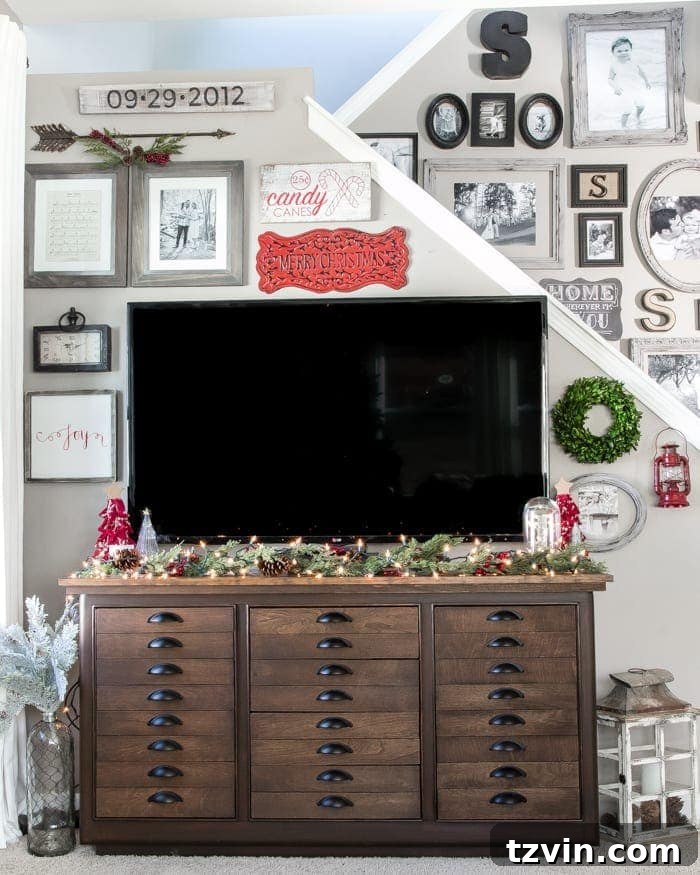
The Playroom / Media Room: Fun and Functional Family Space
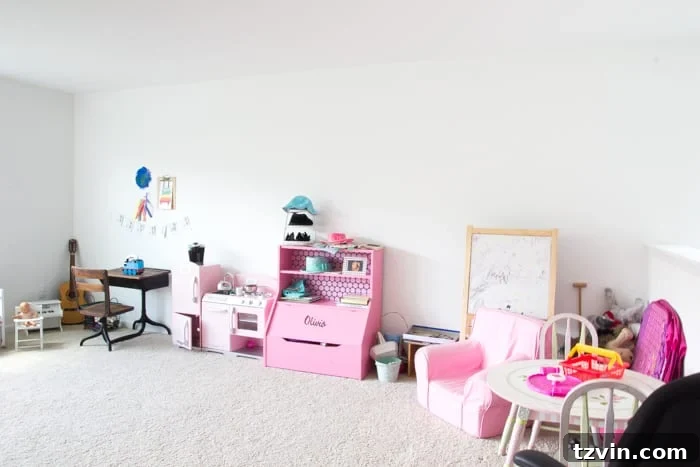
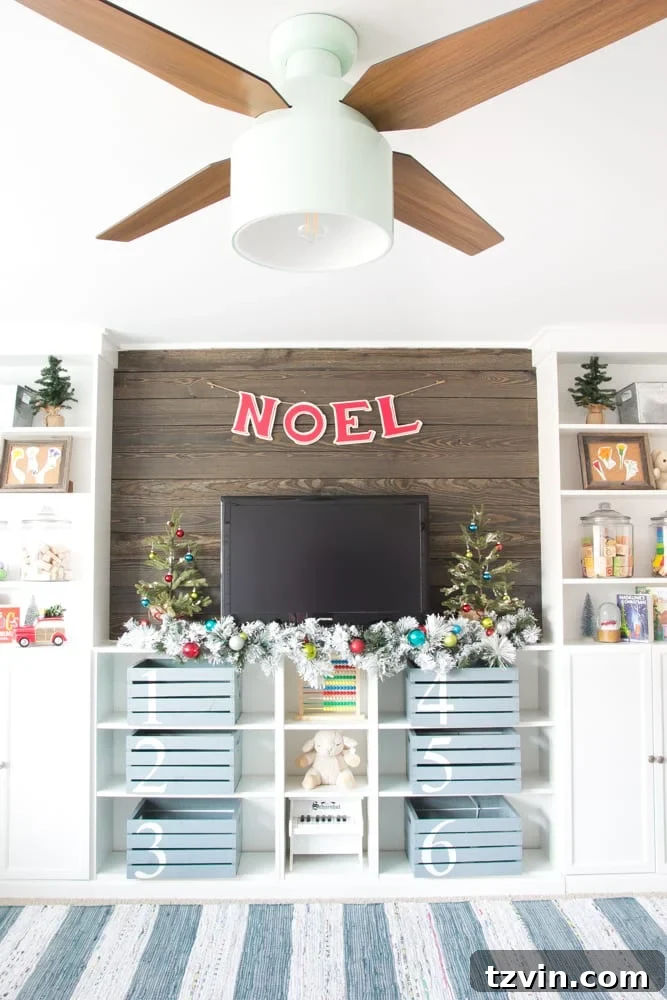
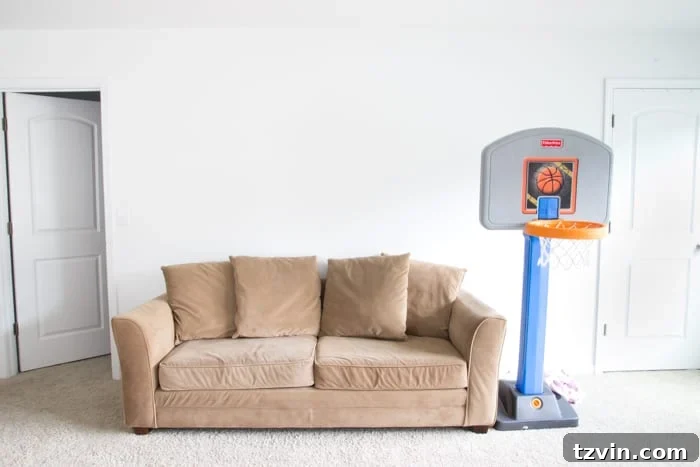
Our upstairs playroom received a significant overhaul this past fall, transforming it into a highly functional and enjoyable space for our entire family. We incorporated ample built-in storage solutions, dedicated work desks, and comfortable relaxation areas. I particularly love being able to work at the desk or on the cozy couch in the afternoons while Olivia happily colors or “cooks” in her play kitchen. This room truly embodies our commitment to creating versatile spaces that cater to both work and play, ensuring everyone in the family has a comfortable and inspiring area to enjoy.
**Discover the full scope of our eclectic farmhouse playroom reveal, including all the DIY projects, a detailed budget breakdown, chosen paint colors, and a comprehensive source list.**
Olivia’s Bedroom: A Ballerina’s Dream
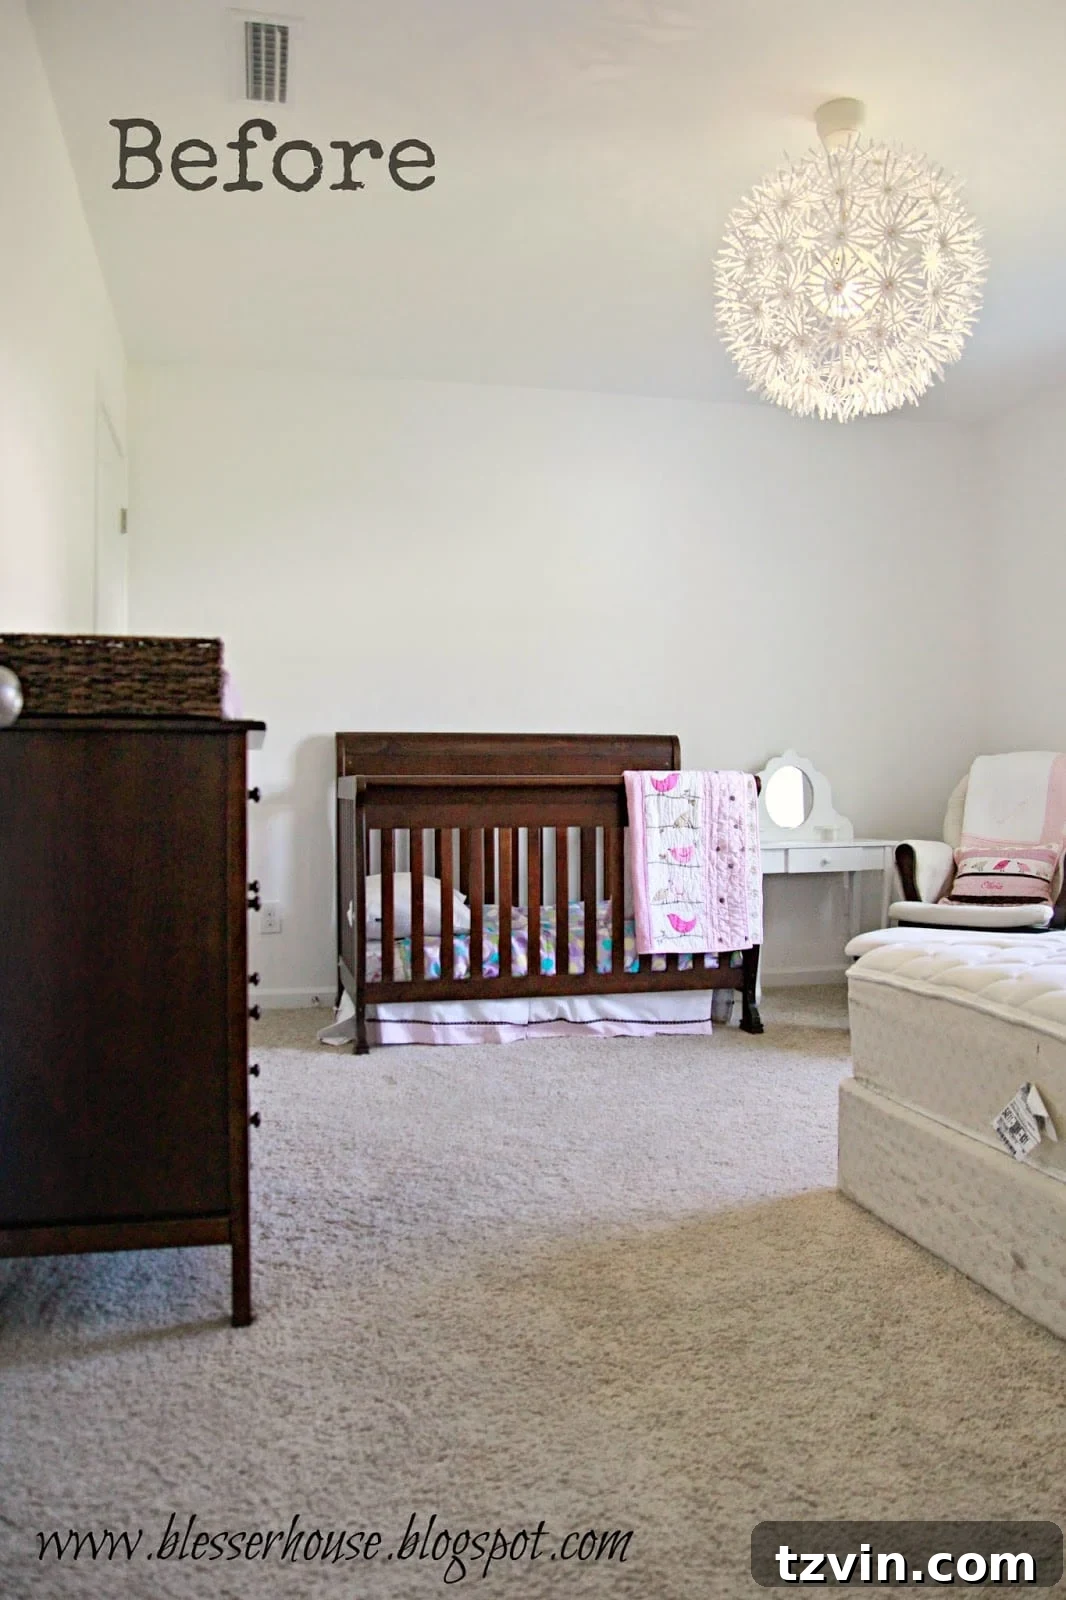
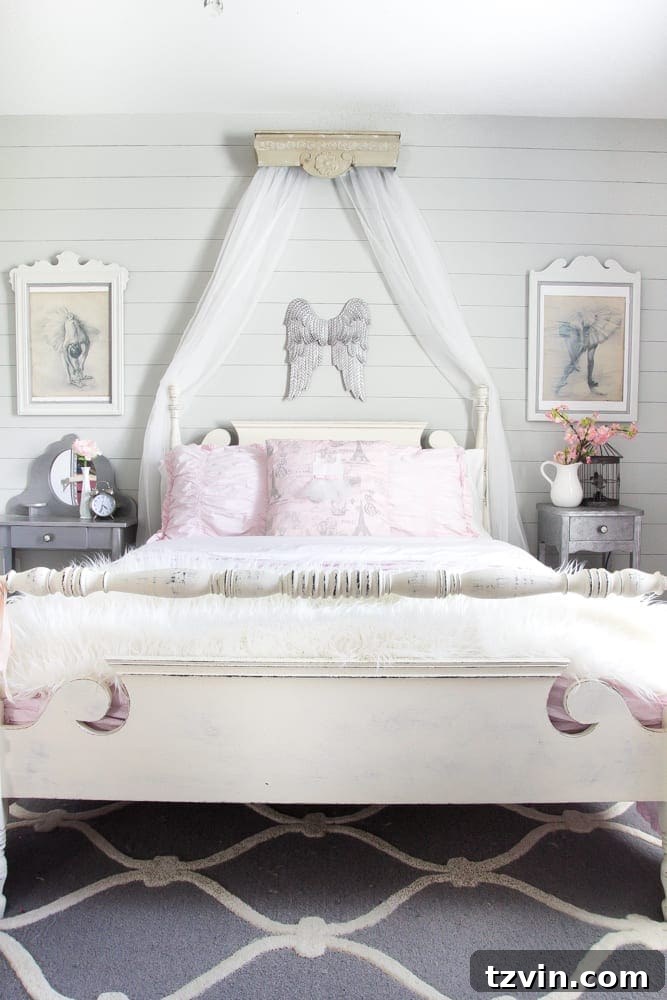
When Olivia was ready to transition from her crib to a “big girl” bed, we embarked on a delightful girly makeover for her room. Nearly all her furniture, with the exception of her mattress, was sourced from thrift stores or consignment sales, which I then lovingly painted and refreshed. We opted to keep the room’s overall color palette largely neutral, allowing it to easily adapt as she grows. If her tastes change from pink one day, it will be a simple and affordable update.
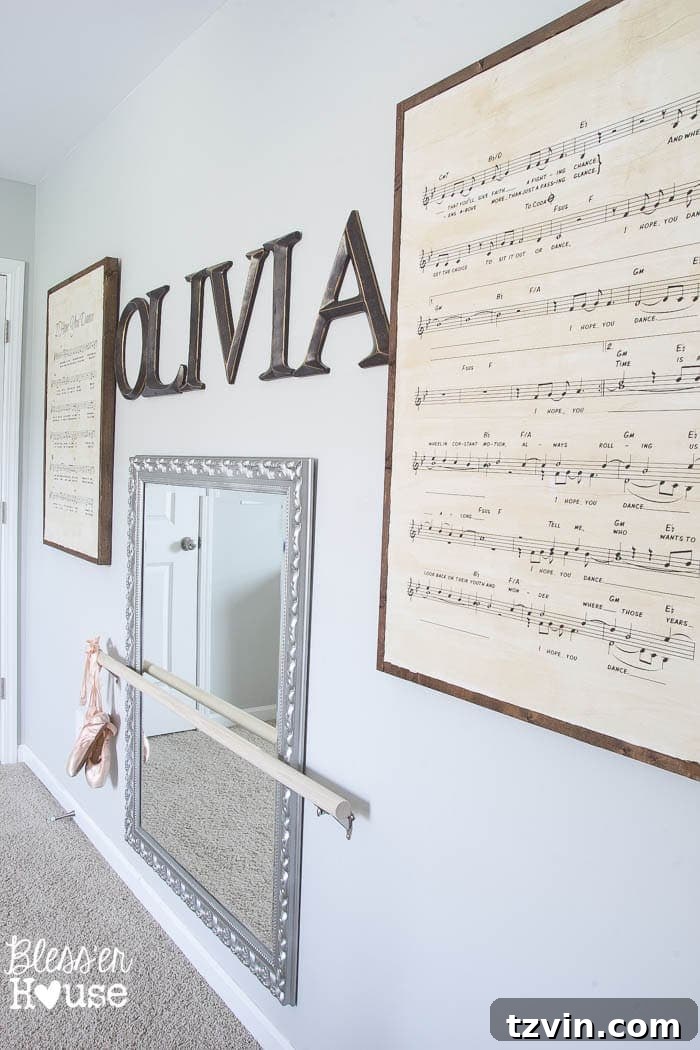
Olivia is constantly singing and dancing, so we embraced a ballerina theme, incorporating a special DIY ballet barre alongside a large mirror. This setup provides endless opportunities for twirly dress-up fun, which she enjoys every single day. The room is not just a place to sleep, but a vibrant space that encourages her creativity and expresses her joyful personality, all achieved on a thoughtful budget.
Explore all the details of this enchanting ballerina girl bedroom makeover, including DIY projects, a budget breakdown, paint colors, and a complete source list.
Olivia’s Bathroom: A Simple Yet Stunning Update
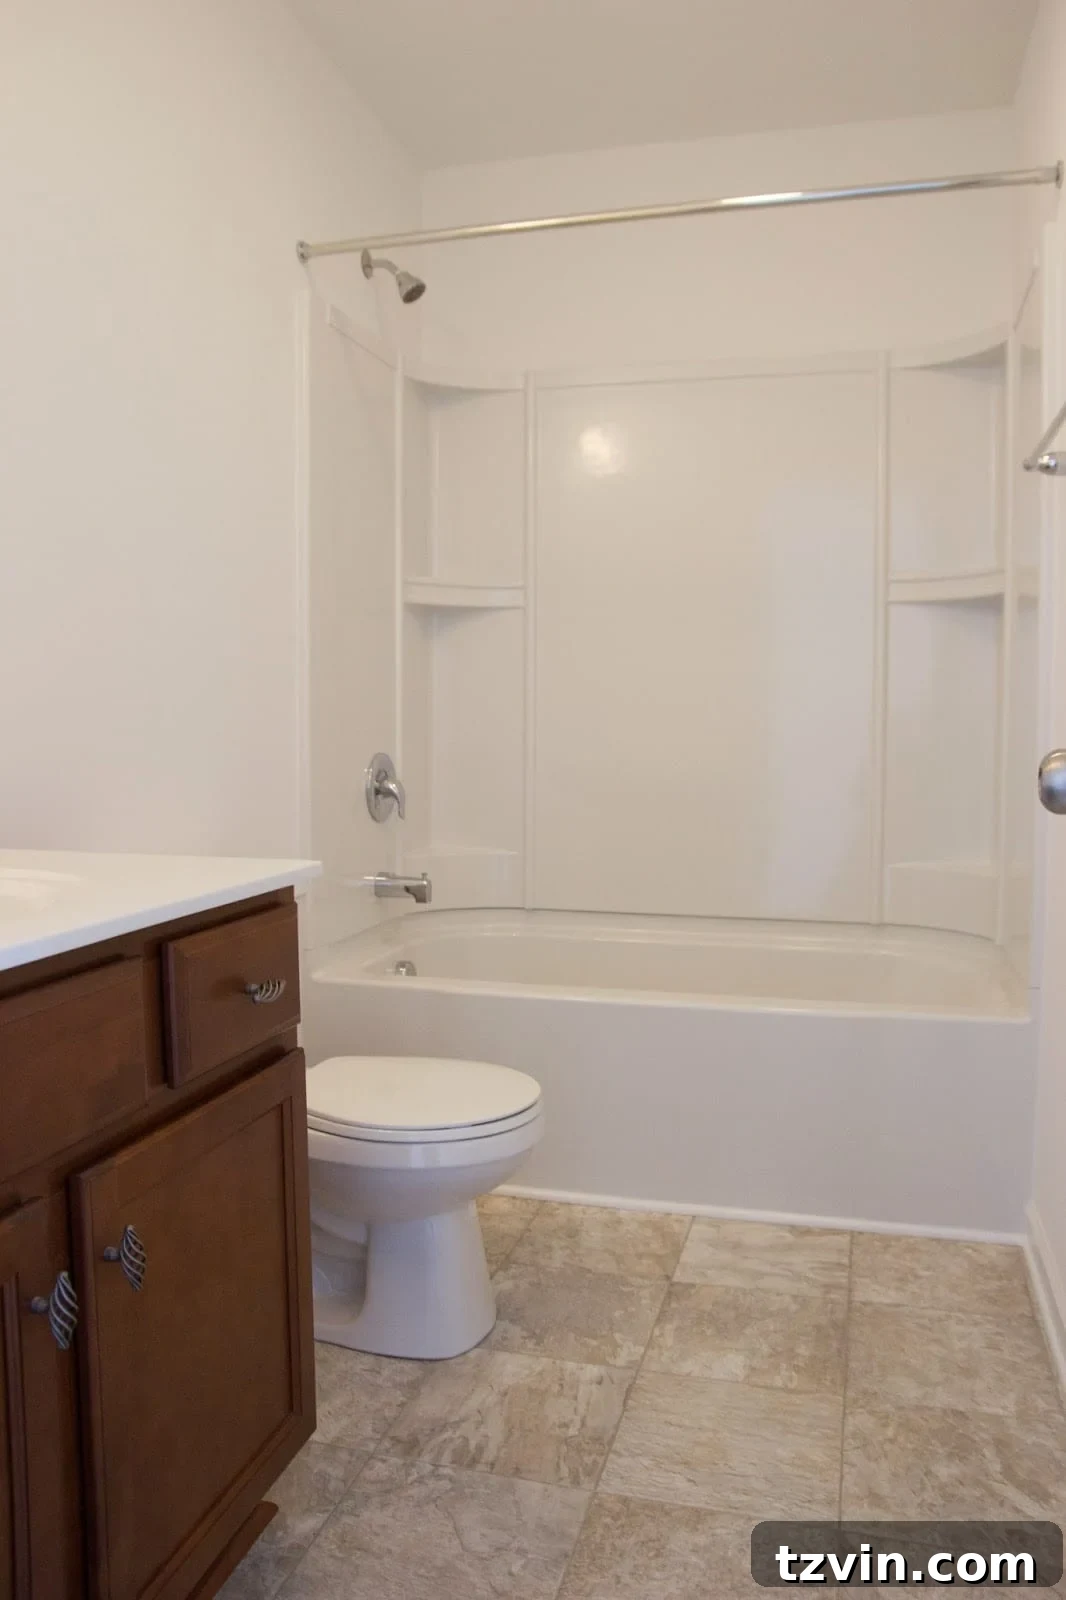
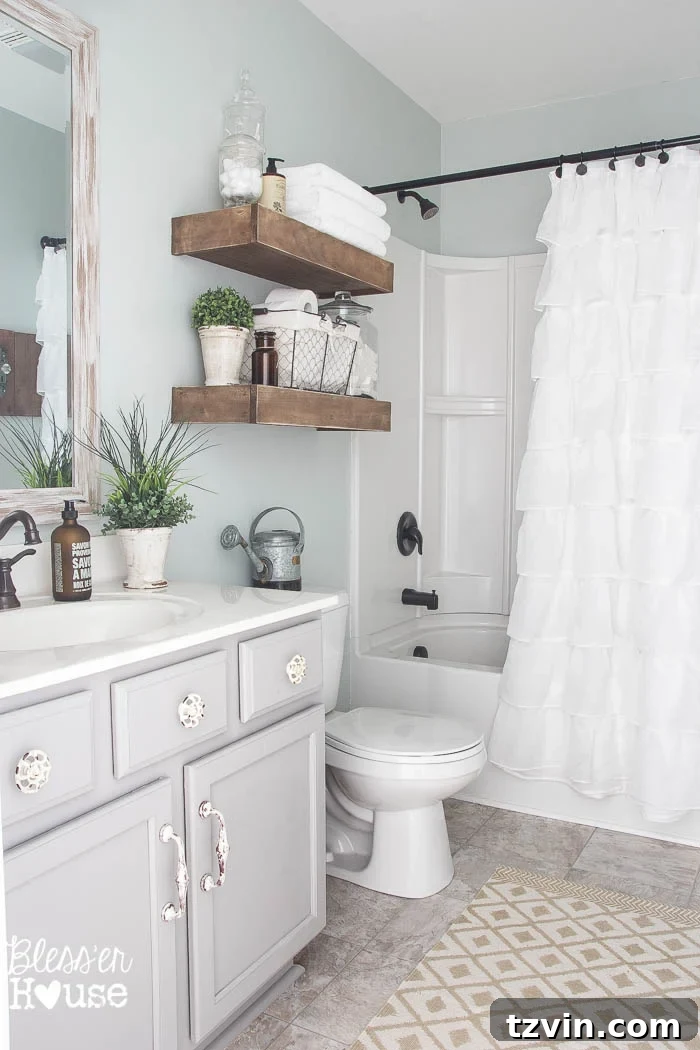
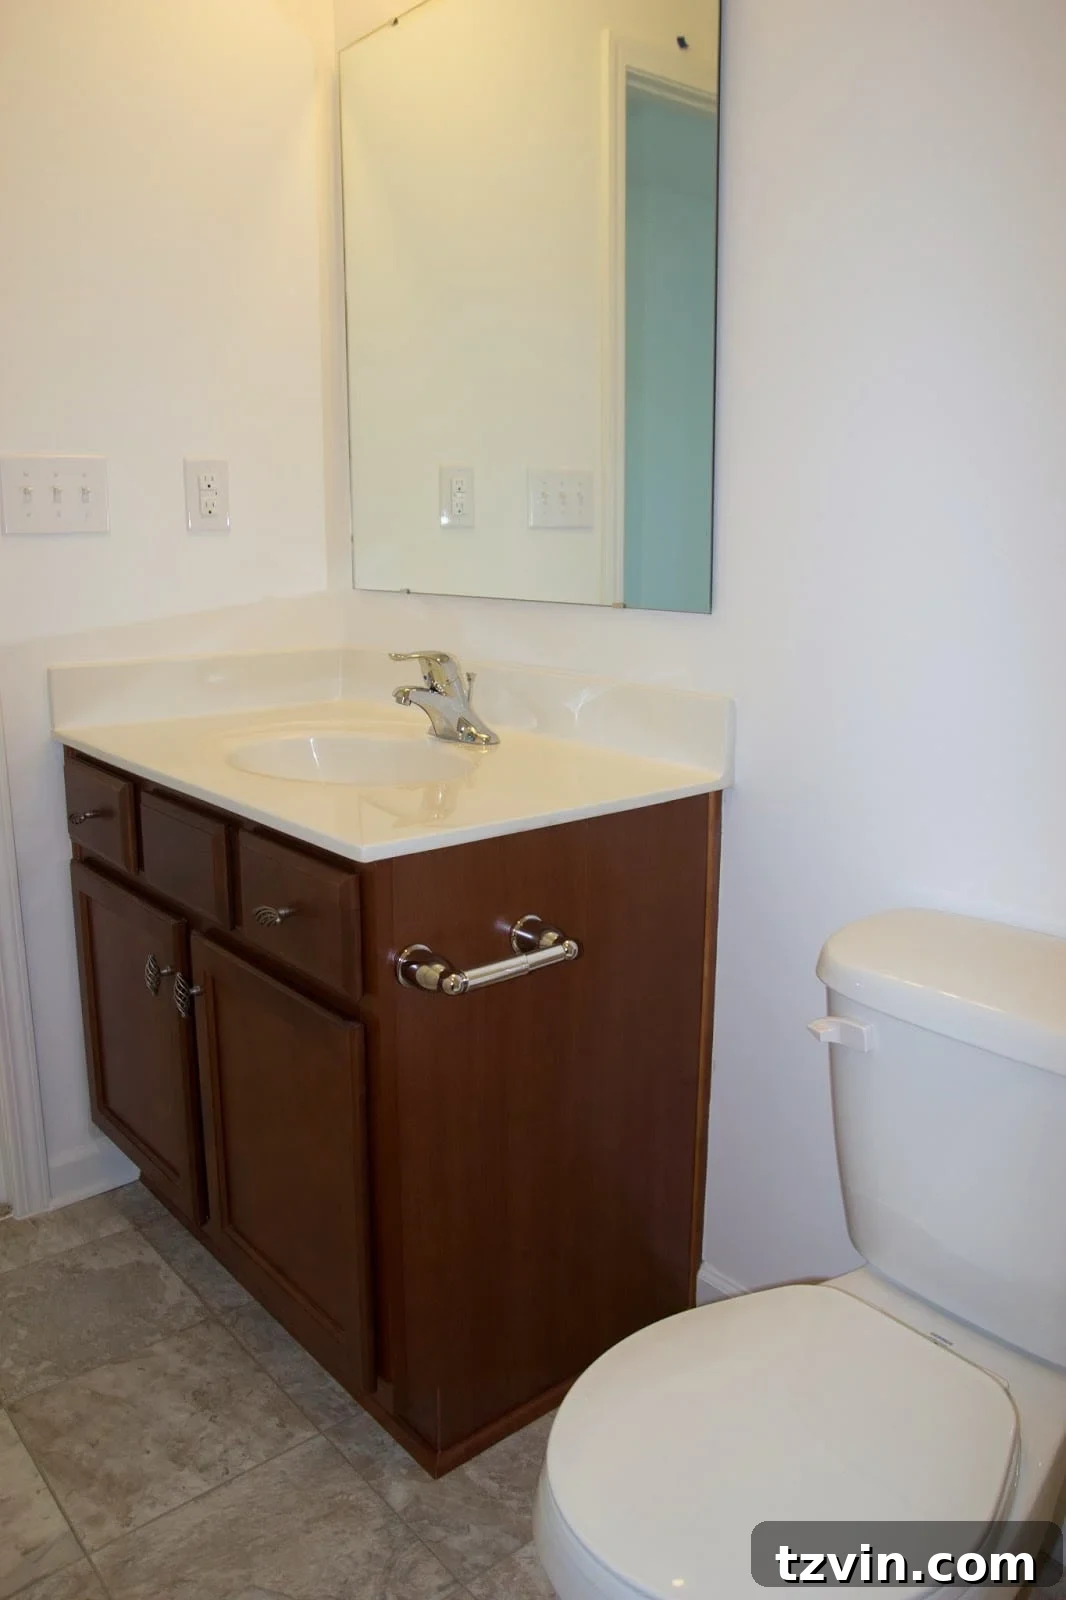
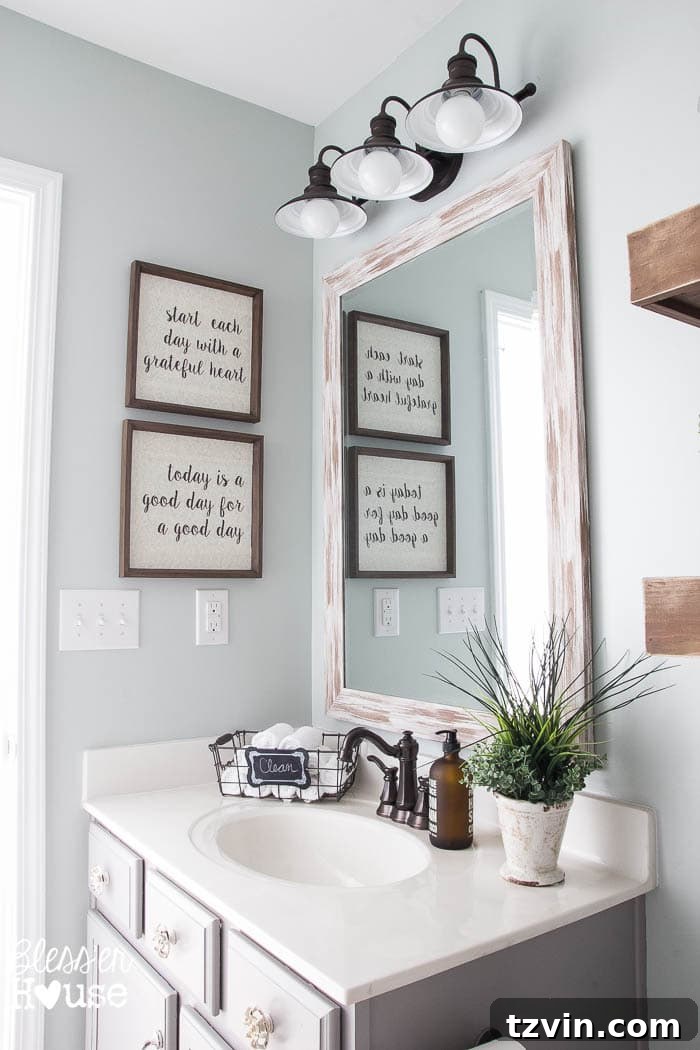
The transformation of this bathroom proved to be remarkably simple, achieved primarily through the strategic use of paint and the replacement of a basic builder-grade mirror. It’s astonishing how a fresh coat of paint can dramatically alter a space. Even the existing countertops and floors appear to have changed color, solely due to the shift in the room’s overall paint scheme. This project stands as a prime example of how small, thoughtful changes can yield significant aesthetic impact without the need for extensive renovation. The updated bathroom now feels brighter, more modern, and far more inviting, a testament to the power of a well-chosen color palette.
Uncover all the DIY projects, budget details, and the full source list for this impressive modern farmhouse bathroom makeover.
The Office: Robert’s Industrial Man Cave
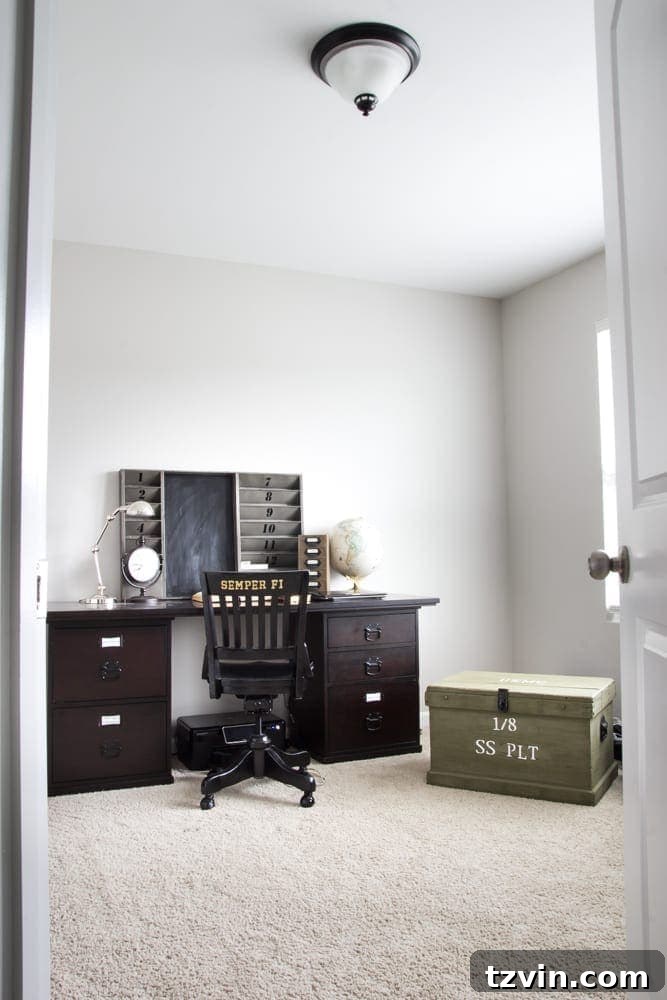
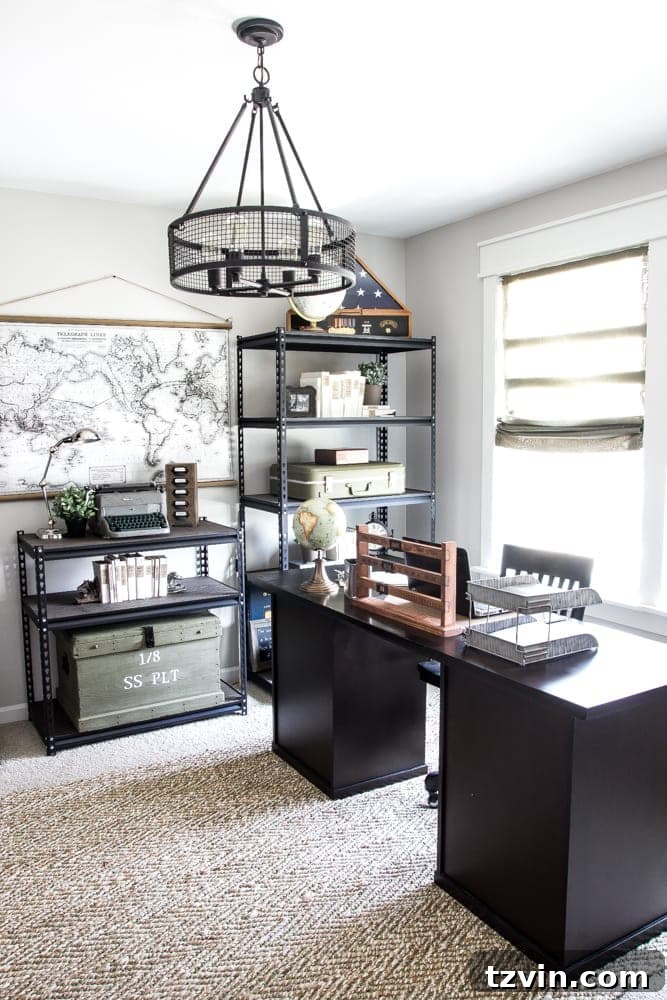
This office has truly become Robert’s personal “man cave,” a dedicated space where he could fully express his style and display cherished mementos from his time in the USMC. He took the lead on most of this room’s design, carefully curating an environment that blends functionality with personal significance. We were fortunate to find a Pottery Barn desk at an incredible steal on Craigslist, which now serves as the focal point of the workspace. For storage and display, we ingeniously utilized heavy-duty garage shelving, transforming it into striking industrial bookcases that complement the rugged aesthetic. The room perfectly balances practicality with personal touches, creating an inspiring and organized space for Robert.
Delve into the details of the office’s industrial military transformation, including all DIY projects, a comprehensive budget breakdown, chosen paint colors, and a full source list.
The Master Bathroom: A Budget-Friendly Oasis
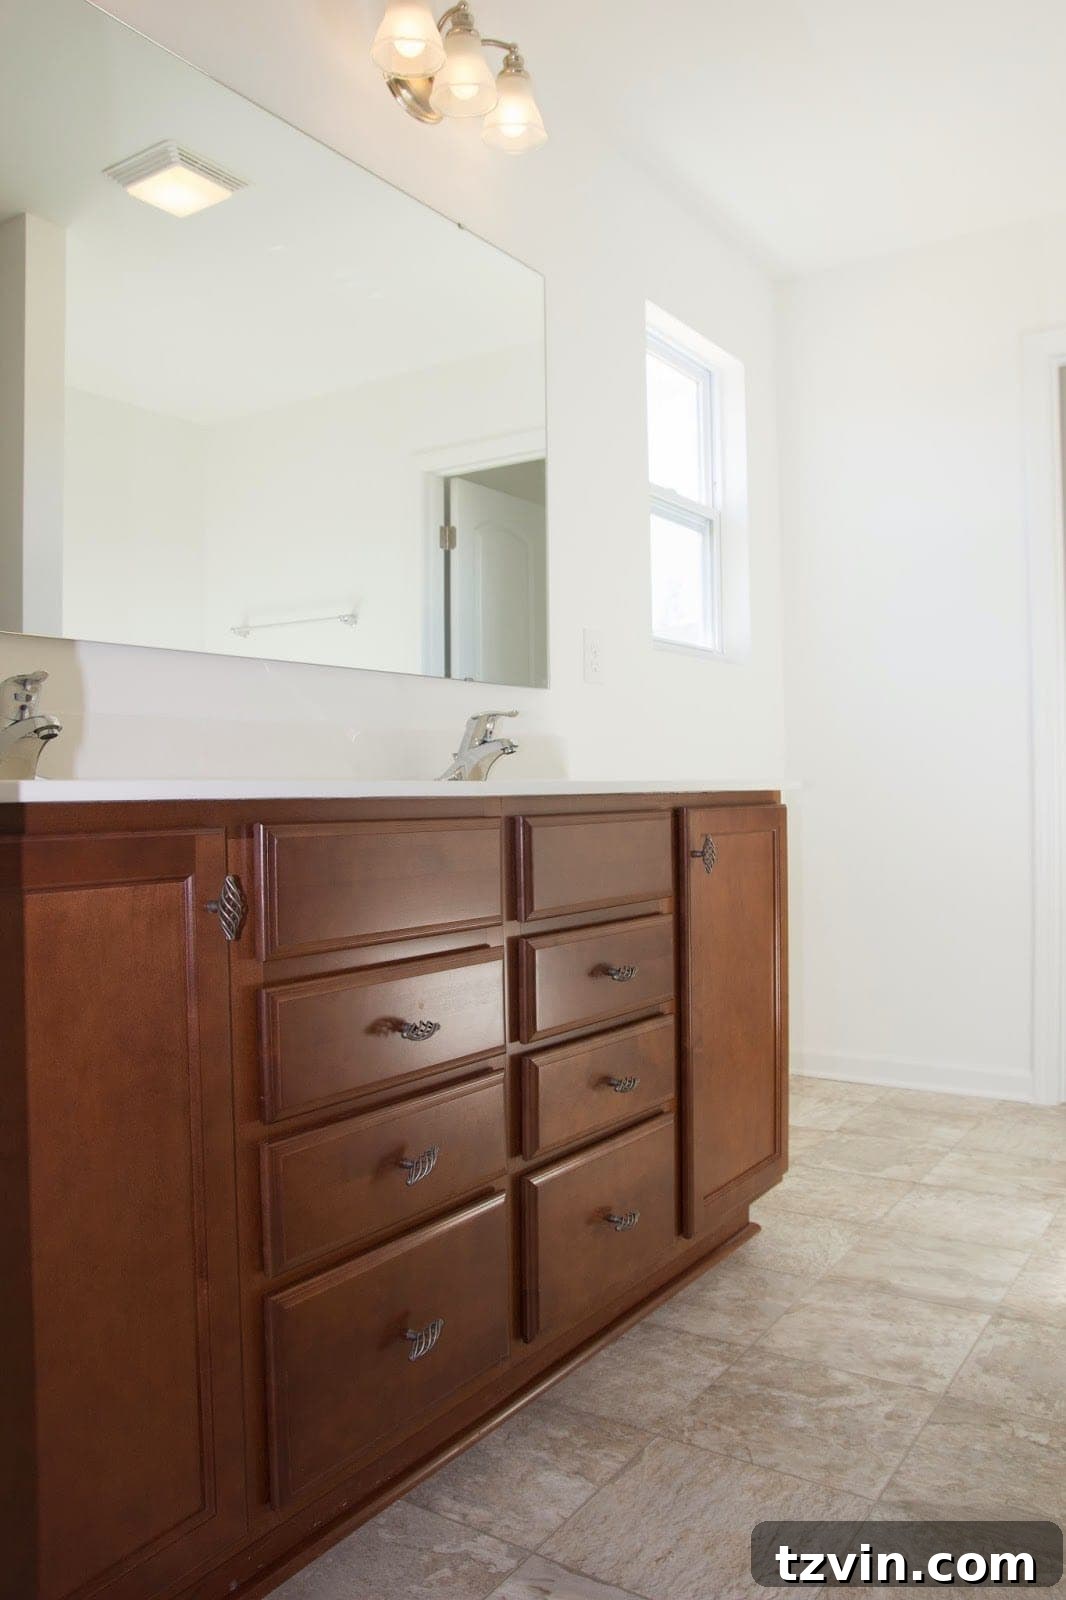
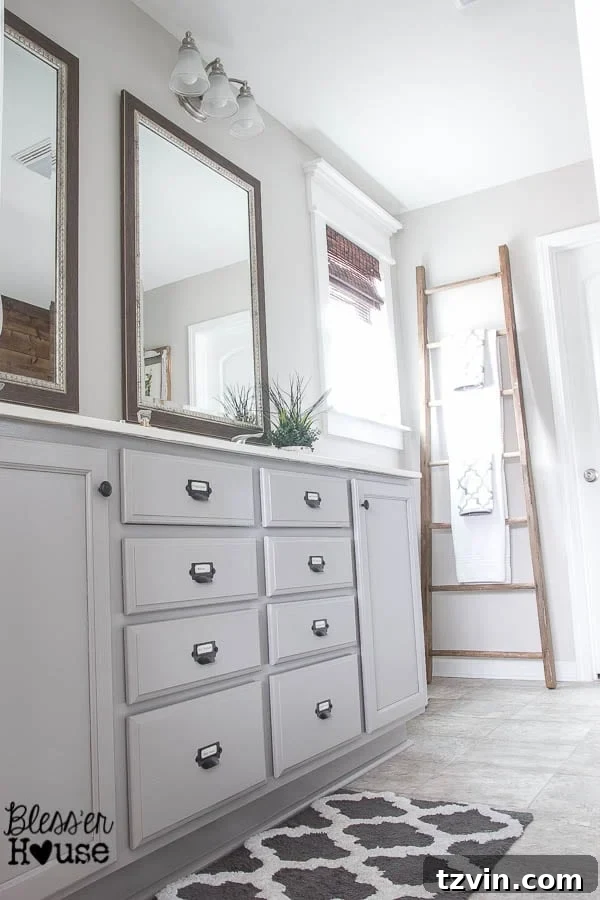
We achieved an incredible master bathroom makeover for less than $400, proving that significant style can be gained without a major expense. Our transformation involved several impactful DIY projects: we gave the cabinets a fresh look by painting them, replaced the generic mirror with a more stylish alternative, framed the window for added architectural detail, and installed a beautiful plank wall behind our tub to create a focal point. Perhaps one of the most striking changes was giving our existing shower door a sophisticated black steel window look, instantly elevating the entire space. These combined efforts turned a plain builder-grade bathroom into a serene and stylish retreat, all on a very tight budget.
Explore the comprehensive details of our master bathroom’s budget makeover, including all DIY projects, a full budget breakdown, chosen paint colors, and a complete source list.
The Master Bedroom: A Rustic Modern Sanctuary
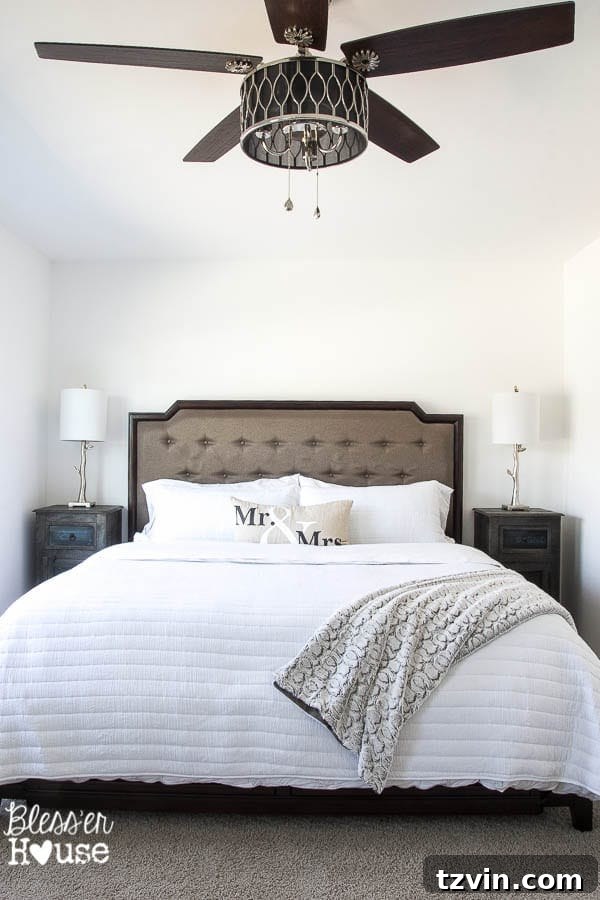
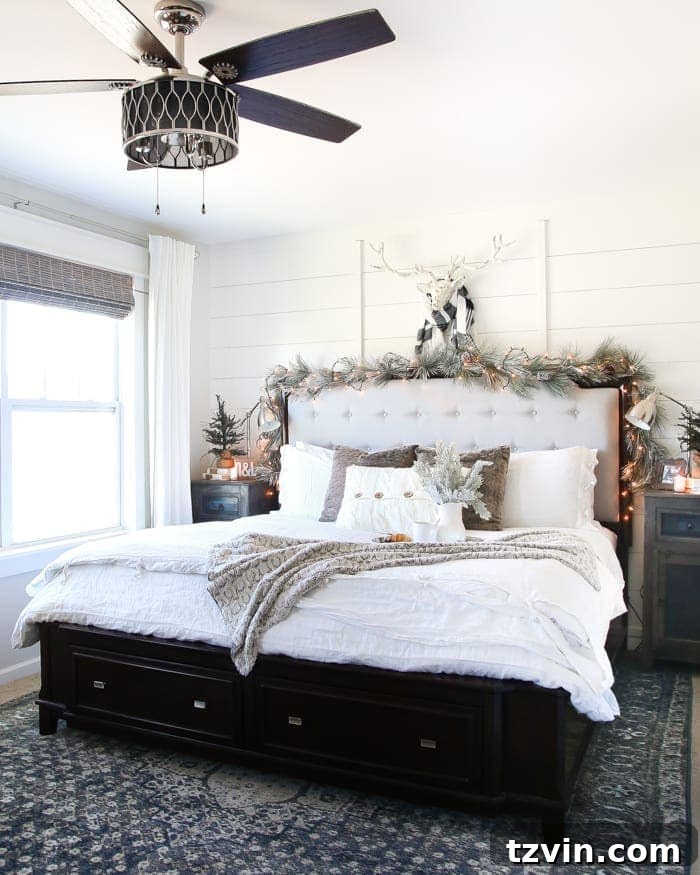
Just like every other room in our house when we first moved in, our master bedroom was a literal white box, completely devoid of character. Our primary goal was to infuse it with warmth, texture, and a sense of personalized style. We achieved this by incorporating a beautiful white planked board and batten focal wall using plywood, adding depth and visual interest behind our bed. Additionally, we undertook the project of framing our windows, a simple yet effective way to give them a more finished and custom look. These changes collectively transformed the room from a plain space into a serene and inviting sanctuary, embodying our rustic modern aesthetic.
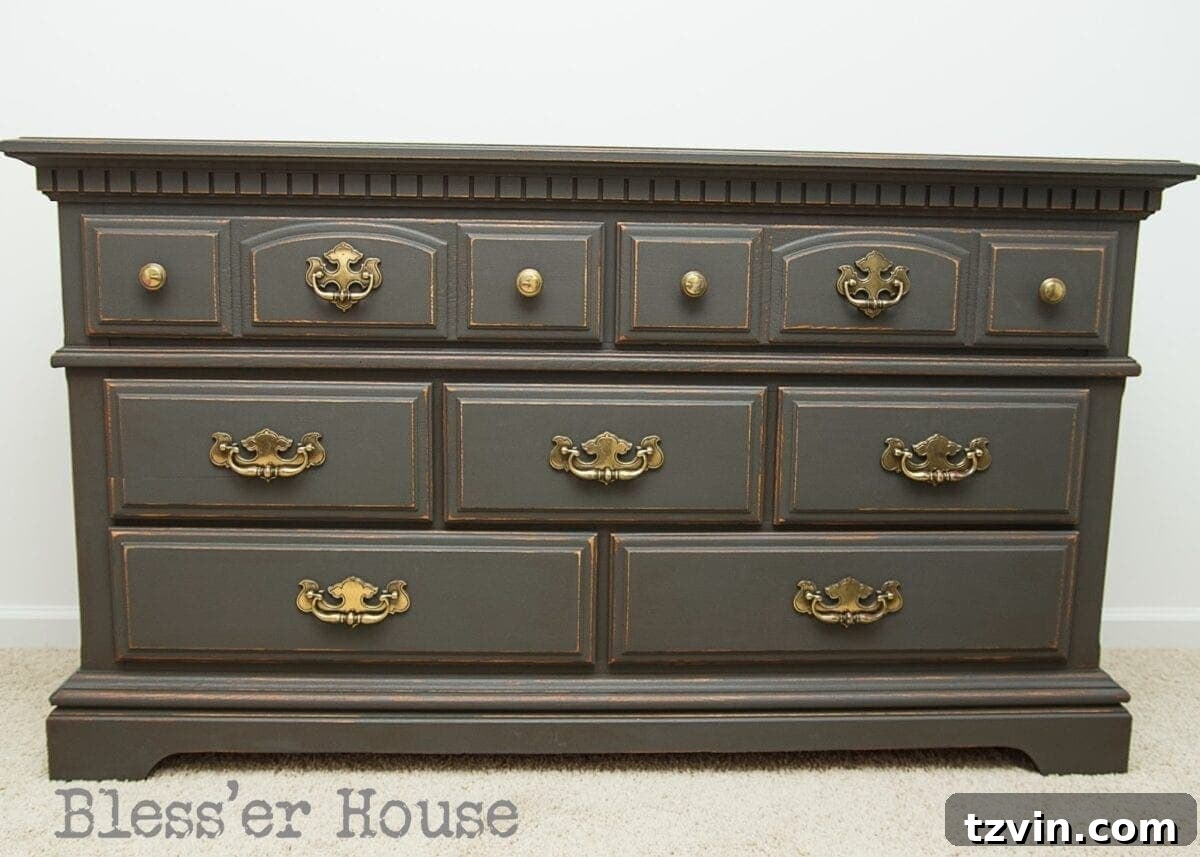
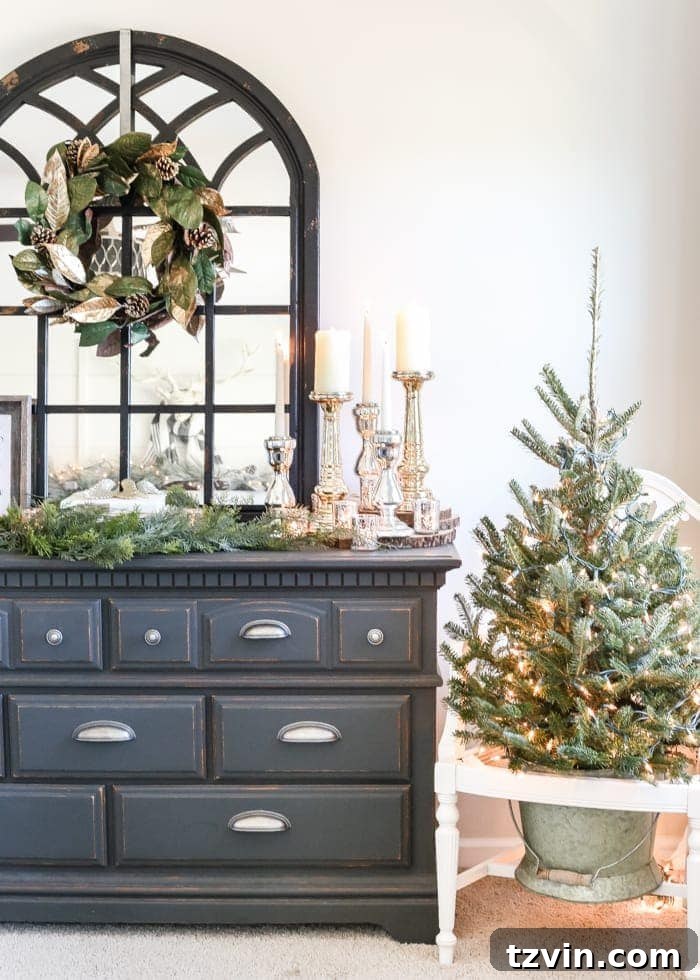
This dresser, a wonderful find from an antique shop, perfectly complemented the room’s aesthetic after I swapped out its hardware and added a stylish mirror on top. For a cozy corner accent, I also discovered an antique Duncan Phyfe chair. For the Christmas season, I creatively removed its seat and nestled our Christmas tree within its frame, adding a unique festive touch. Throughout this journey, continuously learning and practicing photography with my camera has also been instrumental in capturing these transformations beautifully.
Explore our master bedroom’s rustic modern transformation in detail, including all DIY projects, a budget breakdown, paint colors, and a full source list.
Some days, as I look around our home, I’m still in awe of how far we’ve come. But more than the physical changes, what truly warms my heart is how Robert, Olivia, and I have woven pieces of our past and meaningful treasures into every corner, truly making it our own. This place is so much more than just installing upgrades or decorating rooms. It has profoundly taught us that with determination and a willingness to take risks, we are capable of so much. In a beautiful, reciprocal way, our house has helped build *us*.
This journey has imparted invaluable lessons about hard work, problem-solving, and even strengthened our marriage. We’ve learned to remain calm amidst chaos, to humbly admit when we don’t have all the answers, and to trust each other through every challenge. Over these three years of home improvement, we’ve developed a shared vision, learning to see things not just as they are, but as they could be. Every day, we are grateful for these profound lessons we never anticipated when we first turned that key three years ago.
I want to emphasize that the true essence of this home journey isn’t about accumulating material possessions – it should never be. It’s about the process itself: the personal growth, the strengthening of our bonds, and the realization of our capabilities. God instilled in Robert and me a deep passion for creating a home and everything it represents. I eagerly anticipate all the adventures and lessons that still lie ahead, both within these walls and beyond, as our family continues to grow and evolve.