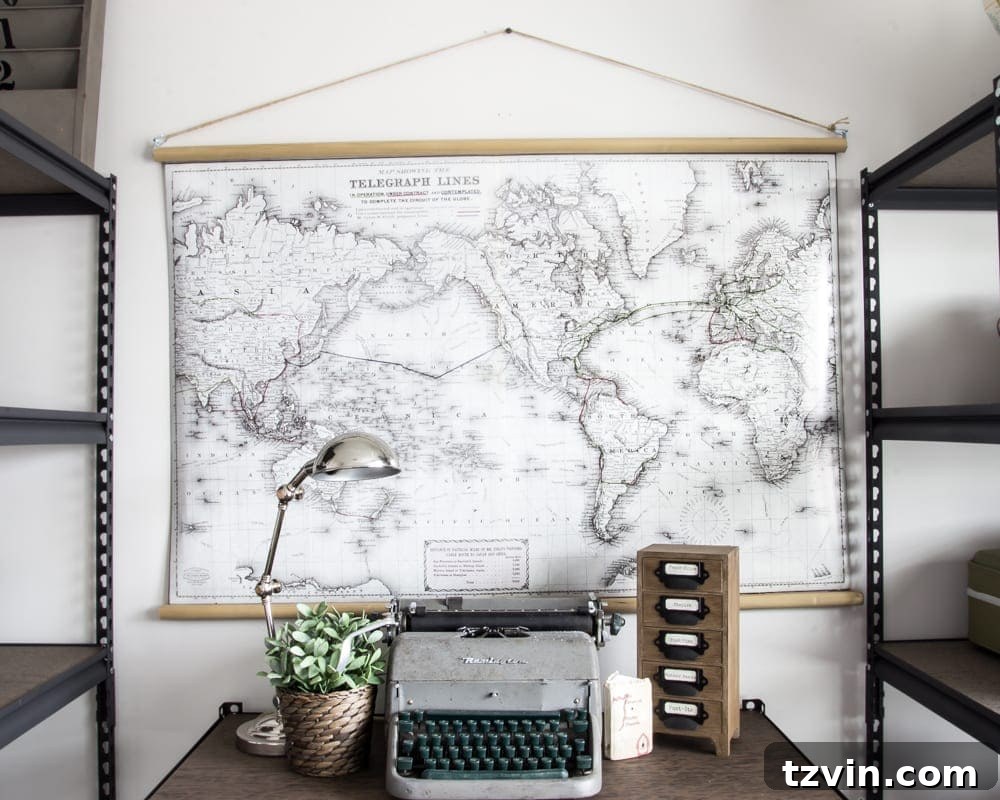
DIY Vintage Pull-Down Map: Affordable Office Decor
Looking for a unique and stylish addition to your home office? A vintage pull-down map is a timeless piece that adds character and a touch of wanderlust. However, authentic vintage maps can be quite expensive. This post shows you how to create a stunning DIY vintage pull-down map, providing an amazing alternative that’s both beautiful and easy on the wallet!
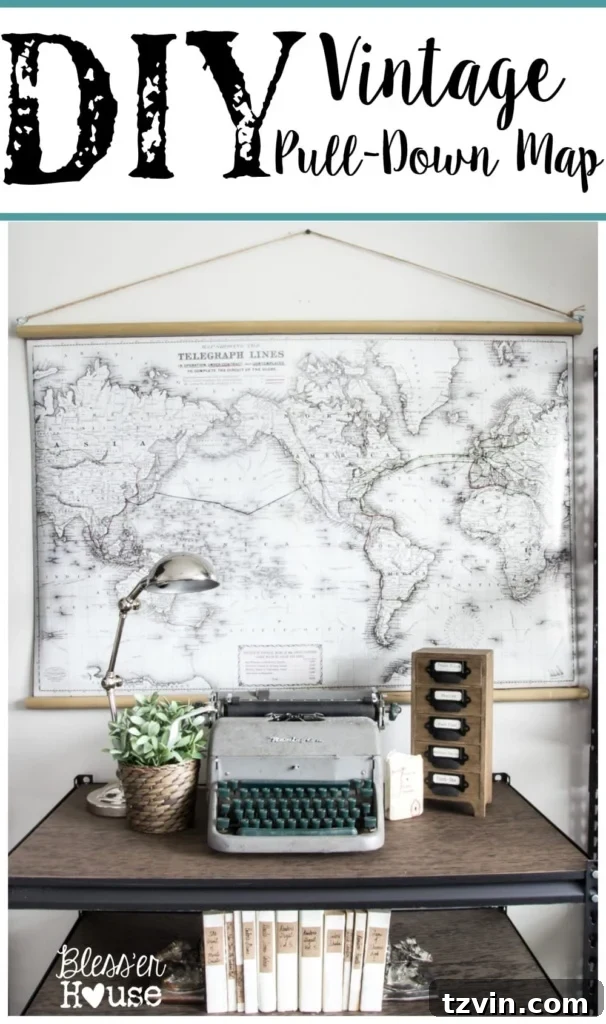
Inspired by the classic look of vintage maps, this DIY project is perfect for adding a focal point to your workspace. Follow along for a fun, creative project that will transform your office decor!
The Inspiration Behind the Project
I was envisioning a beautiful, authentic vintage pull-down world map for my office. The neutral colors and classic aesthetic were exactly what I wanted. But, the reality of the price tag hit hard! Vintage maps can be quite an investment.
So, it was time for Plan B: A DIY solution that captures the same charm but with a budget-friendly approach.
Why DIY?
This DIY vintage pull-down map is a fantastic way to achieve a high-end look without the high-end cost. You’ll be able to create a unique piece of art that reflects your style and adds personality to your office. Best of all, it’s a relatively easy project that can be completed in an afternoon!
DIY Vintage Pull-Down Map: The Easy Steps
Ready to get started? This project is incredibly easy and offers a fantastic return on your time and effort. It’s a fun project, and the results are truly rewarding!
Materials You’ll Need
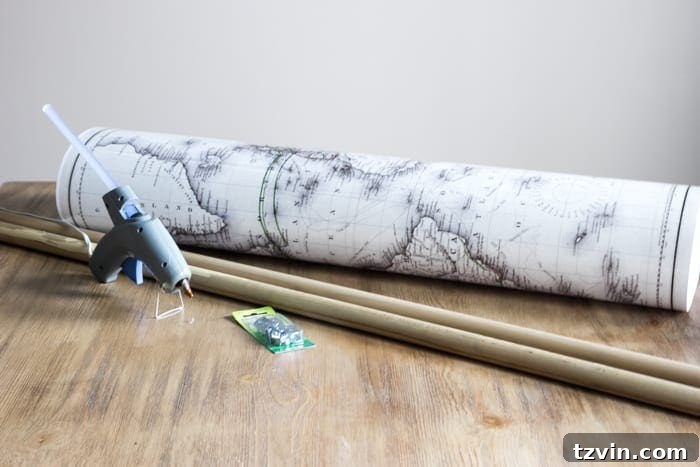
- 1 large map poster (choose your favorite world map design!)
- 2 wooden dowels (1 inch diameter), cut to the width of your poster (e.g., 48 inches)
- Wood stain (optional, for a different dowel color)
- Hot glue gun and hot glue sticks
- Power drill or screwdriver
- 2 D-ring picture hangers
- Twine or sturdy string
- Nail or screw for hanging
Step-by-Step Instructions:
Step 1: Prepare the Map
Lay your map poster flat on a large surface. Tape it down in a few places to prevent it from rolling up as you work.
Step 2: Attach the Bottom Dowel
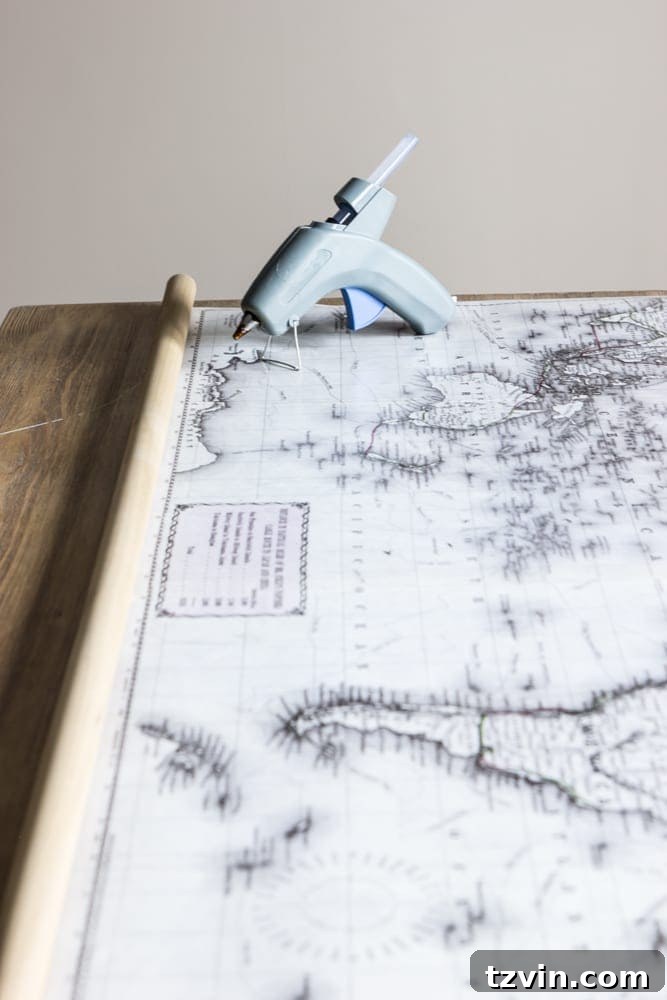
Place one wooden dowel along the bottom edge of the map. Apply a line of hot glue along the edge of the map, and carefully roll the dowel into the glue. Press for a minute until the glue cools and secures the dowel.
Step 3: Attach the Top Dowel
Repeat the same process for the top edge of the map, attaching the second dowel. Ensure the map is straight and centered on the dowel as you roll it.
Step 4: Add the Hanging Hardware
Pre-drill a small hole into each end of the top dowel, making sure to center the holes. This will make it easier to screw in the D-ring picture hangers.
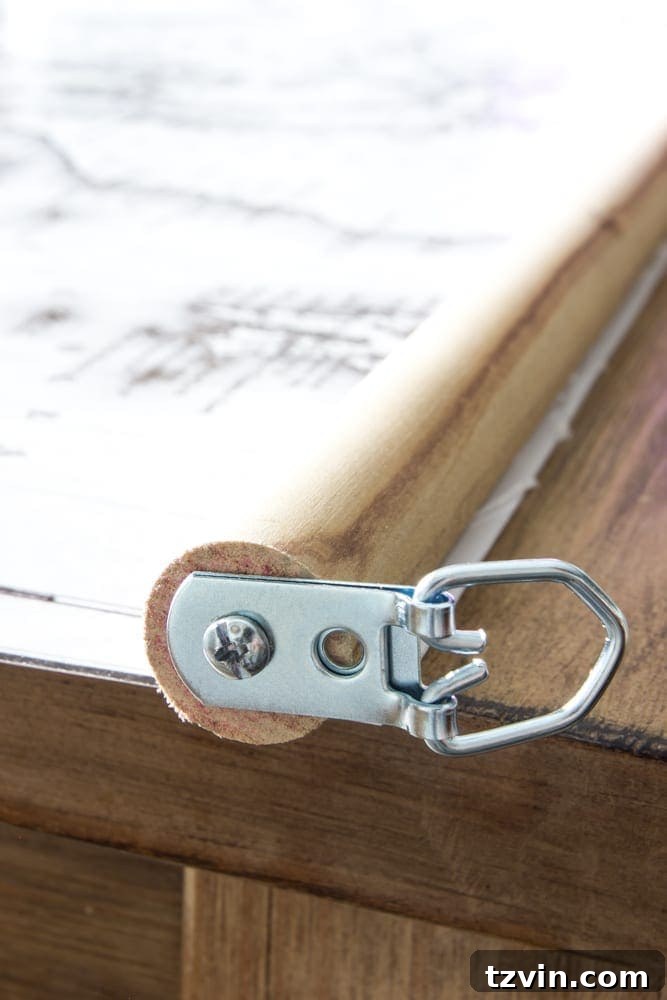
Step 5: Assemble and Hang!
String a piece of twine or sturdy string through the D-rings. The length of the string should be slightly longer than the width of the dowel. Tie the ends securely.
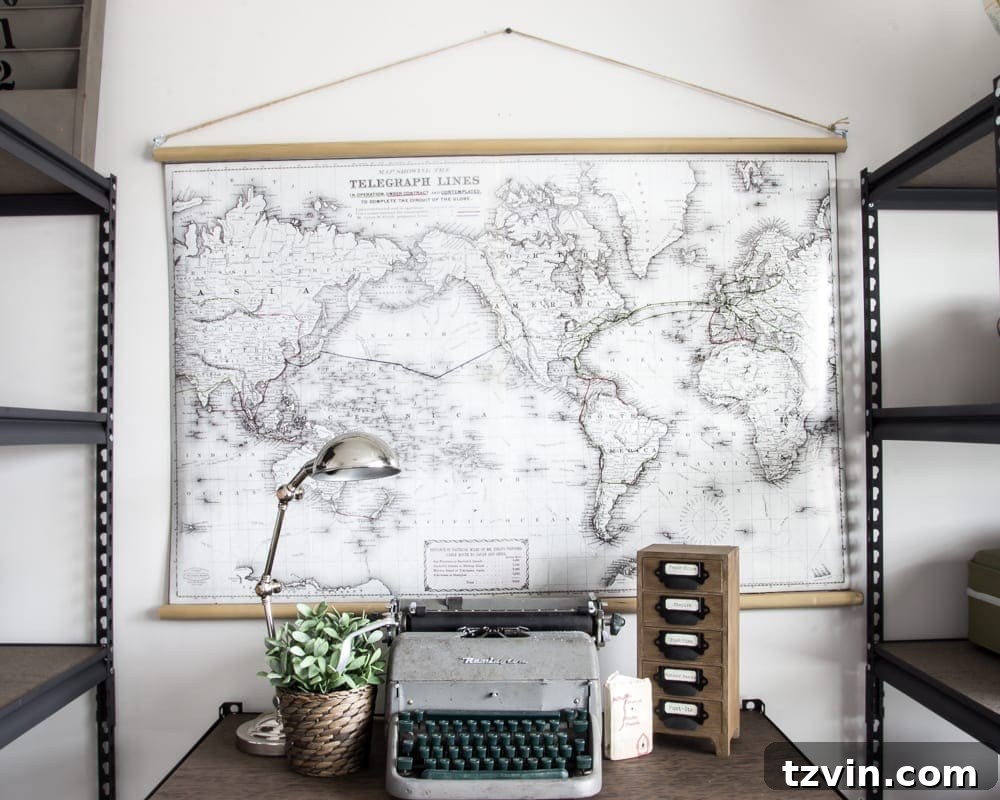
Find the perfect spot on your wall and place a nail or screw. Hang your beautiful DIY vintage pull-down map and admire your handiwork!
Personalize Your Map
Want to make your map even more unique? Consider adding push pins to mark places you’ve visited, or use washi tape to highlight your travel plans. The possibilities are endless!
More Office Decor Ideas
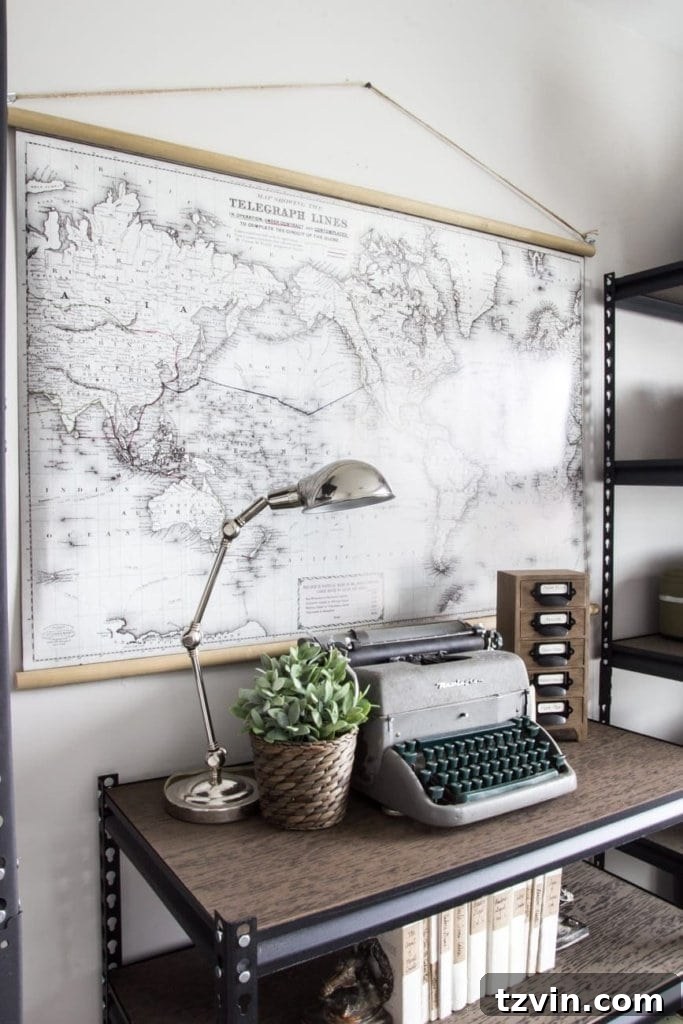
This DIY map is just one element of a stylish and functional home office. Check out some of the other elements used in my office design:
- Office Supply Organizer
- DIY Books
Final Thoughts
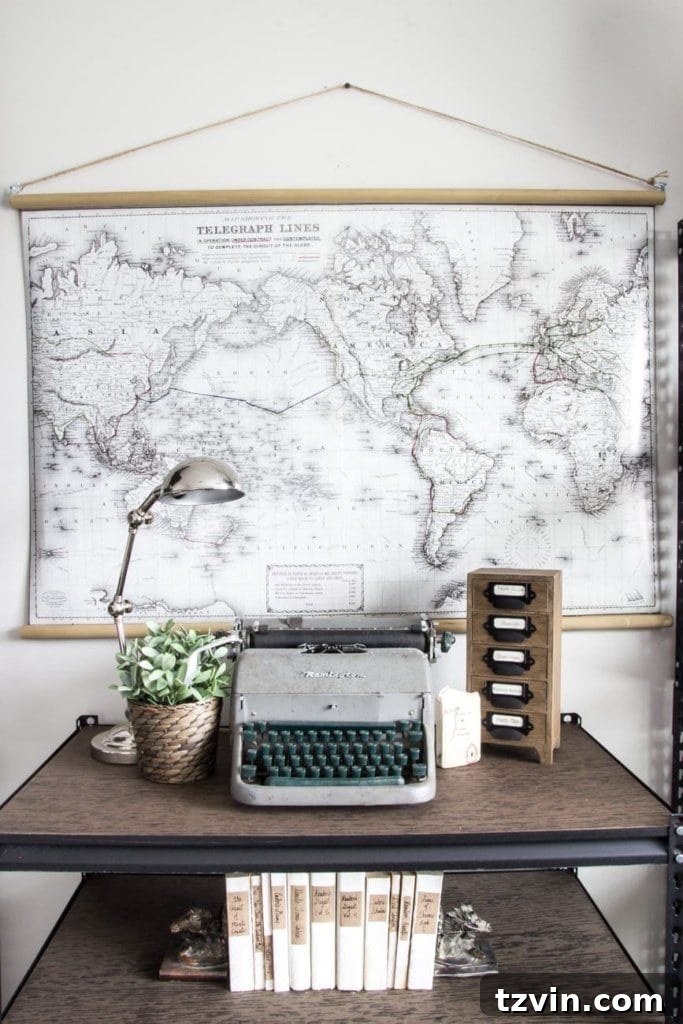
I’m incredibly happy with how this DIY vintage pull-down map turned out. It perfectly complements my office decor and adds a touch of personality and inspiration to my workspace.
This project is a testament to the fact that you can create beautiful, personalized decor without spending a fortune. I encourage you to give this project a try and transform your own office into a stylish and functional space!
Happy crafting!
Where in the world are you from? Share in the comments!
Update
For more projects, visit these links!
- Office Before Shots and Makeover Mood Board
- DIY RH Inspired French Mute Books
- Industrial Shelving
- Faux Zinc Safe Makeover
- Easy Office Sign