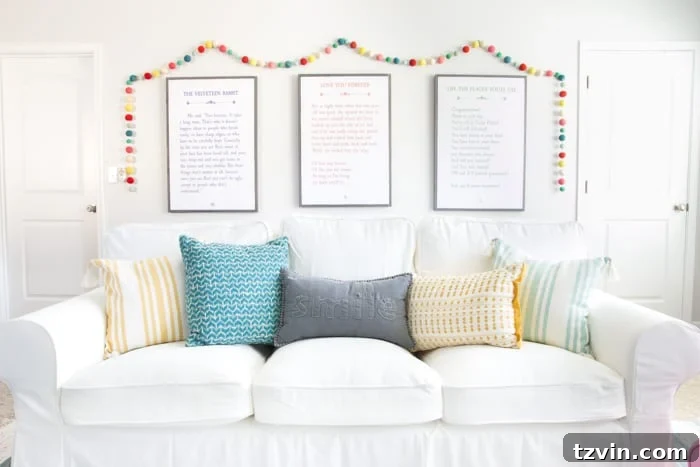
DIY Storybook Art: Craft Personalized Playroom Decor on a Budget
After revealing our newly designed eclectic farmhouse playroom, one of the most frequent requests we received was for a detailed tutorial on our DIY storybook art. And honestly, I completely understand why! This project isn’t just adorable; it’s a deeply personal and incredibly budget-friendly way to add character and warmth to any child’s space. We believe it might just be the cutest, most impactful DIY creation we’ve ever shared on this blog, offering a unique blend of creativity, sentimentality, and practicality.
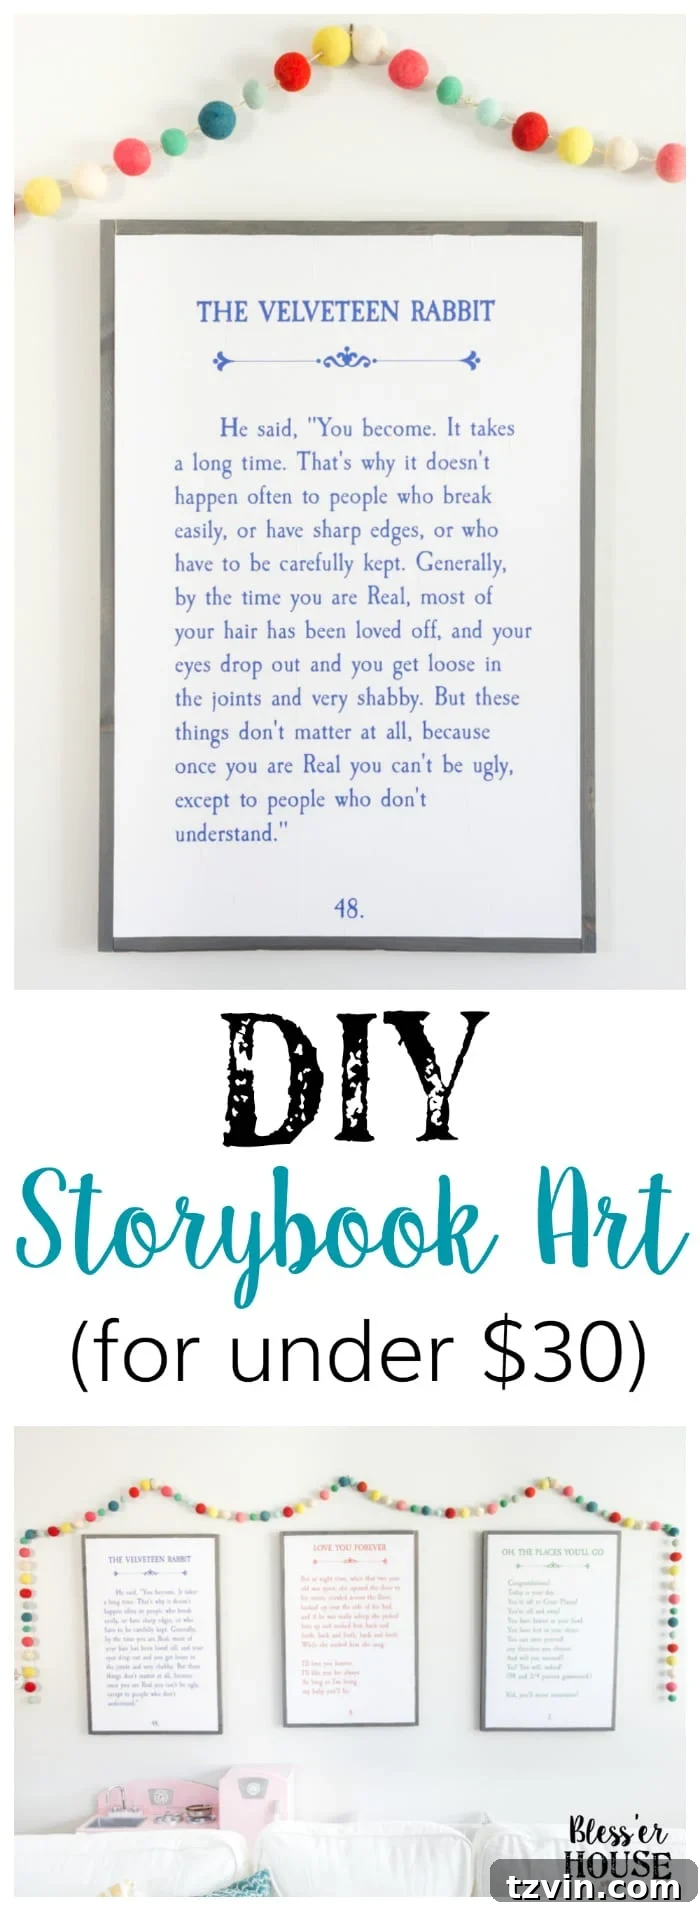
From the outset, my vision for the playroom walls included a vibrant pop of color, yet I wanted to steer clear of anything too overwhelming or overtly childish. The goal was to create pieces that not only added visual appeal but also carried significant sentimental weight. Crucially, I wanted to achieve this without breaking the bank. The exciting news? Each of these substantial, meaningful signs cost me a mere $28 to create! This incredible affordability truly sets DIY projects apart, as you simply can’t find comparable personalized art for anywhere near that price in stores.
So, if you’re ready to transform your child’s room or playroom with bespoke art that tells a story, keep reading. We’re about to dive into all the details, tips, and tricks to help you recreate these cherished storybook signs for your own home.
Why Choose DIY Storybook Art for Your Home?
In a world filled with mass-produced decor, creating something with your own hands offers unparalleled satisfaction and a unique charm that simply can’t be bought. DIY storybook art allows you to infuse a space with personality, meaning, and a touch of nostalgia. Imagine selecting quotes from beloved children’s books that hold special significance to your family, words that inspire, comfort, or simply bring a smile. These aren’t just decorative items; they become conversation starters, daily affirmations, and beautiful reminders of the stories that shape us.
Beyond the emotional connection, the practical advantages are numerous. As highlighted, the cost savings are substantial. Crafting these signs yourself means you control the budget, material quality, and aesthetic down to the finest detail. You can customize the size, choose your preferred wood finish, and select colors that perfectly complement your existing decor. This level of customization is invaluable, especially when trying to achieve a specific look, like our eclectic farmhouse theme.
Moreover, the process itself can be a rewarding experience. It’s an opportunity to engage in a creative project, perhaps even involving a partner or older children, fostering teamwork and shared memories. The resulting artwork is a testament to your effort and love, making it far more precious than anything purchased off a shelf. This project is particularly perfect for playrooms, nurseries, or bedrooms, providing a beautiful backdrop for childhood memories and dreams.
Supplies Needed for Your Storybook Masterpiece
Crafting these charming storybook signs is surprisingly straightforward once you have your materials ready. The key is to gather everything beforehand to ensure a smooth and efficient process. Below is a comprehensive list of the supplies we used, along with some helpful notes. (Affiliate links are provided below for convenience. For more info, please see my full disclosure here.)
- 1 sheet of 1/2″ 4’x8′ hardwood plywood: This serves as the sturdy base for your art. If you’re only making one sign, many lumber aisles offer smaller, pre-cut pieces, saving you from needing a large sheet.
- 5 1″x2″x8′ boards: These boards will form the attractive frame around your storybook prints. Plan for approximately one and a half of these boards per sign you intend to create.
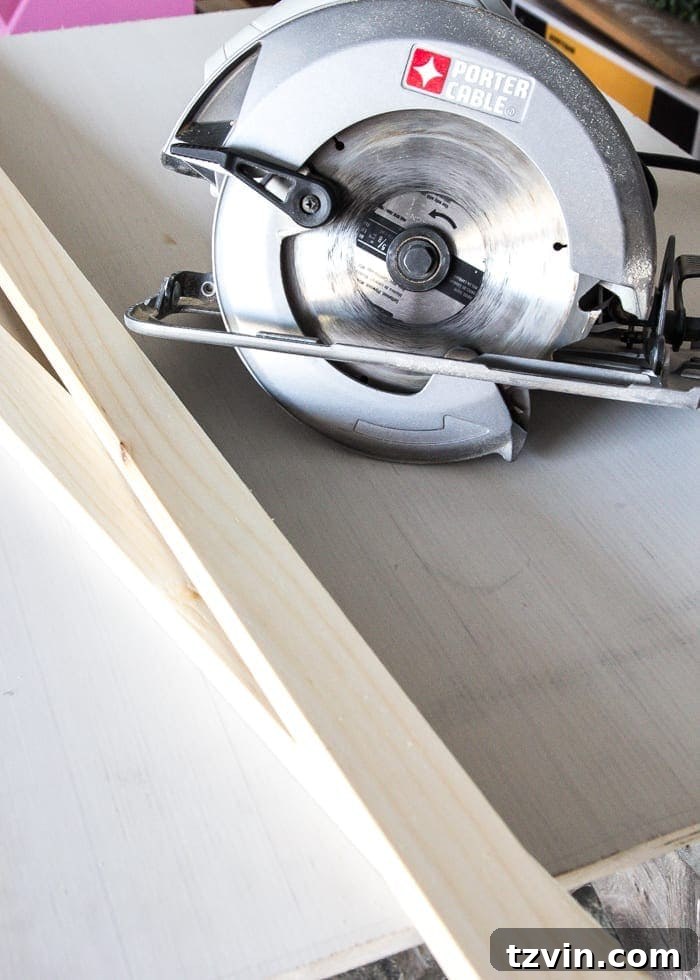
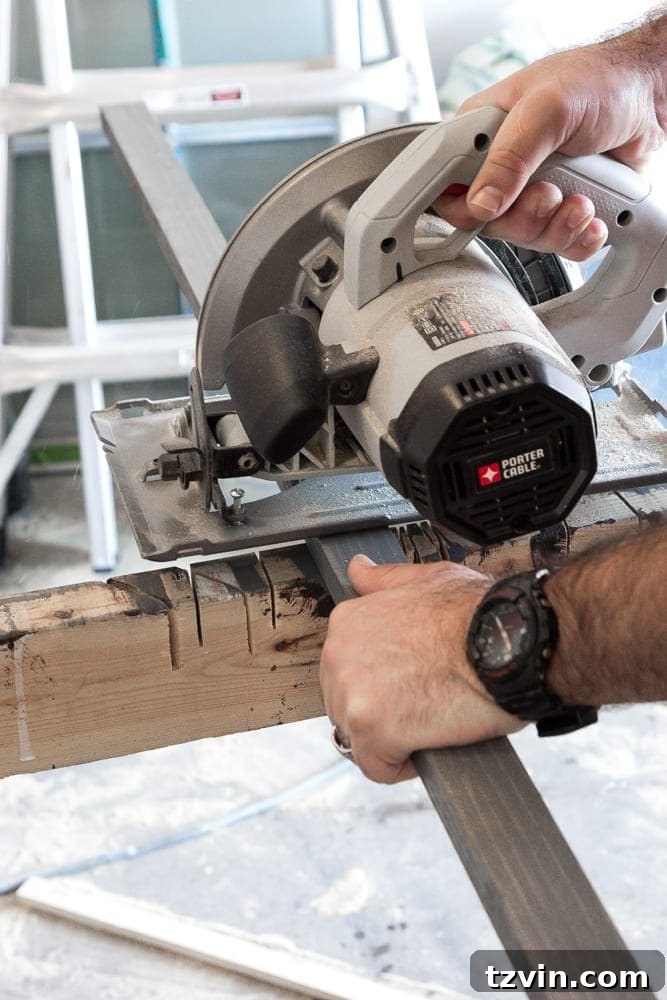
- Circular saw: Essential for precisely cutting your plywood and frame boards to size. Safety first when operating power tools!
- Stain of your choice: We opted for General Finishes Gel Stain in Gray to achieve a sophisticated, rustic look that complements our eclectic farmhouse style. Feel free to choose a color that matches your decor.
- 2 sponge brushes: Perfect for applying stain evenly to your wood, minimizing brush marks.
- A couple of clean, dry rags: Crucial for wiping off excess stain and achieving a smooth, professional finish.
- 3 colored engineer prints: These large-format, inexpensive prints are the canvas for your storybook text. You’ll need one print per sign you plan to make.
- Mod Podge (Matte or Satin finish): The magic adhesive that bonds your engineer print to the plywood. We recommend a matte or satin finish to avoid excessive sheen.
- Tape measure: For accurate measurements, ensuring your cuts and prints are perfectly aligned.
- Approximately 30 1-5/8″ wood screws: About 10 screws per sign, used to securely attach the top and bottom frame pieces to the plywood.
- Approximately 42 1-1/2″ finishing nails: Used for the side frame pieces, these nails offer a cleaner, less visible fastening option.
- Old credit card / library card / old hotel key card: This simple tool is indispensable for smoothing out engineer prints and removing air bubbles during Mod Podge application.
- Power drill: To pre-drill holes and drive in screws for a sturdy frame assembly.
- Hammer: For driving in finishing nails with precision.
- Hanging kit: Essential for safely mounting your finished artwork on the wall. Choose a kit appropriate for the weight of your signs.
- JPG file of storybook page images: Your chosen text, designed and ready to be printed as engineer prints.
- A partner to help: While some steps can be done solo, having an extra set of hands, especially during the Mod Podge application, makes the process significantly easier and more successful.
Don’t forget that you can download the printable files of the storybook page images directly here to get started with your designs:
Step-by-Step Guide to Crafting Your DIY Storybook Art
Over the years, we’ve honed our technique for creating these oversized signs, from our DIY Oversized Sheet Music Art to our DIY Irish Blessing Sign. Each project refines our skills, and this storybook art piece truly benefited from that accumulated experience. Here’s how you can make your own, step by careful step.
1. Preparing Your Plywood Base
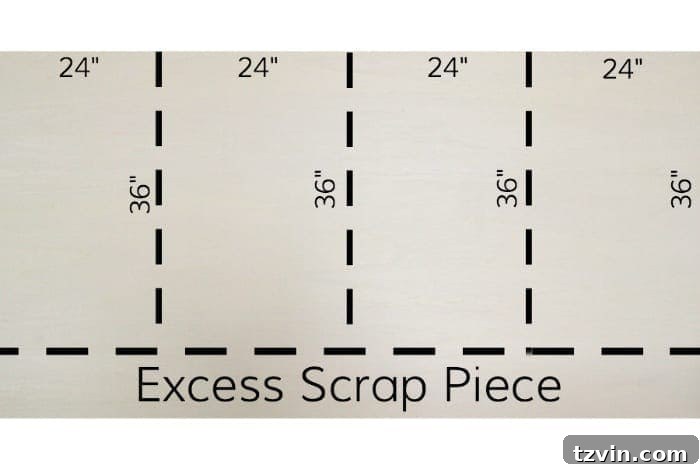
The foundation of your storybook sign begins with cutting the plywood. For our signs, we aimed for a generous size of 24″x36″, which provides ample space for storybook text without being overly dominant. Using a circular saw, carefully measure and cut your plywood to these dimensions. A standard 4’x8′ sheet of plywood can yield approximately four pieces of this size, making it cost-effective if you plan to create multiple signs. Remember, you have the flexibility to adjust the dimensions based on the size of your engineer print and the space where the art will hang.
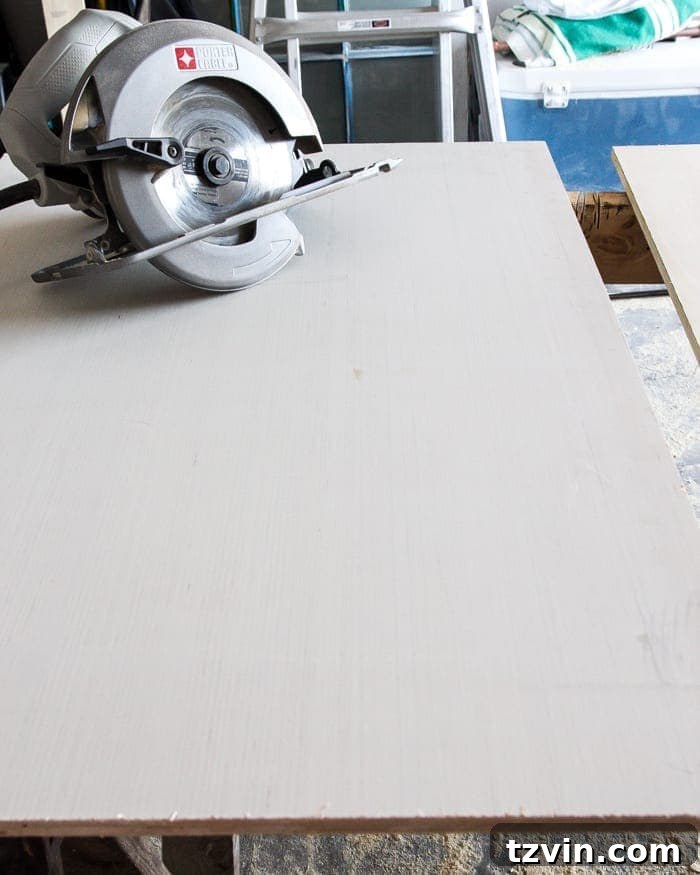
Once cut, inspect your plywood edges for any splinters and give them a light sanding if necessary. A smooth base ensures your engineer print adheres flawlessly.
2. Staining the Frame Boards
Before cutting your 1″x2″ boards to specific frame lengths, apply a coat of your chosen stain. We used General Finishes Gel Stain in Gray, which provides rich color and easy application. Using a sponge brush, apply the stain evenly along all surfaces of the boards. Immediately after application, use a clean, dry rag to gently wipe off any excess stain. This step is crucial for achieving an even finish and preventing the stain from pooling, which can lead to blotchiness. Allow the stained boards to dry completely according to the manufacturer’s instructions before proceeding to the next steps. Staining the boards before assembly ensures complete coverage, especially in corners and edges that might be difficult to reach later.
3. Designing and Printing Your Engineer Prints
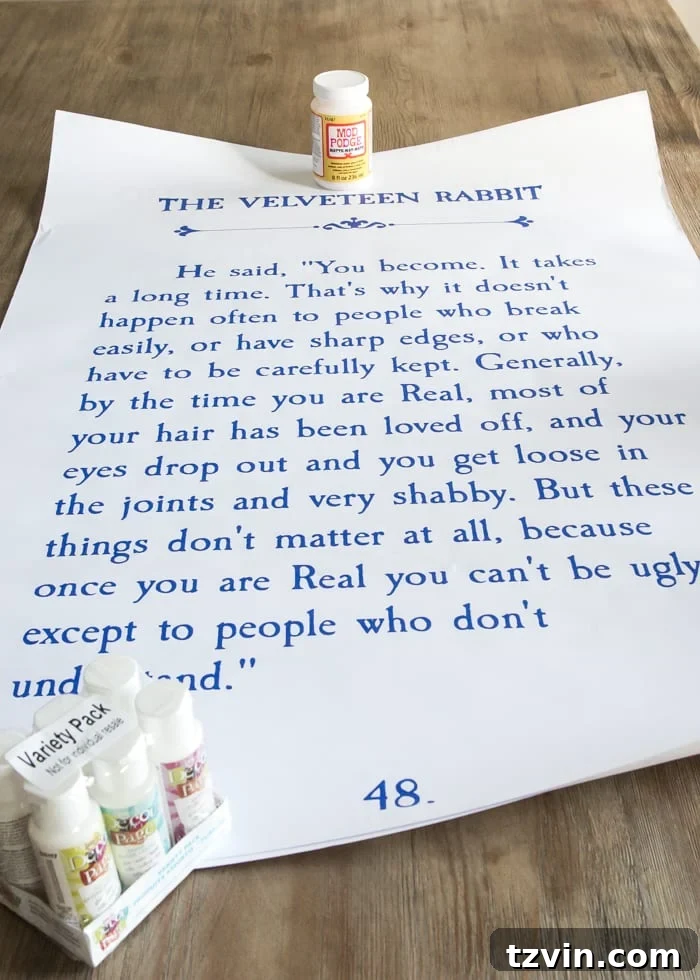
This is where your chosen storybook excerpts come to life! I designed my storybook text using PicMonkey, an incredibly user-friendly program that excels at exporting high-resolution images, essential for large prints. For that classic, elegant look, I recommend the Caslon Antique font, but feel free to experiment with fonts that match your aesthetic. Once your design is perfected and saved as a high-resolution JPG file, it’s time to get it printed.
A fantastic discovery for this project was Staples’ colored engineer prints. These huge, vibrant sheets cost less than $4 each, offering incredible value for such a significant visual impact. The availability of color opens up a world of possibilities for future projects, but for now, it allowed our storybook pages to truly pop. Simply upload your JPG file to Staples’ printing service, select the engineer print option, and choose your desired size (ours were 24″x36″ to match the plywood). The affordability and quality of these prints make them a game-changer for large-scale DIY art.
4. Attaching the Engineer Print to the Plywood Base
This step requires patience and, ideally, an extra set of hands. A patient partner makes all the difference in achieving a smooth, wrinkle-free application.
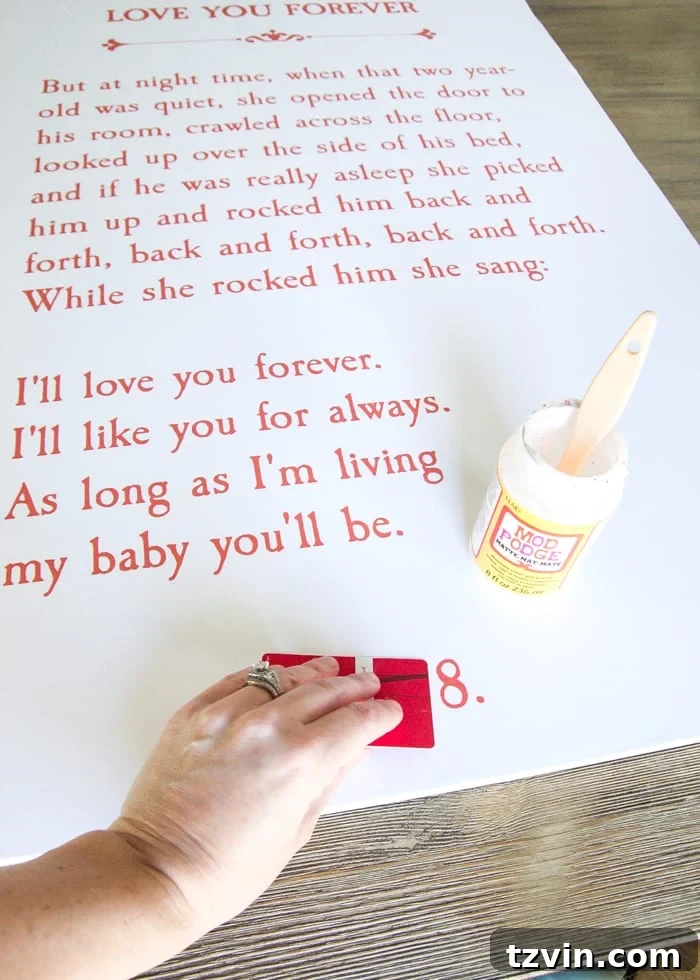
Begin by carefully lining up your engineer print exactly how you want it positioned on the plywood piece. Once satisfied with the alignment, lift one end of the engineer print. Using a sponge brush, apply a thin, even strip of Mod Podge – about 2-3 inches wide – along one edge of the plywood. Make sure the Mod Podge is spread smoothly to avoid bumps.
Carefully lay the edge of the engineer print back down onto the glued strip. Immediately, using your old credit card, library card, or hotel key card (which acts as a perfect squeegee), gently but firmly press and smooth the paper into place. Work from the center outwards to push out any air bubbles or excess Mod Podge. Your partner can help immensely by holding up the unglued portion of the print, preventing it from accidentally folding or creasing while you work. Take your time, working in small sections (2-3 inches at a time), applying more Mod Podge, laying the paper, and smoothing it down. Slow and steady truly wins the race here. While a few tiny creases might still appear, they are usually very subtle and unnoticeable unless inspected closely. Let the Mod Podge dry completely before moving on.
5. Framing Your Storybook Masterpiece
Once your print is securely adhered and dry, it’s time to add the beautiful stained frame. First, measure and cut two of your pre-stained 1″x2″ boards to fit the top and bottom edges of your plywood piece. These pieces should be cut precisely to the width of your plywood. Attach them to the plywood using 1-5/8″ wood screws. We chose screws for the top and bottom because they offer superior sturdiness and are less visible once the sign is hung. Pre-drilling pilot holes can prevent the wood from splitting.
Next, measure the remaining two 1″x2″ boards to fit the sides of your sign. Crucially, these side pieces should be measured *after* the top and bottom frame pieces have been attached, ensuring they fit snugly between them. This creates a clean, professional miter-less look. Attach the side frame pieces using 1-1/2″ finishing nails. Finishing nails are preferred here because their smaller heads are much less visible, maintaining the clean aesthetic of the frame sides. A hammer is all you need for this step. With the frame securely in place, your storybook art is nearly complete!
6. Final Touches and Installation
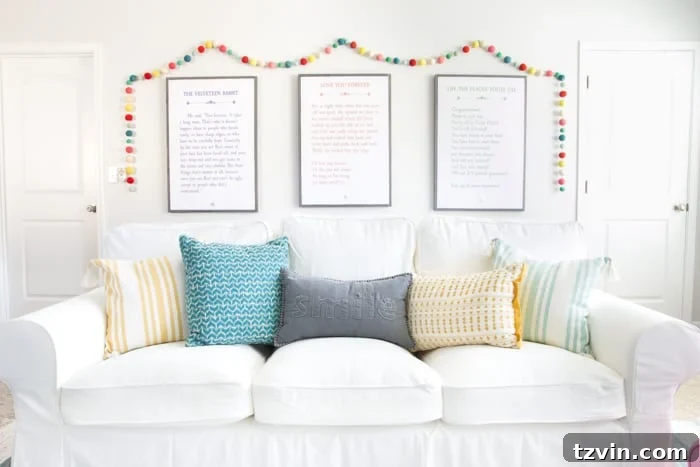
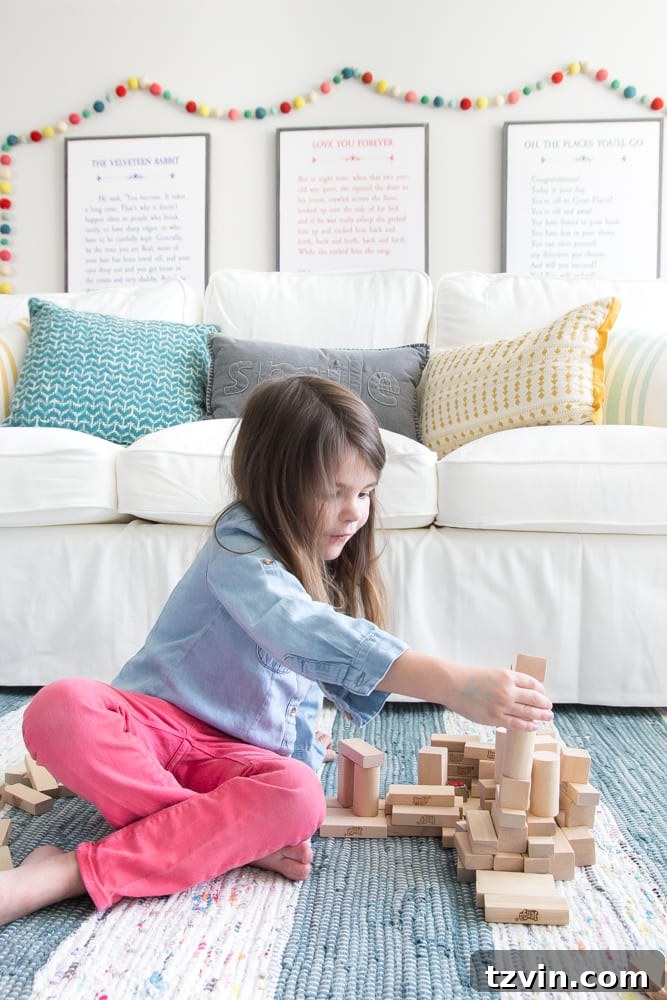
With the frame complete, all that’s left is to attach your chosen hanging kit to the back of the sign. Ensure the kit is suitable for the weight of your finished artwork. Once securely attached, find the perfect spot on your wall, hang your beautiful creation, and admire your handiwork! We added a whimsical pom-pom garland above ours to enhance the playful playroom vibe, demonstrating how simple additions can truly elevate your decor. This project transforms a blank wall into a focal point of inspiration and beauty.
The Power of Words: Choosing Meaningful Storybook Quotes
The true heart of this project lies in the selection of the storybook excerpts. For our playroom, I meticulously chose three specific passages, each conveying a distinct and powerful message that I deeply desired for our daughter, Olivia, to grow up internalizing. These weren’t just random quotes; they were carefully selected wisdom to guide her journey through childhood and beyond.
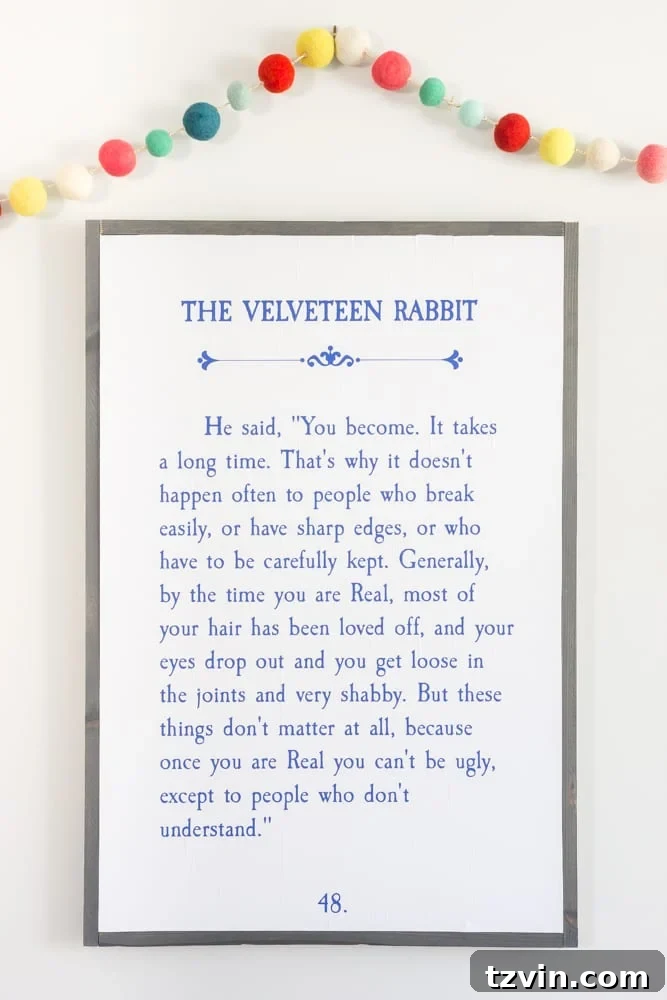
From The Velveteen Rabbit: True Beauty Lies Within
One of the signs features a poignant excerpt from Margery Williams Bianco’s timeless classic, The Velveteen Rabbit. This particular passage beautifully articulates the concept that true beauty and realness come from being loved, cherished, and worn over time, not from superficial perfection. It’s a profound lesson about self-worth, authenticity, and understanding that what truly makes us “real” and beautiful is our experiences, our flaws, and the love we give and receive. I want Olivia to always understand that her inherent value is not based on outward appearances but on the kindness, empathy, and genuine spirit she carries within.
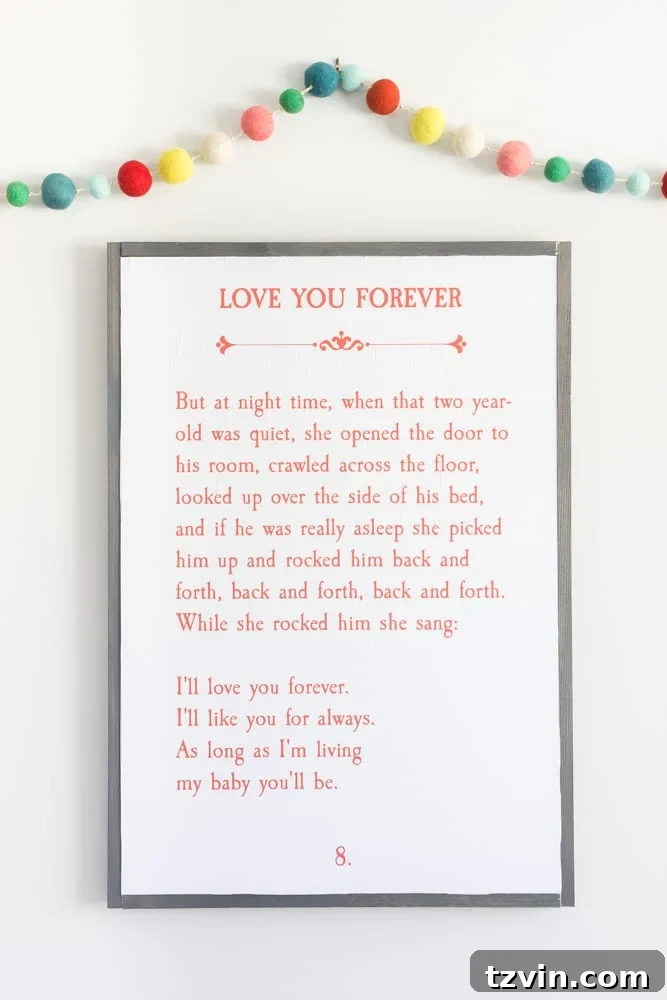
From Love You Forever: Always Our Baby
Another sign proudly displays a line from Robert Munsch’s incredibly touching book, Love You Forever. This story captures the enduring, unconditional love between a parent and child, regardless of age or circumstance. The message is simple yet profound: no matter how old Olivia gets, how independent she becomes, or where life takes her, she will always be our baby. This sign is a constant, tangible reminder of the unbreakable bond we share, assuring her of a secure and loving foundation throughout her life.
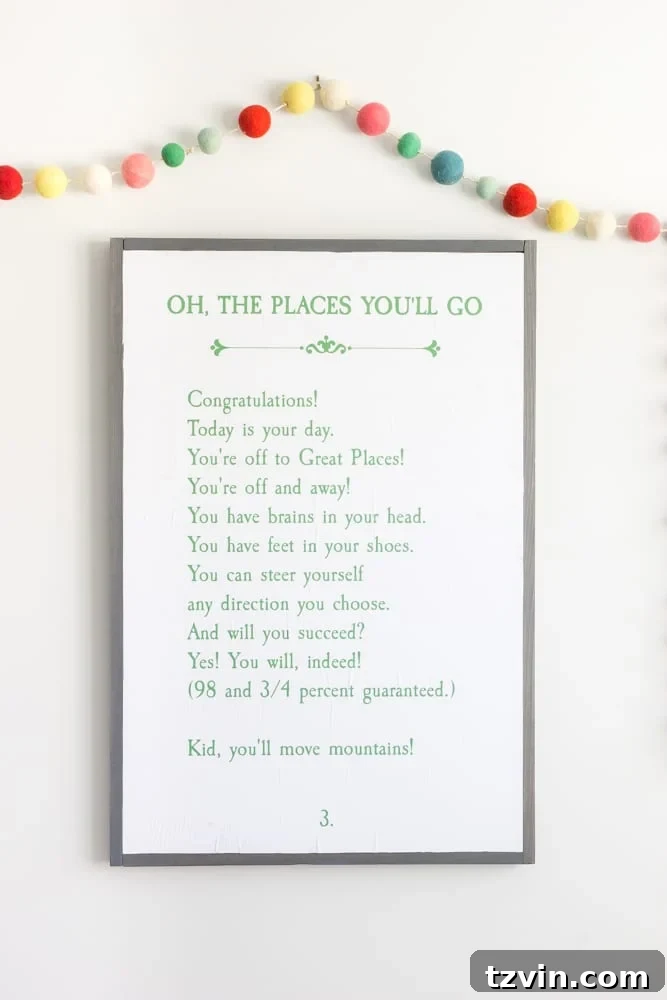
From Oh, the Places You’ll Go!: Conquer Your Dreams
The third sign draws inspiration from Dr. Seuss’s empowering masterpiece, Oh, the Places You’ll Go! This book is a vibrant ode to life’s journey, acknowledging its ups and downs while championing resilience, ambition, and the power of perseverance. The chosen excerpt encourages Olivia to face challenges head-on, to embrace hard work, and to believe in her ability to achieve great things. It’s a powerful motivator, reminding her that with determination and courage, she can conquer her dreams and navigate the vast, exciting world that awaits her. This sign is a daily dose of encouragement for a budding adventurer.
Beyond Play: Creating an Inspiring and Nurturing Space
While this playroom is undeniably a hub for typical childhood activities – coloring, playing with dolls, and yes, even banging those delightfully noisy percussion instruments (which make me question my past purchasing decisions, if I’m honest!) – my intention was always for this space to communicate something much deeper. It’s more than just a room for recreation; it’s an environment designed to nurture her spirit and instill invaluable life lessons.
The world outside can sometimes feel daunting, filled with complexities and challenges. Through these chosen words and the loving energy infused into every DIY project in this room, I want Olivia to understand that the most potent forces for change are love and compassion. I want her to grow up striving to be authentic, to chase great achievements, but never to forget where she comes from – to appreciate her unique past that has, in essence, written her very own story. These storybook signs serve as silent mentors, subtly guiding her towards a life of purpose, kindness, and unwavering self-belief.
Your Turn to Create!
Whew! It seems I’ve gotten a little misty-eyed reflecting on the deeper meaning behind these signs. It’s amazing how a simple DIY tutorial can stir up such emotion! But that’s the beauty of creating something with intention and love.
Now, I’m genuinely curious: if you were to embark on this DIY storybook art project, which beloved story or quote would you choose to adorn your walls? There are countless timeless tales out there, each offering its own unique wisdom and charm, as this former English teacher and avid bookworm can attest. Share your ideas – let’s inspire each other!