Capture the Magic: Your Ultimate DIY Christmas Family Photoshoot Guide at Home
The festive season often brings with it the delightful challenge of capturing those perfect Christmas family portraits. Every year, it feels like these moments sneak up on us, leading to a frantic search for professional photographers, juggling impossibly busy schedules, and hoping everyone stays healthy and cheerful long enough to flash a smile for the camera. Sound familiar?

For many, the dream of a professional holiday photoshoot remains just that – a dream. The truth is, scheduling a “pro” session often falls by the wayside amidst holiday preparations, and sending out timely Christmas cards becomes a yearly fantasy. But what if I told you that you could create stunning, professional-looking Christmas photos right in your own home, with your own family, and your own Christmas tree?
Having spent several years in college as a family studio portrait photographer, especially during the holiday rush when I’d churn out 15-20 Christmas portraits daily, I learned invaluable tricks. These aren’t just for fancy DSLR cameras; they’re techniques to capture beautiful angles and authentic expressions from kids (no matter their mood), using even a simple mobile phone. And now, I’m thrilled to share these secrets with you, empowering you to capture your family’s precious holiday moments with ease and beauty.
Why Taking Your Own Christmas Family Portraits Is a Brilliant Idea This Season
While supporting local artists and professional photographers is incredibly important, sometimes a professional session just isn’t feasible for various reasons. When that happens, a DIY approach to your Christmas family photos not only saves the day but also offers unique advantages that a traditional studio can’t match.
The Comfort and Authenticity of Your Own Home
Your living room, adorned with your beautifully decorated Christmas tree, already provides the most meaningful and personalized backdrop imaginable. This isn’t just any tree; it’s *your* tree, filled with memories and personal touches. Photographing your family in this familiar setting instantly adds a layer of warmth and authenticity that a rented studio backdrop simply can’t replicate.
Children, especially, thrive in their own environment. Little ones, or those with special needs who benefit from extra comfort and familiarity, will feel more at ease, leading to more genuine smiles and relaxed poses. This comfort translates directly into more natural and heartwarming photographs.
Unbeatable Convenience and Timing Flexibility
One of the biggest hurdles for professional photoshoots is finding that elusive slot in your jam-packed holiday schedule. With a DIY setup, you’re in complete control. You can seize the moment when your kids are genuinely happy, well-rested, and healthy – a rare trifecta during cold and flu season! If a toddler meltdown occurs (and let’s be honest, it happens), there’s no pressure, no wasted money, and no awkward apologies to a photographer. You simply try again later, or even the next day. This flexibility is a game-changer for busy families.
Budget-Friendly Brilliance
Professional family photos can easily run into several hundred dollars, a significant expense during an already costly holiday season. Opting for a DIY photoshoot allows you to reallocate that budget towards other joyous holiday experiences, such as travel, thoughtful gifts, or memorable festive activities. Imagine capturing stunning photos using just your smartphone, saving your holiday funds for what truly matters to your family. This year, for instance, we managed to get fantastic shots of our kids in their Christmas pajamas in just five minutes after church on Sunday, all with an iPhone. While my DSLR yields different results, the iPhone photos are still absolutely cherished.
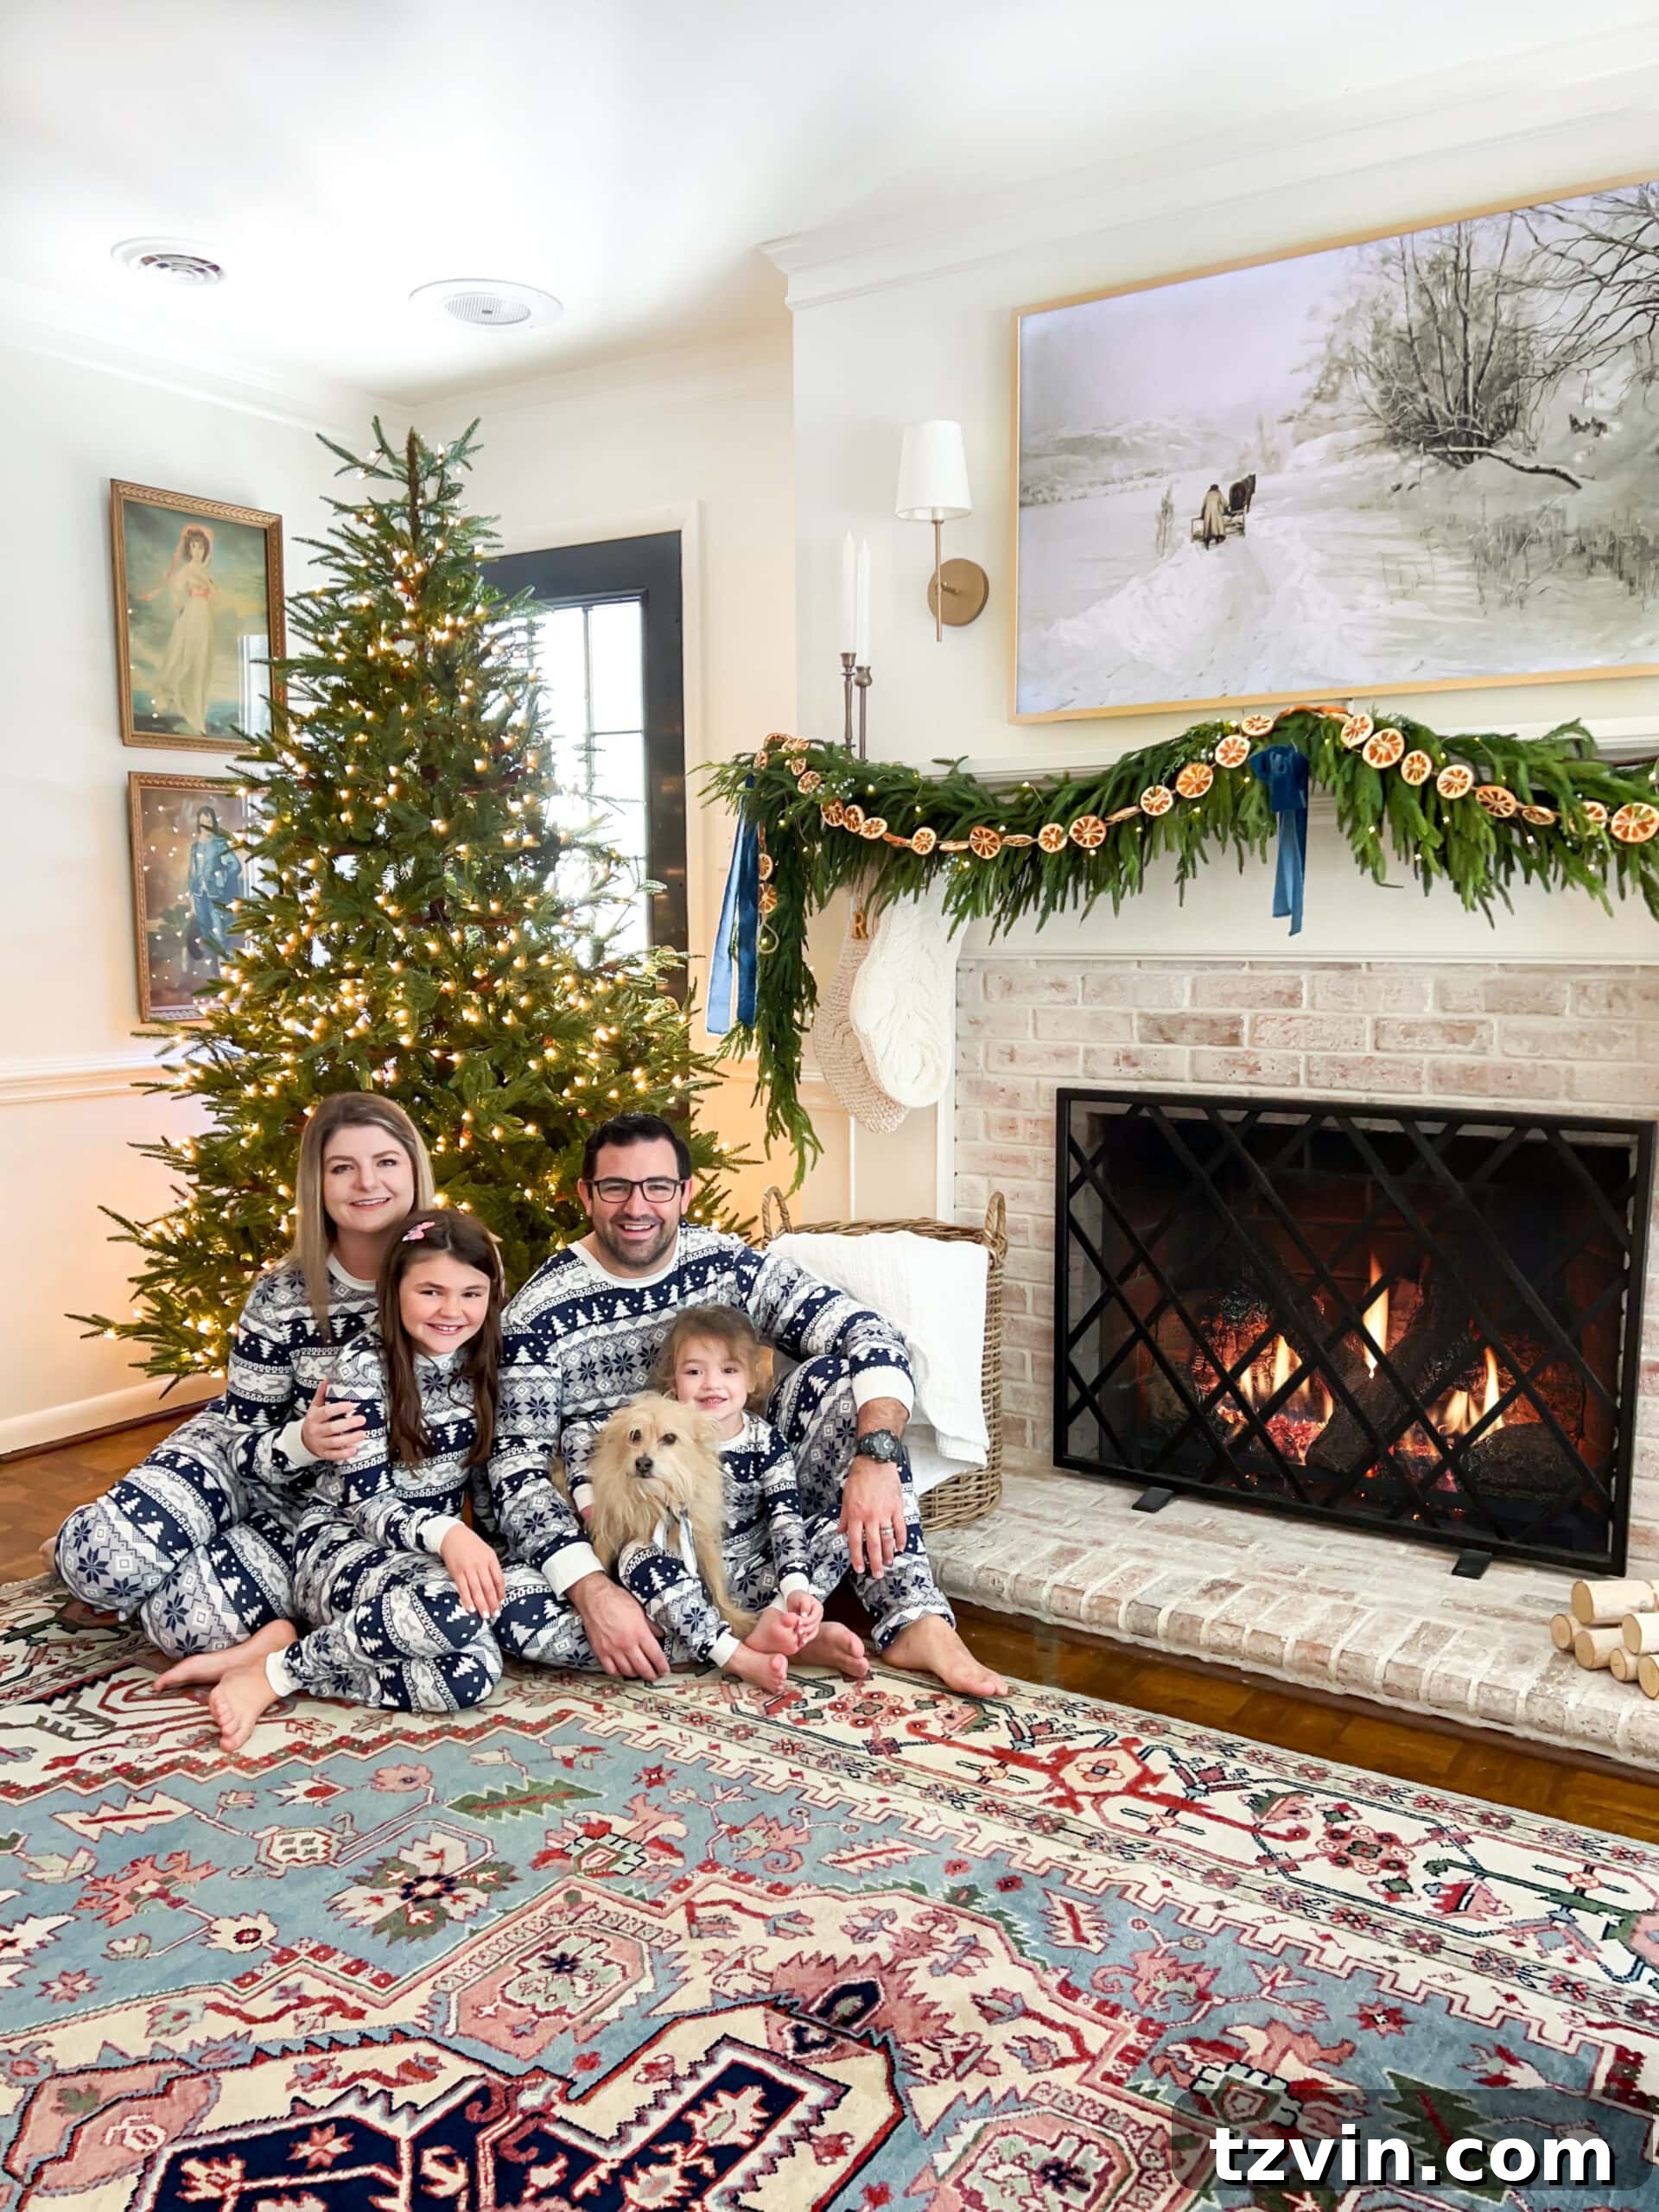
Your Step-by-Step Guide to a Dreamy DIY Christmas Tree Photoshoot
Ready to create magical Christmas card-worthy photos right in your living room? These practical tips are designed to make your DIY Christmas family photoshoot experience seamless, enjoyable, and rewarding.
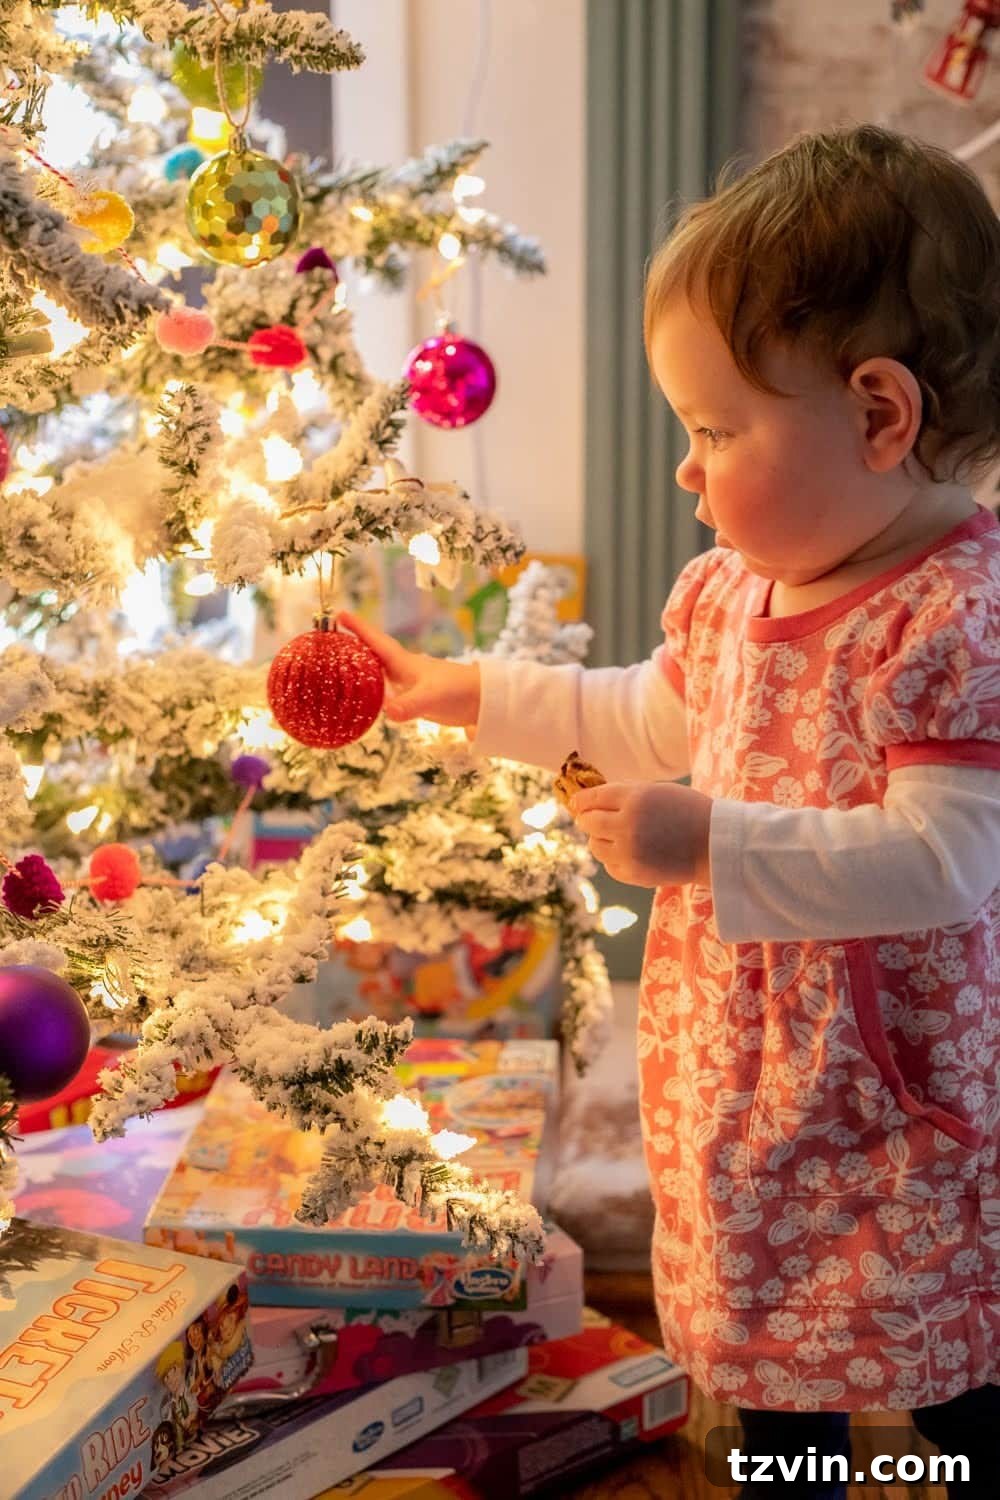
The beauty of a home photoshoot is the freedom to keep it as laid-back or as styled as you wish. Remember, a little bribery (like a delicious cookie in a little one’s hand) can often work wonders for capturing those sweet, candid expressions! Whether you’re planning a dedicated session or simply want to capture impromptu moments around your tree during holiday festivities, these guidelines will help you achieve stunning results.
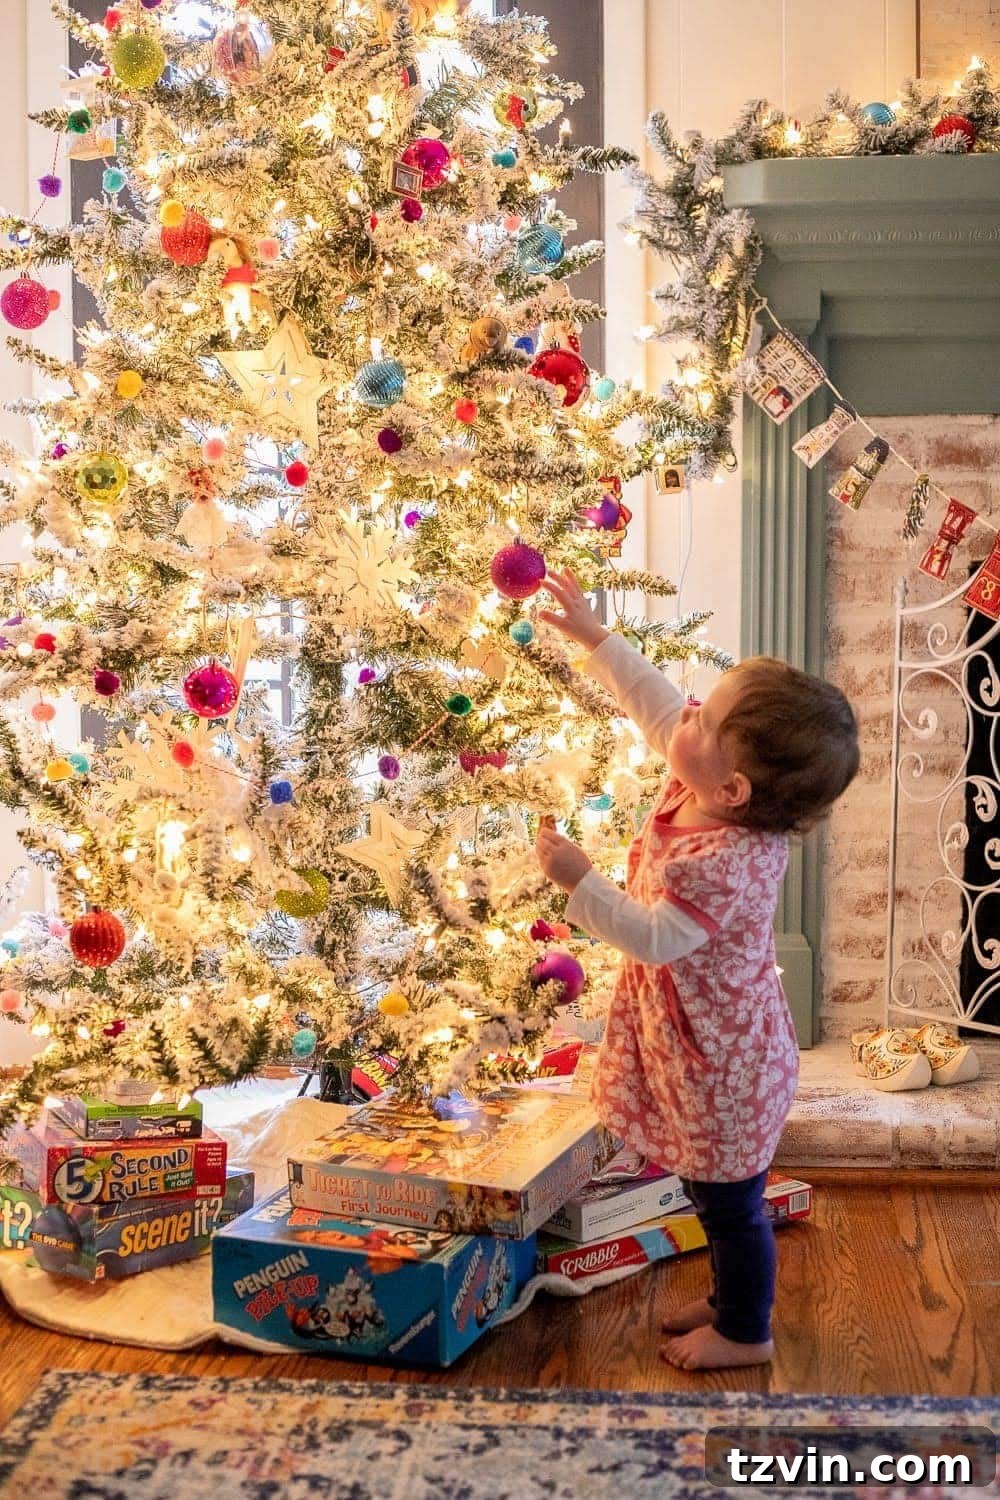
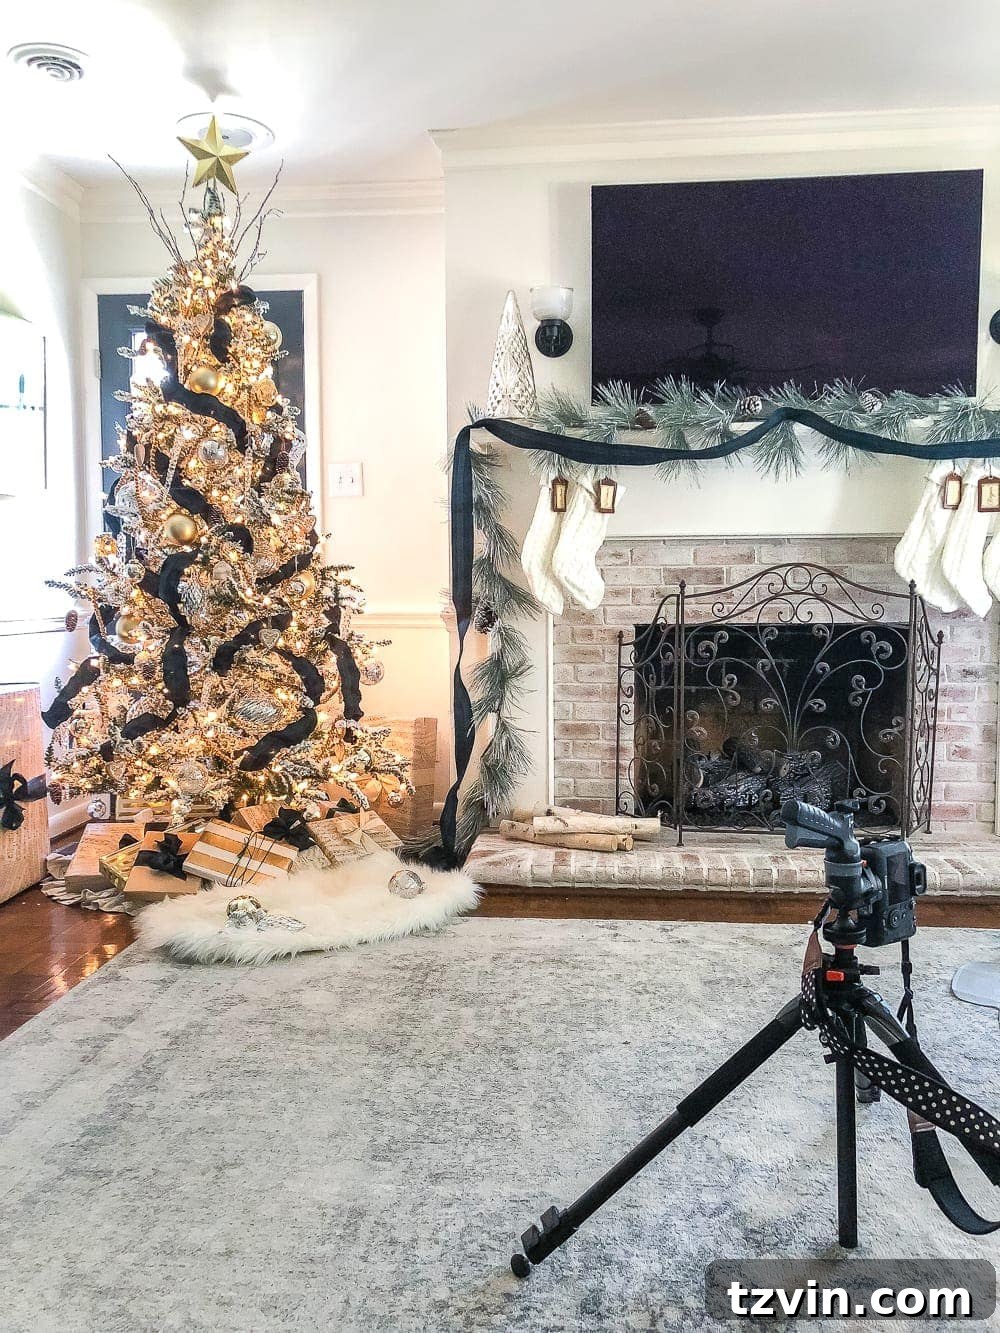
A few years ago, I orchestrated a quick DIY Christmas photoshoot with my daughters, Regan and Olivia. Despite Regan’s initial reluctance, I took some behind-the-scenes shots of my setup to illustrate the process effectively. The great news? These techniques are universally applicable, whether you’re working with a sophisticated DSLR camera or just your trusty cell phone!
Setting the Scene: Preparing Your Space for Perfect Shots
Positioning for Optimal Lighting: The Secret to Dreamy Photos
Aim for Soft, Natural Midday Light
The quality of light is paramount in photography. For indoor portraits, especially with a Christmas tree, you want to harness soft, natural light. This means avoiding harsh, direct sunlight streaming through windows, which can create strong shadows and blown-out highlights. The ideal time is often midday, when the sun is higher and its light is more diffused. This provides an even, gentle illumination that enhances skin tones and creates a warm, inviting atmosphere. While these tips primarily focus on daytime natural light, don’t shy away from capturing candid nighttime moments where the soft glow of the tree lights beautifully illuminates faces.
Turn Off Competing Light Sources
To ensure consistent and beautiful lighting, turn off all artificial lights in the room, with the exception of the Christmas tree lights themselves. Overhead lights, lamps, and other fixtures can cast unwanted color hues on your subjects’ faces, distorting natural skin tones and clashing with the warm glow of the tree and natural sunlight. Relying solely on natural light and the tree lights ensures a cohesive and magical ambiance.
Strategic Subject Placement: Lighting from All Angles
The key to well-lit portraits in front of a Christmas tree is to position your subjects strategically. Place them between the Christmas tree and your primary natural light source – usually a large window or an open door. This setup ensures that they are lit from both the front (by the natural light) and the back (by the tree lights), creating a beautiful, soft glow around them and preventing harsh shadows on their faces.
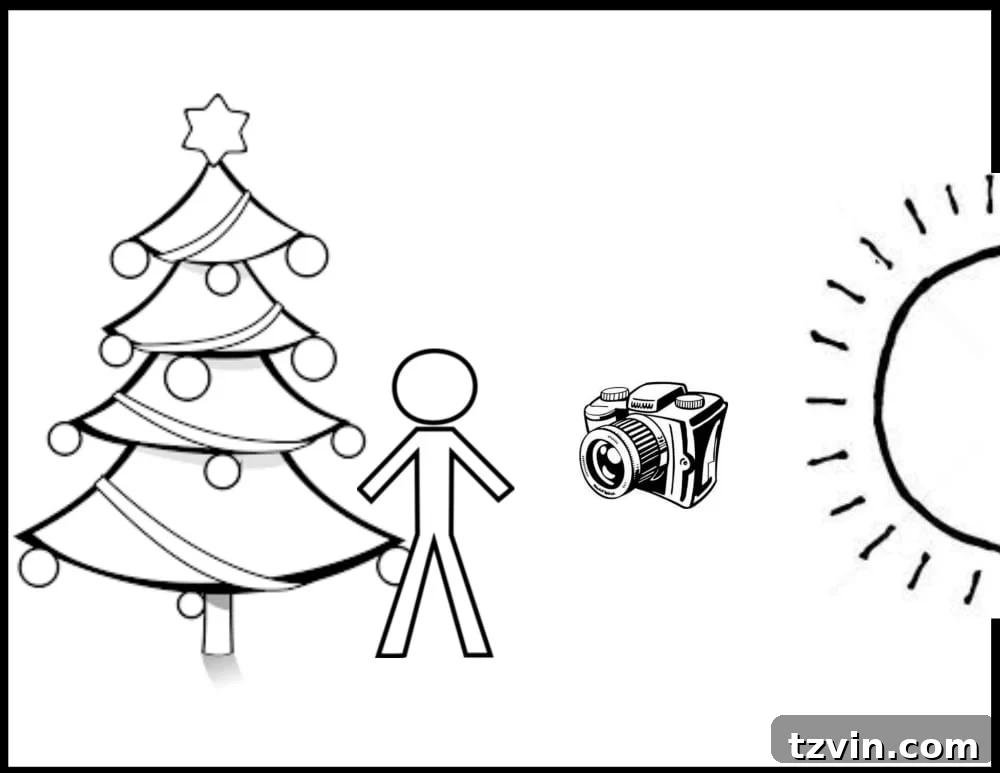
Crucial Tip: NEVER use a flash. The harsh, direct light from a camera flash will completely obliterate the enchanting, dreamy glow from your Christmas tree lights, flattening your image and stripping it of its festive magic. Avoid it at all costs!
If your Christmas tree is situated in a room that lacks natural light, you can still achieve fantastic results. In this scenario, rely on the tree lights as your primary backlight. For front illumination, place a small, soft lamp (not an overhead fixture) opposite your subjects. Position it carefully to cast just enough gentle light on their faces, ensuring they are visible and well-exposed without being overly bright or creating harsh shadows.
Posing for Authentic and Heartwarming Christmas Photos
Beyond lighting, thoughtful posing can transform ordinary snapshots into cherished holiday memories. The goal is to encourage natural interactions and comfortable expressions, especially with children.
Creative Posing Ideas to Inspire Genuine Smiles
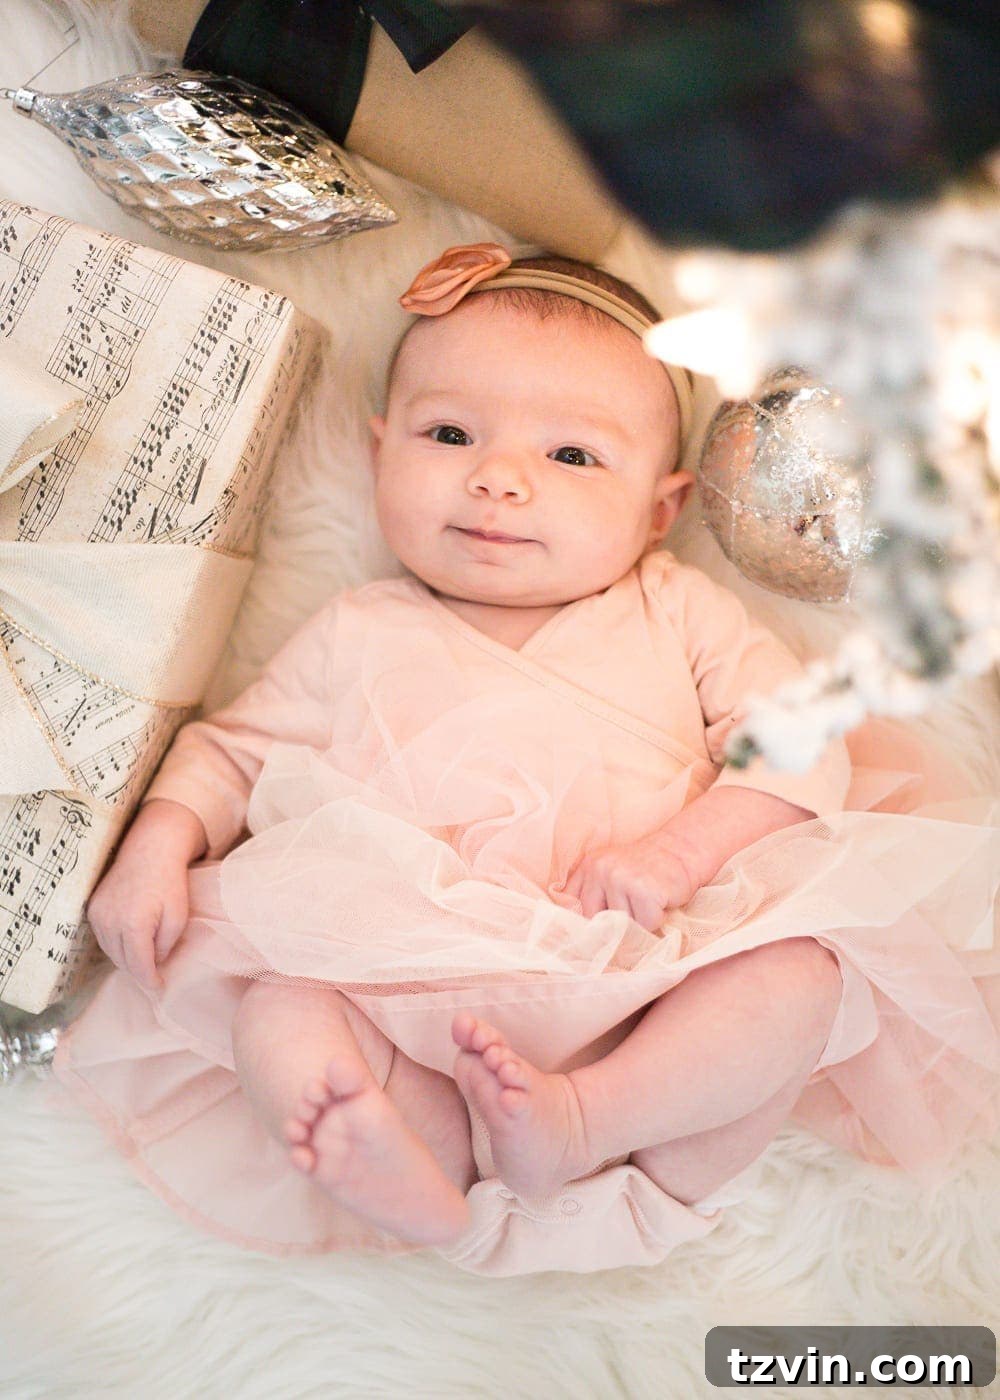
One fantastic trick for achieving beautiful, even lighting on faces, particularly with kids, is to have them lie down under or in front of the tree, facing upwards. Then, shoot from directly above them. This allows the gentle glow of the Christmas lights to illuminate their faces evenly, creating a truly magical effect. This “bird’s eye view” is also an excellent Christmas photo idea for babies or very young children who can’t sit up independently yet.
Pro-Tip: Incorporate Christmas Photo Props. Props are your best friend, especially when photographing children! Beautifully wrapped gift boxes, oversized ornaments, or even a favorite holiday plush toy can give kids something to interact with. This interaction naturally leads to candid, sweet expressions. If your kids aren’t in the mood for stiff smiles, a prop provides a wonderful distraction, encouraging them to play and genuinely engage with their surroundings, yielding far more authentic shots.
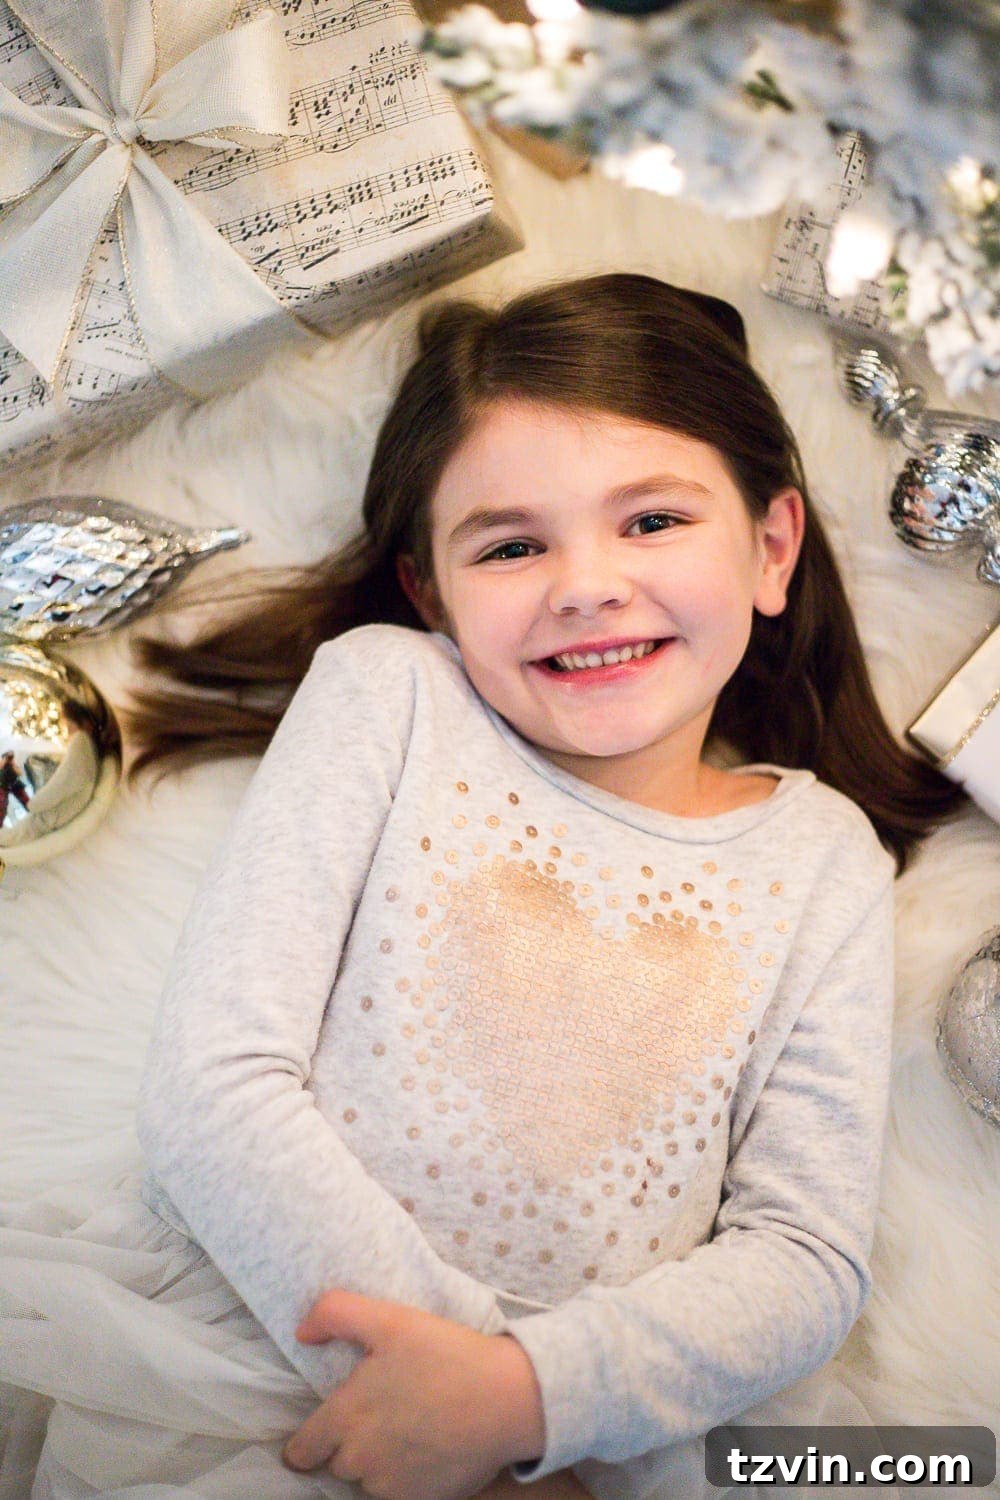
Encourage natural poses and let your subjects lead the way. People always look their best when they feel relaxed and comfortable. Try various setups: sitting together in front of the tree, standing and admiring the ornaments, unwrapping a decorative present, or simply sharing a laugh. Don’t be afraid to prompt some dancing, silly faces, or tickle fights to capture pure joy and candid moments. The more fun you have, the more genuine the photos will be.
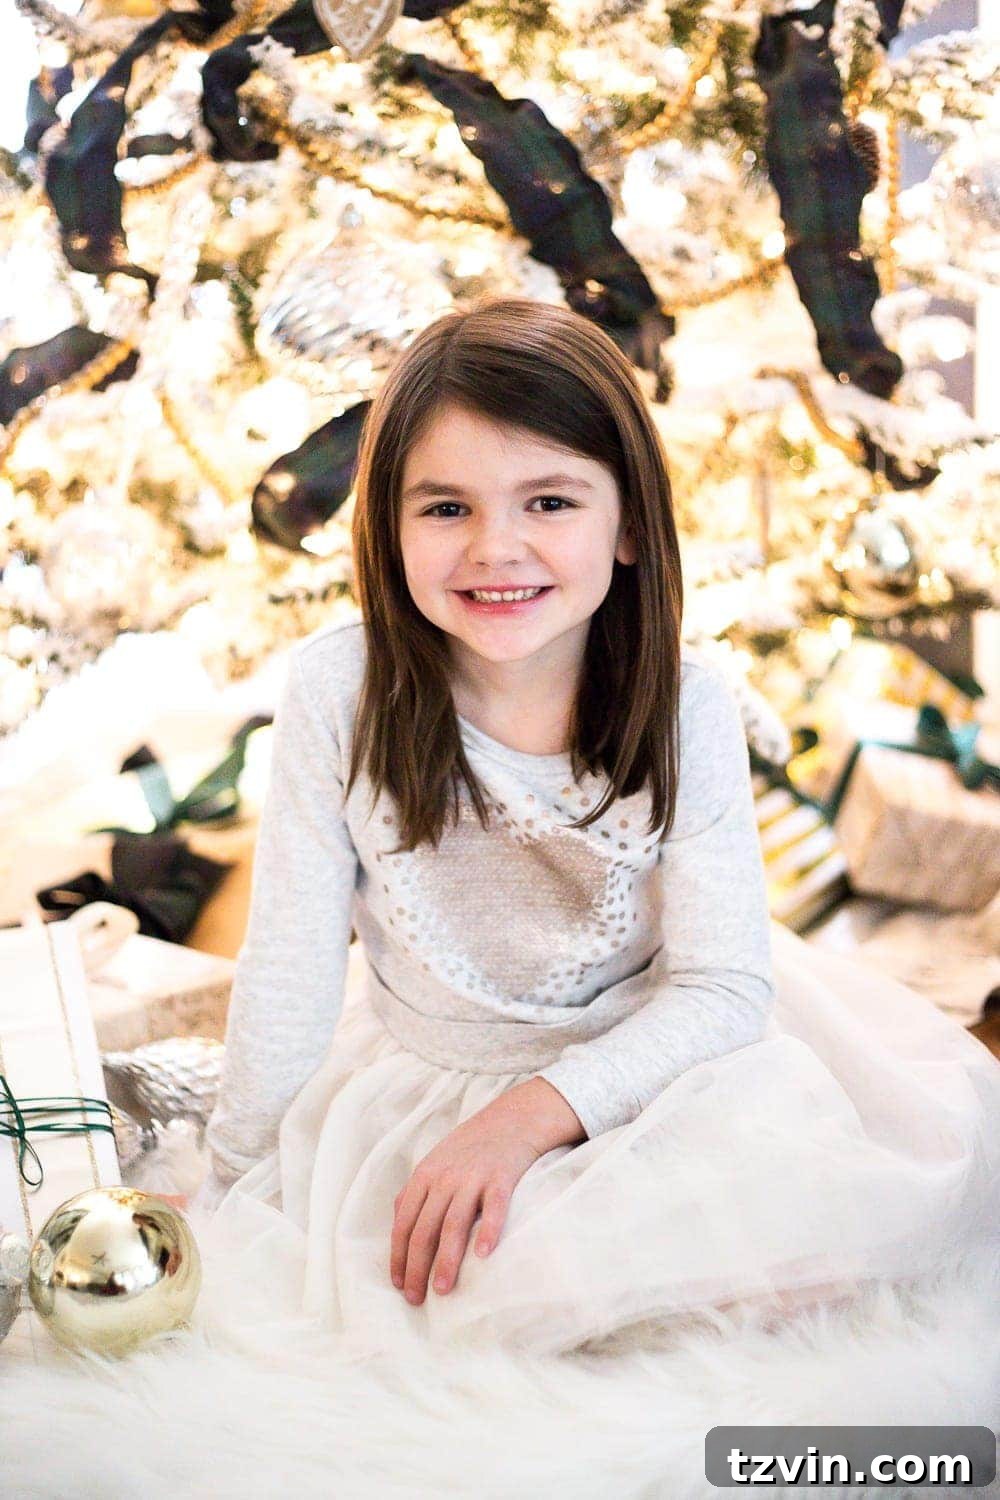
Framing Your Subject for Maximum Impact
Always strive to shoot at eye level with your subjects. If you’re photographing children, squat down or sit on the floor so your camera lens is at the same height as their faces. This creates a more engaging and intimate perspective. For adults, photographing them from just slightly above eye level can be flattering, helping to minimize the appearance of a double chin and creating a more elegant line.
Camera Gear & Essential Settings for Stunning Results
Whether you’re using a state-of-the-art DSLR or the smartphone in your pocket, understanding a few basic camera settings can elevate your Christmas photos from good to absolutely glorious.
Smartphone Photography: Unleash Your Pocket Powerhouse
Don’t underestimate the power of your mobile phone camera! With a few simple adjustments, it can produce incredibly beautiful holiday portraits.
Clean the Lens for Crystal Clarity
This is a foundational, yet often overlooked, step. Before you begin shooting, wipe your phone’s camera lens thoroughly with a microfiber cloth. Fingerprints and smudges can drastically reduce image quality, causing haziness or blur. Keep your fingers away from the lens until your photoshoot is complete.
Turn On Live Photo for Added Magic
If your phone has a “Live Photo” (or similar) option, turn it on! This feature captures a short video clip before and after your still photo, giving you an extra dimension of sweet, candid moments. It won’t compromise the quality of your main still image, and you might even find an unexpected gem within the live animation.
Adjust Exposure as Needed
Always shoot directly from your phone’s native camera app, rather than third-party apps that might compress or decrease image quality. If your phone’s auto-brightness feature makes the picture seem too bright, tap on your screen and adjust the exposure slider (often represented by a sun icon) to darken the image slightly. This helps retain the magical glow of the tree lights.
Stability is Key: Use a Tripod or Prop & the Timer Setting
Camera shake is the enemy of sharp photos, especially in lower light. If possible, use a mobile phone tripod to keep your device perfectly still. If you don’t have one, prop your phone securely on a stable surface like a stack of books or a piece of furniture. Then, utilize your camera’s timer setting (e.g., 3-second or 10-second delay). This ensures the camera is perfectly still when the photo is taken. Even better, if you have a smartwatch, you can often trigger your phone’s camera remotely, eliminating any chance of wobble.
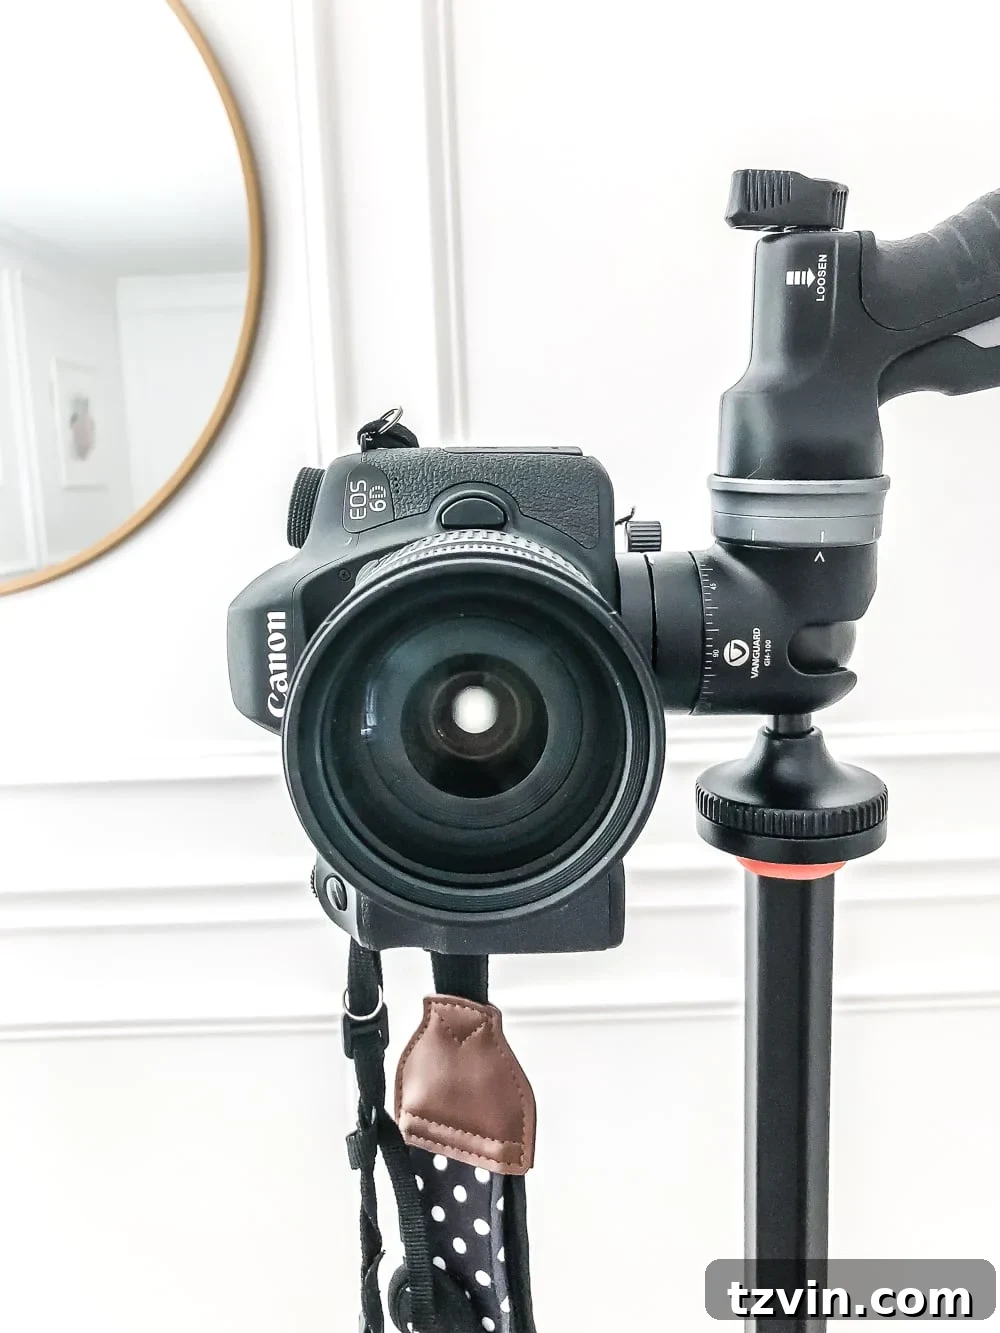
DSLR Photography: Advanced Control for Dreamy Effects
For those with a DSLR camera, switching to manual mode unlocks a world of creative control, allowing you to fine-tune every aspect of your image to achieve that coveted dreamy Christmas glow.
Aperture: Master the Bokeh Effect
Set your aperture (represented as f/number) to the lowest setting your lens allows. A low f-number (e.g., f/1.8, f/2.0, f/2.8) creates a shallow depth of field, resulting in that beautiful blurry background, often called “bokeh,” where your Christmas tree lights transform into soft, ethereal orbs of light. My lens, for example, goes down to f/2.0, which is perfect for this effect.
Shutter Speed: Freeze the Festive Moment
Next, set your shutter speed to 1/200th of a second or higher. This is particularly important when photographing lively children. A faster shutter speed will “freeze” any movement, ensuring your subjects appear sharp and clear, preventing unwanted motion blur in your cherished portraits.
ISO: Balancing Brightness and Grain
Once your aperture and shutter speed are set, adjust your ISO to control the overall brightness of your photo. ISO determines your camera’s sensitivity to light. A higher ISO number will make your photo brighter, which is often necessary in lower indoor light. However, be mindful that cranking the ISO too high can introduce “grain” or “noise” into your image, making it appear less smooth. Find a balance that provides enough light without excessive graininess.
White Balance: Accurate Colors, Naturally
For white balance, it’s often best to set it to “Auto White Balance” (AWB). This setting allows your camera to analyze the scene and make its best guess for accurate color rendition. Alternatively, if you notice an undesirable color cast, you can experiment with specific white balance presets like “Cloudy” or “Shade” to warm up the image slightly, enhancing the cozy Christmas feel.
Did you know? If you’re using a cell phone, you can download the Adobe Lightroom Mobile App. It’s completely free and allows you to manually adjust aperture (though simulated), shutter speed, ISO, and white balance, giving you incredible control over your smartphone photos!
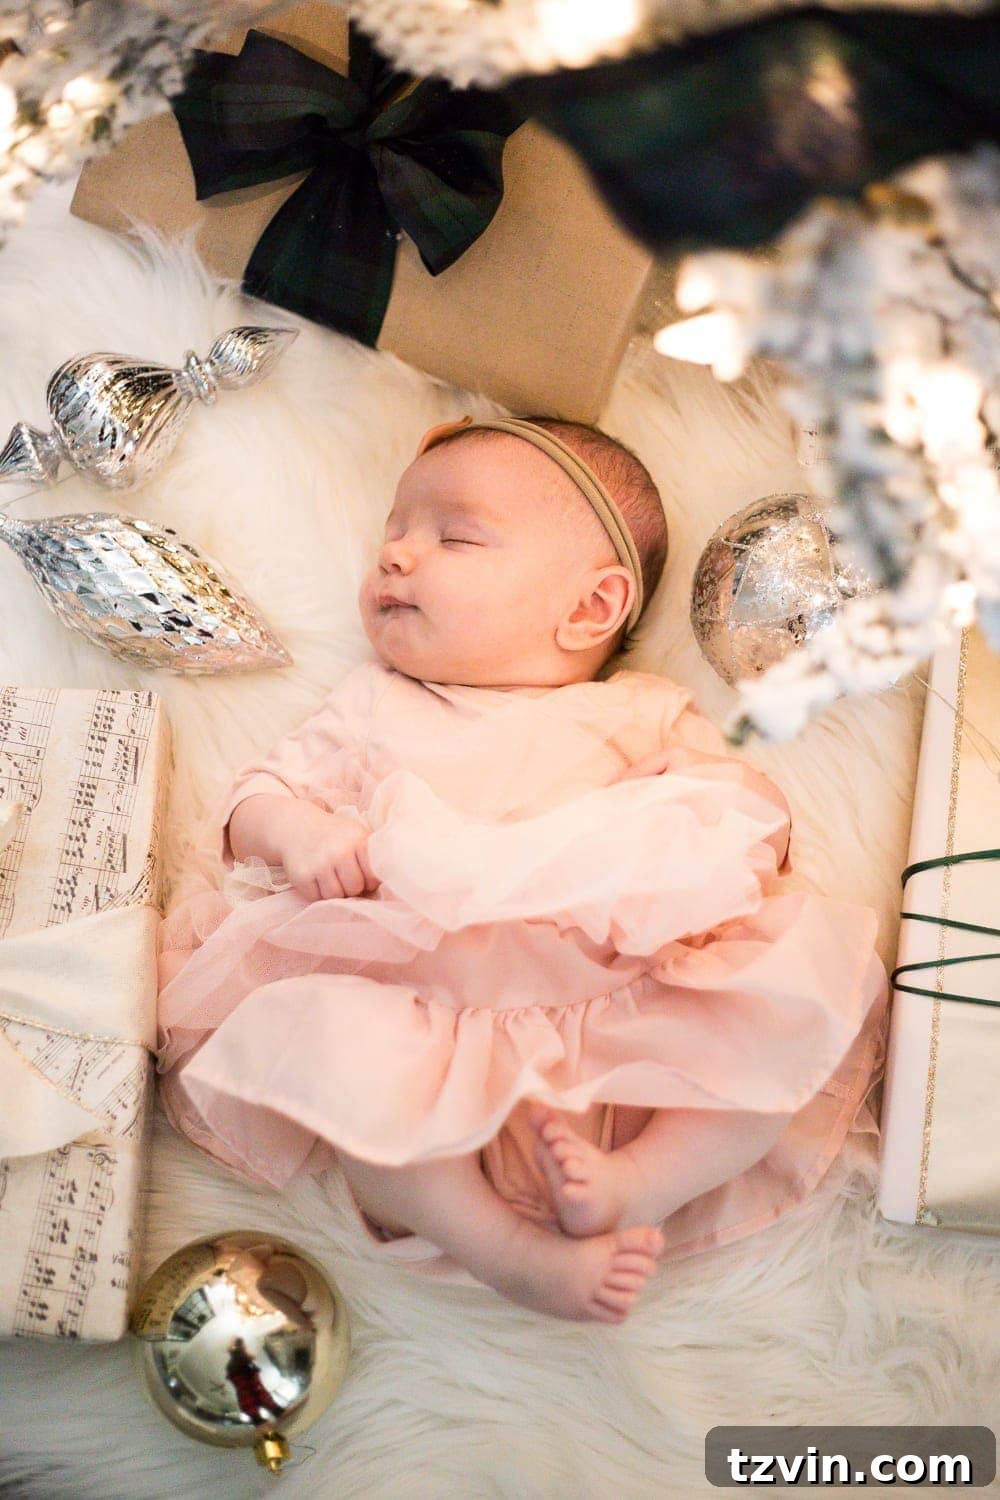
Focus: Pin-Sharp Subjects Amidst Dreamy Bokeh
Because you’re using a wide aperture (low f-number), your background will be beautifully blurred, and the Christmas lights will create that dreamy, soft effect. This makes sharp focus on your subjects even more critical. For DSLR users, carefully select your focus point to fall directly on the eyes or faces of your main subjects. If you’re shooting with a cell phone, simply tap on the person’s face on your screen to tell your phone where to focus, ensuring they are crystal clear while the background remains magically soft.
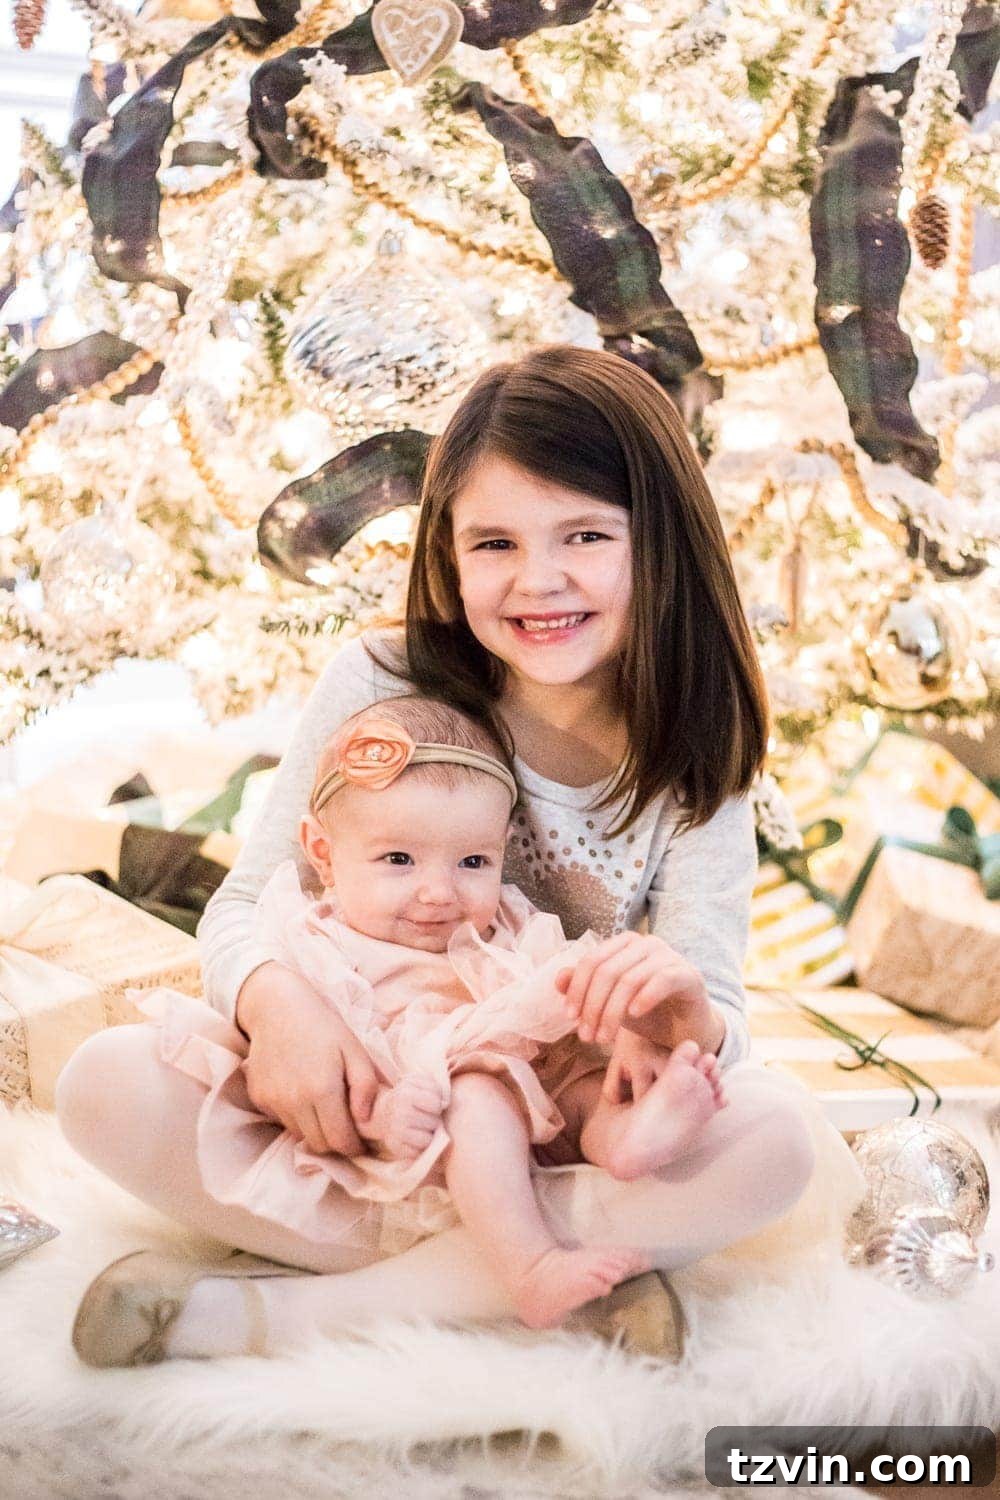
Post-Production Magic: Simple Editing for a Professional Finish
Even with the best planning and camera settings, a touch of post-processing can truly make your Christmas photos shine, adding that final professional polish.
The Power of Simple Adjustments
I typically use Adobe Lightroom for editing my DSLR photos on my MacBook, but as mentioned, the free Adobe Lightroom Mobile App is an incredibly powerful tool for editing photos taken with your cell phone too. The goal of editing here isn’t to drastically alter the image, but rather to enhance the natural beauty and ensure even, balanced lighting.
The main adjustments I make in editing are:
- Increase Exposure: To brighten the overall image subtly.
- Increase Whites: To make the bright areas pop without losing detail.
- Decrease Highlights: To recover detail in any areas that might be slightly overexposed.
- Decrease Shadows: To lift darker areas and reveal more detail without making them appear flat.
- Decrease Blacks: To ensure deep, rich blacks for contrast, preventing a washed-out look.
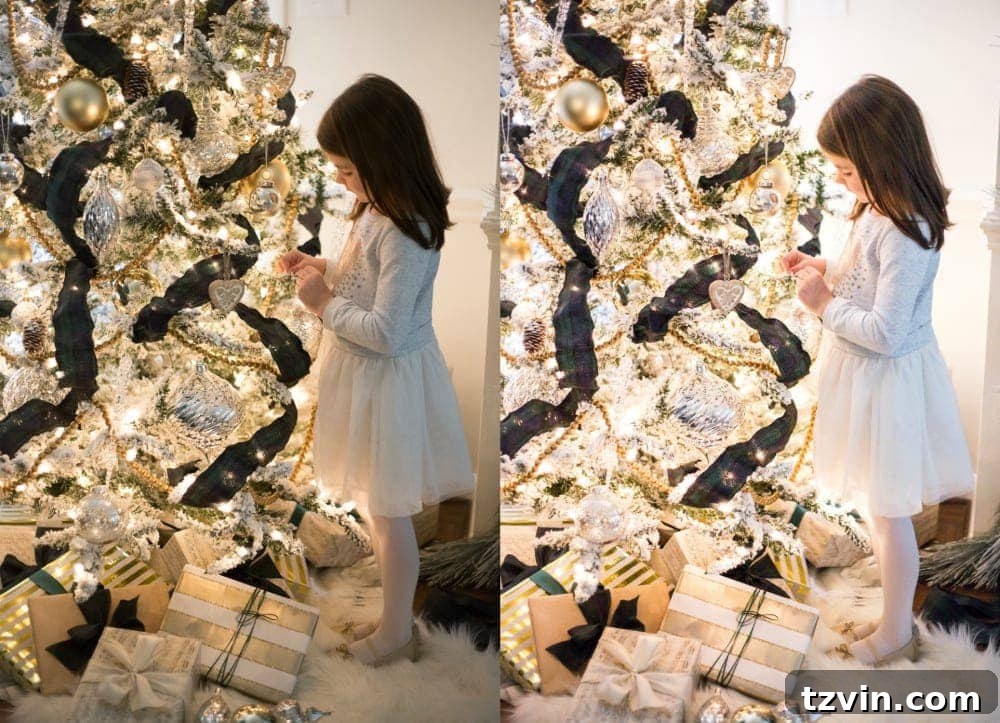
By making these minor tweaks, you can create a more evenly lit and visually appealing photograph, enhancing the soft, natural glow you worked so hard to capture. The difference, even with these subtle adjustments, can be remarkable, transforming a good photo into a truly captivating one.
Like this…
My Recommended Photography Gear
For those interested in the specific photography gear I use, my go-to setup includes a Canon 6D DSLR camera paired with a Canon 50mm f/1.8 lens, which is fantastic for portraits and achieving that lovely bokeh. However, please remember that any basic DSLR camera can effectively handle these tips. And, as demonstrated, a modern mobile phone (I currently use the iPhone 13 Max Pro) can deliver stunning results in a pinch!
Embrace the Joy of DIY Christmas Photos
I truly hope these comprehensive tips empower you to embark on your own DIY Christmas family photoshoot this holiday season. Capturing these precious moments with your family and loved ones, right in the heart of your festive home, creates timeless treasures. Even if you don’t aim for elaborate Christmas card photos, having sweet, authentic holiday portraits each year is an invaluable gift to yourself and your family. These memories, beautifully preserved, will be cherished forever.
More Photography Tips to Elevate Your Skills
- How to Photograph Christmas Tree Lights at Night for a Magical Glow
- How to Photograph Interiors Like a Pro: Elevate Your Home Photography