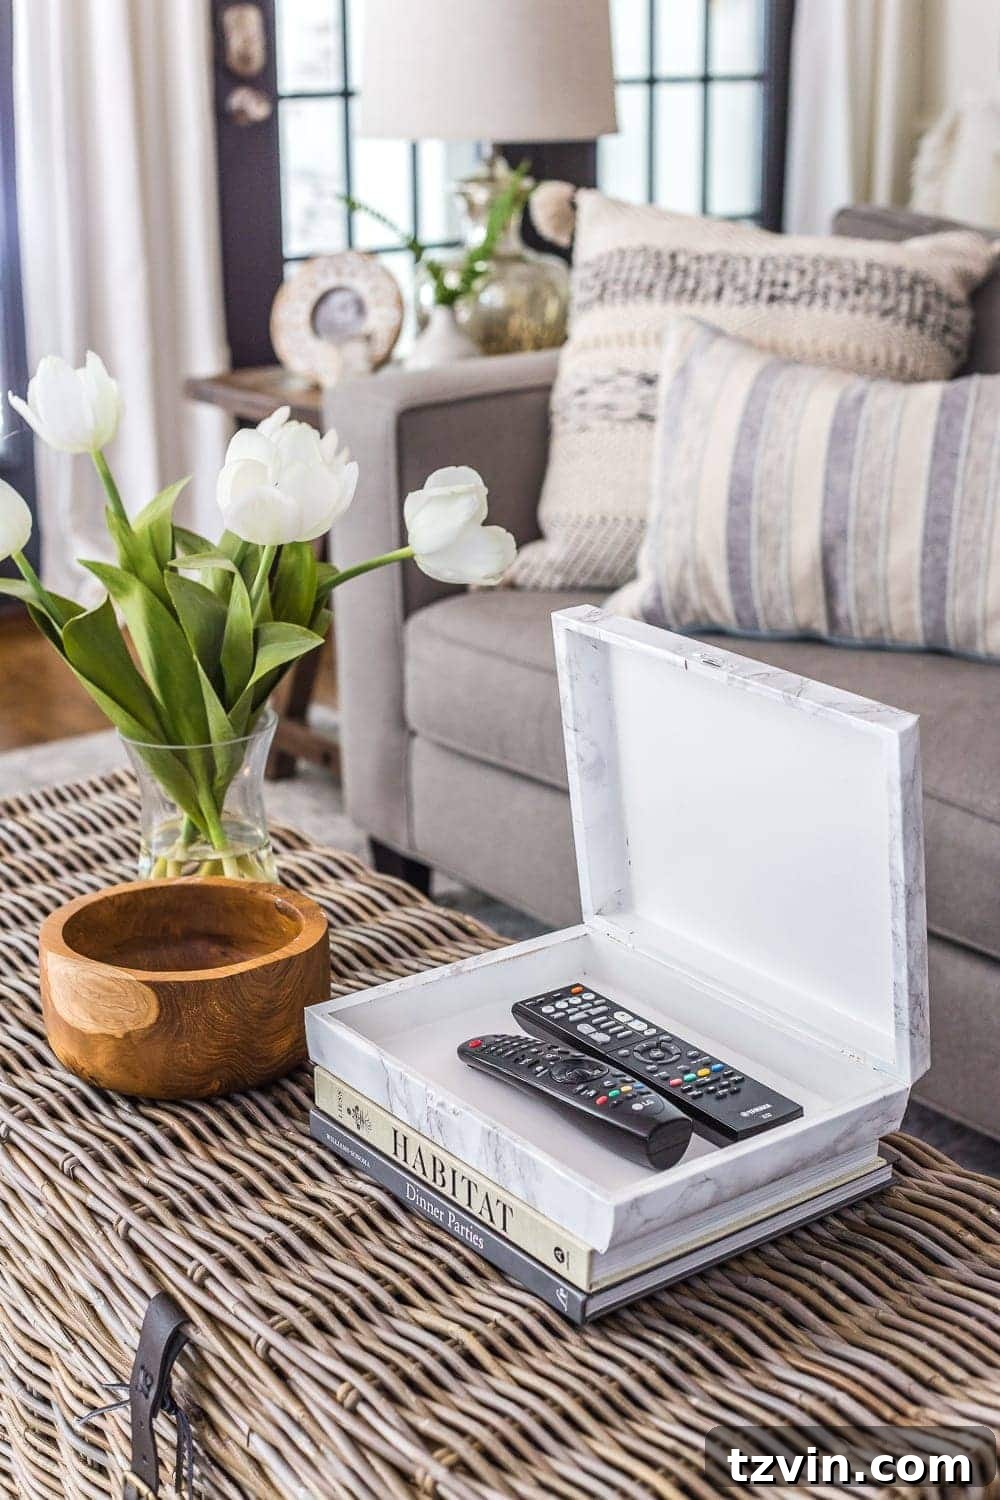
In today’s bustling households, the humble remote control has become both an essential tool and a notorious hide-and-seek champion. If you’re anything like our family, you’ve probably played the unofficial game of “Hide the Remote from the Baby” – or perhaps from the curious pet, or even just from the couch cushions that seem to devour them. While colorful, squeaky toys are designed for infants, it’s often the everyday items like car keys, cardboard boxes, and yes, the elusive remote control, that truly capture their attention. This constant struggle inspired me to create a stylish, yet practical, solution to keep our remotes safely out of reach and beautifully integrated into our living space.
The goal was simple: design a designated spot that was both visually appealing and effortlessly accessible for adults, yet cleverly concealed from tiny hands. The answer lay in the art of repurposing – a budget-friendly and creative approach to home decor that I absolutely adore. By transforming an overlooked item into a functional piece, we not only solve a common household problem but also add a unique touch of personality to our coffee table.
The Perfect Thrift Store Find: Crafting Your Own Decorative Remote Control Holder
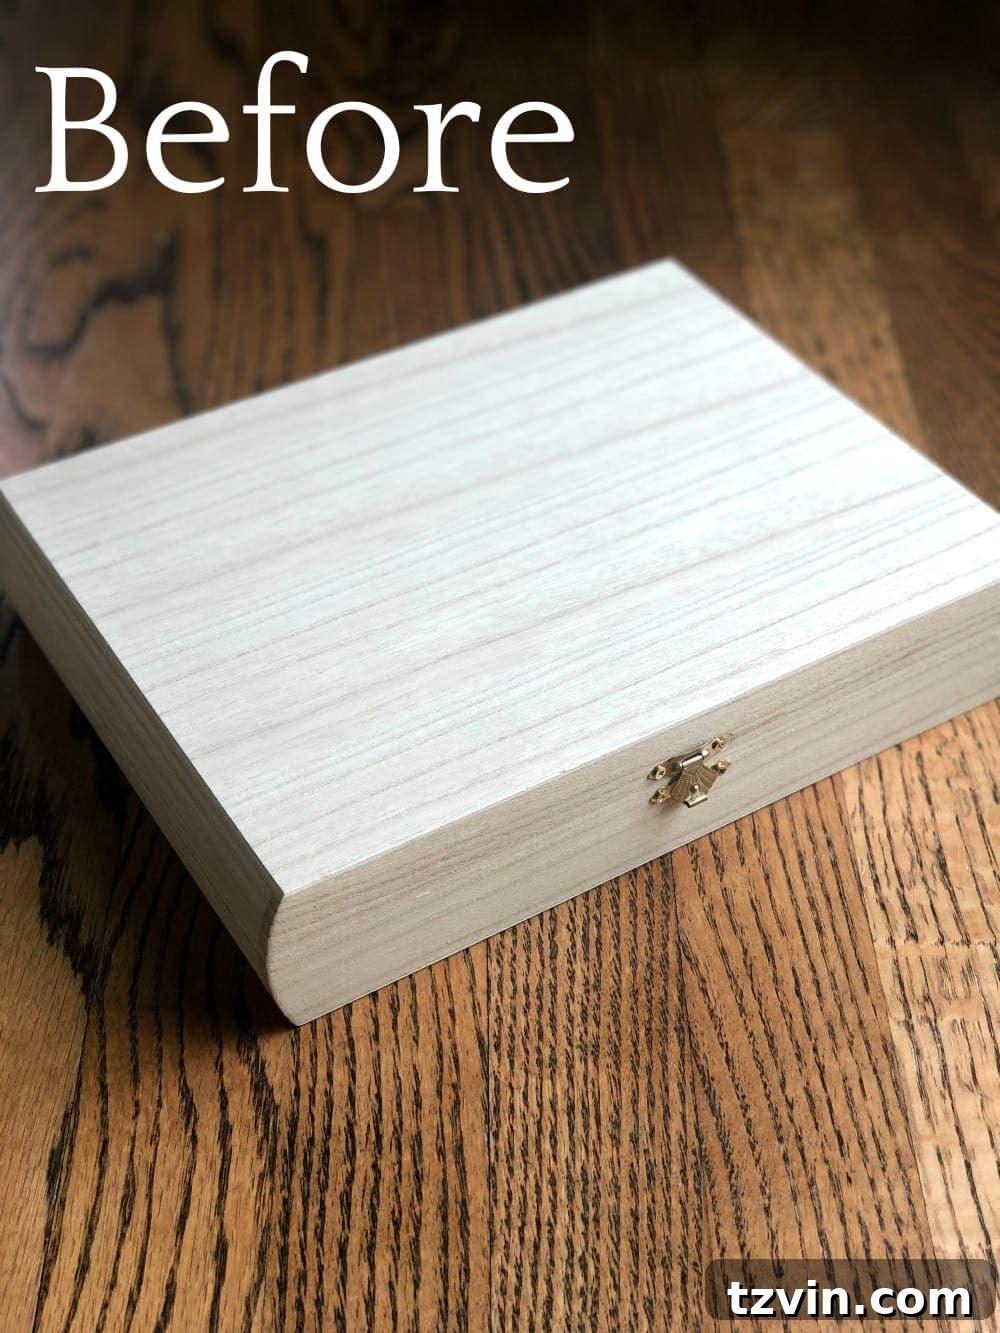
My frequent thrifting adventures often lead me to discover hidden gems like sturdy cigar boxes and elegant jewelry boxes. Their compact size and robust construction make them ideal candidates for various DIY projects, especially for creating an organized and decorative remote control holder. They offer the perfect blend of form and function, providing ample space for multiple remotes while maintaining a sleek profile that won’t clutter your coffee table.
The beauty of this project lies not only in its practicality but also in its incredible affordability. I was fortunate enough to have some high-quality marble contact paper left over from a previous coffee table makeover, which significantly reduced the cost. Even if you need to purchase new materials, the total investment for this stylish remote control holder will likely be under $10, making it an incredibly budget-friendly way to upgrade your living room decor and organization. This project exemplifies how you can achieve a high-end look without breaking the bank, transforming a simple, inexpensive item into a sophisticated piece.
Related: 30 Best Home Decor Items to Buy at Thrift Stores for Stylish Savings
(Some affiliate links are provided below. Full disclosure here.)
Supplies Needed for Your DIY Cigar Box Remote Holder
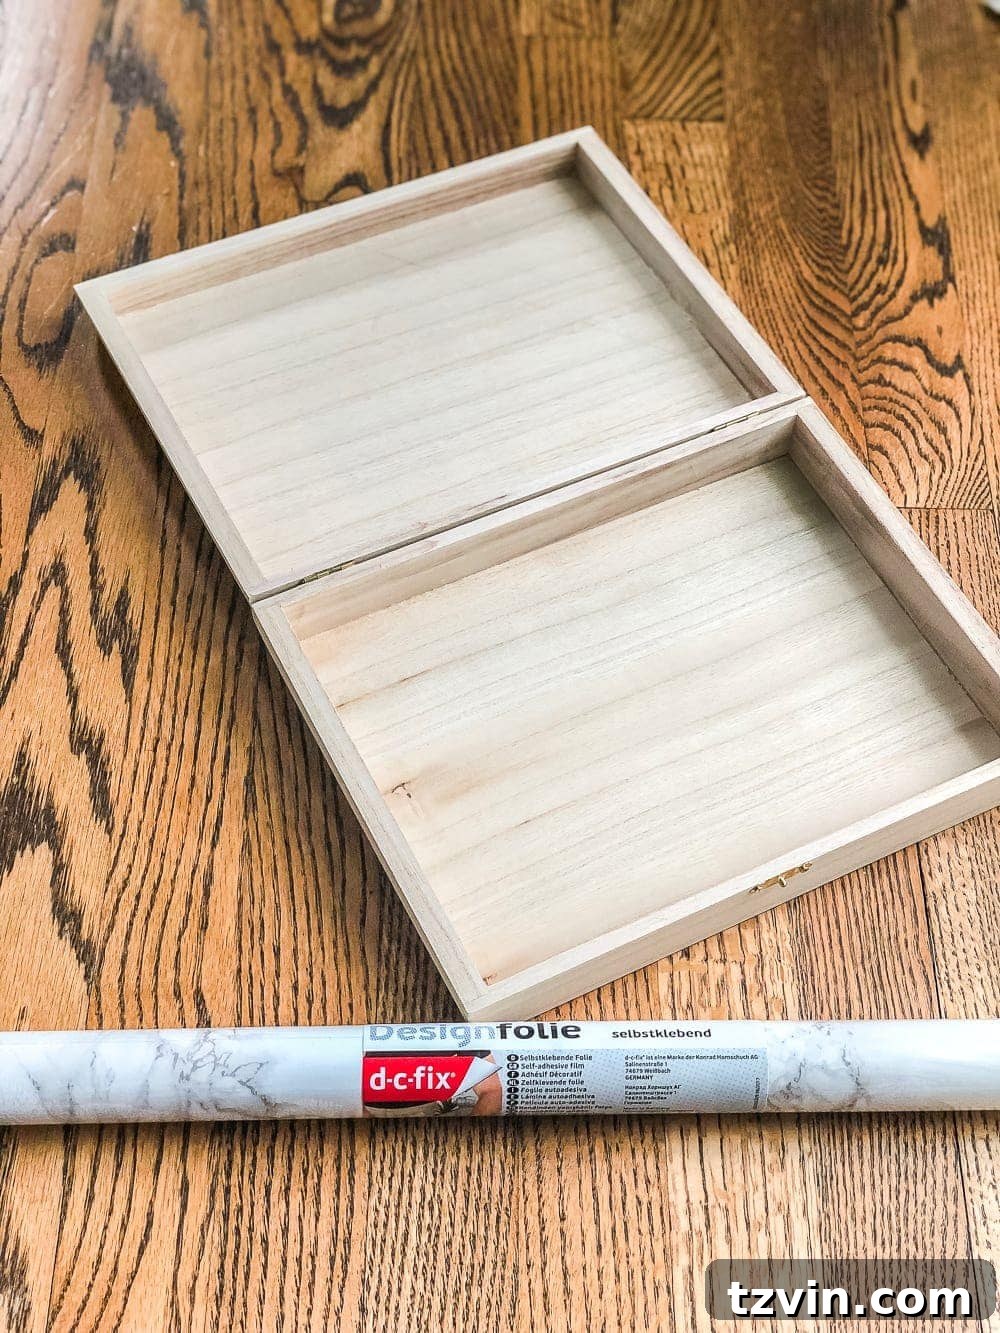
Gathering your materials is the first exciting step in any DIY project. For this decorative remote control holder, you’ll find that most items are readily available and affordable. The beauty of contact paper is its versatility; while I chose a chic marble design, you can personalize your holder with any pattern or texture that complements your home decor, from elegant wood grain to vibrant geometric prints. The key is to choose a cigar box that is sturdy and free of major damage, as this will form the foundation of your project.
- Cigar box (or a similar small wooden box found at a thrift store)
- Marble contact paper (or your preferred design – burl wood contact paper offers a rich, natural look, while solid colors provide a minimalist aesthetic)
- Pencil (for precise marking)
- Ruler or straight edge (essential for accurate measurements and smoothing)
- Scissors (for initial cuts)
- X-acto knife (for clean, intricate trimming around hinges and latches)
- White craft paint (to give the interior a fresh, finished look)
- Medium craft paint brush (for smooth paint application)
Related: 8 Reasons Why You Need a Pedestal Bowl in Your Home Decor Stash for Instant Style
Step-by-Step Guide to Wrapping Your Cigar Box with Contact Paper
Step 1 – Position Box on Paper for Optimal Coverage
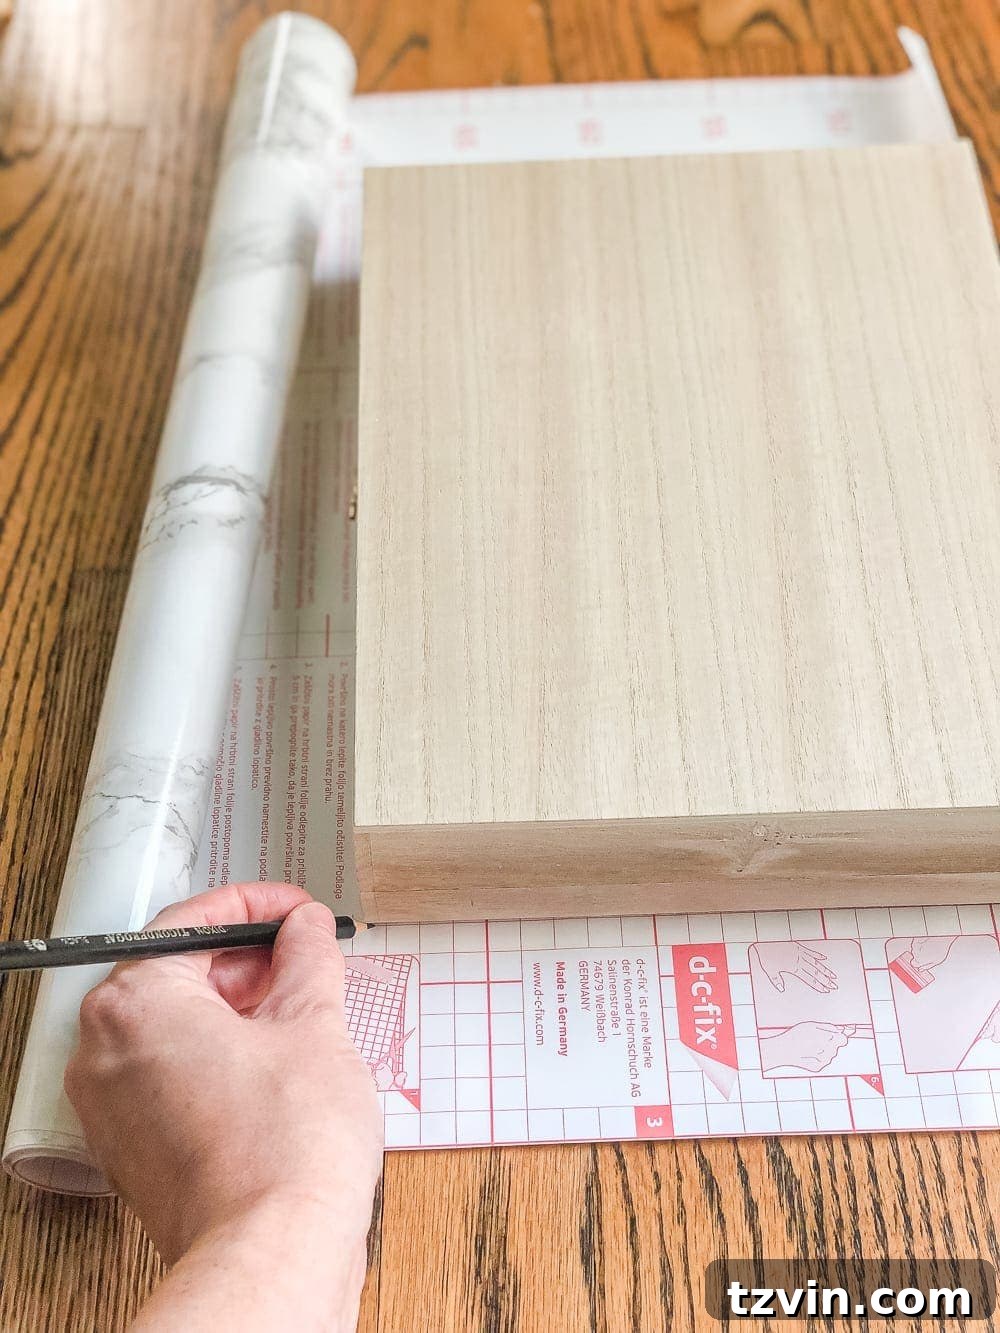
Begin by unrolling your chosen contact paper onto a clean, flat surface, ensuring the decorative side faces down. Carefully place the cigar box in the center of the paper. It’s crucial to leave ample excess paper around all sides of the box. This ensures you have enough material to comfortably wrap around the entire height of the box, including the edges that will fold inwards, without any shortfalls. A good rule of thumb is to allow at least an inch or two extra on each side beyond what’s needed for the box’s height, giving you wiggle room for trimming and a perfect finish.
Step 2 – Mark Corners for Precise Wrapping
With the cigar box securely in place, use your pencil to lightly mark each of its four corners onto the contact paper. Once the corners are marked, gently trace the entire outline of the box’s base. These lines will serve as your primary guide, ensuring the contact paper is perfectly aligned when you begin the wrapping process. Precision here will make the subsequent steps much easier and result in a cleaner overall look.
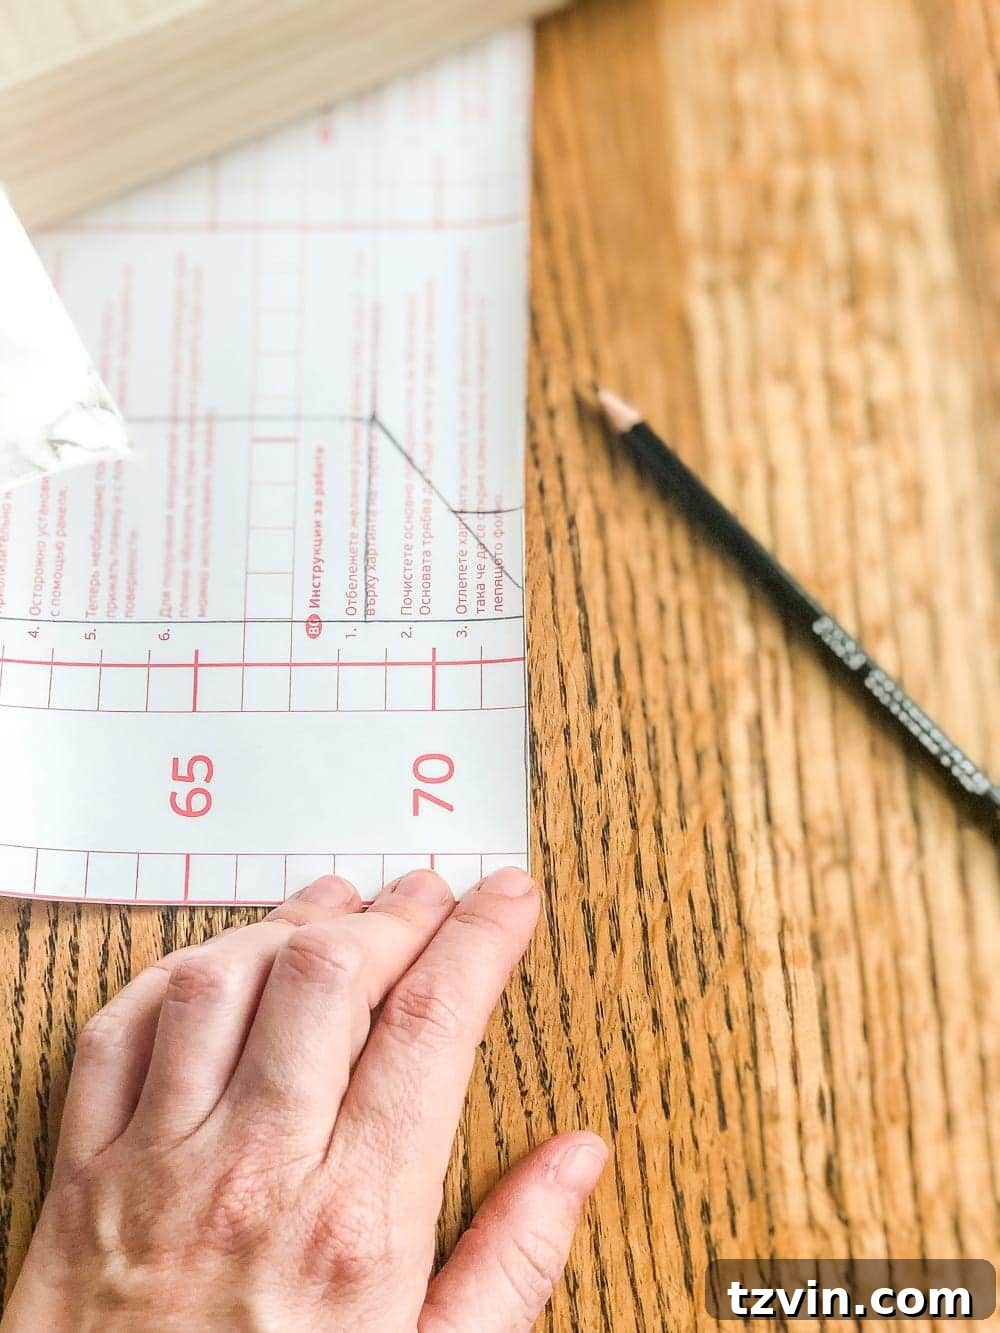
Step 3 – Trace Box to Create Cut Guides
Now, let’s create the flaps that will wrap around the sides. From each of the traced corners, draw a diagonal line extending outwards. Following this, draw a vertical line upwards from the corner, and a horizontal line from the corner that meets up precisely with your diagonal line. This technique effectively outlines the sections that will become the side flaps, allowing for a neat and tailored wrap. Refer to the image provided in the original content for a visual representation of these lines.
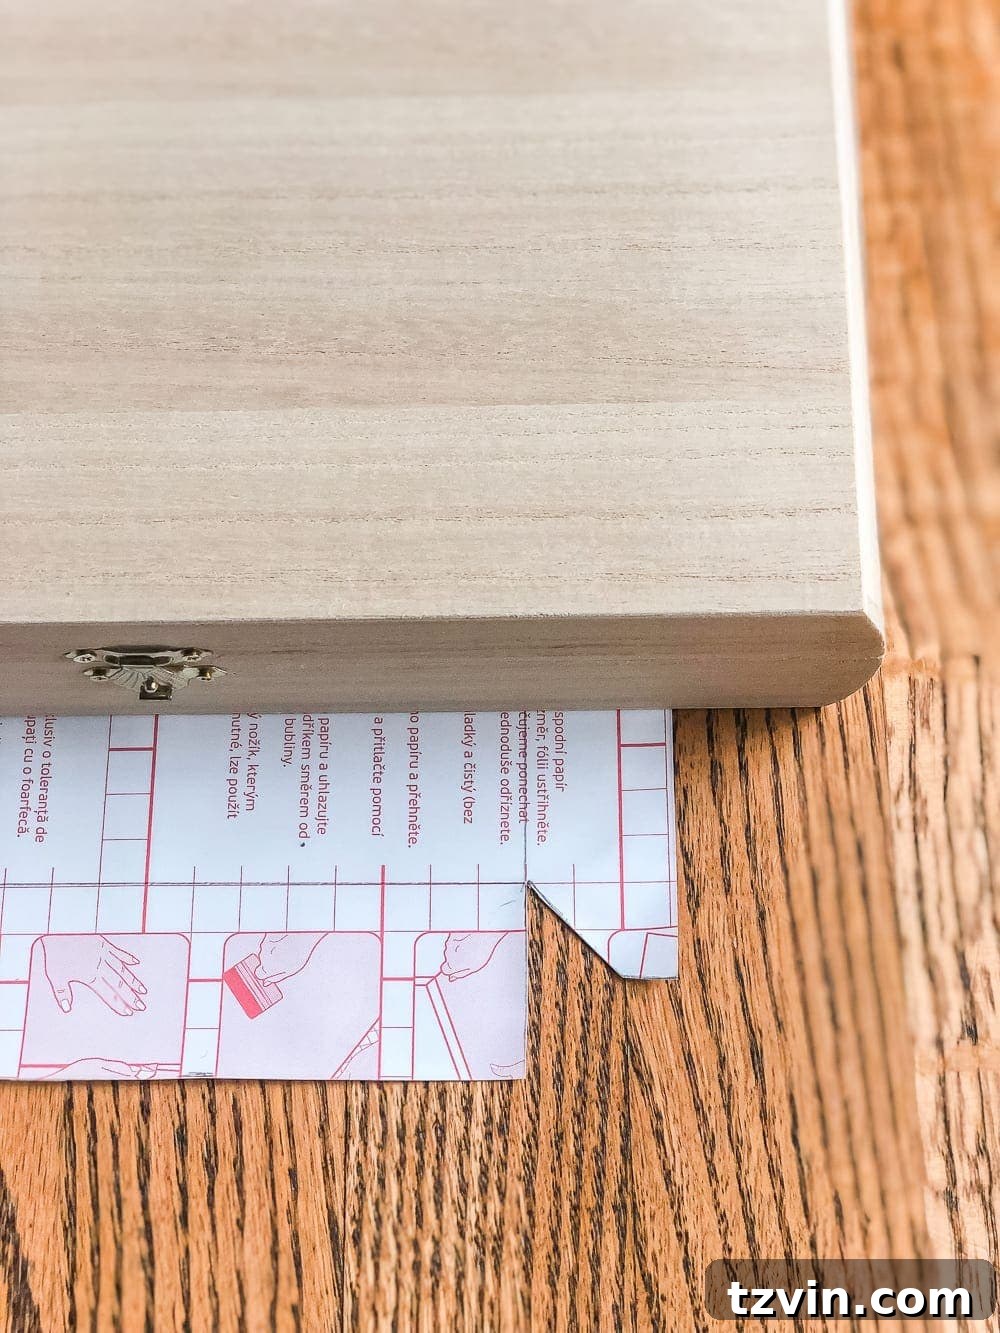
Step 4 – Cut Flaps for Clean Edges
Using either a sharp pair of scissors or a precise X-acto knife, carefully cut along the lines you’ve just drawn to create the individual flaps. These flaps are essential for achieving a smooth, wrinkle-free finish on the corners of your cigar box. Make sure your cuts are clean and straight, as this will directly impact how seamlessly the contact paper adheres to the box’s edges. Take your time with this step to ensure the best results.
Step 5 – Repeat Cutting Process on All Corners
Consistency is key for a professional-looking finish. Repeat the flap-cutting process (Steps 3 and 4) on all four corners of the contact paper. Each corner should have identical flaps, ensuring that when you wrap the box, all sides are covered evenly and neatly. Double-check your cuts before proceeding to the next step.
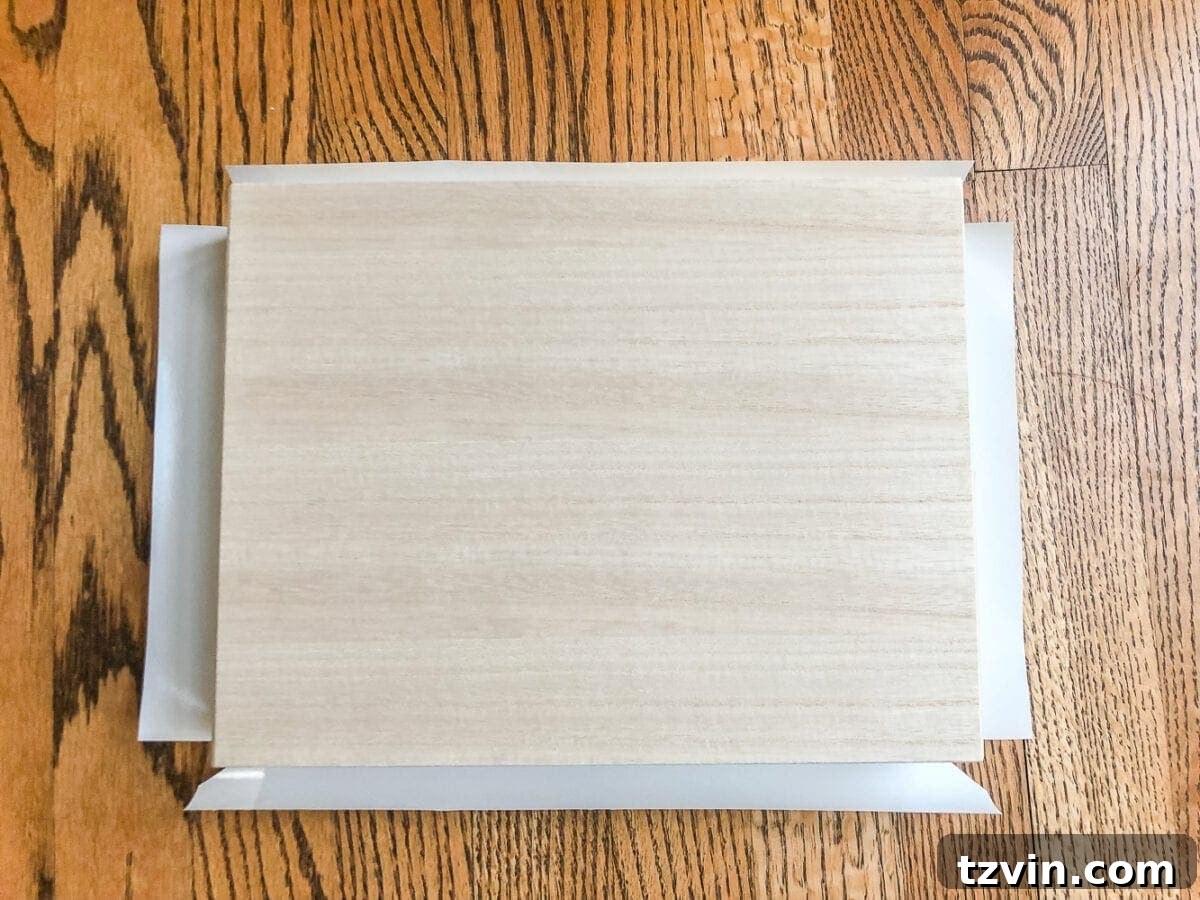
Step 6 – Peel Away Paper and Align Box
This step requires a steady hand and a bit of patience. Slowly peel back the backing paper from one side of the contact paper, exposing about a third of the adhesive surface. Carefully position the cigar box onto this exposed section, ensuring that it aligns perfectly with the previously drawn corner marks and traced edges. Taking your time here will prevent misalignments and wrinkles further down the line.
Step 7 – Place Paper on Box and Smooth Out Bubbles
Once the initial alignment is perfect, firmly press the exposed contact paper onto the bottom of the box. Continue to slowly peel away the remaining backing paper, gradually pressing the contact paper onto the box’s surface as you go. To achieve a flawlessly smooth finish, use a ruler, a credit card, or a specialized smoothing tool to gently push out any trapped air bubbles from the center outwards. This technique ensures a professional, seamless appearance.
Step 8 – Wrap Box Sides for a Finished Look
Now, open the cigar box completely. Carefully smooth the contact paper along the sides of the box, working your way around. Then, fold and press the pre-cut flaps firmly into place at each corner, ensuring they adhere securely to fully wrap the bottom section of the box. Pay close attention to folding the corners neatly for a crisp finish. Repeat this entire process – positioning, peeling, smoothing, and wrapping – for the top lid of the cigar box. Treat the lid and the base as two separate components during the wrapping phase to ensure a clean, tailored fit.
Step 9 – Trim Paper Around Hardware
With the box mostly wrapped, you’ll likely find that the contact paper is covering the box’s original latch and hinges. Using your X-acto knife, carefully and precisely trim away any excess contact paper around these functional components. This step is crucial for ensuring the box opens and closes smoothly and that the hardware remains fully operational. Take your time to make clean cuts, enhancing the overall professional look of your decorative holder.
Step 10 – Paint Wood for Interior Perfection
The final touch that elevates this DIY project is painting the interior of the cigar box. Apply a coat of white craft paint (or any color that complements your contact paper and decor) to the inside surfaces, as well as the exposed parts of the latch and hinges. This not only hides the original wood, providing a clean contrast to the new exterior, but also gives your remote control holder a polished, custom-made feel. Once the paint is dry, your beautiful and functional remote control holder is complete!
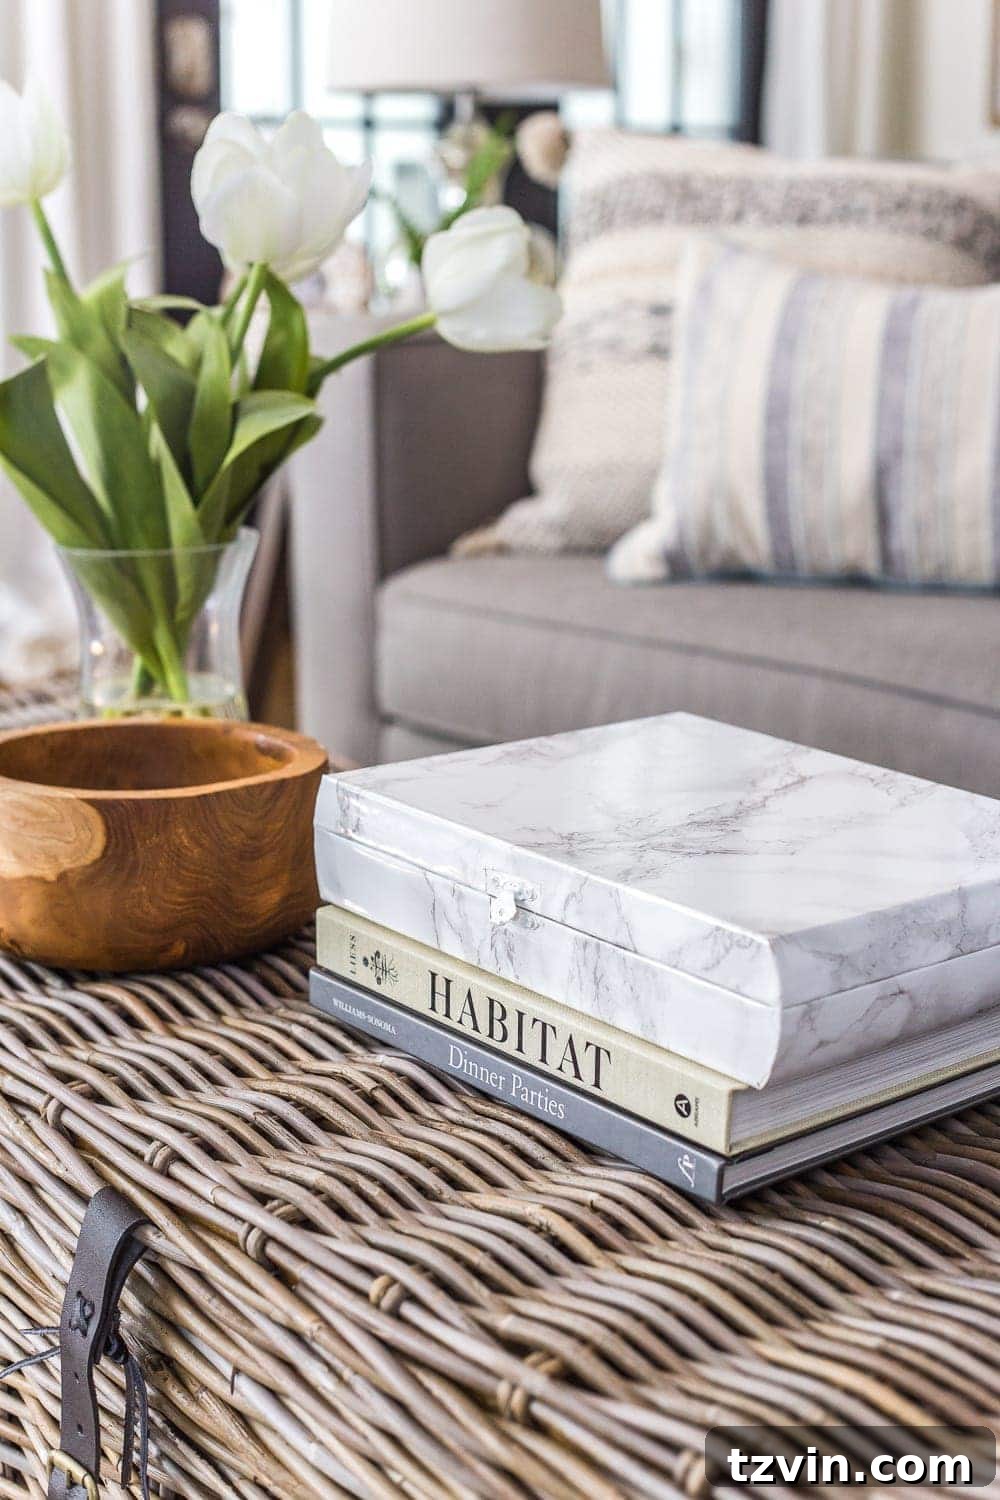
The Stunning Result: A Stylish and Functional Remote Control Storage Solution
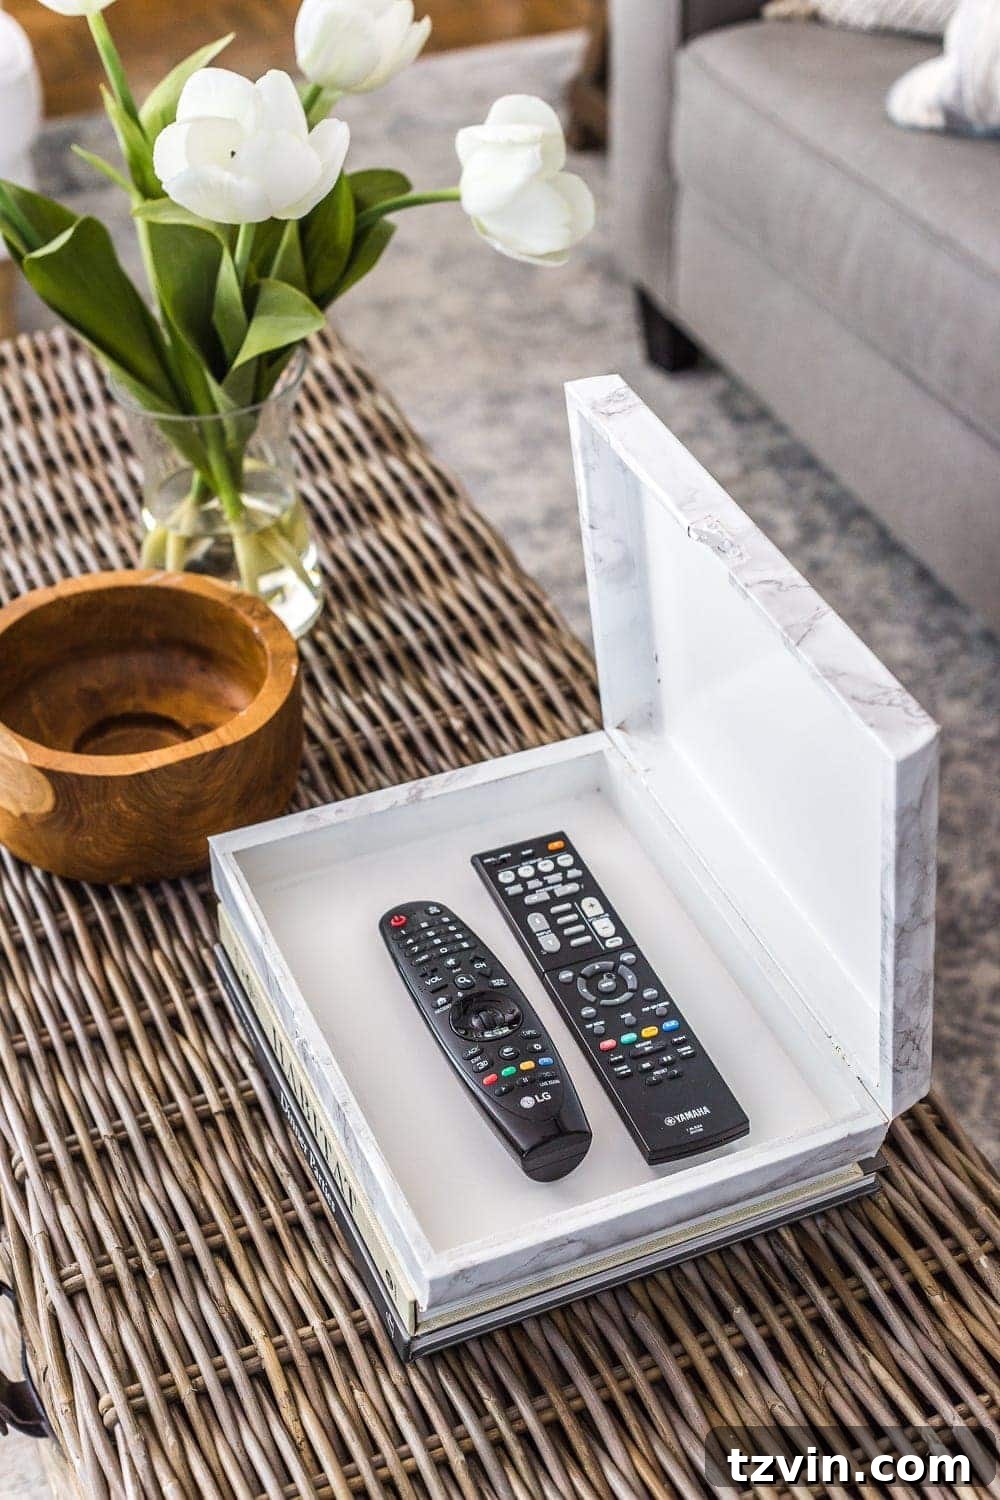
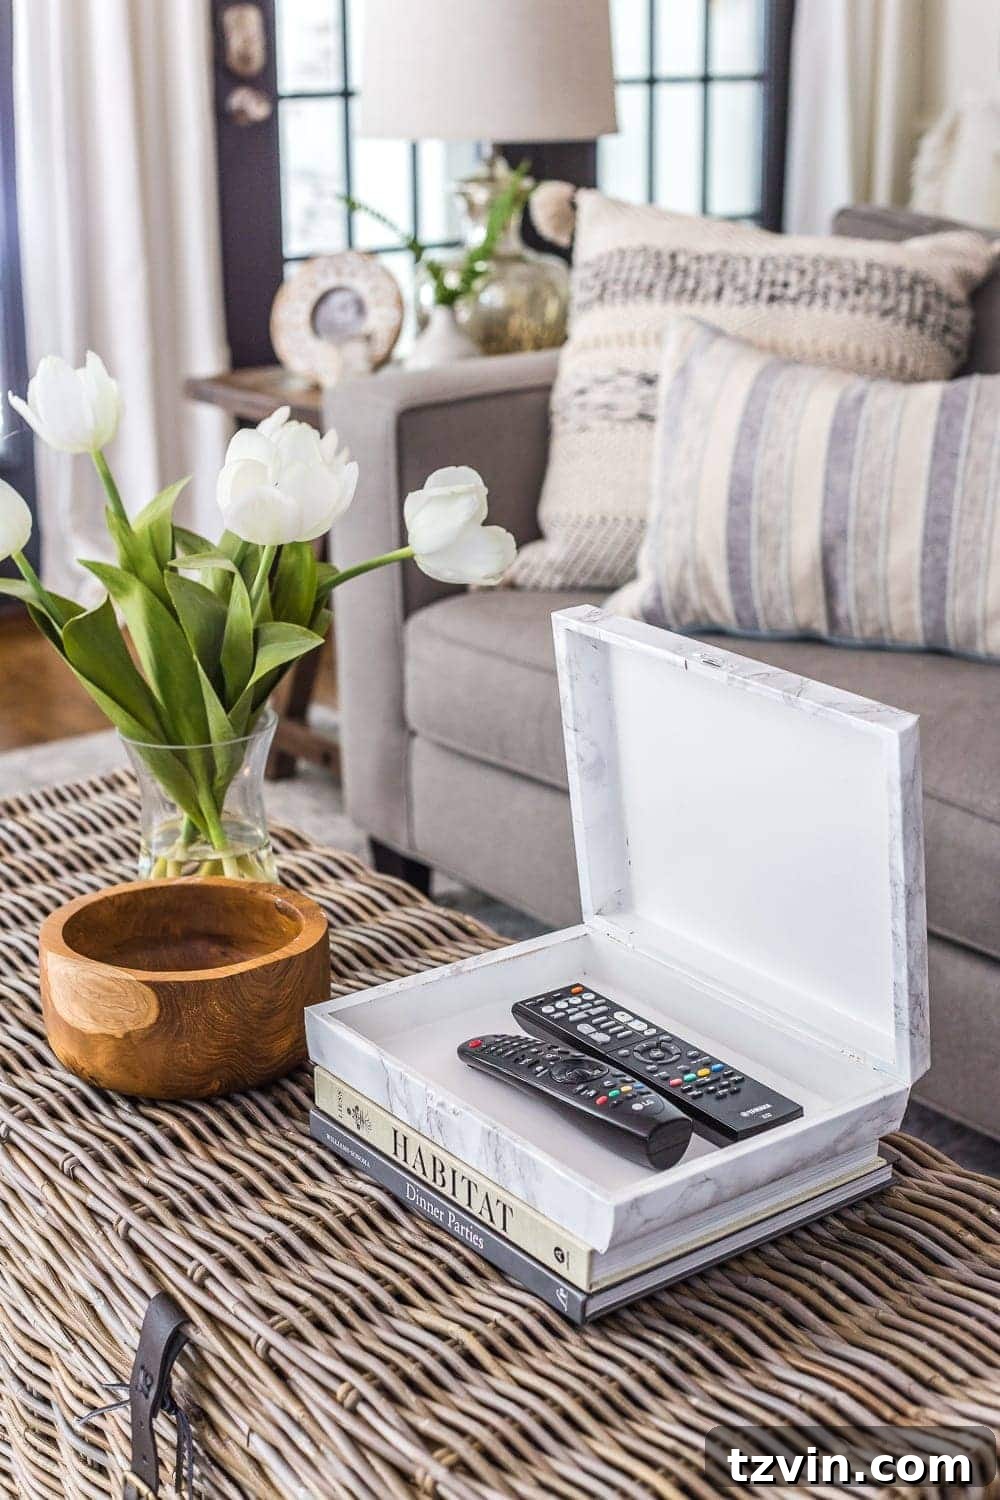
Isn’t it simply gorgeous? The transformation is quite remarkable! From a simple, often overlooked cigar box to an elegant, faux marble remote control holder that looks like it came straight from a high-end boutique. While it might not be a flawless block of real marble, in person, at a glance, the contact paper perfectly mimics the sophisticated veining and luxurious feel of the natural stone. It’s a testament to how creative repurposing and a few affordable materials can yield incredibly chic results for your home.
This decorative holder isn’t just about aesthetics; it’s a game-changer for home organization. No more frantic searches for lost remotes beneath cushions or scattered across the coffee table. Now, every remote has its designated, elegant home. It’s a small detail that makes a huge difference in maintaining a tidy and harmonious living space, proving that functional items can also be beautiful statement pieces.
Related: Easy Coffee Table Decor Ideas and How to Style Them Beautifully
Beyond Remotes: Versatility and Long-Term Use
Of course, the true test of any clever household solution comes from the little ones. How long do you think it will be before little Regan, with her keen eye for anything interesting, discovers that this stylish box hides her favorite “toy”? I give it about a day, maybe even less! I’m sure it will eventually end up on a higher shelf, well out of reach of tiny hands, by the end of the week. But for now, it’s a wonderfully handy and attractive piece of functional decor.
This project isn’t limited to just remote controls. Imagine repurposing similar boxes for other organizational needs around your home. They could beautifully store jewelry on a dresser, organize small office supplies on a desk, hold keys and mail in an entryway, or even become a unique spot for small keepsakes. The possibilities are endless, allowing you to extend this thrifty, stylish solution throughout your home. It’s a versatile DIY craft that blends seamlessly with various decor styles, proving that good design doesn’t have to be expensive.
Related: How to Start Decorating a Living Room: A Comprehensive Guide
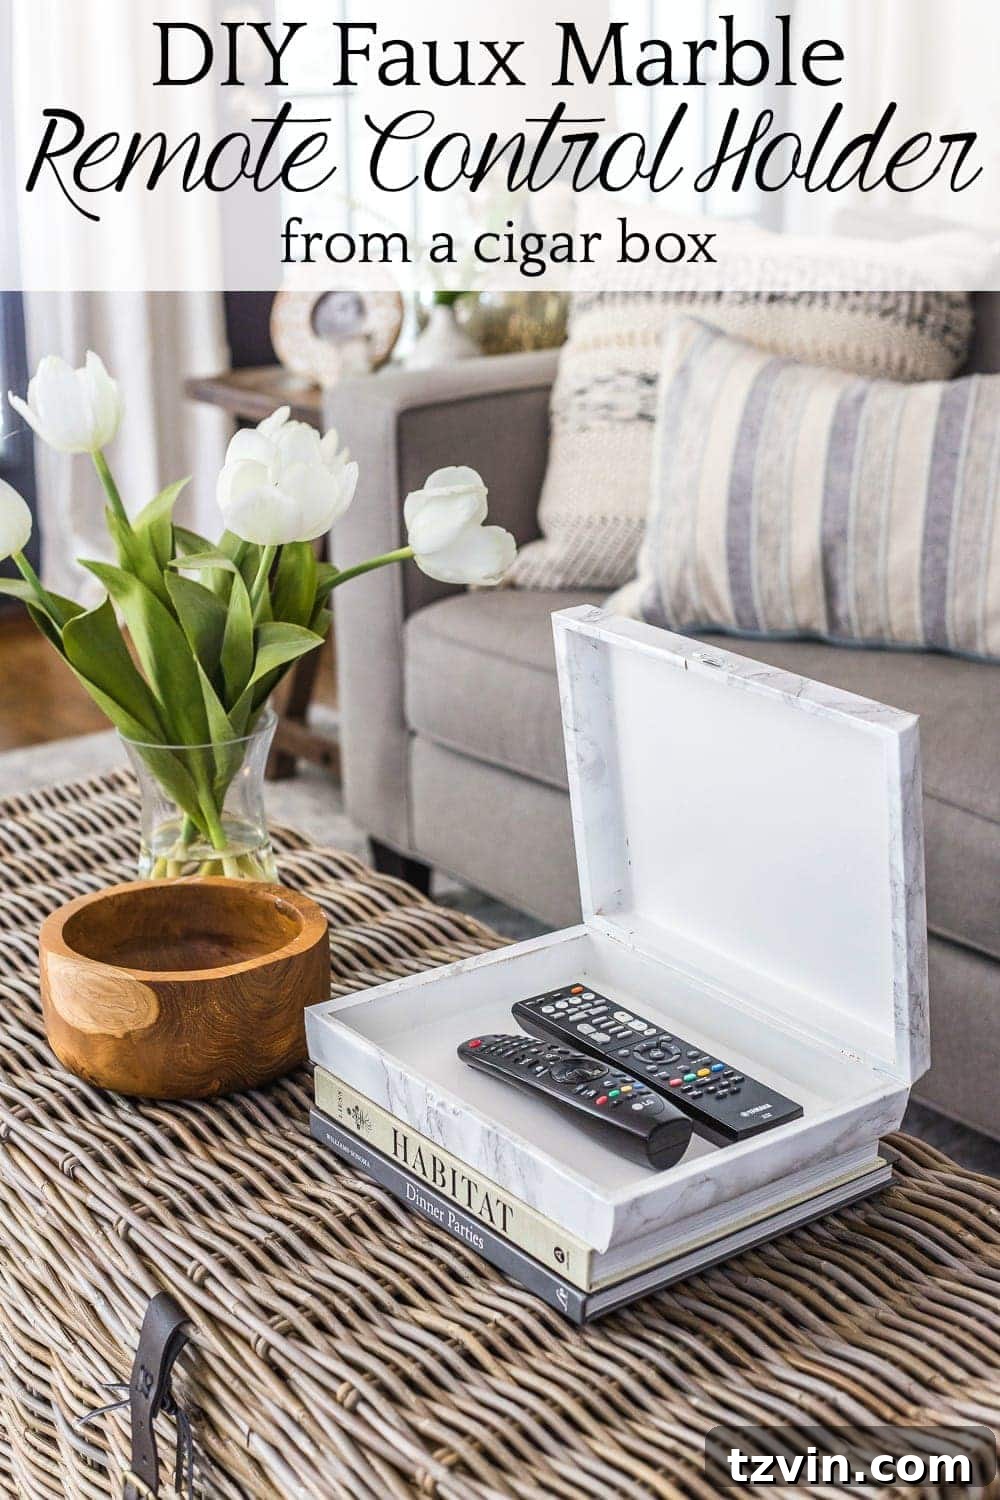
If you loved this DIY project and want to save it for future inspiration, you can pin it here:
More Thrifty Craft Ideas to Inspire Your Home Decor
If you enjoyed this project, you’ll love exploring other ways to bring charm and functionality to your home using repurposed items and budget-friendly techniques. Thrifting and DIY go hand-in-hand, allowing you to create personalized pieces that tell a story without a hefty price tag. Dive into these other creative craft ideas and discover new ways to transform everyday objects into extraordinary home accents.
- How to Make Easy No-Sew Cafe Curtains Using Kitchen Towels for a Charming Look
- DIY Cordless Lamp Using a Vase: A Clever Lighting Solution for Any Space
- DIY Candle Using a Thrifted Canister: Create Unique, Scented Ambiance
- Transform Thrifted Bowls into Stylish Planters for Your Greenery
- Craft a Vintage-Look Frame from a Simple Picture Frame