Transform Your Space: DIY Modern Industrial Faux Brick Wall in a Weekend
Are you dreaming of a dramatic home transformation without breaking the bank or dedicating weeks to a project? Imagine revamping a forgotten corner, a dreary shed, or even an accent wall in just one weekend. Our latest project, the gym shed makeover, proves that an ambitious vision can become a stunning reality. We successfully installed modern industrial faux brick walls, and the results are absolutely breathtaking!
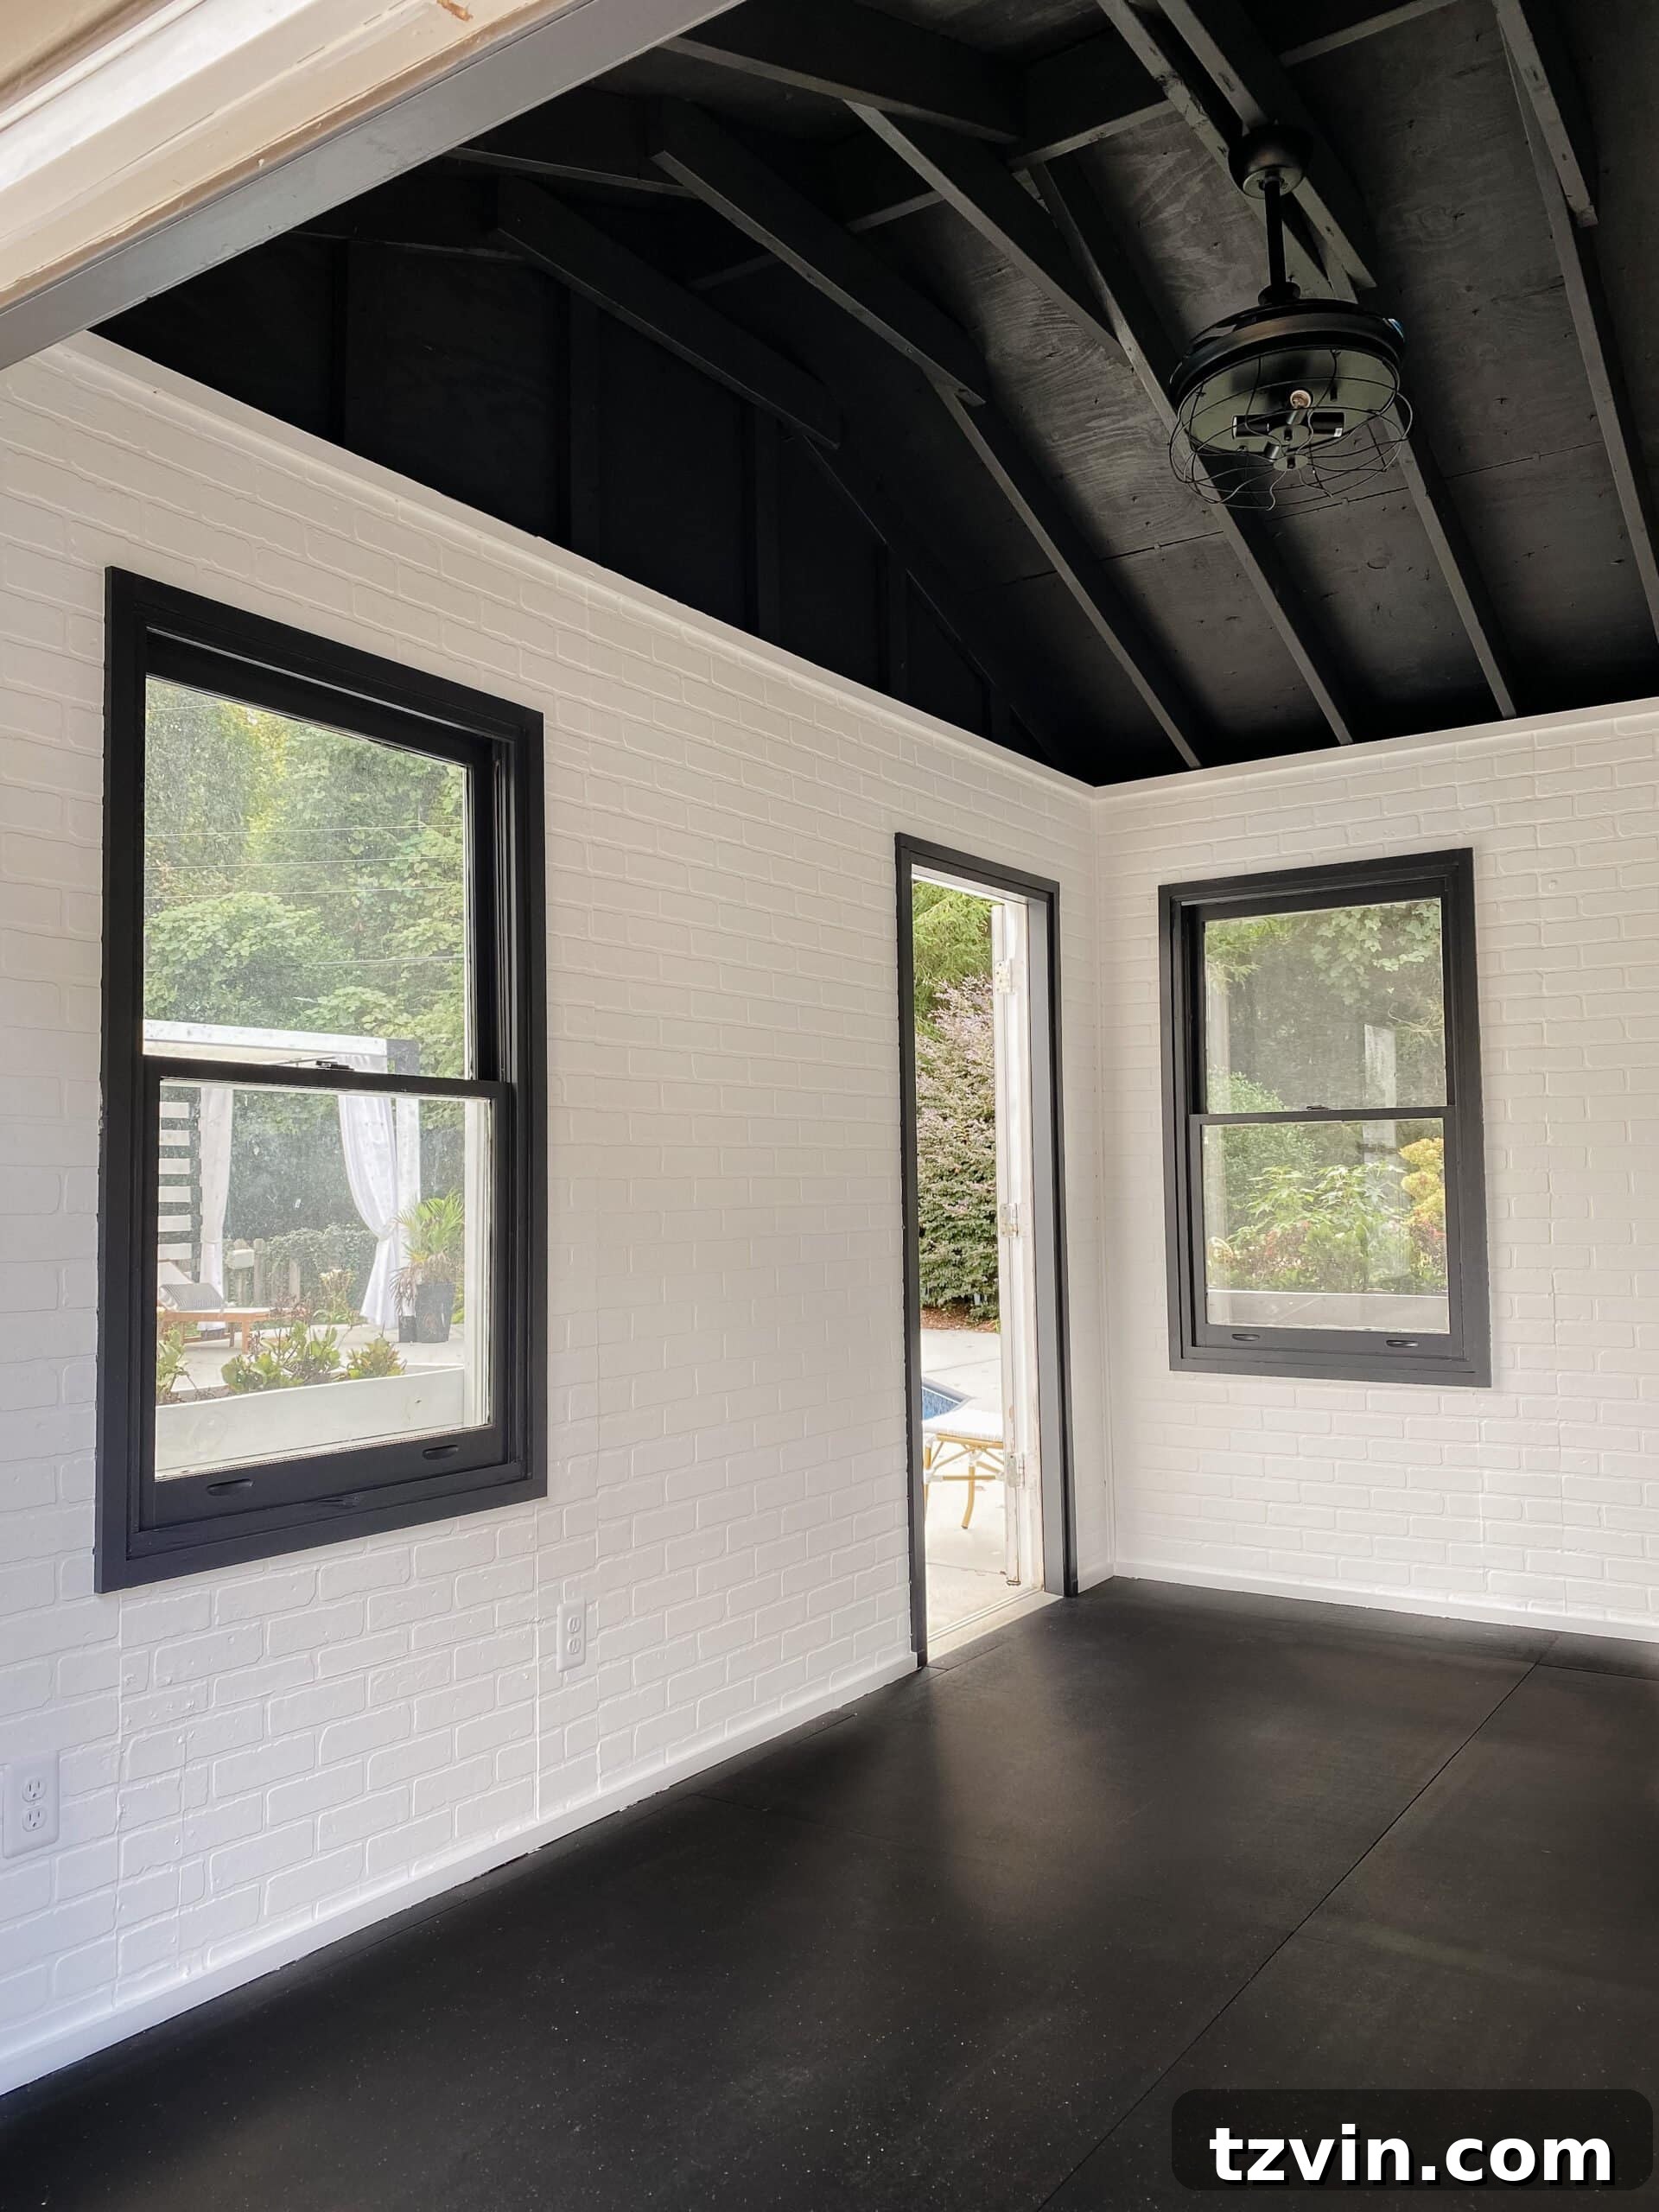
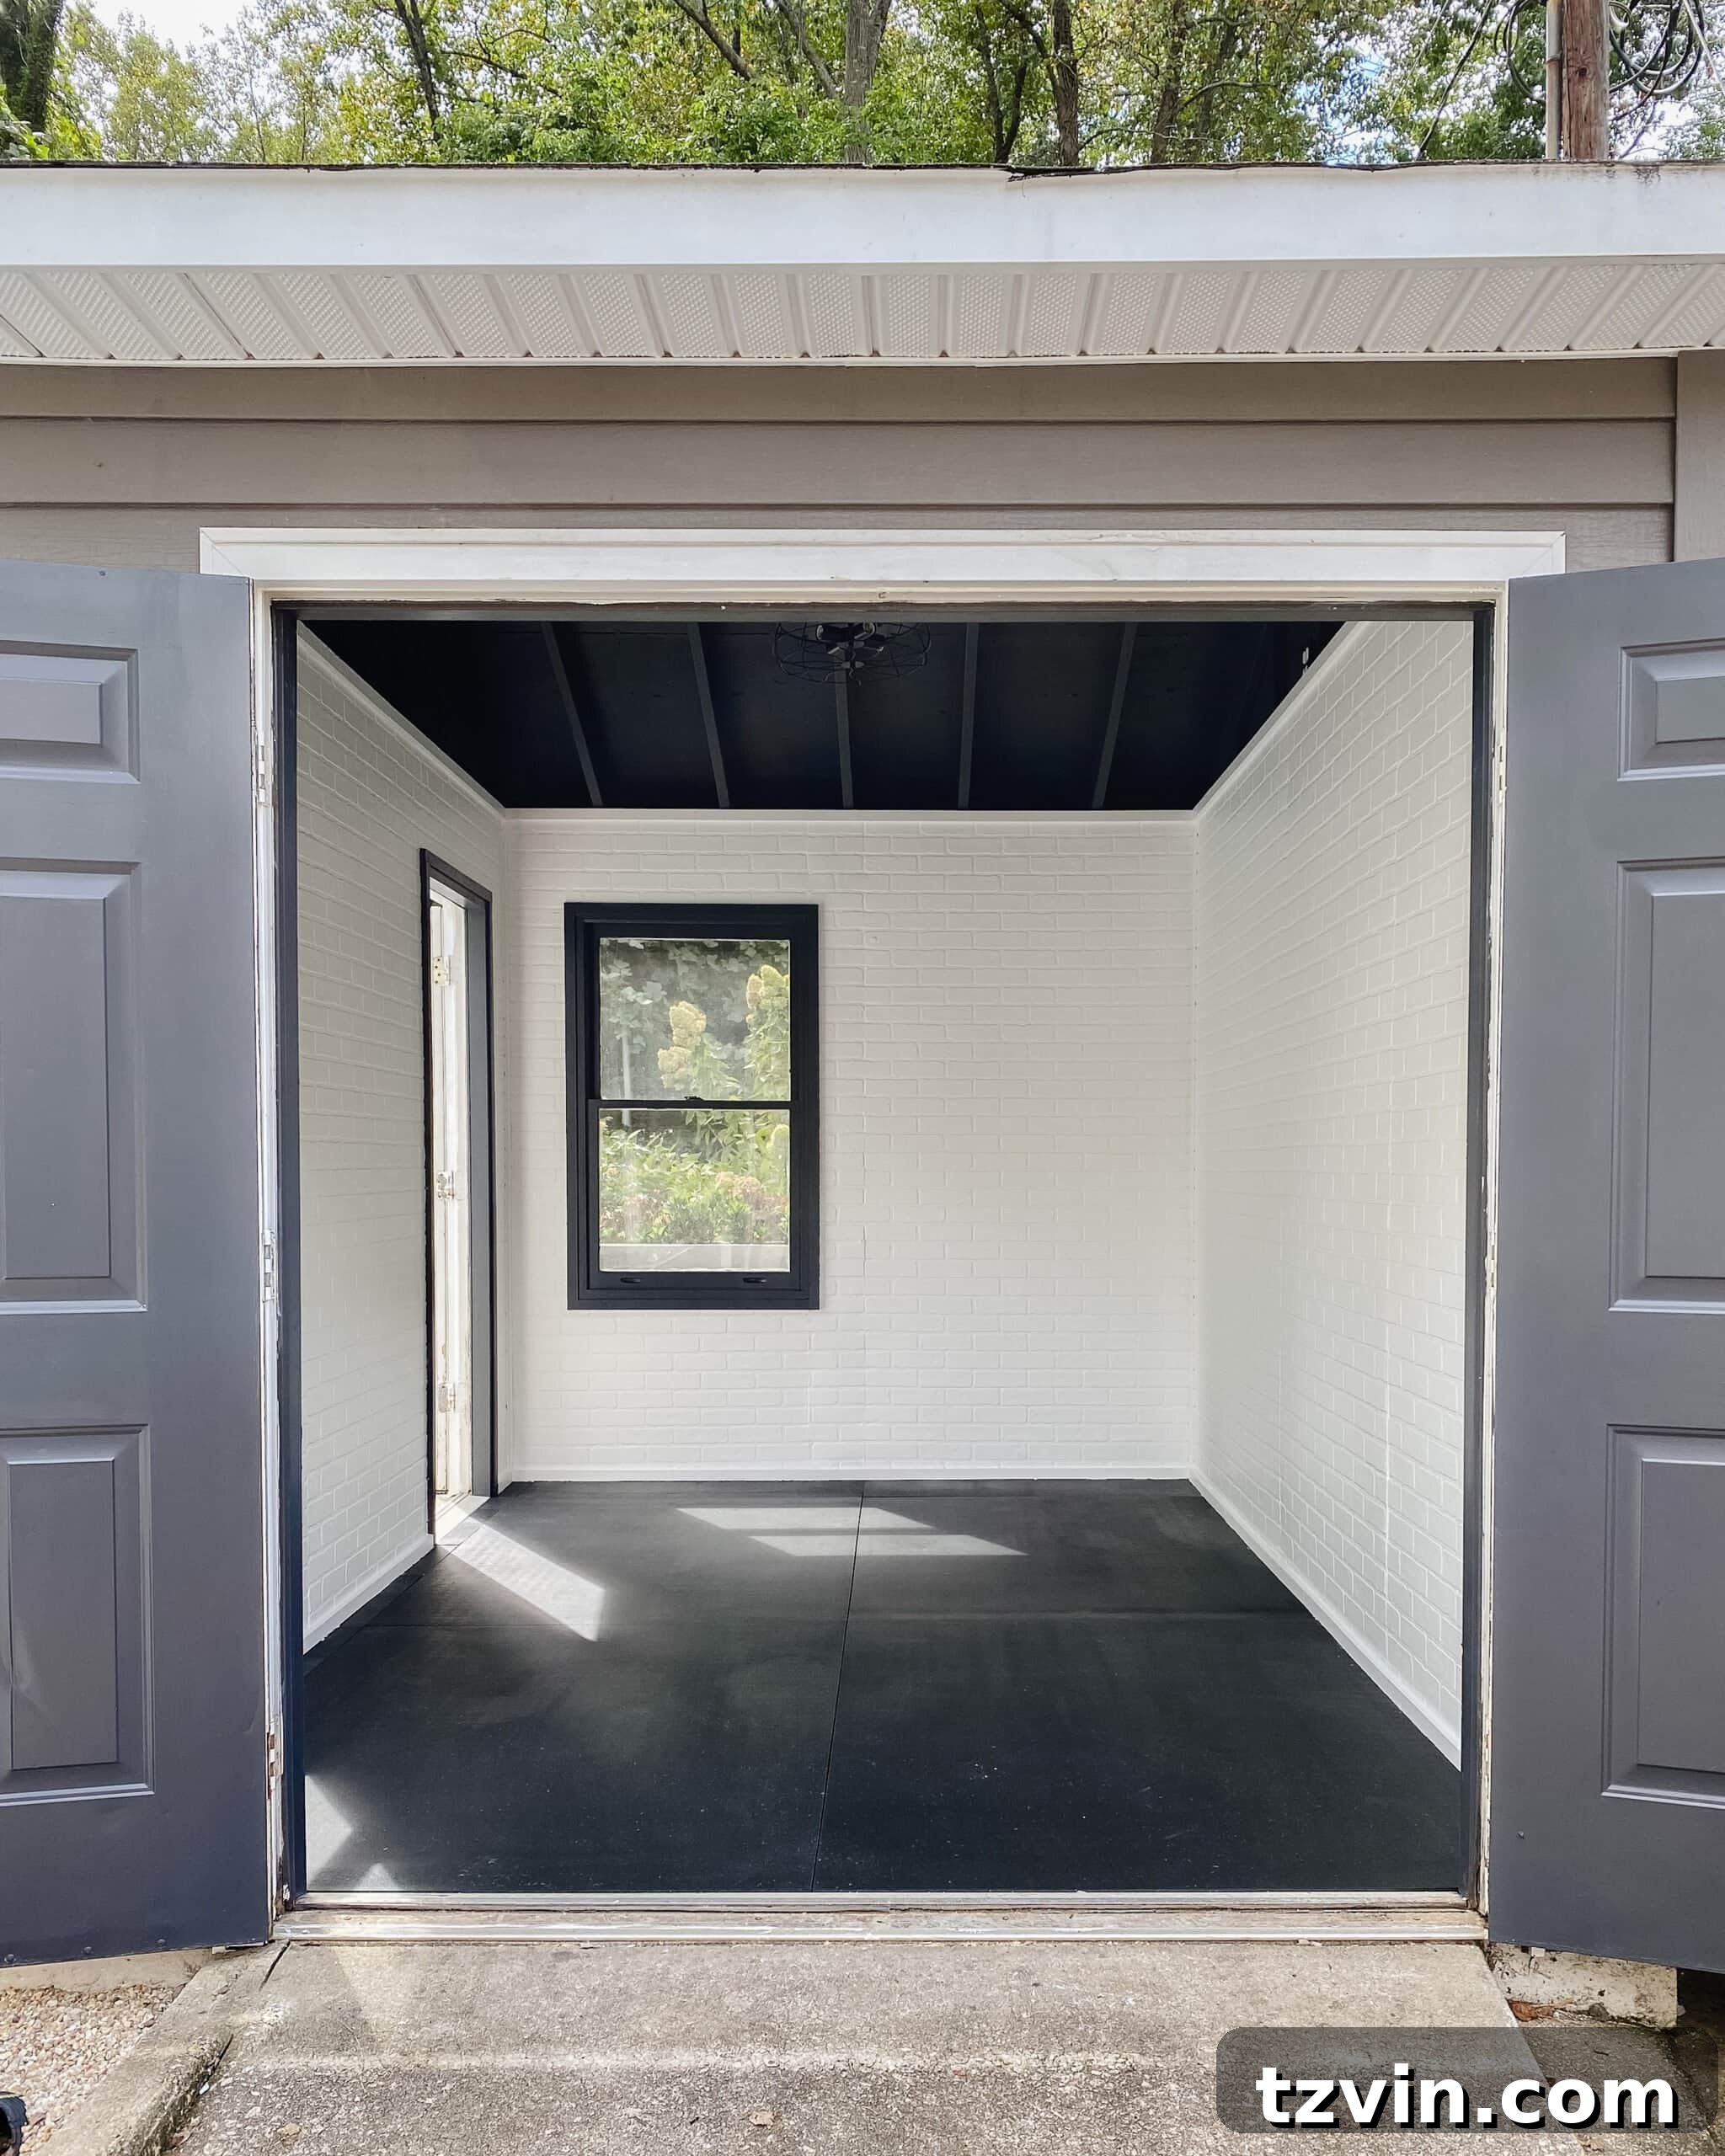
The difference between the “before” and “after” photos is so profound, it’s almost hard to believe it’s the same space. What once was a simple, utilitarian structure has been elevated into a stylish and functional home gym, thanks largely to the incredible texture and character introduced by these faux brick panels. This wasn’t some magic Photoshop trick; it was a labor of love over two dedicated days, yielding a feature wall that genuinely looks like authentic brick.
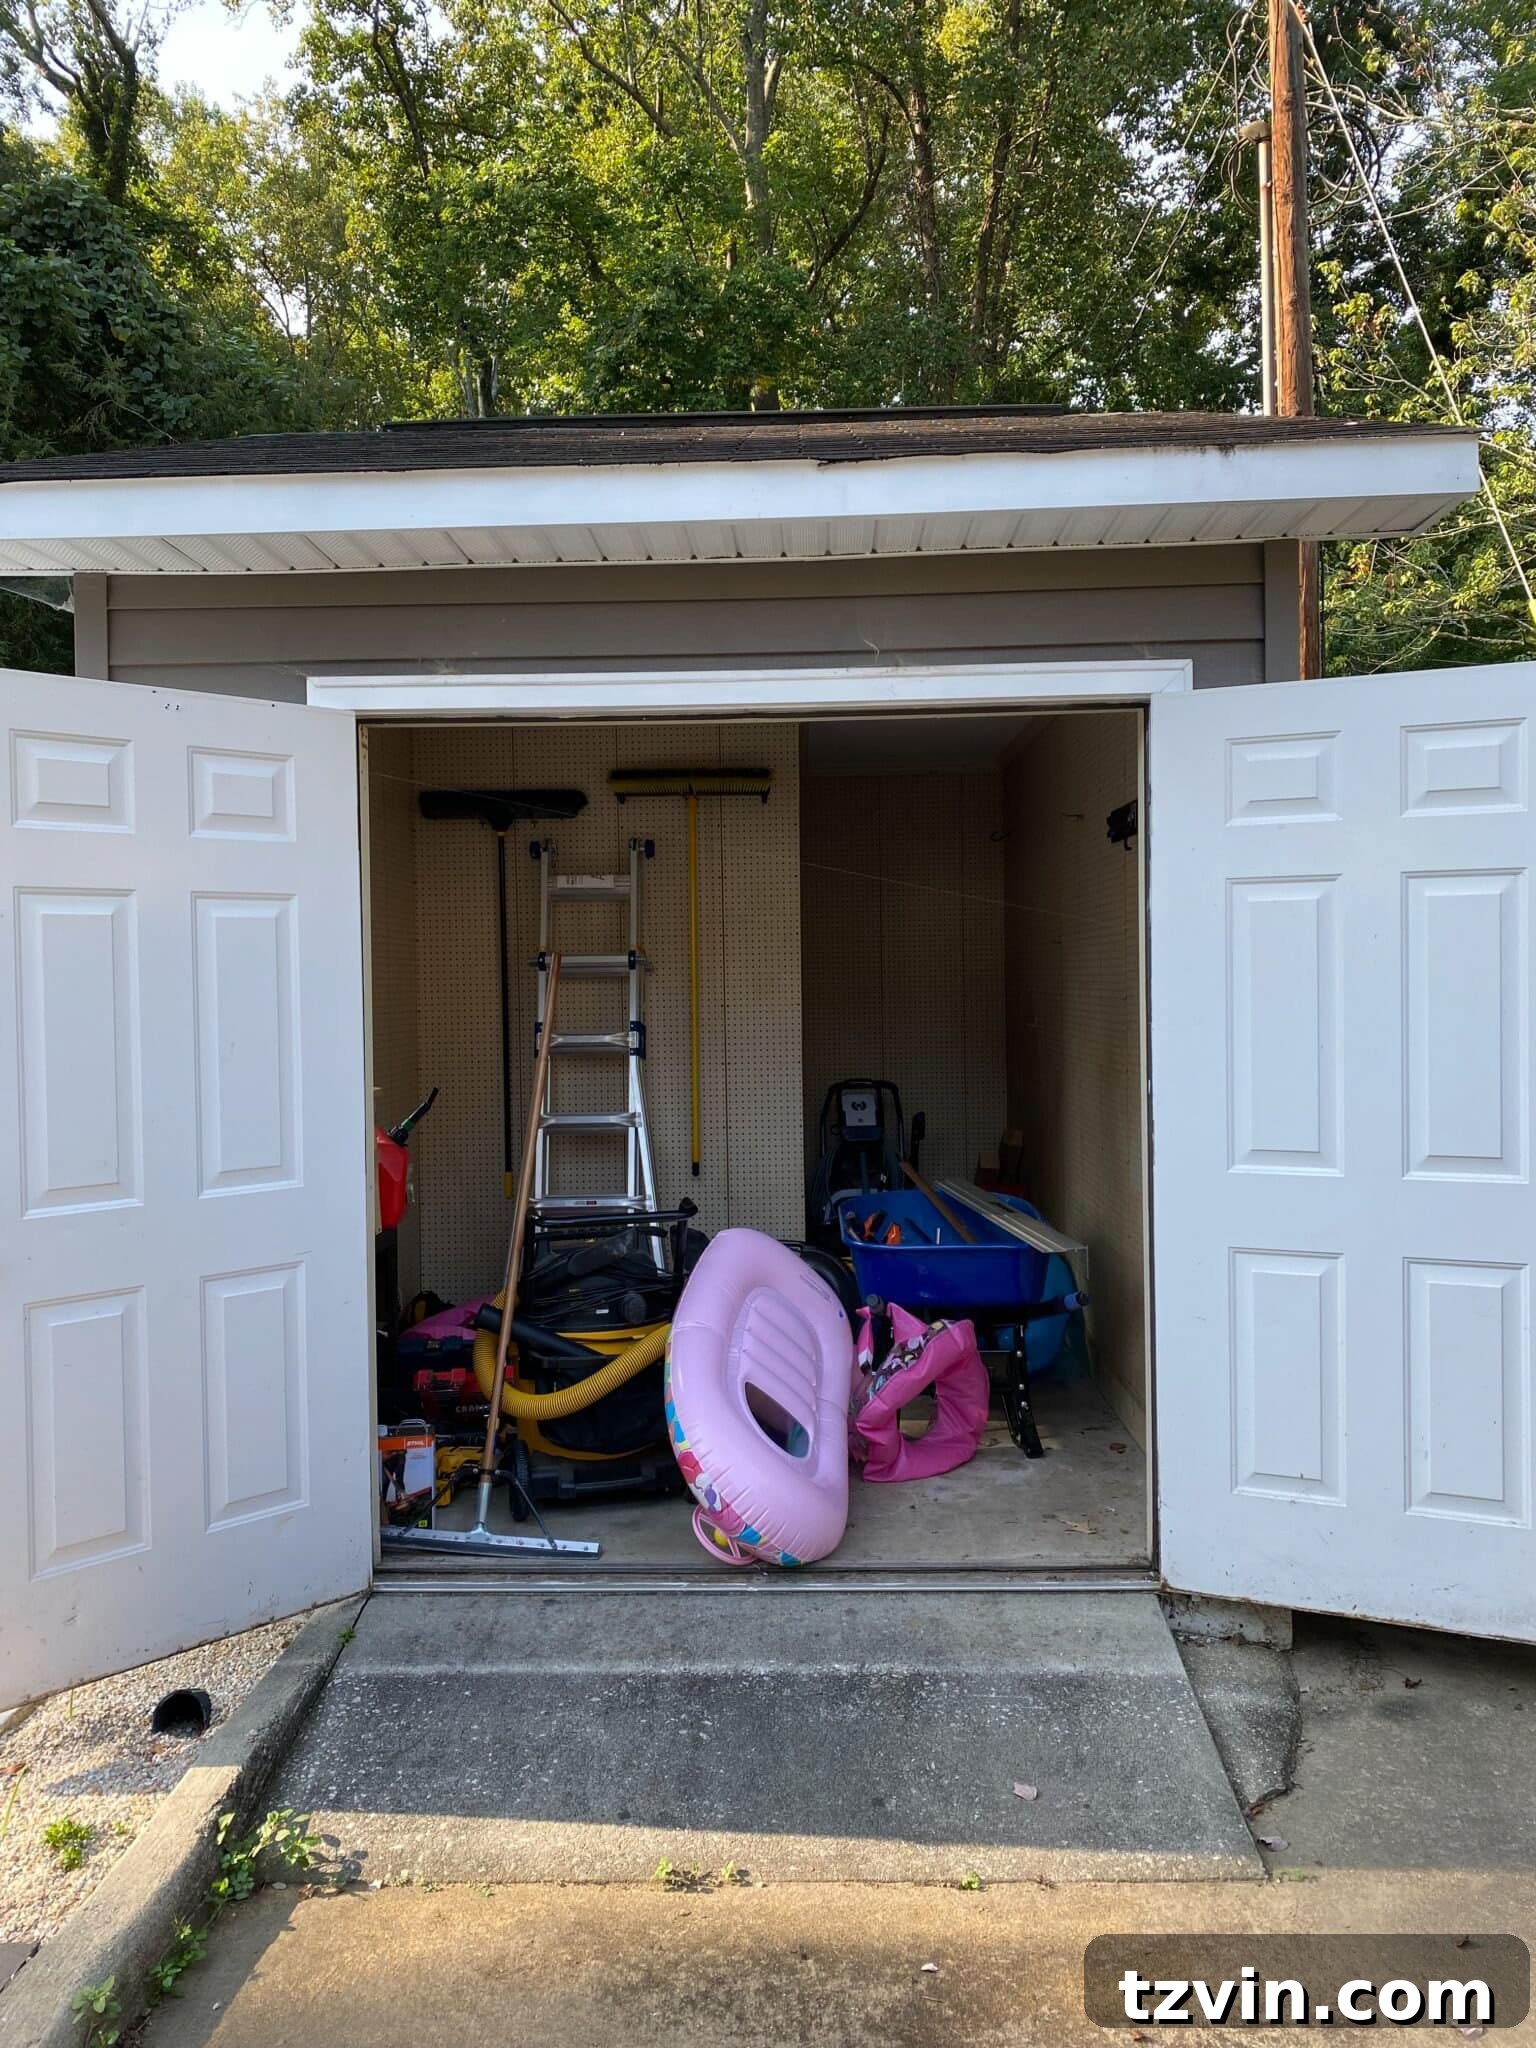
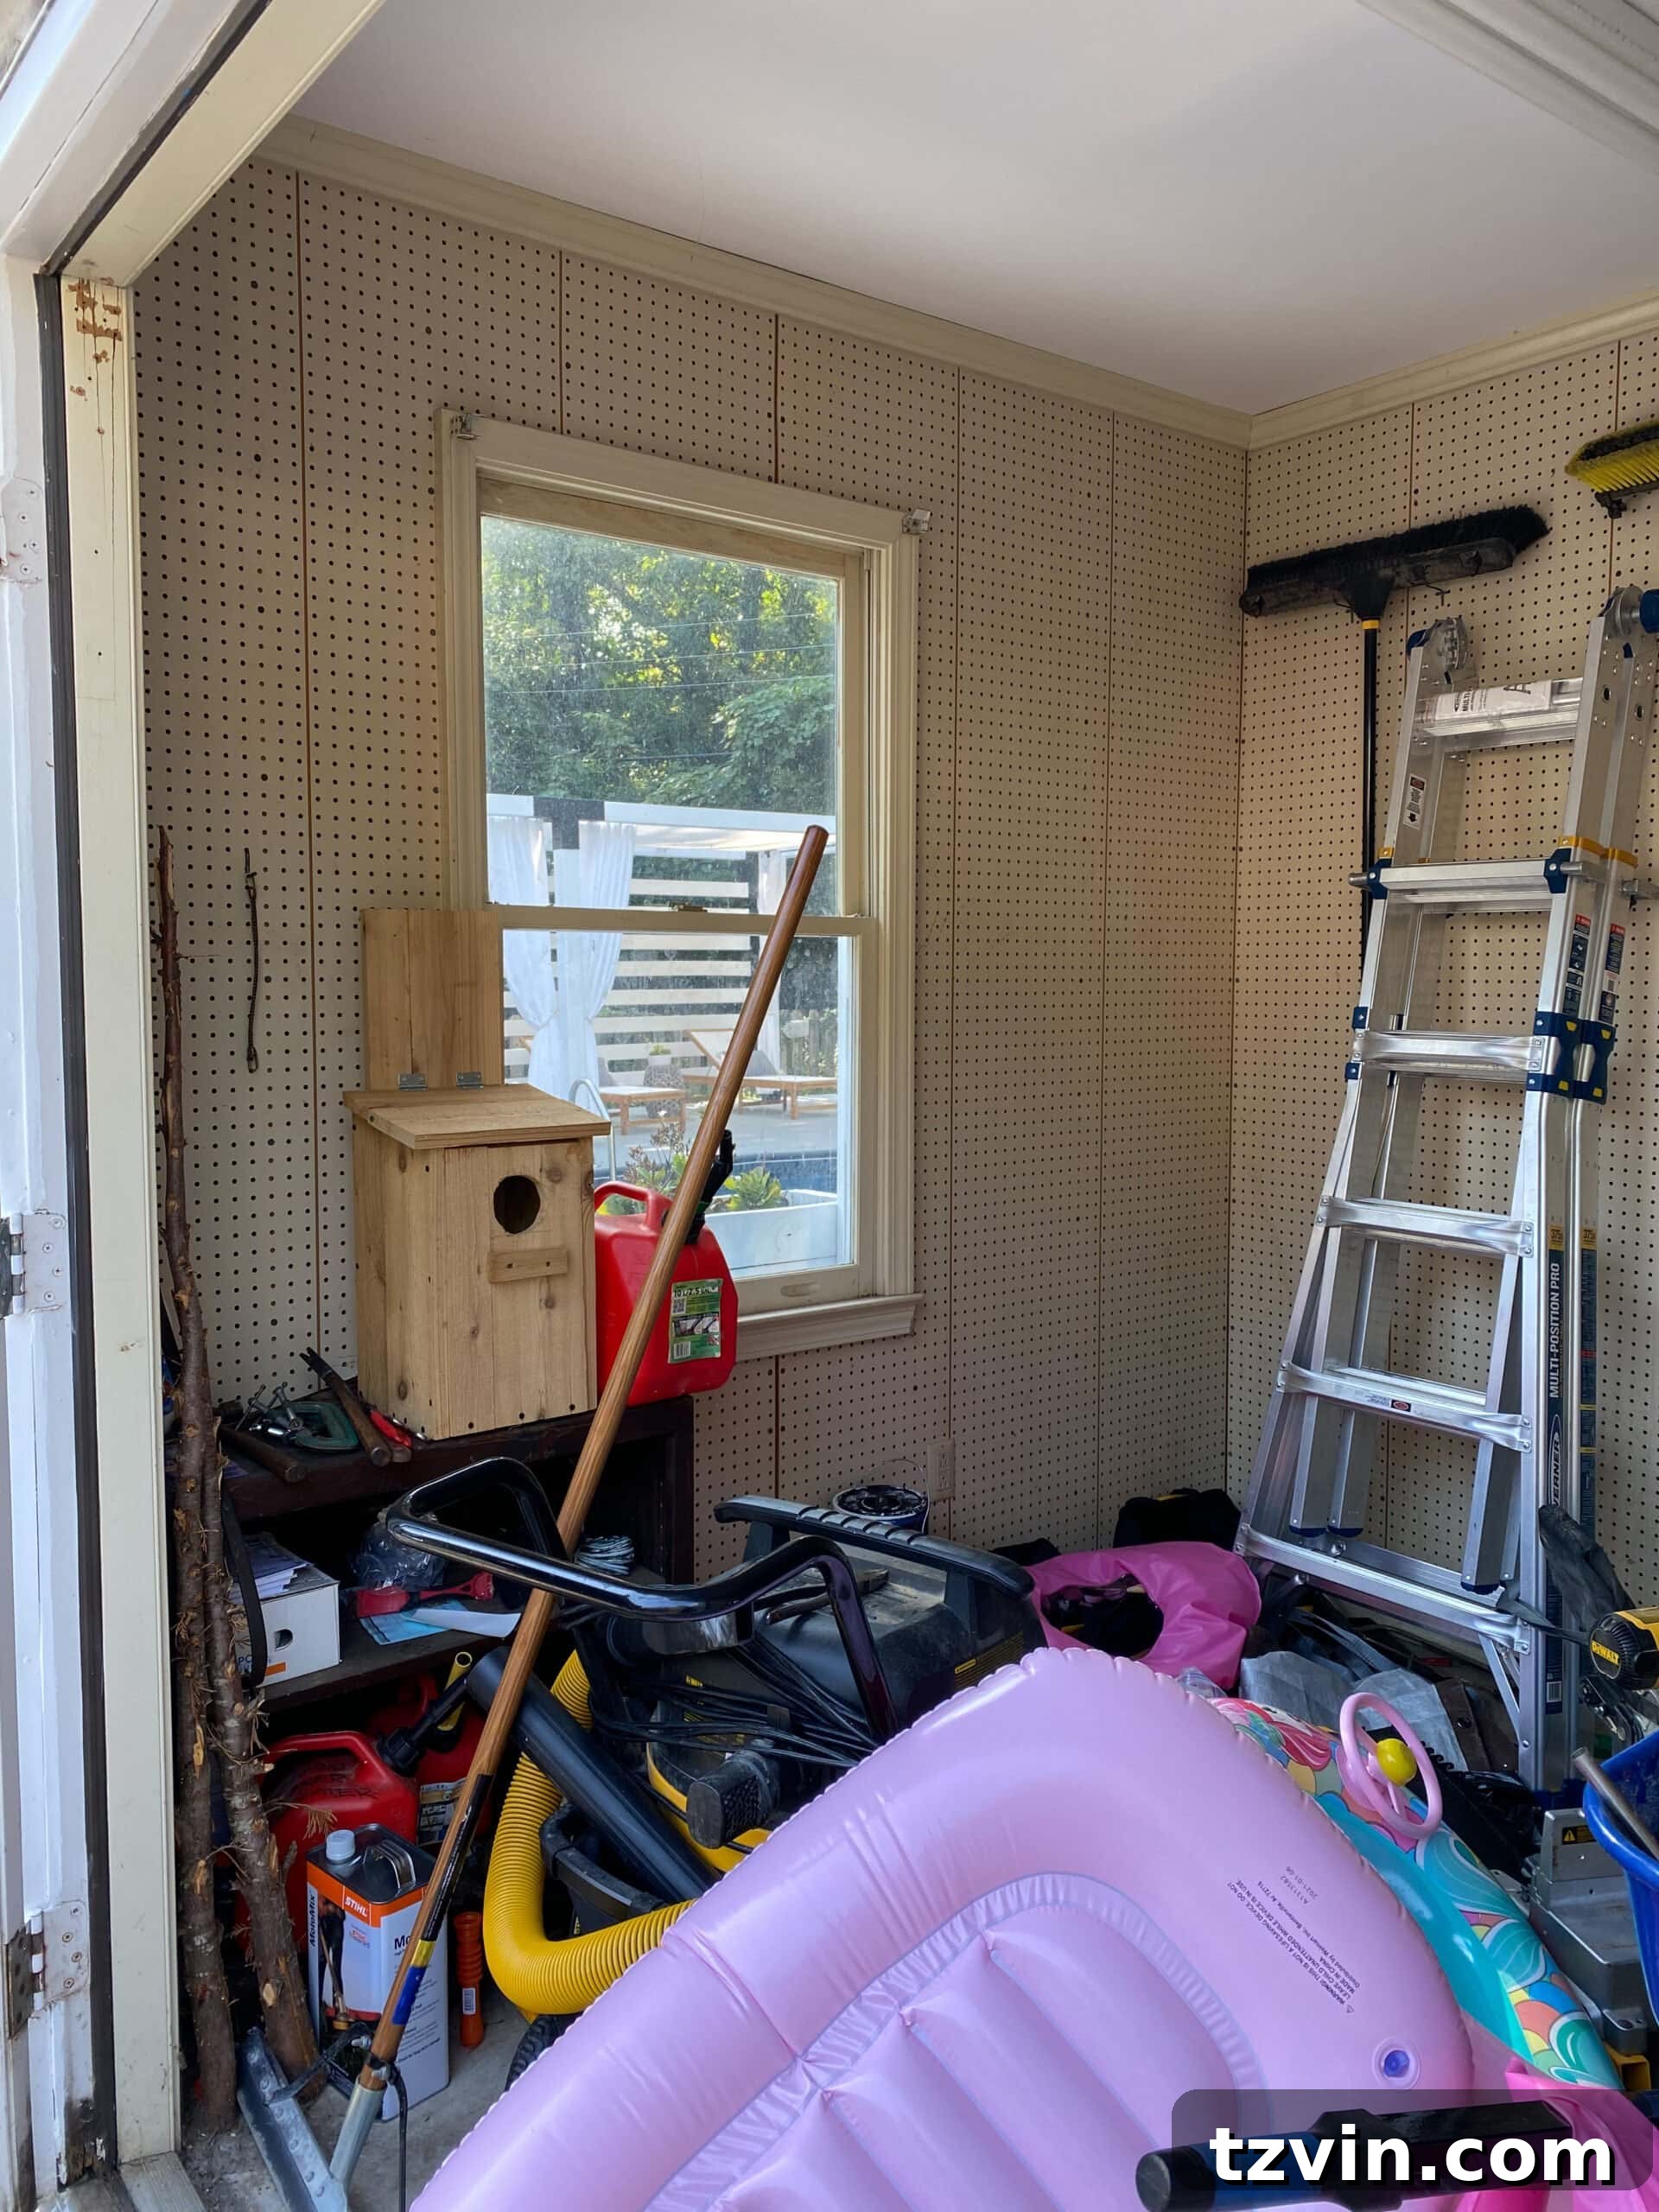
Before we dive into the nitty-gritty details of this DIY project, you might be wondering about the fate of the items from the old pool shed. Rest assured, they found a temporary home in our garage – which, admittedly, has become a bigger disaster zone! But that’s a project for another day, or rather, another few months, as we plan a massive purging and organizing effort. For now, we’re taking it one step at a time, focusing on one impressive transformation at a time.
Before & After: Witness the Shed Makeover’s Visual Impact
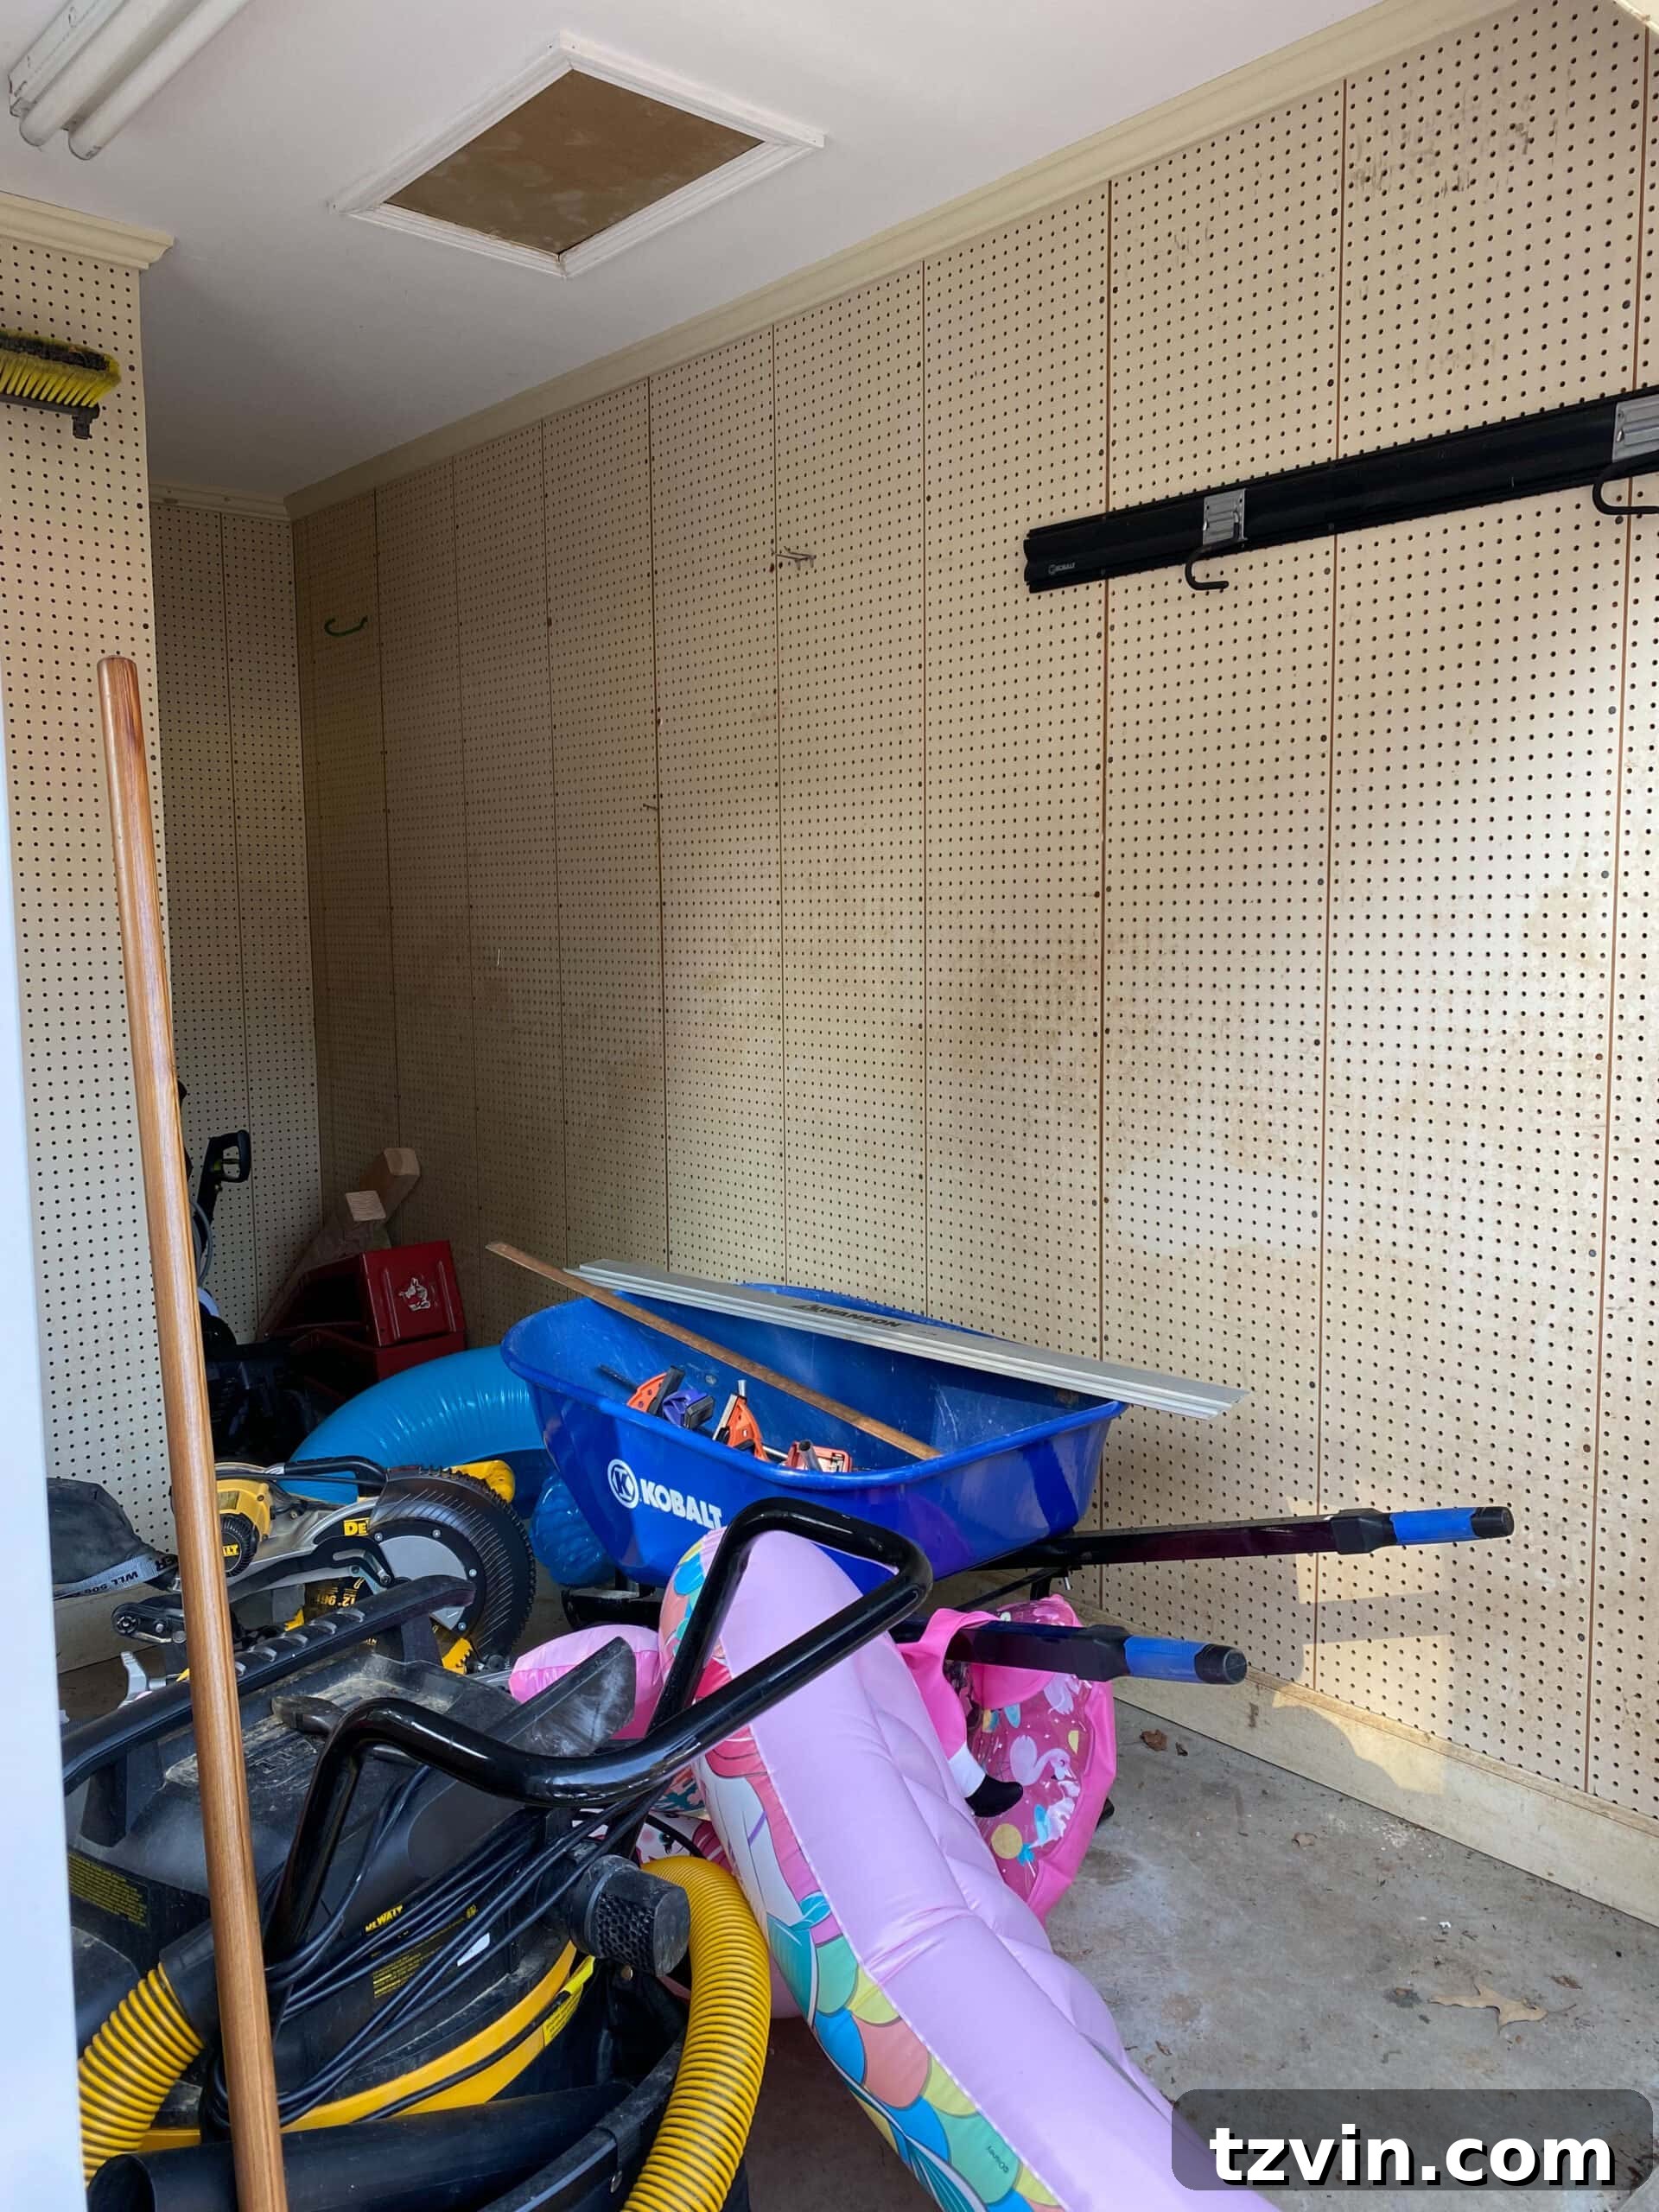
Prepare to be amazed by the incredible journey of this shed, from its humble beginnings to its stunning modern industrial revival. The visual impact of this before and after comparison truly speaks volumes about the power of DIY and thoughtful design. What started as a basic storage space, typical of many backyard sheds, had little character or purpose beyond holding pool supplies.
But before we fully immerse ourselves in the detailed DIY faux brick wall tutorial, let’s take a moment to appreciate this remarkable transformation. The sheer impact of removing the old, low ceiling and installing crisp, white faux brick walls is astounding. It completely redefined the space, making it feel larger, brighter, and infinitely more inviting. The entire shed makeover, including all materials, was achieved for under $700 – a testament to smart budgeting and strategic material choices.
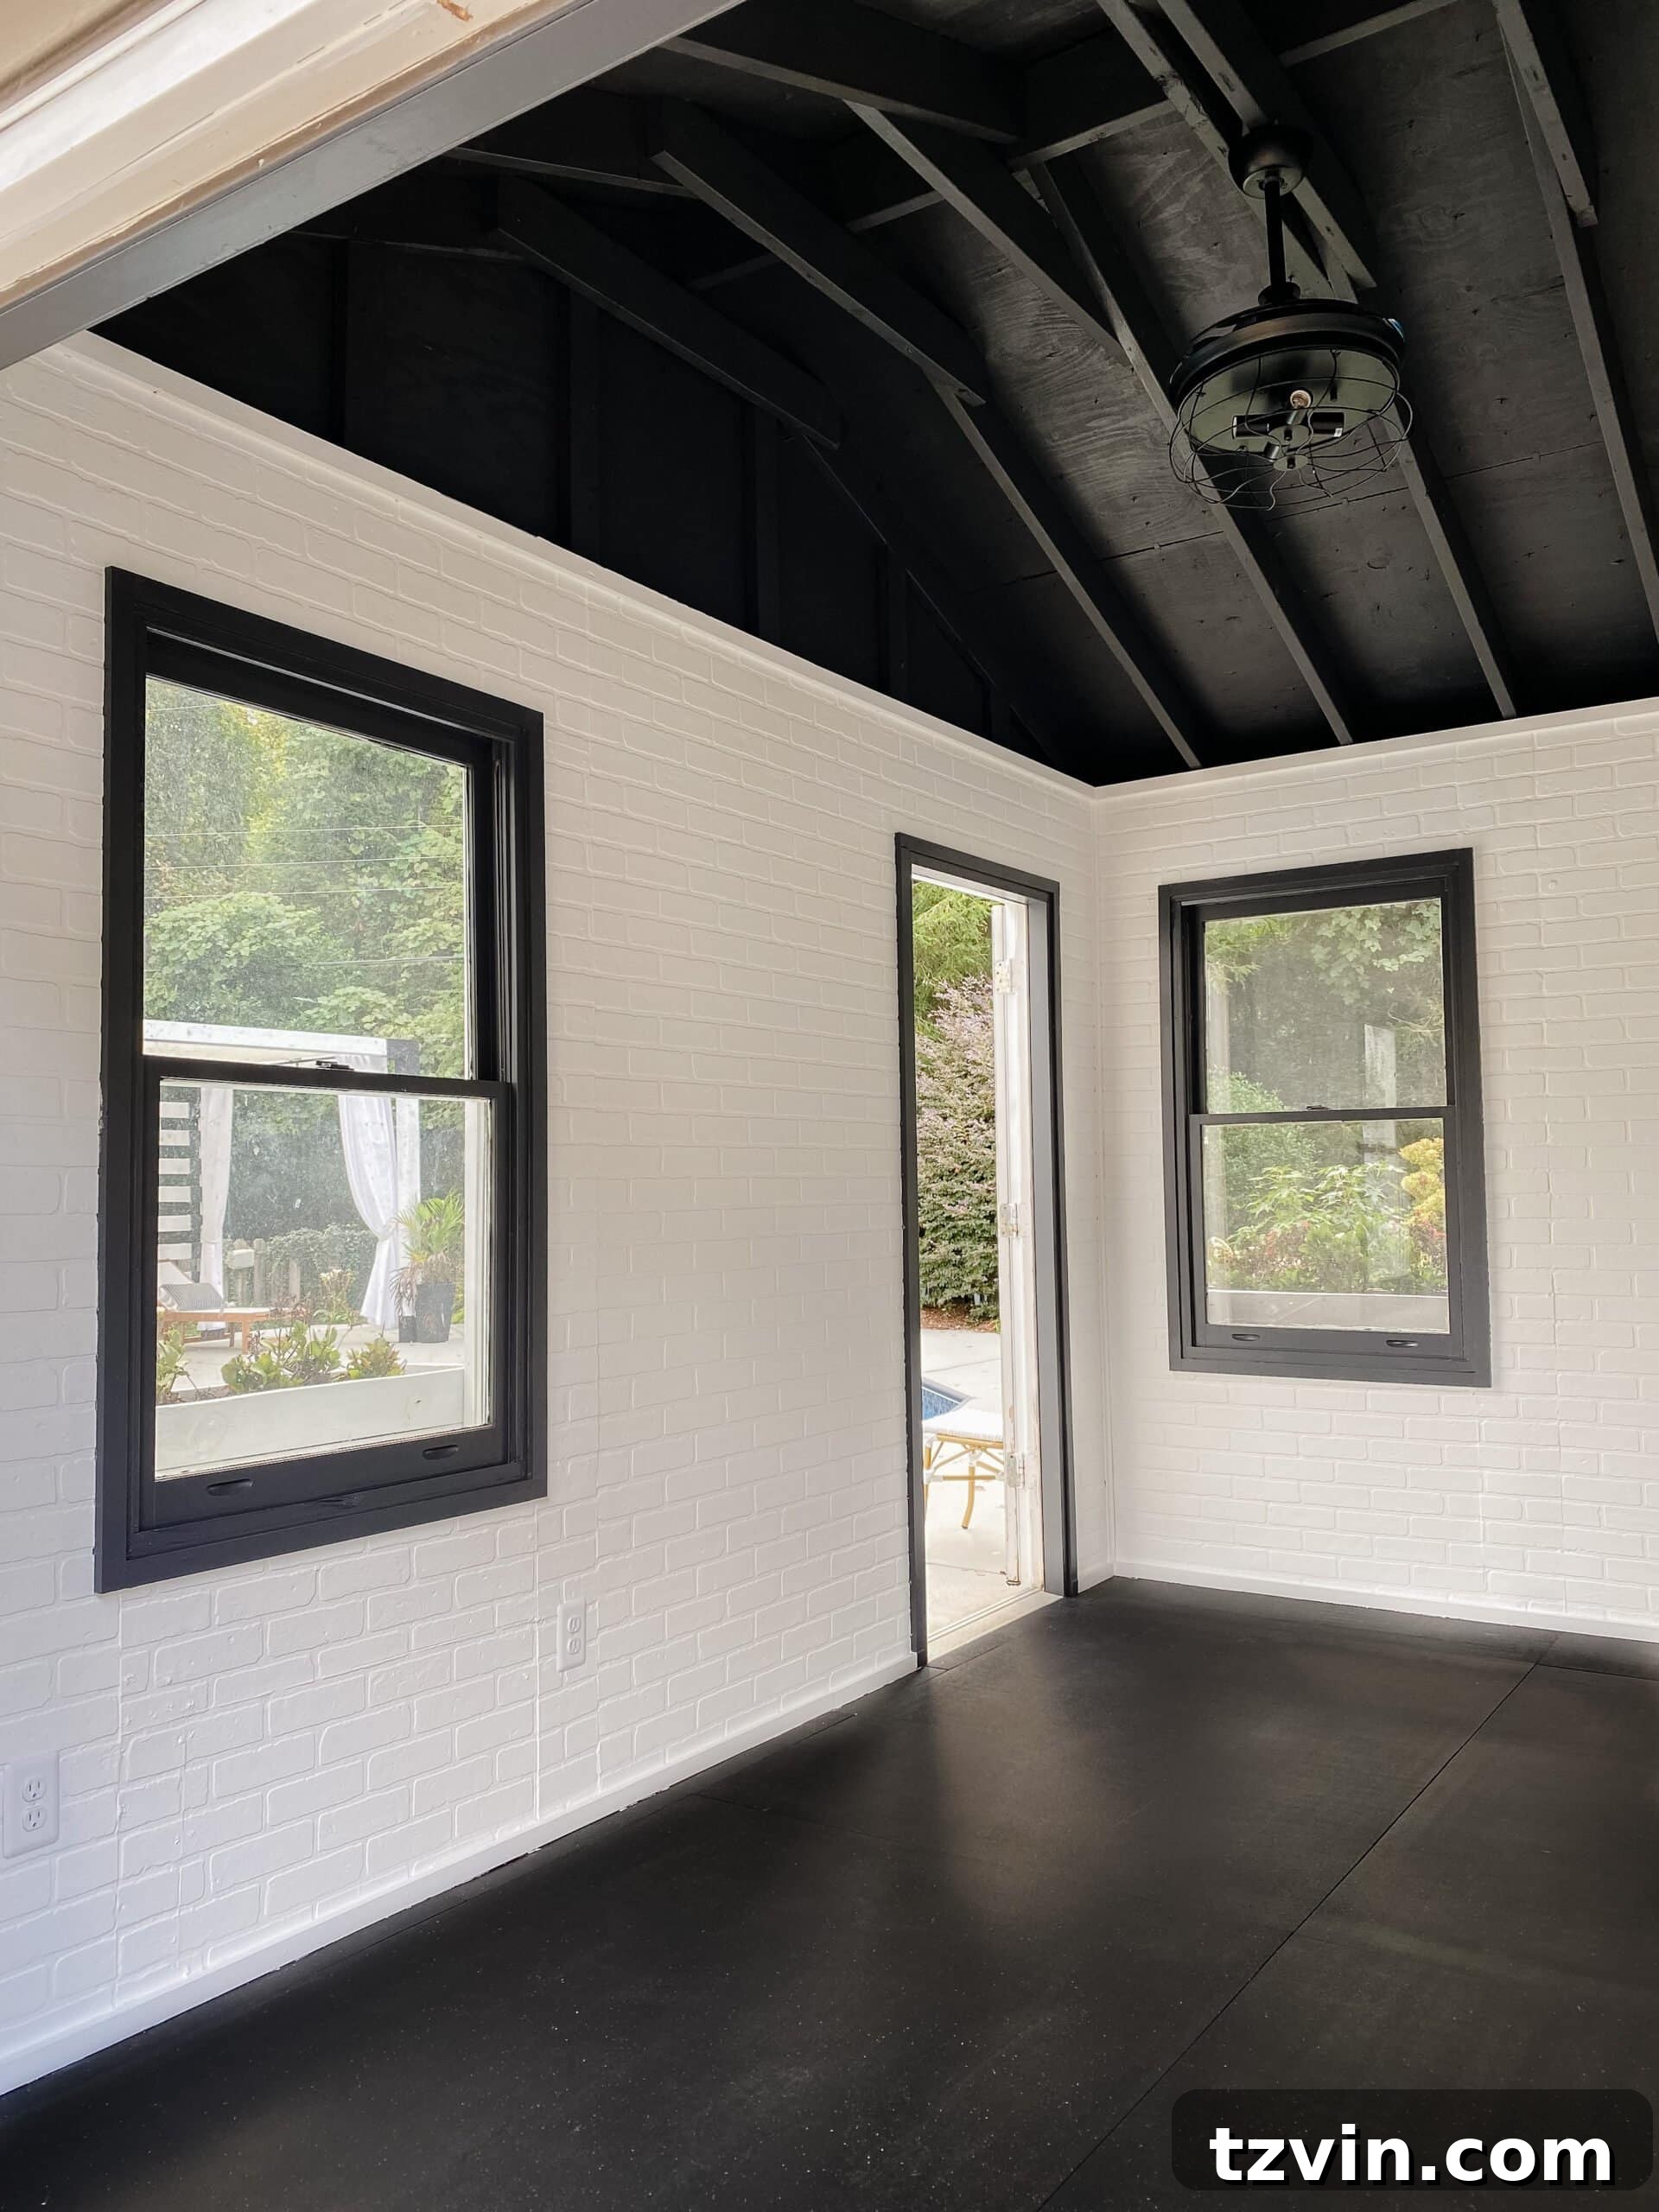
The strategic use of white faux brick not only introduces a sought-after industrial texture but also serves to brighten the interior, reflecting light and making the space feel more open and expansive. Coupled with the sleek black ceiling, the contrast creates a sophisticated yet rugged appeal. This isn’t just a cosmetic upgrade; it’s a complete reimagining of the shed’s potential, proving that even the most overlooked structures can be transformed into functional and beautiful extensions of your home.
DIY Faux Brick Wall & Industrial Shed Makeover Guide
Ready to create your own stunning feature wall or undertake a complete shed transformation? This comprehensive guide will walk you through every step of installing a DIY faux brick wall, perfect for achieving that modern industrial aesthetic. Faux brick panels offer a budget-friendly and relatively easy way to add significant character and texture to any space, whether it’s an interior wall in your home or a dedicated shed like ours.
Why choose faux brick? Real brick can be incredibly expensive, heavy, and difficult to install, often requiring professional masonry work. Faux brick panels, on the other hand, are lightweight, cost-effective, and designed for easy DIY installation. They come in various patterns and textures, allowing you to achieve a realistic brick look without the associated challenges. This project is ideal for weekend warriors looking to make a big impact in a short amount of time.
Essential Supplies for Your Faux Brick Wall Project
Gathering the right materials is the first crucial step for any successful DIY project. Here’s a list of the supplies you’ll need to create your modern industrial faux brick wall. Many of these items are readily available at your local hardware store.
- Faux Brick Panels: These are the stars of the show! We highly recommend the specific panels we used, which also served us well in our DIY faux brick backsplash project years ago. Choose a style and color that complements your desired aesthetic.
- 1×2 Boards: Essential for creating clean top and bottom trim lines, giving your finished wall a polished and professional appearance.
- Corner Molding: Used to finish external corners, providing a seamless transition and protecting the panel edges.
- Level: Absolutely critical for ensuring your first panel is installed perfectly straight, which dictates the alignment of all subsequent panels.
- #8 Wood Screws: For securely attaching the faux brick panels to studs, especially important when panels are serving as primary wall surfaces.
- Liquid Nails (Construction Adhesive): Provides extra bonding strength, particularly useful for adhering panels to drywall or for reinforcing screwed panels.
- Spackle: Used to fill screw holes, small gaps, and imperfections, creating a smooth surface ready for paint.
- Caulk: Perfect for sealing seams, especially where panels meet trim, corners, or other wall surfaces, creating a professional, gap-free finish.
- Paint: The transformative final step! We used white paint to achieve our bright, industrial aesthetic, but you can choose any color to match your decor.
- Rollers, Brushes, Paint Trays: Standard painting tools for efficient and even paint application.
Essential Tools for Faux Brick Installation
Having the right tools on hand will make this DIY project much smoother and more efficient. Don’t worry if you don’t own all of them; many can be rented from hardware stores, or you can borrow from a friend.
- Circular Saw or Table Saw: Indispensable for making straight, clean cuts on the faux brick panels and trim boards. A table saw offers more precision for long cuts.
- Jigsaw: Crucial for cutting intricate shapes around obstacles like windows, outlets, and curved edges, allowing for a custom fit.
- Drill: Used for pre-drilling holes and driving screws, especially when attaching panels directly to studs.
- Tape Measure: For accurate measurements of your walls and panels.
- Stud Finder: If you’re attaching panels to studs, this tool is essential for locating them behind existing drywall.
Step-by-Step Faux Brick Wall Installation Guide
This tutorial covers everything from initial demolition to the final coat of paint, ensuring you have all the information needed for a successful faux brick wall project. Our project involved significant prep work, but if you’re working on an existing wall, you can skip straight to the panel installation!
Phase 1: Demolition and Preparation (Optional, but transformational!)
For most DIY enthusiasts, this initial step won’t be necessary. However, for us, it was a pivotal part of turning a dated shed into a modern gym. We decided that the old pegboard had to go, along with the low, existing ceiling and any protruding walls that hindered our open-concept vision. This step allowed us to maximize vertical space and achieve a truly industrial feel.
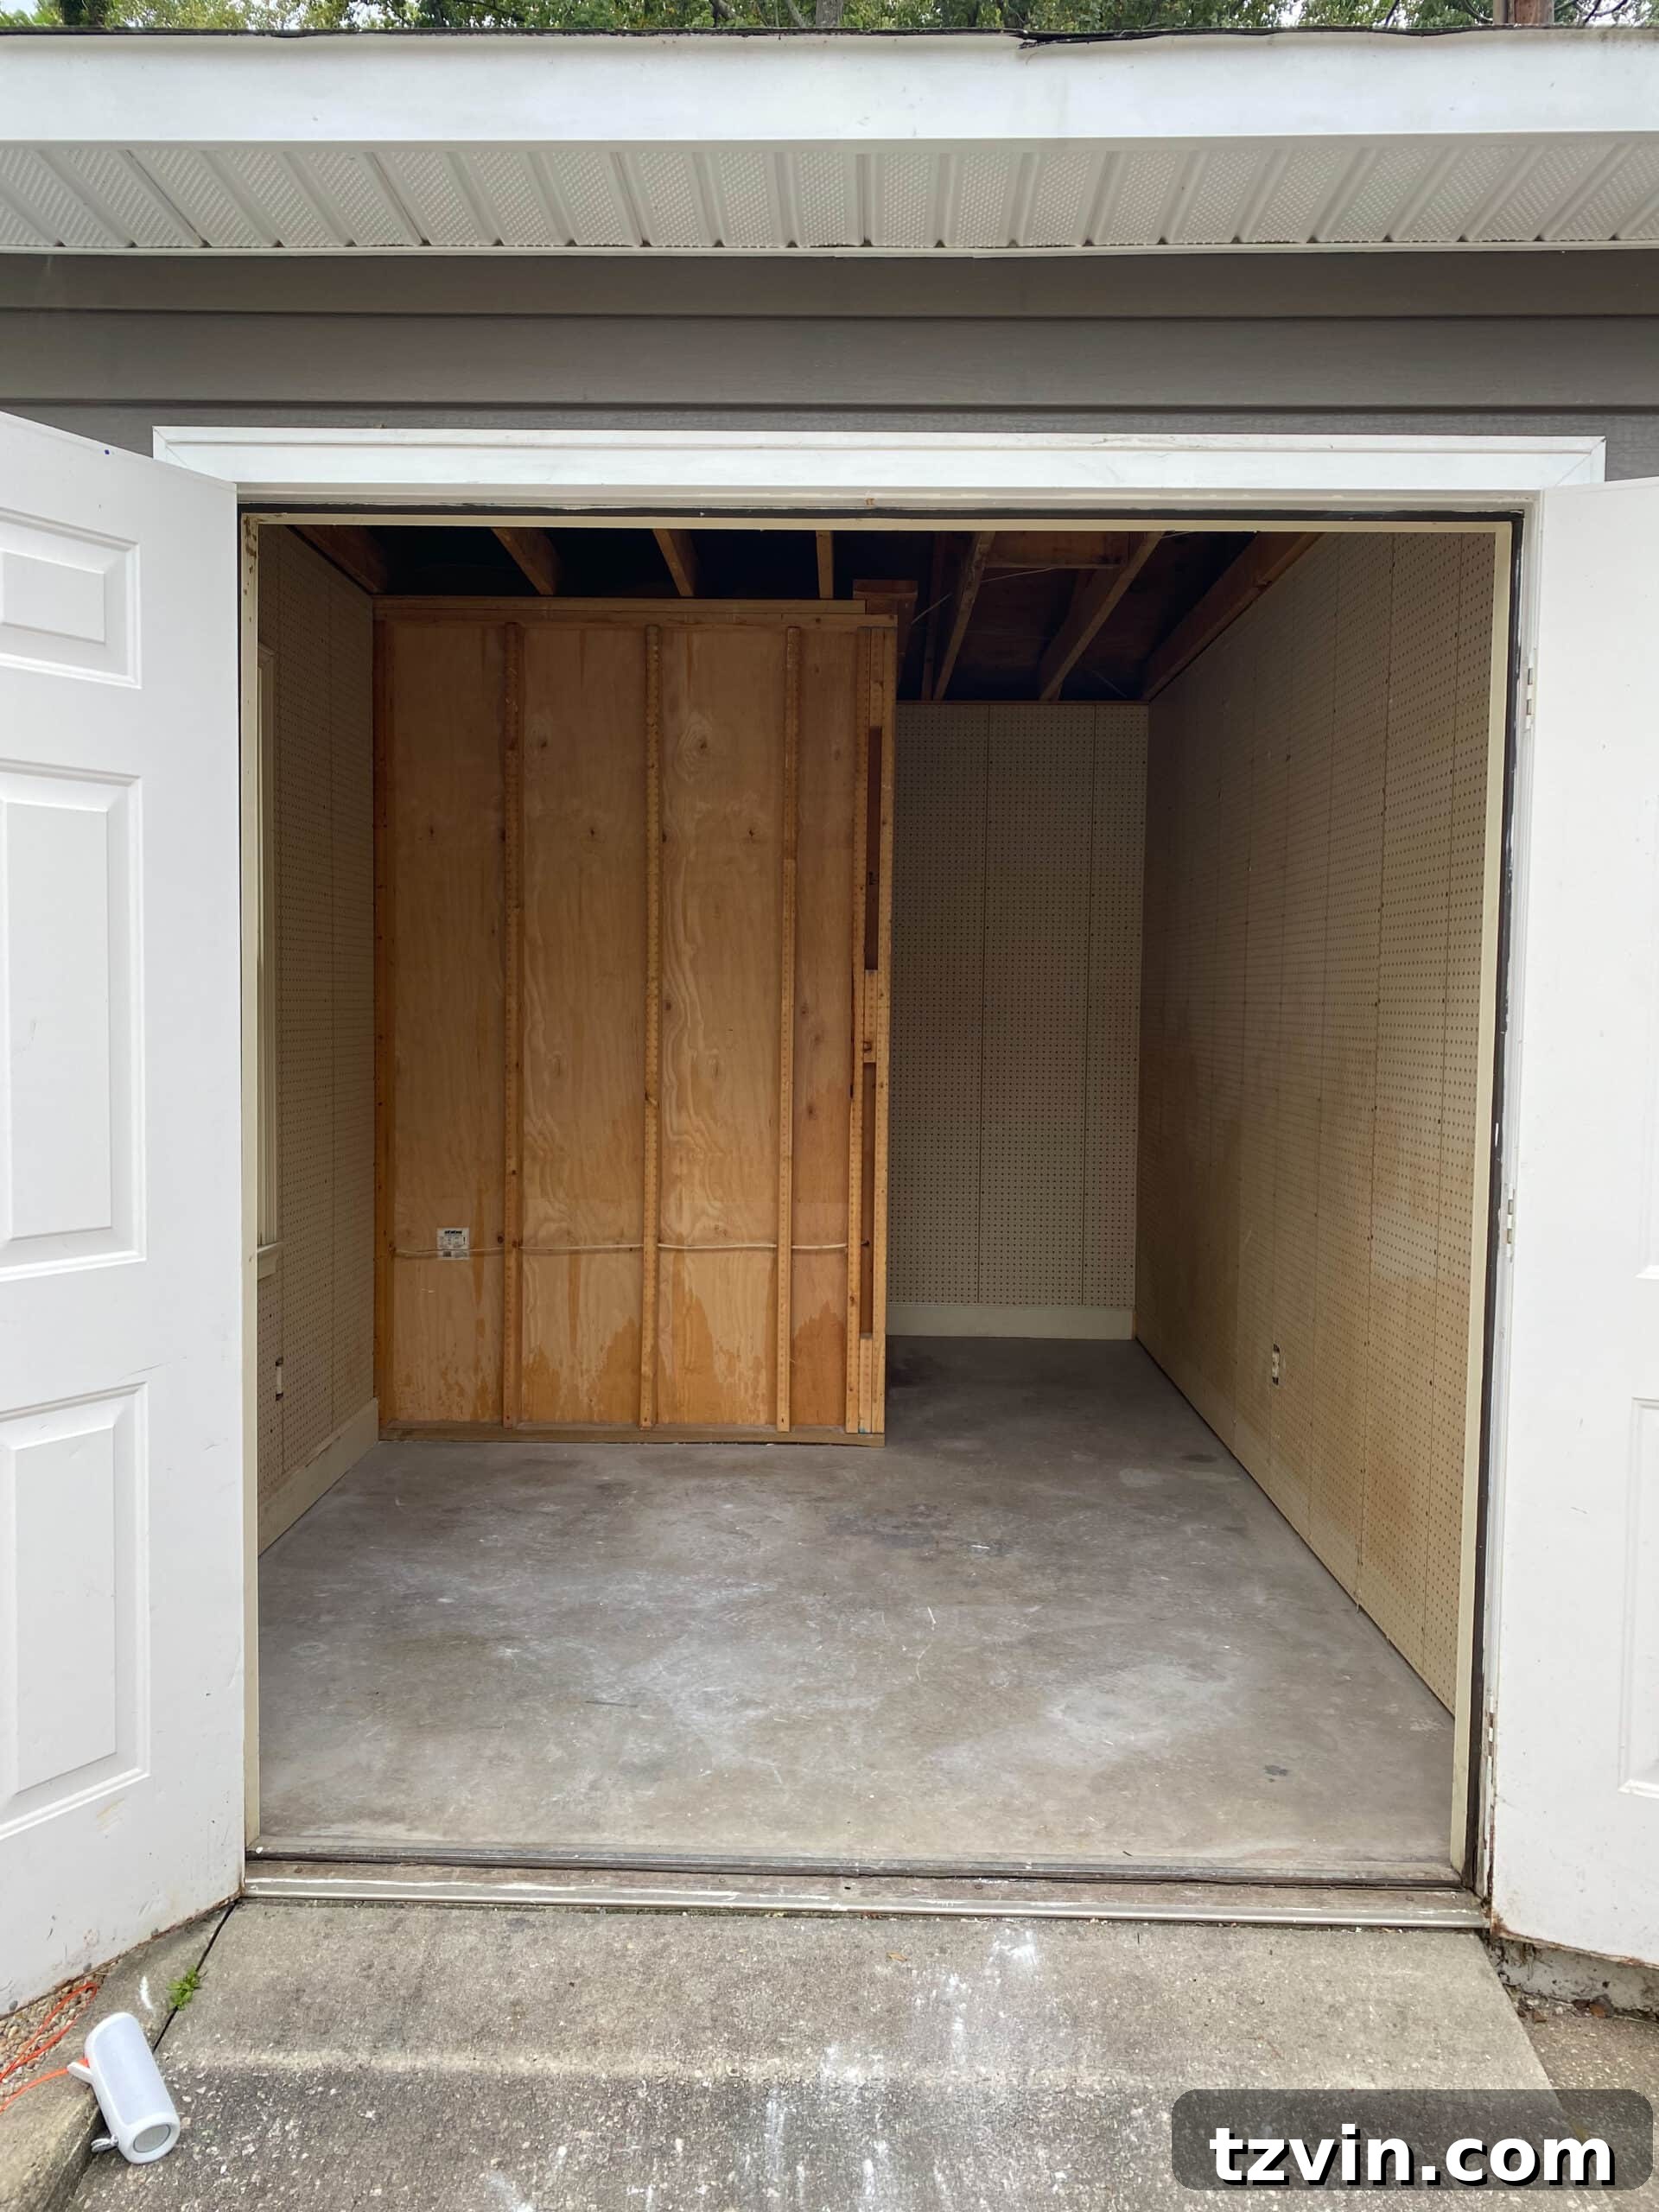
The demolition process, while messy, was incredibly satisfying. Each piece removed felt like progress toward our ultimate goal. It’s important to work safely during demolition, wearing appropriate protective gear like gloves and eye protection. Make sure to identify any electrical wiring or plumbing before cutting into walls.
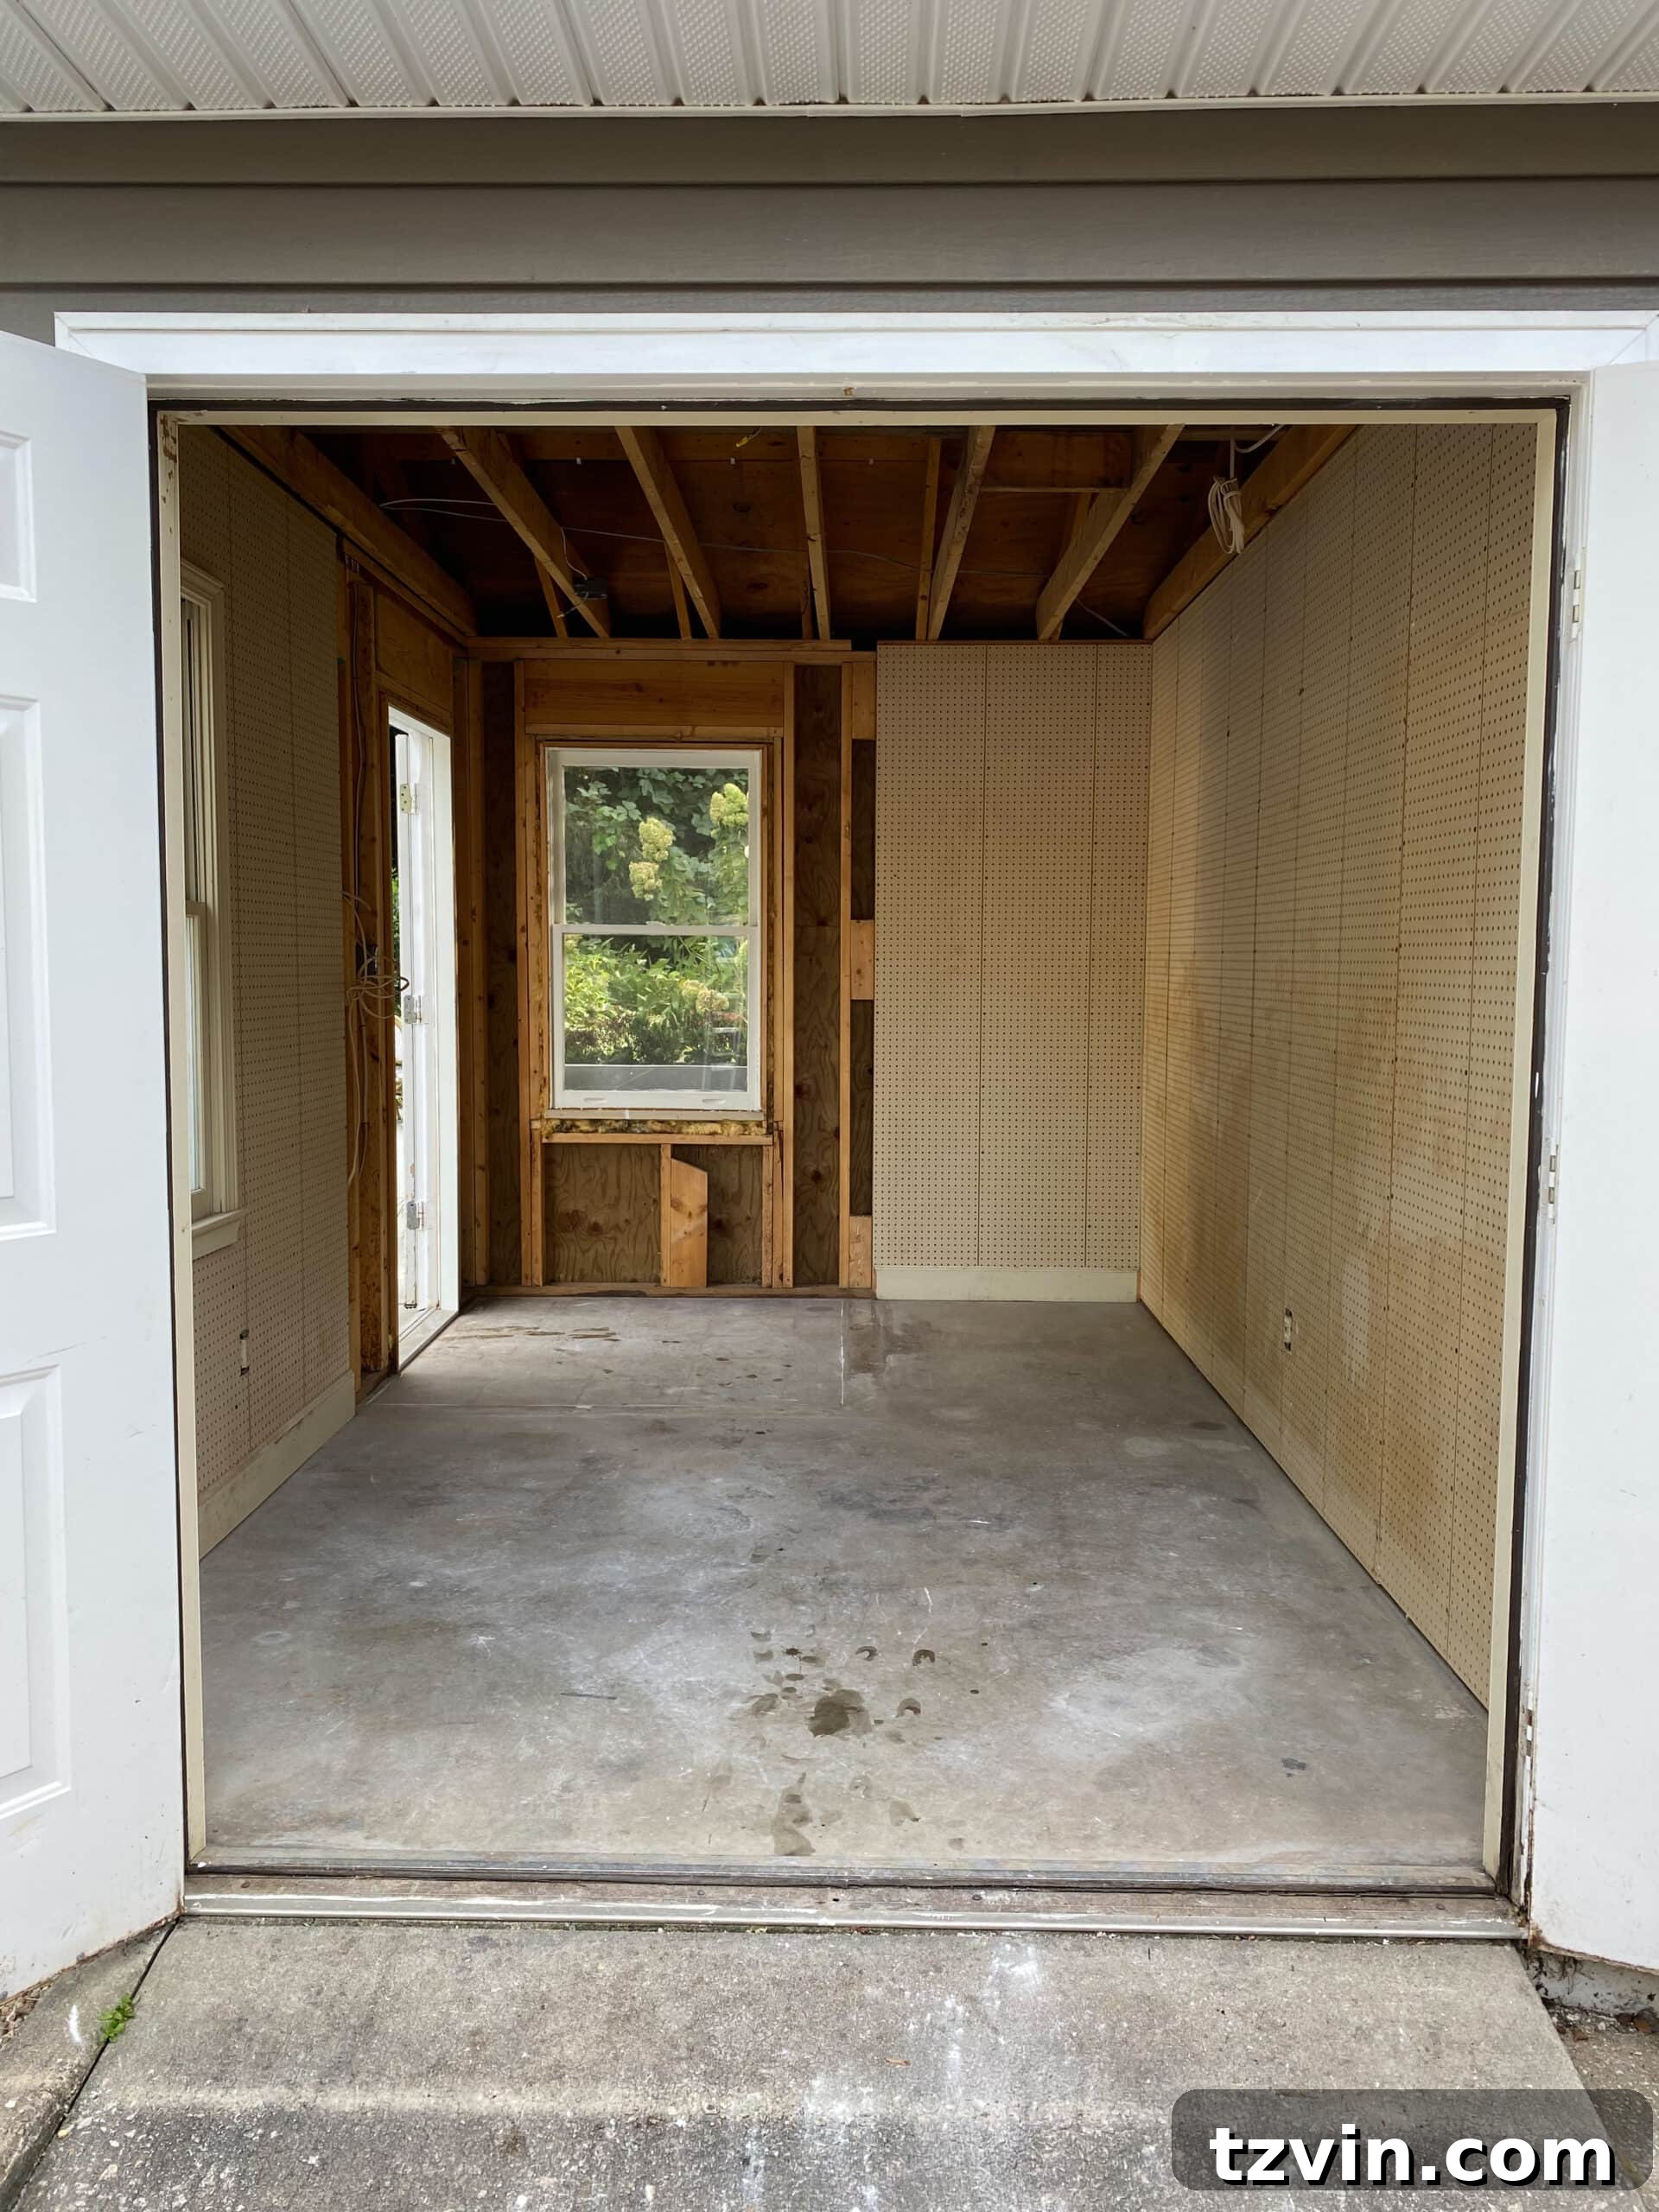
Getting to this stage, with the old structures cleared out, provided a blank canvas. We reinforced the ceiling during this phase, ensuring the structural integrity of the shed for its new purpose. This thorough preparation is key to a lasting and sturdy finish.
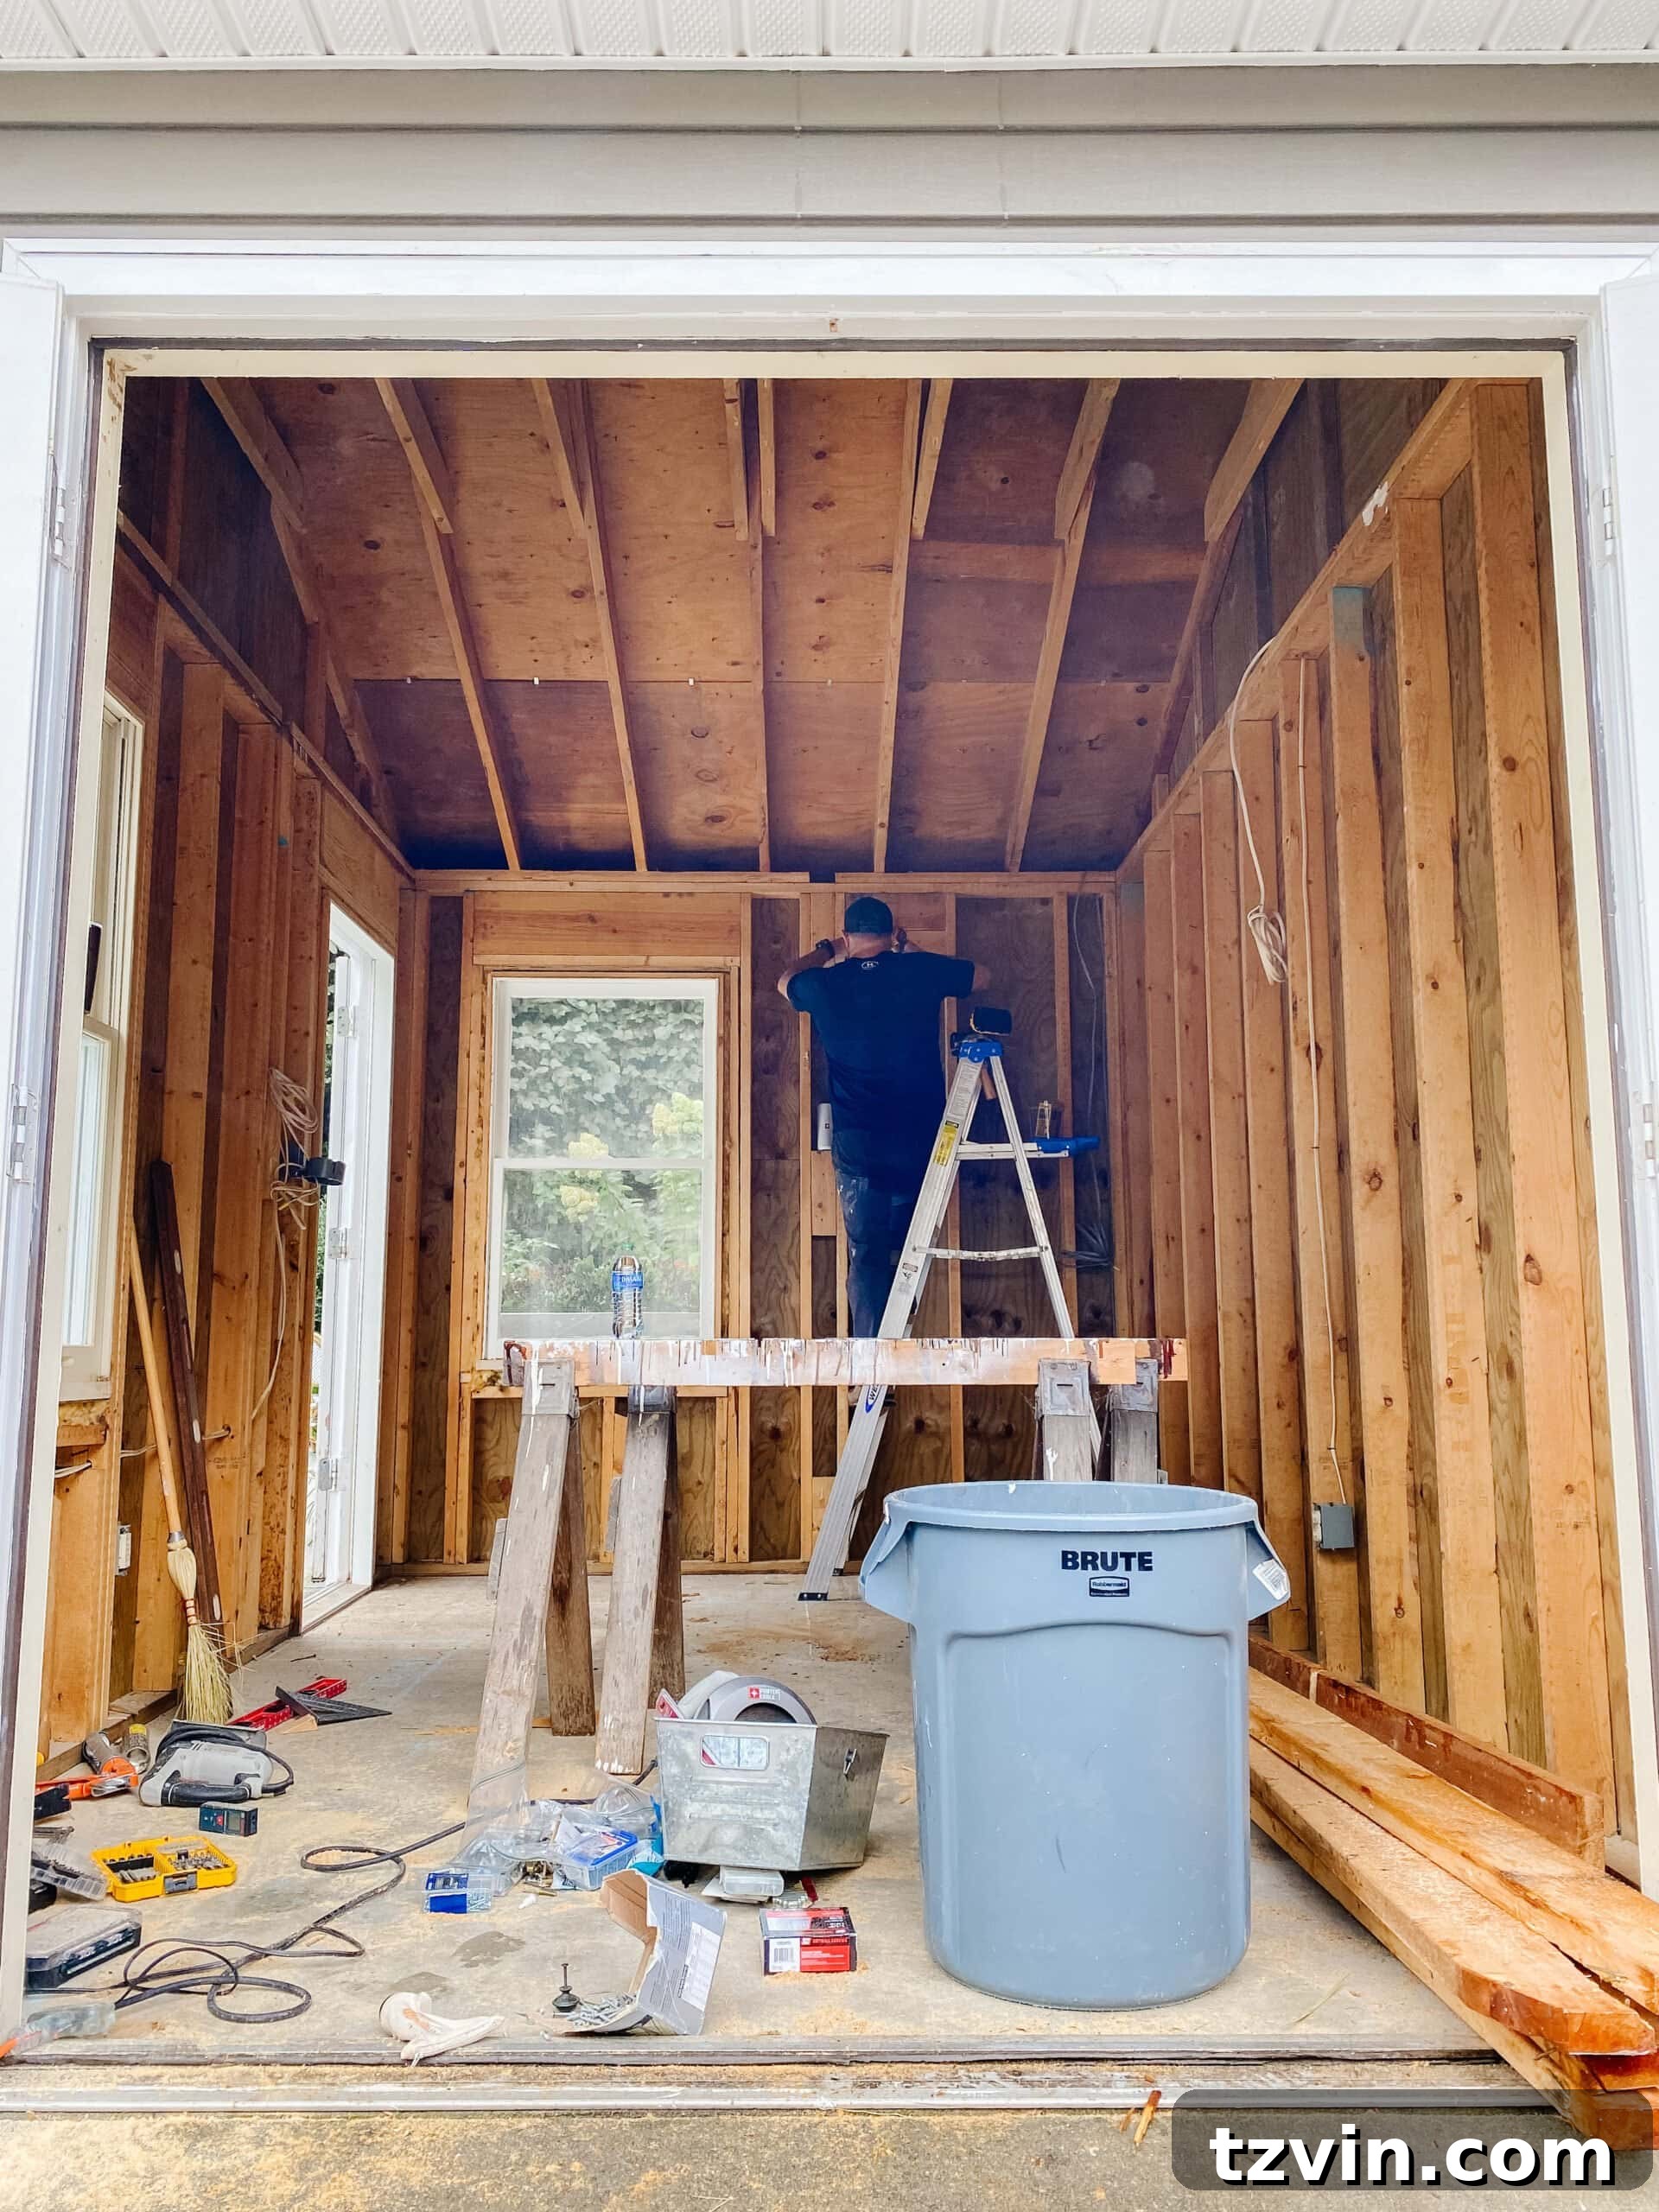
Phase 2: Faux Brick Panel Installation
Alright, after all that messy but necessary demolition and reinforcing the structure, here are the TRUE steps for installing your DIY faux brick walls!
- Hang the First Panel and Establish Your Baseline: This is arguably the most critical step. If you’re installing over existing drywall, you can simply use finish nails along with Liquid Nails adhesive for a strong bond. Since our panels were acting as the primary walls directly on studs, we opted to screw them securely to the studs using #8 wood screws. Regardless of your method, use a reliable level to ensure that your very first panel is hanging perfectly straight. This establishes the baseline for all subsequent panels, ensuring a professional and even appearance.
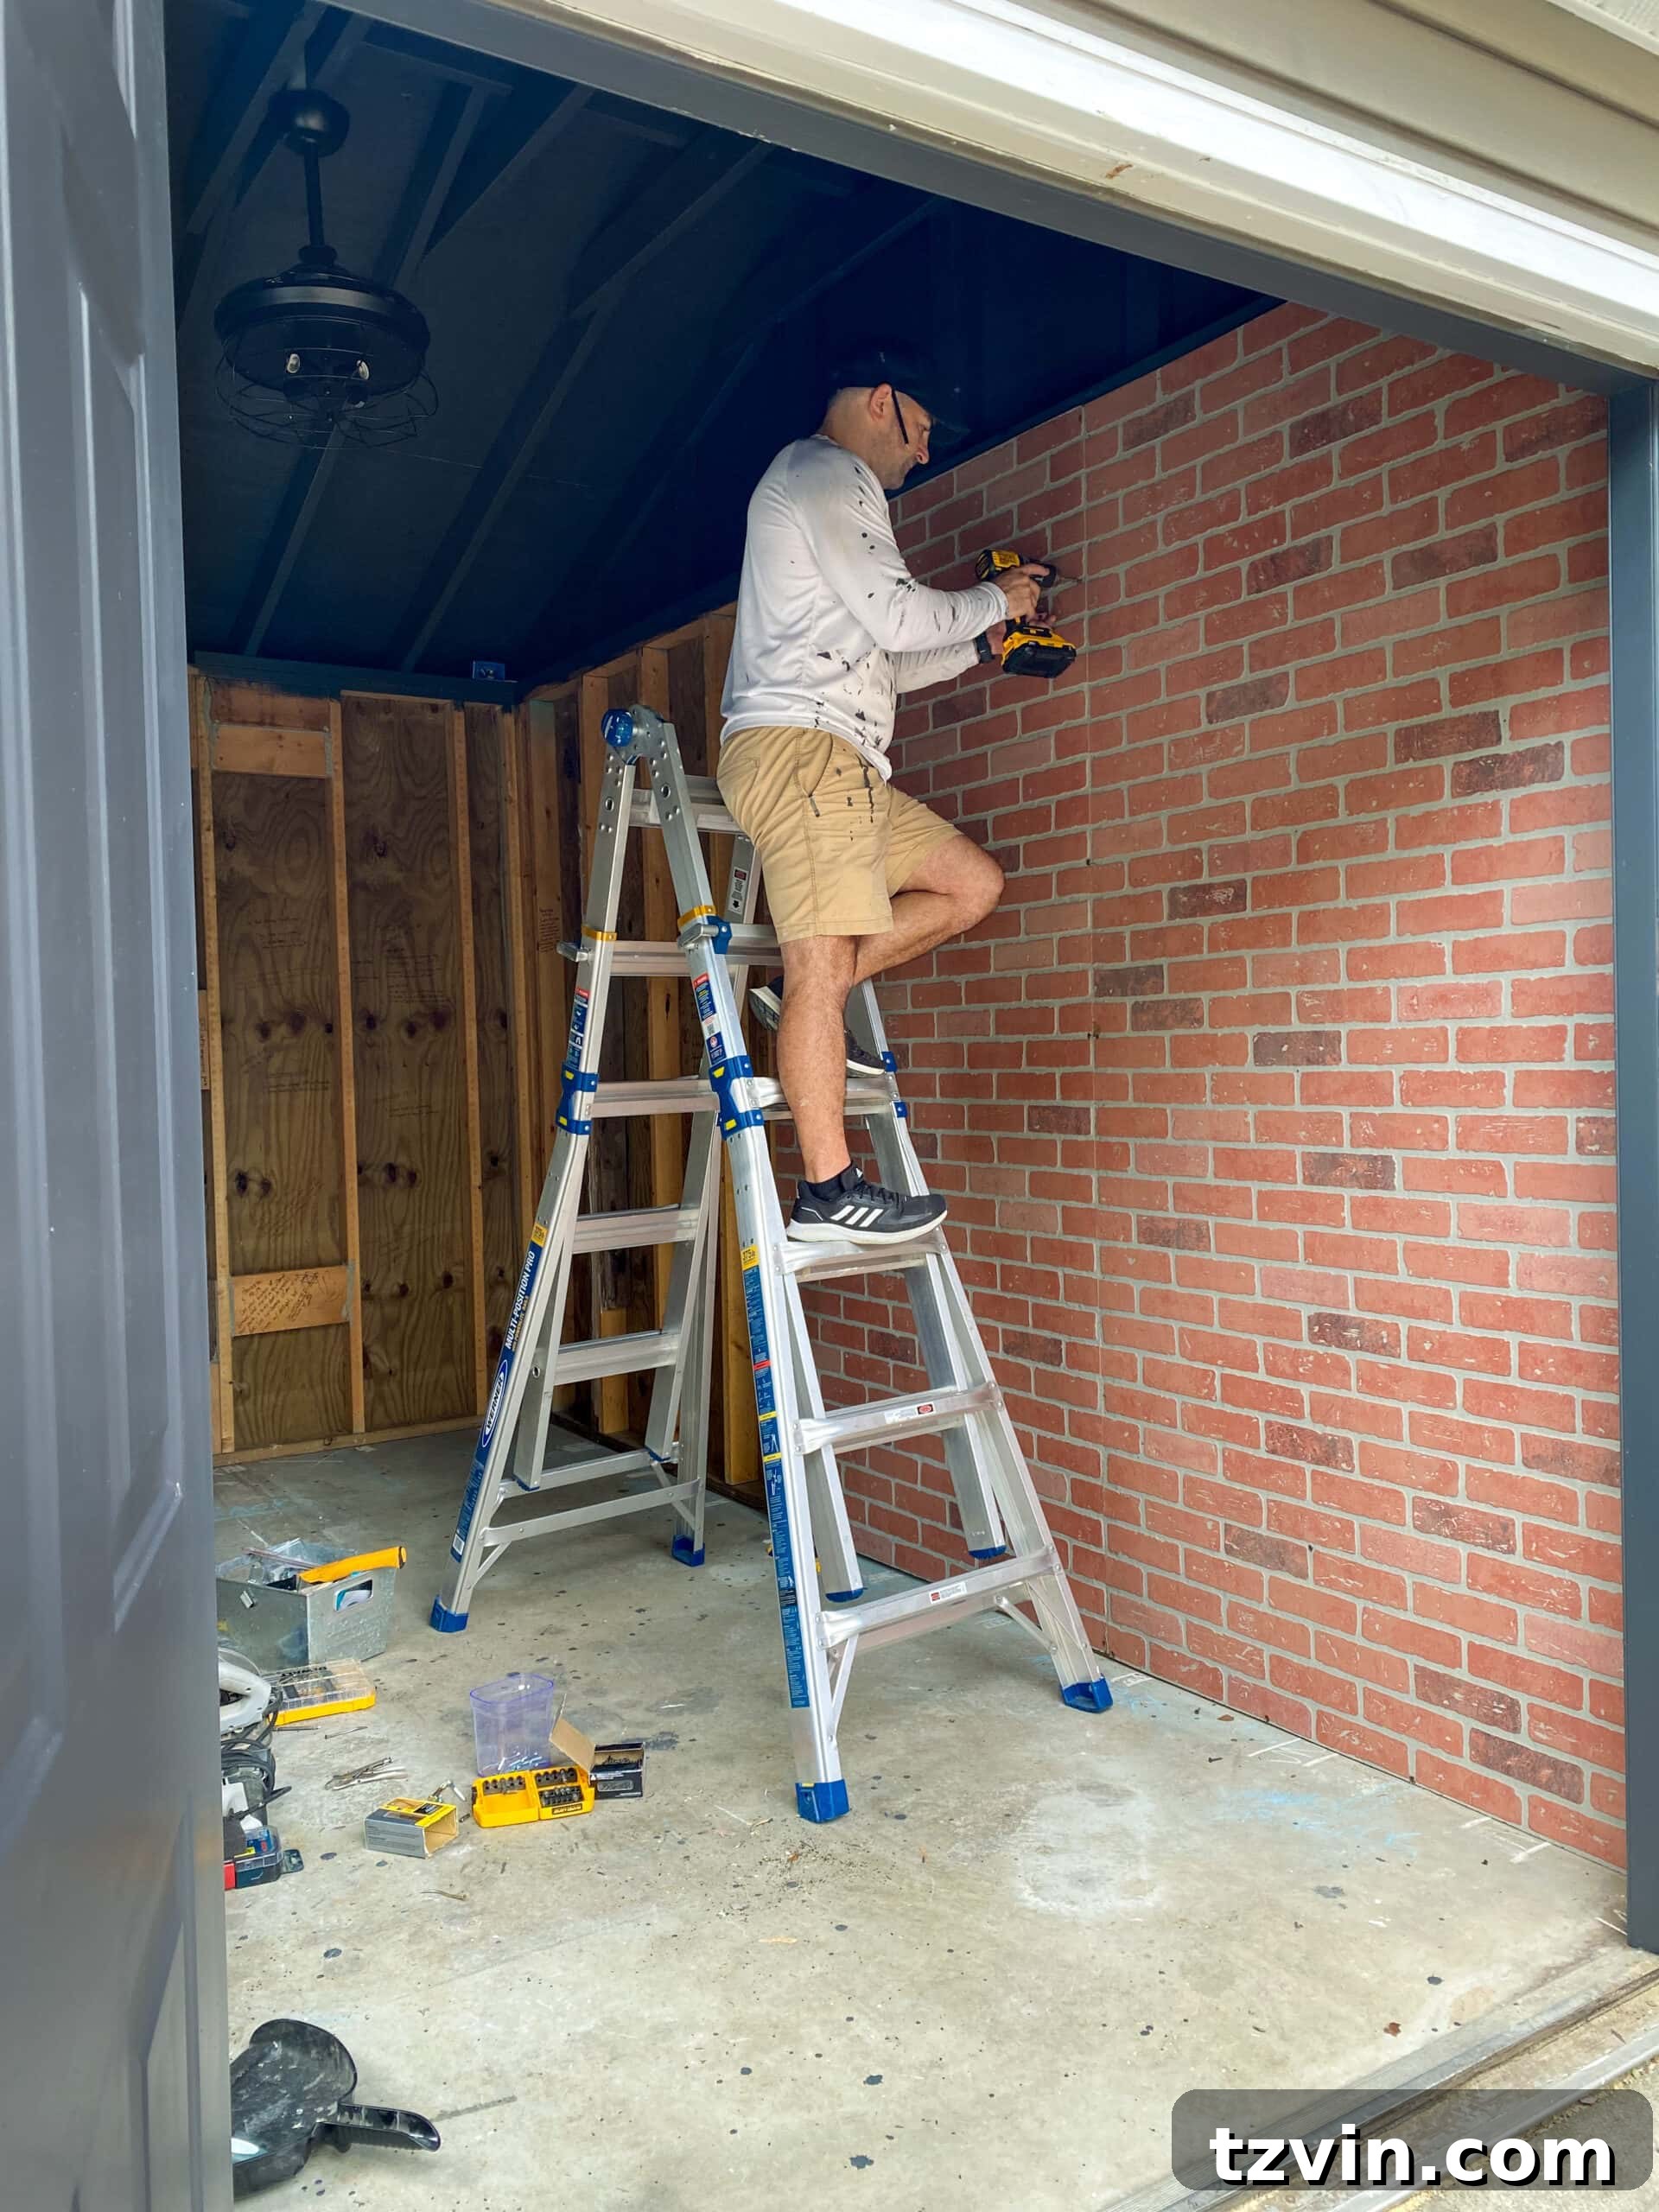
2. Cutting and Aligning Panels: As you progress, you’ll encounter areas that won’t fit a full panel. For these sections, precisely cut the faux brick panels using either a circular saw or a table saw. The key to a seamless look is to carefully pay attention to the brick pattern on the previously installed panel. This allows you to properly line up the brick design, making the seams less noticeable. For those seeking an even more discreet seam, you can use a jigsaw to create zig-zag cuts along the mortar lines in the brick panel design. While this is more time-consuming, it can make the panel joints virtually disappear. However, given our plan to hang mirrors, weights, and shelves, and knowing the walls would be painted, a visible seam here or there didn’t concern us. The zig-zag method is a great option if you’re aiming for absolute perfection.
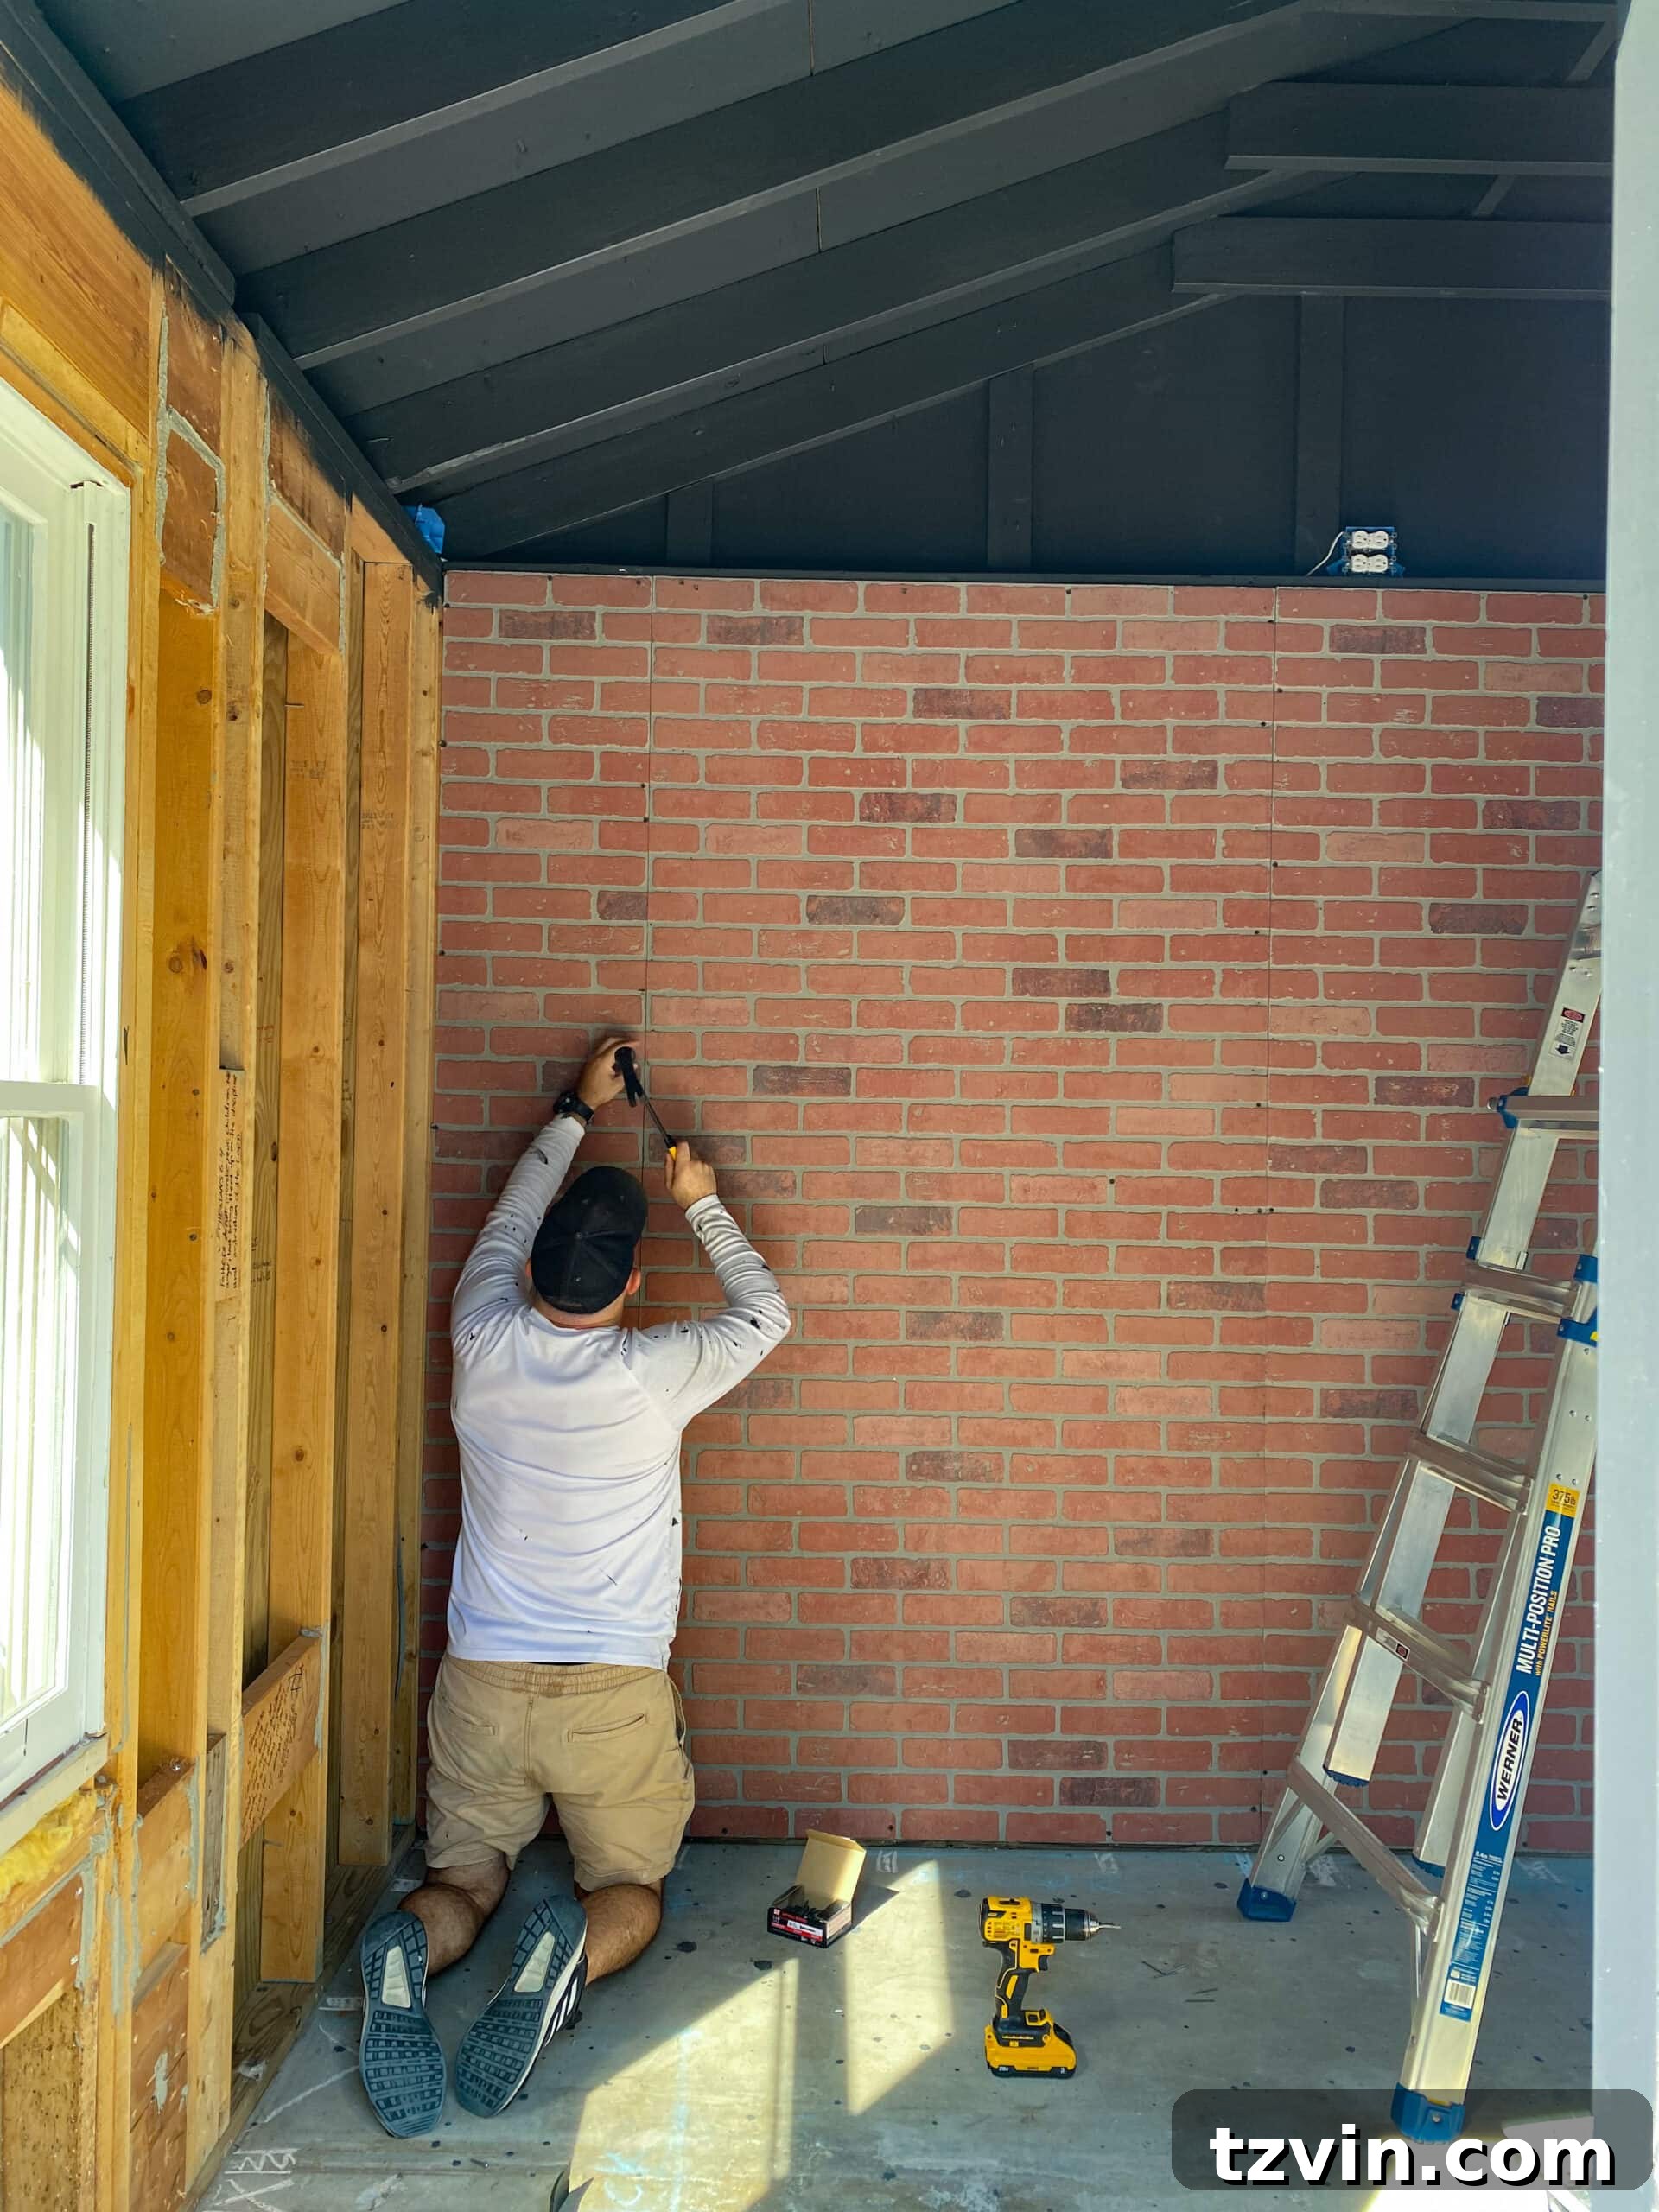
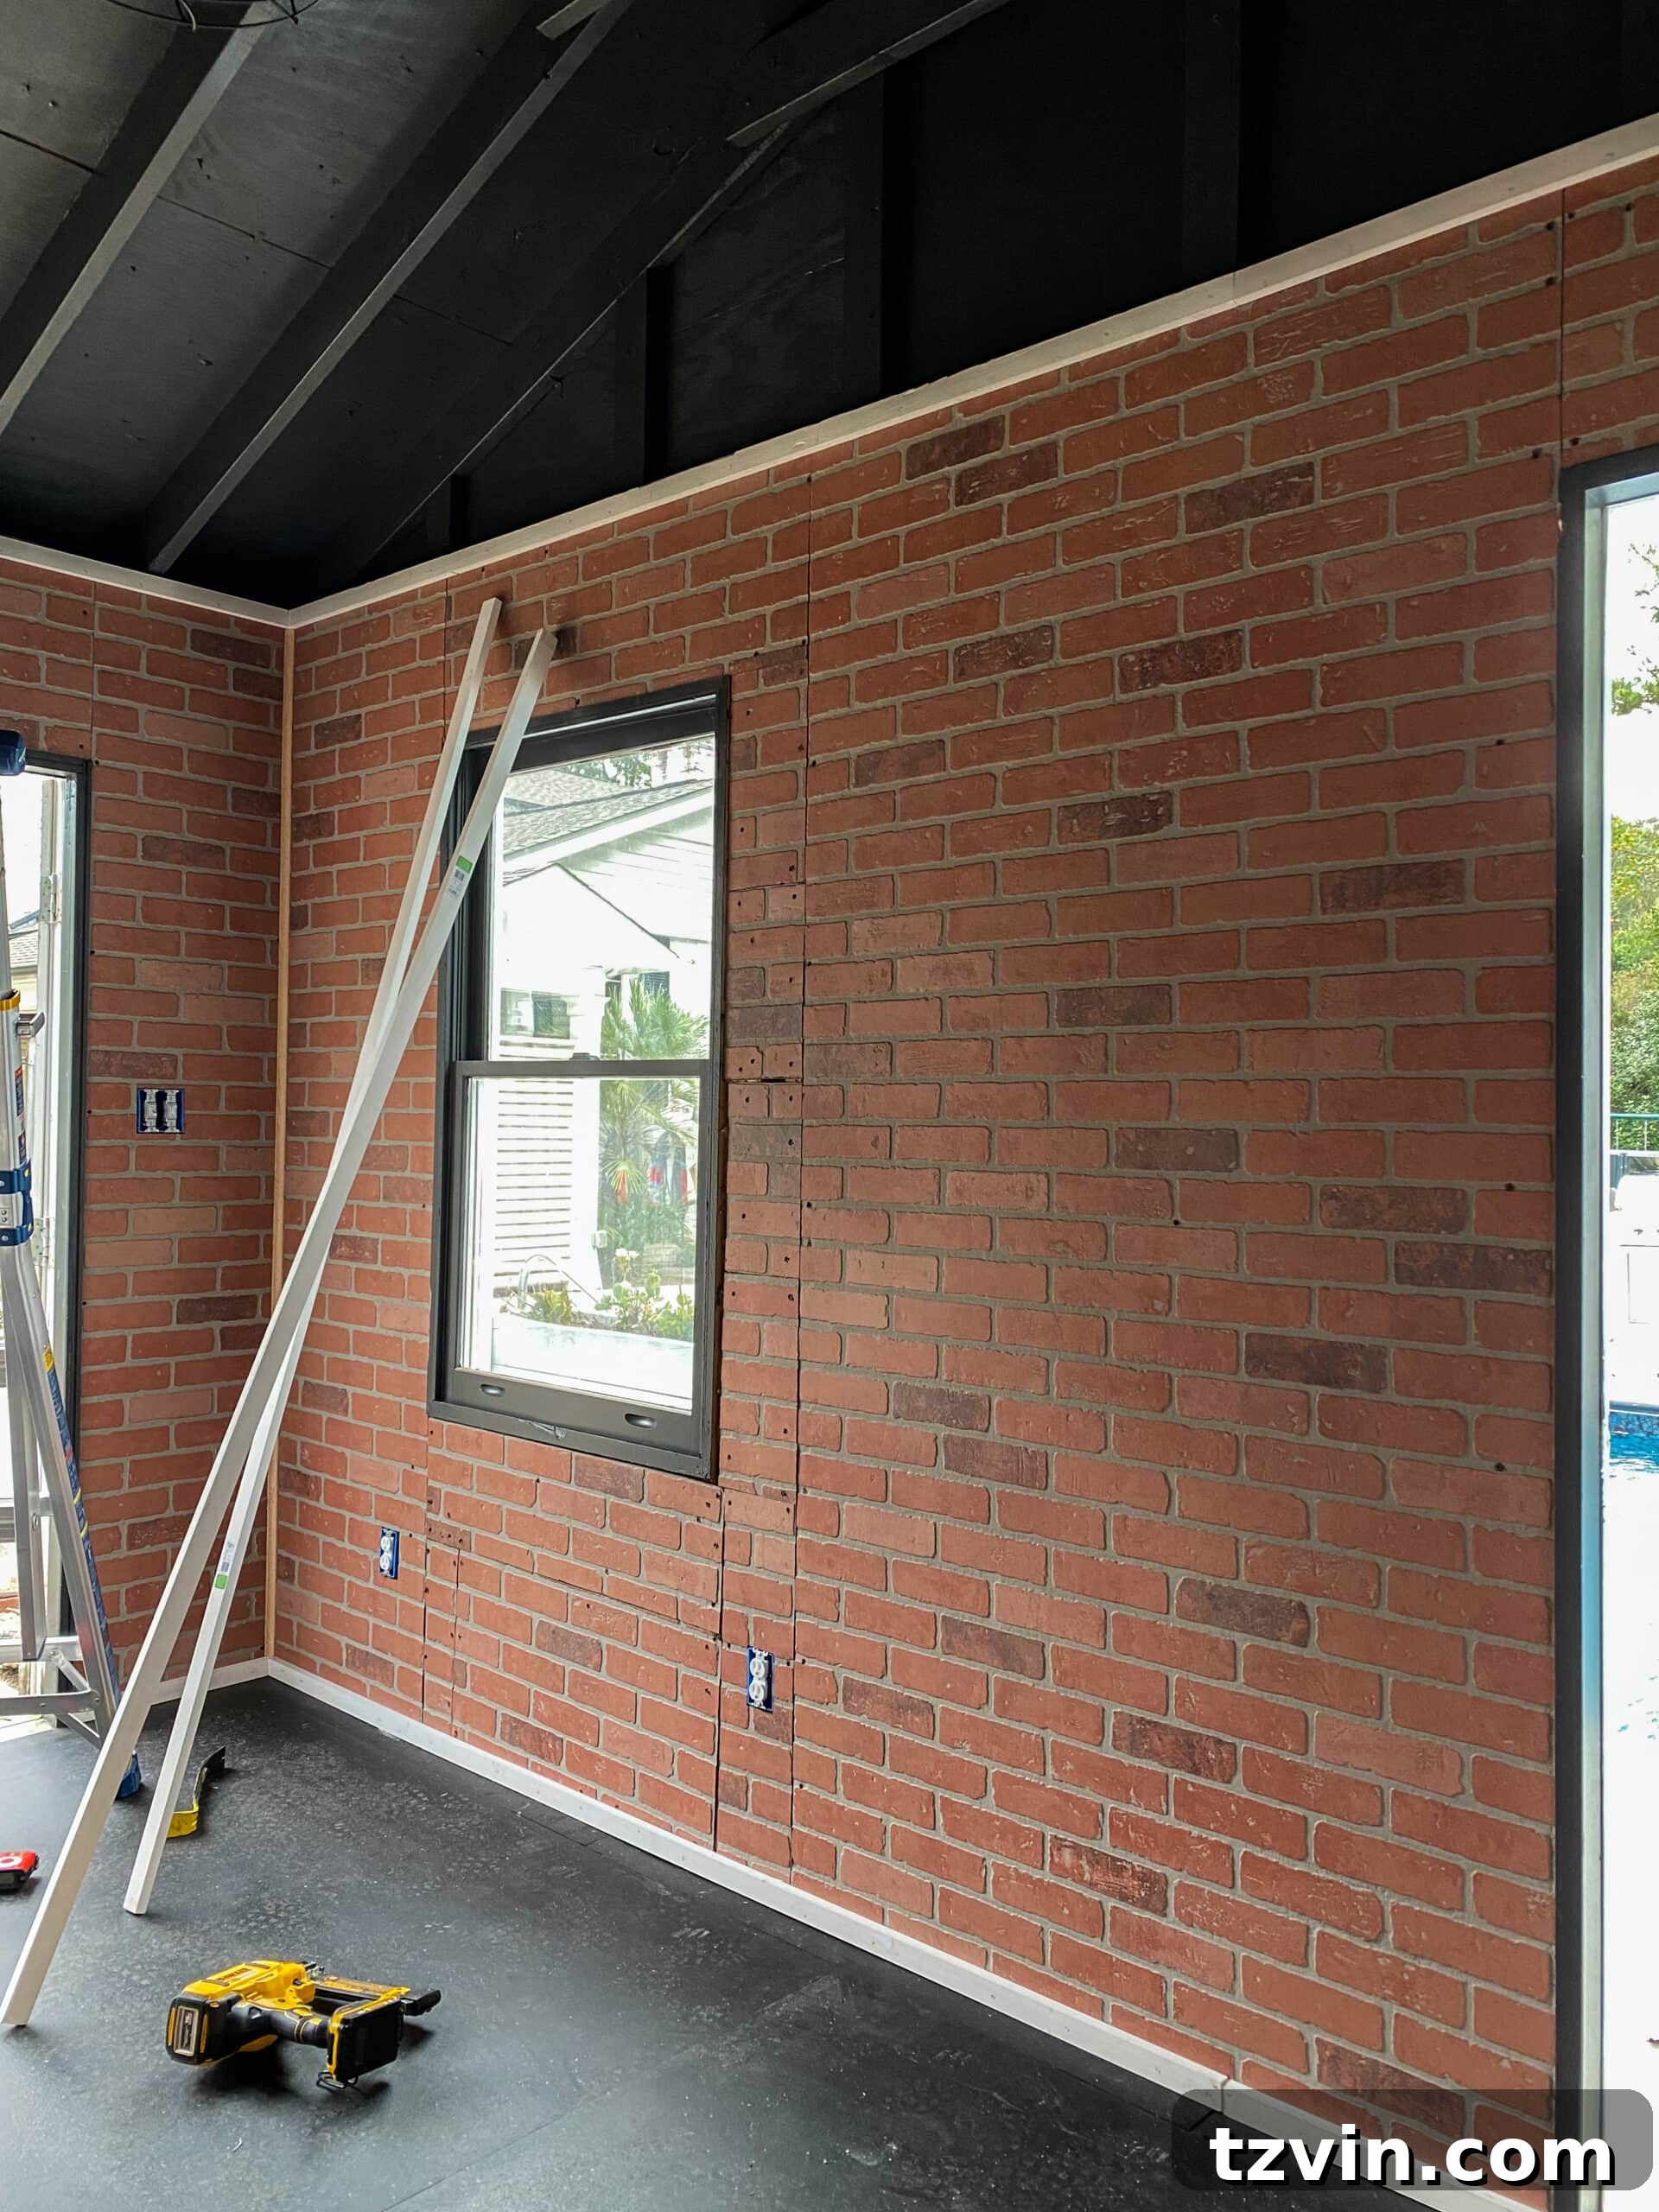
3. Navigating Obstacles with a Jigsaw: When you encounter trickier areas such as windows, electrical outlets, or doorframes, the jigsaw will be your best friend. Carefully measure and mark the areas to be cut out. Use your jigsaw to precisely cut around these obstacles, essentially puzzle-piecing the panels together for a custom, built-in look. Take your time with these cuts to ensure a snug fit.
4. Adding Trim for a Finished Look: To give the walls a truly finished and polished appearance, we installed 1×2 boards along both the top and bottom edges of the faux brick panels. These boards serve as essential trim, defining the edges and protecting the panels. For all external corners, we attached corner molding strips, which provide a clean, professional finish and hide any exposed panel edges. Use finish nails or a strong adhesive to secure the trim and molding.
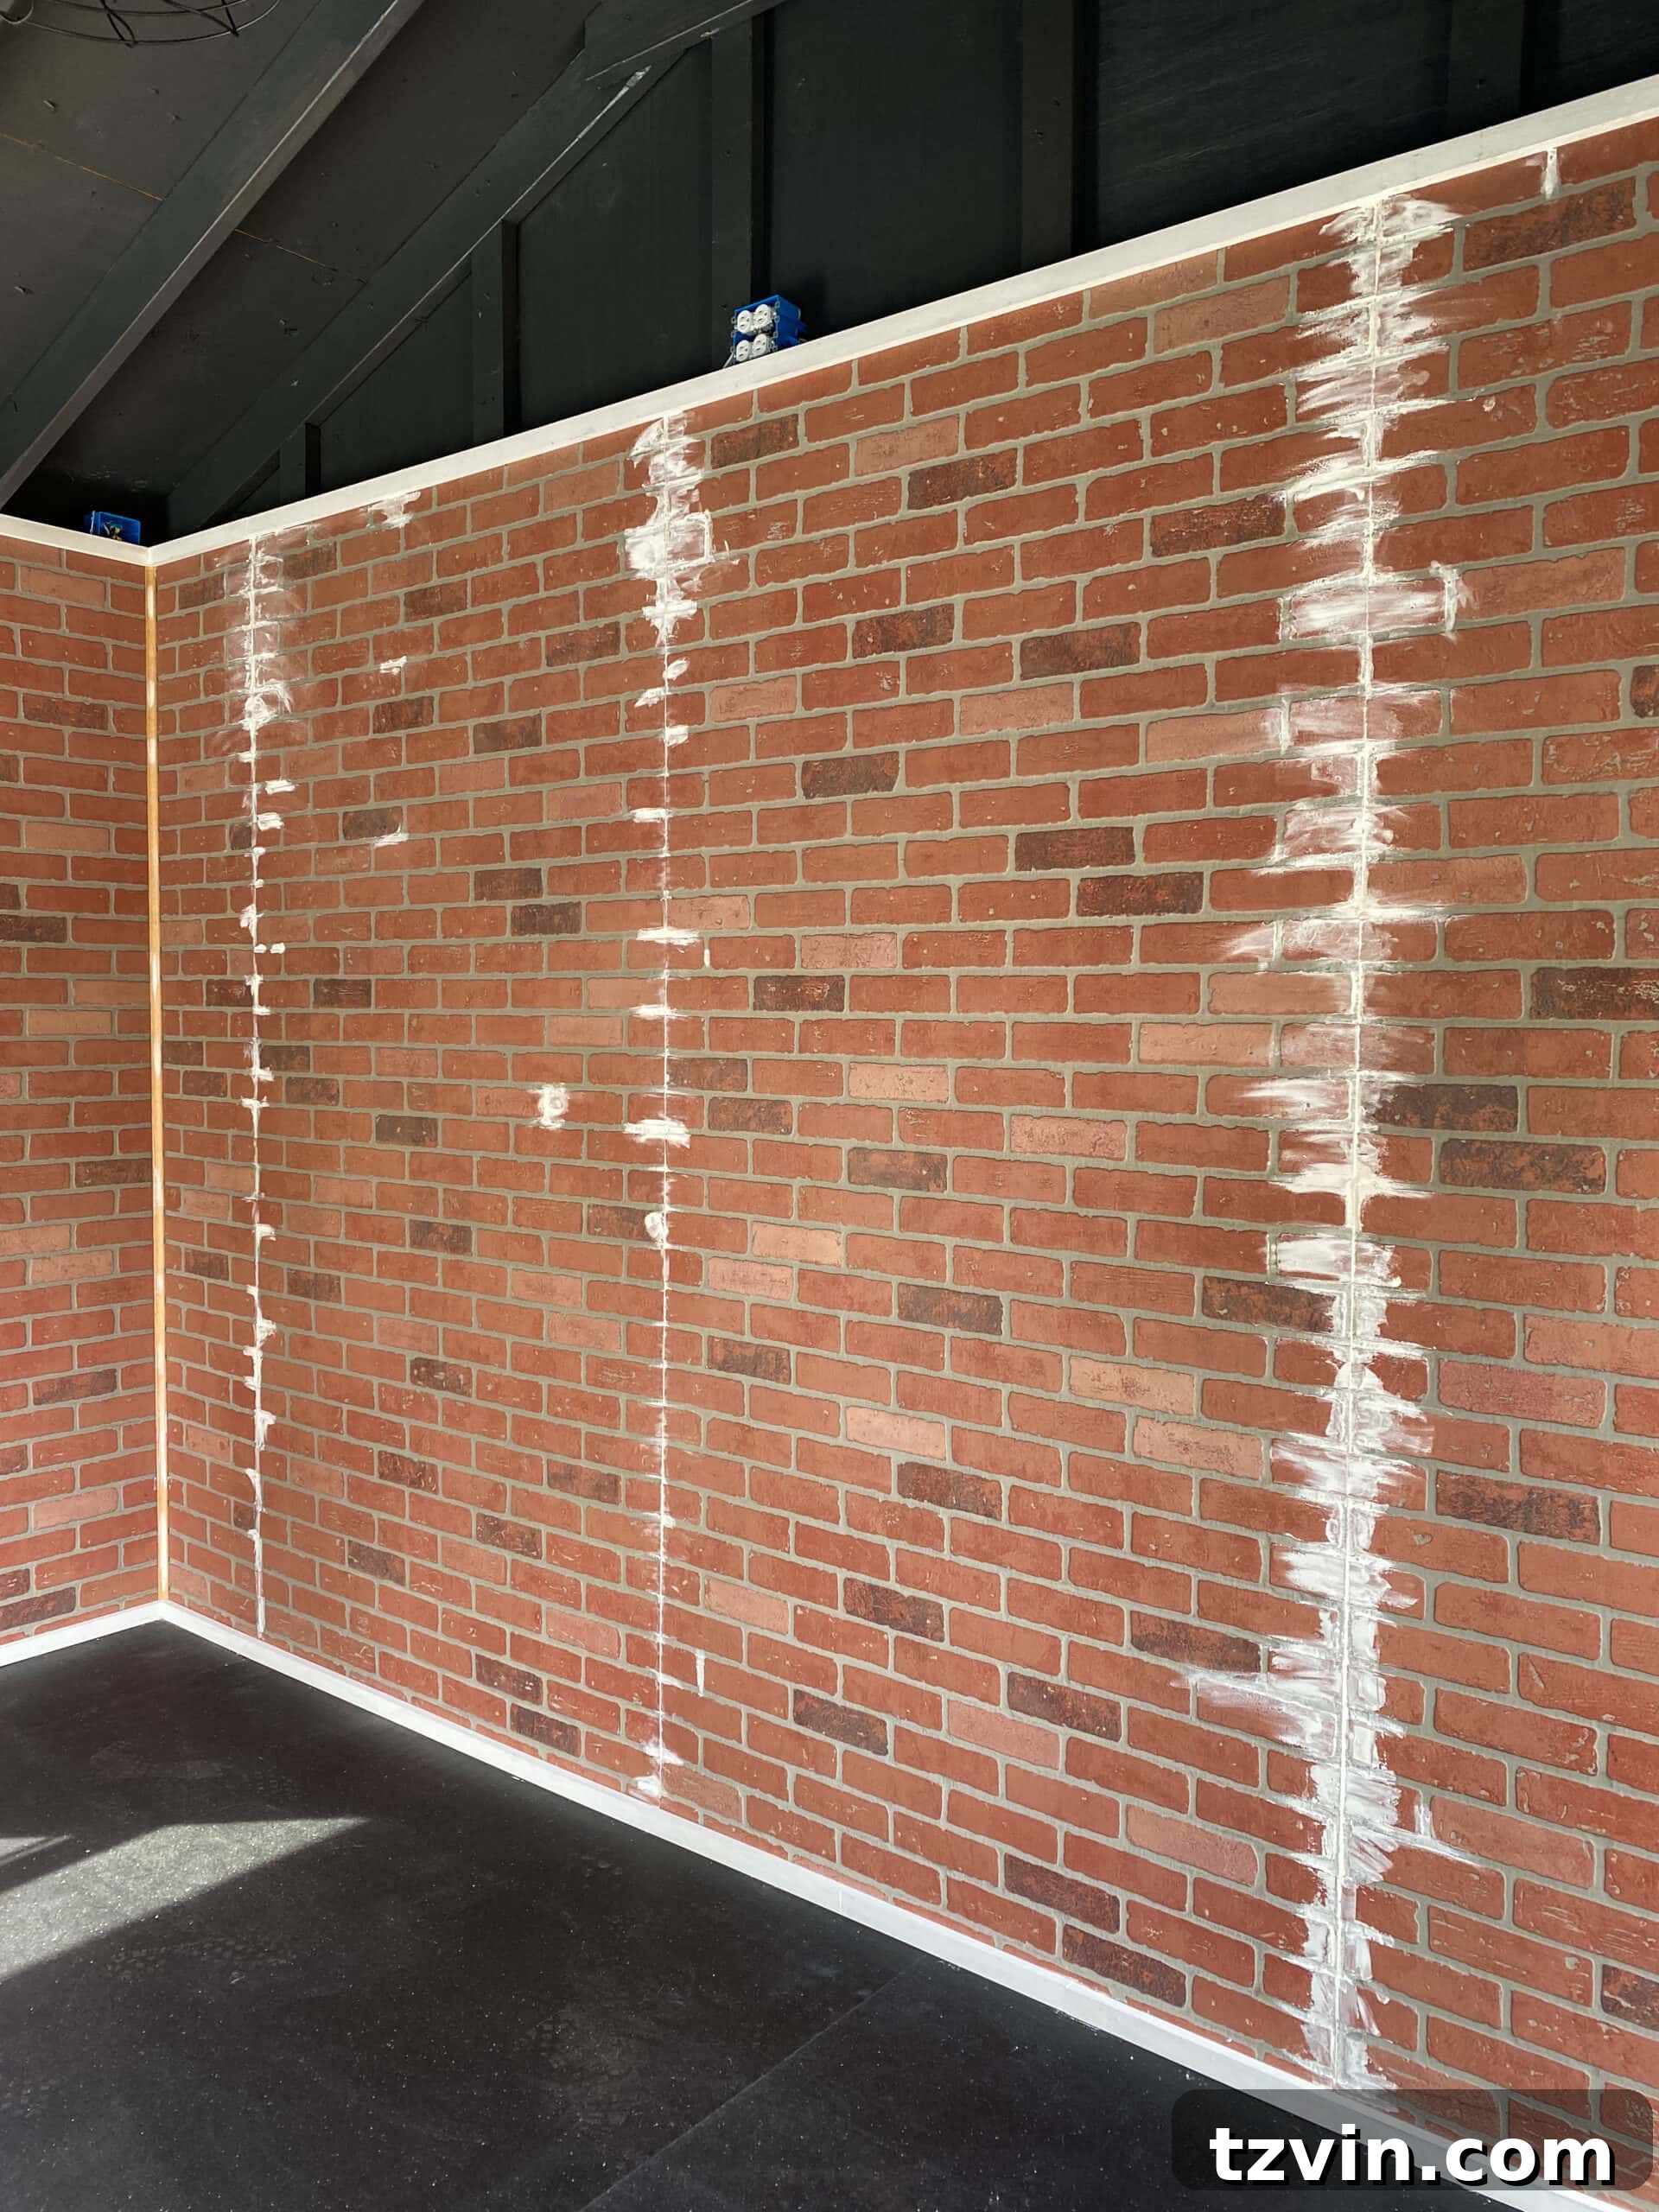
5. Caulking and Spackling for Perfection: With the panels and trim in place, it’s time for the final touches that elevate your DIY project to a professional standard. Apply caulk along all seams where panels meet other surfaces (like the trim or adjacent walls) and in corners. This fills any small gaps and creates a smooth, continuous line. Next, use spackle to fill any visible screw holes or minor imperfections on the panels. Once dry, sand the spackled areas smooth for an undetectable finish. These steps are crucial for a clean, paint-ready surface.
6. The Power of Paint: Now for the truly transformative step – painting! This is where your faux brick panels truly come to life and adopt the “modern industrial” aesthetic. We discovered a wonderful perk of keeping random leftover white paint cans: you can mix them together in a large bucket to create a whole new batch for a new project! Thanks to our handy organized paint storage closet overhaul from a few weeks prior, we were able to essentially paint this entire shed for free using mixed-up paint from our waste pile. This budget-friendly approach demonstrates how resourcefulness can significantly cut down project costs.
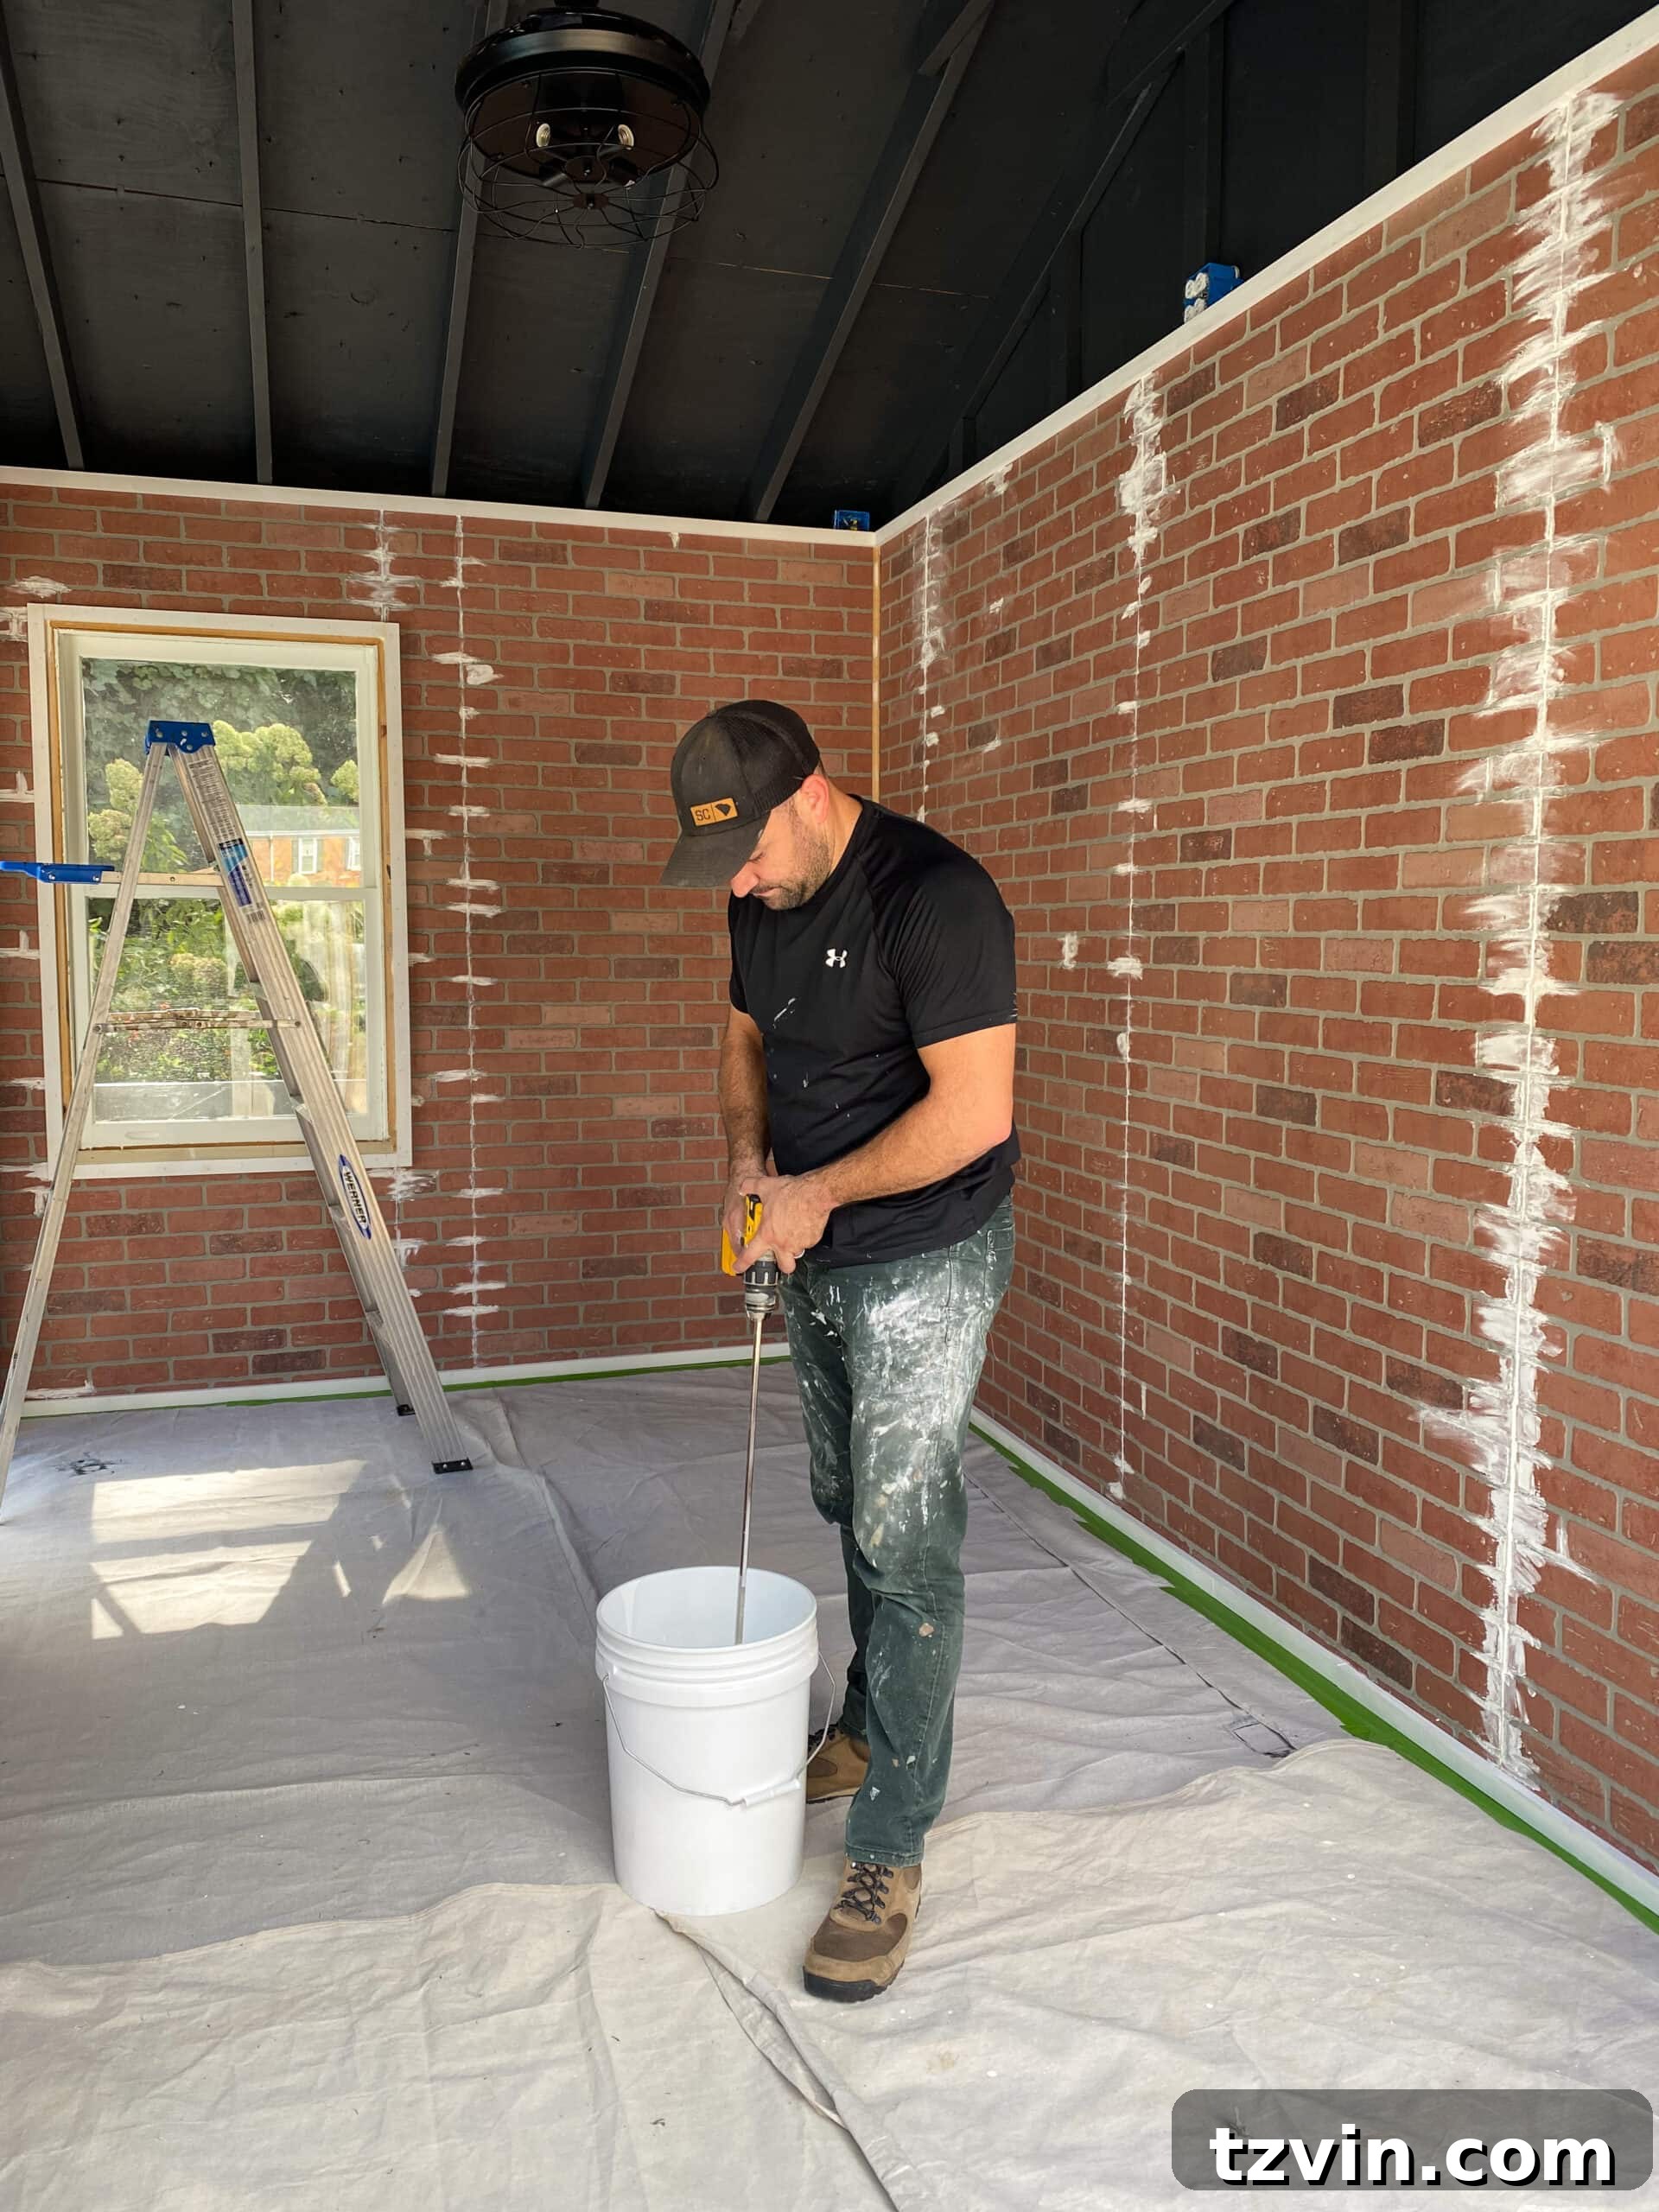
Paint truly has a magical way of fixing everything, unifying disparate elements and breathing new life into a space. For textured surfaces like faux brick, using a roller with a good nap will ensure the paint gets into all the crevices, creating an even coat. Don’t forget to use a brush for the trim and in tricky corners. The white paint instantly brightened our gym shed, enhancing its clean and industrial appeal.
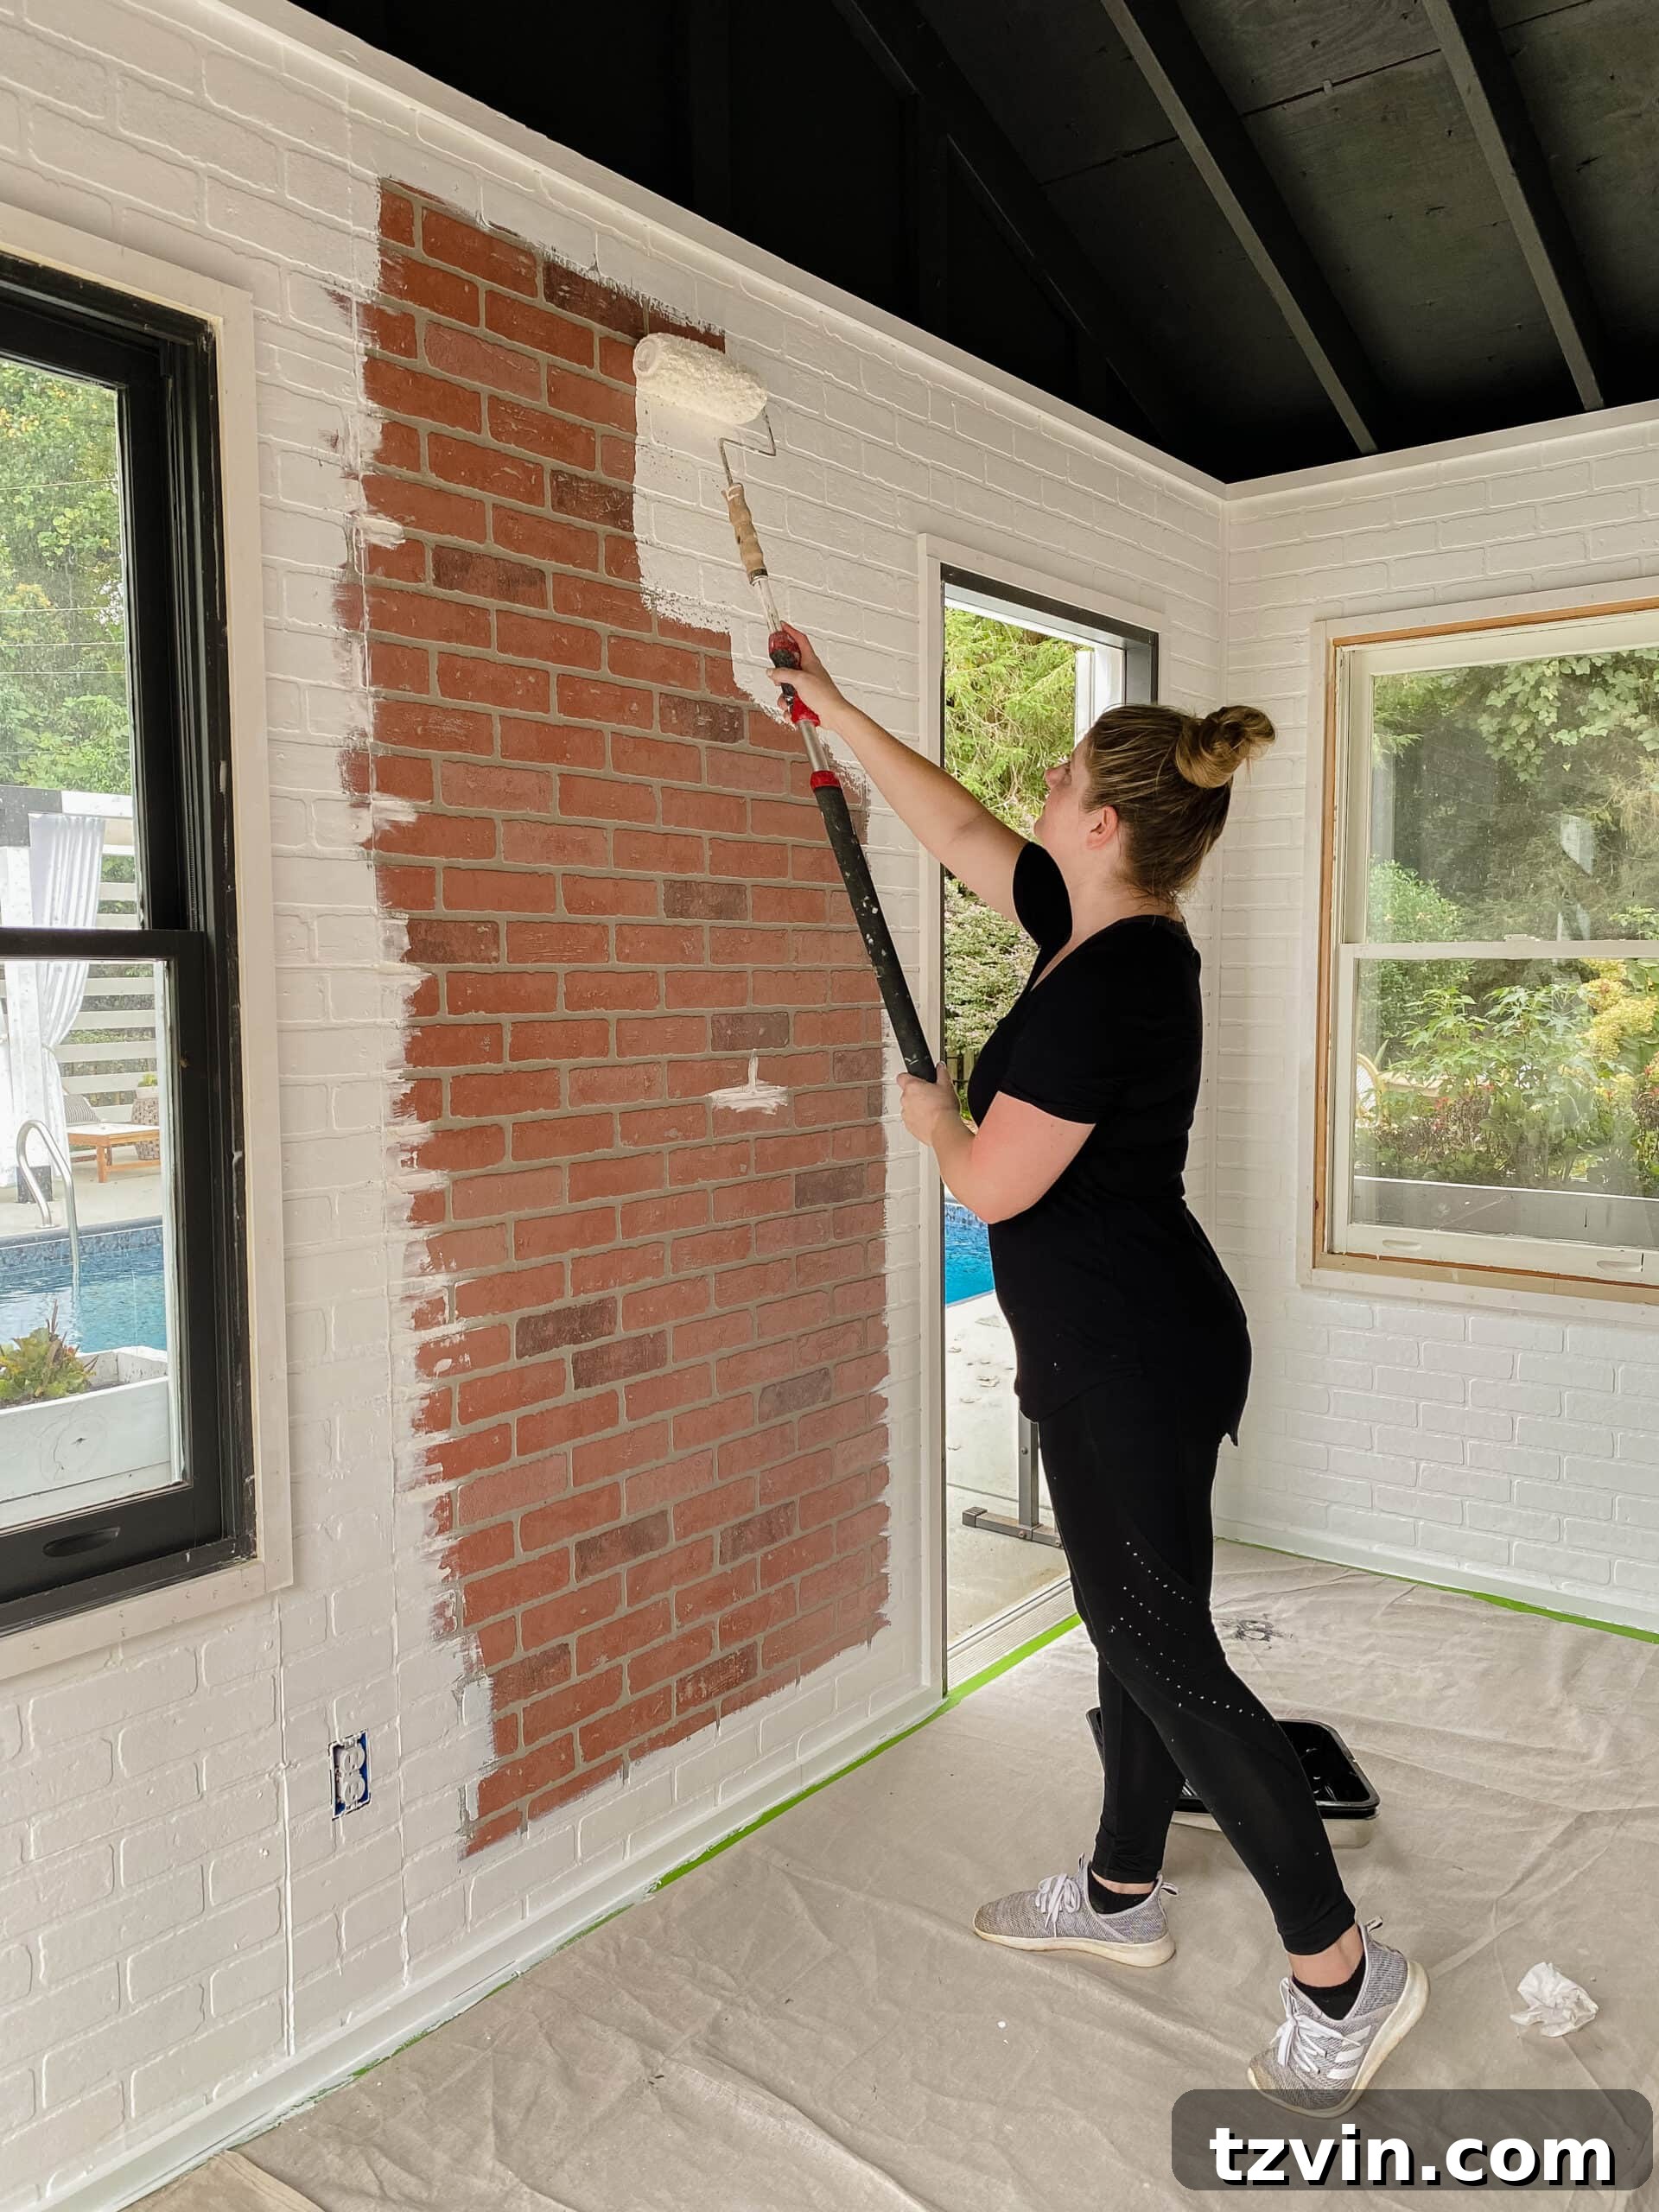
See? Pure magic! The transformation from raw panels to a beautifully finished, cohesive wall is truly astounding.
Finish Home Gym: Design and Decor
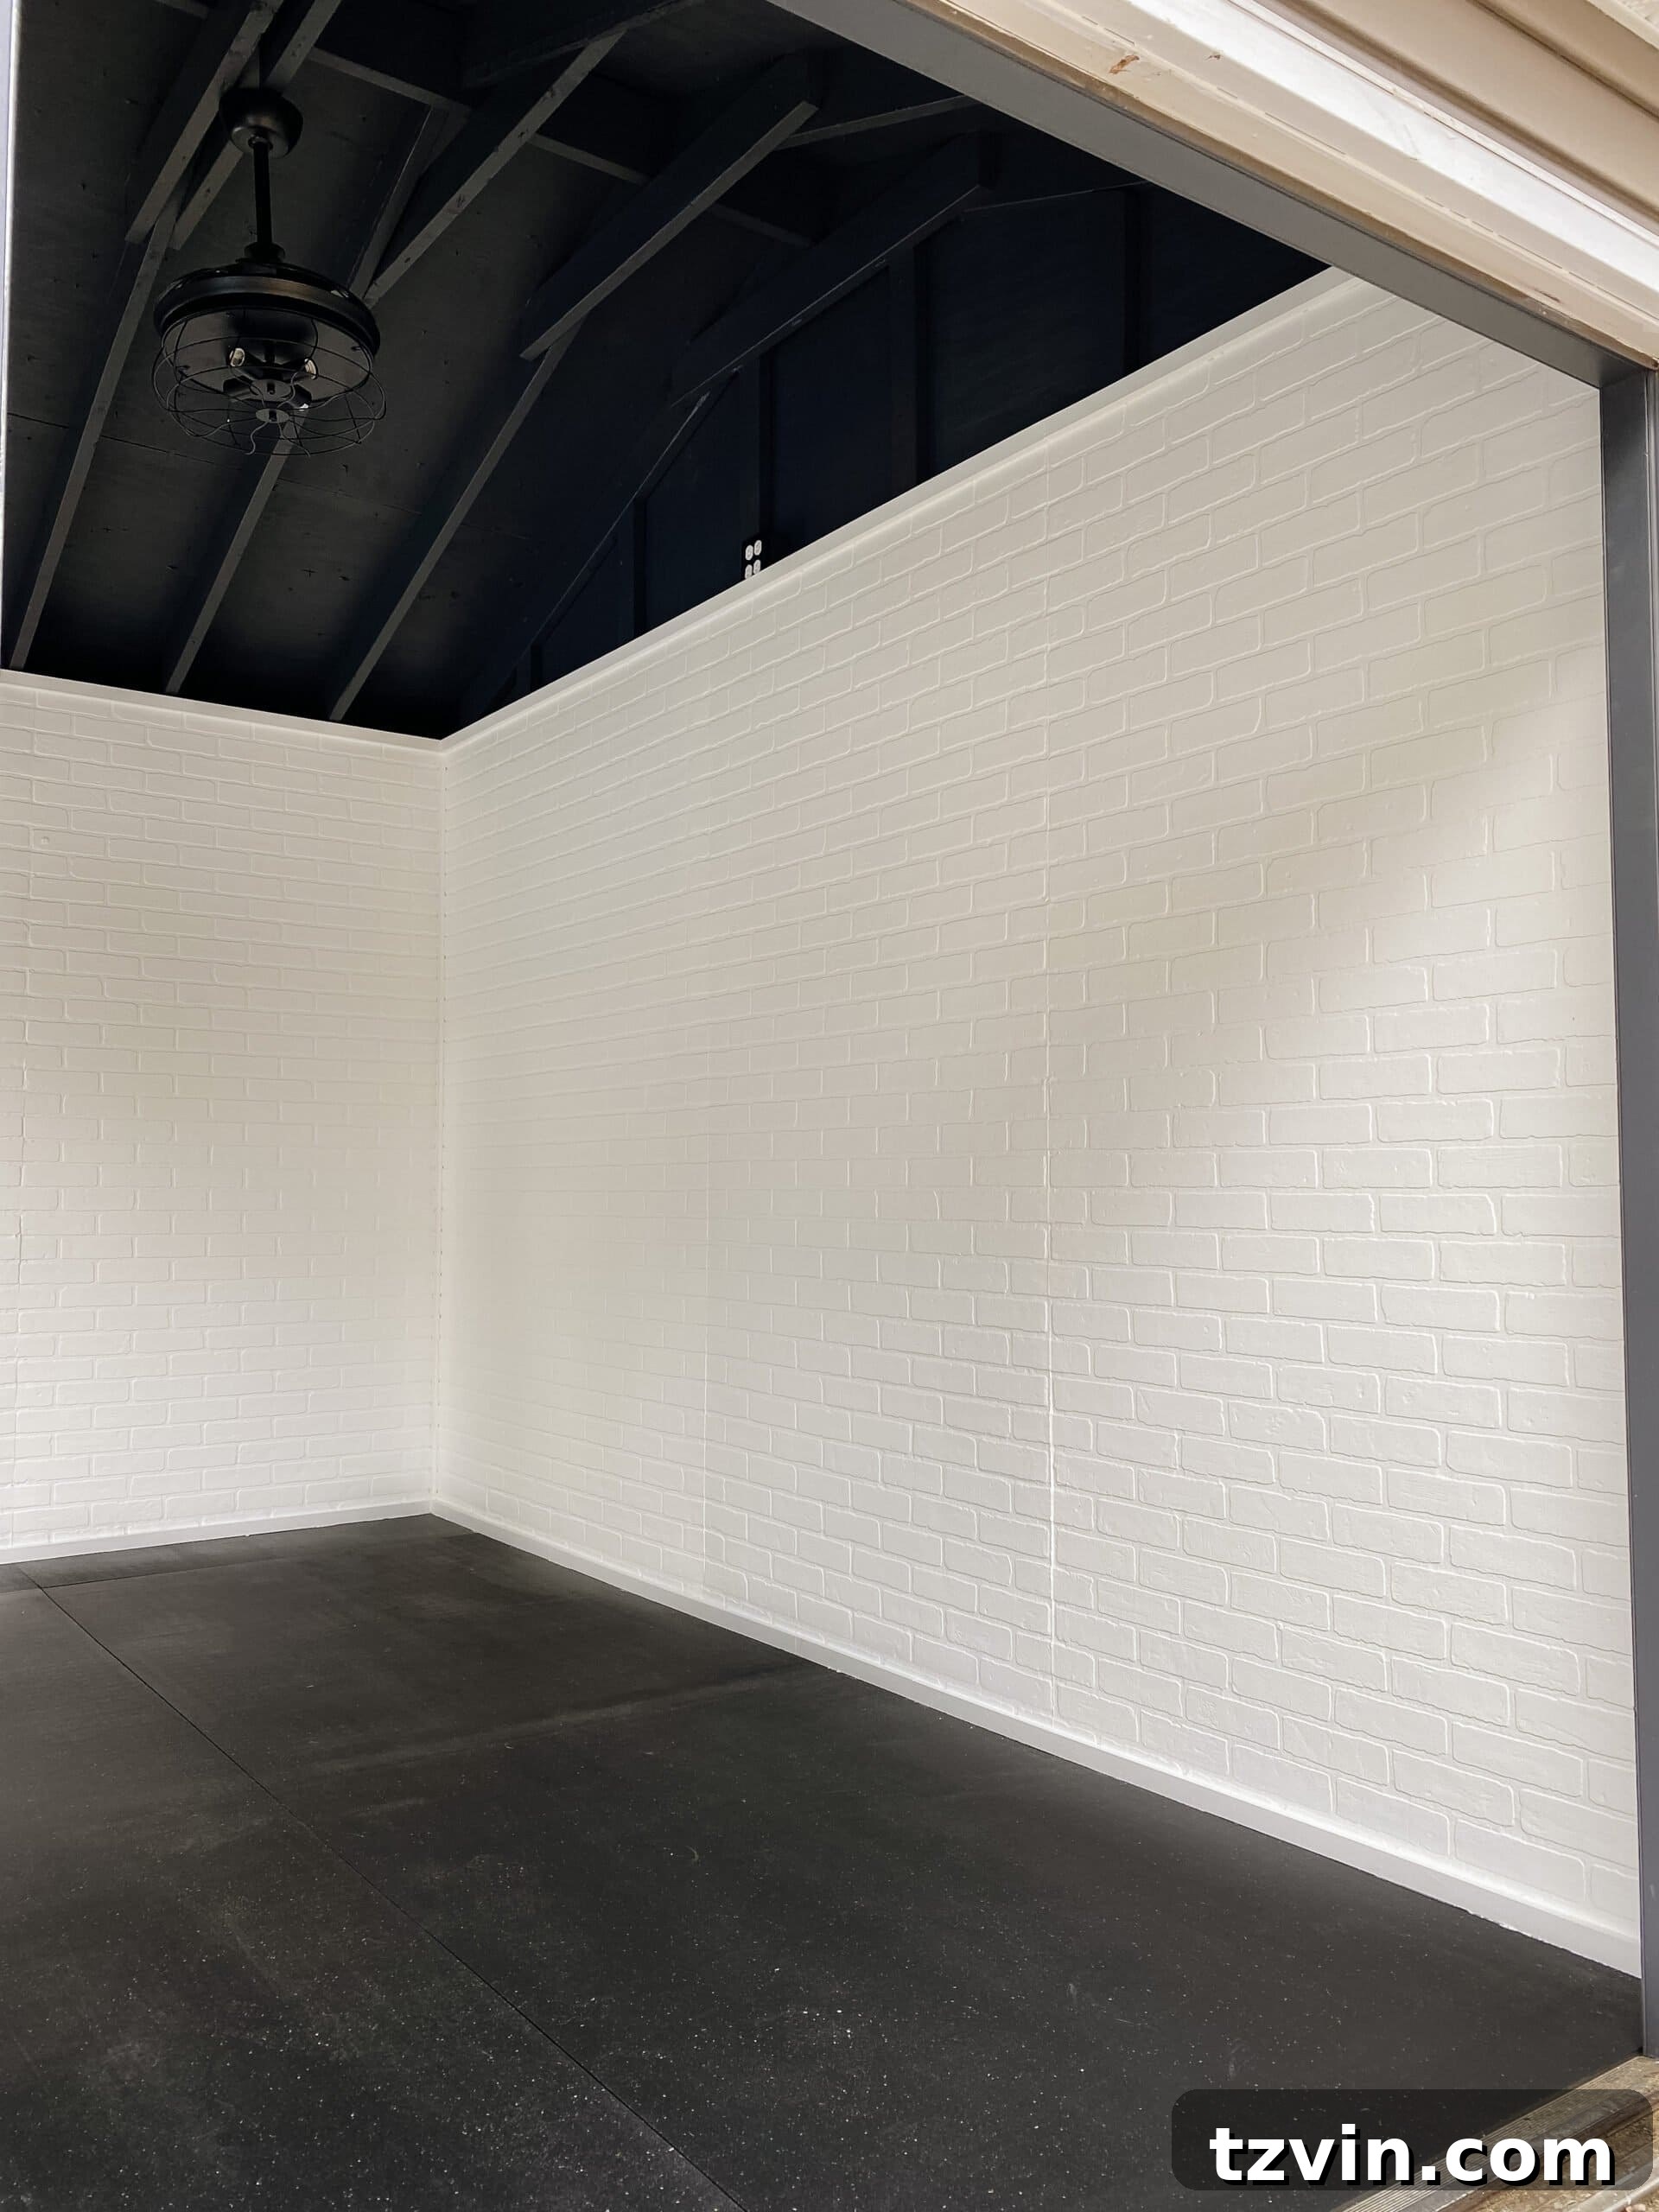
With the faux brick walls beautifully installed and painted, our home gym was truly taking shape. This final phase involves bringing in the functional elements and decorative touches that complete the modern industrial aesthetic and make the space ready for workouts. The extensive demolition we undertook, though initially daunting, paid off tremendously, especially with the ceiling. Leaving it exposed and painting it black created an incredibly dynamic contrast with the white brick walls, amplifying the industrial vibe.
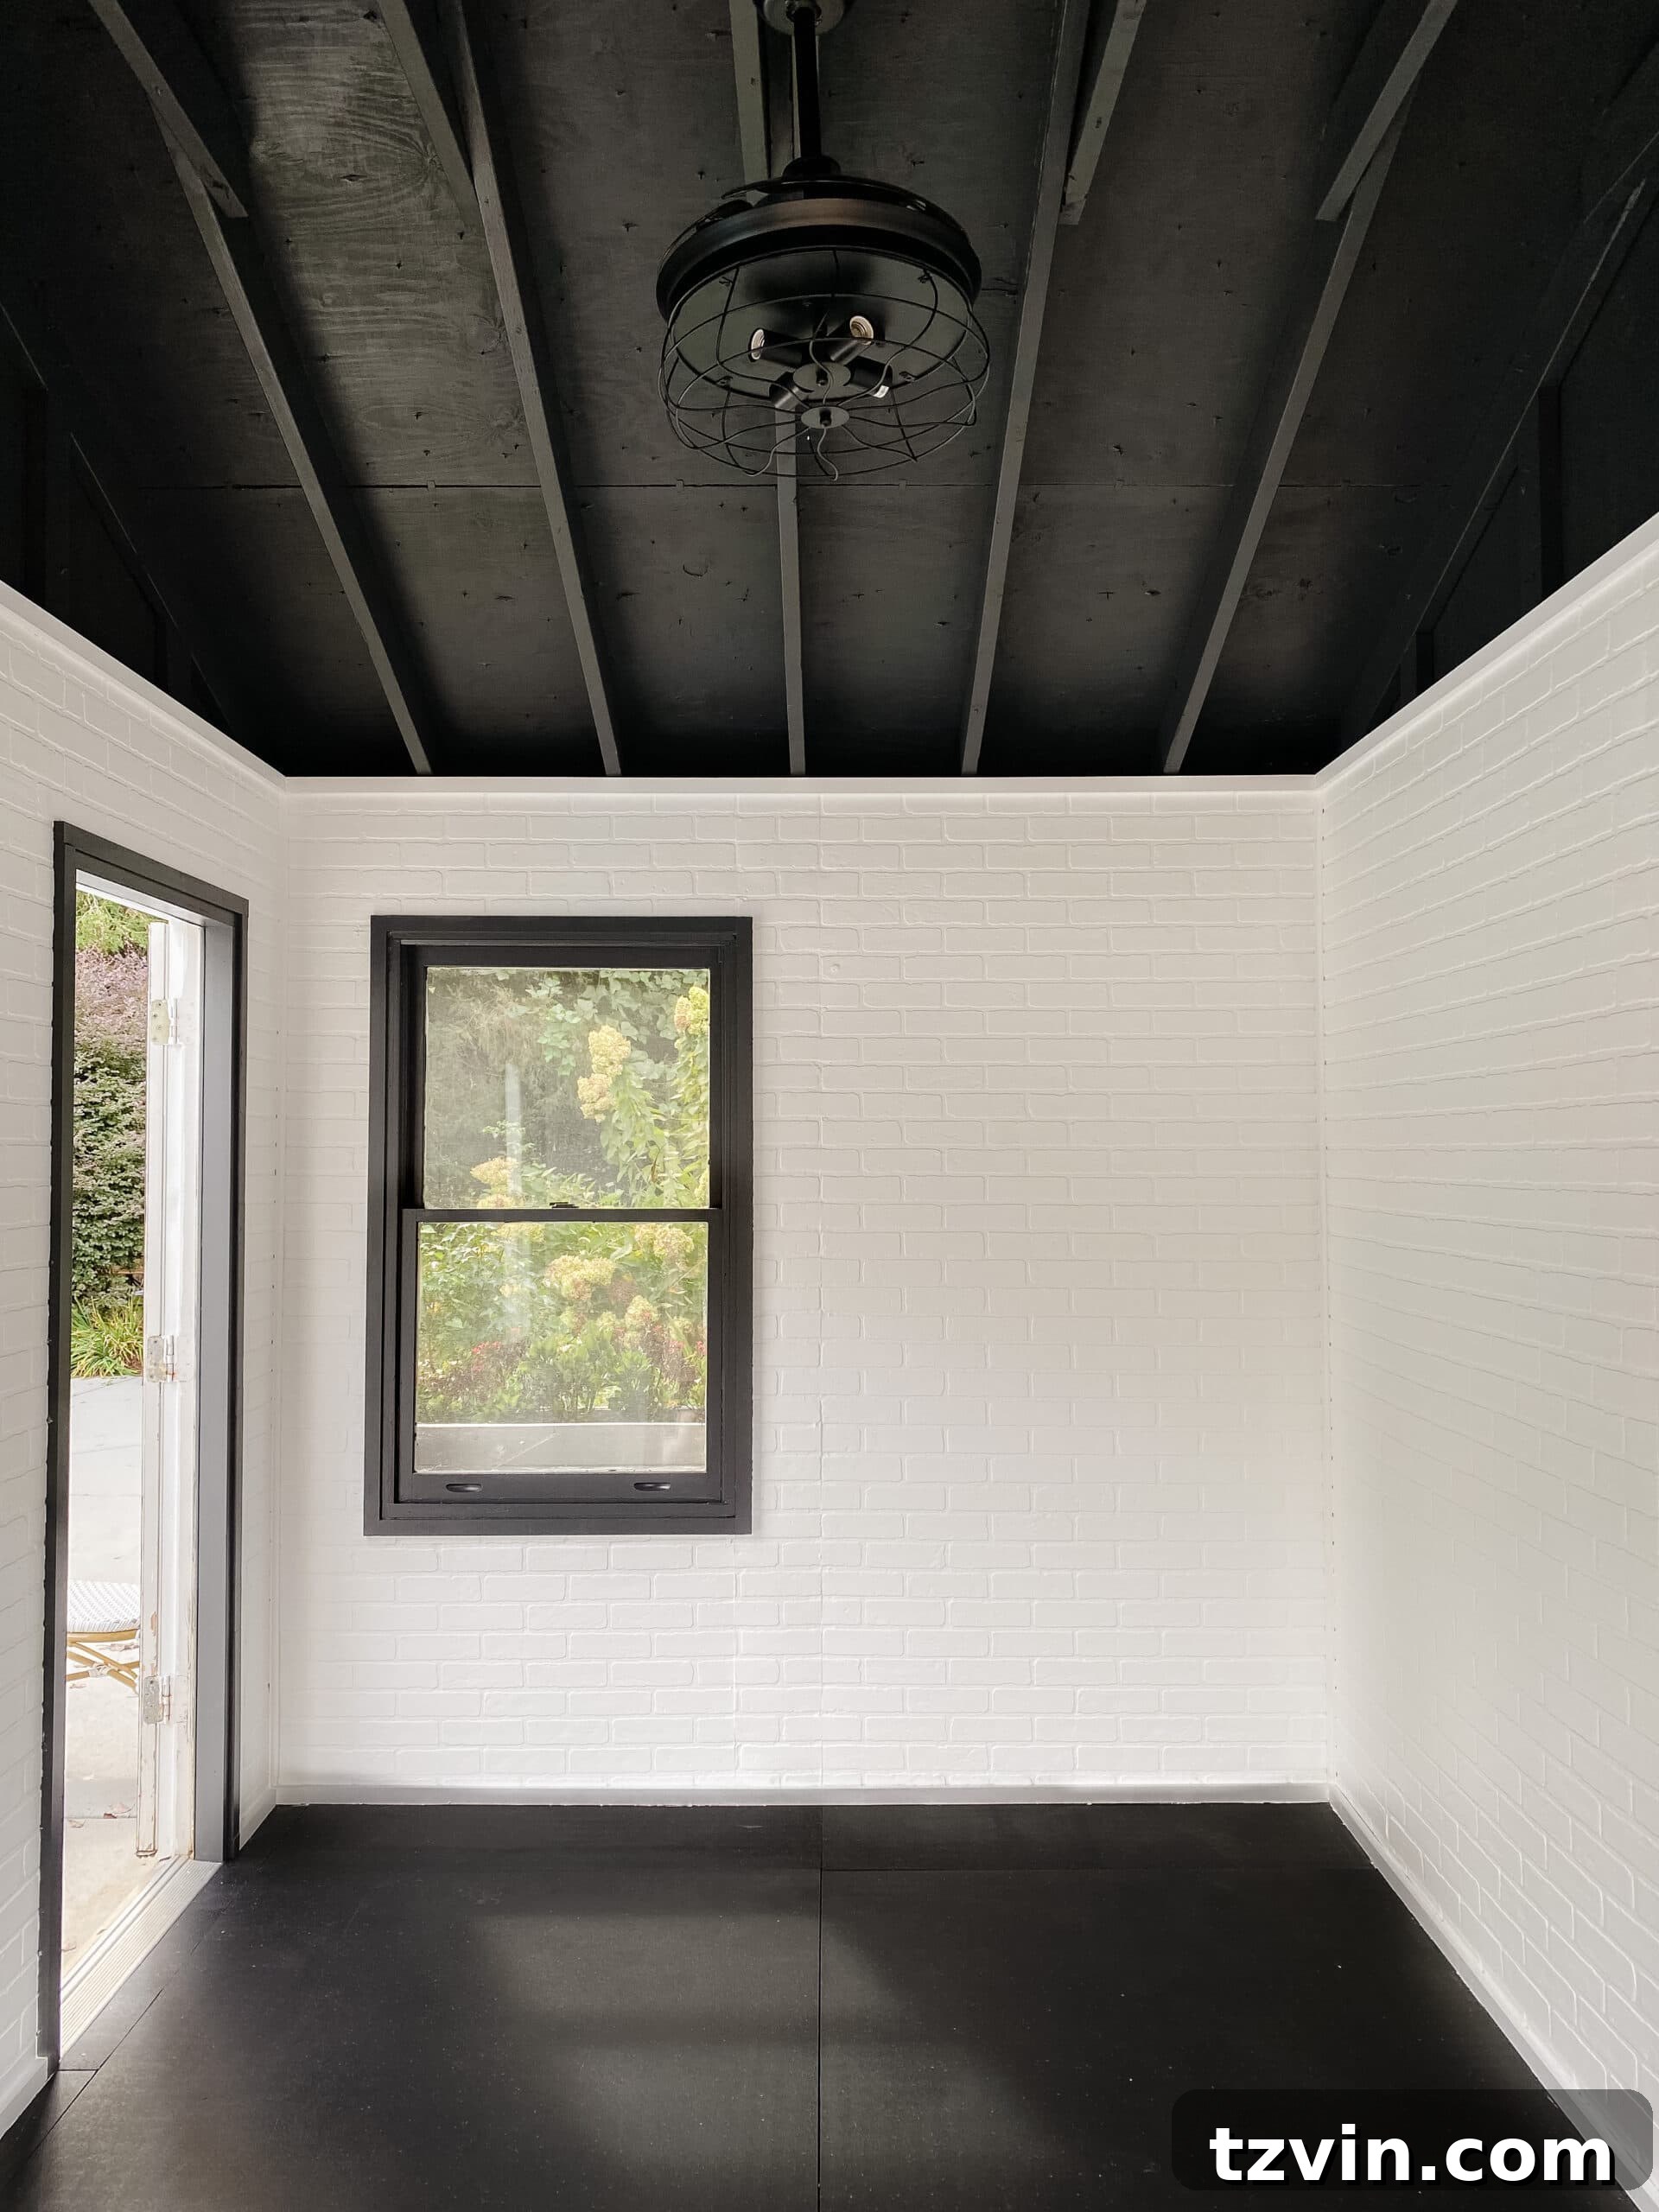
The synergy between the textured white walls and the dark, dramatic ceiling is captivating. This design choice not only enhances the industrial aesthetic but also makes the space feel more intentional and stylized. It’s a testament to how bold choices can significantly impact the overall feel of a room, transforming a simple shed into a dedicated and inspiring workout zone. The initial state of the shed was a far cry from this polished look, highlighting the immense potential of a well-executed DIY makeover.
Functionality is key in a home gym. Next, we’ll be installing large mirrors on that long wall. Mirrors are essential for checking form during workouts, and they also have the added benefit of making any space feel larger and brighter, reflecting the light from the white brick walls.
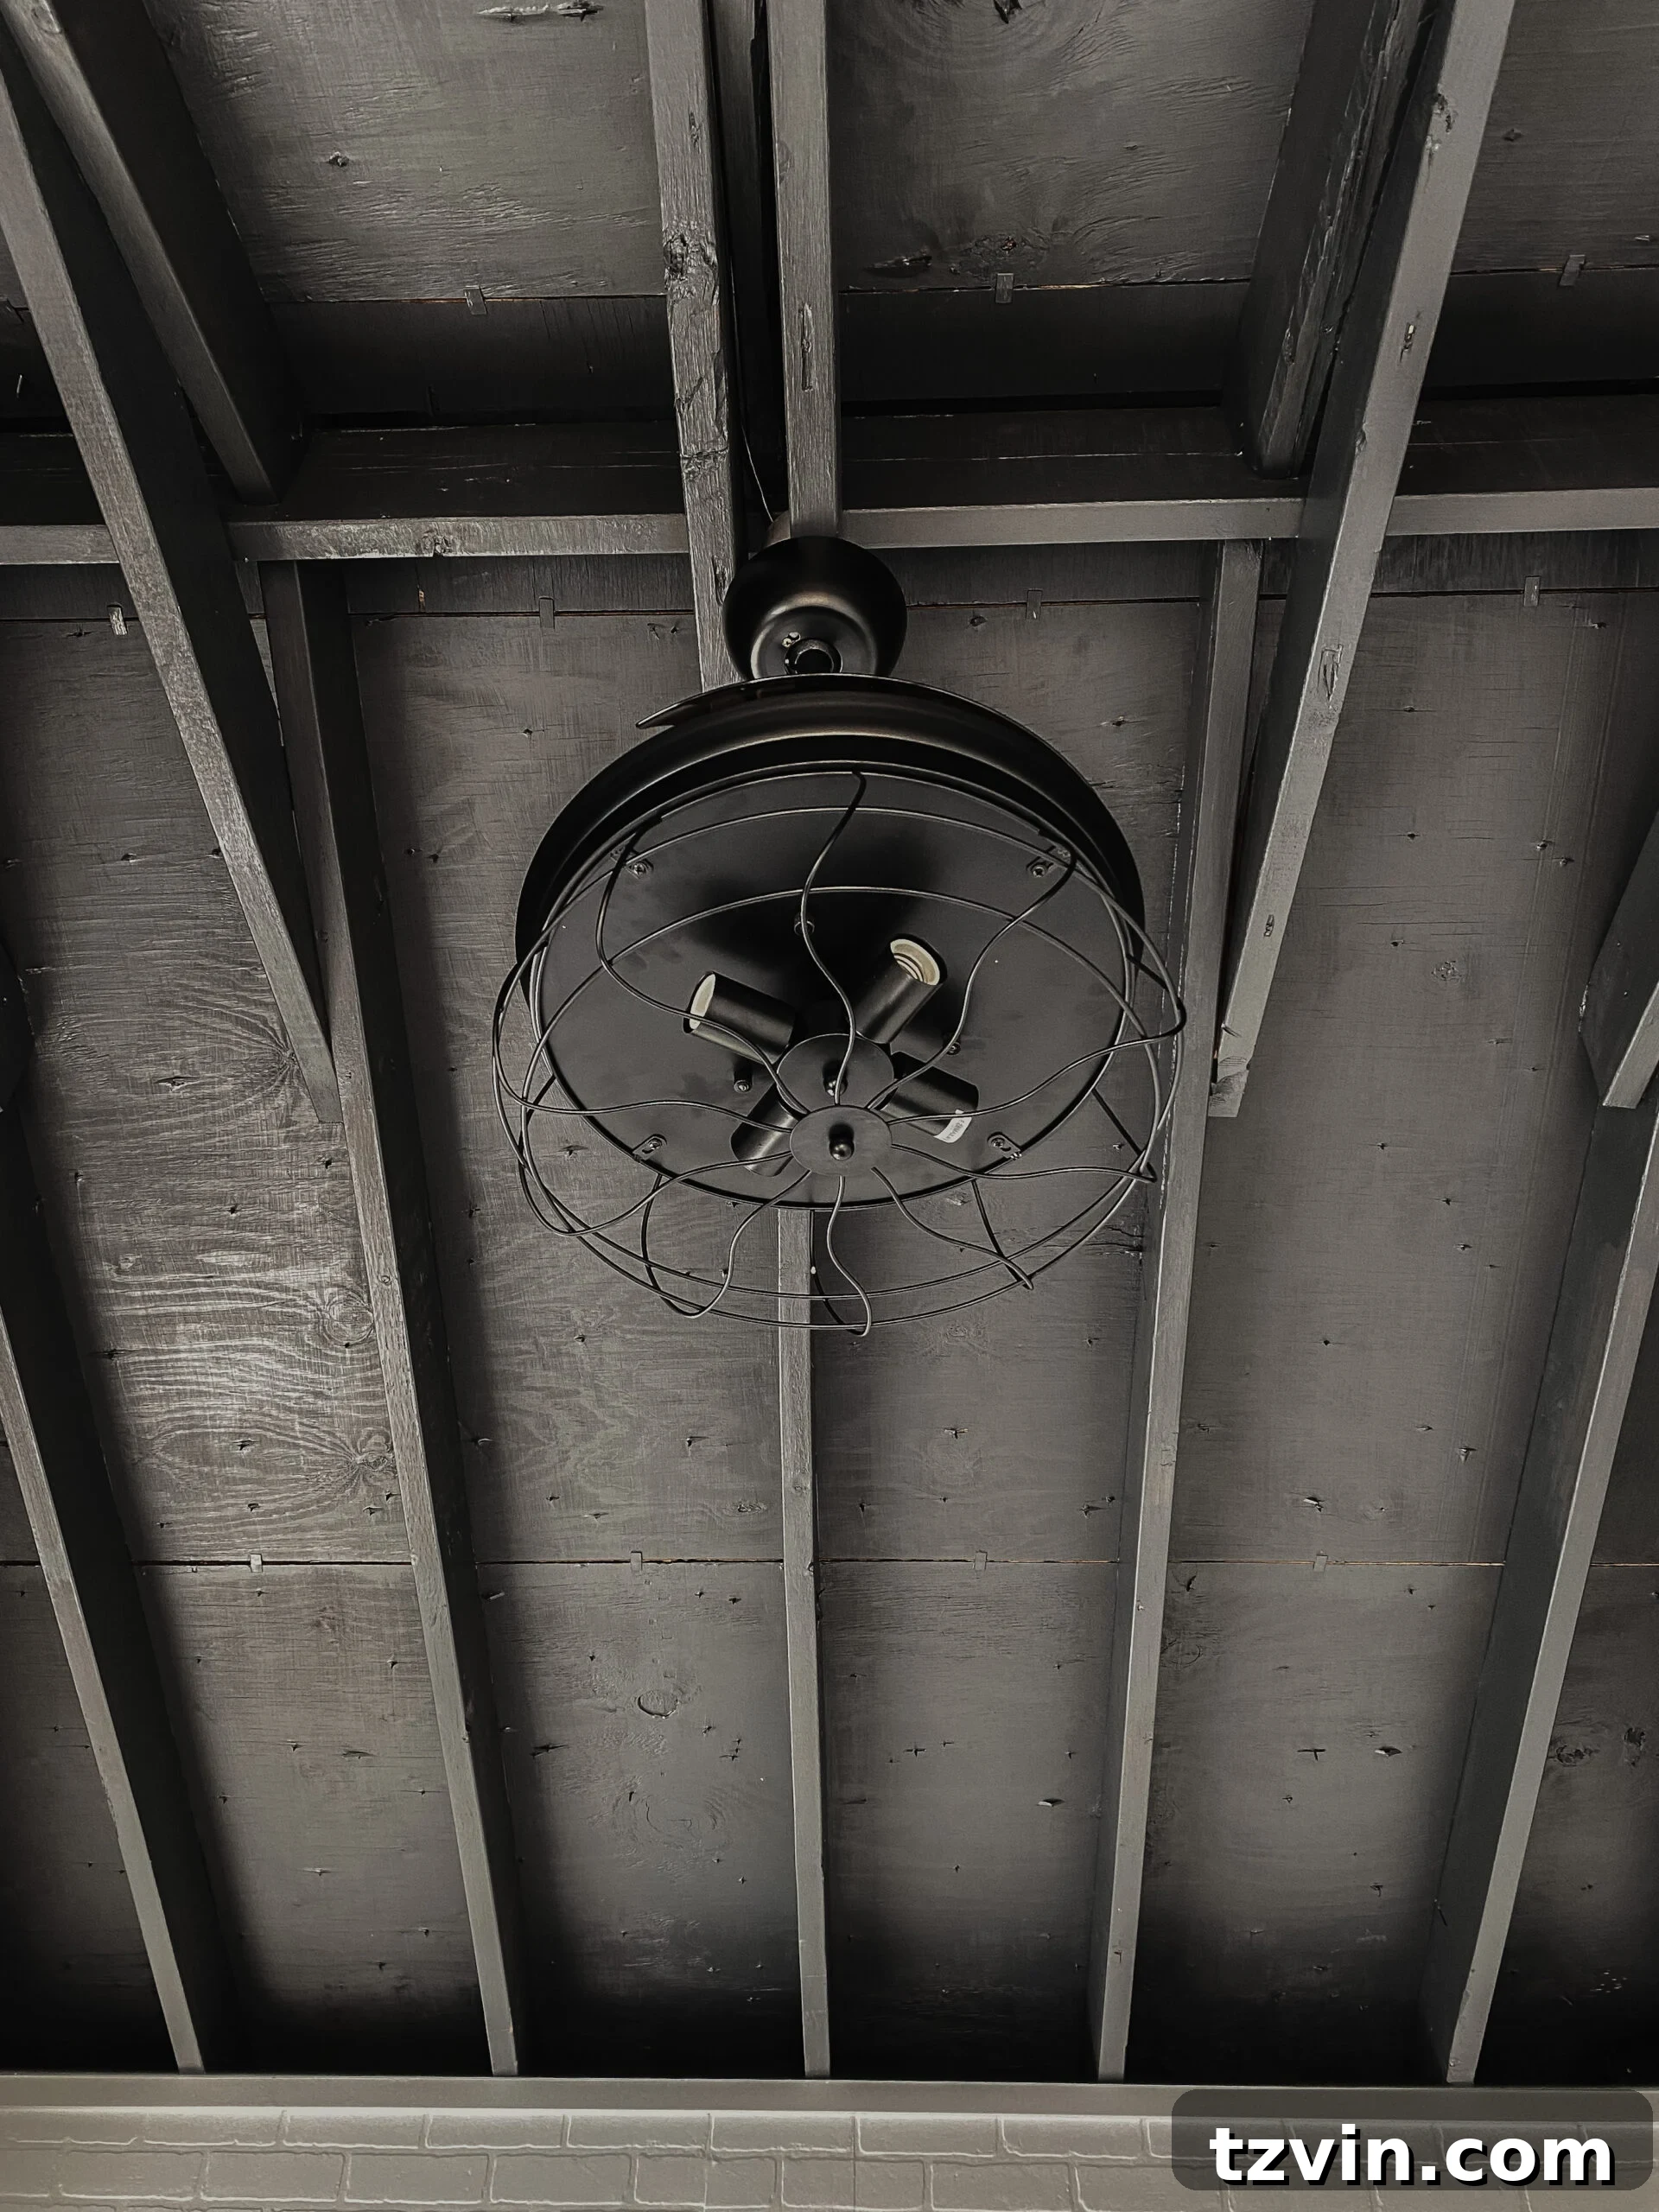
To ensure comfort during intense workouts, especially in a shed environment, proper air circulation is vital. We found this fantastic ceiling fan with retractable blades, which perfectly complements the industrial aesthetic while providing excellent airflow. The retractable blades are a clever design feature, allowing the fan to blend seamlessly into the black ceiling when not in use.
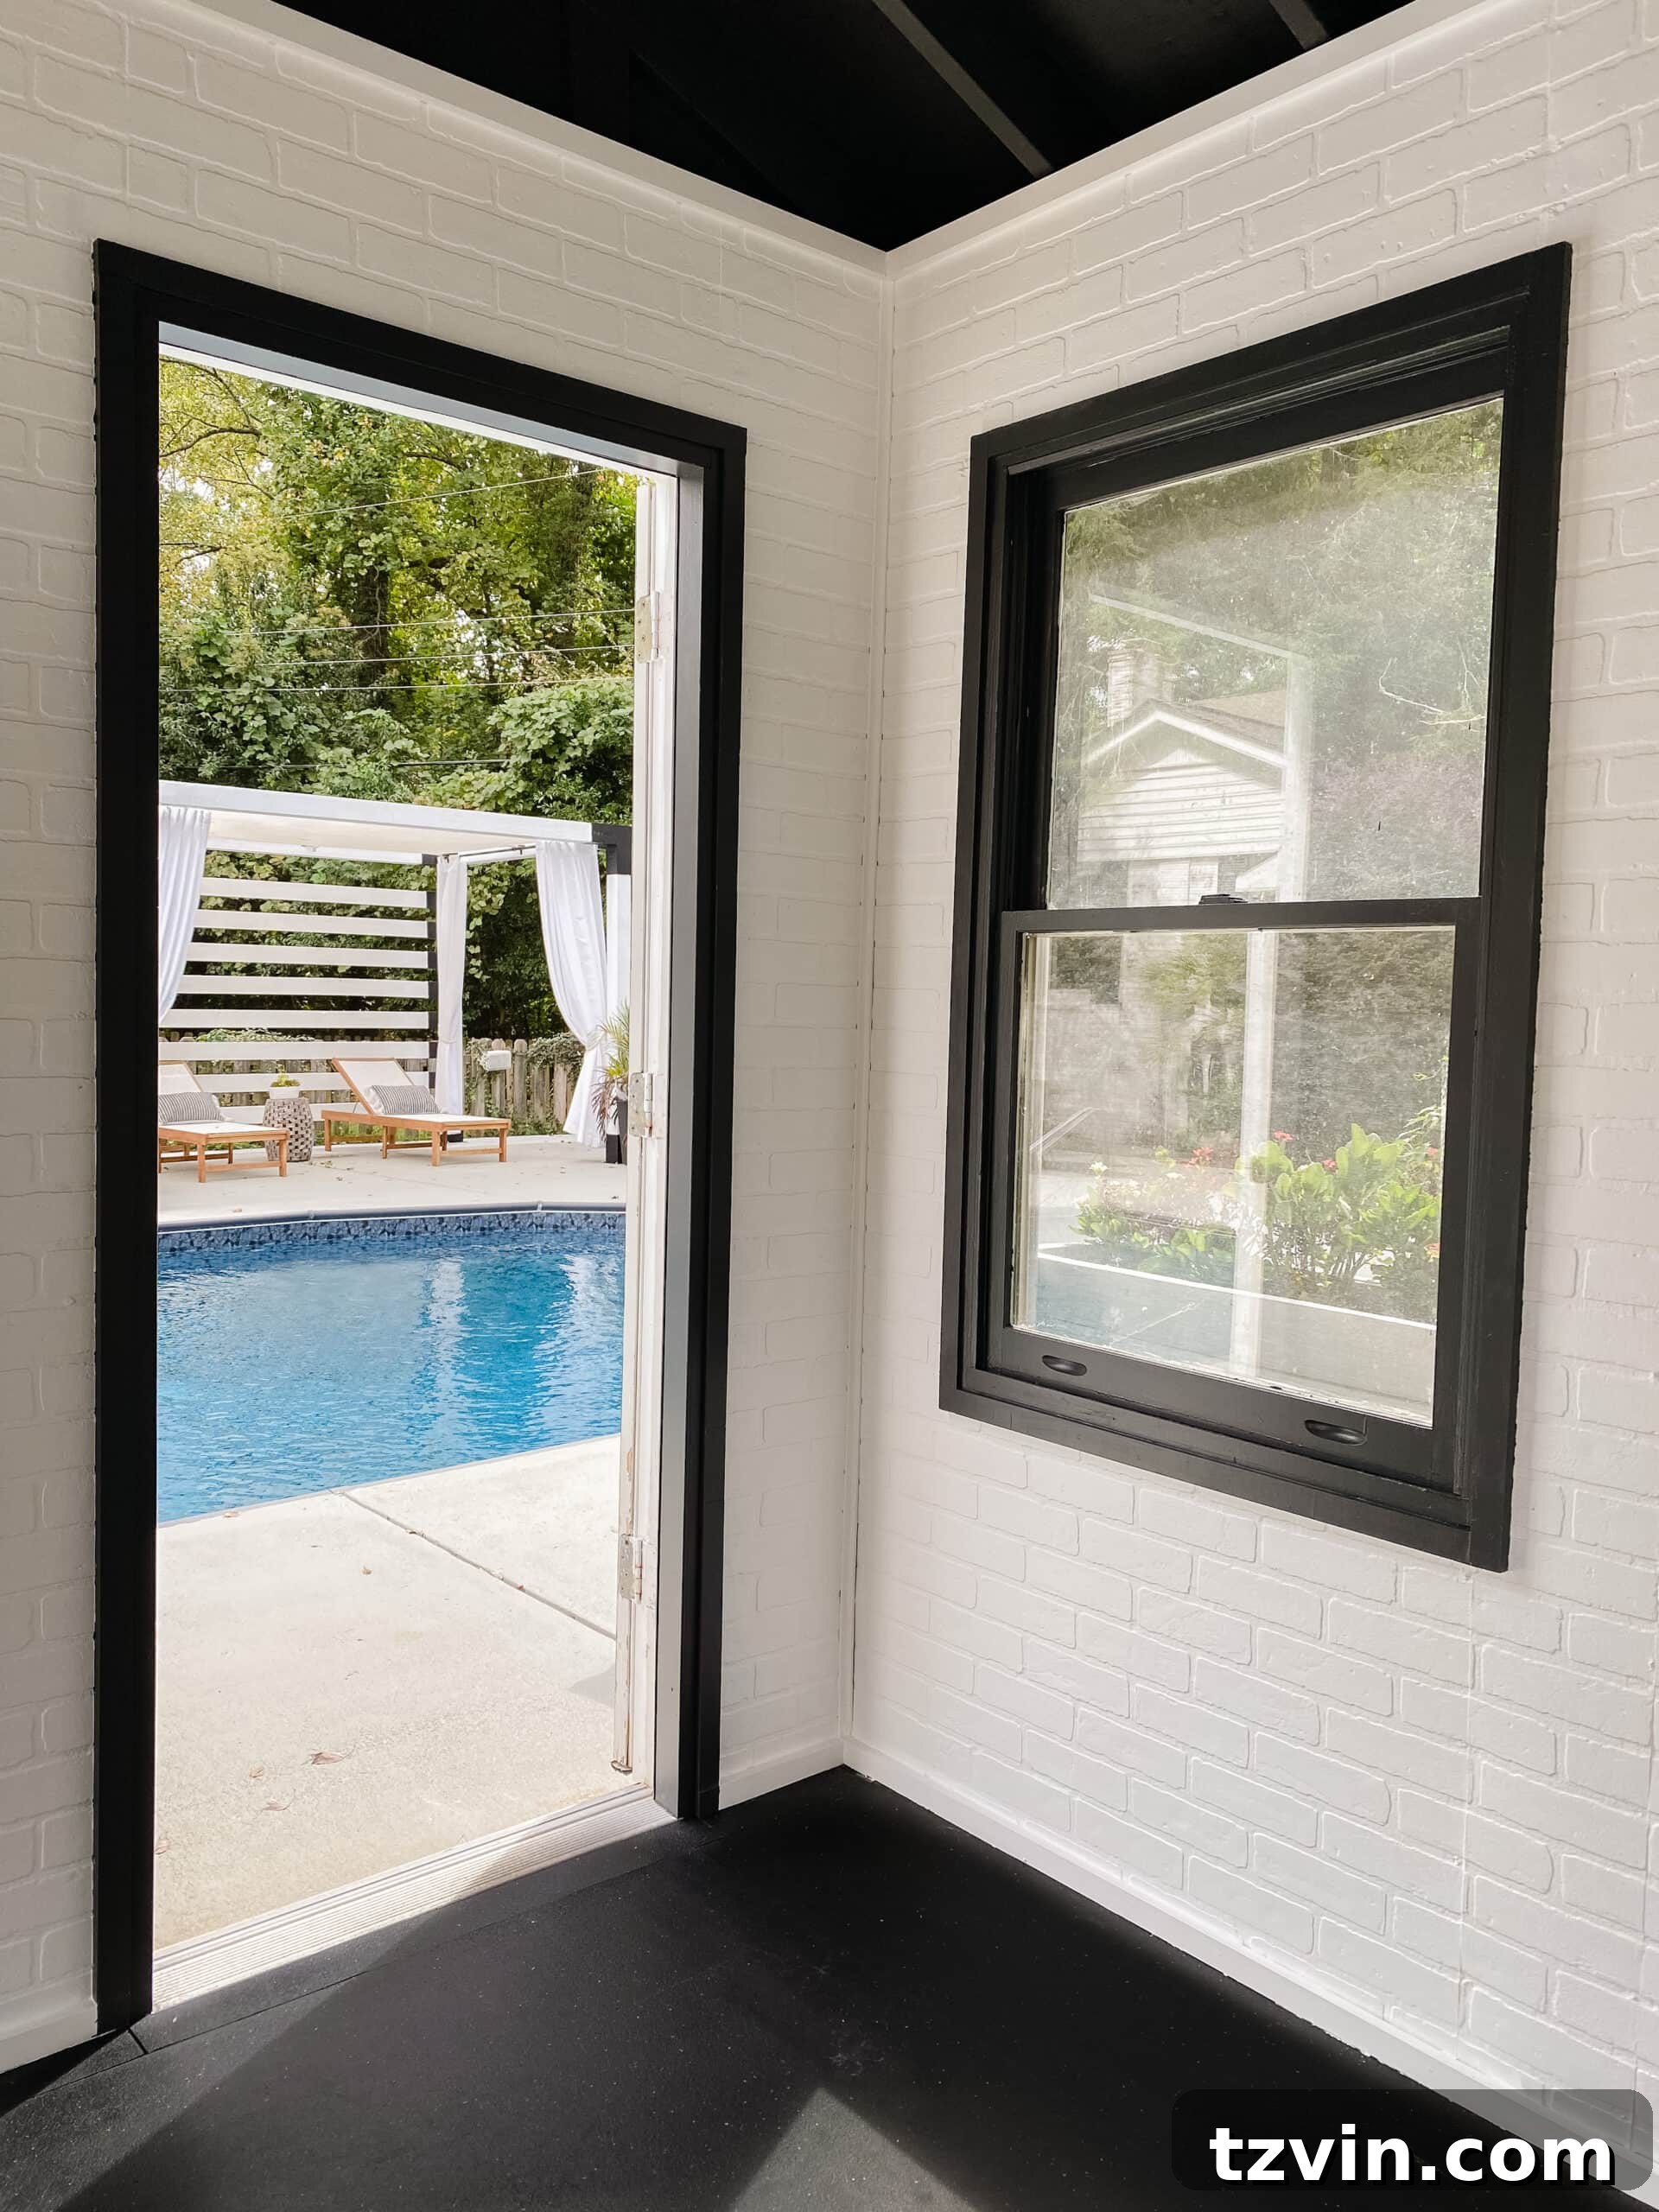
Working out feels even more inspiring with a beautiful view. Situated beside the pool and our charming pergola cabana, this home gym offers a picturesque setting. It’s hard not to feel motivated to work on that summer body when you have such a refreshing vista just outside your gym door!
Lastly, no home gym is complete without proper flooring. My partner, Robert, scored an amazing deal on these heavy-duty rubber gym floor mats on Facebook Marketplace. These mats are crucial for protecting the floor, dampening sound, and providing cushioning for our joints during intense exercise. After all the hard work put into this project, our bodies will definitely appreciate the extra support!
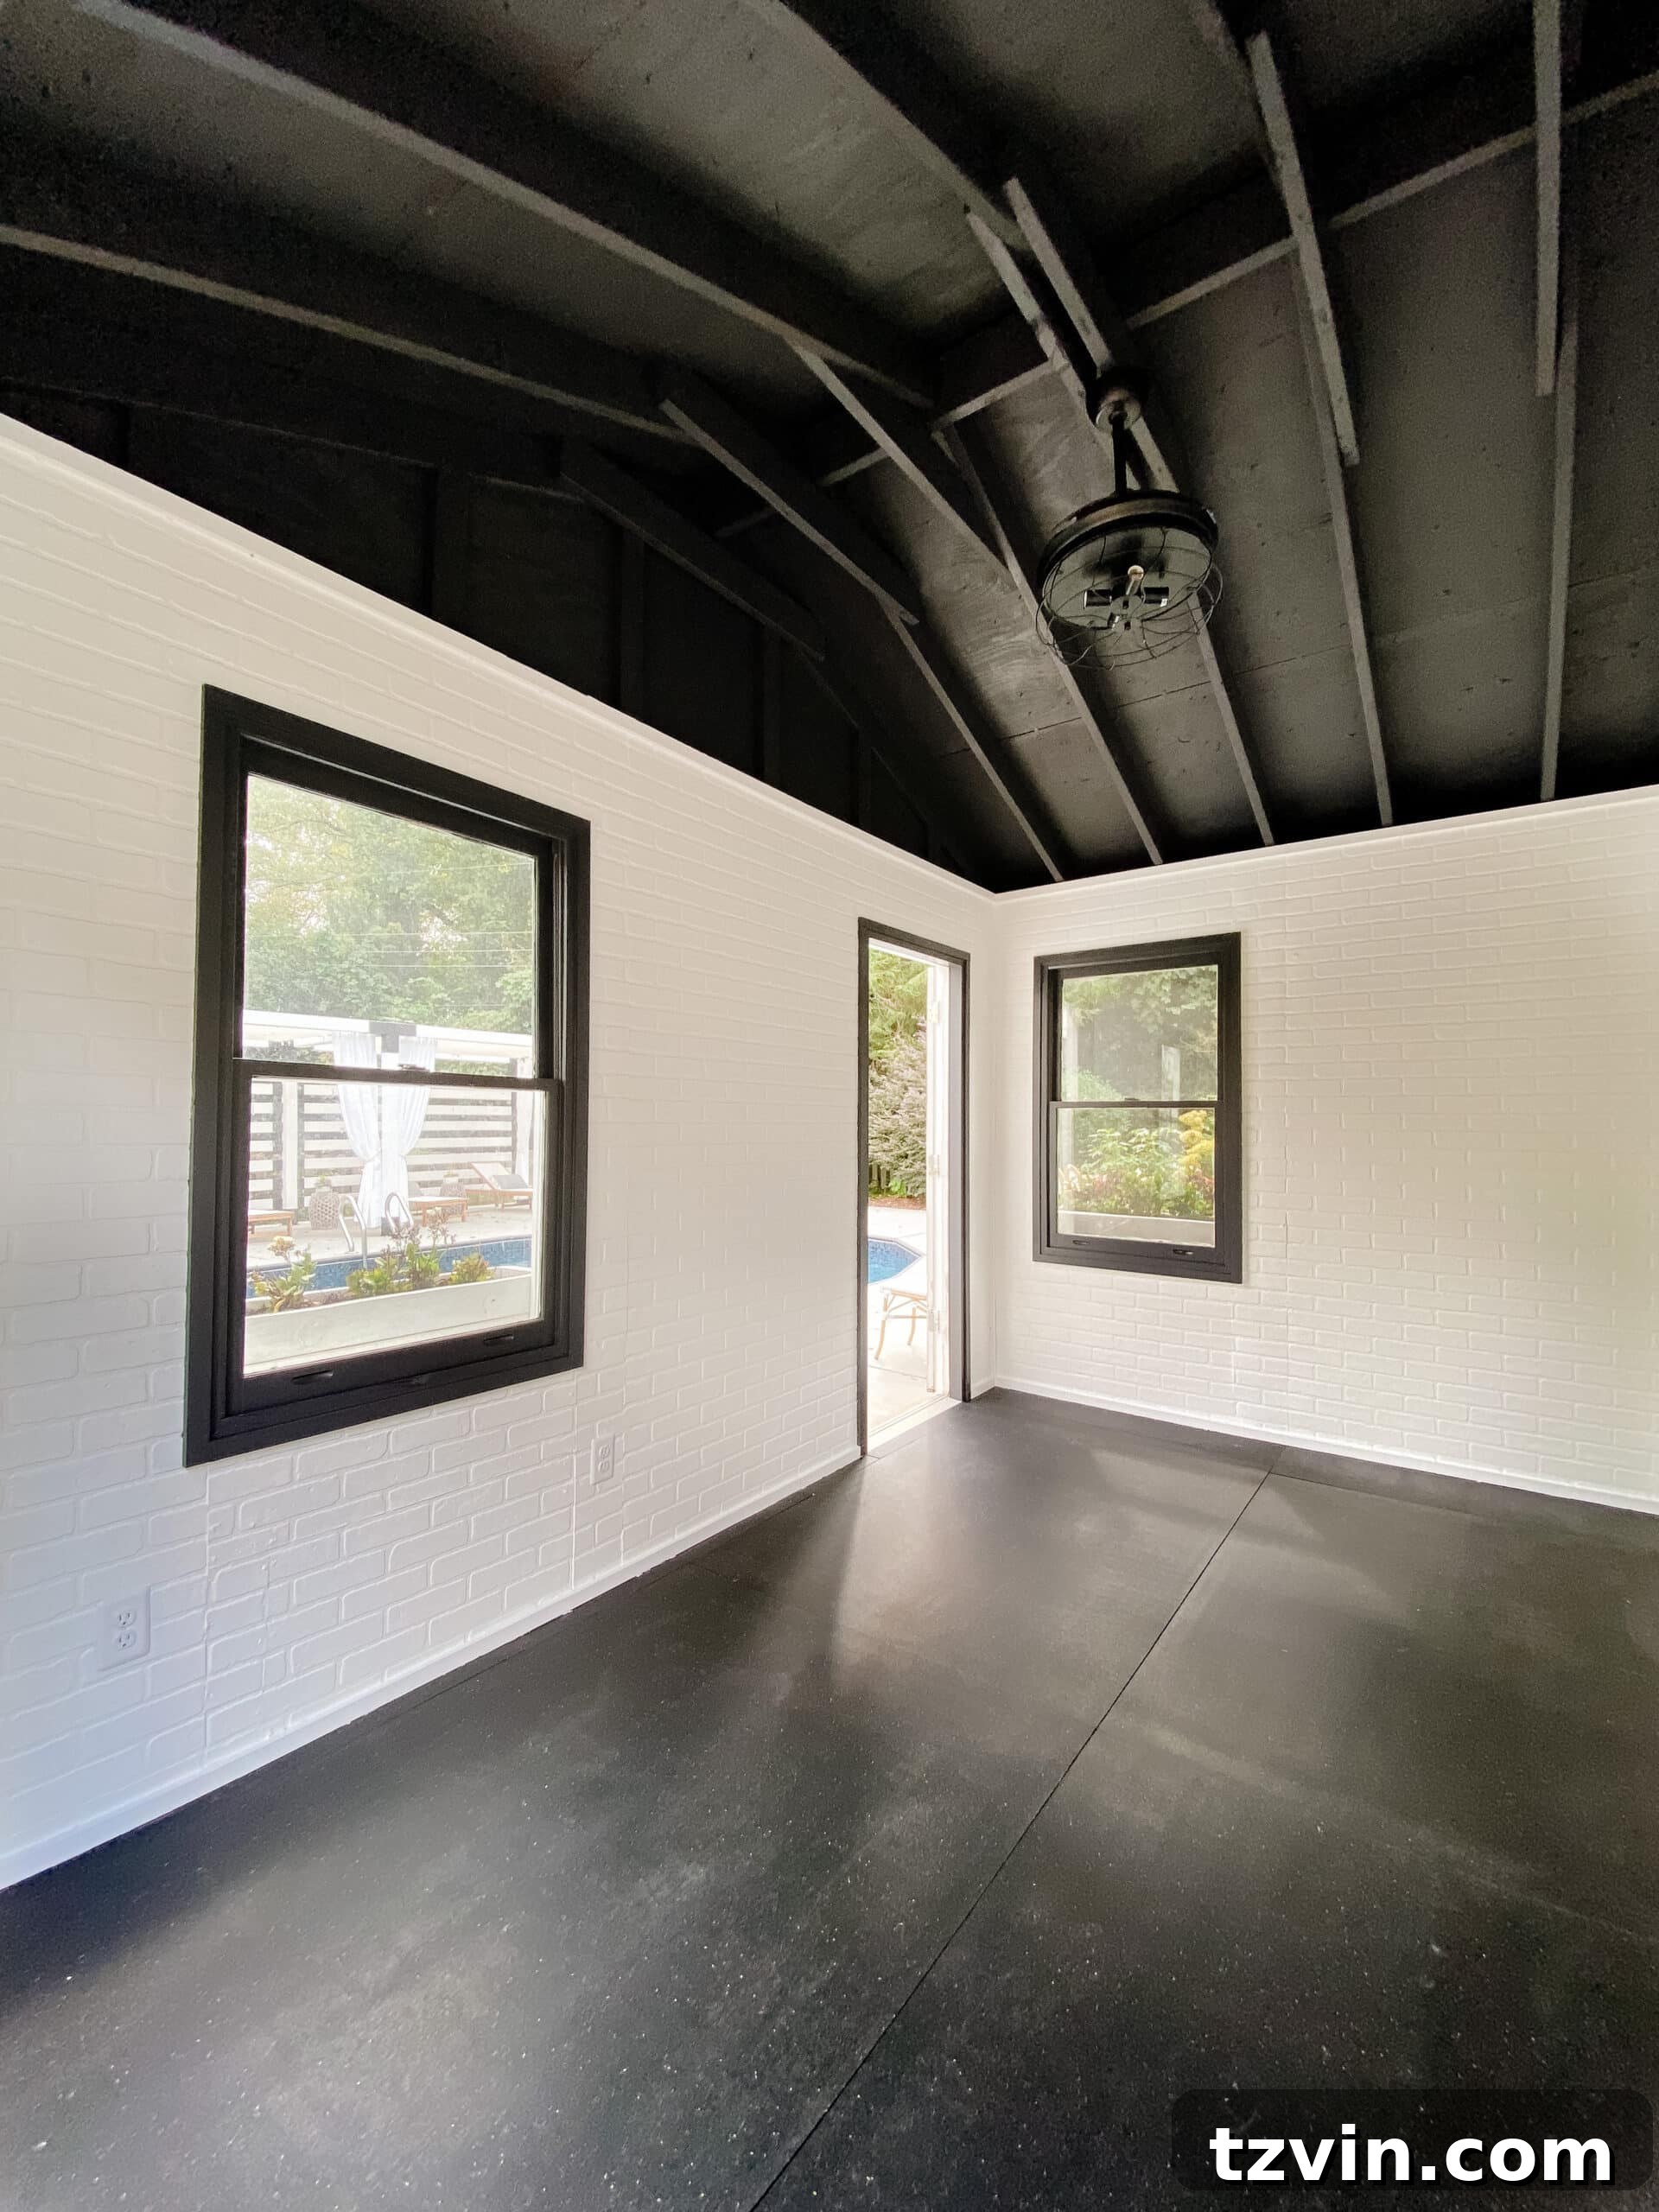
And just like that, our incredible home gym is ready for all the weights, equipment, and sweat sessions! The “load in” of fitness gear is scheduled for next week, but even without the machines, this DIY transformation has already given us a solid workout. Creating this space has been a journey of effort, creativity, and incredible satisfaction. We hope this guide inspires you to tackle your own home renovation project, whether it’s a dramatic shed makeover or a simple accent wall. The power of a DIY faux brick wall to completely change a room is truly remarkable!