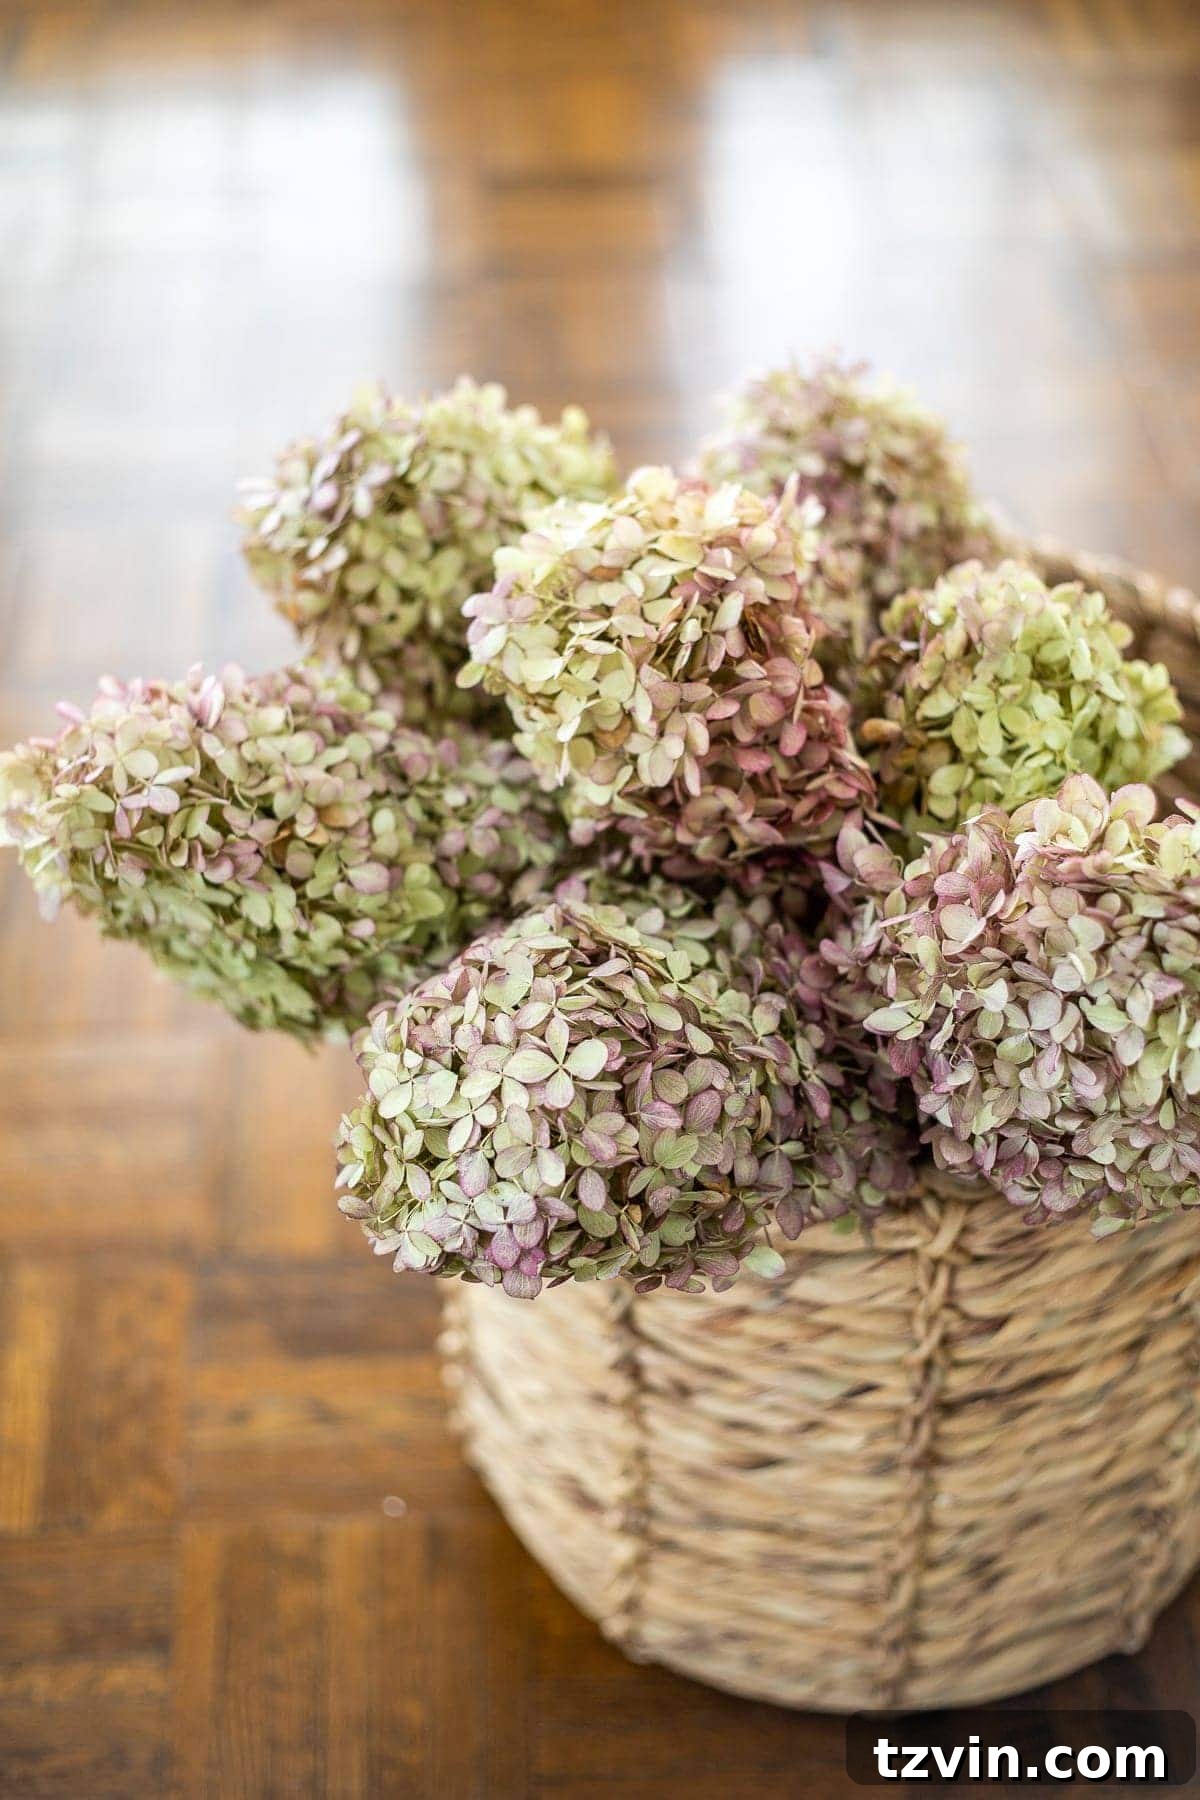
Embrace the timeless beauty of nature indoors with our comprehensive guide to the best preserved flowers and dried stems. Whether you’re decorating for fall or aiming for year-round natural elegance, discover top picks and learn how to dry and preserve your own flowers and leaves for stunning home decor.
As the seasons gently shift, many of us find ourselves drawn to the subtle charm of dried botanicals. For me, the annual ritual of drying bunches of hydrangeas each autumn invariably leads me down a delightful path of appreciating all the exquisite dried flowers and stems available. While my true obsessions lie with my family, my passion for the dried flower aesthetic runs deep. There’s an abundance of stunning options to purchase, but for those who love a hands-on approach, foraging your own garden can yield equally beautiful results. This guide will help you navigate both worlds, offering tips on where to find the finest preserved blooms and how to create your own at home.
The Enduring Appeal of Preserved and Dried Flowers
The beauty of preserved and dried flowers in home decor isn’t just a fleeting trend; it’s a timeless choice that seamlessly blends natural elegance with practical longevity. Unlike fresh cut flowers that have a short lifespan, dried botanicals offer enduring beauty that transcends seasons and styles. They provide the organic texture and visual interest of living plants without the constant need for water, sunlight, or replacement.
In today’s decor landscape, dried botanicals are undeniably “in.” Their popularity stems from several compelling factors:
- Sustainable and Eco-Friendly: Opting for dried flowers is a sustainable choice. They significantly reduce waste compared to continually purchasing fresh blooms and are often more environmentally conscious than artificial alternatives.
- Remarkable Longevity: Properly dried and preserved flowers can last for months, or even years, maintaining their shape and much of their color. This makes them a cost-effective solution in the long run, as they don’t require frequent replacement.
- Unique Aesthetic: Dried flowers offer a distinct, muted color palette and delicate texture that fresh flowers cannot replicate. They bring a rustic, vintage, or bohemian vibe to any space, adding depth and character.
- Versatility in Decor: From elaborate centerpieces to minimalist accents, dried flowers adapt to various decor styles. They can be incorporated into wreaths, garlands, wall art, bouquets, and standalone displays, providing endless creative possibilities.
- Low Maintenance: Once dried and arranged, these botanicals require minimal care. They don’t need watering, pruning, or light, making them perfect for busy individuals or areas where fresh plants might struggle.
Furthermore, the opportunity to dry and preserve flowers yourself adds a personal touch to your decor. If you’re fortunate enough to have a garden brimming with suitable varieties, transforming your blossoms into lasting decor is a rewarding DIY project.
Where to Source the Best Preserved Flowers and Dried Stems
While DIY drying offers a wonderful personal touch, sometimes you might not have the right greenery in your yard, or you simply want to explore a wider range of exquisite options. Luckily, the market is rich with beautiful preserved flowers and dried stems to suit every taste and budget.
Here’s where to look for high-quality dried botanicals:
- Specialty Floral Shops: Many florists, especially those focused on sustainable or rustic aesthetics, now offer a curated selection of dried and preserved flowers. These shops often have unique varieties and can provide expert advice on arrangements.
- Online Retailers: Websites dedicated to floral supplies, home decor, and craft items are excellent sources. Large platforms often feature numerous sellers specializing in dried botanicals, allowing you to compare options and find exactly what you need. Look for sellers with strong reviews and clear product descriptions.
- Local Craft Markets & Farmers’ Markets: Keep an eye out for local artisans at craft fairs or farmers’ markets. You might discover unique, locally sourced, and hand-dried arrangements that support small businesses.
- Wholesale Suppliers: If you’re undertaking a large project or frequently use dried flowers, exploring wholesale suppliers can be more cost-effective. Many now cater to smaller businesses and even enthusiastic hobbyists.
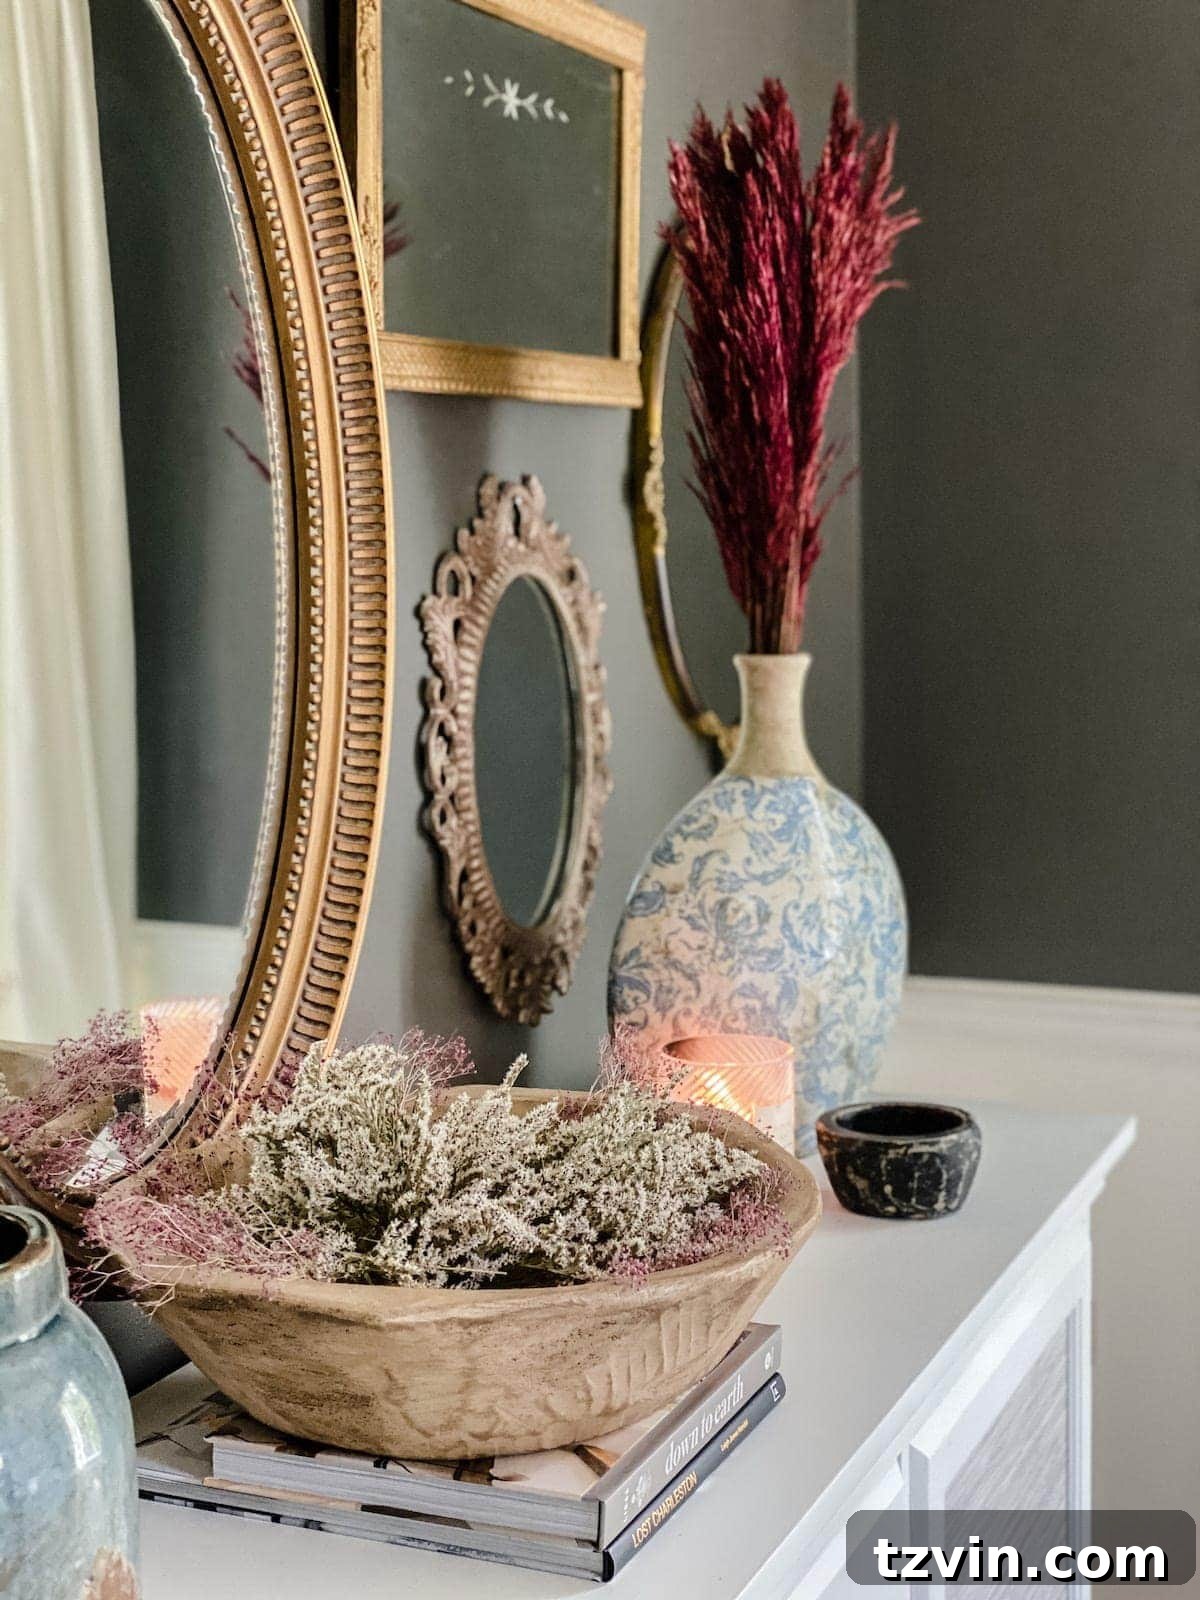
- Home Decor Stores: Mainstream home decor retailers have increasingly embraced dried flowers, offering everything from large pampas grass plumes to delicate bundles of lavender, often pre-arranged in stylish vases.
(Affiliate links are provided below. Full disclosure here.)

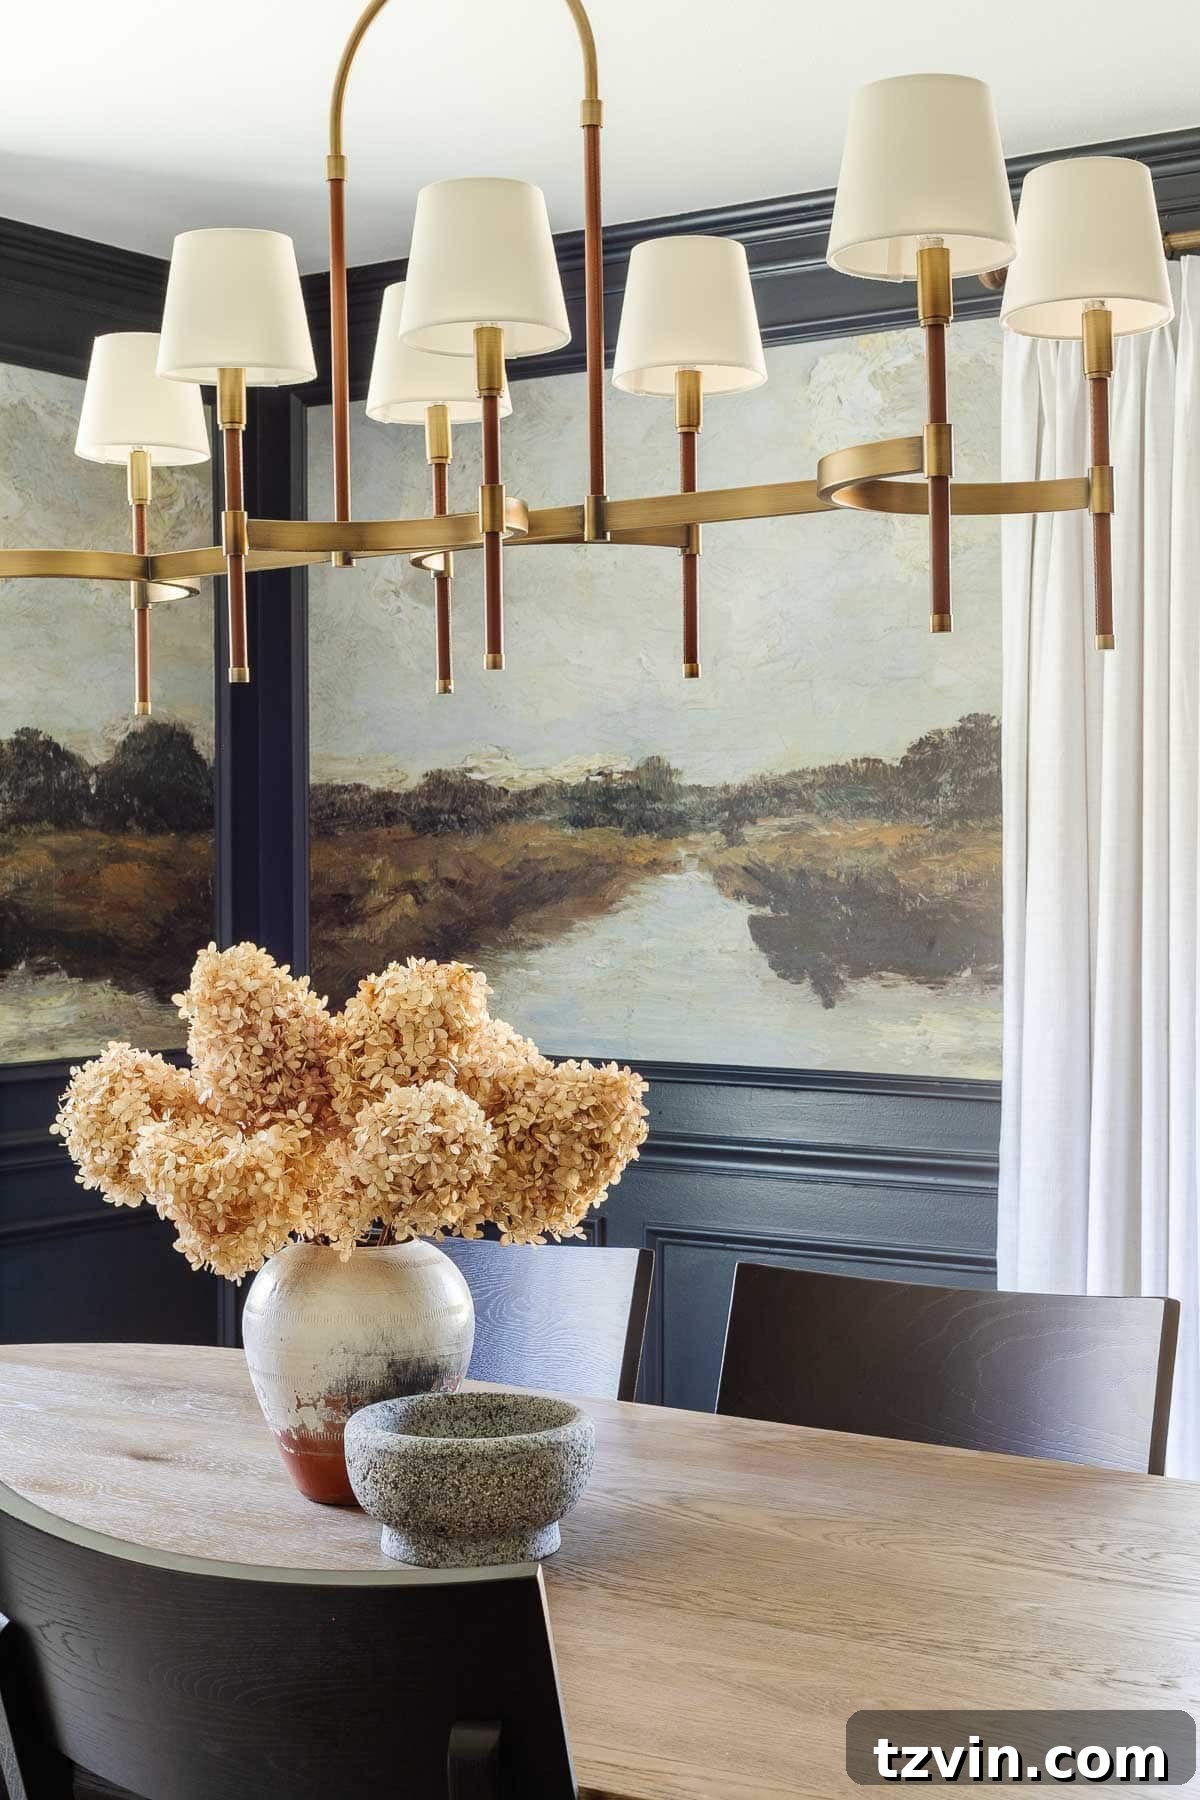
Incorporating dried flowers into our dining room decor, for instance, allows for a graceful transition from the vibrant energy of summer to the cozy allure of autumn. Yet, their subtle beauty means they effortlessly complement almost any season, providing a touch of organic life even during the colder winter months when fresh blooms are scarce. They bridge the gap between seasons, offering a consistent sense of warmth and natural beauty.
How to Dry Flowers and Leaves From Your Yard: A DIY Guide
One of the most satisfying aspects of decorating with dried botanicals is the opportunity to create them yourself. A couple of times a year, I dedicate a few minutes to foraging in my yard, gathering flowers and leaves that I can then dry and preserve for unique home decor arrangements. It’s an incredibly rewarding way to bring the beauty of your garden indoors, free of charge.
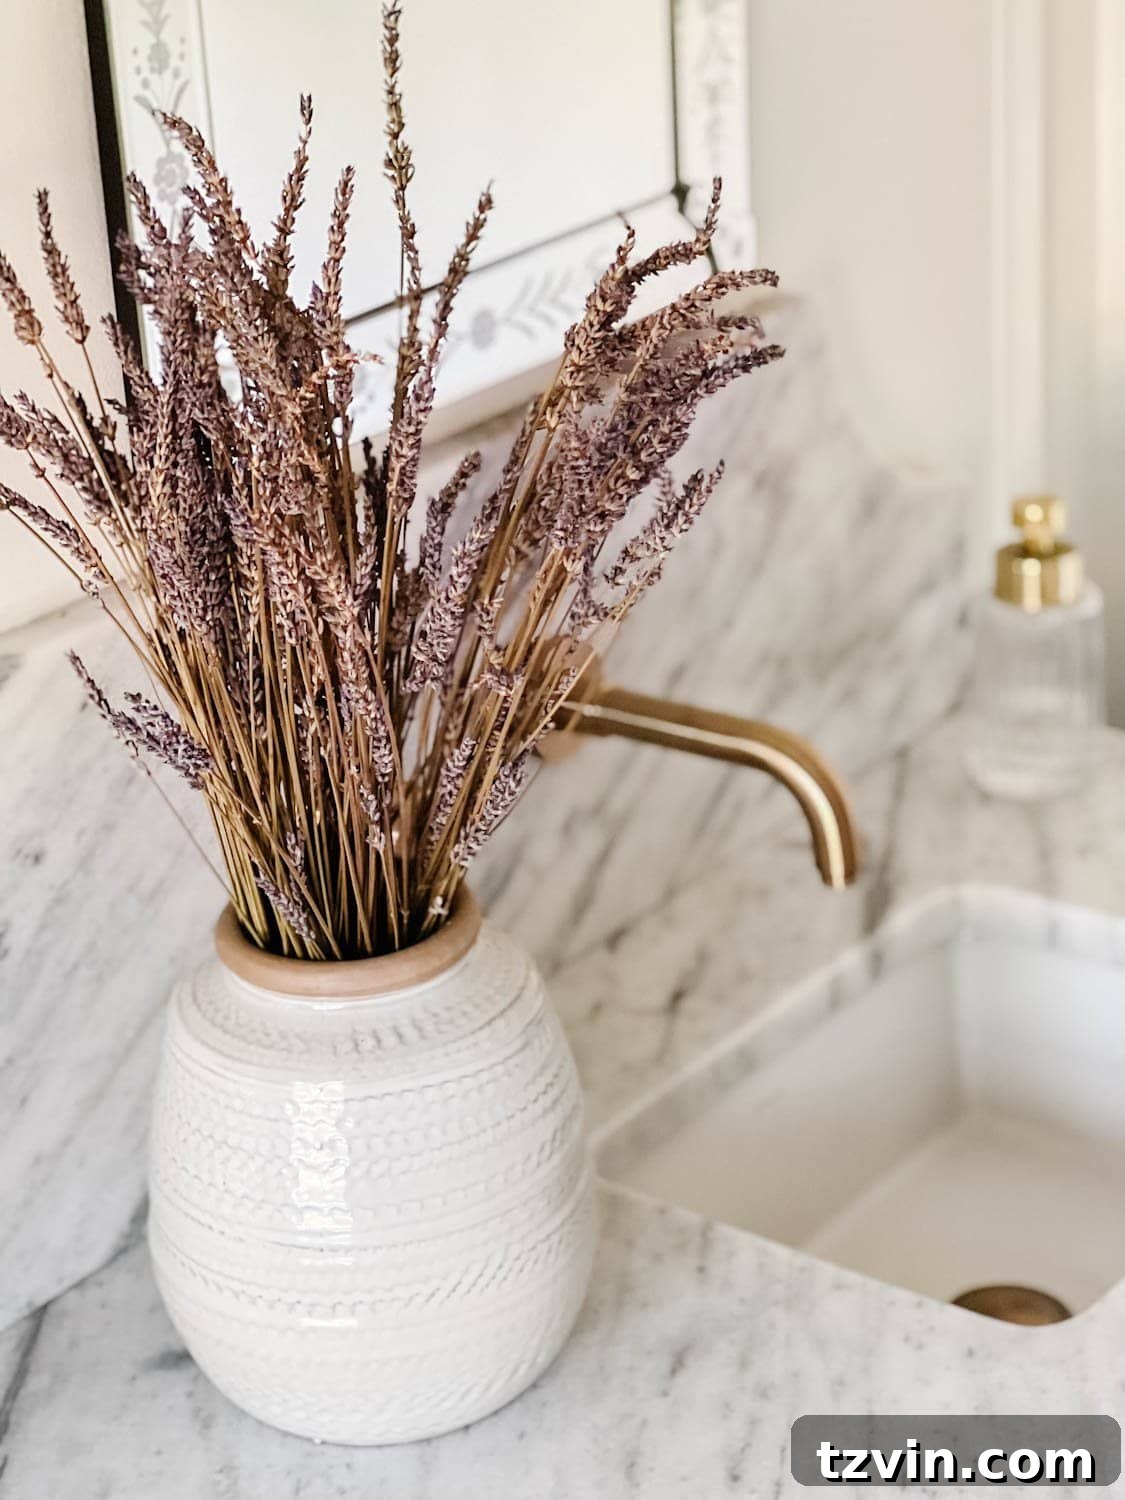
For example, our magnificent magnolia tree provides a year-round supply of beautiful leaves perfect for crafting wreaths and garlands. Likewise, freshly cut lavender from our planters, once air-dried, fills the house with a delightful aroma. This kind of “free greenery” not only saves money but also adds a deeply personal and meaningful touch to your living space.
Finding the Right Flowers and Leaves to Dry for Best Results
The success of your dried floral projects begins with selecting the perfect specimens. Not all flowers and leaves dry equally well, so knowing what to look for can significantly improve your results:
- Inspect for Flaws: Always choose flowers and leaves that are free from bruises, spots, or any signs of browning. Fresh, unblemished material will dry into more attractive and vibrant pieces.
- Consider Petal Thickness: Opt for flowers with paper-thin petals. Fleshy, moist petals tend to retain too much water, making them challenging to dry thoroughly and more prone to mold or discoloration. Thin petals, conversely, dry quickly and retain their form better.
- Harvest at Peak Freshness: The ideal time to pick fresh flowers for drying is just before they reach their full bloom. At this stage, their petals are firm, and their colors are most vibrant. Flowers that are already fully open or starting to fade may not hold their shape or color as well during the drying process.
- Time Your Harvest: Pick your flowers later in the day, after the morning dew has completely dissipated. Excess moisture on the petals can hinder the drying process and encourage mold growth.
- Stem Length: Cut stems long, as you can always trim them later. Longer stems provide more flexibility for arranging and hanging.
The Easiest Way to Dry Flowers: Air Drying
While there are several methods for drying flowers and leaves for arrangements, I’ve found air drying to be the simplest and most effective. It’s a natural process that requires minimal intervention, making it a perfect “no-brainer” method for beginners and seasoned DIYers alike. Although not the fastest, its ease and reliability make it a favorite.
Here’s how to master the air-drying technique:
- Prepare Bundles: Gather small bundles of stems, typically 5-8 flowers per bundle. Wrap a rubber band tightly around the base of the stems. The rubber band will contract as the stems shrink during drying, keeping the bundle secure.
- Tie for Hanging: Use a piece of string or twine to tie around the rubber-banded bundle, leaving a long enough length (6-12 inches) to create a hanging loop.
- Find the Right Spot: Hang the bundles upside-down in a dark, dry, and well-ventilated space. Crucially, the area must have low humidity to prevent mold growth. A closet, an unused attic, or a spare room with circulating air works exceptionally well. Darkness helps preserve the flower’s color, preventing it from fading due to sunlight exposure.
- Wait Patiently: Allow the flowers to hang undisturbed for approximately 2-3 weeks, or until all moisture has completely evaporated from the leaves and petals. You’ll know they’re ready when they feel crispy to the touch and hold their shape without wilting.
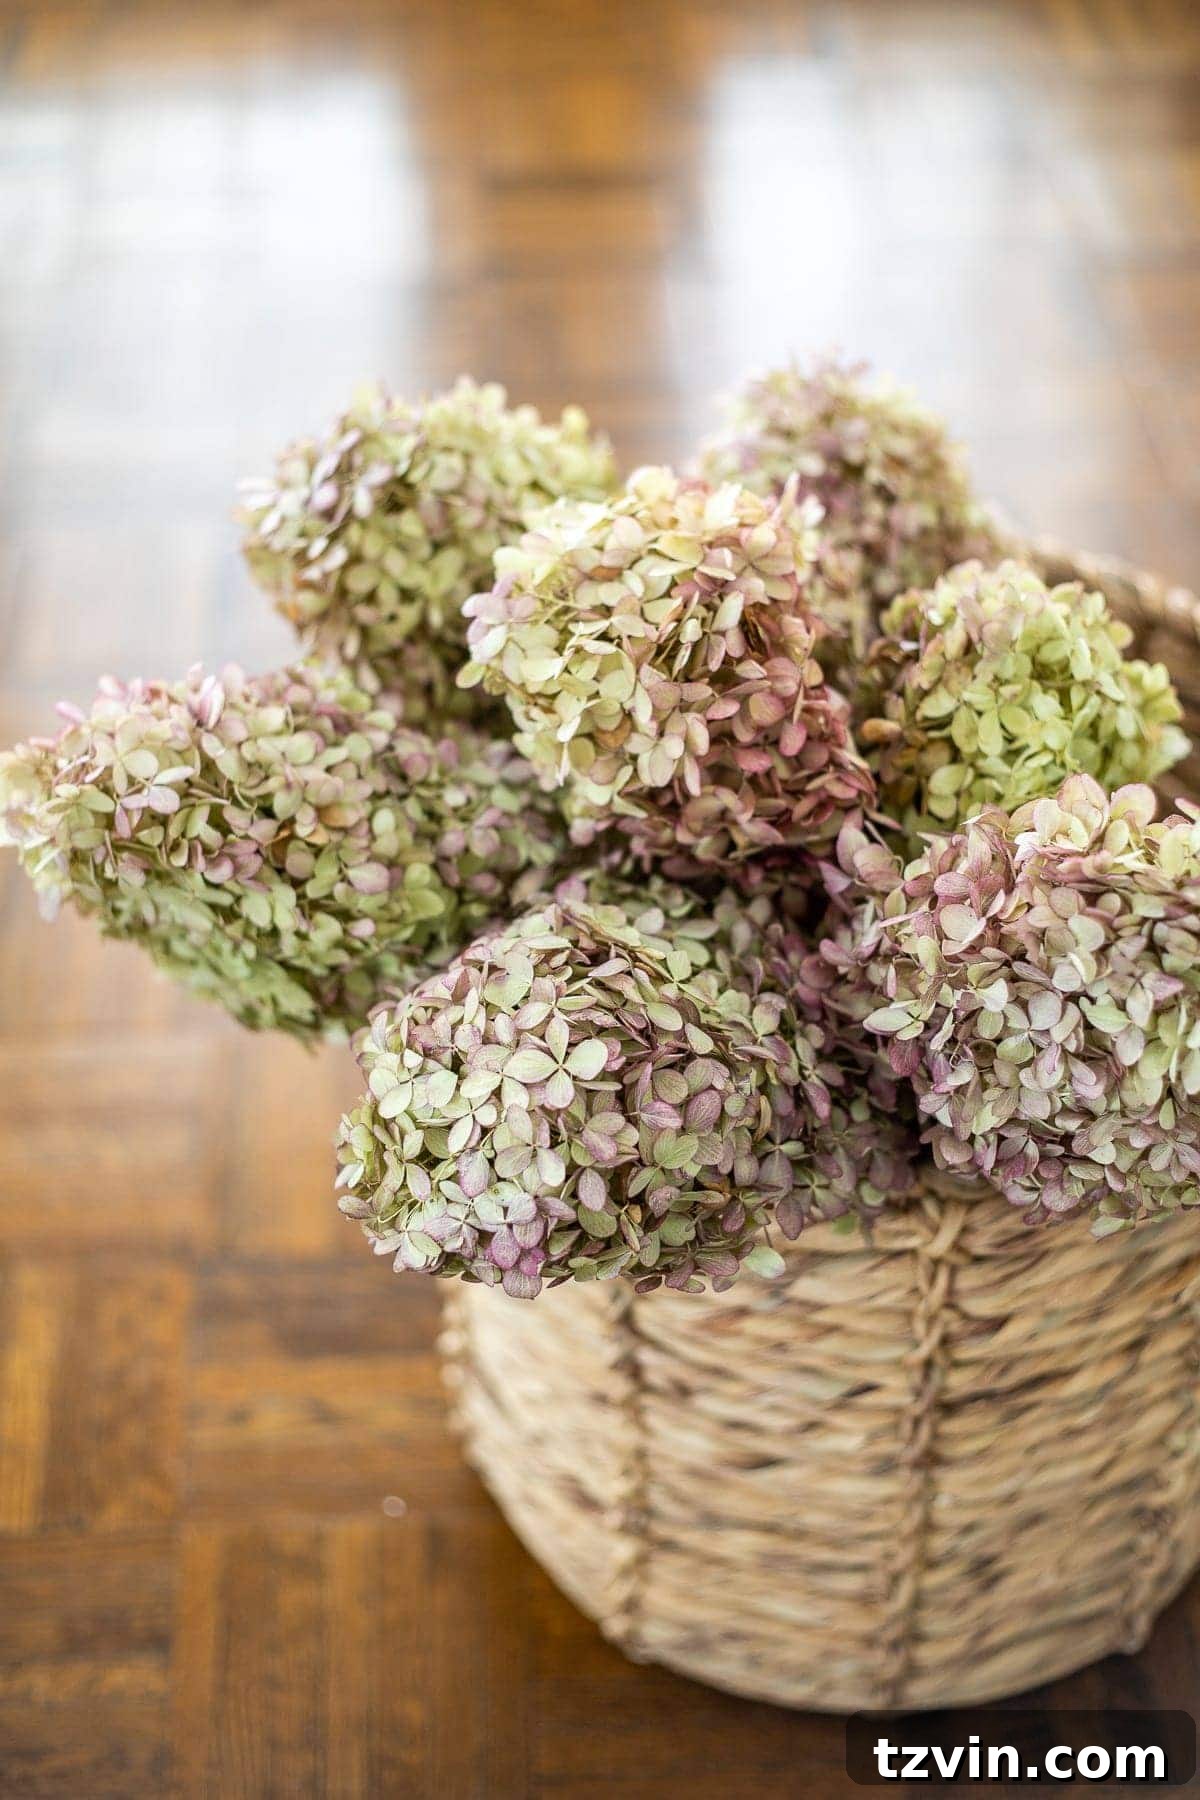
Pro Tip for Certain Flowers: Some flowers, particularly those with sturdy, woody stalks like hydrangeas, can also be successfully air-dried by simply placing them upright in a vase without water. As the water slowly evaporates from the stems, the flowers dry naturally in their standing position, maintaining their form beautifully. This method is particularly easy for hydrangeas, making them an excellent choice for first-time flower dryers.
Best Flowers and Leaves for Air Drying
While many botanicals can be air-dried, some varieties consistently yield excellent results, making them ideal choices for your DIY projects:
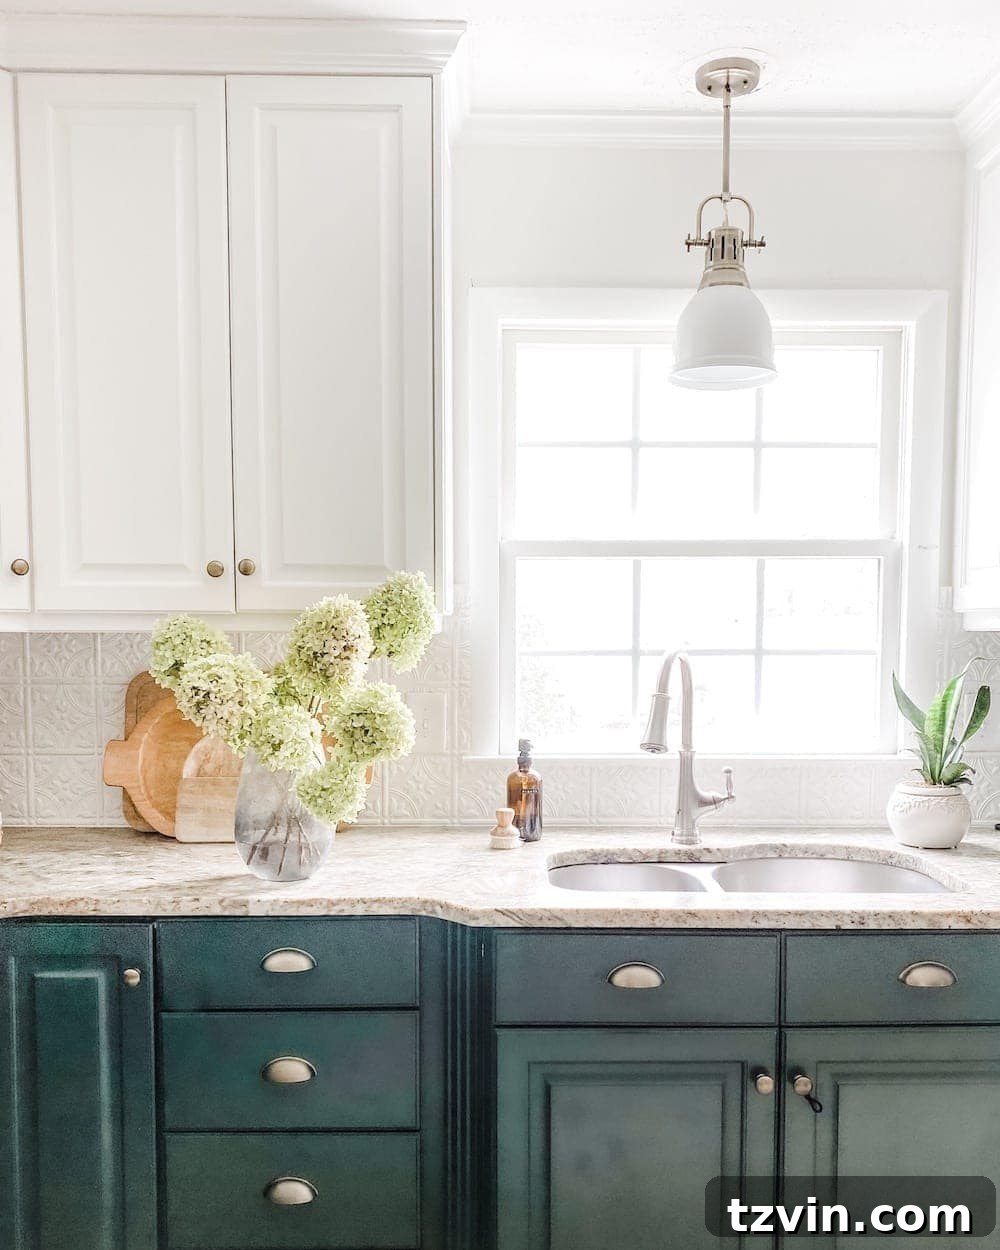
- Hydrangea: Known for their large, showy blooms, hydrangeas are incredibly popular and relatively easy to air dry, especially those with more papery petals.
- Roses: Classic and romantic, roses retain much of their shape and a delicate color when air-dried, perfect for timeless arrangements.
- Baby’s Breath (Gypsophila): These delicate clusters add a beautiful filler and airy texture to any dried bouquet, maintaining their pristine white appearance.
- Yarrow: With their flat-topped clusters, yarrow dries wonderfully, offering interesting texture and often retaining vibrant yellow or pink hues.
- Thistle: Unique and textural, thistles dry well and add a rustic, architectural element to arrangements.
- Daisies: Smaller varieties of daisies can dry effectively, bringing a cheerful, understated charm.
- Strawflower: True to their name, strawflowers feel naturally dry and papery, holding their vibrant colors beautifully.
- Coneflower (Echinacea): The distinctive cone shape and stiff petals of coneflowers make them excellent candidates for air drying.
- Lavender: Not only do they dry easily, but air-dried lavender stems also retain their soothing fragrance, making them perfect for sachets or decorative bundles.
- Marigolds: These bright, robust flowers can be air-dried to add a pop of orange or yellow.
- Eucalyptus: Prized for its distinctive scent and beautiful foliage, eucalyptus leaves dry easily and add a touch of modern sophistication.
- Magnolia Leaves: With their glossy green tops and fuzzy brown undersides, magnolia leaves dry beautifully, making them ideal for wreaths and garlands.
- Sage: Aromatic and visually appealing, dried sage leaves can be used for both culinary and decorative purposes.
- Mint: Similar to sage, dried mint offers a pleasant fragrance and can be decorative.
- Bay Leaves: These robust leaves dry well and are a classic for various crafts.
Pressing Leaves and Flowers for Flat Displays
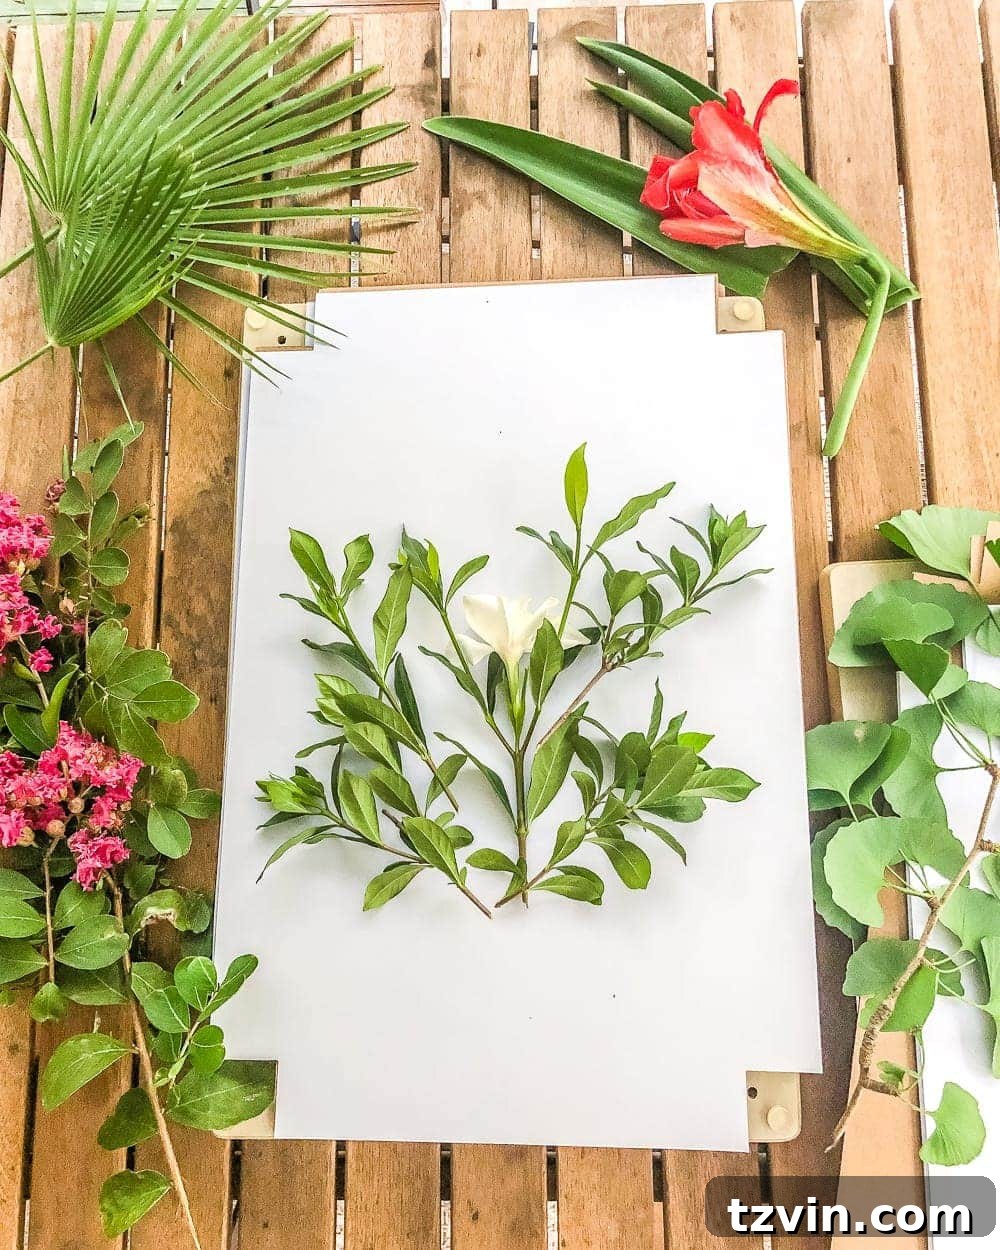
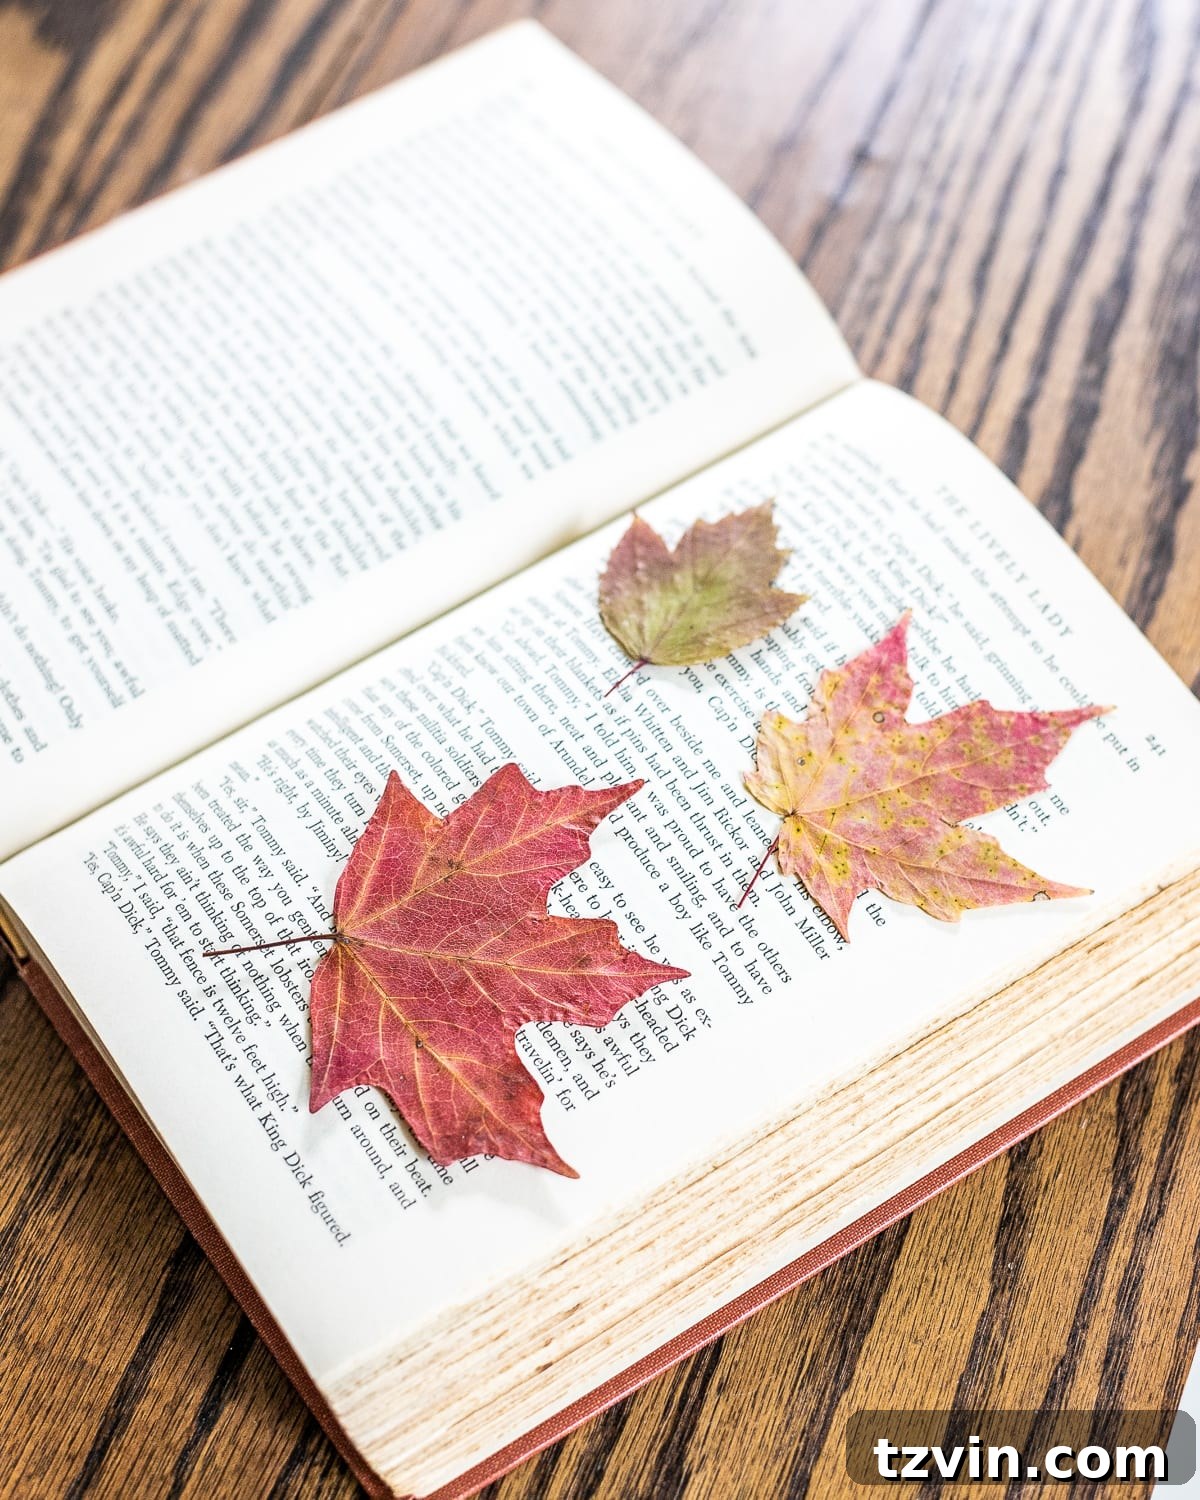
If you’re aiming for a different aesthetic—one that captures the delicate flatness of botanicals for framed art or scrapbooking—pressing is the ideal drying method. This technique allows you to create stunning, two-dimensional pieces perfect for display in picture frames, shadow boxes, or even as decorative elements on cards.
Here’s how to press leaves and flowers effectively:
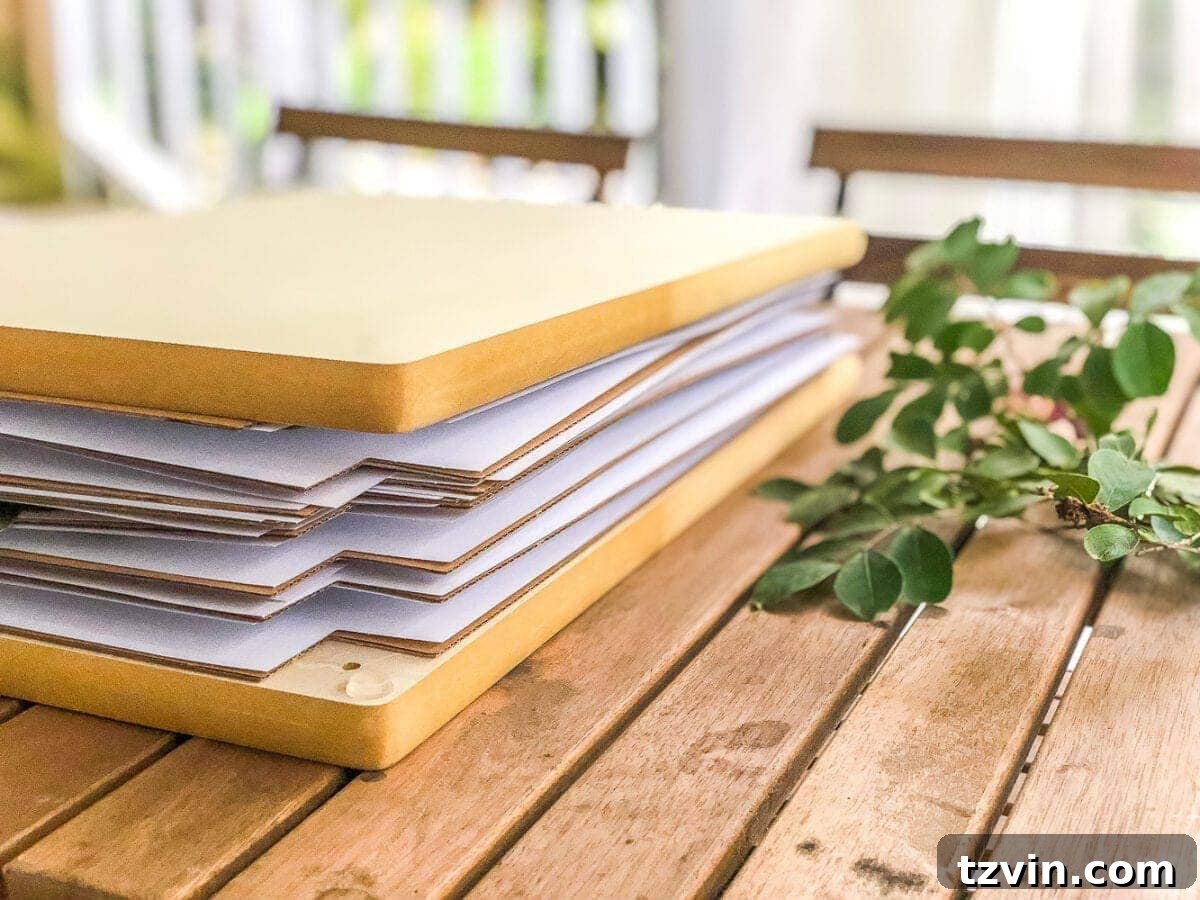
- Prepare for Pressing: Carefully arrange individual leaves and/or flowers between the pages of a heavy book or within a dedicated flower press. To prevent moisture transfer and sticking, separate the botanicals from the book pages using parchment paper, wax paper, or even coffee filters. Ensure the flowers and leaves are laid flat and not overlapping.
- Apply Pressure: If using a heavy book, stack several more heavy books or weights on top to apply consistent pressure. If using a flower press, tighten the screws evenly. The consistent pressure is crucial for flattening the botanicals and expelling moisture.
- Store and Wait: Place the weighted book or flower press in a cool, dry place. The drying time can vary significantly, ranging from a few days to several weeks, depending on the initial water content of the leaves and flowers, as well as the humidity of your storage area.
- Monitor Progress: You can periodically check on your pressed botanicals without disturbing the drying process. Gently open the book or press to inspect their dryness. They are ready when they feel completely dry, crisp, and no longer pliable. For optimal results, you may change the parchment paper every few days during the initial drying period to absorb moisture more effectively.
Pressed botanicals offer a unique way to capture the intricate details and vibrant colors of nature in a delicate, artistic format.
How to Preserve Flowers and Leaves for Lasting Beauty
Once your flowers and leaves are thoroughly dried or pressed, the next crucial step is preservation. This process helps to set their shape, prevent shedding, and minimize discoloration, ensuring your botanical creations maintain their beauty for many seasons to come. There are a couple of popular methods for achieving this, both simple and effective.
Hairspray Method for Preserving Dried Botanicals
The hairspray method is a readily accessible and budget-friendly way to preserve dried botanicals. It creates a light protective barrier that helps to prevent petals and leaves from becoming brittle and falling apart. For this, an extra-hold aerosol hairspray, reminiscent of the strong formulas from the ’80s, works wonders!
- Prepare Your Workspace: Lay down newspaper or a piece of cardboard on a flat surface to protect it from overspray. This is especially important if you’re working indoors.
- Apply Hairspray: Hold an extra-strong can of aerosol hairspray about 6-8 inches away from your dried flowers or leaves. Begin to spritz evenly, ensuring you cover all sides and gently get in between petals. Avoid over-saturating; a light, even coat is sufficient.
- Allow to Dry and Repeat: Let the sprayed botanicals dry completely for about 10 minutes. Once dry, reapply the hairspray, repeating the process up to two more times. This layering technique builds up a stronger, more durable protective coating.
Silica Gel Method for Optimal Color Retention
For those seeking an alternative that often yields even better color retention, dipping flowers in silica gel is an excellent choice. Silica gel is a desiccant that absorbs moisture very efficiently, helping flowers maintain their natural hues.
- Prepare Silica Gel: Pour a layer of silica gel crystals into an airtight container.
- Arrange Flowers: Carefully place your flowers on top of the silica gel, ensuring they are not touching each other. You may need to trim the stems to fit the container.
- Cover Completely: Gently spoon more silica gel over and around each flower, making sure every petal and crevice is fully covered. This is vital for thorough drying and color preservation.
- Seal and Wait: Seal the container tightly and store it in a cool, dry place. The drying time can vary from a few days to a week or more, depending on the flower type and size.
- Retrieve Flowers: Once dried, carefully pour out the silica gel and gently brush off any remaining crystals from the flowers using a soft brush.
That’s it! With these preservation techniques, your dried flowers and leaves will be officially set, resisting wilting and discoloration. They’ll be ready to adorn your home for many seasons, offering lasting natural beauty.
Creative Ideas to Decorate With Dried Leaves and Flowers
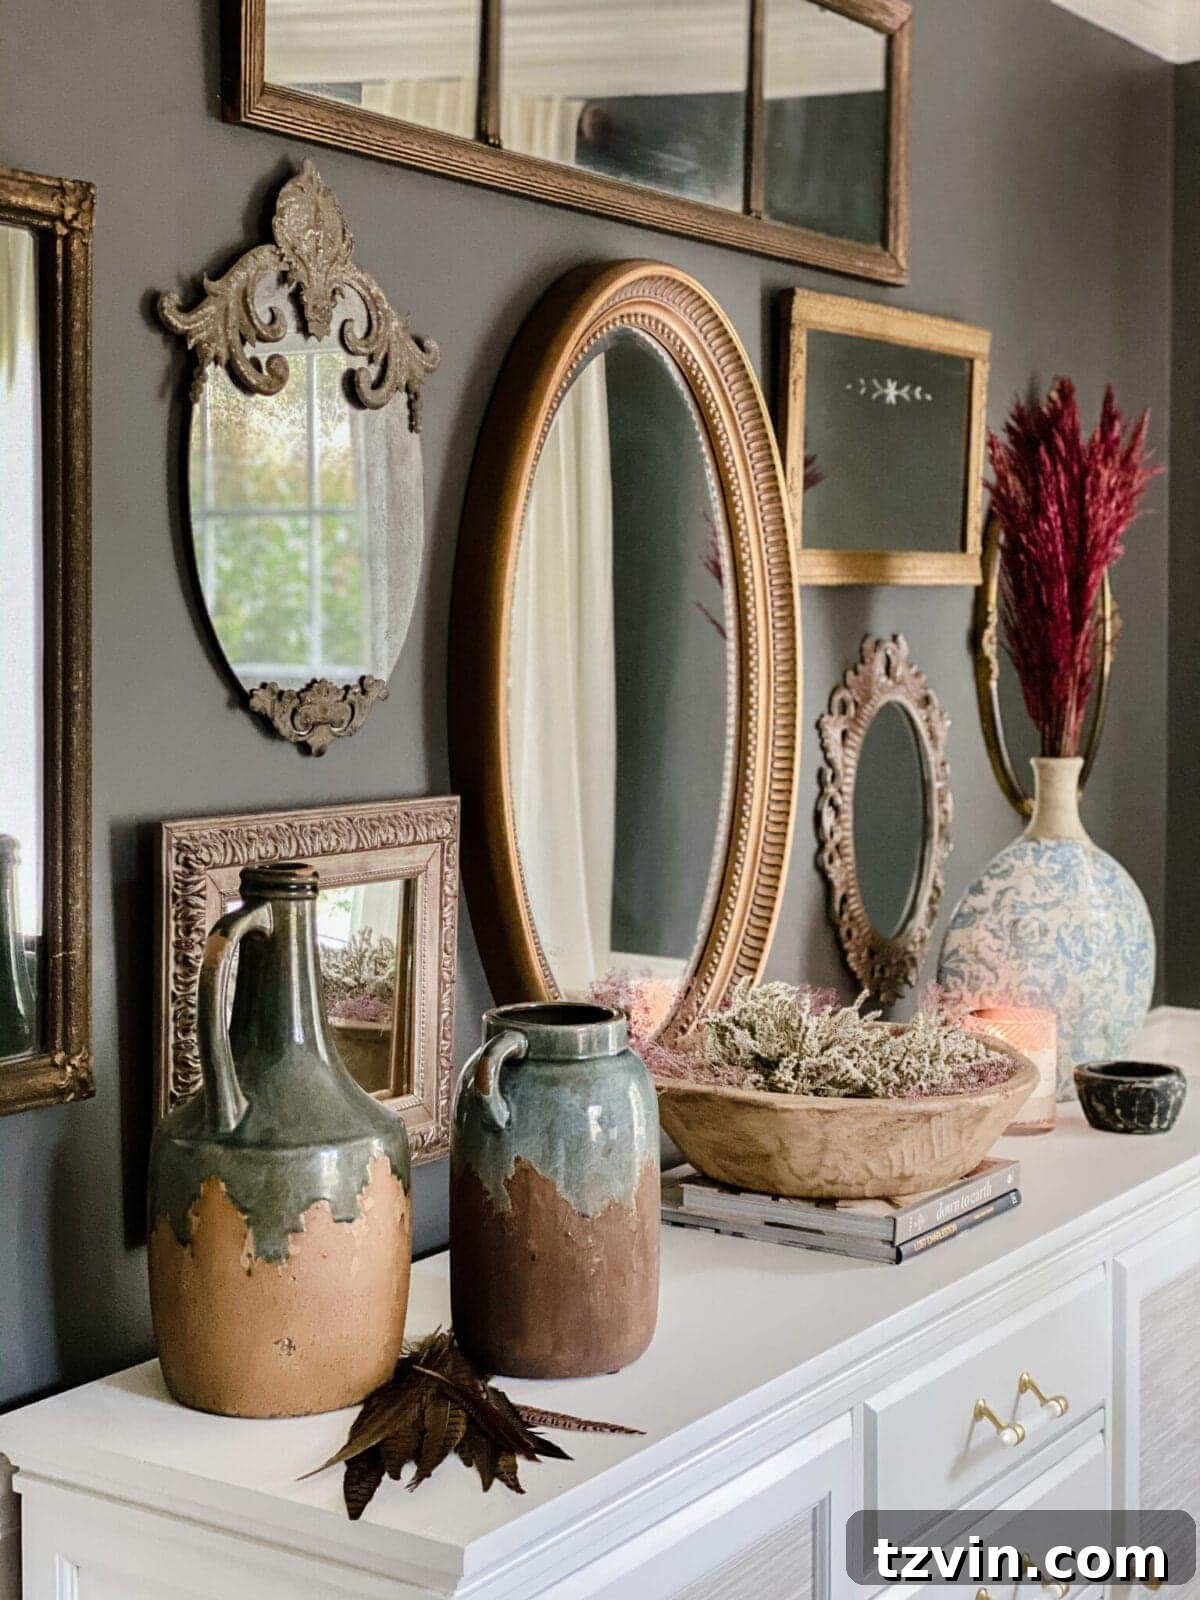
The versatility of dried leaves and flowers makes them an invaluable asset in home decor. Their organic textures and muted tones can enhance any space, from rustic farmhouse to modern minimalist. Here are some inspiring ideas to incorporate these natural beauties into your home:
- Stunning Centerpieces: Create breathtaking table centerpieces using a mix of dried flowers like hydrangeas, eucalyptus, and pampas grass in a beautiful vase. Their longevity means your centerpiece will look fresh for weeks or months.
- Pressed Leaf Gallery Walls and Entryways: Frame pressed leaves and flowers in various sizes to create an elegant gallery wall. This can transform an entryway or a bare wall into a captivating botanical display, particularly striking for fall decor.
- DIY Pressed Flower Art: Go beyond simple framing by arranging pressed flowers into intricate designs on watercolor paper, then framing them. This offers a personalized and artistic touch, perfect for adding delicate beauty to any room.
- Botanical Garlands and Wreaths: Weave dried flowers, herbs, and leaves like magnolia into beautiful garlands for mantels, doorways, or stair railings. Handcrafted wreaths made from dried materials provide a welcoming and natural accent for your front door or interior walls.
- Seasonal Decor with Dried Fruit and Leaves: Extend your drying skills to include fruits like oranges and apples to create festive garlands for Christmas or unique potpourri blends. Combine these with preserved leaves for a truly autumnal or holiday feel.
- Easy Dried Hydrangea Arrangements for Fall: Hydrangeas are particularly forgiving and lovely when dried. Arrange them in simple vases or baskets to bring an instant touch of fall elegance to any room.
- Shelf and Bookshelf Styling: Tuck small bundles of dried lavender or eucalyptus into existing shelf displays. Their subtle presence adds organic texture and a hint of fragrance without overwhelming the space.
- Bedroom Accents: Place a small bouquet of dried baby’s breath or a single dried rose next to your bed for a calming, natural element.
- Bathroom Refresh: A vase of dried eucalyptus or lavender can elevate a bathroom, adding a spa-like feel and a pleasant natural scent.
- Gift Toppers and Card Embellishments: Use small dried flowers or pressed leaves to adorn gift packages or homemade greeting cards, adding a unique and thoughtful detail.
Frequently Asked Questions About Dried and Preserved Flowers
When properly dried and preserved, and kept away from direct sunlight and humid conditions, dried flowers can last anywhere from 2 to 3 years on average. Some robust varieties, like eucalyptus or certain grasses, can even last much longer, retaining their aesthetic appeal for several years.
Yes, dried flowers can get moldy if they are not completely dry before being used as decor or if they are exposed to high humidity. It’s crucial to ensure all moisture has evaporated from the stems, leaves, and petals during the drying process. Flowers with thicker, fleshier petals, such as lilies and tulips, are particularly challenging to dry thoroughly and are more susceptible to mold due to their higher moisture content. Always store dried flowers in a low-humidity environment.
Dried flowers often command a higher price than fresh flowers due to the labor-intensive and time-consuming process involved in their drying and preservation. This meticulous procedure, whether through air drying, pressing, or using desiccants like silica gel, requires careful handling and specific environmental conditions to ensure quality and longevity. However, considering that dried flowers last significantly longer than fresh ones, they prove to be a more economical choice over time, paying for themselves through their extended lifespan. This makes DIY drying an appealing craft to save costs.
Caring for dried flowers and leaves is remarkably simple. To remove dust, gently spray them with a few light puffs of canned air (often used for electronics). For thicker, more robust leaves like magnolia or palm, you can carefully brush away dust with a soft feather duster or a very soft, dry paintbrush. Avoid using water or wet cloths, as moisture can damage the dried material and encourage mold.
While many flowers can be dried, some are better suited for the process than others. Flowers with thin, papery petals and sturdy stems tend to dry best and retain their shape and color more effectively. Fleshy flowers with high water content, like calla lilies or irises, are generally more difficult to dry without discoloration or mold. Always choose flowers that are in their prime and free from blemishes for the best results.
To maximize the lifespan of your dried flowers, store them in a cool, dark, and dry place. Excessive sunlight can fade their colors, while high humidity can lead to mold or softening. If you’re not displaying them immediately, an airtight container or a cardboard box in a closet can protect them from dust and environmental factors. Avoid crushing them to maintain their delicate forms.
Have you embarked on the rewarding journey of drying flowers yourself? Or perhaps you’ve pulled over on the side of the road, unable to resist gathering some beautiful pampas grass or wild blooms? Rest assured, your secret is safe with me – the allure of nature’s lasting beauty is simply too strong to ignore!