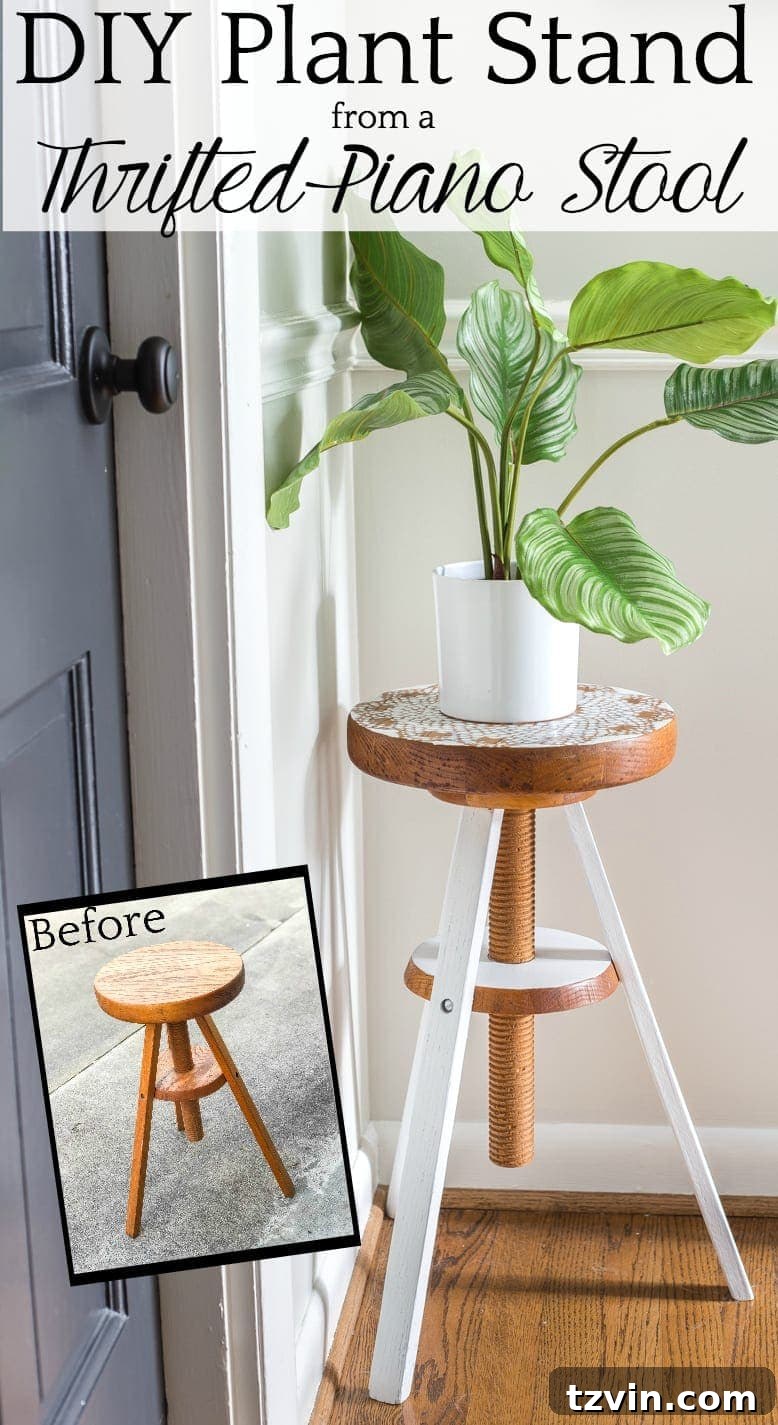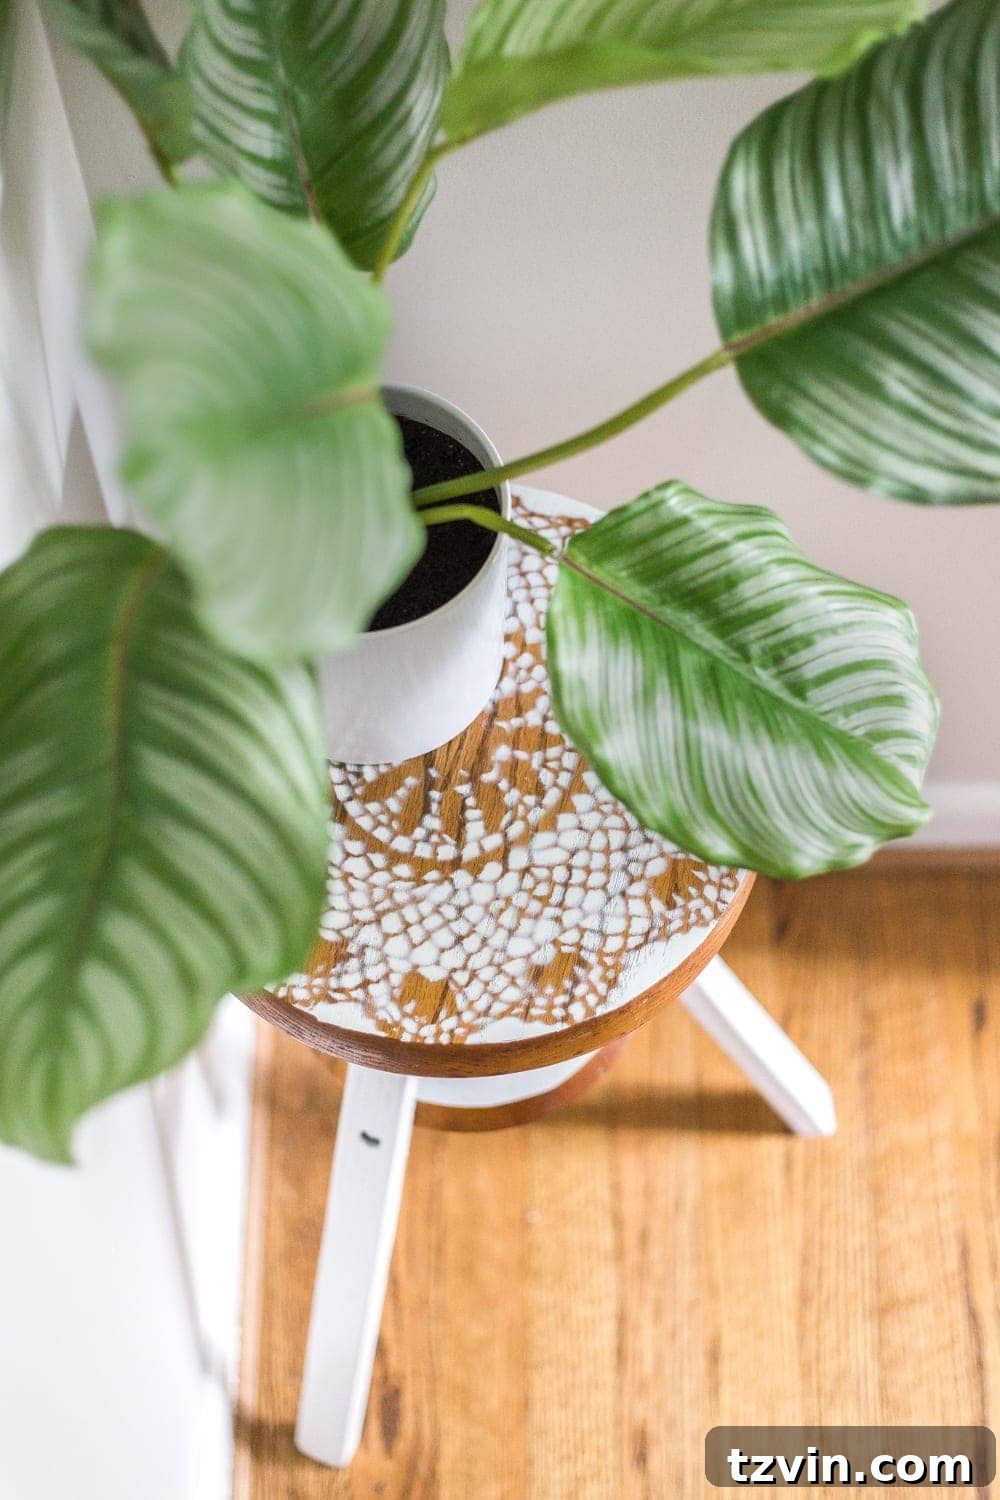
Discover the Art of Thrifting: Transforming a Piano Stool into a Global-Inspired DIY Plant Stand with Spray Paint and a Doily
There’s a unique joy that comes from turning forgotten treasures into cherished home decor. For many, including myself, the thrill of a thrift store find, followed by a creative makeover, is nothing short of therapeutic. It’s akin to the simple pleasures of a perfect pedicure, the aroma of freshly brewed coffee, or getting lost in the pages of a captivating book. These small acts of self-care and creativity are vital, especially when life gets a bit hectic.
Just last week, my household experienced a challenging sleep regression with our little one, Regan. This period left me feeling quite overwhelmed and in desperate need of a creative escape. So, during one of her rare, brief 30-minute naps, I found my solace. I dove into a quick DIY project, transforming my latest thrift store score. The result? A charming and unique plant stand that instantly uplifted my spirits and added a touch of global flair to our home.
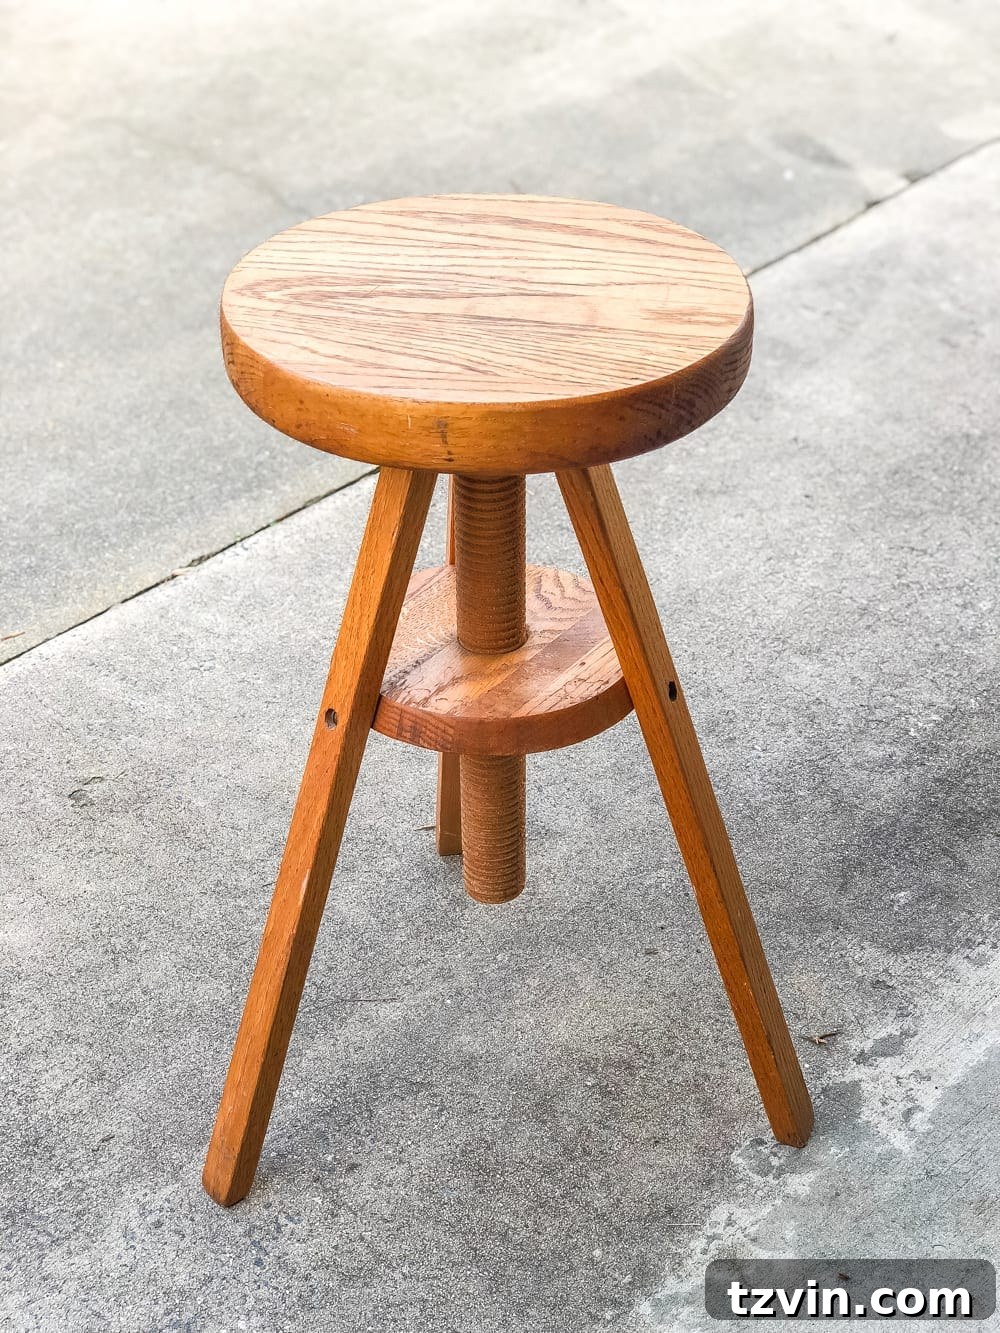
The Hunt for the Perfect Piece: A $15 Piano Stool
The foundation of this project was a fantastic find: an antique piano stool I stumbled upon for just $15. Despite not owning a piano, nor possessing any musical inclination, I immediately envisioned its potential. Its sturdy structure and classic silhouette were perfect for repurposing. I knew exactly where this versatile piece would shine in our home.
This delightful project became my contribution to this month’s Trash to Treasure Transformation Tuesday, a community of bloggers dedicated to giving forgotten items a new lease on life. You’ll find links to other inspiring thrifty flips from my fellow bloggers at the end of this post, showcasing the incredible possibilities of upcycling.
My vision for the piano stool was clear: it would serve as a charming plant stand in a previously overlooked corner of our upstairs hallway. This particular spot was just begging for a touch of greenery, and the stool’s size and shape were a perfect fit to introduce some much-needed life and style.
Crafting a Doily Stenciled Plant Stand: From Piano Stool to Chic Decor
This transformation is a testament to how simple materials can create a high-impact, designer-inspired look. The key elements? A thrifted piano stool, a can of spray paint, and a delicate crocheted doily. The combination results in a piece that echoes global design sensibilities with a touch of vintage charm, proving that beautiful home decor doesn’t require a hefty budget.
Supplies You’ll Need: (Please note, some affiliate links are provided below for your convenience. Full disclosure here.)
- Piano Stool: Seek out sturdy, well-built stools at thrift stores, yard sales, or even online marketplaces like Etsy or eBay. Look for interesting leg designs or a comfortable seat that can be easily repurposed.
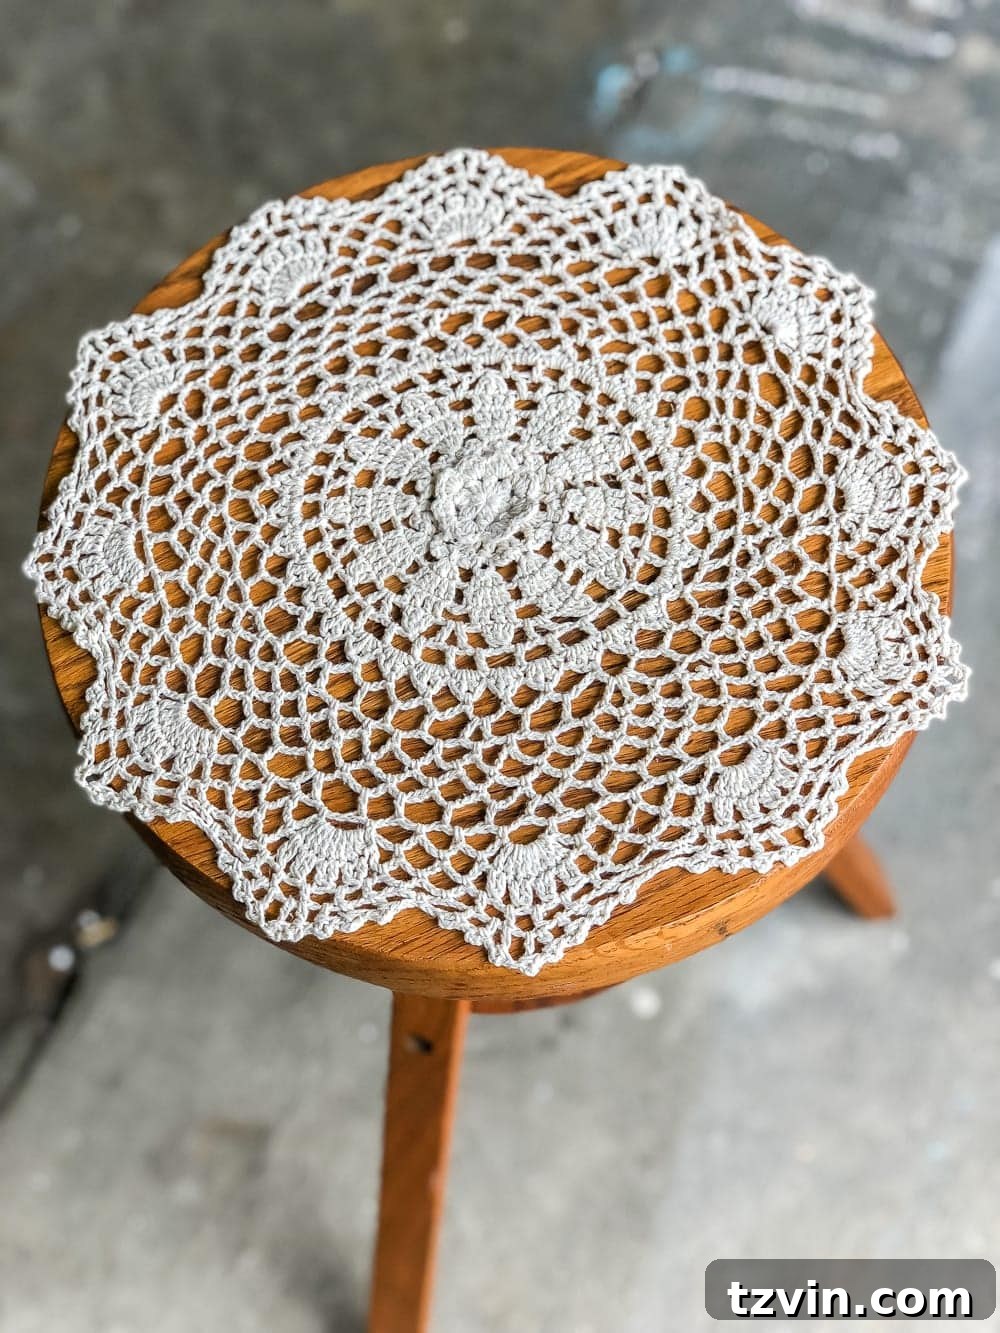
- Crocheted Doily: The magic touch for our stencil. Choose a doily with a beautiful, intricate pattern that will translate well when sprayed. Older, thrifted doilies often have the most unique designs. A crocheted doily is ideal for this project due to its texture.
- Spray Primer: Essential for ensuring your paint adheres beautifully and evenly, especially to older, potentially varnished wood. A good quality spray primer creates a clean canvas.
- White Spray Paint: For a fresh, clean, and versatile finish. Opt for a durable, interior/exterior formula for longevity. White spray paint offers a crisp contrast to the doily pattern and the natural wood.
- Painter’s Tape: Crucial for creating clean lines and protecting areas you wish to keep unpainted.
- Drop Cloth or Cardboard: To protect your work surface from overspray.
- Rag and Cleaner: For preparing your stool before painting.
- Optional: Clear Protective Topcoat: For added durability and a professional finish.
Step-by-Step Guide to Your Piano Stool Plant Stand Makeover
Achieving this elegant transformation is remarkably simple and quick, making it perfect for a busy schedule or a spontaneous creative burst. Here’s how you can replicate this charming DIY:
1. Prepare Your Piano Stool
Before any paint can touch your thrifted treasure, proper preparation is key. Begin by thoroughly cleaning the piano stool. Use a damp rag and a mild all-purpose cleaner to wipe away any dust, grime, or residue that has accumulated over the years. Pay special attention to cracks and crevices. Once clean, allow the stool to dry completely. If the stool has a very glossy finish or any rough spots, a light sanding with fine-grit sandpaper (around 220-grit) can help the primer adhere better. Just a quick scuff sand is usually sufficient; remember to wipe off any sanding dust afterward.
2. Plan Your Design and Tape Off Sections
This project embraces a minimalist global aesthetic by incorporating both painted and natural wood elements. To achieve this, use painter’s tape to carefully section off any areas of the stool you wish to keep in their original wood finish. For my stool, I decided to tape off parts of the seat and some segments of the legs, aiming for a balanced look where the natural wood grain could still peek through the fresh white paint. Ensure the tape is pressed down firmly to prevent any paint bleeding underneath.
3. The Doily Stencil Technique
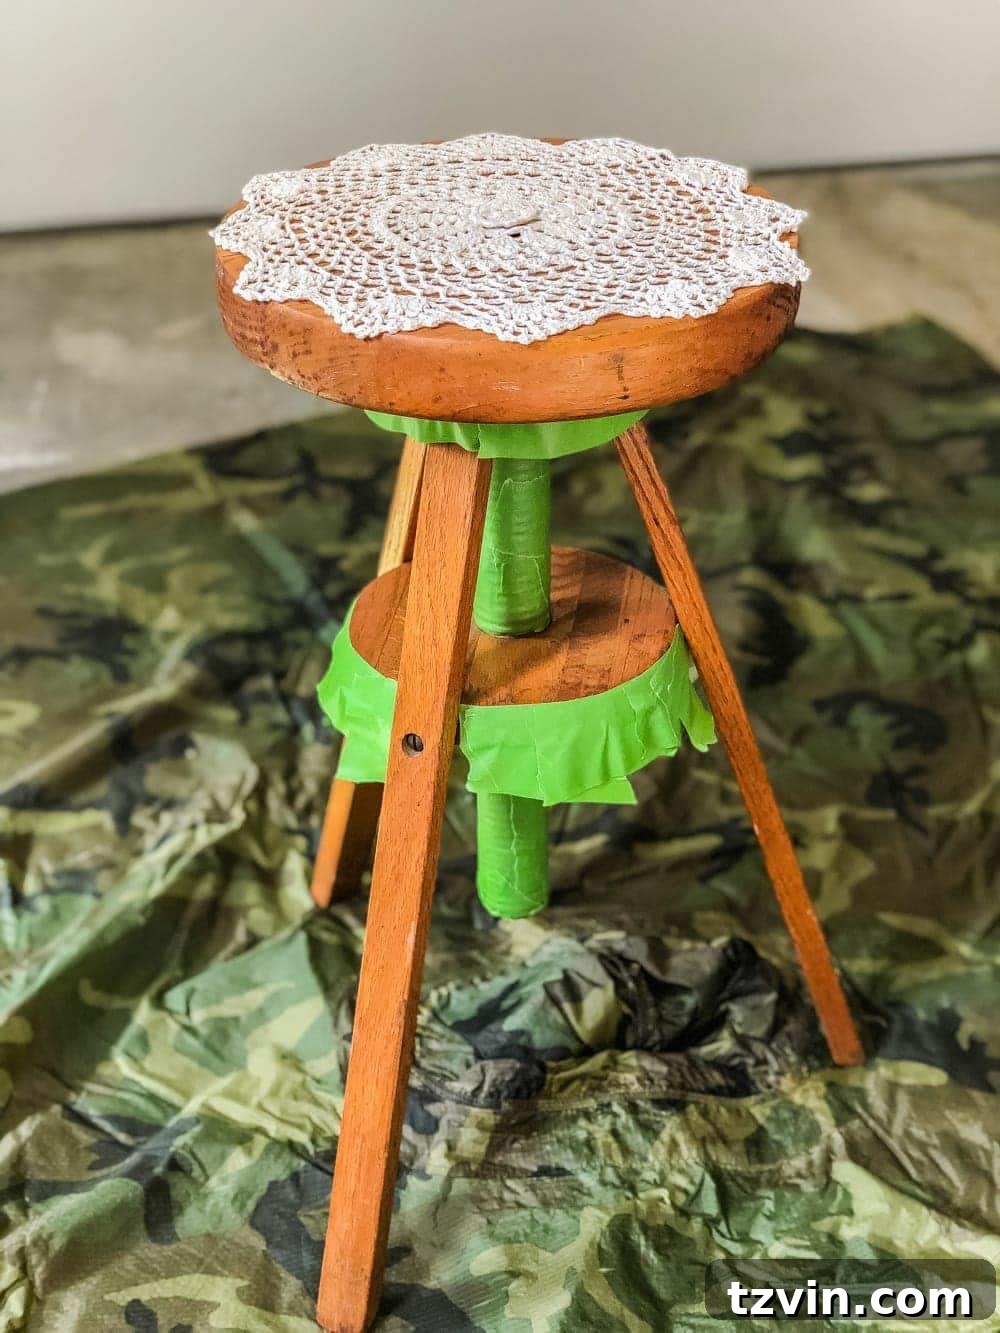
This is where the doily works its magic. Carefully lay the crocheted doily onto the taped-off top surface of the stool. You might need a few small pieces of painter’s tape or some weights around the edges to hold it securely in place, especially if it’s windy or if the doily is prone to shifting. The goal is for the doily to lie as flat as possible against the surface to get a crisp stencil pattern.
Now, it’s time to paint! In a well-ventilated area (ideally outdoors on a drop cloth), apply a light, even coat of spray primer over the doily and any other areas of the stool you intend to paint. Light coats are crucial with spray paint to avoid drips and ensure a smooth finish. Allow the primer to dry completely according to the manufacturer’s instructions. This usually takes about 15-20 minutes, but check the can for specific drying times.
Once the primer is dry, follow up with your white spray paint. Again, apply several thin, even coats, rather than one thick coat, allowing each coat to dry to the touch before applying the next. This layering technique helps build up color smoothly and prevents the paint from seeping under the doily. Continue this process until you achieve your desired opacity on the doily-stenciled area and the legs.
4. Painting the Legs and Other Exposed Areas
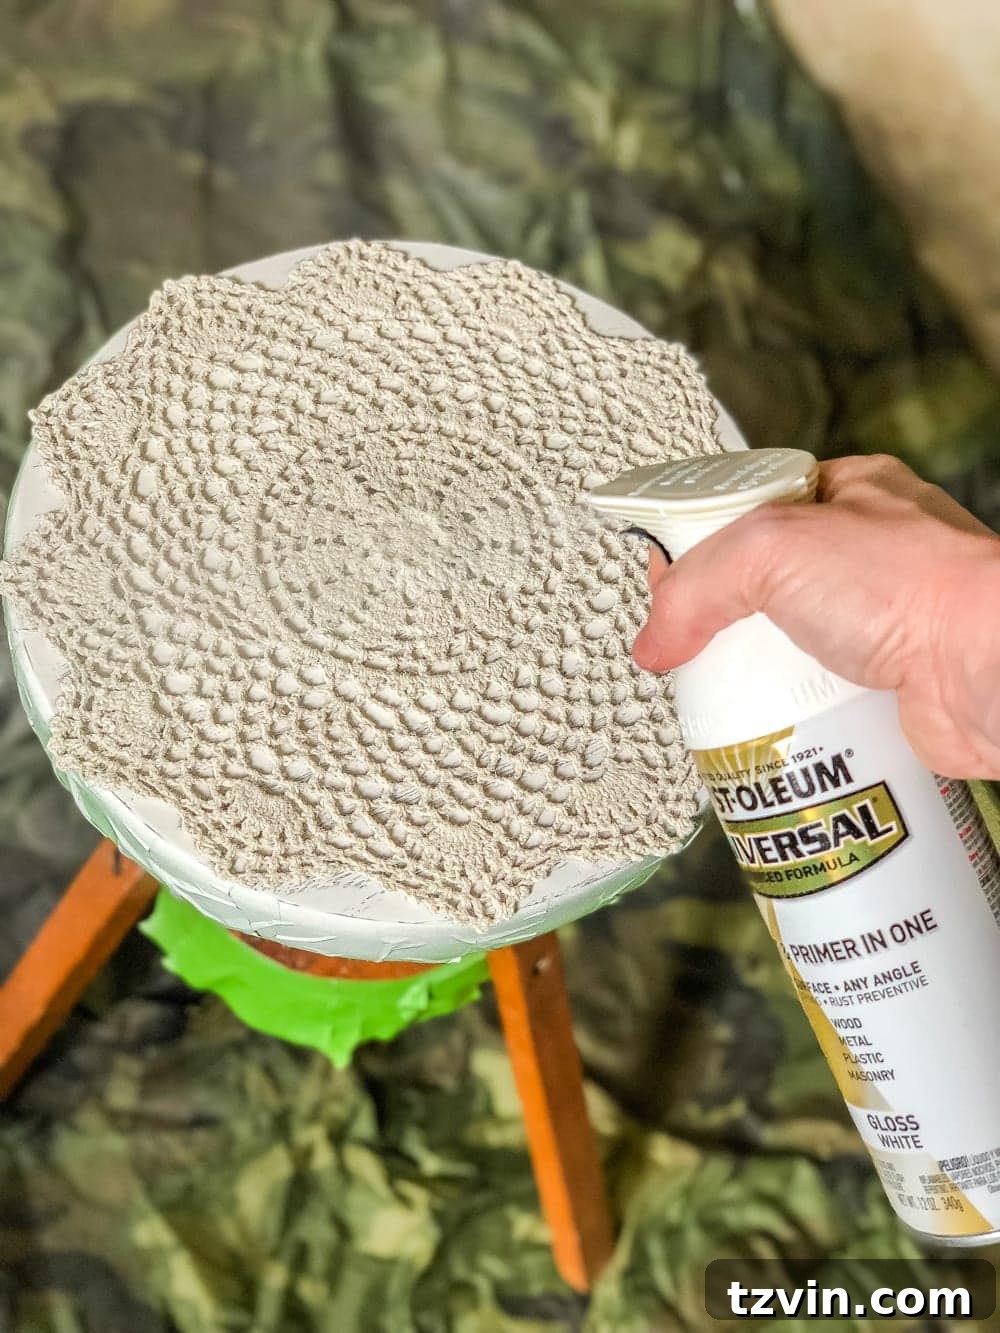
While the doily stencil is drying, you can simultaneously apply primer and then white spray paint to the legs and any other taped-off sections you designated for painting. Follow the same principle: multiple thin coats are always better than one thick, drippy coat. Rotate the stool as you spray to ensure full and even coverage on all sides of the legs. Pay attention to hidden angles to avoid missed spots.
5. The Reveal and Finishing Touches
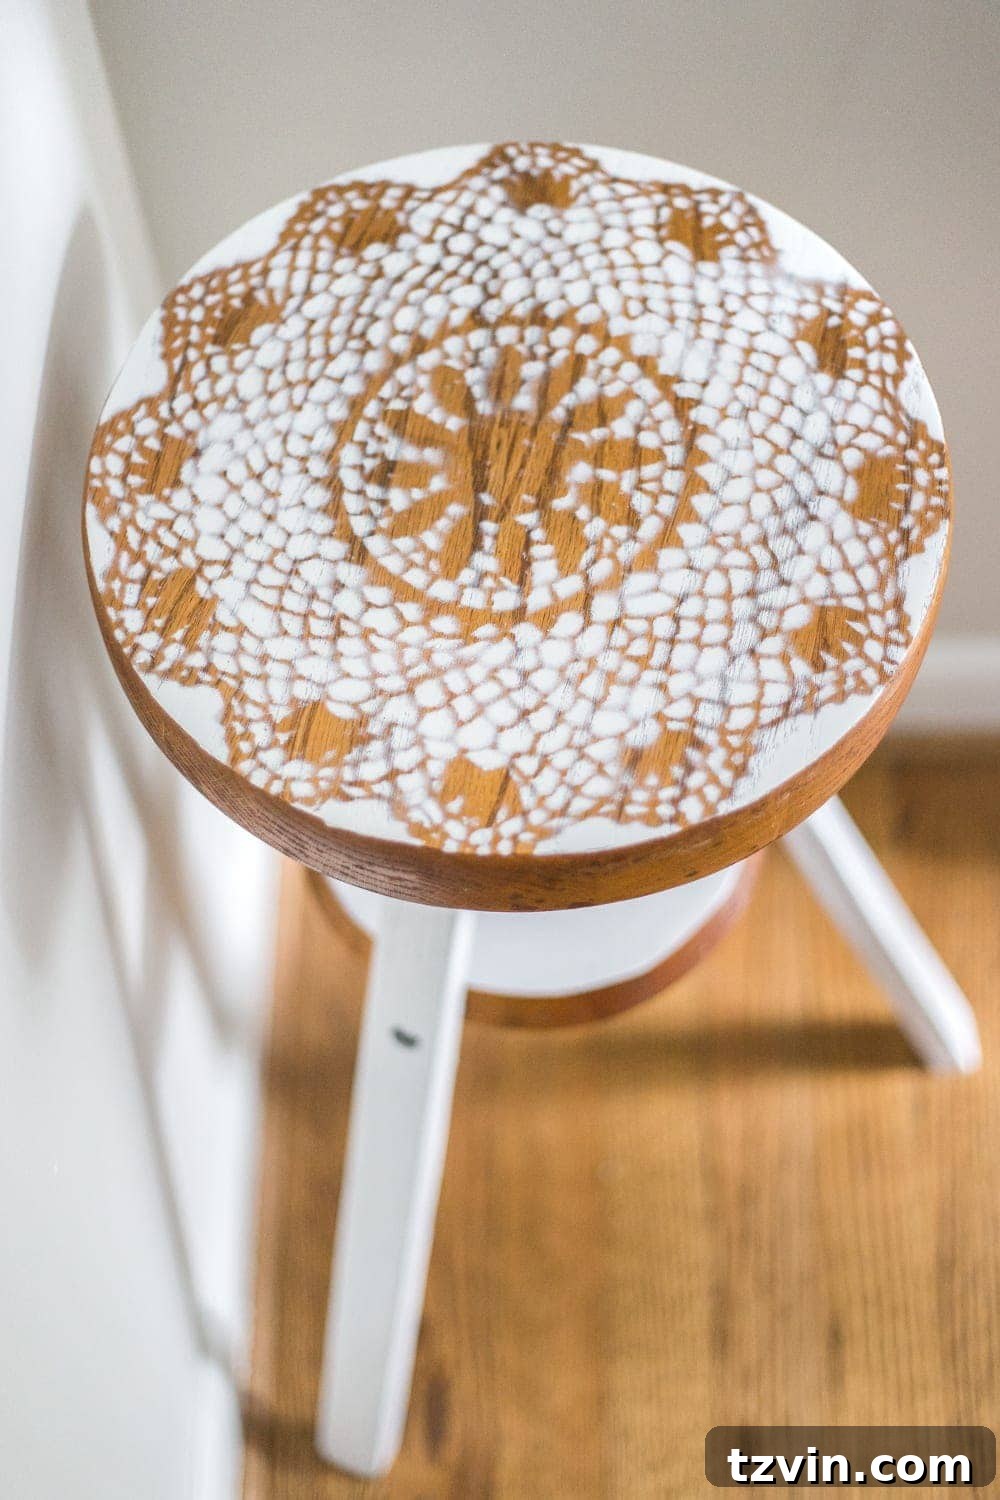
Once all the paint is completely dry to the touch (and ideally, after it has had a little more time to cure, perhaps a few hours), carefully remove the painter’s tape and the doily. Peel the tape slowly and at a shallow angle to prevent lifting any of the fresh paint. The reveal of the crisp doily pattern against the painted surface is incredibly satisfying! It took me all of about 30 minutes of active work, and the transformation was absolutely charming.
If you desire extra protection against scratches and wear, especially if the plant stand will be in a high-traffic area, consider applying a clear matte or satin protective topcoat. This final step helps seal the paint and enhances its durability.
This quick project truly brought me immense joy, a much-needed creative outlet during a demanding time. There’s something profoundly satisfying about taking a humble, discarded item and imbuing it with new life and purpose, all within the span of a short “paint therapy” session.
A New Lease on Life: The Plant Stand in Its Home
The newly transformed piano stool found its perfect home in our upstairs hallway. Given that this corner receives absolutely no natural light when the doors are closed, I opted for a beautiful faux plant. Modern artificial plants have come a long way, and this one looks incredibly realistic, adding that essential touch of greenery without the worry of wilting or upkeep in a dark space.
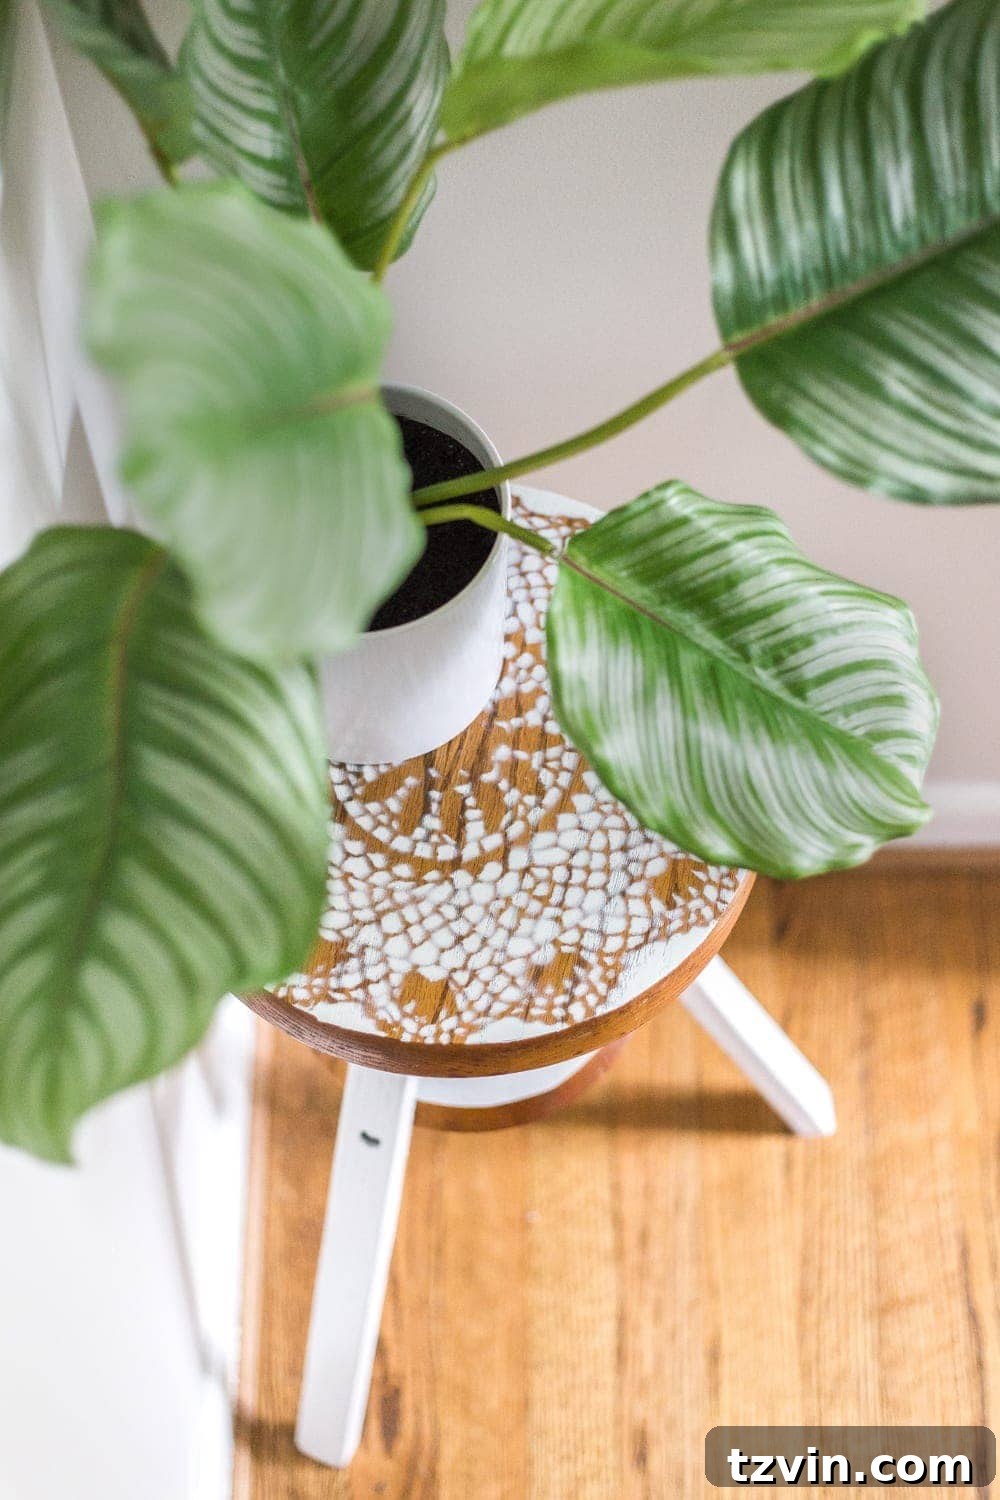
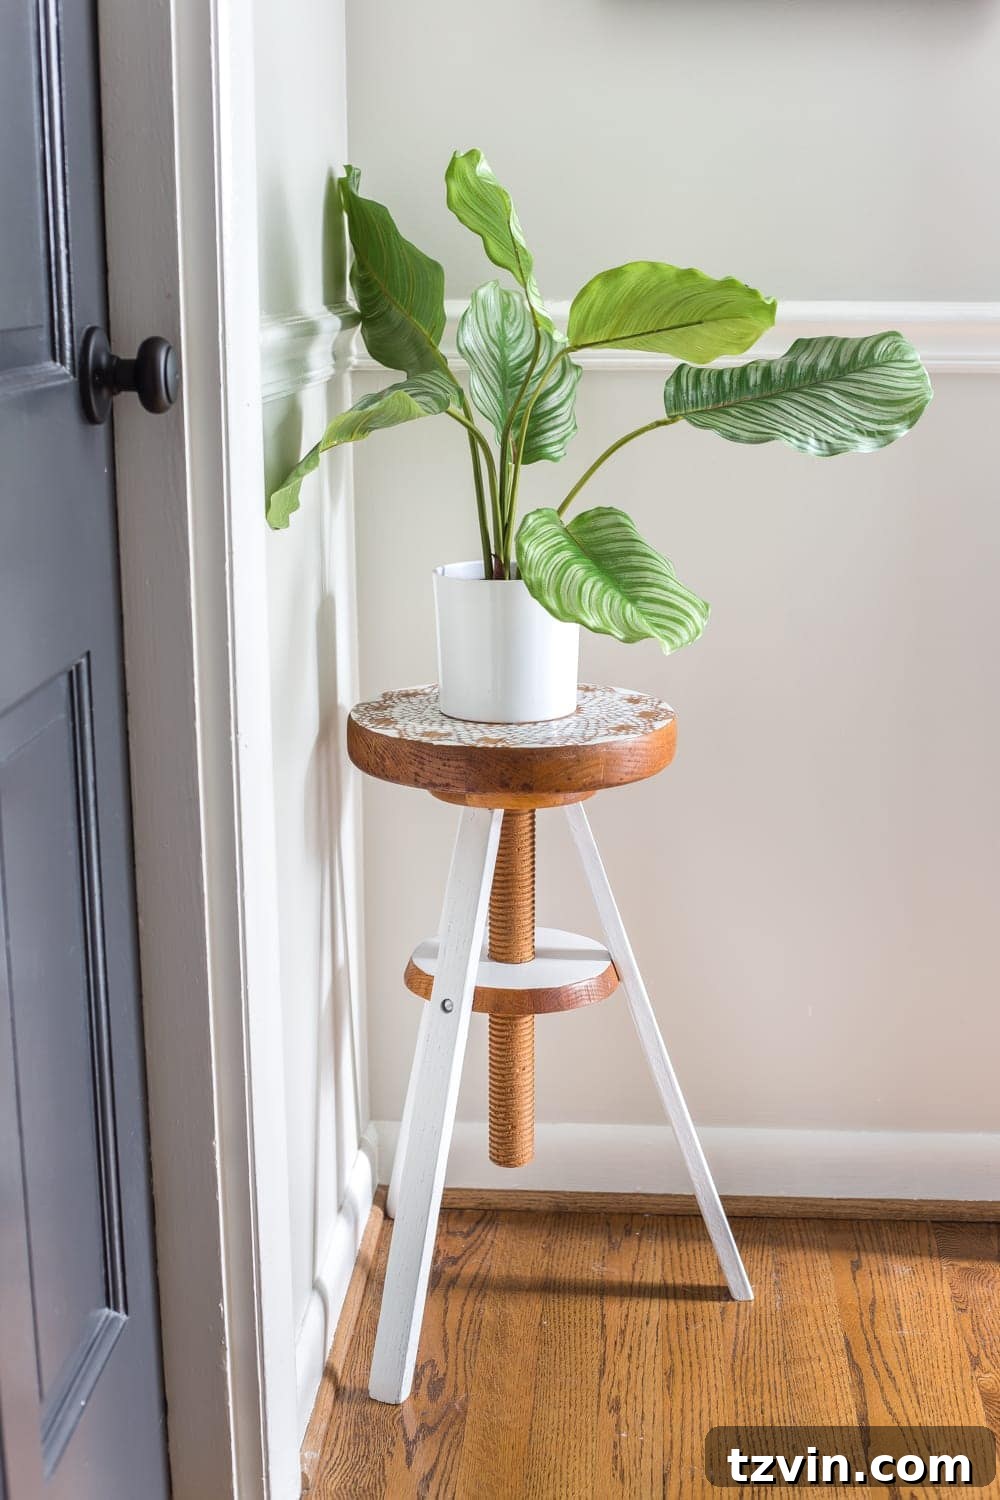
It’s astonishing how perfectly it fits, as if it were always destined to be a plant stand. The doily stencil and crisp white paint give it an elegant, almost Anthropologie-esque charm – a high-end designer look achieved for a fraction of the cost. This is the true power of thoughtful DIY and thrifting: creating bespoke pieces that reflect your personal style without breaking the bank.
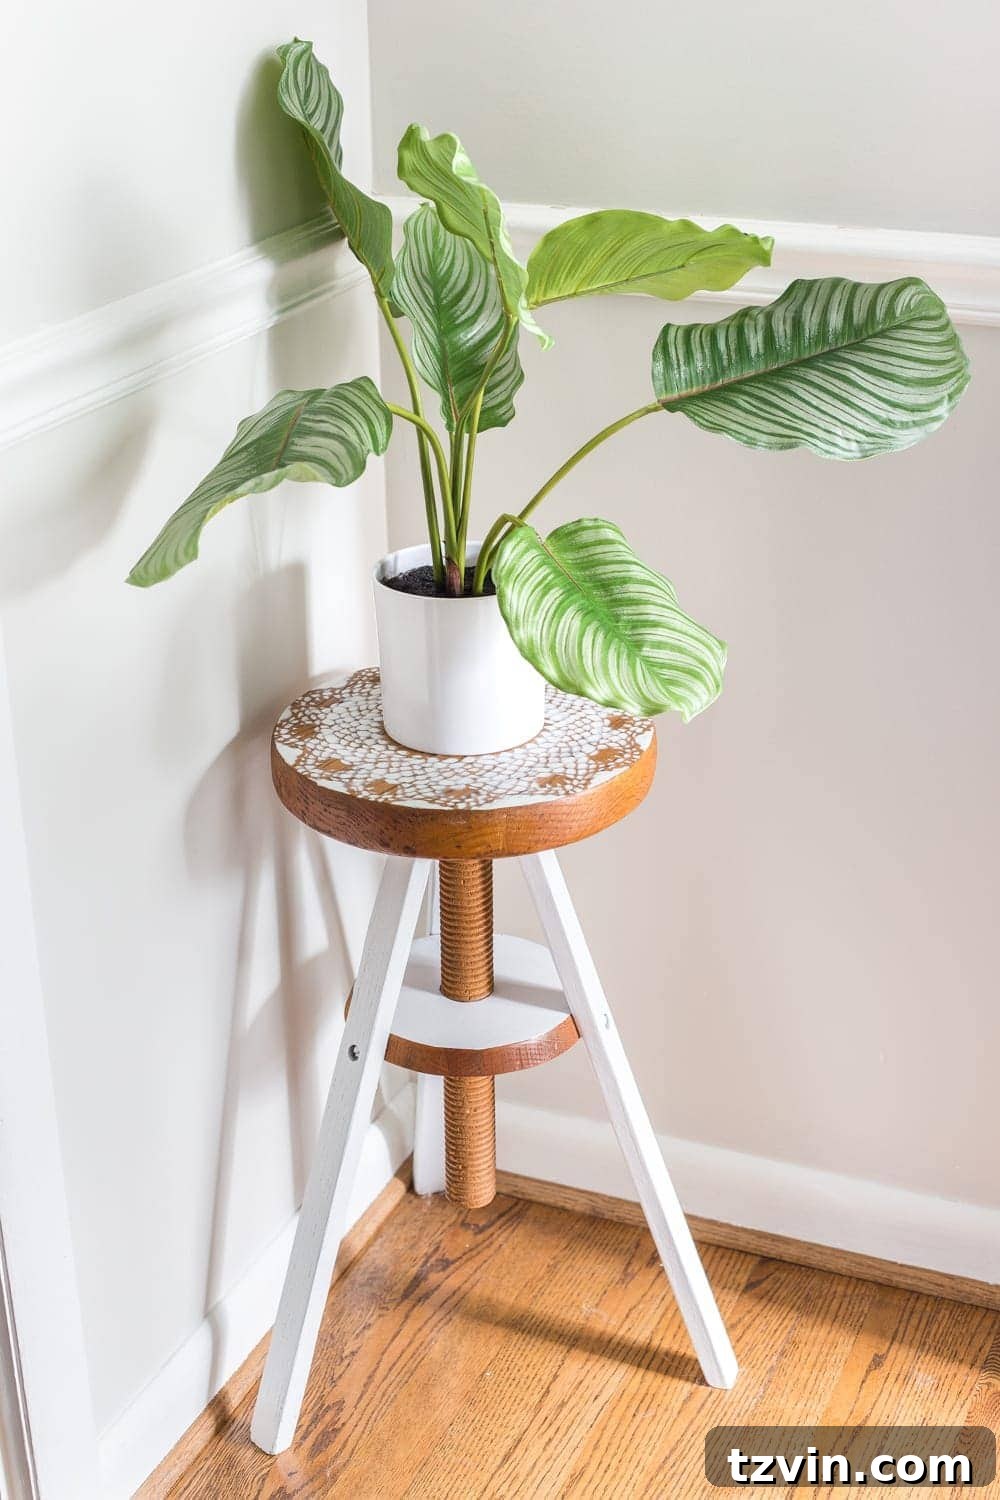
Now, this once-bare corner of our hallway radiates life and warmth. Despite my confessed “black thumb” when it comes to living plants, I am an absolute sucker for greenery in any form. It instantly revitalizes a space, bringing a touch of nature indoors and fostering a more inviting atmosphere. This small addition makes a monumental difference in the overall feel of our hallway.
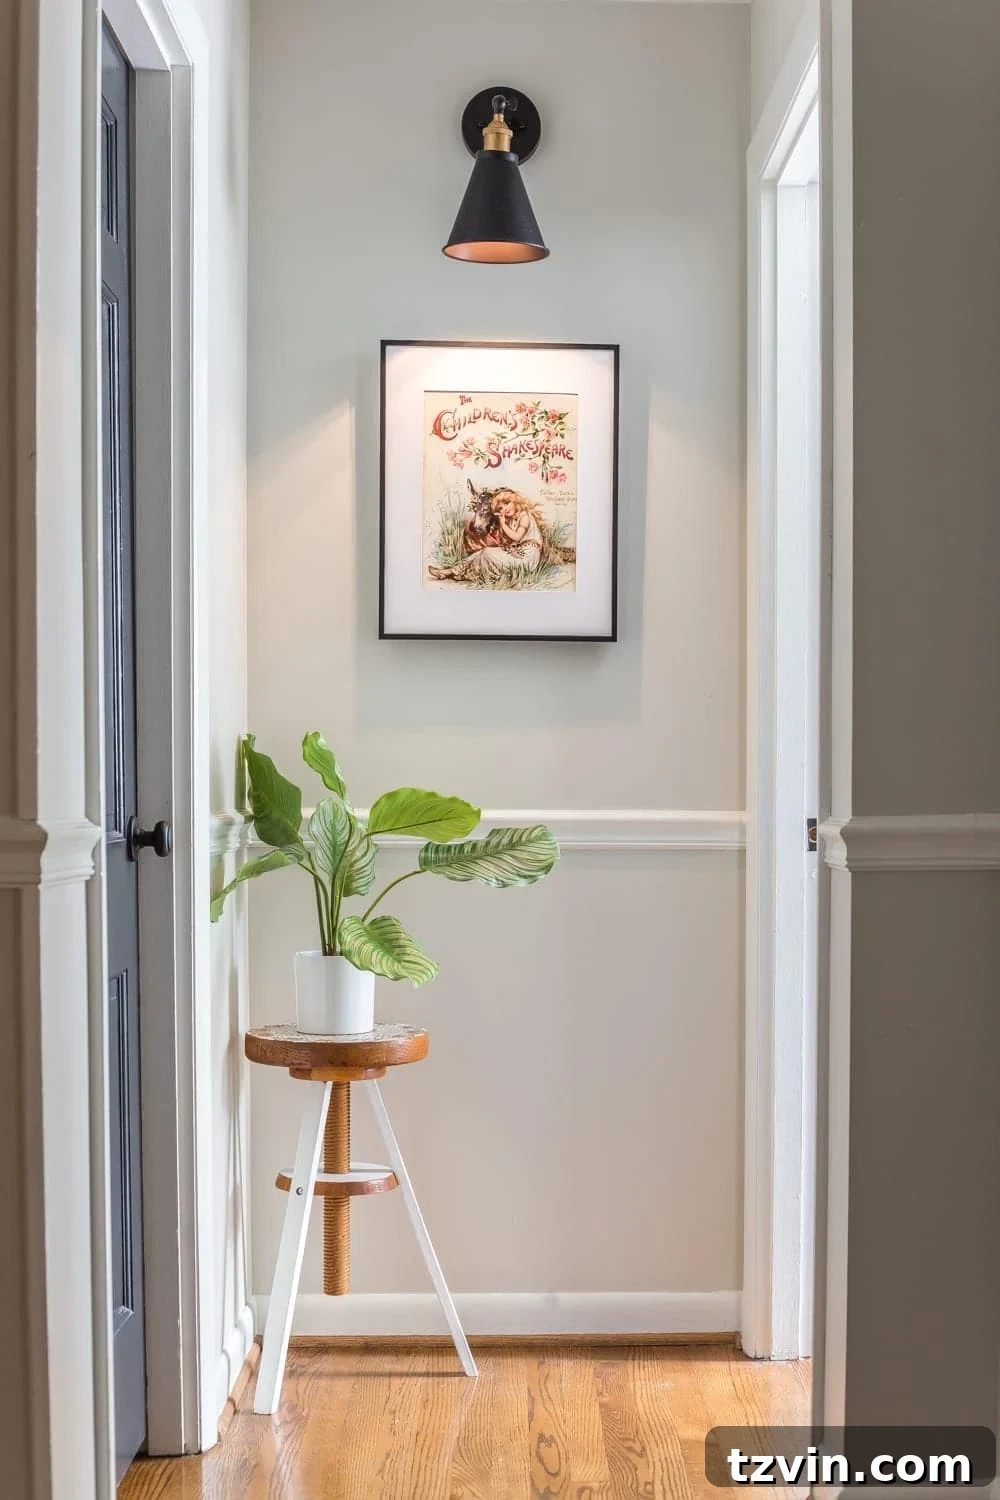
Our upstairs hallway has been undergoing a gradual transformation, with a few other delightful details already in place. I’m holding off on sharing the full before-and-after reveal until one more special piece arrives. The Children’s Shakespeare art on the wall holds a particularly dear place in my heart, especially since both my daughters, Regan and Olivia, bear names first coined by Shakespeare. #NerdAlert #ThisMamaHasAnEnglishDegree It’s these personal touches that truly make a house a home, weaving stories and memories into the fabric of our decor.
Every time I walk past our bedroom door, this lovely new plant stand brings a smile to my face. It’s a testament to the power of creating happy nooks and corners throughout your home, each imbued with character and love. DIY projects like this are not just about saving money; they’re about infusing your living space with personality and a sense of accomplishment.
Join the Thrifting Revolution!
I hope this simple yet impactful piano stool makeover inspires you to look at everyday items with a fresh, creative perspective. Thrifting and DIY offer an incredible pathway to personalized, budget-friendly, and sustainable home decor. It’s a rewarding journey that often leads to unique pieces with stories to tell. So, next time you’re browsing a thrift store, consider the hidden potential in every object you see!
Explore more amazing transformations from this month’s Trash to Treasure Tuesday:
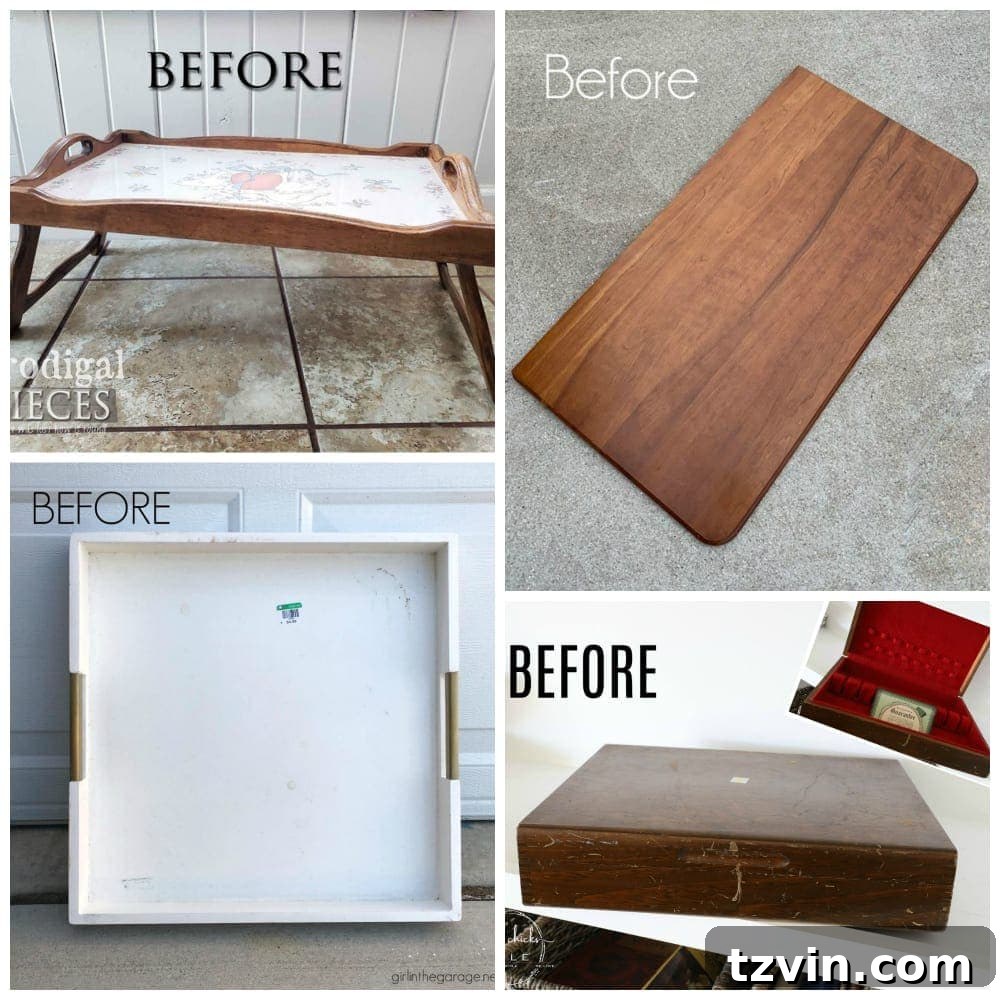
Clockwise from top left, discover these incredible flips:
Prodigal Pieces | Confessions of a Serial DIYer | Artsy Chicks Rule | Girl in the Garage
Loved this project? Pin it for later inspiration and share the joy of DIY!