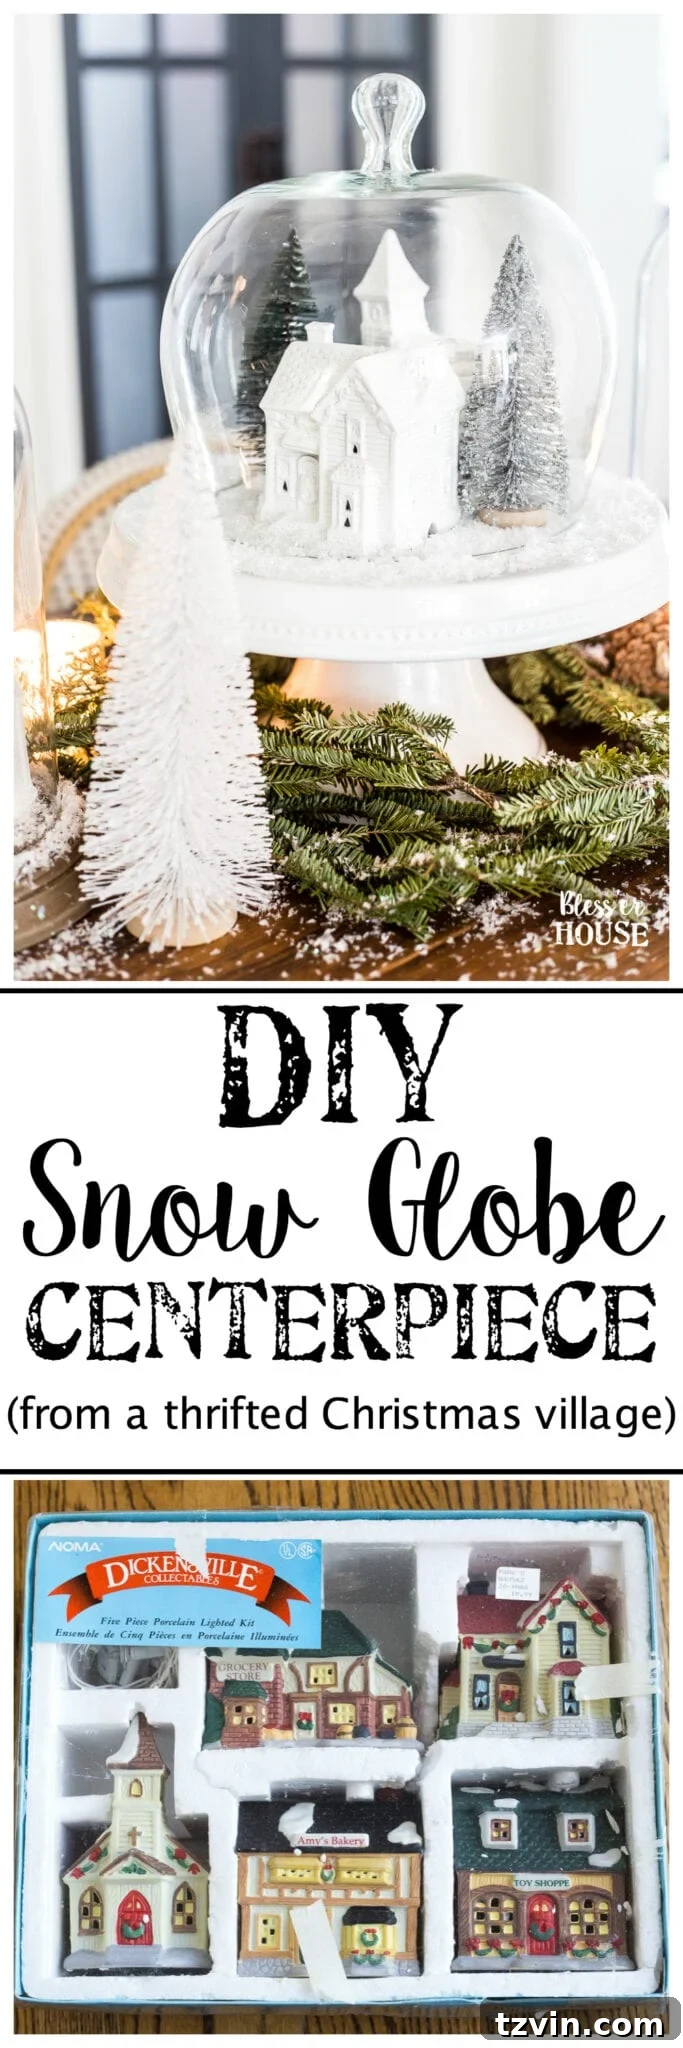
Transform Thrift Store Finds into a Magical DIY Christmas Snow Globe Centerpiece
There’s a unique thrill in discovering forgotten treasures at a thrift store. For anyone with a creative spark, these humble finds often whisper promises of transformation. And when it comes to quick, dramatic makeovers, nothing quite beats the power of a simple can of spray paint. It’s a game-changer, turning the mundane into magnificent with just a few swift strokes.
My weekly pilgrimage to the local thrift store often sparks these creative visions. Many times, I find myself thinking, “With a little spray paint, that could look absolutely stunning!” This exact thought struck me when I stumbled upon an old, somewhat dated Christmas village set for a mere $8.
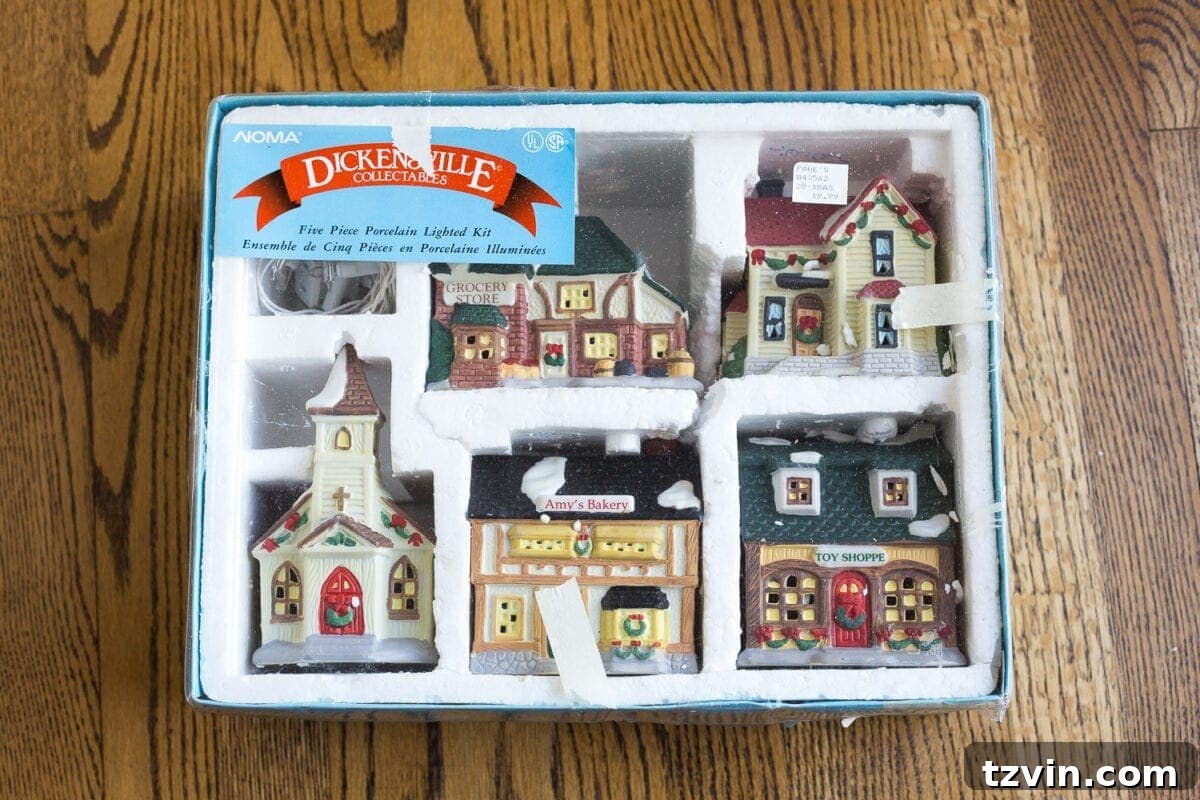
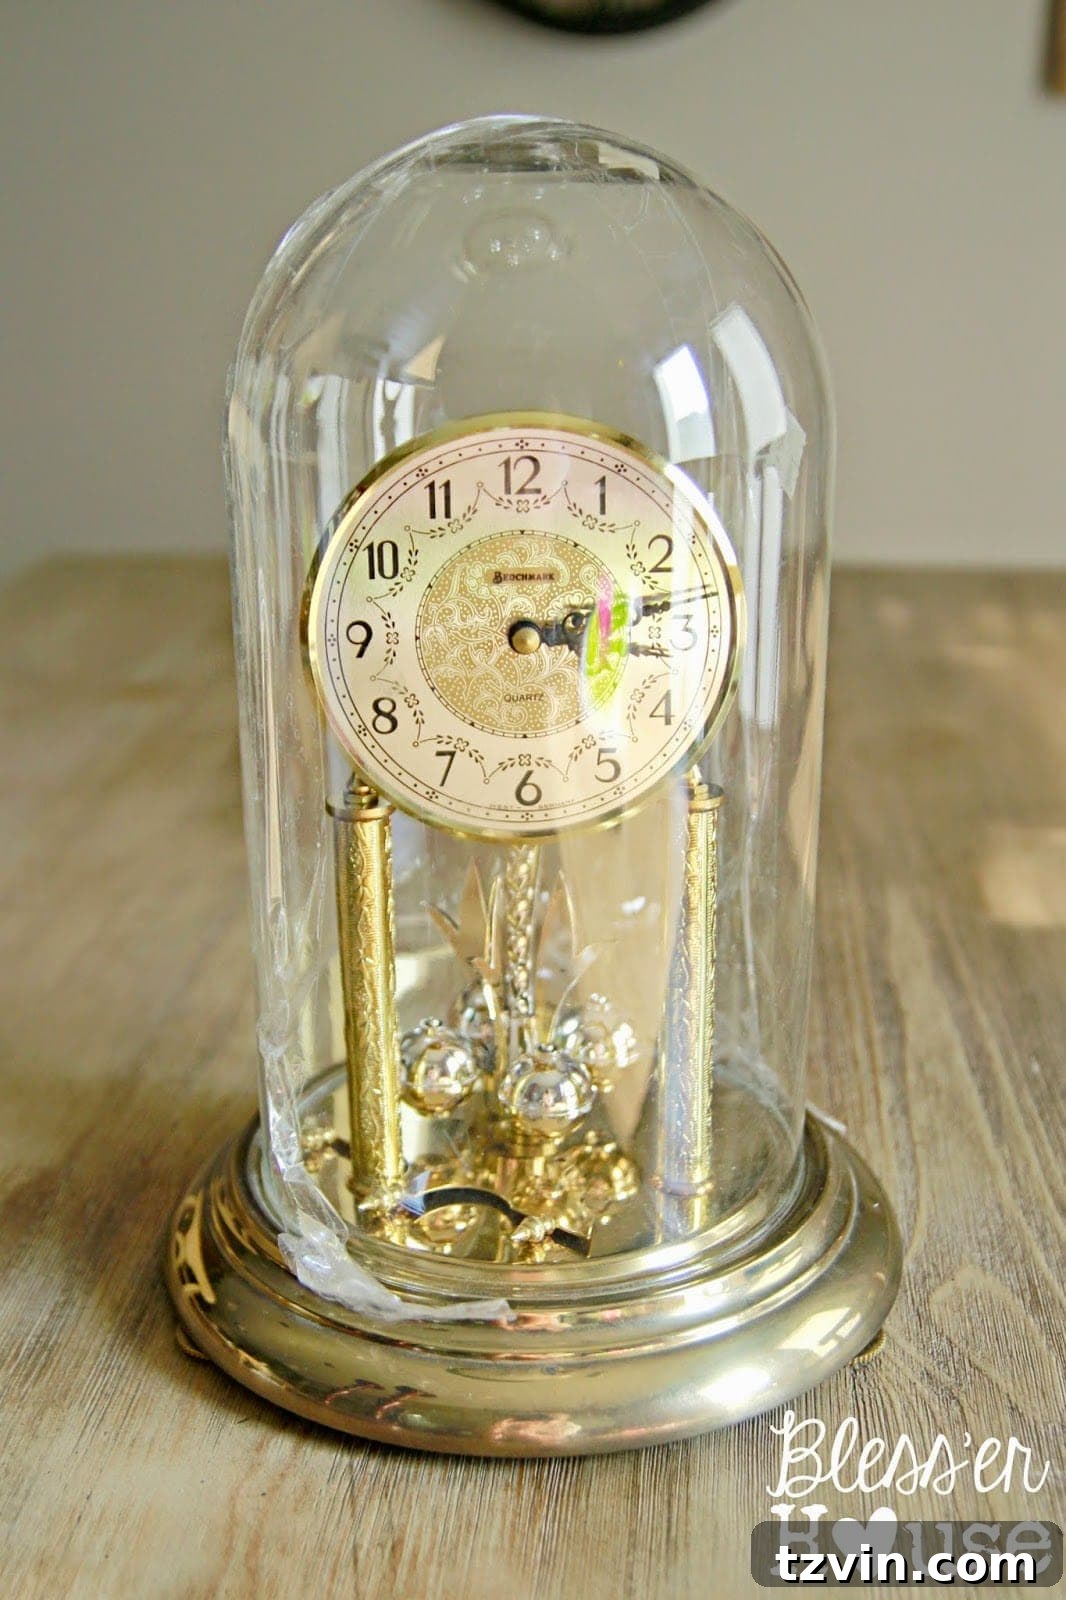
Little did I know, this village was destined for a much grander purpose. It was the perfect match for a pair of vintage clock domes I had acquired from the thrift store previously. Together, they were meant to become an enchanting snow globe-inspired centerpiece, breathing new life into forgotten objects and bringing a touch of personalized magic to our holiday table.
Why Choose a DIY Christmas Snow Globe Centerpiece?
Creating your own holiday decor offers numerous benefits beyond just saving money. It allows for complete customization, ensuring your decorations perfectly match your home’s aesthetic. Upcycling thrift store finds is also an environmentally friendly choice, giving new purpose to items that might otherwise be discarded. This particular project is not only budget-friendly but also a fantastic way to create a unique, conversation-starting piece that will be cherished for years to come.
- Personalized Touch: Design a centerpiece that perfectly reflects your style and holiday vision.
- Budget-Friendly: Save significantly by using thrifted items and basic craft supplies.
- Sustainable Decor: Give old items a new life, contributing to a more eco-conscious holiday season.
- Family Fun: A simple, enjoyable craft that can involve the whole family, especially younger children.
- Unique Statement Piece: Create something truly one-of-a-kind that store-bought decorations can’t replicate.
Gather Your Materials: Essential Supplies for Your Snow Globe Centerpiece
The beauty of this project lies in its simplicity and the accessibility of its materials. Most items can be found at thrift stores, dollar stores, or easily ordered online. Here’s what you’ll need to bring your Christmas vision to life:
Supplies Used: (Some affiliate links are provided below for your convenience, helping you find exactly what you need.)
- Rustoleum Semi-Gloss White Spray Paint: Opt for a good quality paint like Rustoleum for superior coverage and a smooth, elegant finish. White unifies disparate figurines and creates that classic snowy look.
- Christmas Village Figurines: These are the heart of your snow globe. If your local thrift store doesn’t yield results, don’t despair! Sites like eBay are treasure troves for inexpensive sets. Look for the less “collectible” ones, as they’re often cheaper and perfect for painting.
- Dome Clocks: The glass domes are essential for the snow globe effect. I’ve found incredible deals, sometimes as low as $6, at thrift stores. If you’re struggling to find them locally, eBay is another excellent resource. Any clock with a removable dome will work.
- Domed Cake Stand: This provides an elegant base for your display, elevating the entire centerpiece. Many homes already have one tucked away, offering a perfect opportunity to put it to creative use.
- Fake Snow: A must-have for achieving that magical winter wonderland look. A small bag goes a long way.
- Bottle Brush Trees: These charming mini trees add dimension and color to your snowy landscape. Keep an eye out for them in various sizes at dollar stores, craft stores, or the Target Dollar Spot.
- Christmas Tree Clippings: For a touch of natural freshness and that authentic holiday scent, gather free clippings from your town’s Christmas tree lot. Most workers are happy to let you take discarded branches.
Step-by-Step Guide: Crafting Your Enchanting Snow Globe Centerpiece
1. Prepare Your Figurines for a Fresh Look
The first step to transforming your vintage Christmas village is giving it a fresh coat of paint. For this project, I opted for Rustoleum Semi-Gloss White Spray Paint. In my experience, Rustoleum offers superior coverage compared to other brands like Krylon, meaning fewer coats and a smoother finish.
Lay out your figurines on a drop cloth or newspaper in a well-ventilated area. Apply two even coats of the white spray paint, allowing adequate drying time between each coat. Ensure all surfaces are covered, creating a unified, snow-kissed appearance. This simple step instantly modernizes and elevates even the most dated figurines.
2. Readying the Dome Clocks
The dome clocks require a bit of modification. Carefully use a screwdriver to remove all the internal clock mechanisms and parts. You’ll be left with just the glass dome and its base. Once the internal components are removed, clean the bases thoroughly. For a rustic, weathered aesthetic that complements the snowy scene, I painted the clock bases using my weathered wood method with chalk paint and wax. This technique adds depth and character, but a simple coat of white or metallic paint would also look lovely.
3. Assembling Your Winter Wonderland
With your painted figurines and prepared clock bases ready, it’s time for the fun part: assembly! This is where your creativity truly shines.
- Lay the Foundation: Start by sprinkling a generous amount of fake snow onto the base of your dome clock. This creates a soft, inviting bed for your village.
- Place Your Village: Carefully arrange your newly painted Christmas village houses and figurines onto the fake snow. Play with different configurations until you achieve a pleasing scene.
- Add Greenery: Introduce the bottle brush trees and small clippings of real Christmas tree branches. These add height, texture, and a burst of natural color against the white snow. Experiment with varying sizes and placements to create visual interest.
- Enclose the Magic: Gently place the glass dome over your assembled scene, sealing in your miniature winter wonderland.
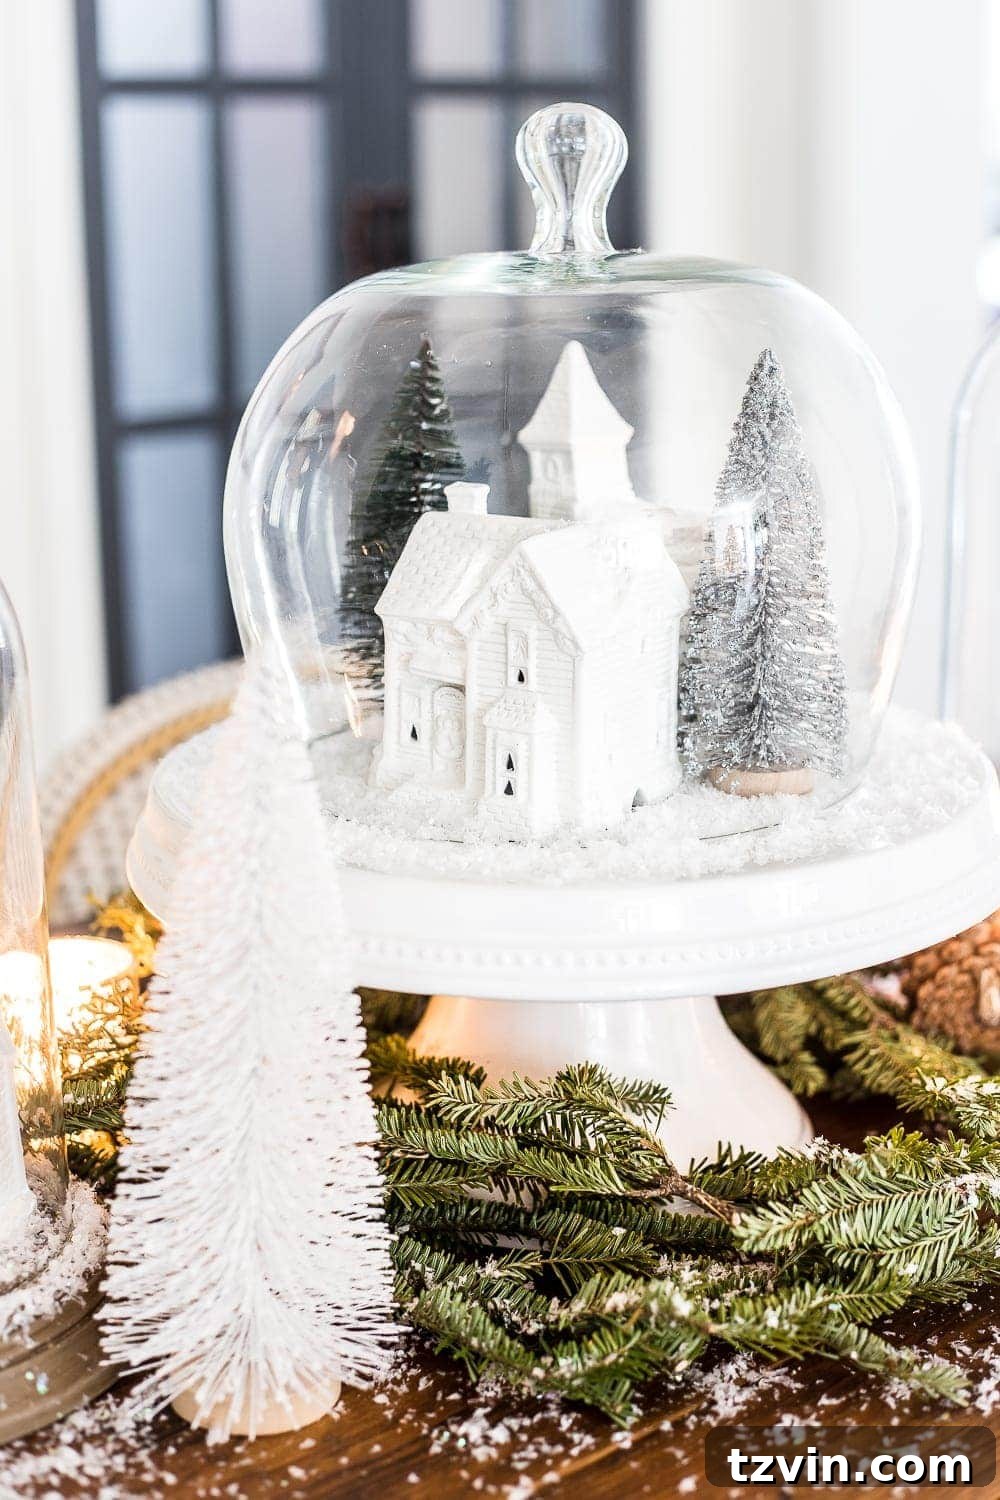
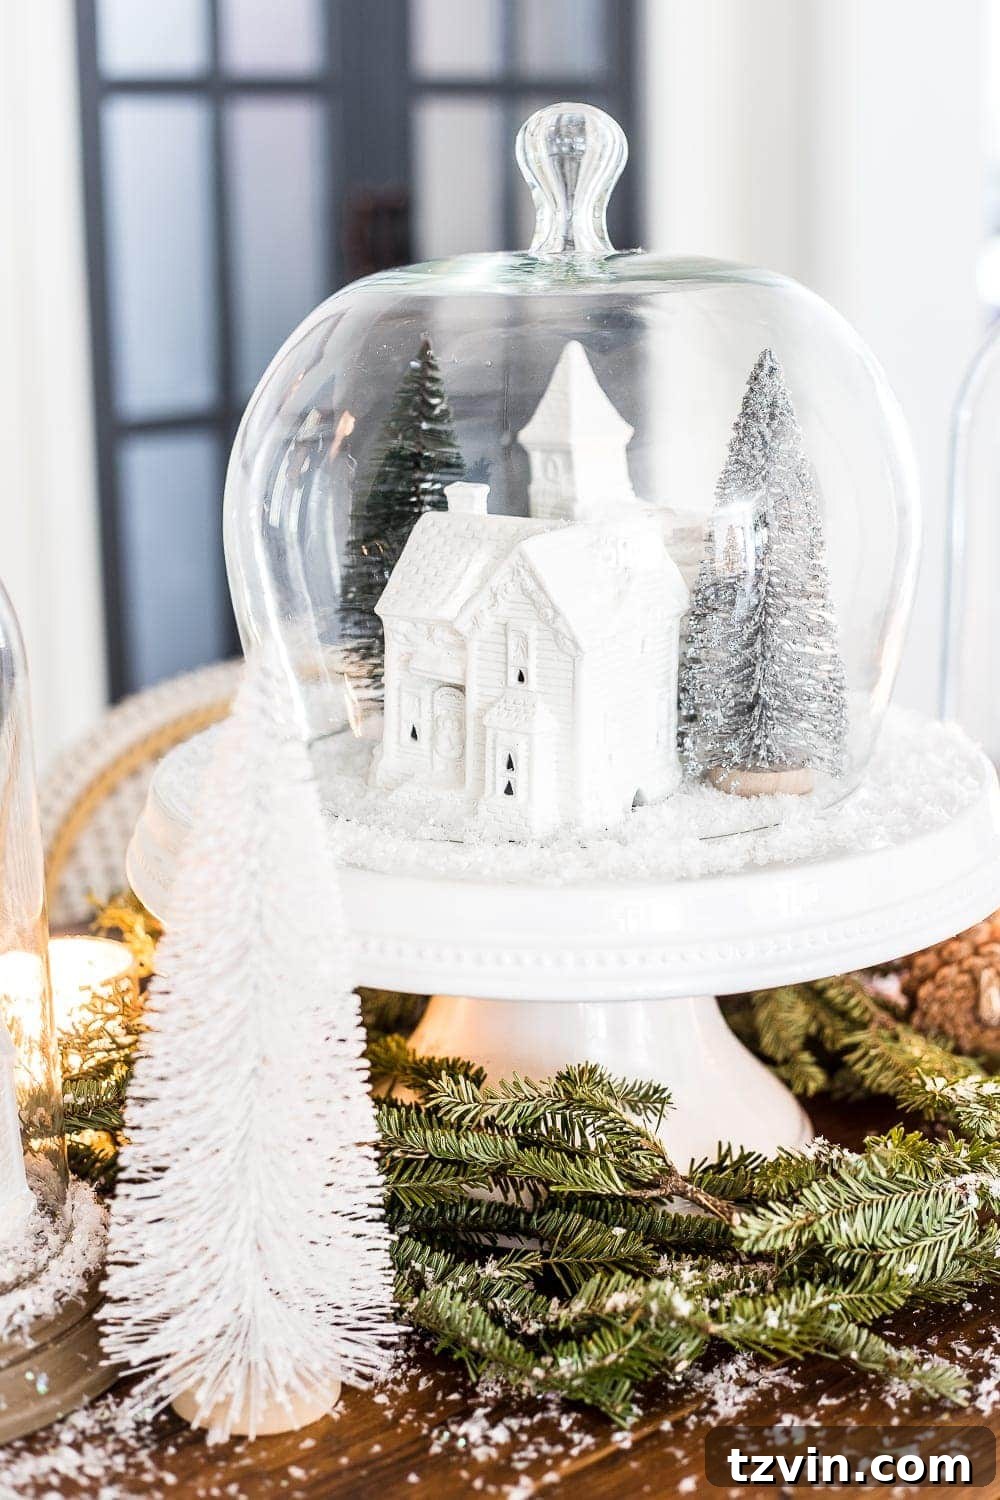
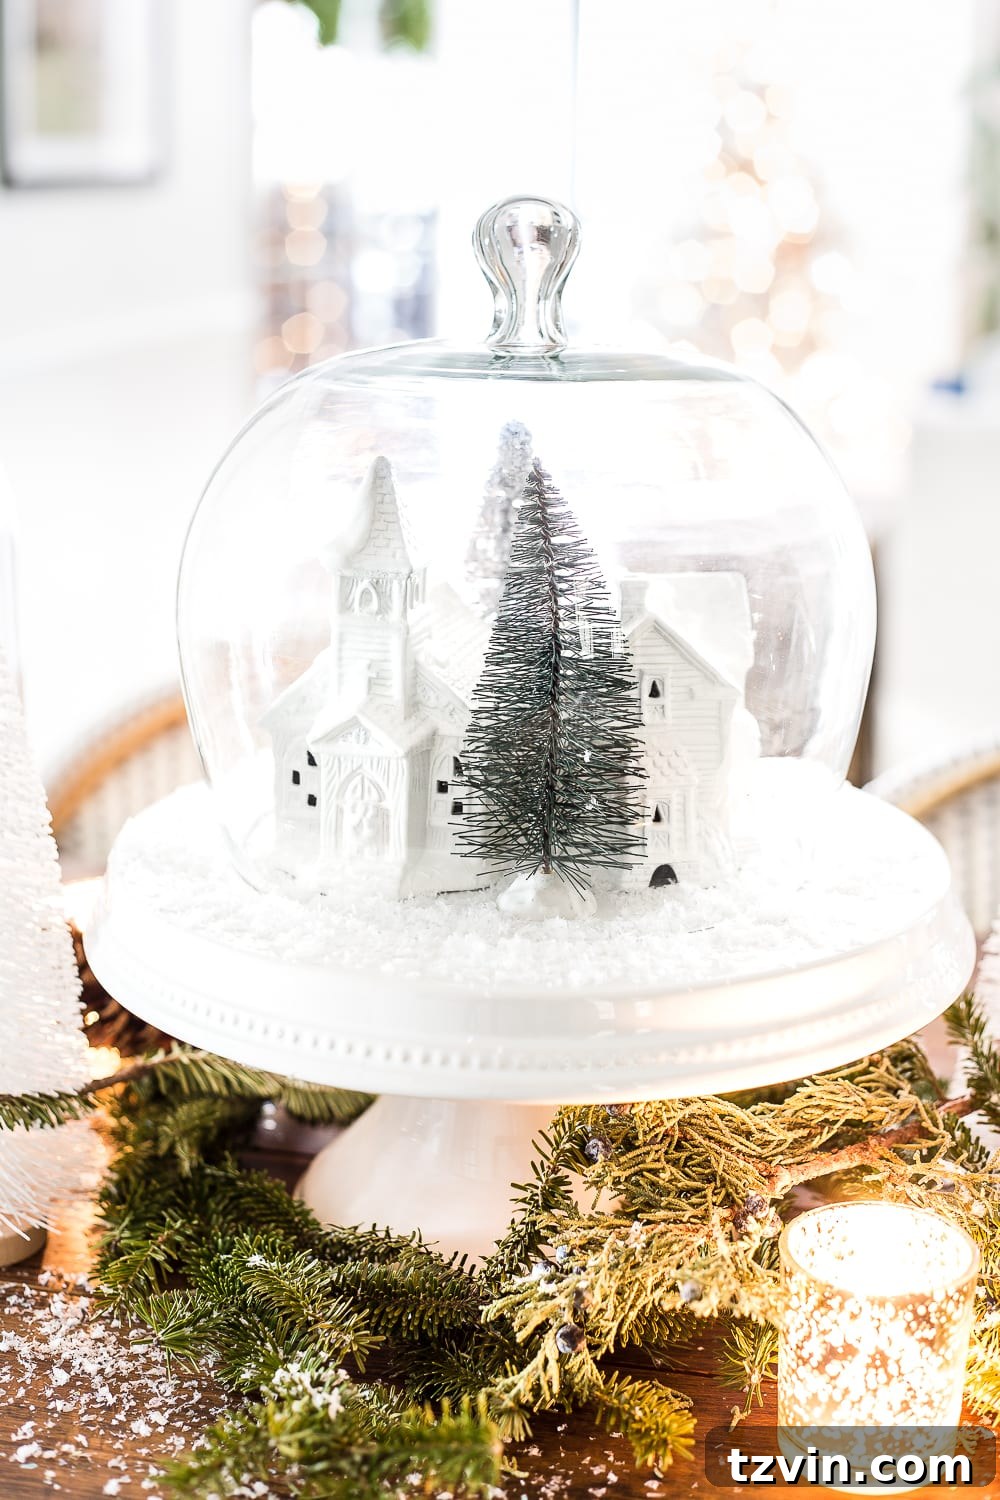
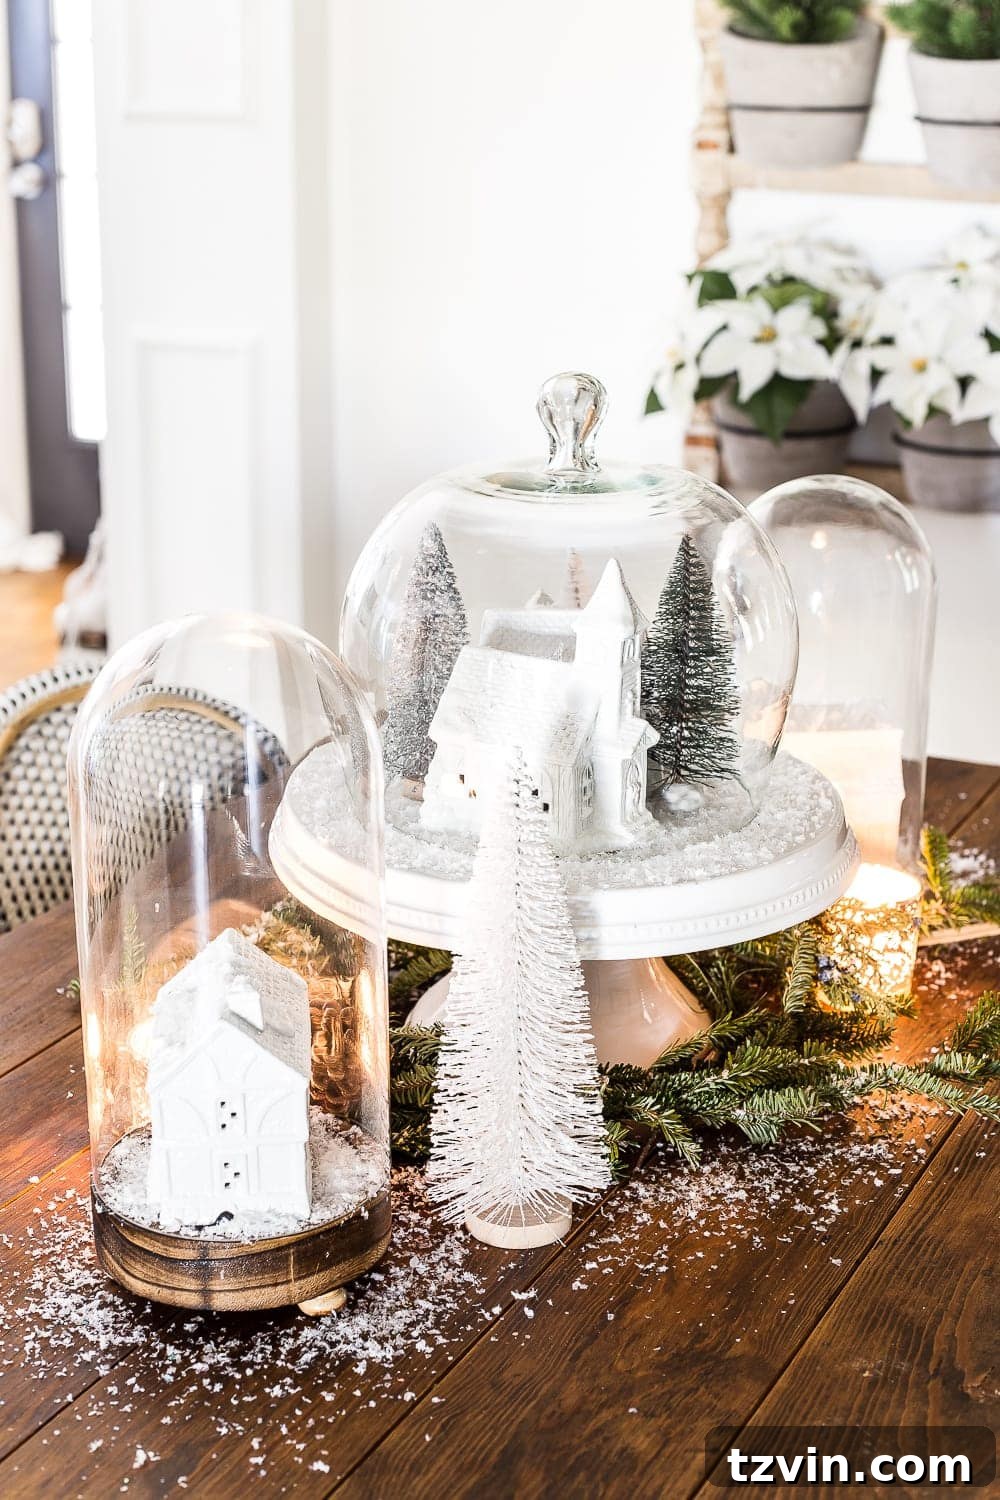
Isn’t it absolutely adorable? The transformation is truly remarkable! I love how these simple elements combine to create a captivating display. I decided to place these delightful snow globes together on a domed cake stand, creating a cohesive centerpiece for our kitchen table. It instantly infused the space with festive cheer.
Our daughter, Olivia, is absolutely enchanted by it. Every time we gather for breakfast or dinner, she’s in heaven, gazing at the tiny houses nestled in their snowy domes. I anticipate a bit of fake snow exploration around Christmas Day, but her joy makes it entirely worth it.
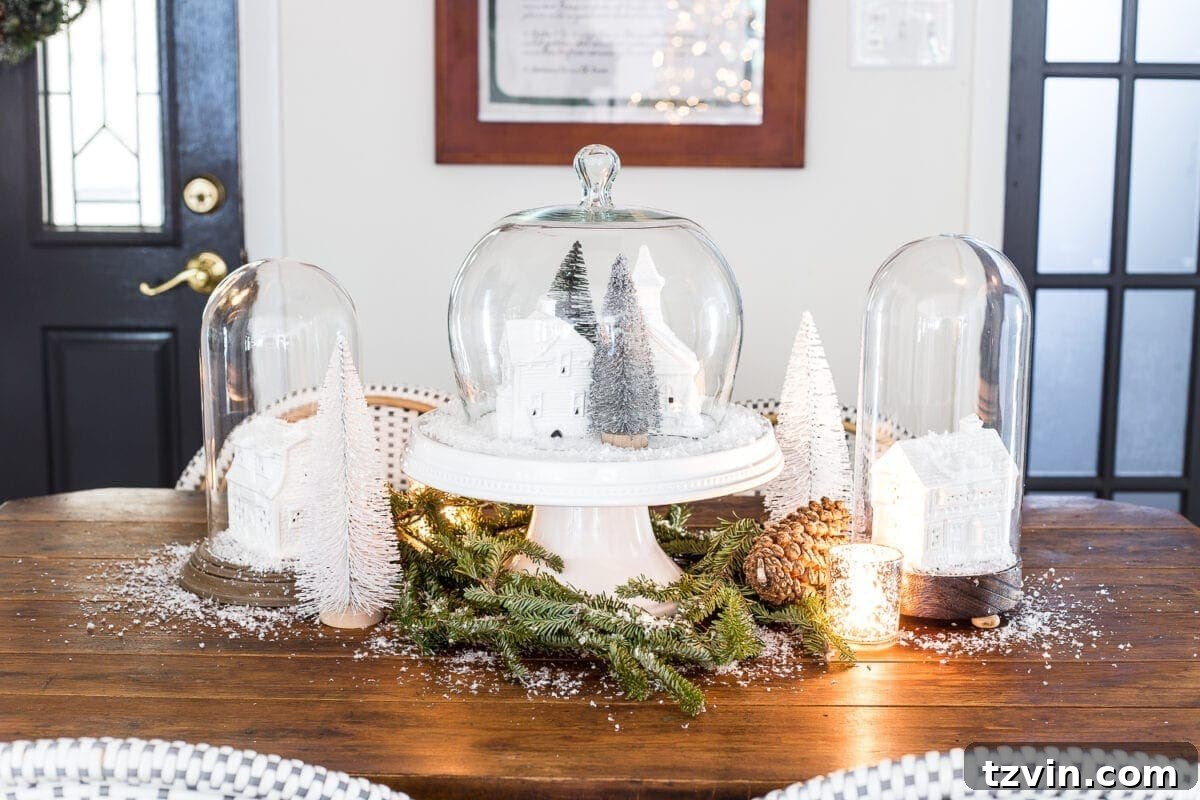
This centerpiece truly feels like a little touch of Christmas magic brought indoors. The only thing missing to complete this cozy scene is perhaps a big batch of warm cinnamon rolls on a lazy December Saturday morning. That absolutely needs to happen soon!
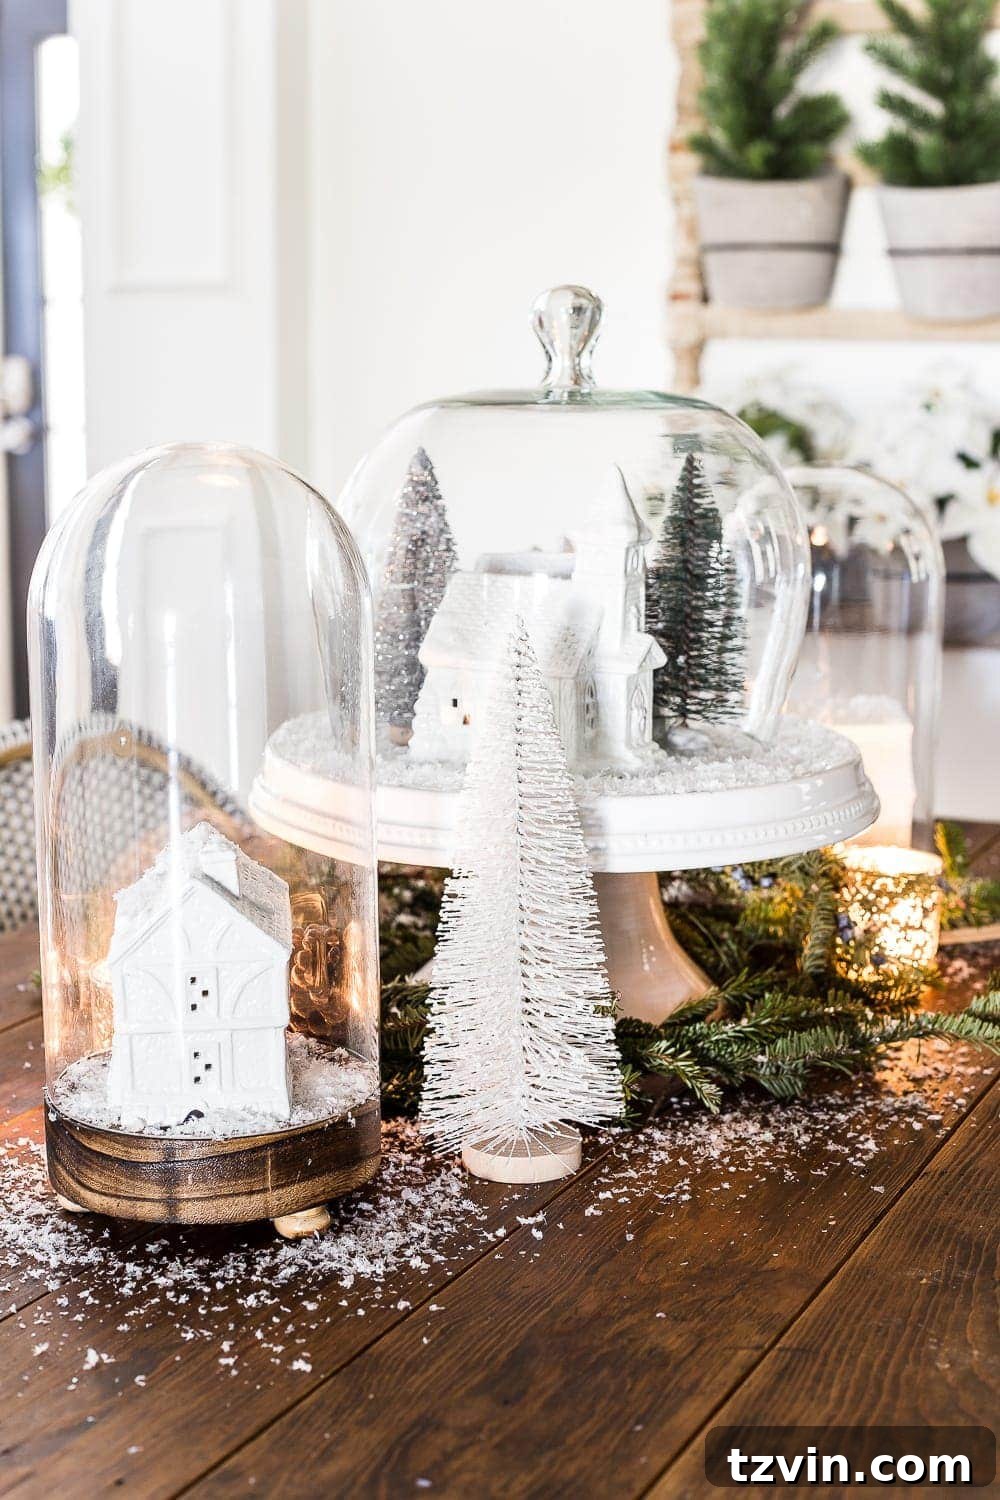
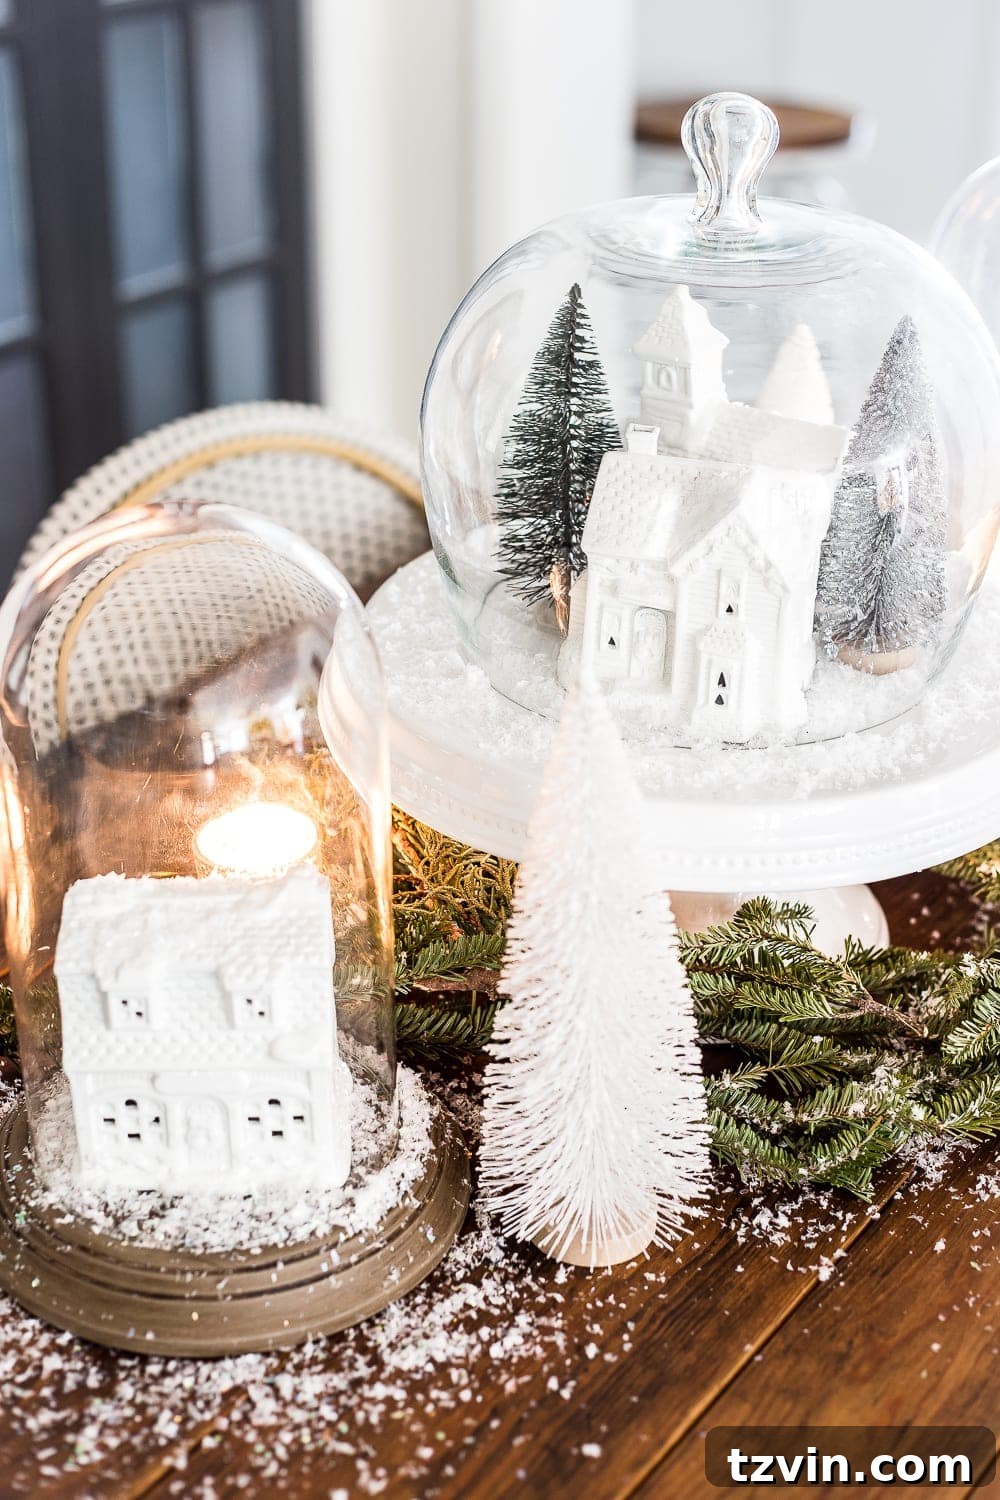
Styling Your DIY Snow Globe Centerpiece
Beyond the kitchen table, these versatile snow globes can enhance various areas of your home. Consider placing them:
- On a Mantel: Arrange a collection of different-sized snow globes for a captivating fireplace display.
- Entryway Table: Welcome guests with a festive greeting as soon as they step inside.
- Sideboard or Buffet: Add a touch of holiday charm to your dining room or living area.
- Bedroom Dresser: Bring a subtle festive accent to a personal space.
- As Gifts: These make incredibly thoughtful, handmade Christmas gifts for friends and family.
You can also incorporate small LED string lights into the base or around the display for an extra magical glow, especially in the evenings.
Creative Variations and Customization Ideas
This project is highly adaptable! Feel free to put your own spin on it:
- Color Schemes: Instead of white, try metallic gold or silver spray paint for a glamorous touch, or even a soft pastel for a whimsical look.
- Different Figurines: Explore other small figurines like deer, squirrels, or even miniature children playing to vary your scene.
- Natural Elements: Add small pinecones, acorns, or dried berries for more organic texture.
- Glitter: A dusting of fine glitter inside the dome can amplify the snow effect.
- Themed Villages: Create different themed snow globes – maybe one with miniature woodland creatures, another with small winter sports figures.
I’ll be sharing more of our house all decked out for Christmas very soon, but I simply couldn’t resist posting this centerpiece ahead of time. It’s too charming not to share! In fact, Olivia is already begging to make more of these cute little snow globes, so it looks like we’ll be on the hunt for more dome clocks and house figurines.
Share Your Creativity!
Have you been busy with any fun Christmas crafts lately? Or perhaps discovered a super kid-friendly project that brought joy to your home? We’d love to hear about it! And if you’ve stumbled upon any hidden gems at the thrift store that were just begging for a spray paint makeover, share your stories! There’s something incredibly satisfying about transforming overlooked items into beautiful pieces.
This DIY Christmas snow globe centerpiece is more than just a decoration; it’s a testament to creativity, resourcefulness, and the magic of the holiday season. Give it a try, and prepare to be delighted by the charming result!
If you want to save this post for later, you can pin it here: