Achieve a Flawless Finish: 5 Essential Primer and Paint Rules for DIYers
Remember the “scary” paint plan I mentioned for our master bedroom refresh last week? Well, hold onto your paintbrushes, because the results are in!
Oh. my. stars. Y’ALL!
I’m utterly head-over-heels! I’m in love! I’m in love! And I don’t care who knows it! (Yes, that’s a shameless Elf quote, and ’tis [almost] the season for such joyous outbursts.)
UPDATE: See our final Moody Modern Vintage Master Bedroom reveal here!
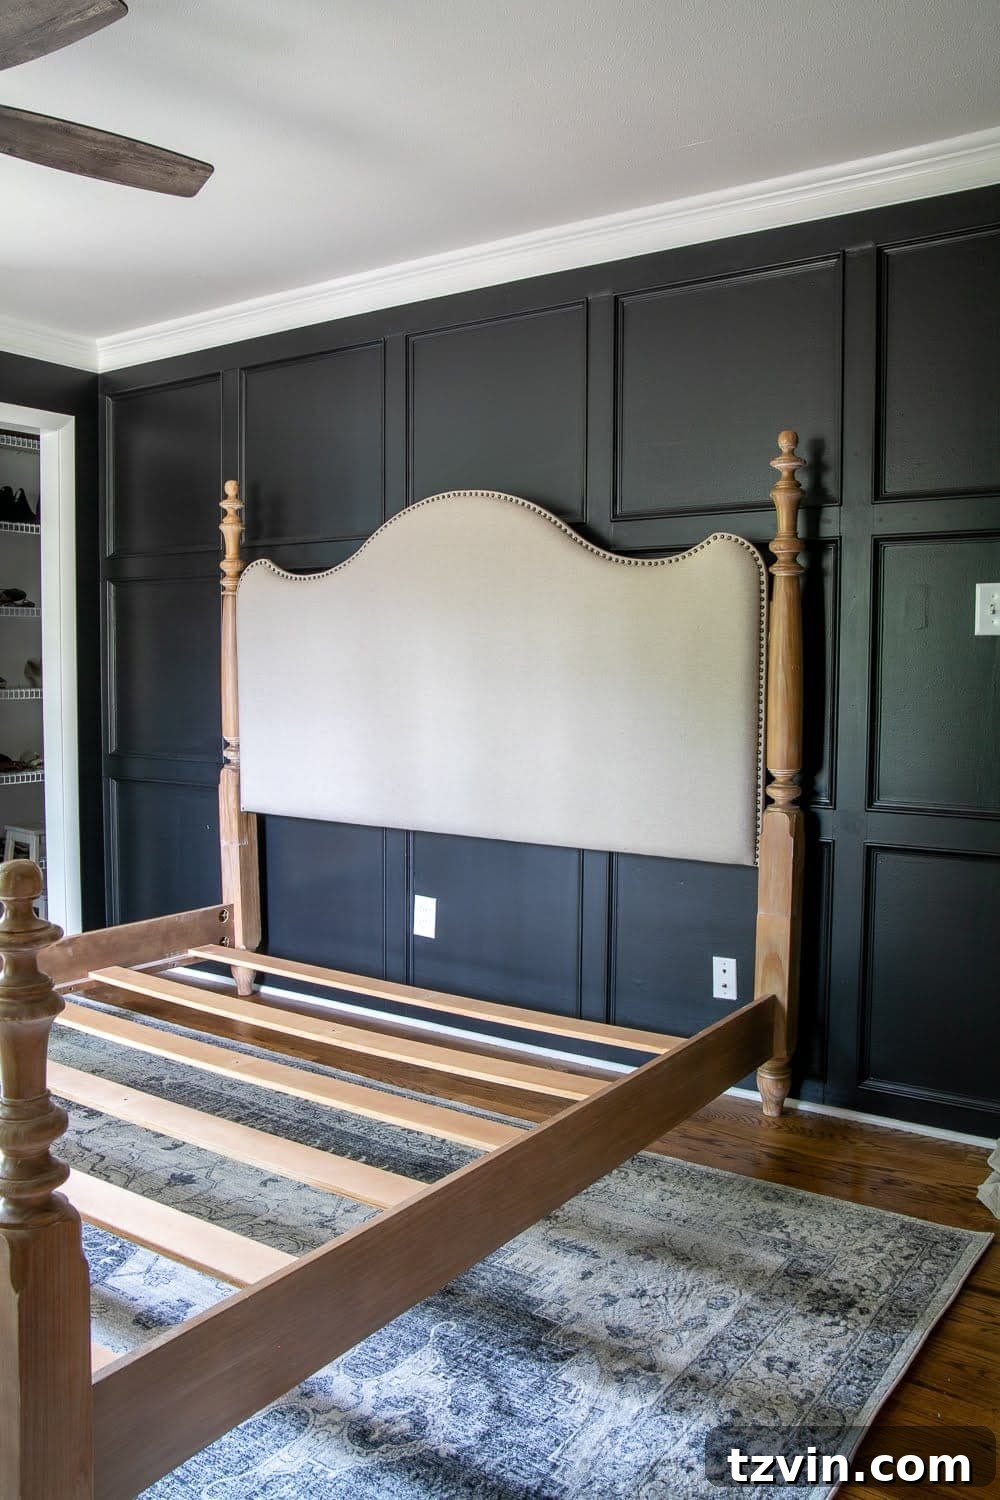
The master bedroom is now a bold, dramatic black, and it is absolutely faaaabulouuuuuuus! Honestly, who even AM I anymore? This transformation has been nothing short of amazing, and it truly highlights the power of proper paint preparation.
The Journey: Learning from DIY Mistakes and Embracing Preparation
The last time I shared an update, the DIY grid molding focal wall carpentry was finished, and we were eager to move onto the “fun part” – the painting. It’s tempting to rush into the color application, especially when you’re excited about a new design.
However, over the years, we’ve learned a thing or two about trying to take a shortcut to that fun part. And trust me, it did not go well. Ask me how I know – I have plenty of faded, peeling, or off-color paint jobs from our early DIY days to prove it. The secret to a truly lasting and beautiful paint finish lies not in the paint itself, but in the meticulous preparation that comes before it. This includes understanding the vital role of primer.
5 Crucial Primer and Paint Rules Every DIYer Should Know for a Lasting Finish
After years of trial and error, here are 5 essential rules about primer that I truly wish I’d known as a beginner DIYer. Following these principles will save you time, money, and frustration in the long run, ensuring your painted surfaces look professional and stand the test of time:
- Always prime cabinets before you paint to keep the finish long-lasting.
Cabinets endure daily wear and tear, from grease splatter to constant touching. Priming creates a critical bonding layer that helps the paint adhere better, preventing chips, peels, and scratches. Without it, even the best paint won’t stand a chance against the demands of a busy kitchen or bathroom, leading to premature deterioration of your hard work. A good bonding primer is especially crucial for slick surfaces like laminate or previously gloss-painted cabinets. - Always prime doors before you paint to prevent scuffs and wear.
Doors are high-traffic areas, constantly subjected to bumps, scrapes, and fingerprints. A quality primer not only provides a smooth, uniform surface for your paint but also significantly enhances its durability. It acts as a protective shield, making the topcoat more resistant to scuffs and general wear, ensuring your doors maintain their pristine appearance much longer than if painted directly. - Always prime wood trim and molding before you paint to prevent paint from seeping.
New or raw wood, including MDF (Medium-Density Fiberboard) often used for trim and molding, is incredibly porous or “thirsty.” If you apply paint directly, the wood will absorb the liquid, causing the grain to raise (creating a rough texture) and requiring excessive coats of paint to achieve even coverage. A primer seals the wood, preventing seepage, ensuring a smooth finish, and allowing your topcoat to look its best with fewer applications. - Use primer between two different paint colors on walls to ensure you get your true desired shade.
This is a mistake many DIYers make, hoping to save a step. However, painting a light color over a dark one, or even a new shade over an old one with a strong undertone, without an intermediary primer, almost always results in the underlying color bleeding through or subtly altering the new shade. A neutral primer creates a blank canvas, allowing your chosen paint color to appear exactly as it should, without any unwanted influence from the previous hue. - And don’t always believe that “paint and primer in one” will solve all of your problems.
While “paint and primer in one” products are convenient for certain situations, they are not a magic bullet. They are typically best suited for surfaces that are already clean, dry, and previously painted in a similar color and condition. For drastic color changes, porous surfaces, high-traffic areas, or surfaces with stains or odors, a dedicated, high-quality primer is indispensable. Relying solely on a “paint and primer in one” for challenging projects often leads to disappointing results, requiring more coats and more effort in the long run to fix issues like poor coverage or adhesion.
Our Master Bedroom Transformation: Applying the Rules for a Stunning Black Finish
Our master bedroom refresh, with its bold black vision, put these rules to the ultimate test. We were determined to avoid past mistakes and achieve a finish that was not just beautiful, but also incredibly durable and true to its intended color.
The Grid Molding Focal Wall: A Thirsty Surface Transformed
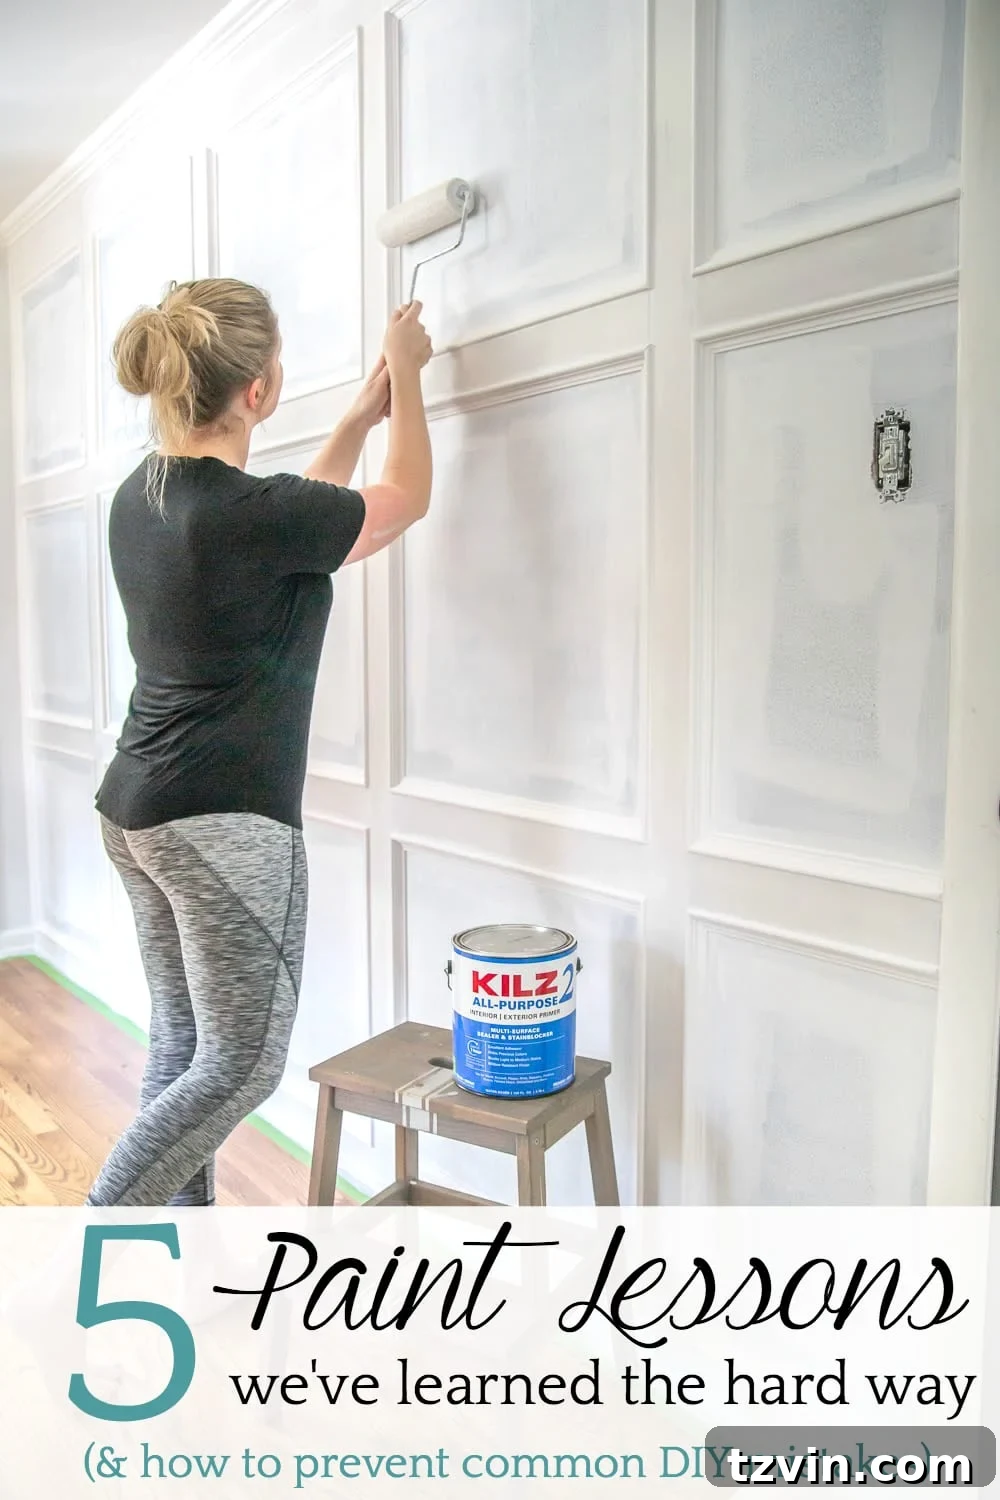
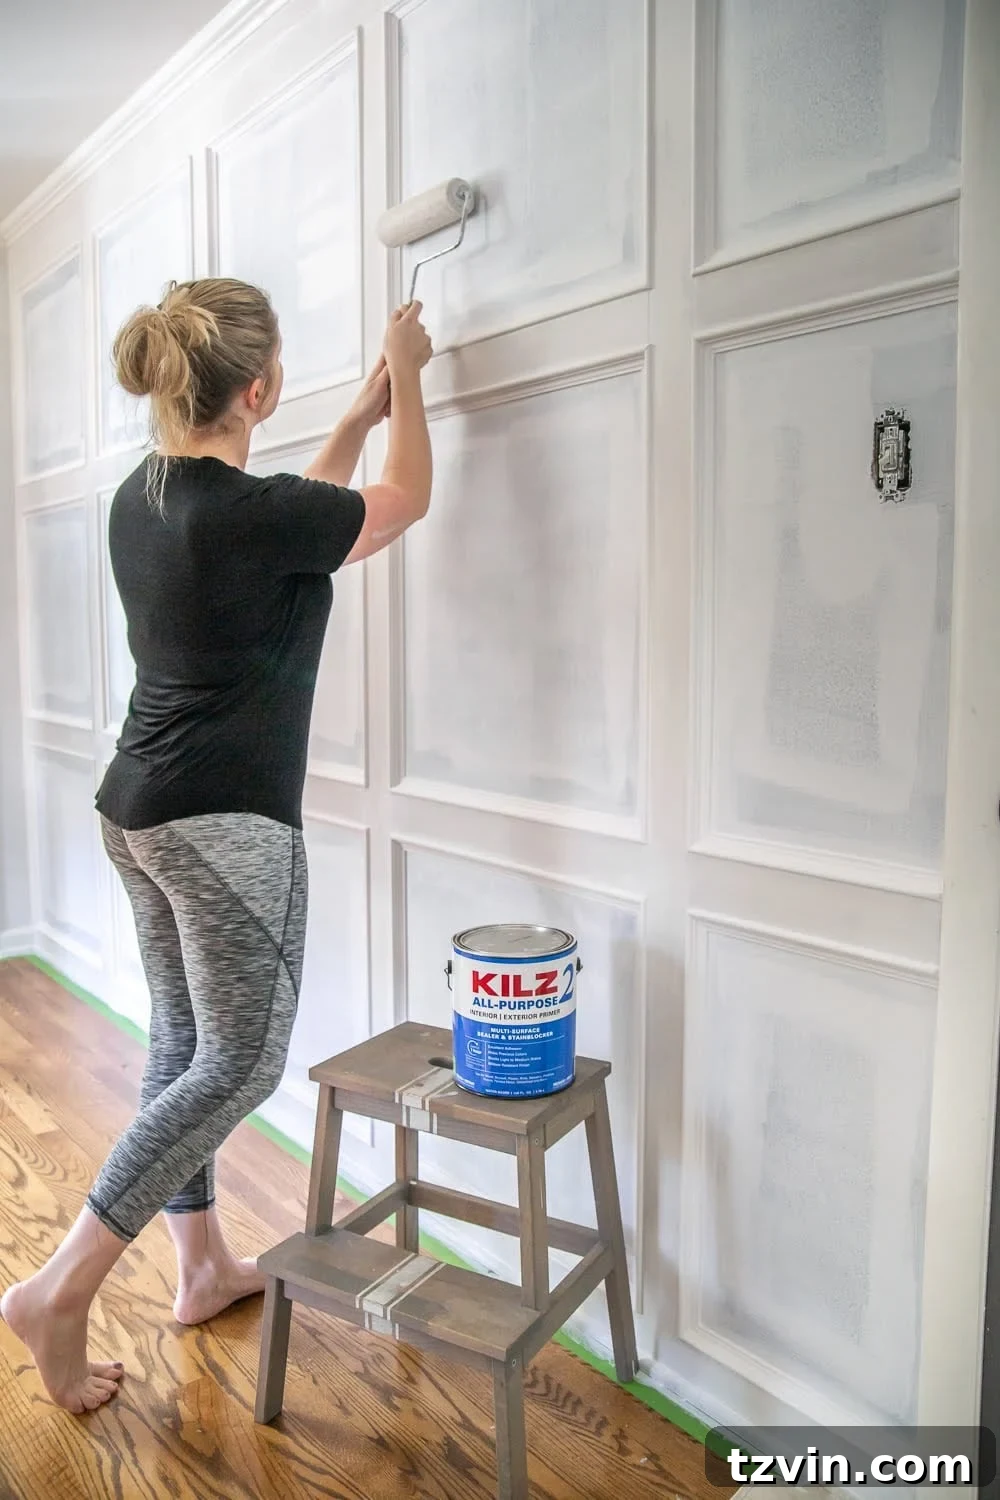
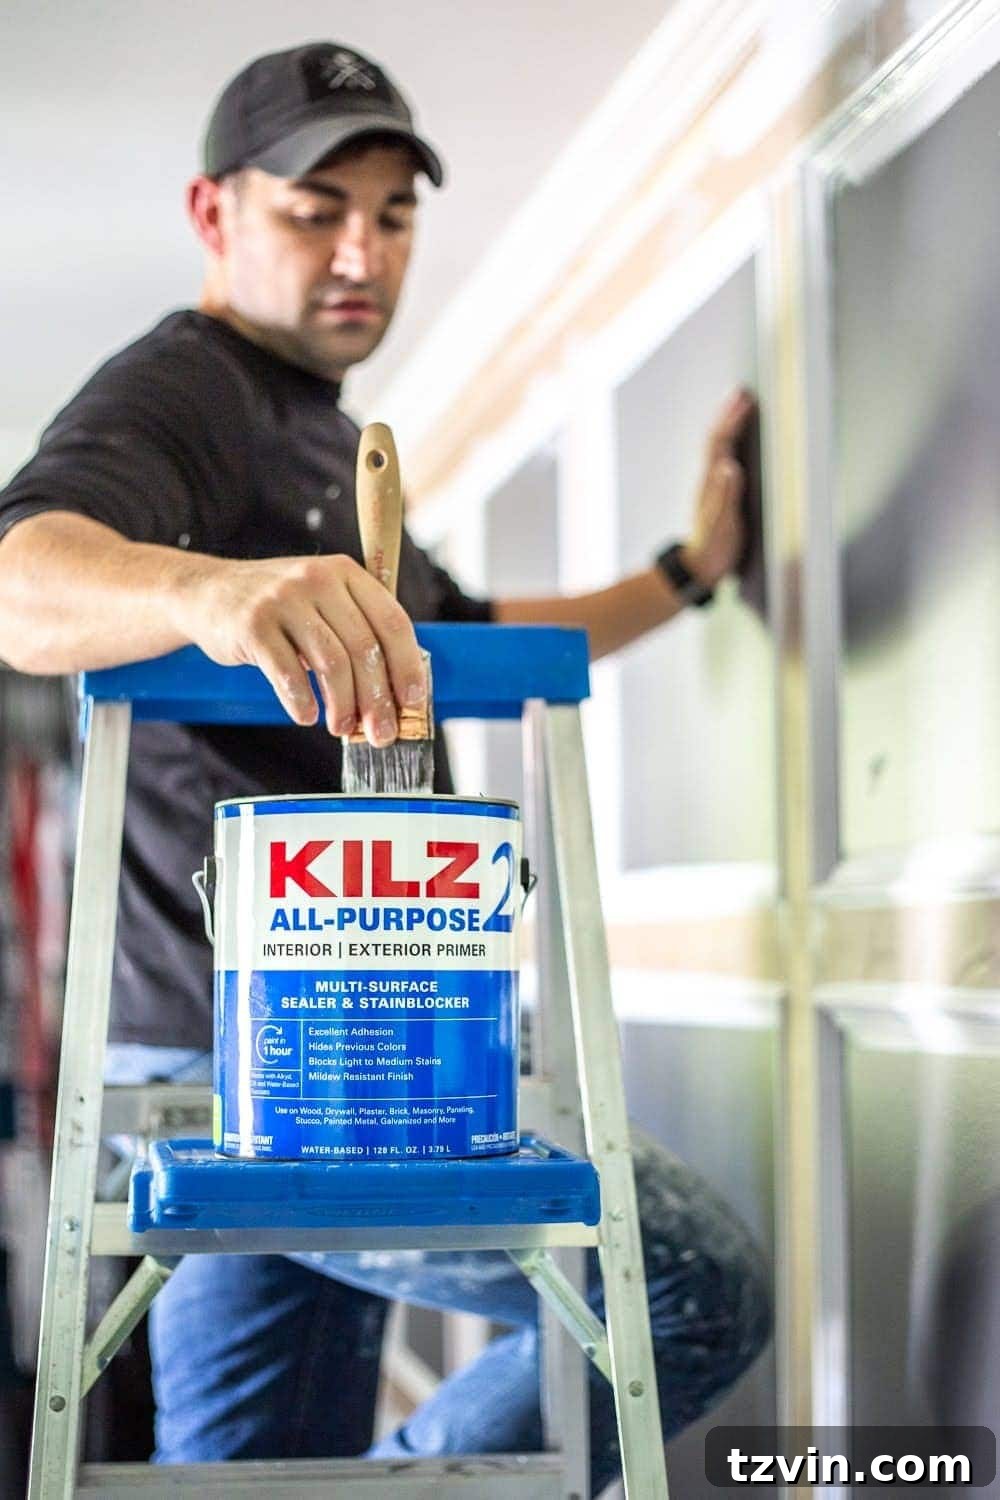
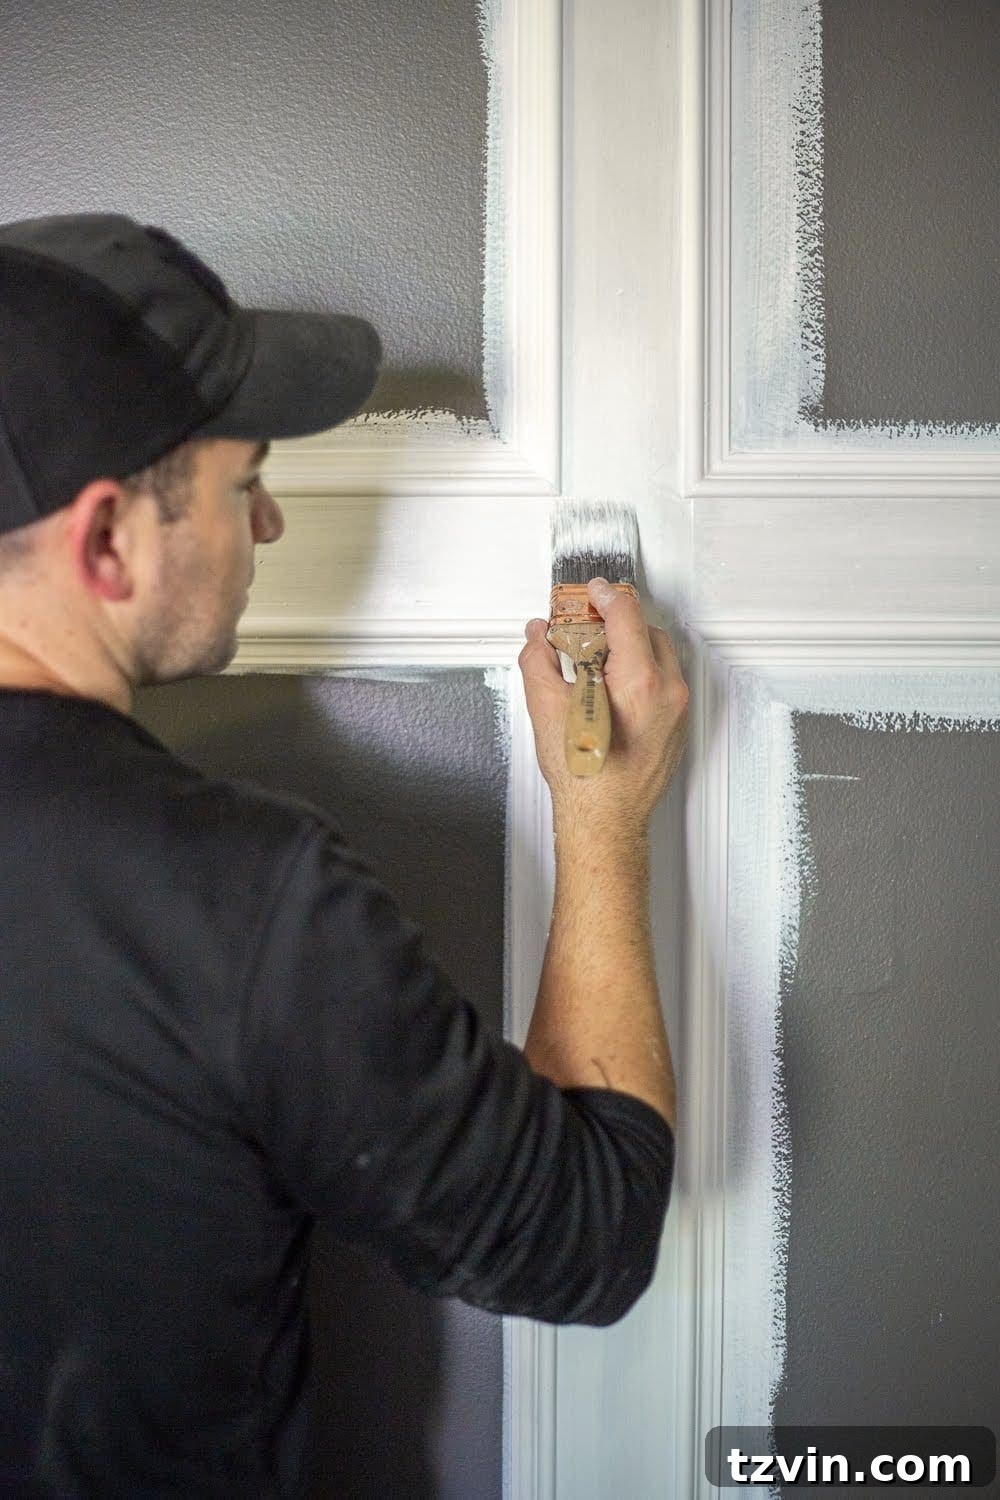
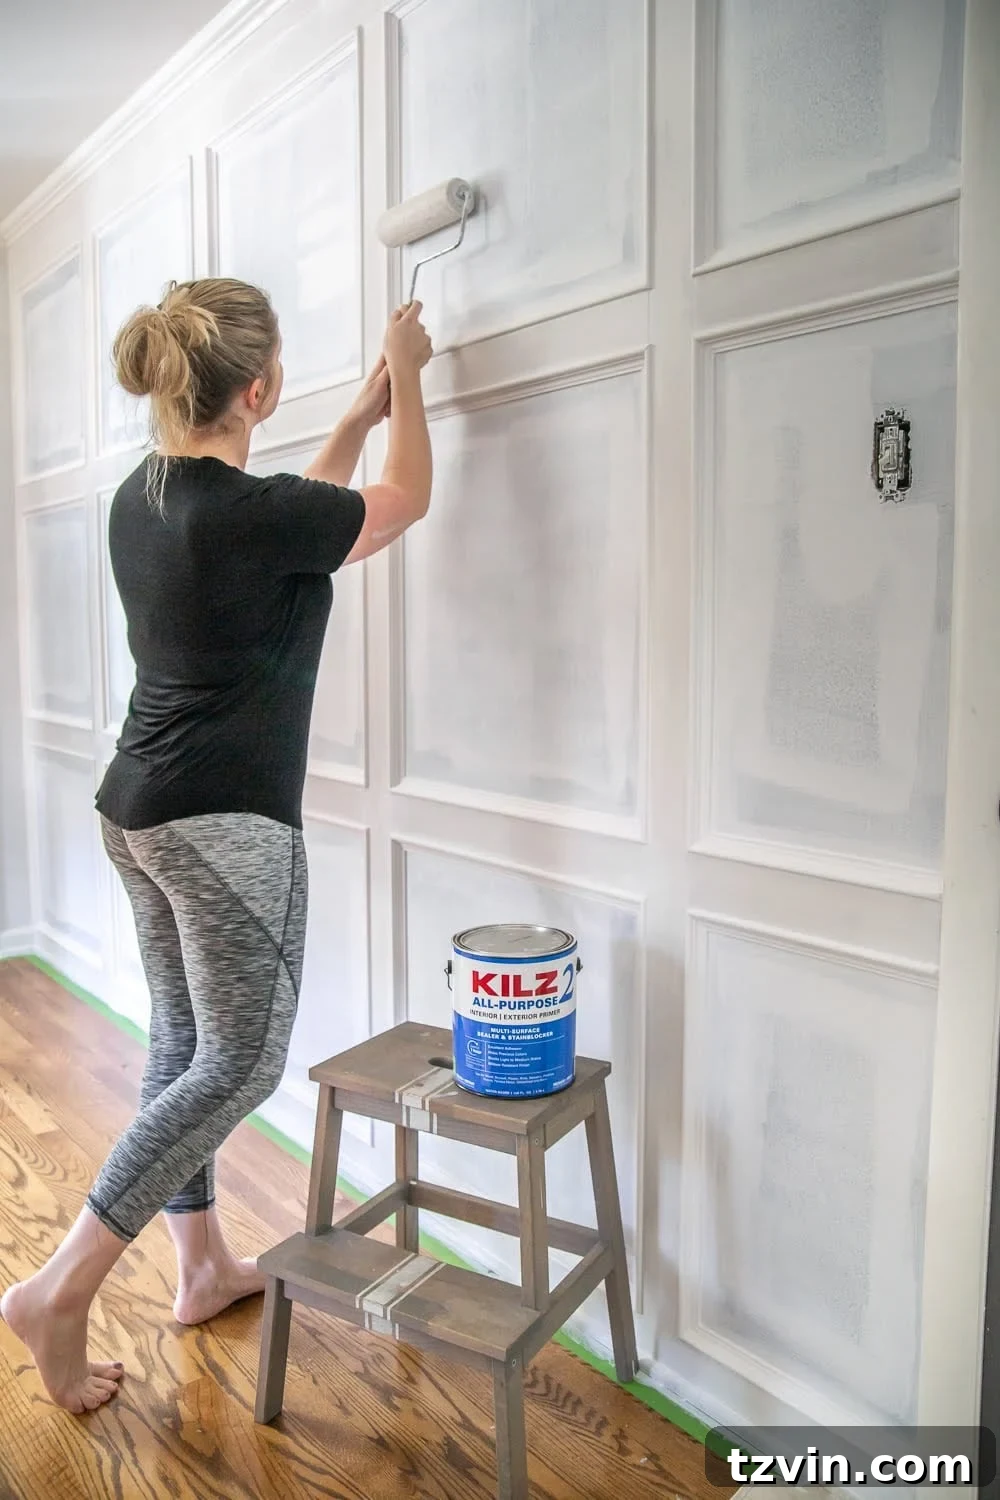
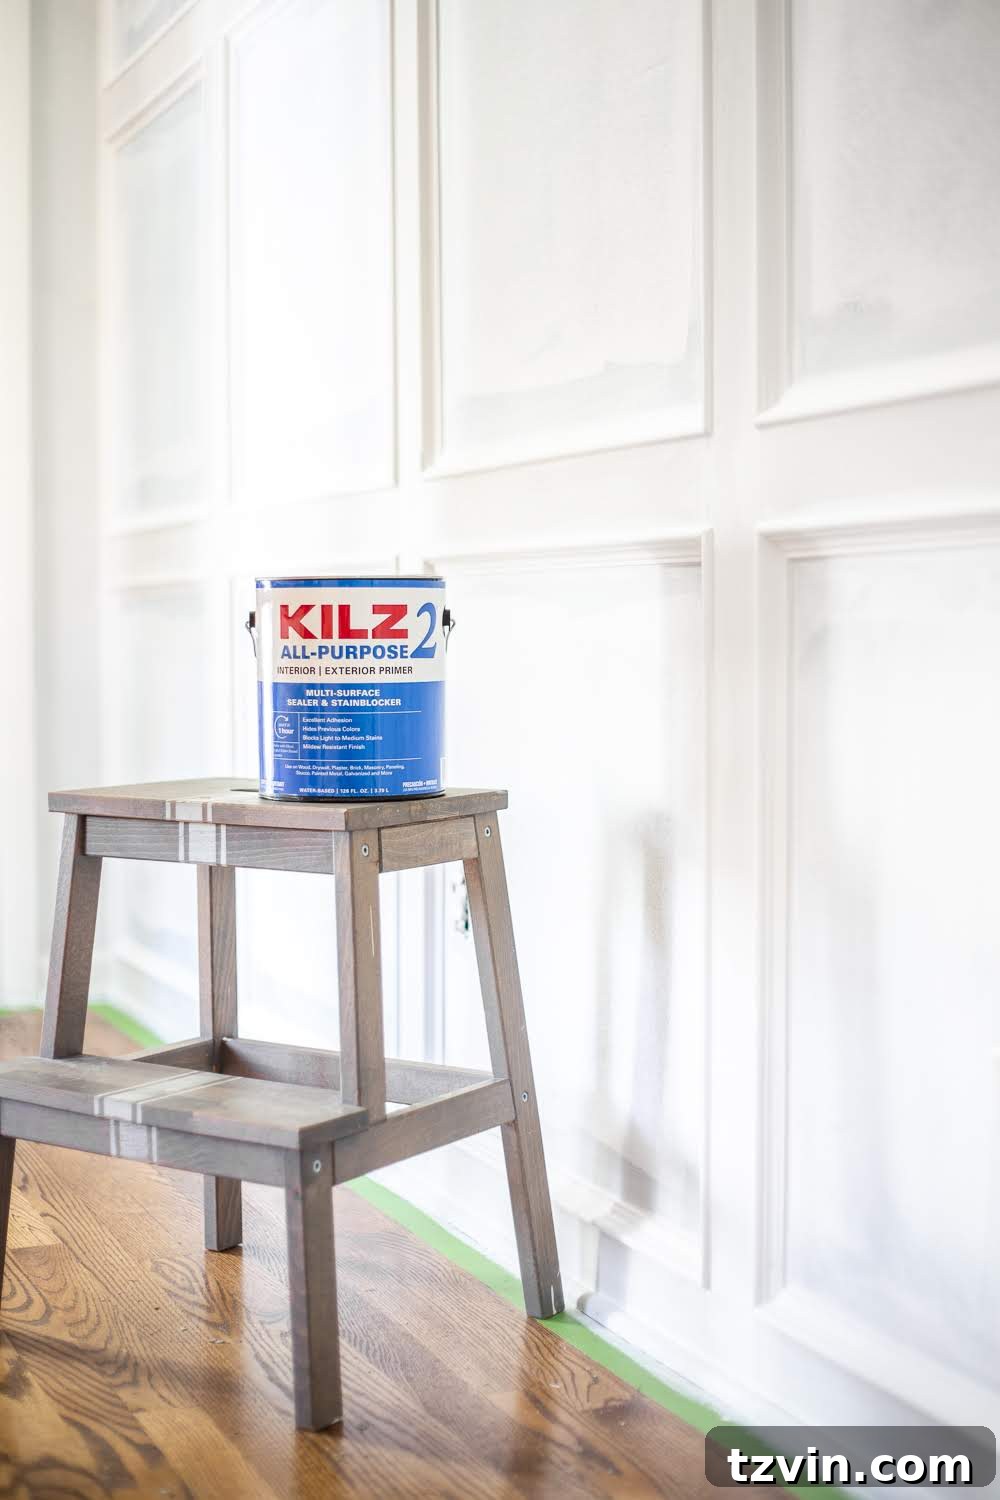
For our new grid molding focal wall, we brushed and rolled on a coat of KILZ 2®All-Purpose primer. This step was non-negotiable, especially with the MDF used for the molding. MDF is notoriously absorbent, and without proper priming, it would have soaked up countless coats of paint, leading to an uneven finish and excessive product usage. The KILZ 2 primer effectively sealed the surface, providing a perfect base for our subsequent paint application.
(In the past, we learned the hard way that without primer, wood and MDF will take way more coats of paint thanks to a “thirsty” surface. This time, we were smart about it!)
Eliminating Undesired Undertones: The Secret to True Color
The lessons learned on the other three walls were even more profound. The first time we painted this bedroom, we chose a neutral gray to go over the existing sage green paint from the previous owners. Thinking we could save a step, we used a “paint and primer in one” product directly over the green.
I’ve despised that gray ever since! Because even though the paint claimed to be an all-in-one solution, the gray always had a persistent green undertone, thanks to the un-primed sage green beneath it. The original color stubbornly bled through, distorting the new shade and creating a muddy, undesirable hue.
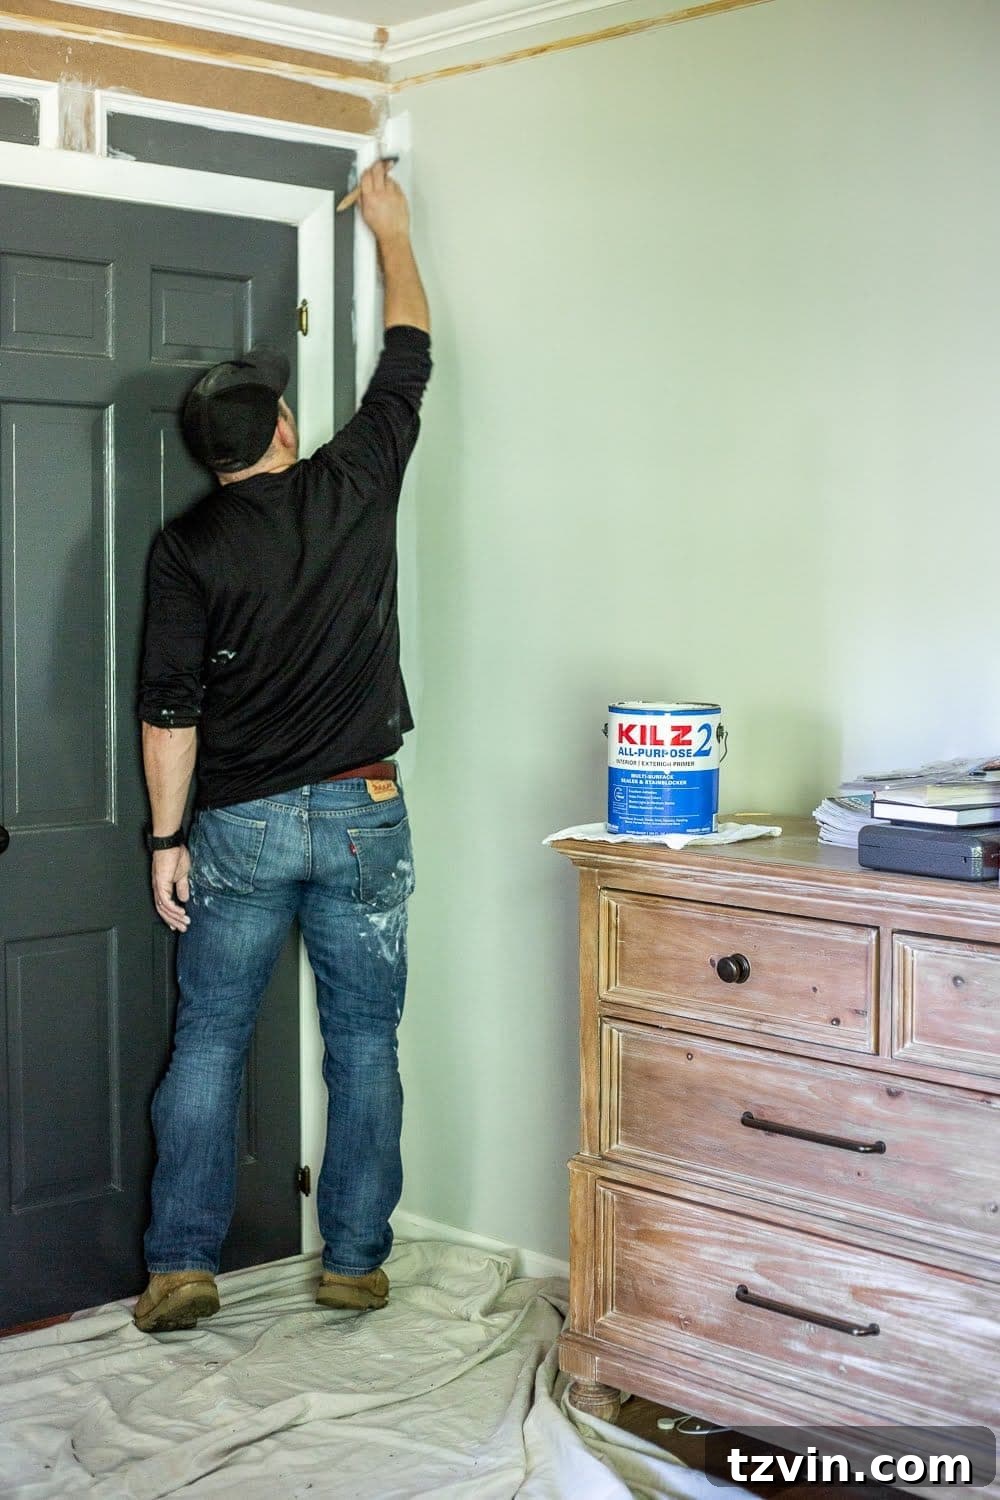
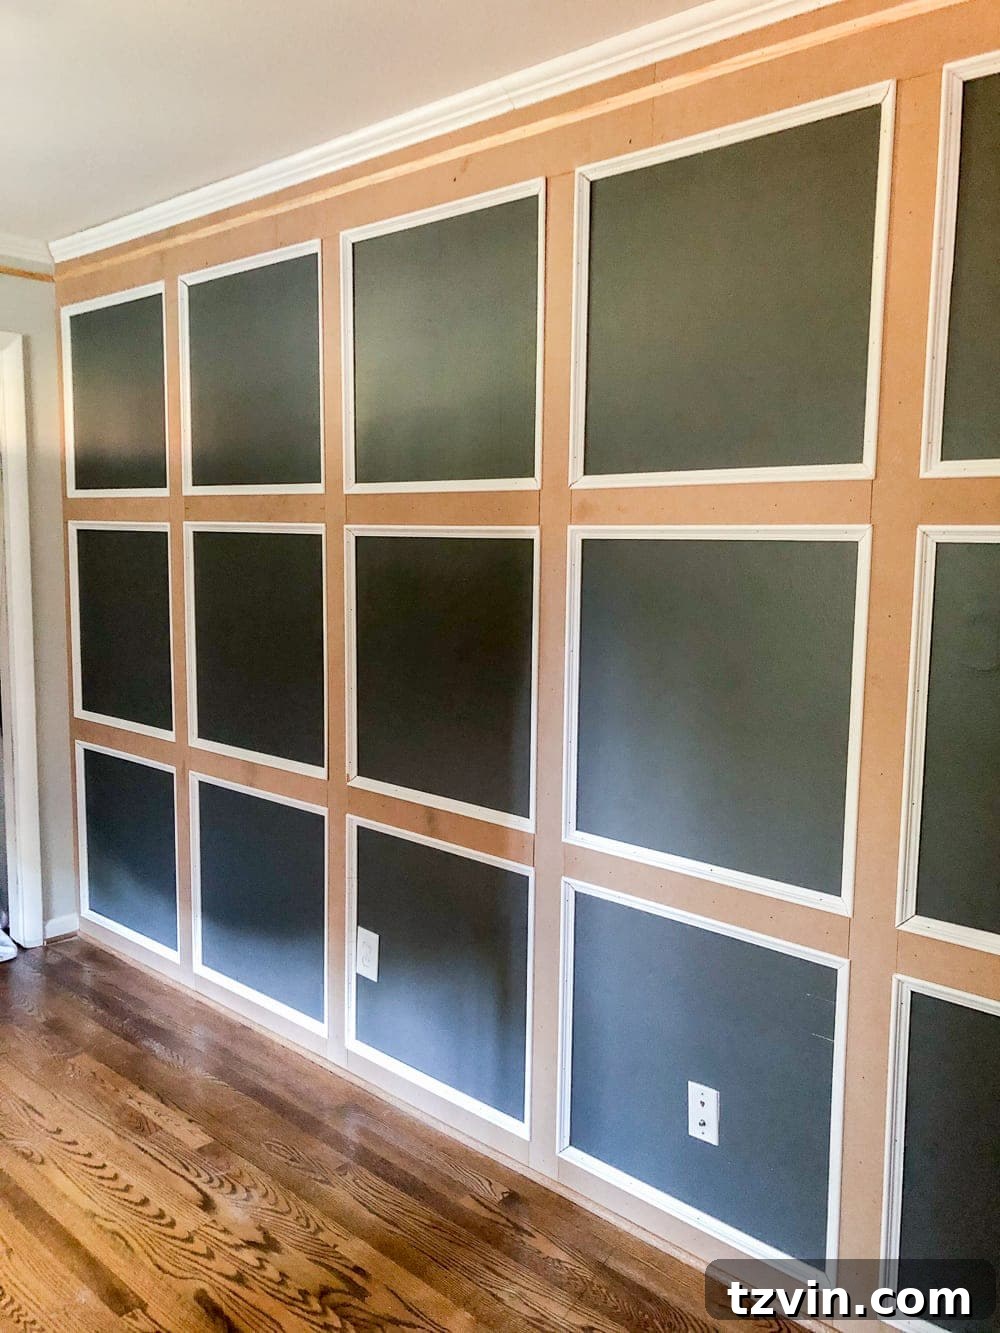
See what I mean?! That existing paint on the wall doesn’t look gray at all (even though the sample I painted on white cardstock in this same room did). It was bad. SO bad. It was a constant reminder of a skipped step and a compromised finish.
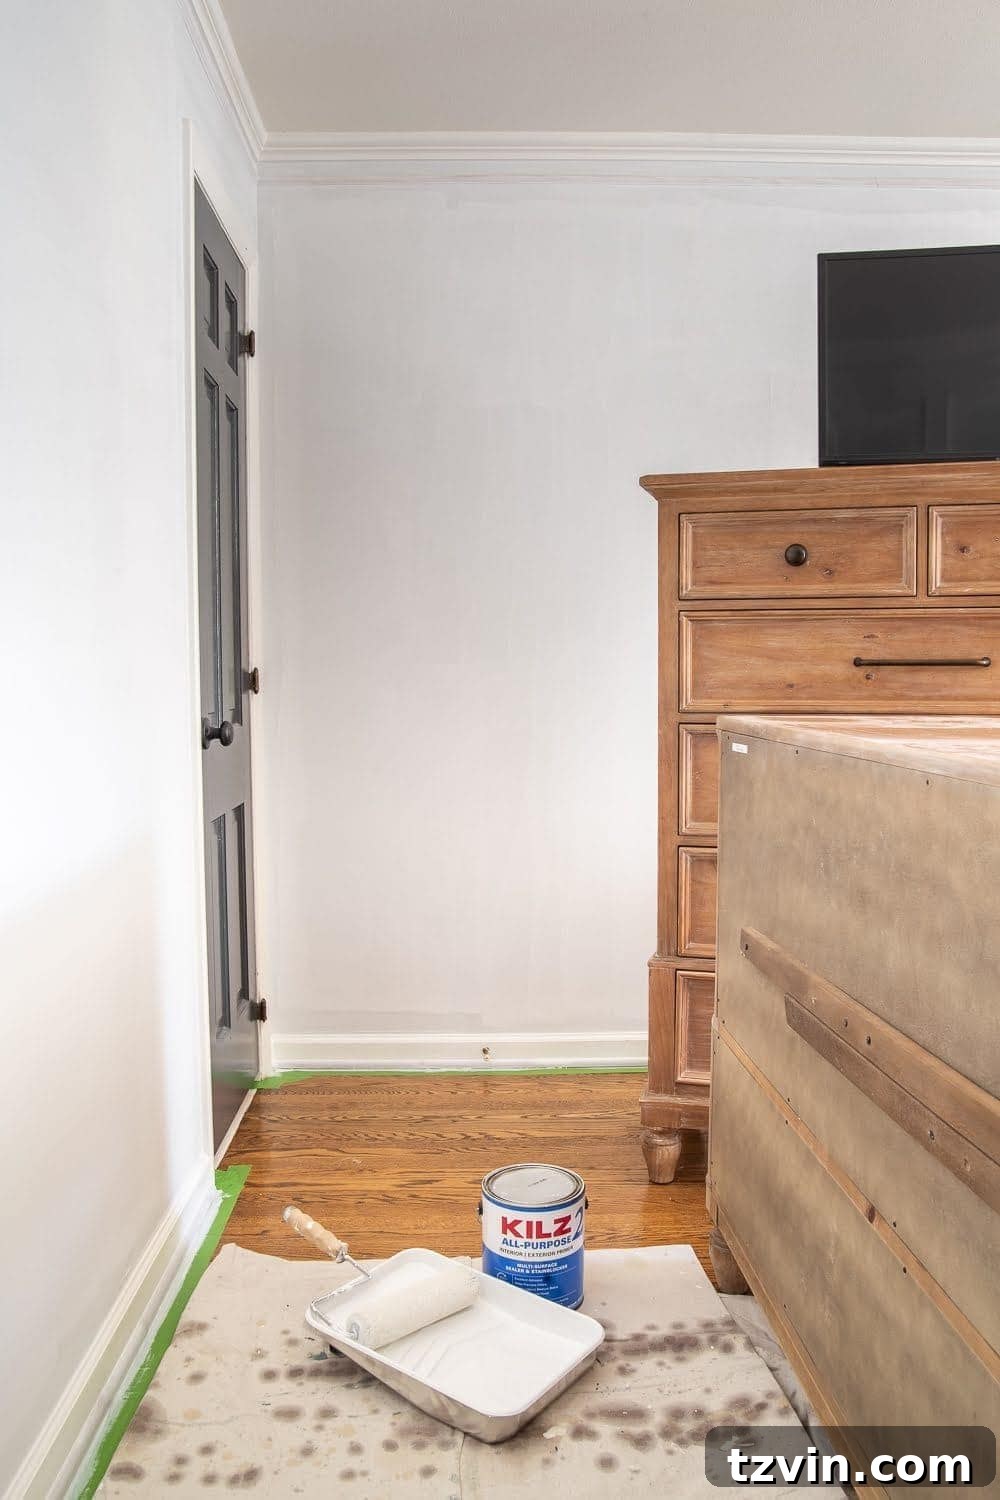
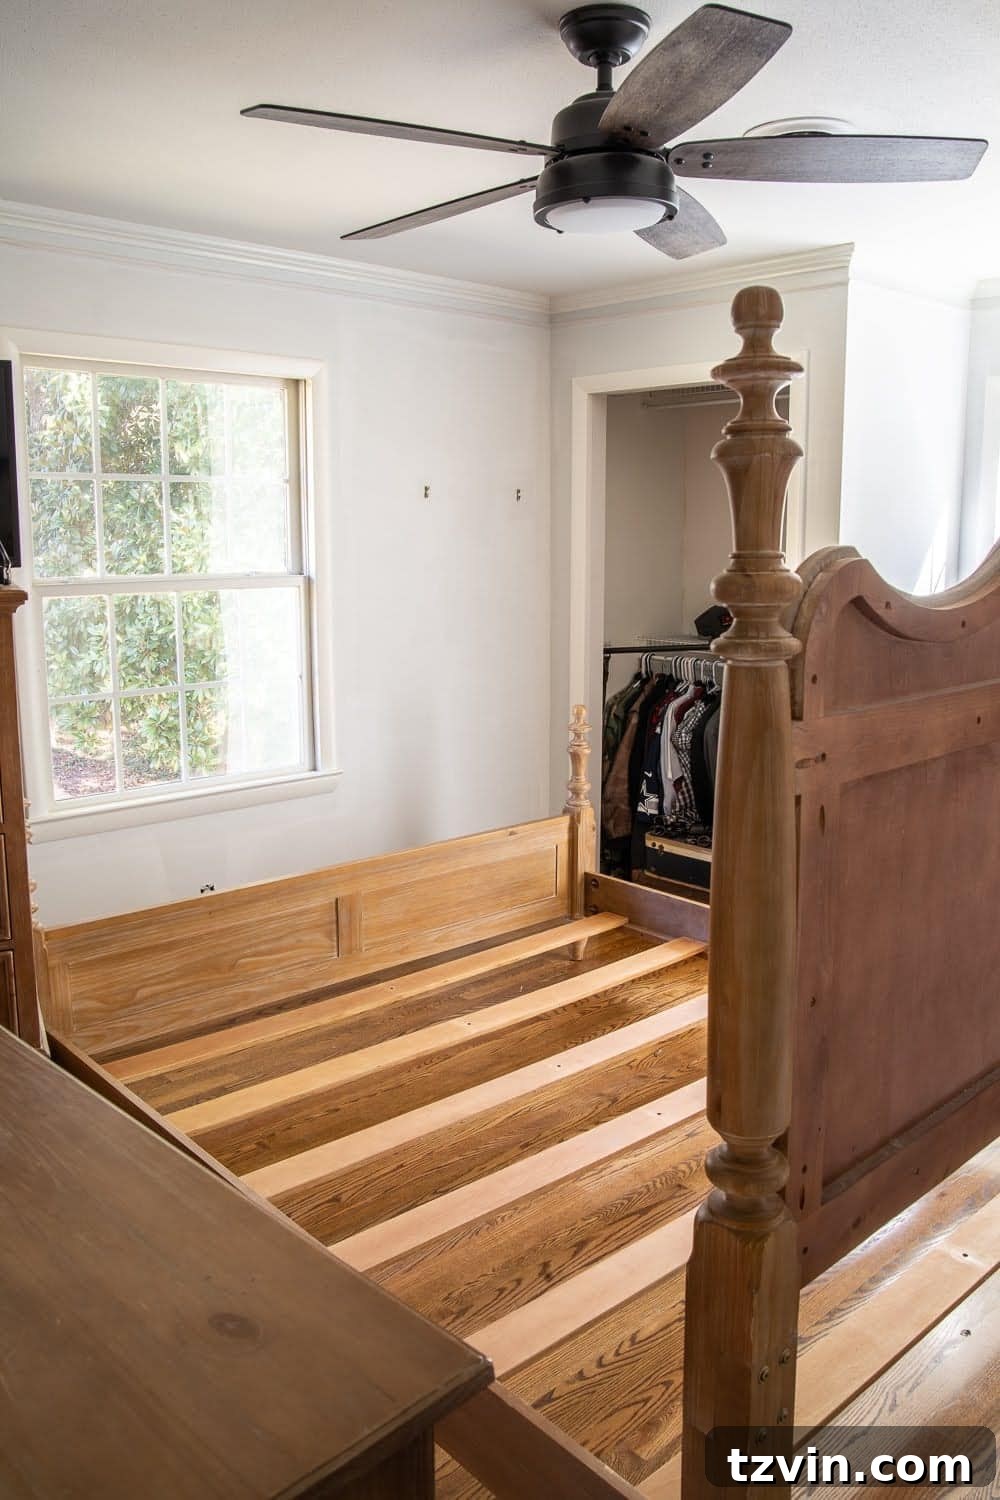
This time, determined to get our true black color, we primed with KILZ 2®All-Purpose before applying KILZComplete Coat® in the color Rebel. And let me tell you, it was 100% worth the extra step. No weird undertones. Just the rich, deep black we envisioned.
The KILZ Complete Coat paint itself is fantastic – it’s highly scrubbable and engineered to resist fading, staining, and peeling. This means we can stick with this stunning, sophisticated look for years ahead without worrying about premature wear or loss of vibrancy. It’s the kind of long-lasting finish that makes all the preparation worthwhile.
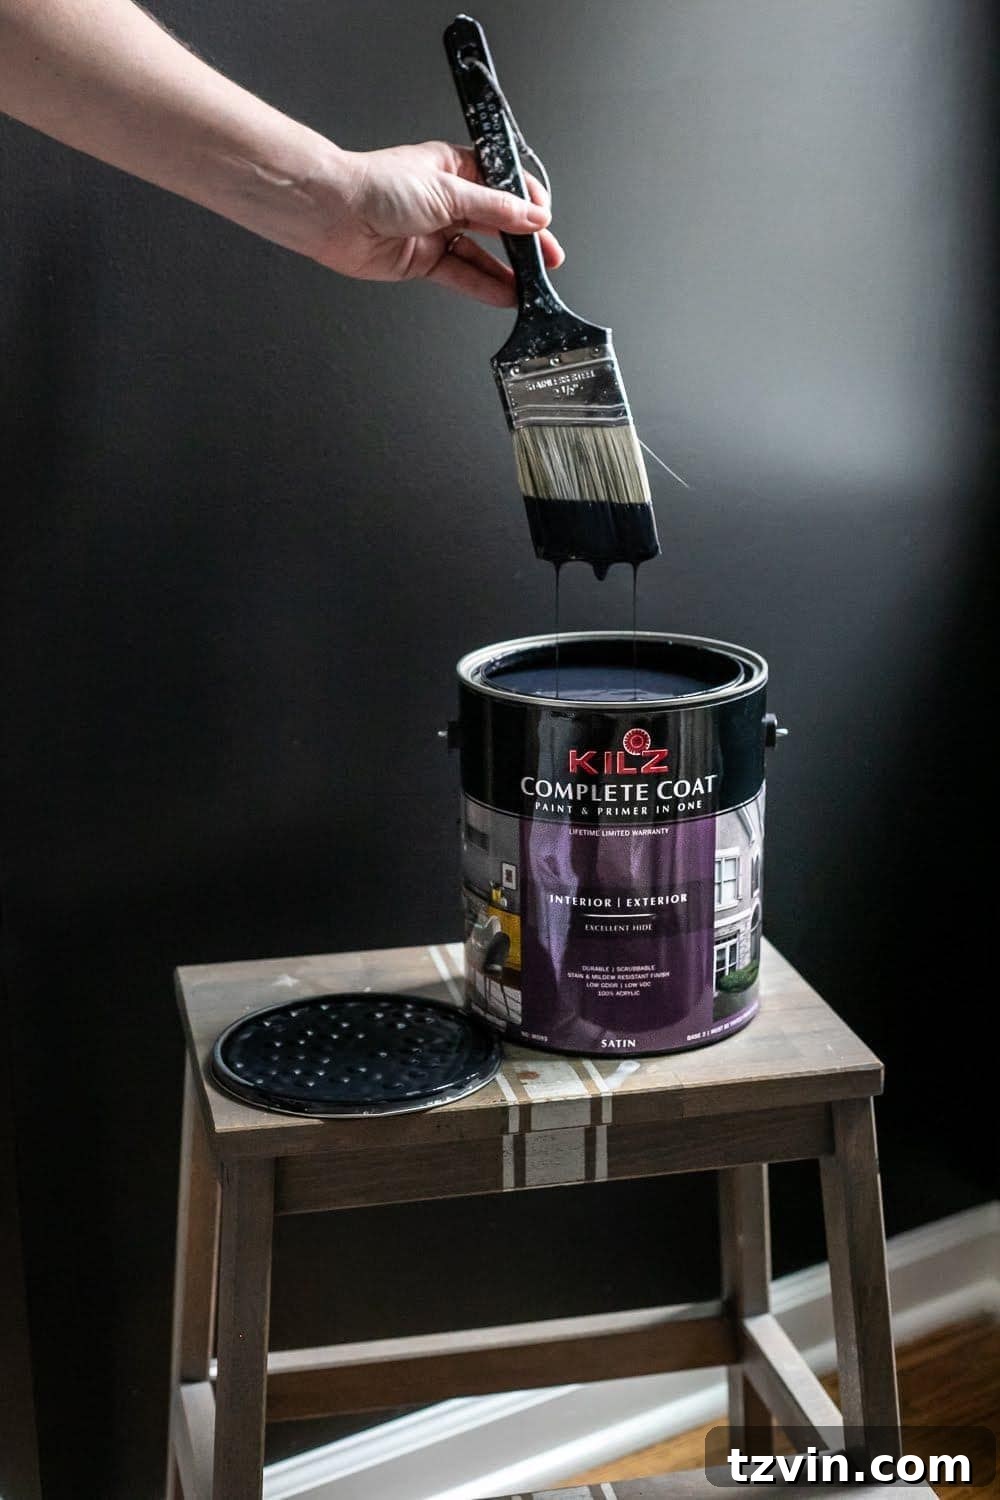
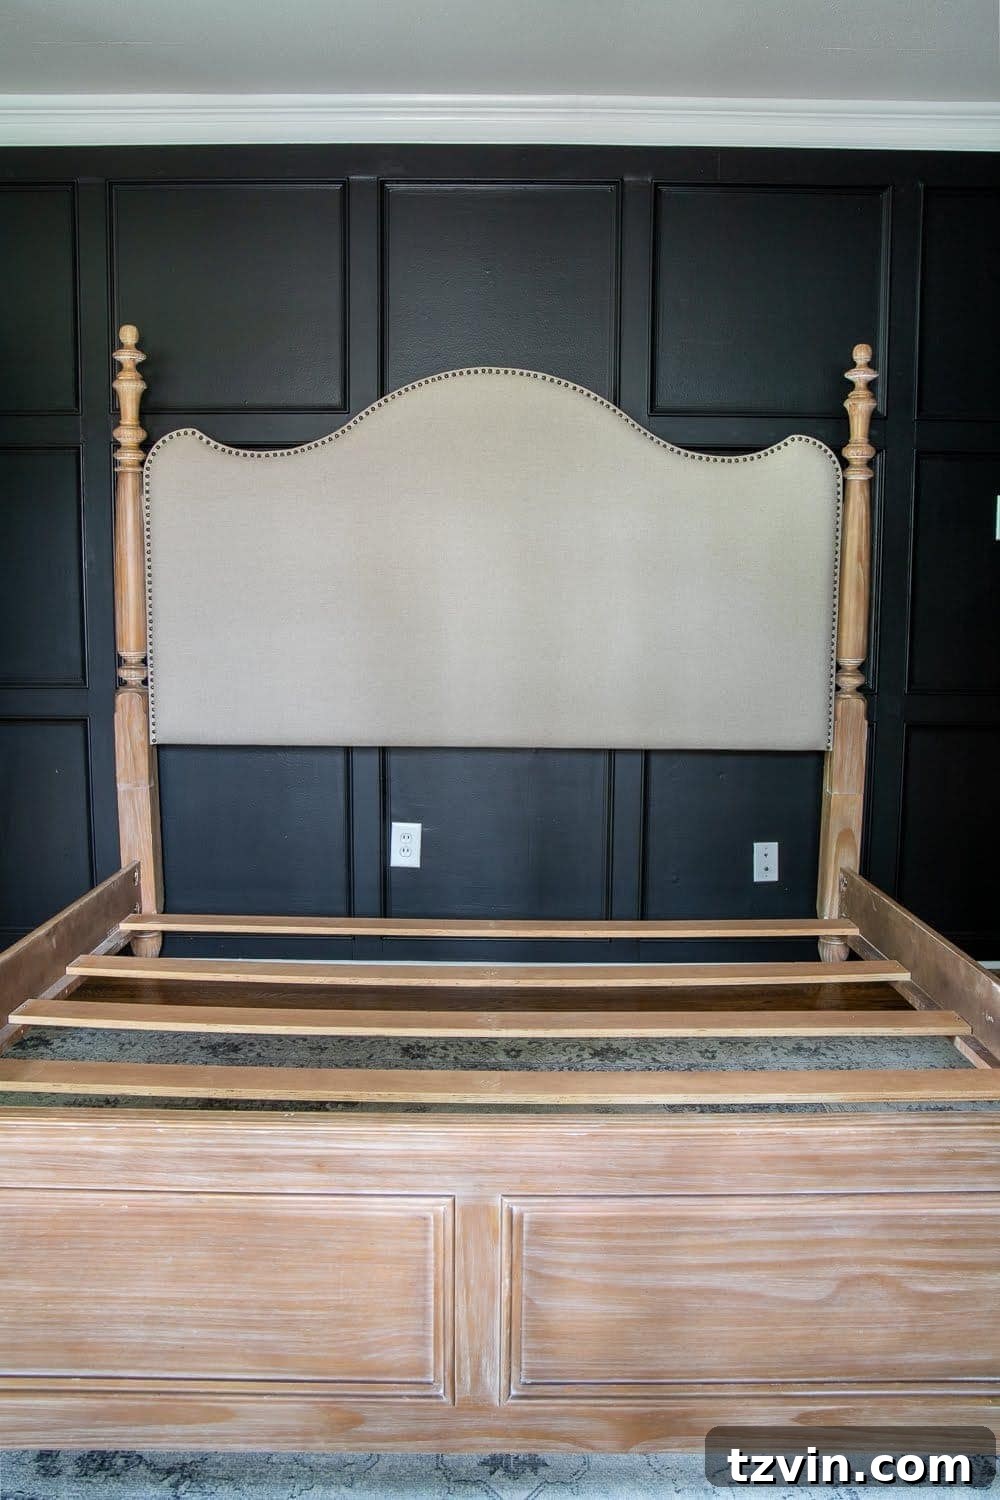
Couldn’t you just die?!!!! Swoon!!!
This room has so much depth and character now that this gorgeous, true black paint is on the walls. It feels sophisticated, cozy, and utterly transformed. It’s a testament to the fact that when you respect the process, the results speak for themselves.
Beyond Priming: Essential Paint Preparation Steps
While priming is paramount, it’s just one piece of the painting puzzle. A truly professional and durable finish requires a few more crucial steps before you even open that primer can:
Cleaning Surfaces Thoroughly
Dirt, grime, dust, and grease can prevent paint and primer from adhering properly. Always clean your surfaces with a mild detergent or a specialized degreaser, especially in areas like kitchens or bathrooms. Rinse thoroughly and allow the surface to dry completely before proceeding.
Repairing Imperfections (Patching and Sanding)
Any cracks, holes, or uneven spots will be magnified by a fresh coat of paint. Take the time to fill nail holes and small imperfections with spackle, sand down rough areas, and smooth out any patches. Sanding provides a slightly abraded surface, which helps paint and primer grip better.
Taping and Protecting Your Space
Protecting adjacent surfaces (like ceilings, trim not being painted, and floors) with painter’s tape and drop cloths is not just about keeping things neat; it’s about achieving crisp, clean lines and avoiding costly clean-up or touch-ups later. Invest in good quality painter’s tape for the best results.
The Lasting Benefits of Meticulous Preparation
Taking the time to properly prepare your surfaces and use the right primer might feel like an extra step, but its benefits are undeniable and far-reaching:
- Enhanced Durability: A well-primed surface means a paint job that resists chipping, peeling, and scratching, extending the life of your finish.
- True Color Achievement: Primer ensures your chosen paint color appears exactly as intended, without being influenced by previous colors or surface variations.
- Improved Adhesion: Primer creates an ideal surface for paint to bond to, preventing common issues like bubbling or flaking.
- Better Coverage & Cost Savings: By sealing porous surfaces, primer reduces the number of paint coats needed, saving you money on paint and time on application.
- Stain Blocking: Certain primers are formulated to block stains (water, smoke, grease) from bleeding through your new paint.
- Odor Sealing: Primers can also seal in lingering odors, especially important in older homes or rooms with previous issues.
- Professional Finish: Ultimately, proper preparation is the hallmark of a professional-looking paint job, elevating the aesthetic appeal of your home.
What’s Next for Our Master Bedroom Oasis?
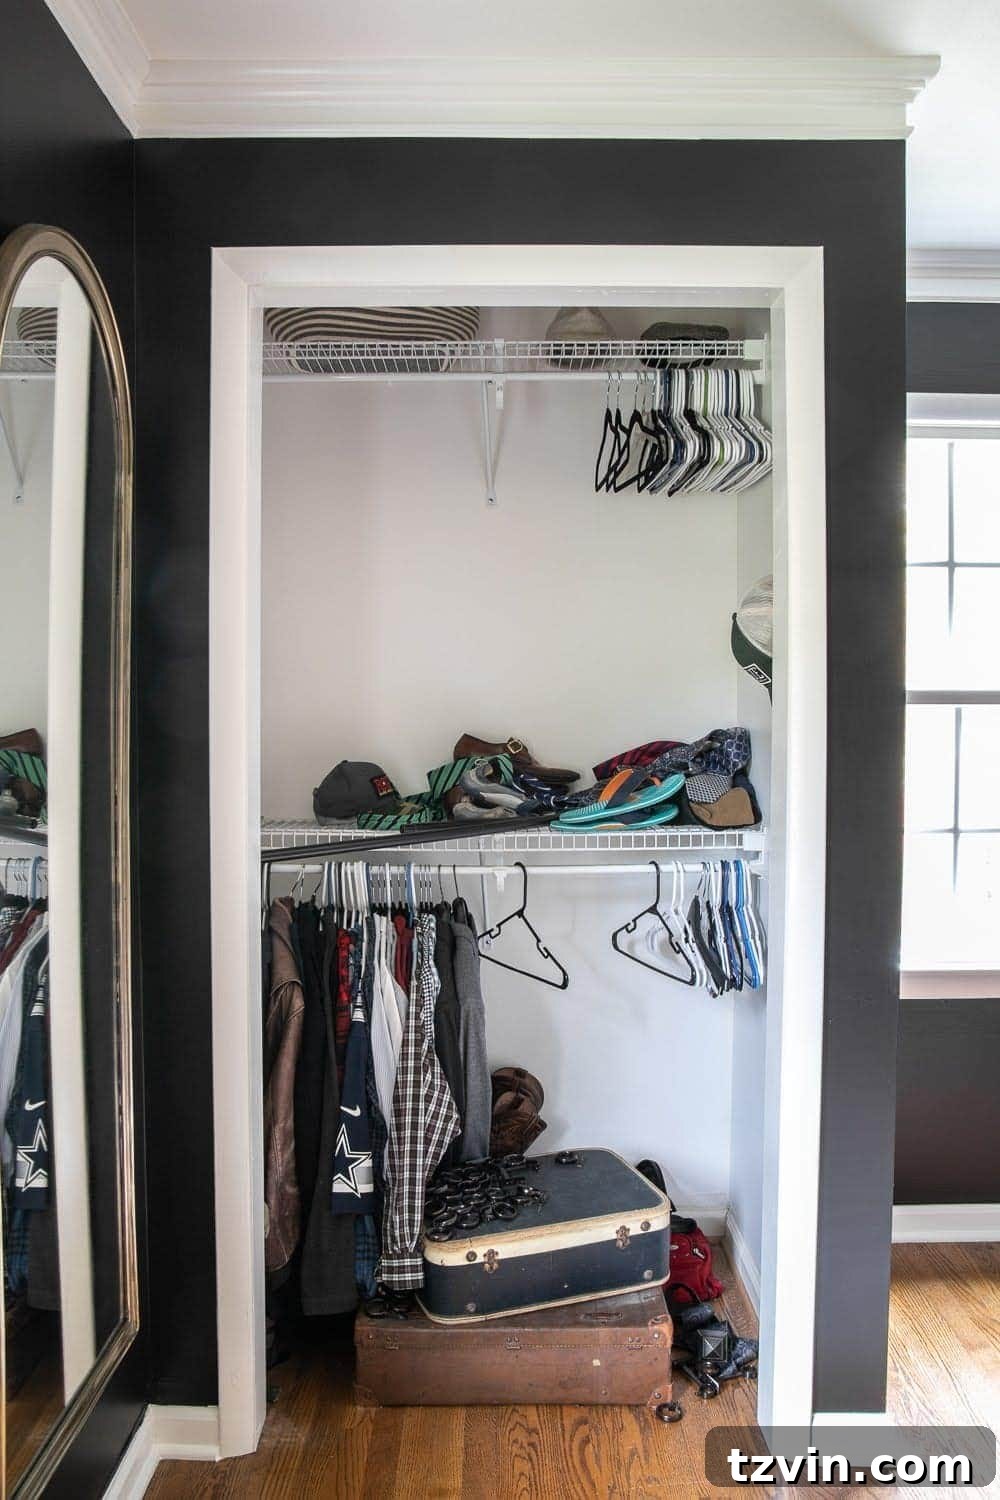
We’re installing new closet doors next to replace our basic bi-folds, and you can bet we’ll be using a coat of KILZ 2®All-Purpose to prevent scuffs and wear on those too. (An update coming on that soon!)
Don’t even get me started on the inside of these closets, though. That’s a completely different story and high on our New Year’s Resolutions list! 😉
What do you think of this dramatic change?! It’s a total shocker to me walking into this room now, but in the best possible way. Like the kind of moment when you catch yourself in the mirror after a dramatic new haircut and think, “Daaaang, you look SO fine.” This room feels utterly transformed and incredibly luxurious.
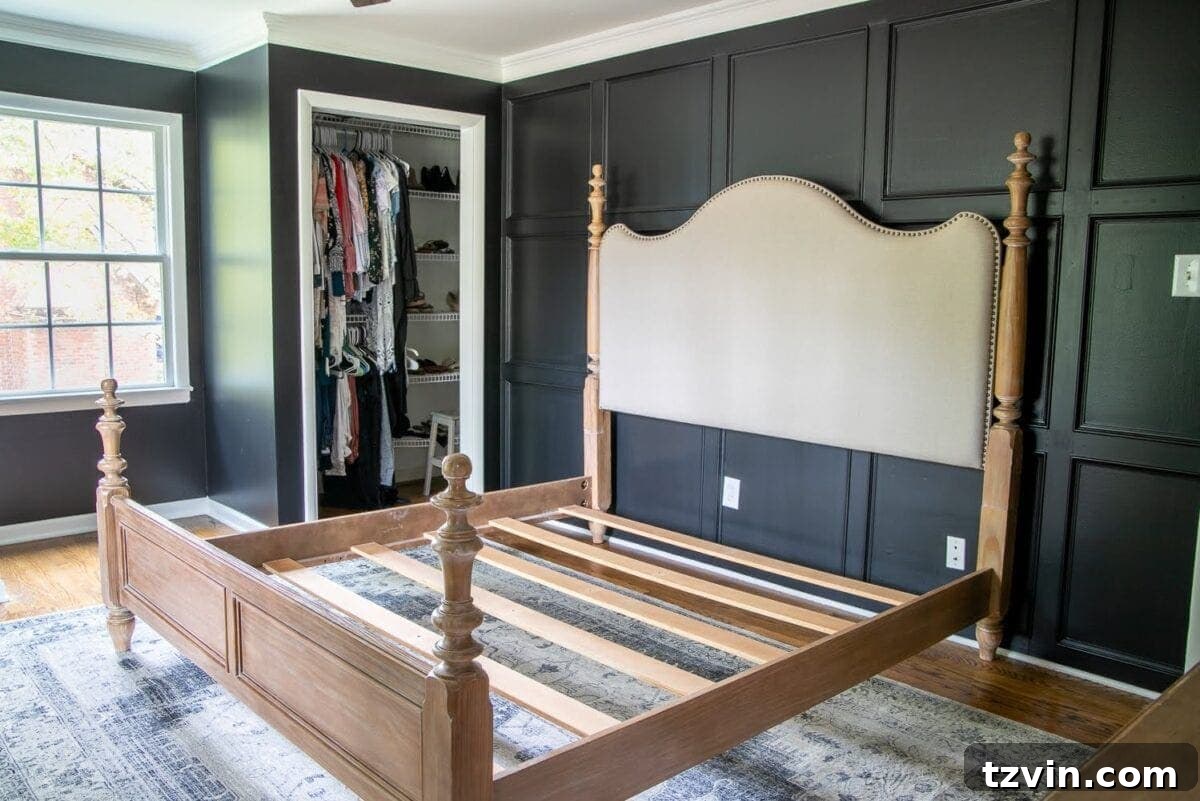
Here’s what we have next on the to-do list to complete our moody master bedroom oasis:
- Install new closet doors, and, of course, prime and paint them for longevity.
- Hang luxurious curtains and elegant window shades to soften the look and add texture.
- Install a new ceiling fan and stylish sconces for improved lighting and aesthetic appeal.
- Create stunning DIY art pieces to personalize the space.
- Thoughtfully decorate with furniture, textiles, and accessories to bring the entire vision to life.
Once we add in the curtains, the new doors, and crisp white bedding, this space will brighten up quite a bit, balancing the deep black. So, if you’re not a fan of the dark look just yet, sit tight! 😉 It’ll get there, transforming into a perfectly balanced sanctuary.
This is definitely one of those makeovers that we plan on leaving as-is for years to come. That long-term commitment is precisely why every single step, especially the proper priming and painting, is worth it. I cannot WAIT to see how it all comes together in its final, glorious form!
Your DIY Journey: Embrace the Process
Painting can be one of the most impactful and cost-effective ways to transform a space, but it’s also a skill that improves with experience and a willingness to learn. Don’t be afraid to embrace the learning curve, make mistakes (and learn from them, like we did!), and invest in the proper preparation. The satisfaction of a beautifully painted room that stands the test of time is truly invaluable. By understanding and applying these five essential primer and paint rules, you’re well on your way to becoming a confident DIY painter capable of creating truly lasting beauty in your home.
If you want to save these valuable primer and paint tips for later, you can pin this post here: