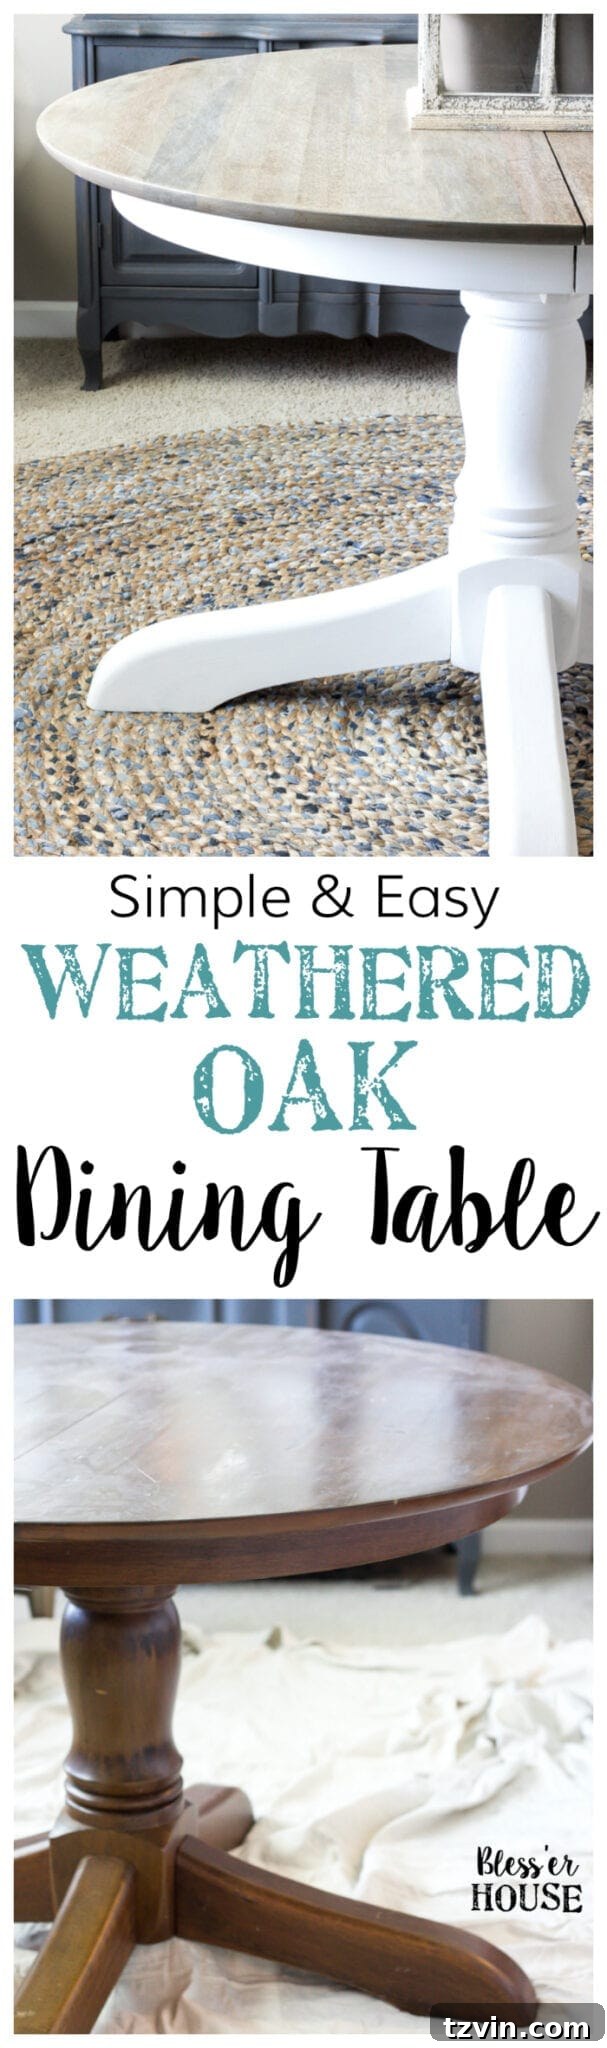
Give Your Old Dining Table a Stunning Weathered Oak Finish!
Do you ever wake up with the urge to create? That irresistible pull to transform something? I get that feeling, too! This time, it was our old dining table’s turn for a makeover. This tutorial will show you how to achieve a beautiful, high-end designer look with a simple weathered oak finish, perfect for breathing new life into a thrifted find.
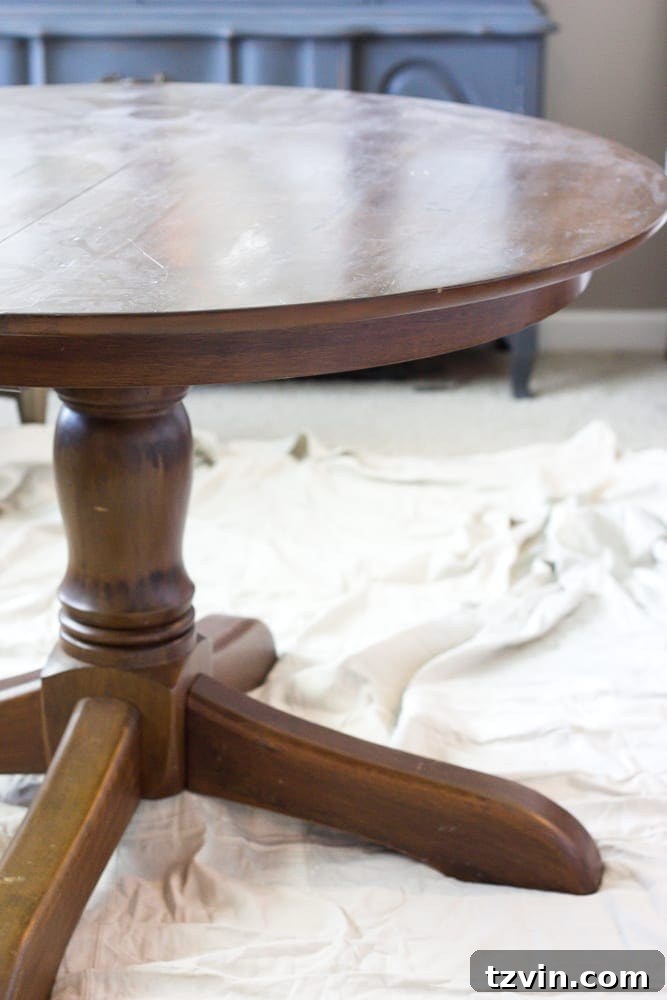
After a busy few weeks, I was eager to get my hands on a DIY project. Our dining room table was the perfect candidate. It was a bit worn, but I knew with a little love, it could become a centerpiece.
Inspired by High-End Style: The Restoration Hardware Look
We snagged this table from Craigslist a couple of years back. I always envisioned a transformation, but the specific vision eluded me until I saw a similar table at Restoration Hardware. Their version had that perfect, aged oak look, but the price tag? Let’s just say it wasn’t in the cards. That’s when I knew I wanted to replicate that style myself.
Materials You’ll Need
Here’s a list of the supplies I used to achieve this beautiful weathered oak finish. (Note: Some links below are affiliate links, which means I may earn a small commission at no extra cost to you.)
- Mouse Sander (A handy tool for any DIY enthusiast!)
- Coarse grit sanding sheets
- Safety glasses
- Sanding respirator mask (Protect your lungs!)
- Minwax Weathered Oak stain
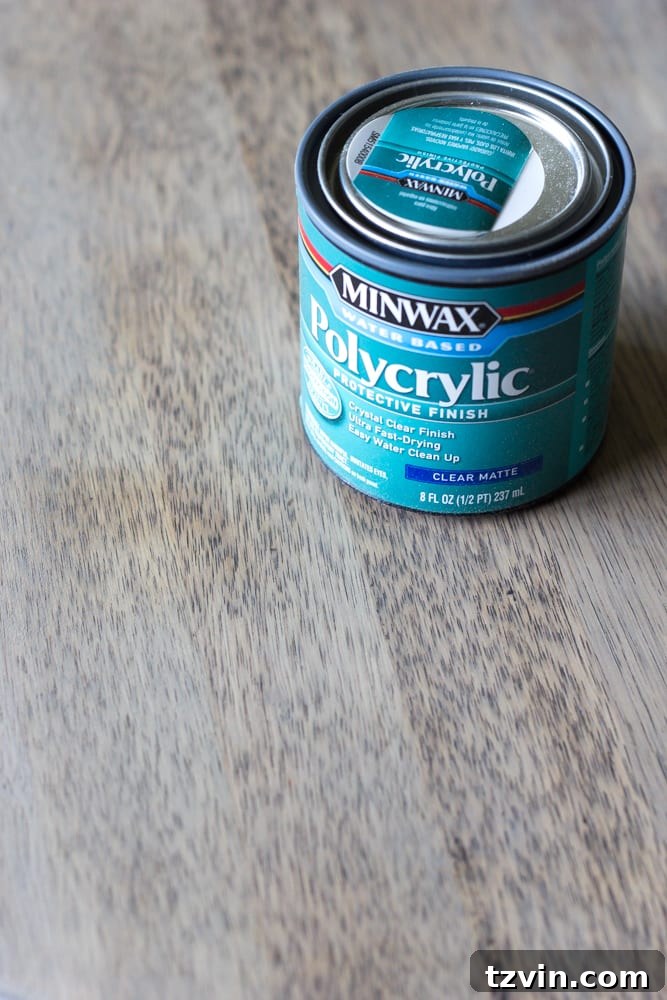
- Minwax Polycrylic Matte finish
- 2 foam brushes (for applying stain and topcoat)
- Several dry, lint-free rags
- Annie Sloan Chalk Paint in Pure White (for the base – optional)
- 1 angled paint brush (for painting the base – optional)
Step-by-Step Guide: Achieving the Weathered Oak Finish
I avoid harsh varnish strippers. Instead, I opted to sand down the existing finish on the tabletop. This method is a bit more labor-intensive, but it gives you more control and avoids strong chemicals.
The sanding process took a little while. Be patient, and make sure to wear your mask and eye protection!
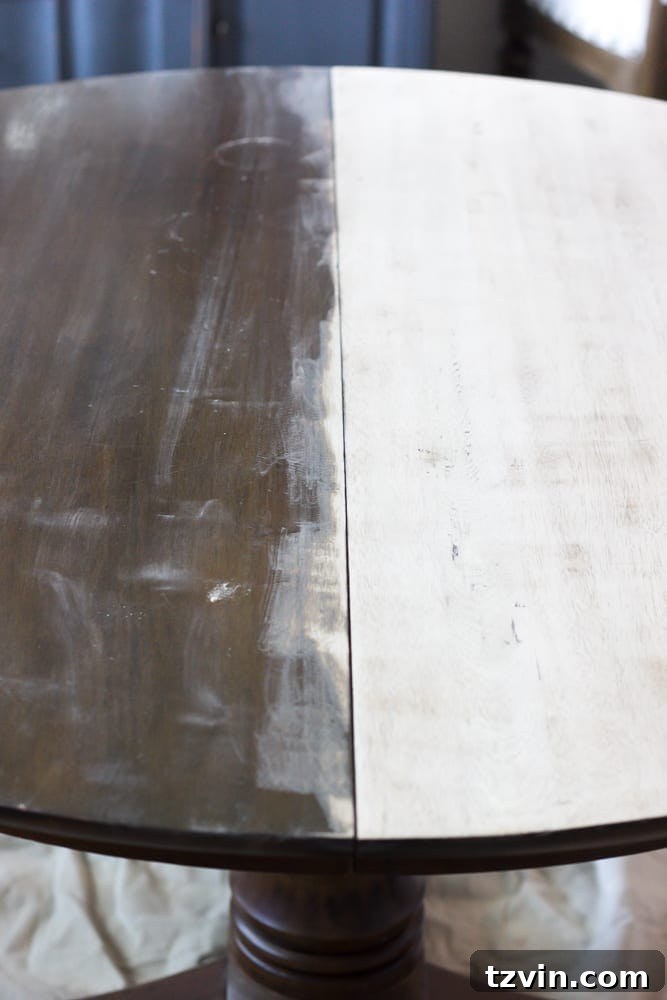
After a good few hours of sanding, the table started to reveal its true potential.
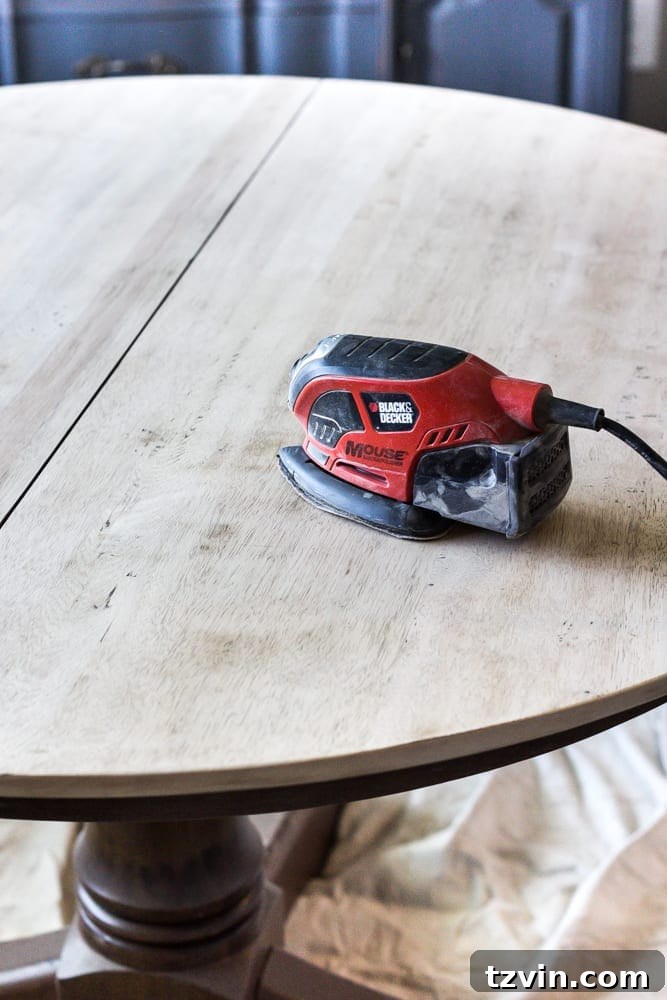
There was a bit of dust, but a vacuum and duster took care of it. Next time, I might wait for a helper to move the table before sanding to minimize dust dispersal!
Now, for the fun part: applying the stain!
I fell in love with Minwax Weathered Oak stain when I used it on my daughter’s vintage schoolhouse desk. It enhances the wood’s natural character without being overly dark.
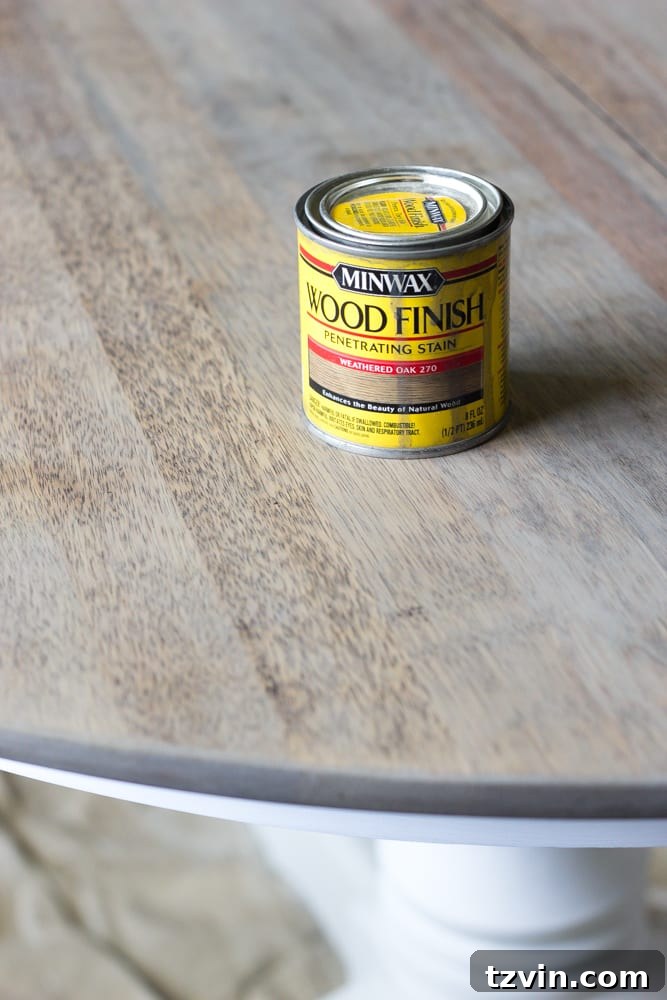
I worked in sections, brushing on the stain with a foam brush, letting it sit for about a minute, and then wiping away the excess with a clean rag. This technique allows you to control the color and achieve that desirable aged look.
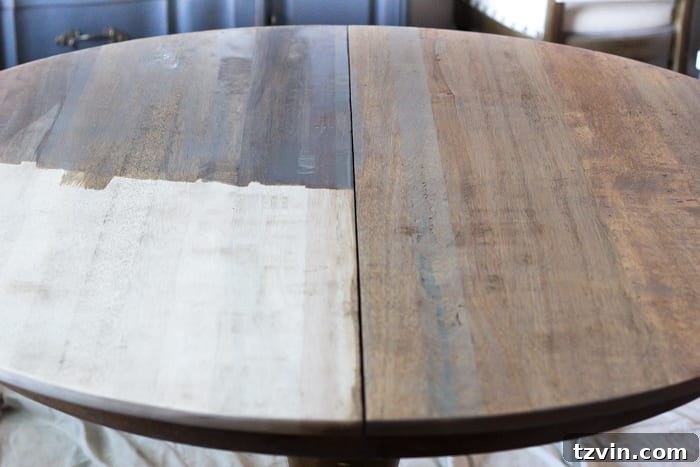
The stain lightens a bit as it dries, so keep that in mind when you are applying it.
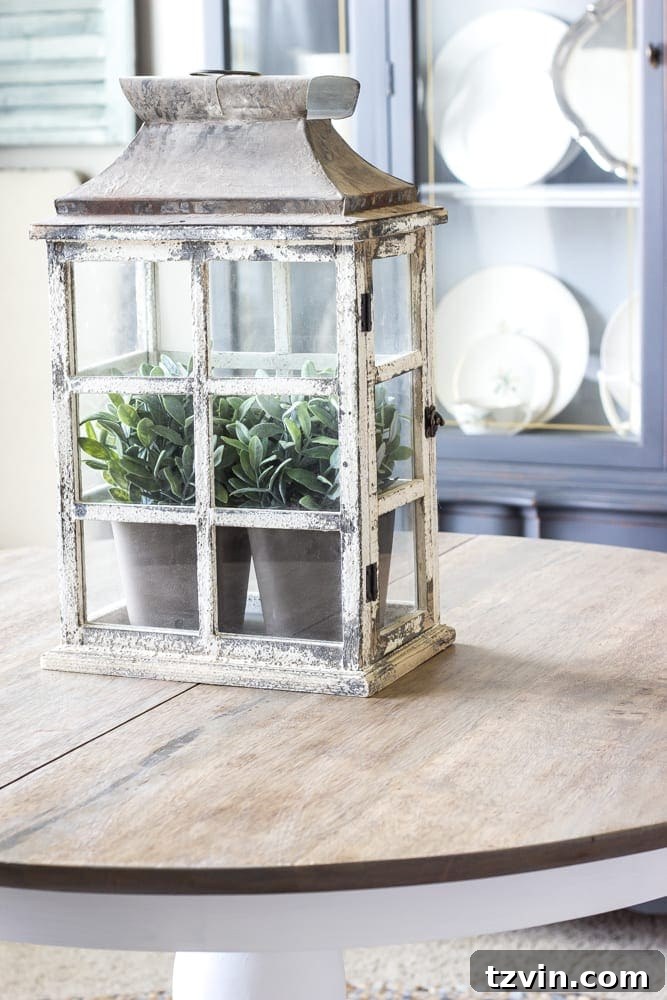
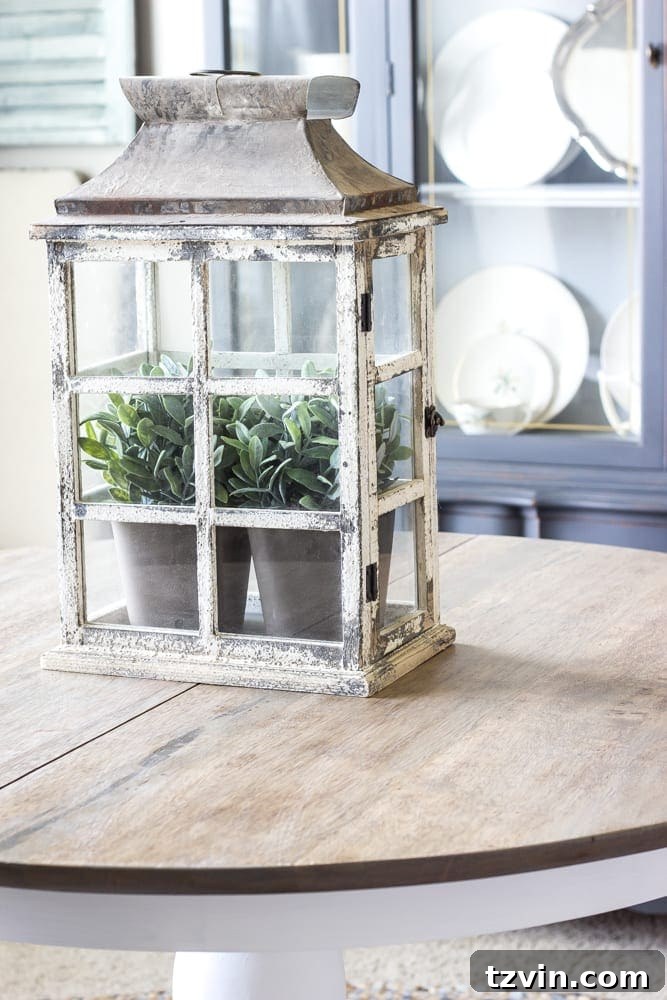
I absolutely love the subtle light brown and gray tones this stain brings out. It perfectly mimics the look of aged wood.
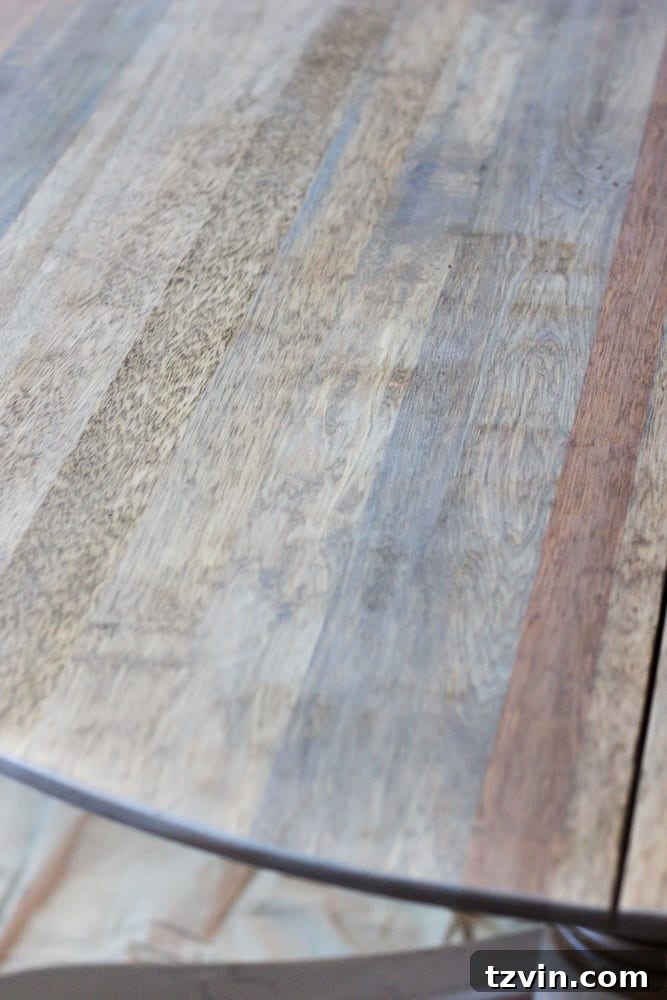
I applied two coats of the weathered oak stain, following the instructions on the can.
Once the stain was completely dry, I applied three thin coats of Minwax Polycrylic Matte. This water-based topcoat protects the finish and gives it a beautiful, soft sheen. If you’re refinishing a table that will see a lot of heavy use, you might consider using a polyurethane finish for added durability.
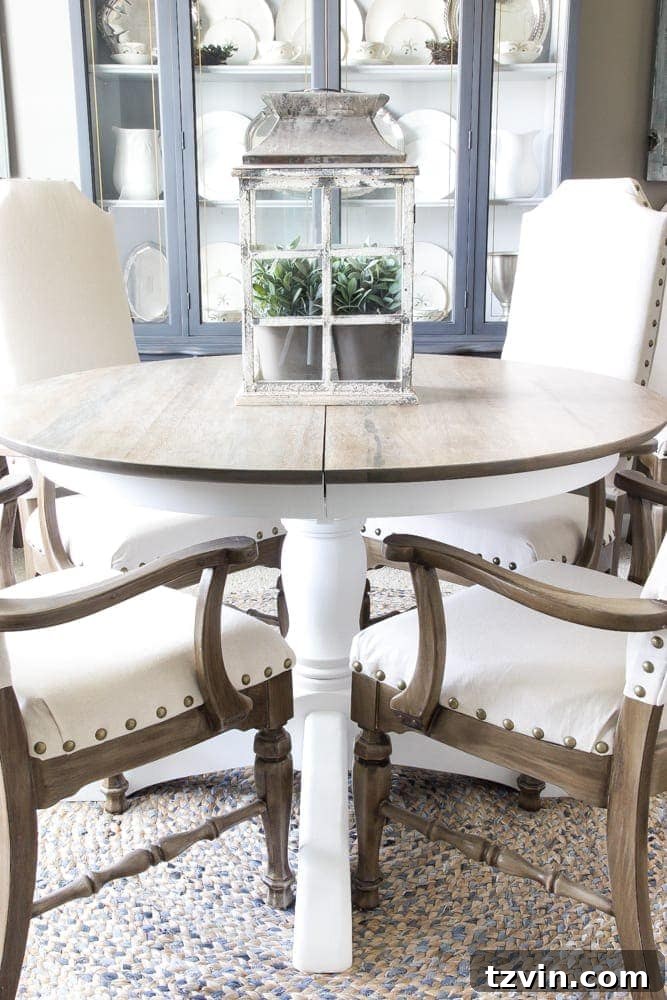
Finally, I painted the table base with two coats of Annie Sloan Chalk Paint in Pure White. I decided against distressing it since I already have several distressed pieces in the room.
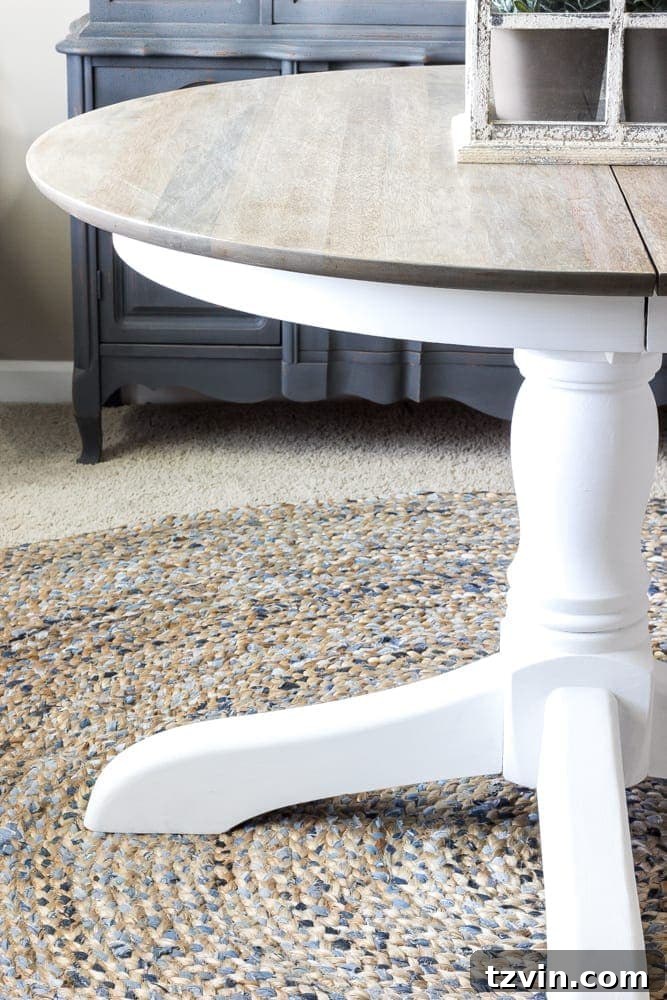
And there you have it! Our dining room feels so much more complete now. Almost everything in this room has been a DIY project. The transformation is so rewarding!
Check out the before and after!
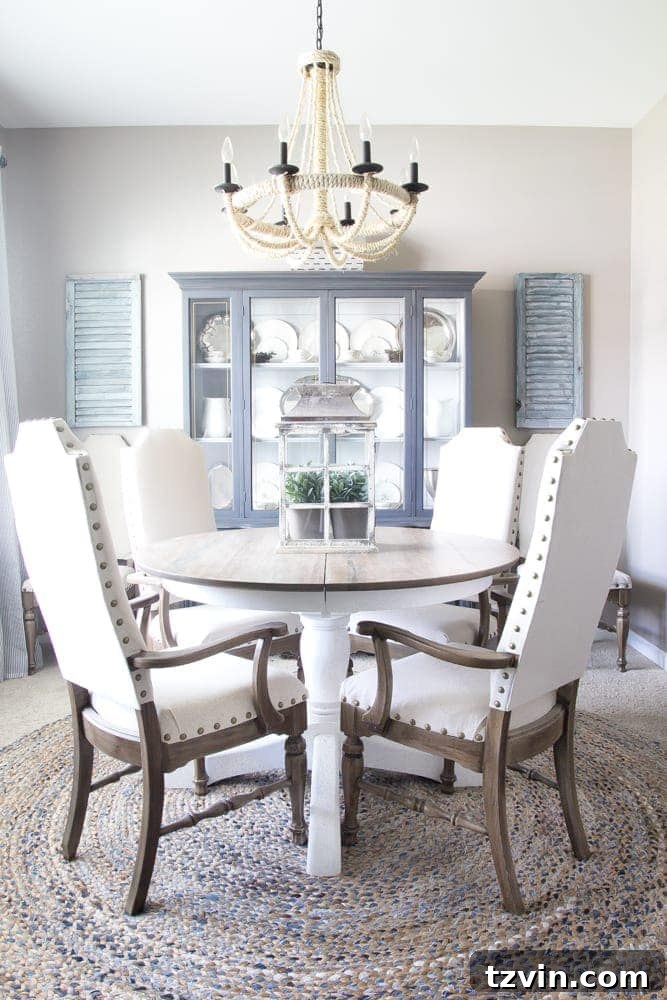
Doesn’t it look amazing?
It’s amazing how far this room has come.
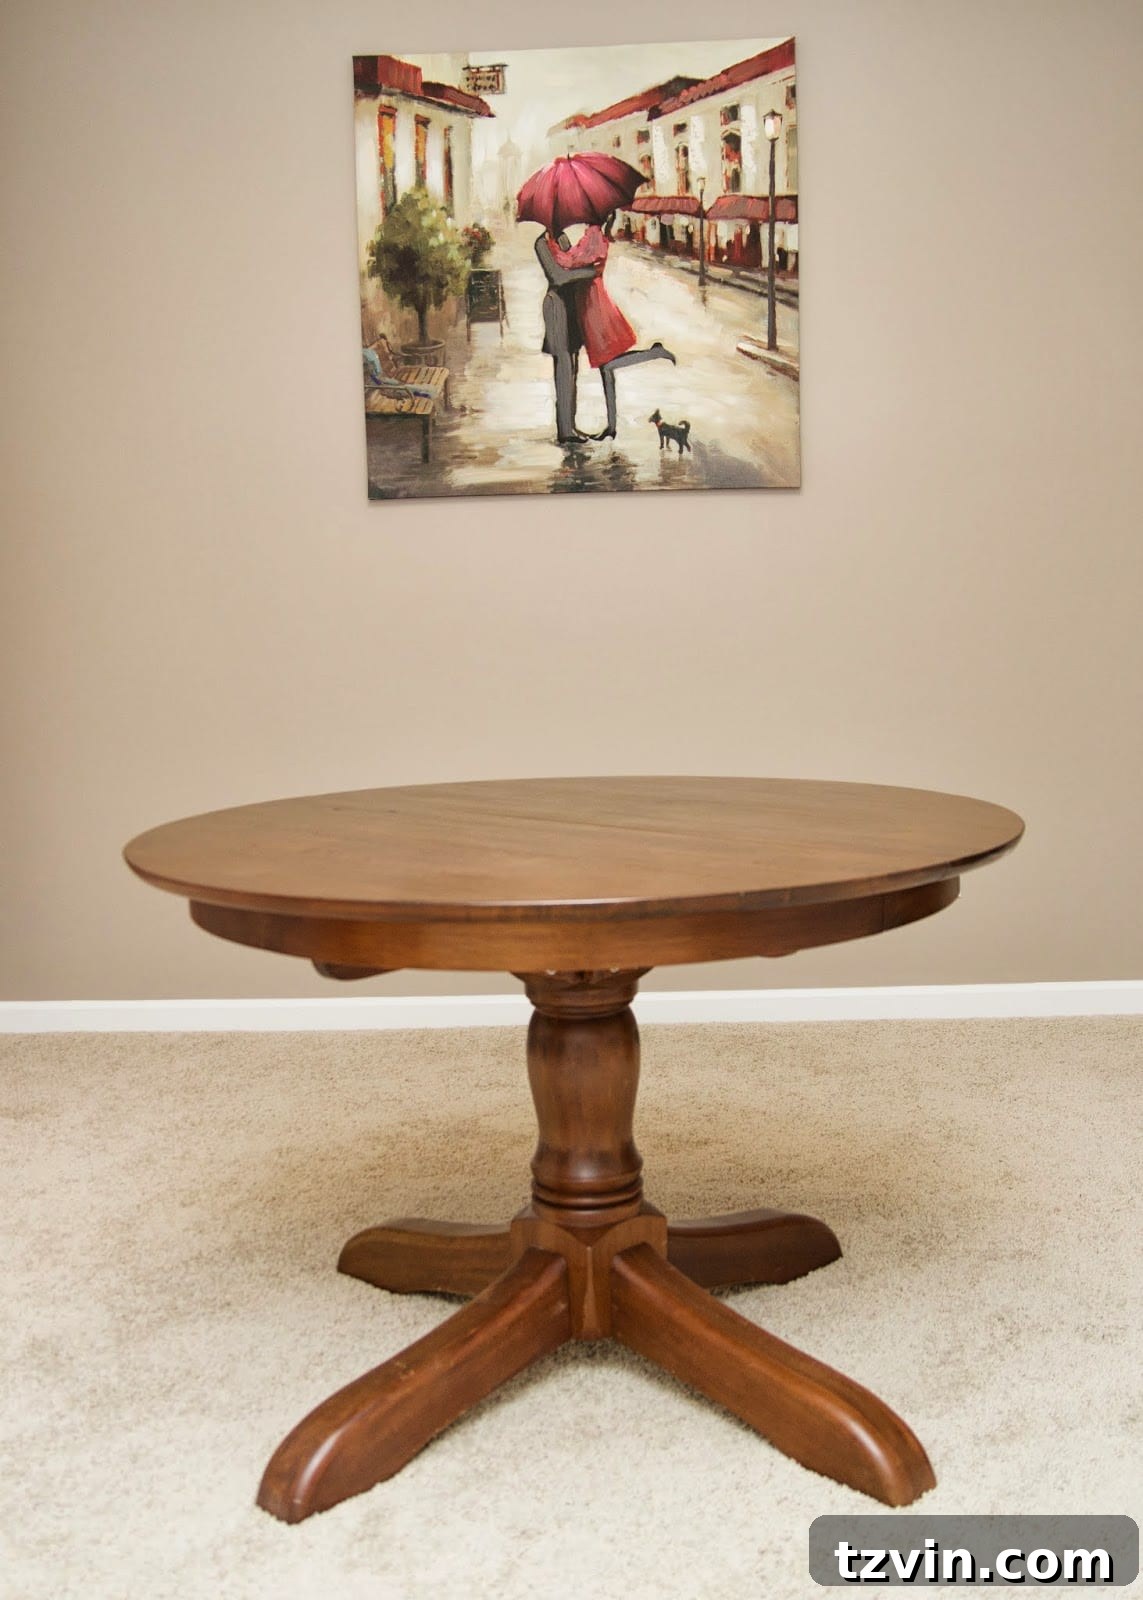
I think I’m ready to stain everything with weathered oak now. Who’s with me on this?
Other Dining Room DIY Projects & Sources
Here are links to other DIY projects and sources from the dining room:
- DIY Rope Chandelier
- DIY No-Sew Upholstered Dining Chairs
- French Provincial China Cabinet Makeover
- DIY Craftsman Window Trim
- Ticking Stripe Curtains
- Jute and Denim Rug
- Large Windowpane Lantern
- Shutters (Free from junking in my in-laws’ barn)
- Dishes/silver (Inherited from my great-grandmother)
The total cost for this dining room makeover? A budget-friendly $925! Trading Spaces would be proud. I miss that show.
More DIY Ideas for Weathered Wood
Looking for more inspiration? Here are a few other projects where you can use the weathered wood look:
- Best Deck Stain Color for a Neutral Driftwood Look
- DIY Faux Driftwood Outdoor Dining Table Makeover
- Painted Weathered Wood Bed Makeover
Now that we’re heading into the fall and winter, our dining room is ready for cozy gatherings. And, thankfully, the creative craving in my brain is satisfied… for now!
What DIY projects are you working on these days? Share your creations in the comments!
Pin this post to save for later: