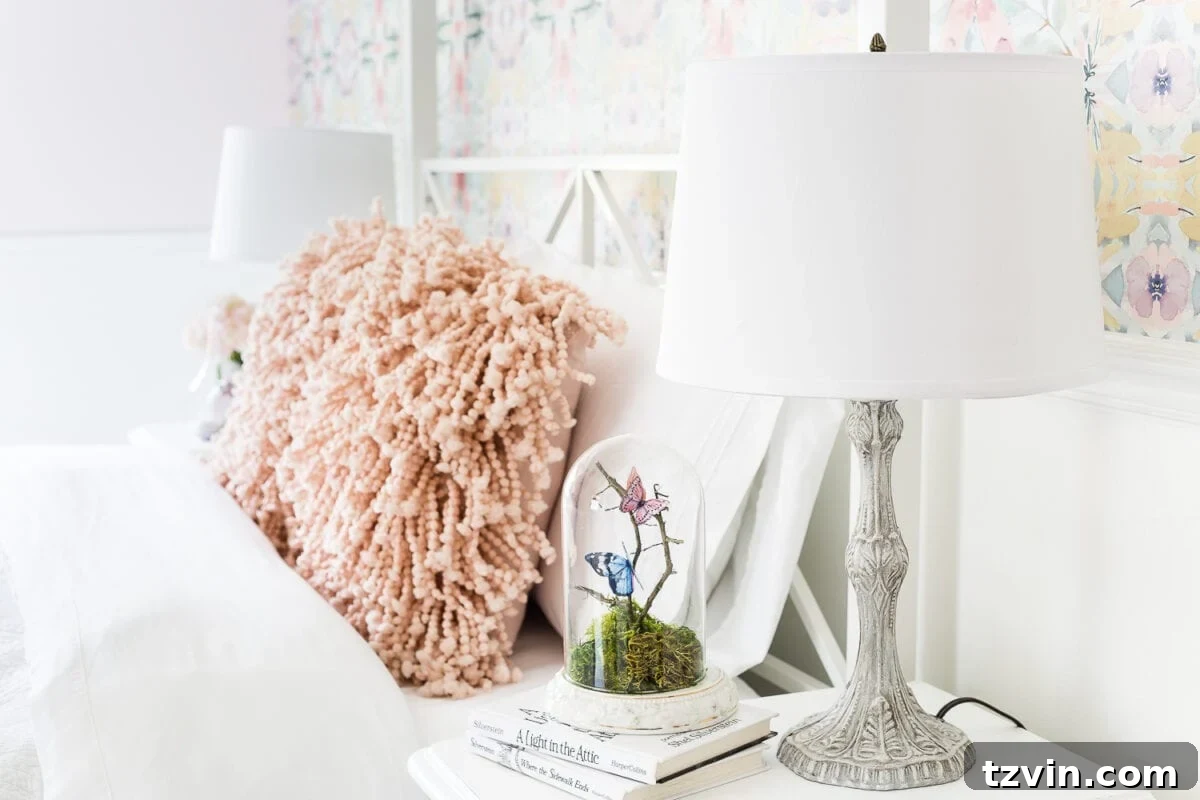
Welcome, fellow decor enthusiasts! Today, we’re diving deep into a subject that holds a special place in my heart, and quite literally, in Olivia’s beautifully evolving room: lamps! You know that feeling when a room makeover truly starts to take shape, and every element, from the largest furniture piece to the smallest decorative accent, sings in harmony? That’s precisely the enchanting stage Olivia’s bedroom is at right now, and believe me, it’s absolutely adorable. This journey isn’t just about transforming a space; it’s about infusing personality, creating functionality, and crafting a dreamy sanctuary that sparks joy.
Before we embark on a full tour of Olivia’s blossoming bedroom and all the delightful progress we’ve made, let’s shine a spotlight on today’s special project. It’s officially “Trash to Treasure Tuesday,” a cherished monthly tradition where I, along with a group of talented blogger friends, transform neglected thrift store finds into stunning, purposeful pieces. This month, my creative energies were directed towards a charming pair of lamps, poised for a dramatic revival. If you’re new to our thrifty adventures, you can explore a treasure trove of my past thrift makeovers here, and prepare to be inspired!

The quest for the perfect bedside lighting for Olivia’s room was a priority. Bedtime stories are a cherished ritual in our home, and warm, inviting table lamps are essential for creating that cozy, intimate atmosphere. So, during a recent visit to our local thrift store, fate intervened. I stumbled upon this delightful duo – a pair of lamps, each priced at a mere $5, boasting the most exquisite, sweet, and feminine details. Their intricate scrollwork and classic silhouette immediately caught my eye, whispering promises of their hidden potential.
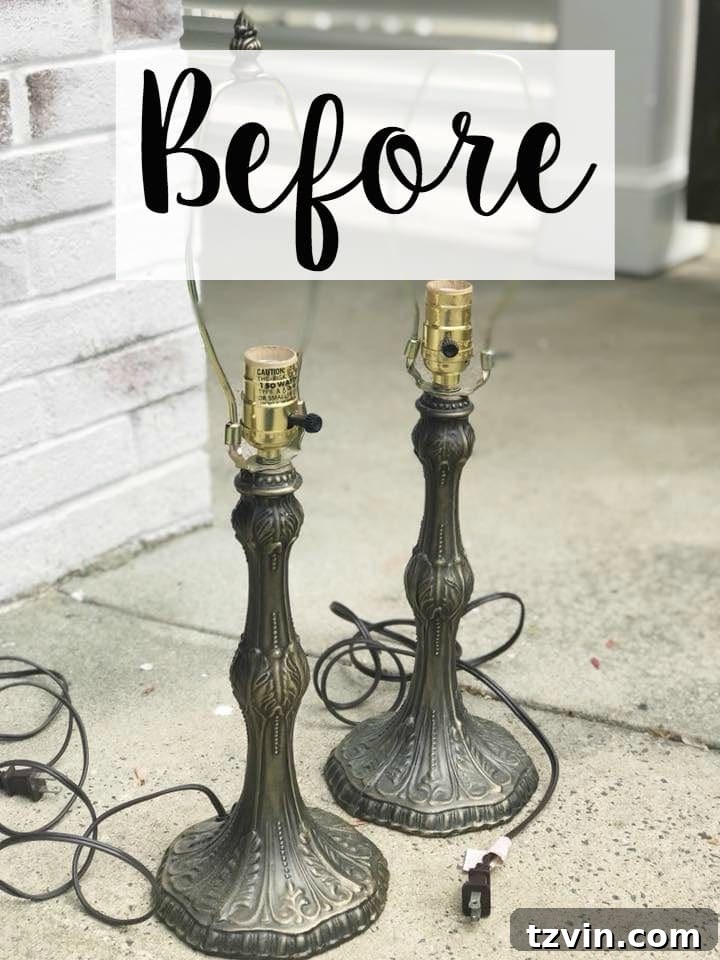
However, let’s be entirely honest: their initial appearance left much to be desired. They were undeniably grimy, bearing the marks of time and neglect, hinting at a previous life. They had certainly seen better days, showing significant wear and a dull, uninspired finish that masked their inherent beauty. Most people might have walked past them, dismissing them as beyond repair, but I saw beyond the superficial grime to the ornate elegance underneath.
What truly solidified my decision to rescue them was their striking resemblance to the opulent Baroque lamps I’d often admired at RH Baby and Child. The delicate curves and sculptural forms echoed the high-end aesthetic I adored, but with one crucial difference: the RH versions commanded a staggering price tag, often hundreds of dollars more per pair. This realization fueled my determination to create a stunning designer knock-off, transforming these humble thrift store finds into luxurious pieces without breaking the bank. This DIY lamp makeover was destined to be a testament to affordable luxury and the power of creative vision.
Supplies Used for this French Baroque Lamp Makeover: (Some affiliate links are provided below to help you find the exact products I used for this charming transformation. Purchasing through these links may provide a small commission at no extra cost to you, supporting future DIY projects!)
- Sample size of Annie Sloan Chalk Paint in Paris Grey (The perfect muted neutral base for a French aesthetic.)
- Sample size of Annie Sloan Chalk Paint in Pure White (Ideal for highlighting intricate details with a soft contrast.)
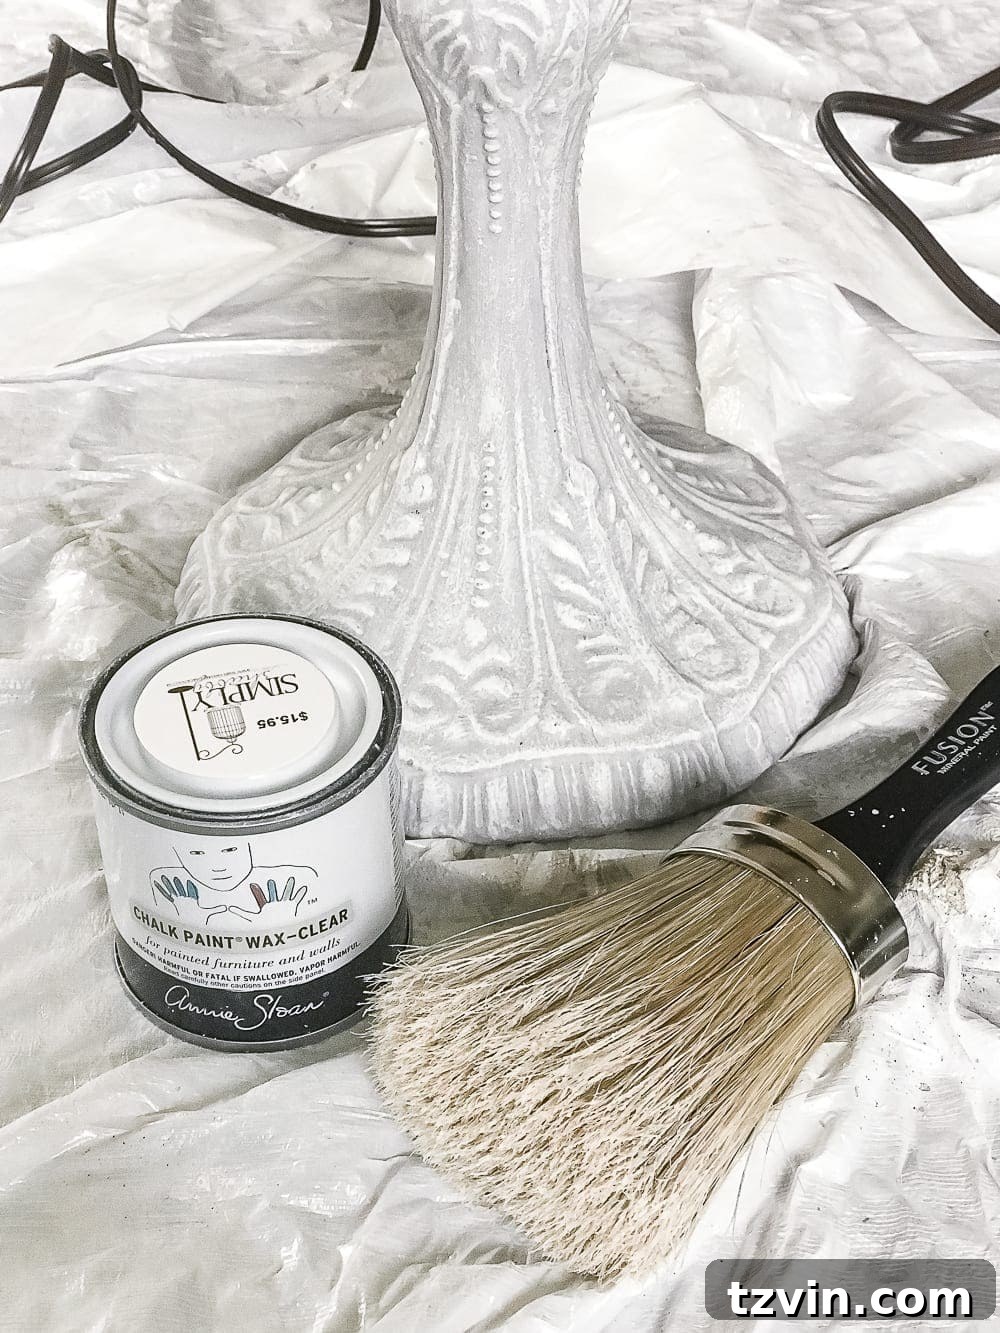
- Annie Sloan Clear Wax (Essential for sealing the paint and preparing the surface for dark wax, ensuring a controlled antique finish.)
- Annie Sloan Dark Wax (To add depth, character, and an authentic aged patina, enhancing the Baroque style.)
- 2 paint brushes (I found these specific brushes exceptionally useful for navigating the intricate, detailed patterns on the lamps, allowing for precise application.)
- Wax brush (A dedicated brush for wax application ensures smooth, even coverage and helps work the wax into all the crevices.)
- Paper towels (Indispensable for dry brushing techniques and cleaning excess paint.)
- Clean, dry cotton rags (Crucial for buffing wax to a beautiful, subtle sheen and removing any excess.)
- Replacement lamp shades from Walmart (An affordable solution to complete the refreshed look, ensuring the lamps cast a lovely glow.)
Now, let’s walk through the simple yet transformative steps to bring these forgotten lamps back to life, imbuing them with French Baroque elegance perfect for a girl’s bedroom.
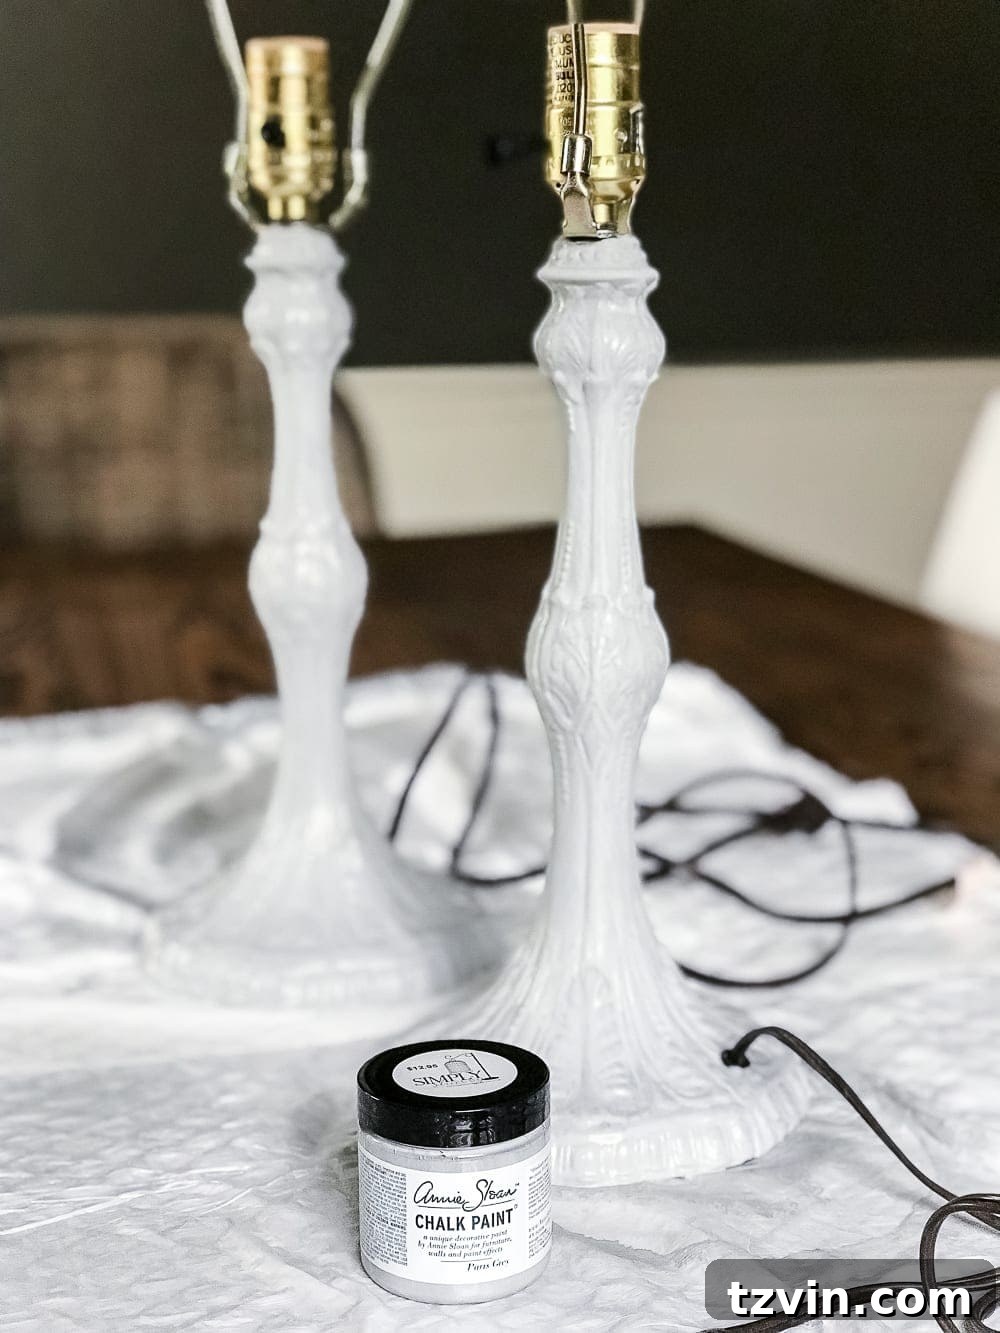
1. The first crucial step in this DIY lamp restoration was applying a solid base coat. I meticulously painted both lamps with a single, even layer of Annie Sloan Chalk Paint in “Paris Grey.” This sophisticated, soft grey hue provides a perfect neutral canvas, reminiscent of classic French interiors, allowing the subsequent details to truly pop. Chalk paint is a dream to work with, requiring minimal to no prep, making this a quick and satisfying initial stage. After careful application, I set them aside to dry completely, ensuring a durable foundation for the next layers. (Please forgive the less-than-perfect cell phone shots below – sometimes creativity strikes faster than professional photography can keep up!)
2. Once the Paris Grey base coat was thoroughly dry, it was time to introduce depth and highlight the lamps’ intricate details through dry brushing with Annie Sloan Chalk Paint in “Pure White.” For those unfamiliar with this technique, dry brushing is a fantastic way to subtly emphasize raised designs and textures. Here’s how it works: I dipped only the very tip of my paintbrush into the Pure White paint, then crucially, brushed off almost all the excess paint onto a paper towel until the brush felt nearly dry. With barely any paint remaining on the bristles, I then lightly brushed the lamp, allowing the white paint to catch only on the raised areas of the design. This method delicately enhances the Baroque patterns, making them visually richer without overwhelming the elegant grey base.
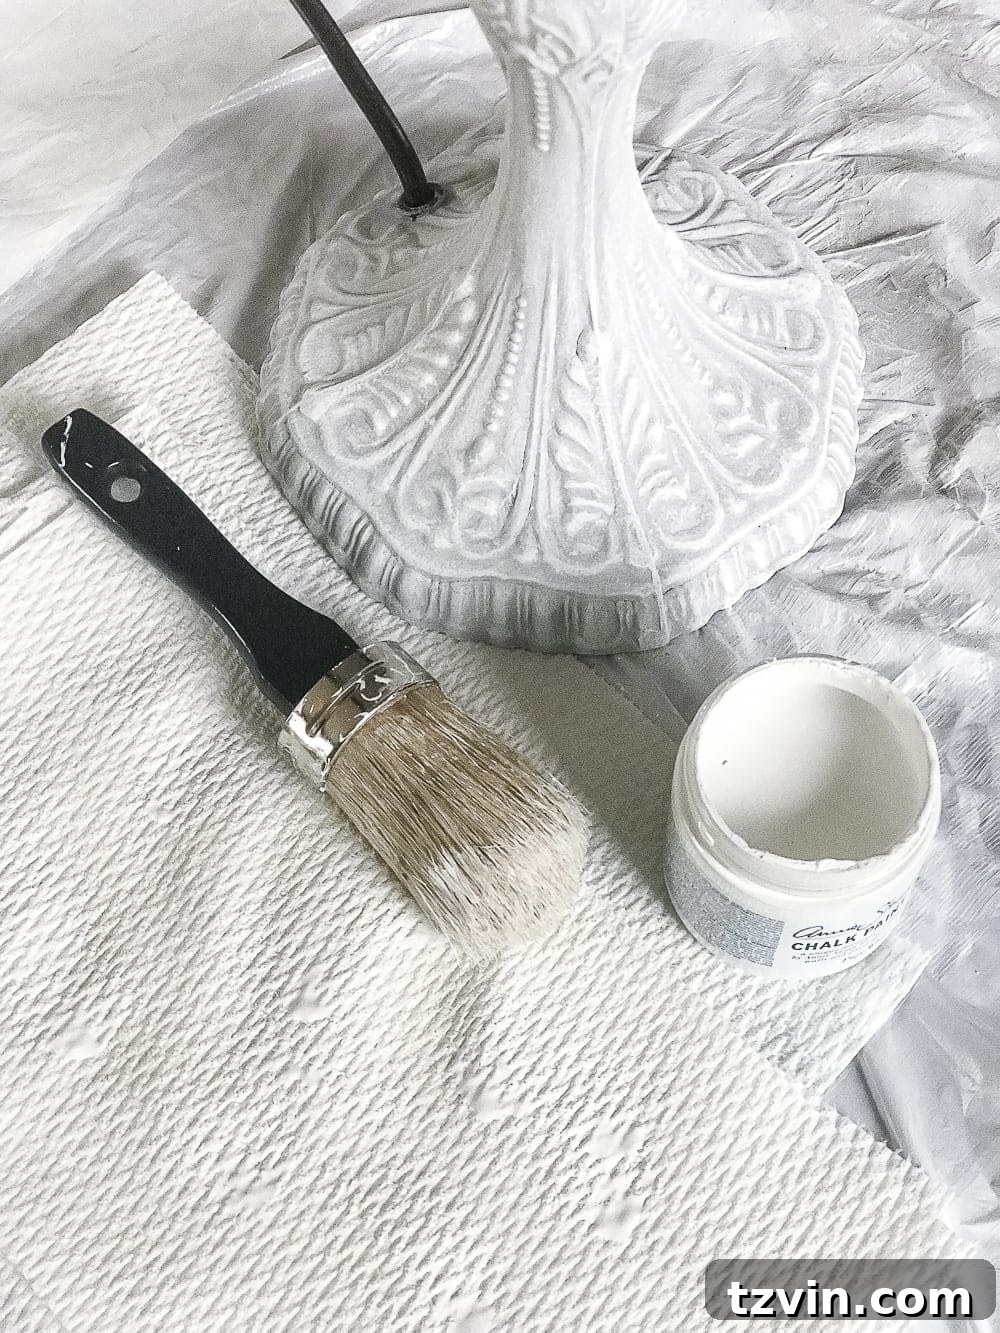
Take a moment to observe the comparison: the lamp on the right has been artfully dry brushed, while the lamp on the left remains with just its base coat. Can you see the remarkable difference? The intricate, delicate details of the Baroque design, which were previously lost in the uniform grey, now beautifully stand out, adding dimension and character. This step is pivotal in achieving that coveted designer-inspired look, elevating a simple painted surface into a piece of art.
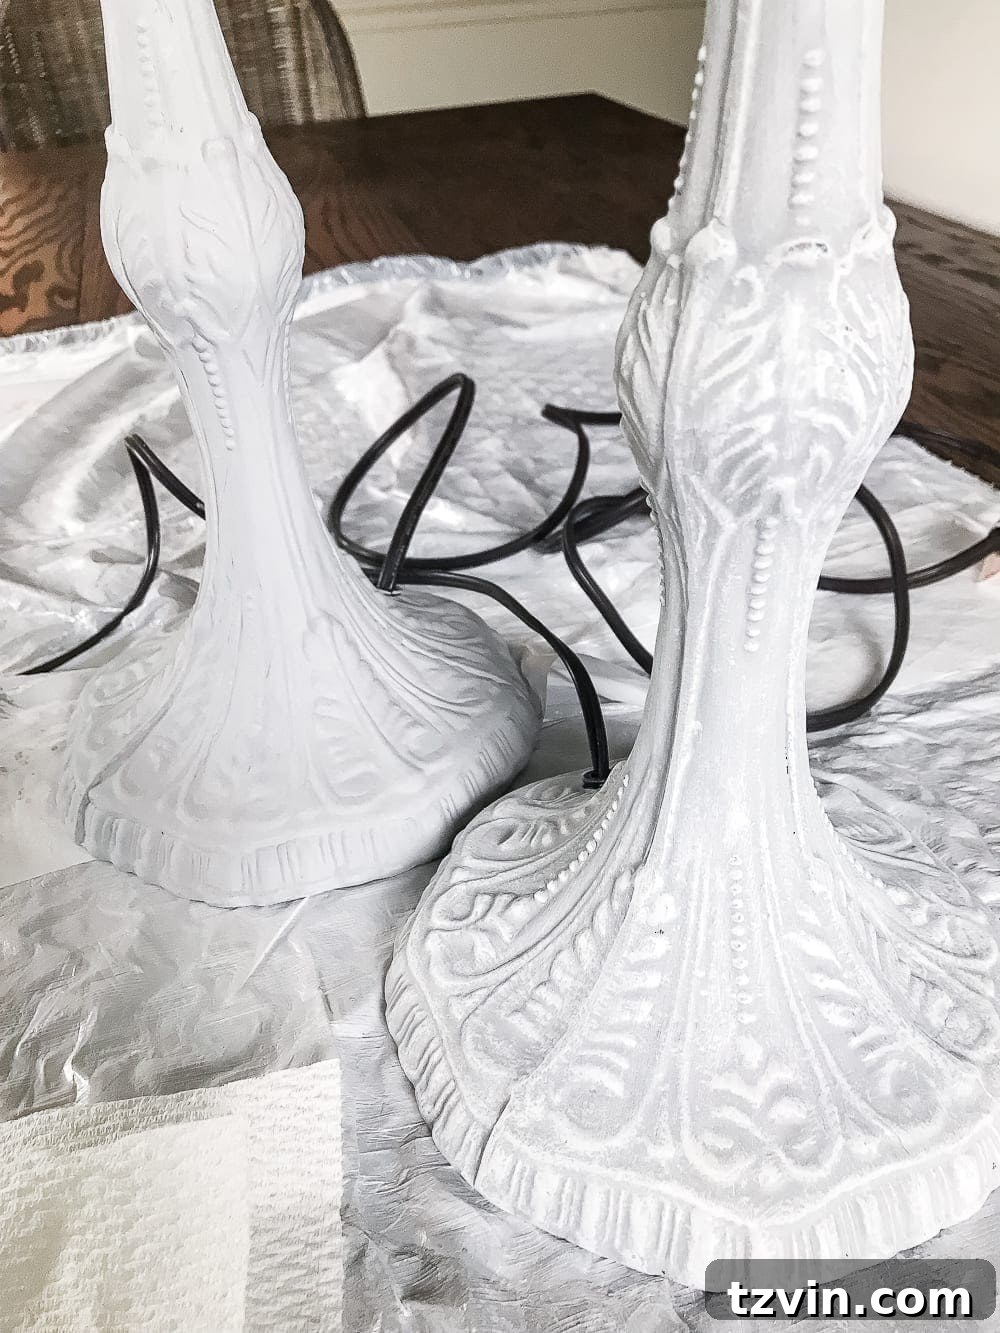
3. Once I was completely satisfied with the subtle yet effective amount of white paint highlighting the lamps’ delicate features, it was time to protect and seal the freshly painted surface. I applied a thin, even layer of Annie Sloan Clear Wax all over both lamps. This step is crucial for two reasons: it acts as a durable sealant, protecting the paint from daily wear and tear, and it provides a beautiful, soft sheen that enhances the overall finish. After applying the wax with a dedicated wax brush, I immediately buffed off any excess with a clean, dry cotton rag. This technique ensures a smooth, non-tacky finish and prepares the surface for the next, equally important, waxing stage.
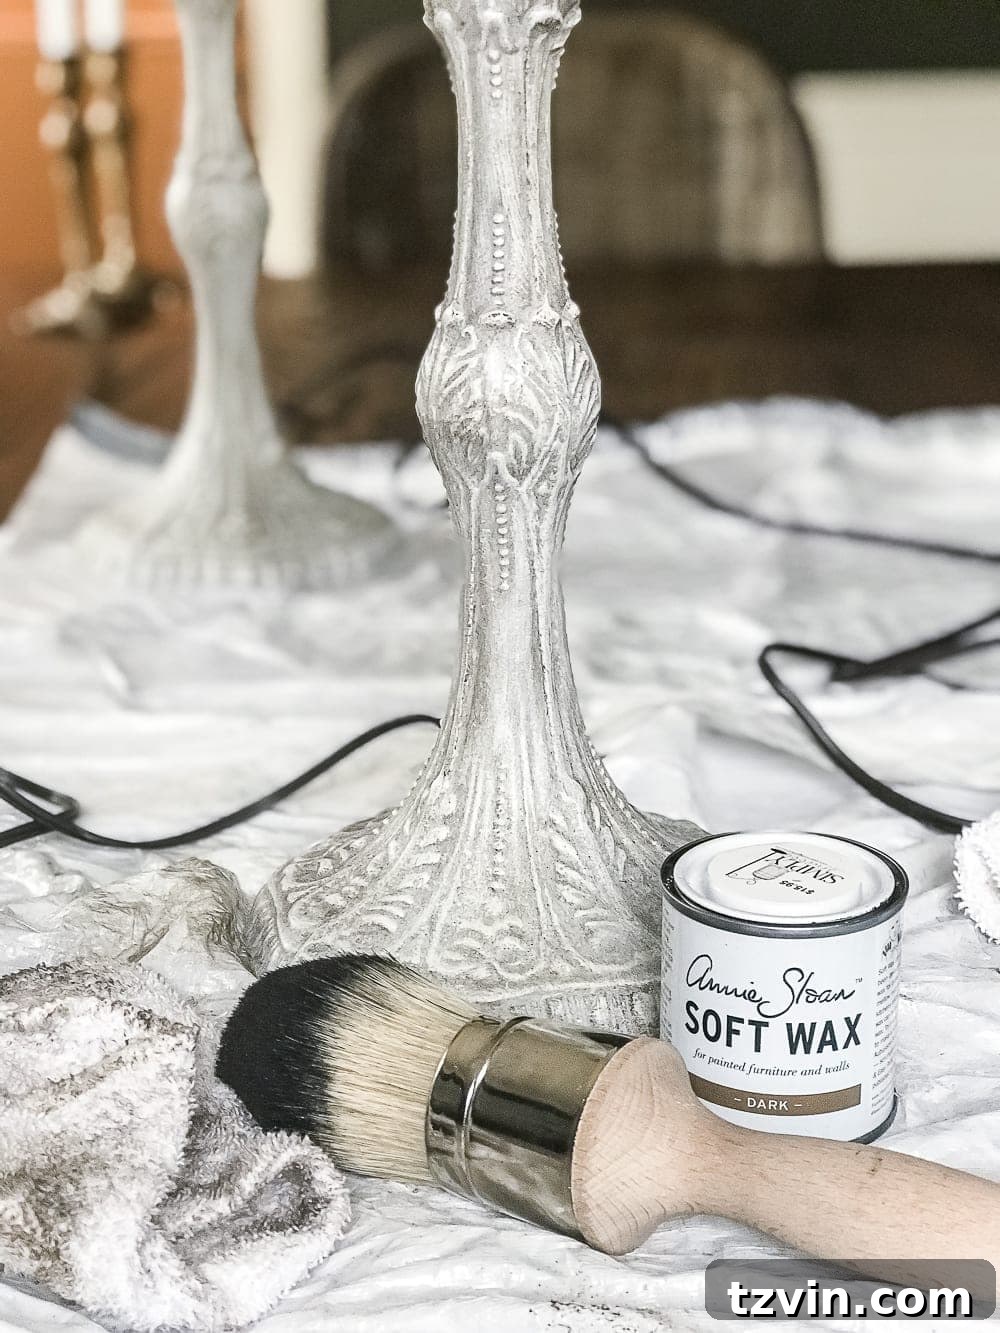
4. The final touch for achieving that authentic, antique French Baroque aesthetic involved applying Annie Sloan Dark Wax. This step is where the magic truly happens, adding an incredible depth and a gently aged patina to the lamps. A key technique here is to apply the clear wax *before* the dark wax. This initial layer of clear wax acts as a protective barrier, allowing you to control the intensity of the dark wax. If you desire a subtle, slightly aged effect, as I did, the clear wax allows you to easily wipe back or blend the dark wax to your preference. However, if you’re aiming for a much darker, more dramatically distressed look, you can opt to use only dark wax without the preceding clear wax layer. I carefully worked the dark wax into the crevices of the ornate details, then lightly buffed it, allowing it to settle into the low points and instantly enhancing the lamps’ vintage charm and character.
5. With the painting and waxing complete, the transformation was almost finished! The final step was to reattach the harps – the metal frames that hold the lampshades – to the lamp bases. Then, I topped them off with a couple of inexpensive yet elegant white shades I found at Walmart. The simple, crisp white shades perfectly complement the newly antiqued bases, allowing their intricate details to truly shine. And just like that, these once-neglected thrift store finds were completely reborn, ready to illuminate Olivia’s room with their refreshed, sophisticated glow. This entire DIY project was incredibly satisfying, demonstrating how a small investment of time and materials can yield truly stunning results.
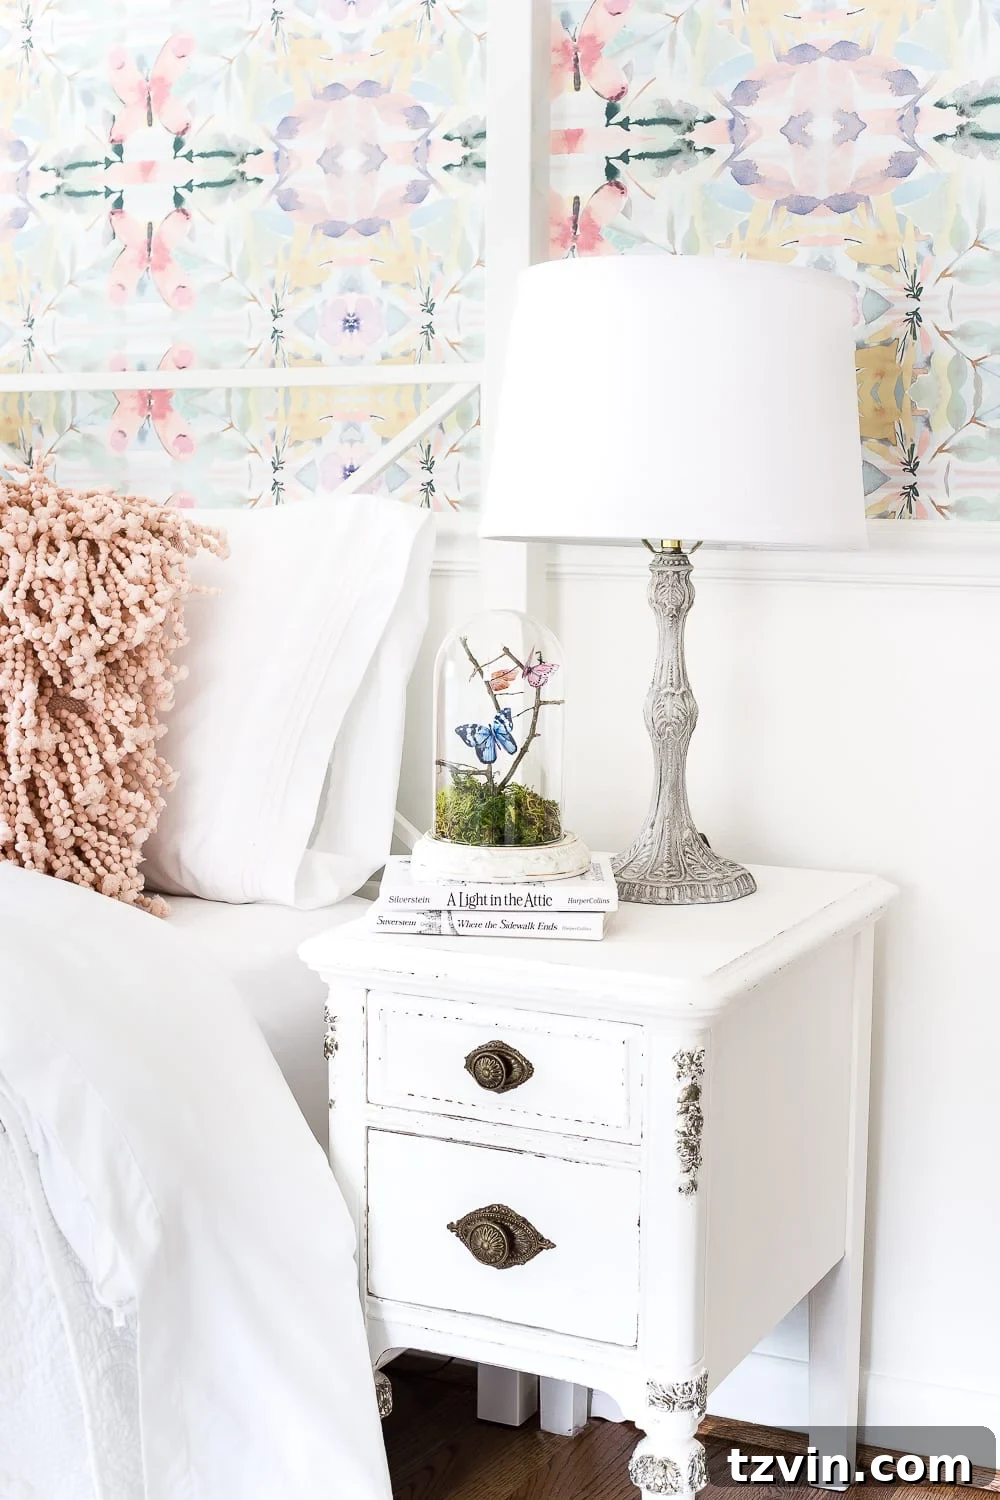
Seeing them in place, casting their warm light, it’s undeniable: these DIY Baroque beauties are still exponentially cheaper than their RH Baby and Child counterparts that had initially captured my attention. This project perfectly embodies the spirit of “Trash to Treasure” – turning an overlooked item into a statement piece that exudes charm and elegance, all on a sensible budget. It’s a testament to the fact that high-end style doesn’t always come with a high-end price tag; sometimes, all it takes is a little vision and some elbow grease.
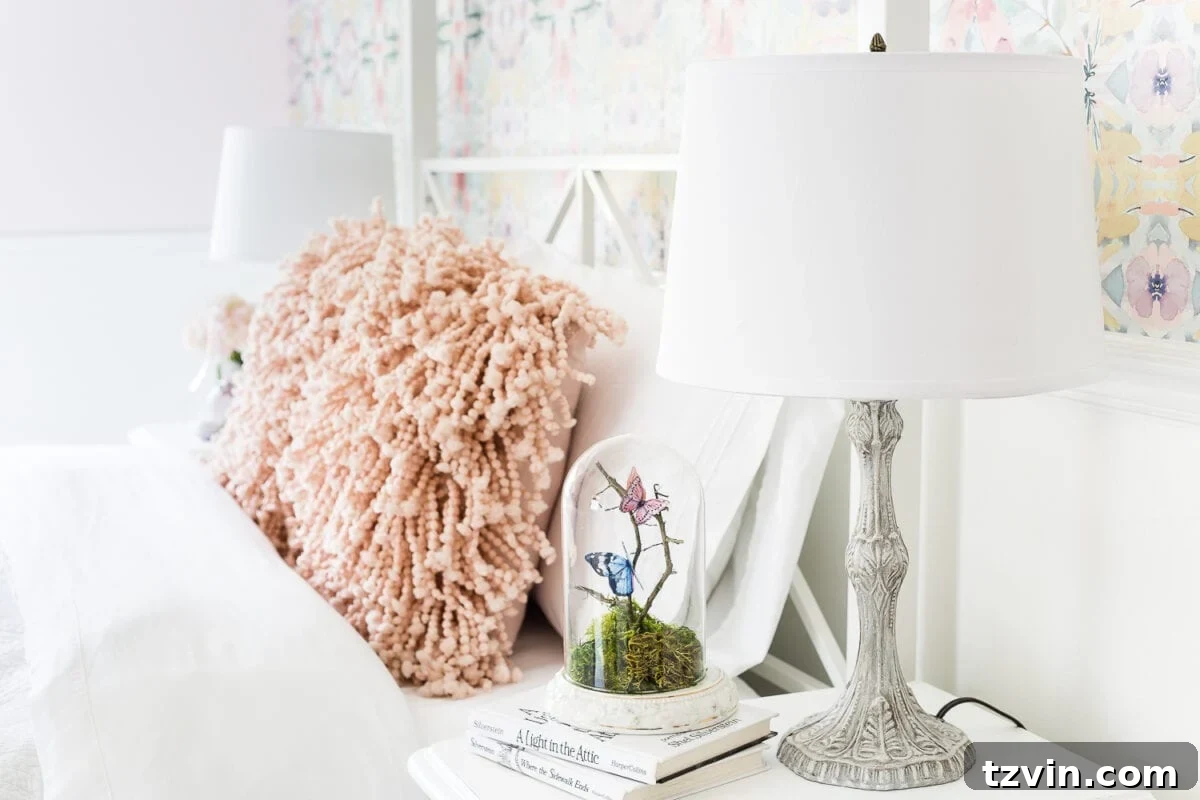
To further enhance the whimsical charm of Olivia’s bedside, I placed a delightful little butterfly terrarium right beside one of the lamps. This charming accent was another of my proud creations, crafted using a thrifted dome clock for last month’s Trash to Treasure Tuesday project. It perfectly complements the feminine aesthetic of the lamps, adding a touch of natural beauty and an ethereal quality to the space. It’s these thoughtful, layered details that truly bring a room to life, telling a story of creativity and cherished finds.
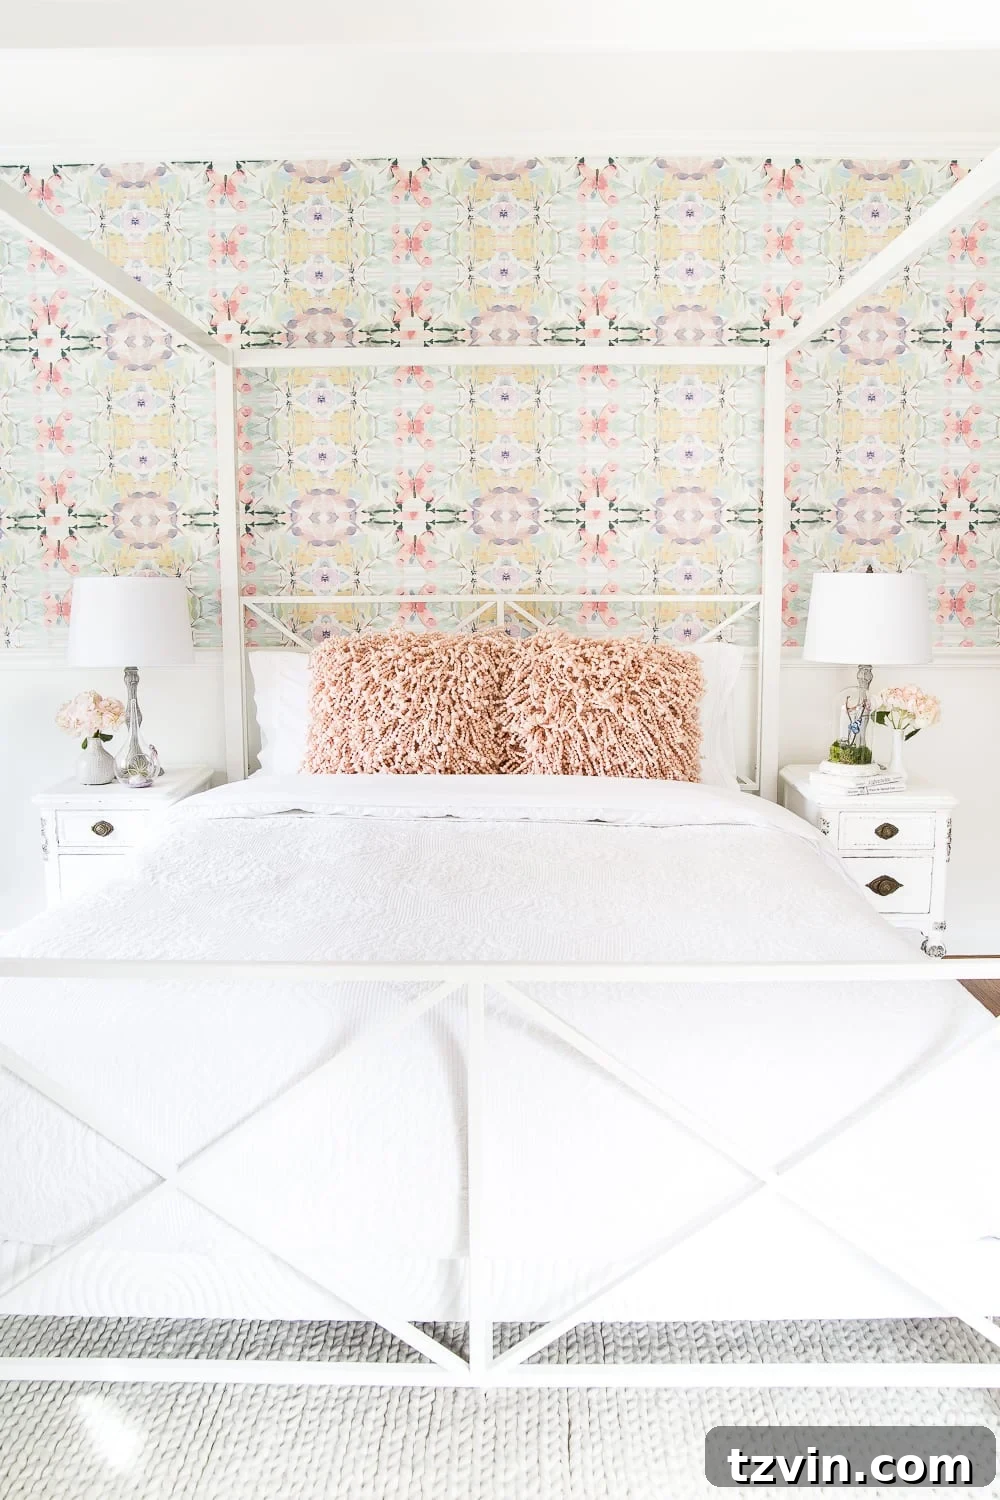
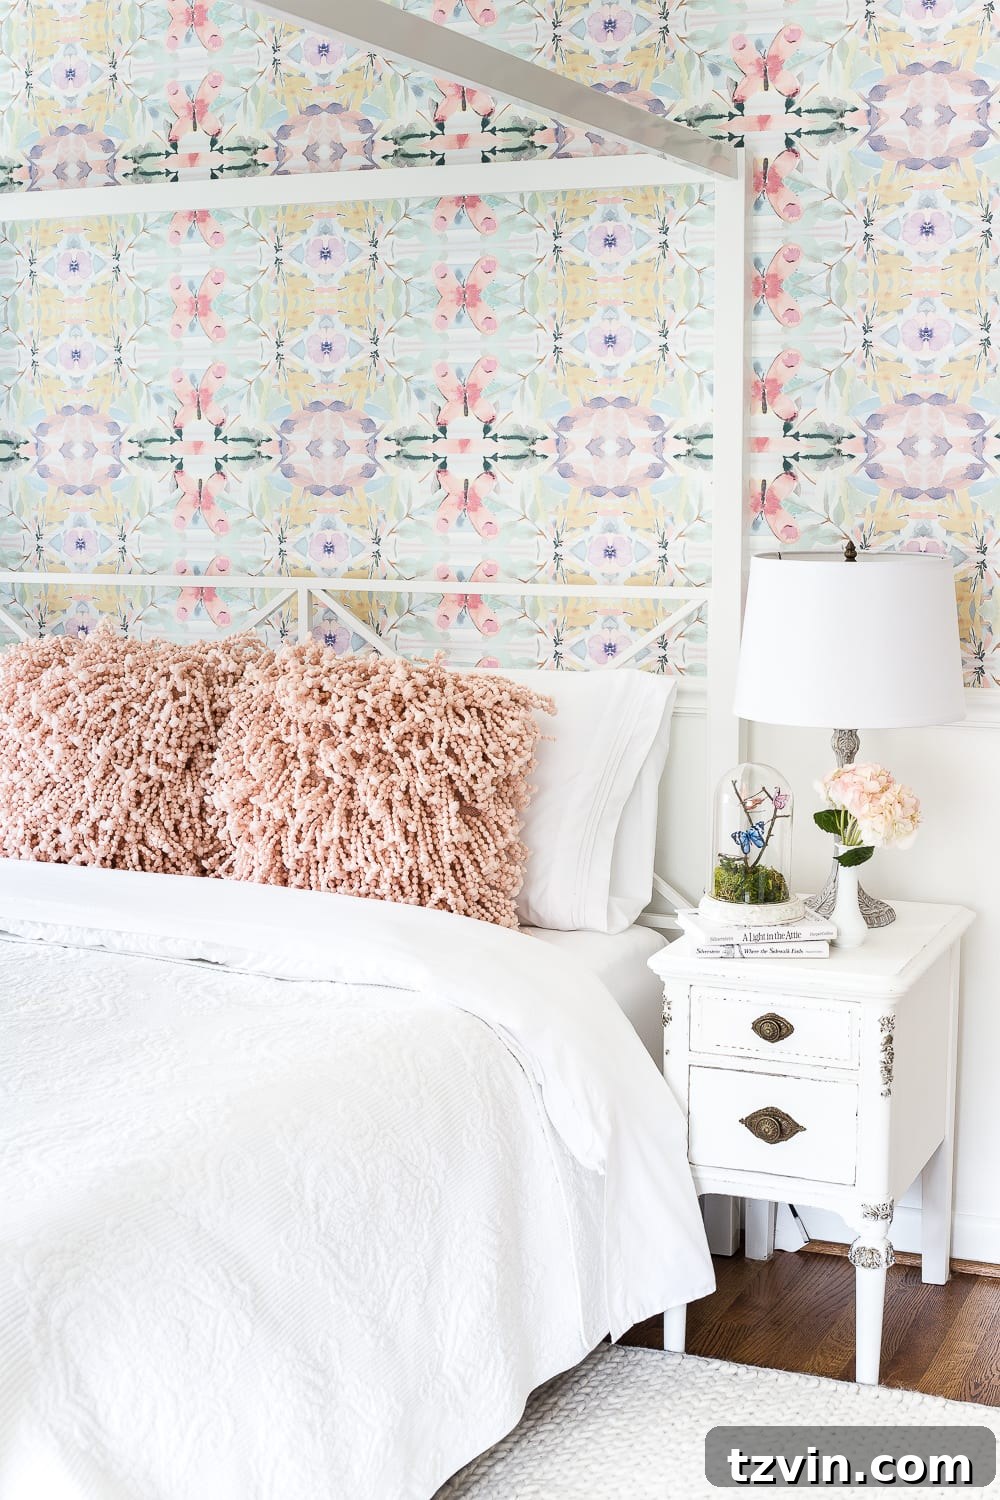
In a delightful turn of events, Robert and I decided to pass on our faux gilded nightstands, which I had painted last year, to Olivia’s room. Their elegant, feminine details seemed absolutely perfect for her space, a harmonious match for the Baroque lamps and the overall dreamy theme we’re cultivating. It felt almost selfish to keep such perfectly suited pieces to ourselves! Of course, this means we’re now happily on the lookout for stylish replacements for our own bedroom, but the joy of seeing them complete Olivia’s sanctuary is well worth the hunt.
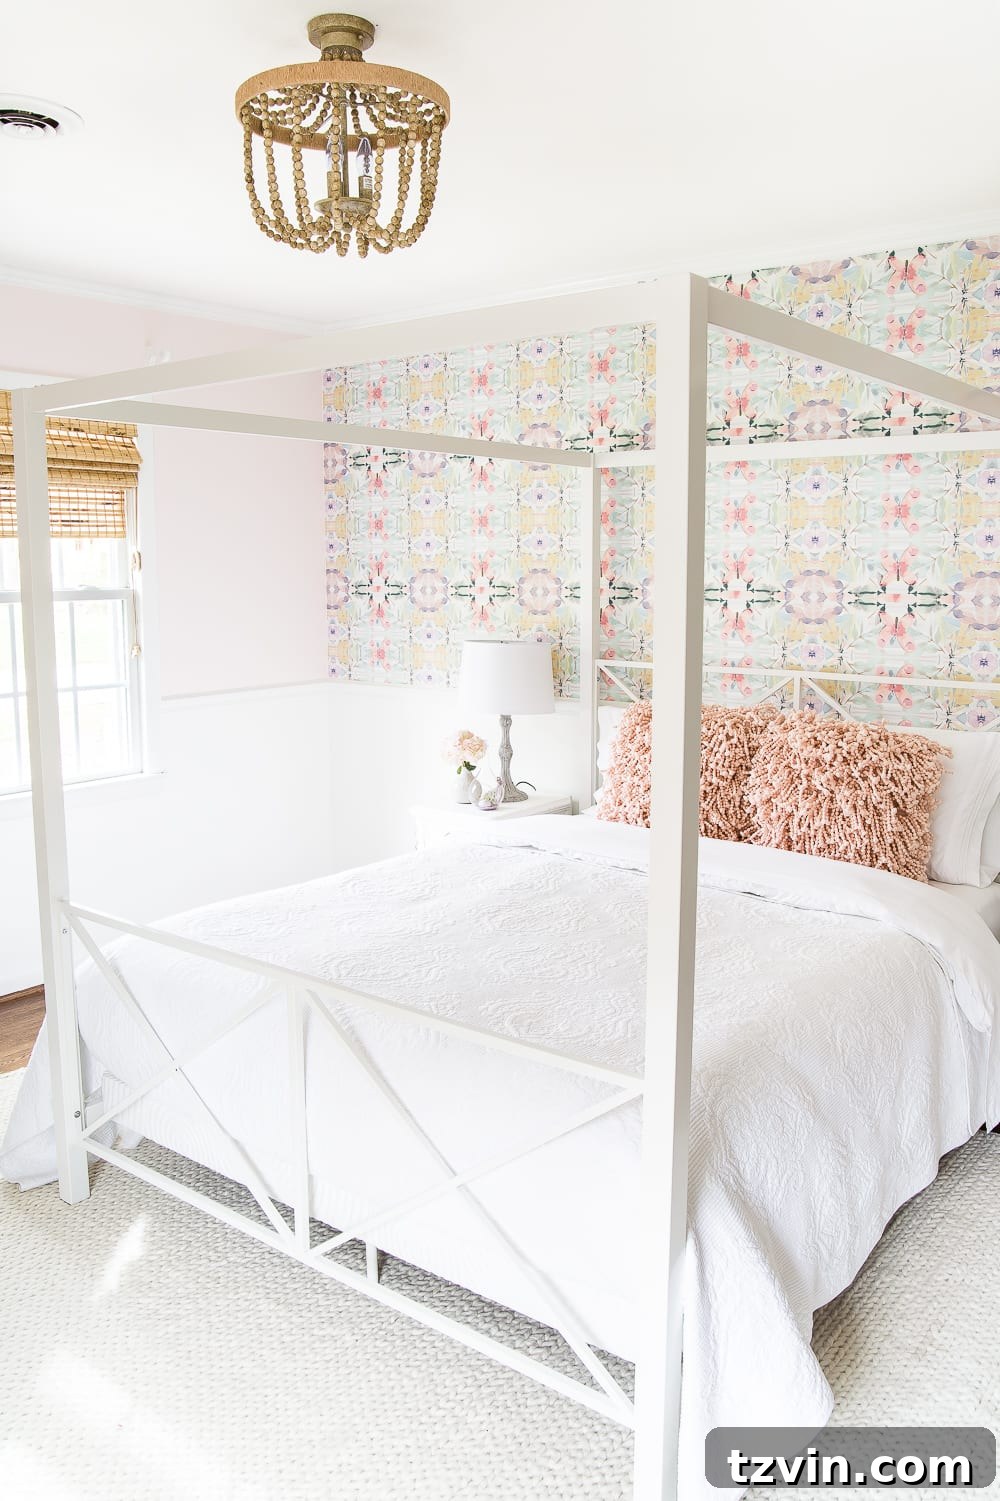
The transformations in Olivia’s room didn’t stop there. Just last week, Robert diligently assembled this gorgeous canopy bed, an absolute showstopper that instantly elevates the room’s fairytale charm. To celebrate this magnificent new addition, we indulged Olivia in one of her most beloved pastimes over the weekend: transforming it into an epic blanket fort! Hanging sheets and blankets all over the frame, we created a magical hideaway, a perfect testament to the joyous and imaginative spirit we want her room to embody. Blanket forts are, without a doubt, one of her absolute favorite things, and seeing her delight makes every effort worthwhile.
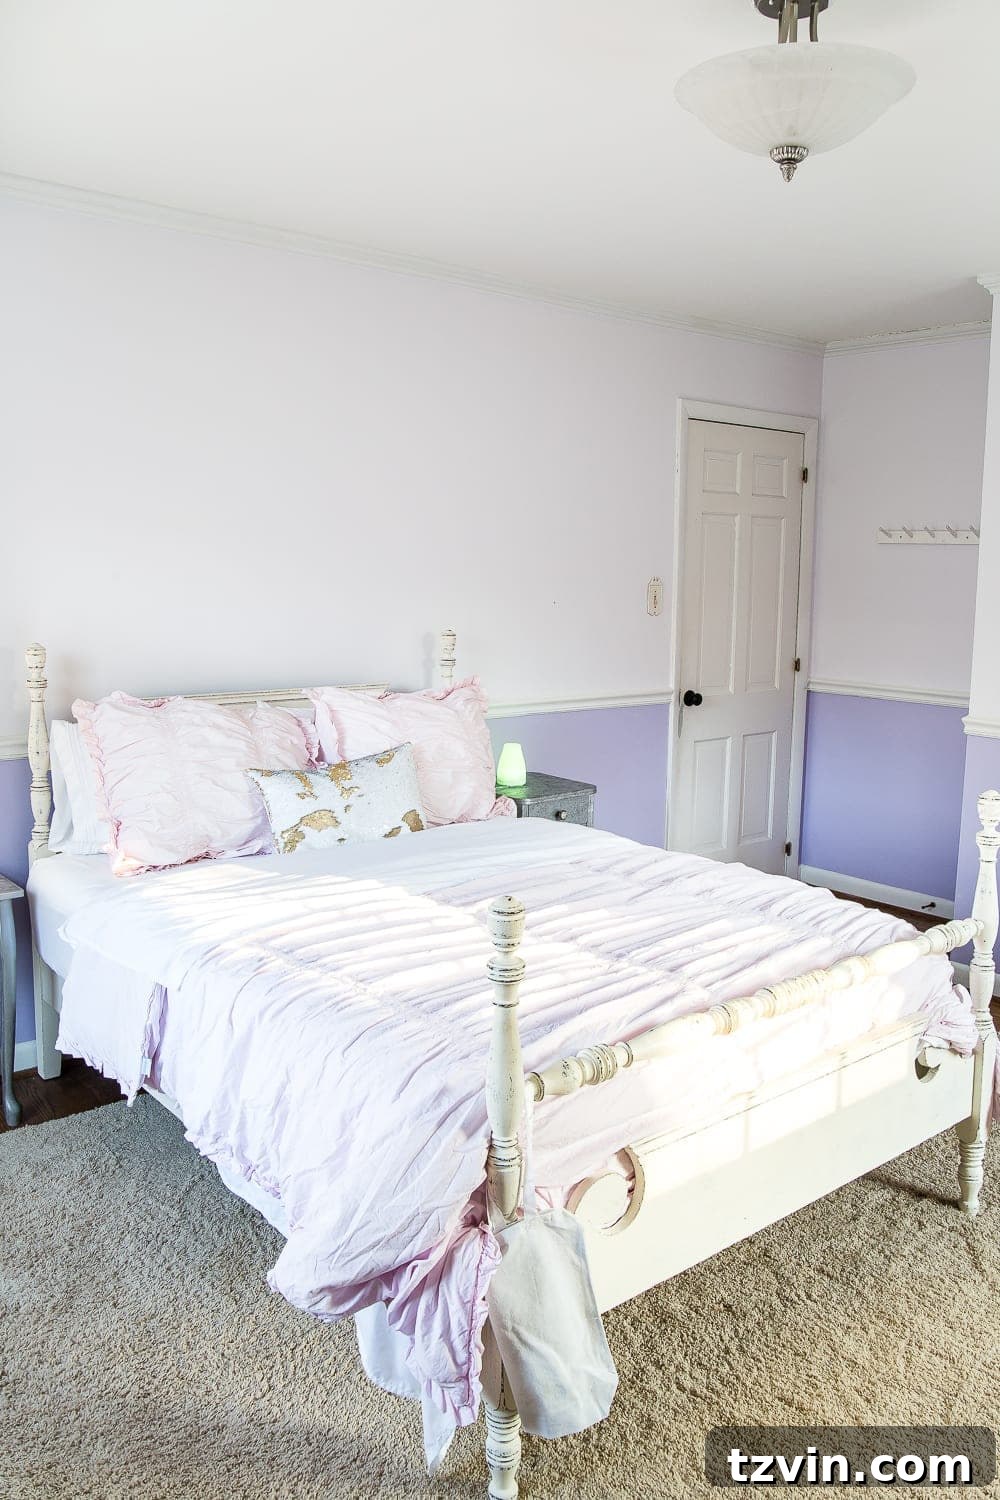
It’s truly incredible to reflect on how far this room has come in such a short span. Here’s a glimpse of how Olivia’s bedroom looked just three weeks ago. We’ve certainly been busy, pouring our hearts into every detail to create a space that is both beautiful and functional for our little one. The rapid transformation is a testament to focused effort and a clear vision, proving that even a complete room overhaul can be achieved with determination and a bit of DIY magic.
To add warmth and coziness to the hardwood floors, we carefully selected and laid down a beautiful braided wool rug, which instantly softened the space and defined the sleeping area. Furthermore, we thoughtfully installed this elegant beaded semi-flush light fixture. With our 8-foot ceilings, finding the right overhead lighting could have been a challenge, but this fixture proved to be the perfect compromise – offering stunning visual appeal without overwhelming the height of the room. Its intricate beaded design complements the feminine touches throughout the space, creating a harmonious and well-lit environment.
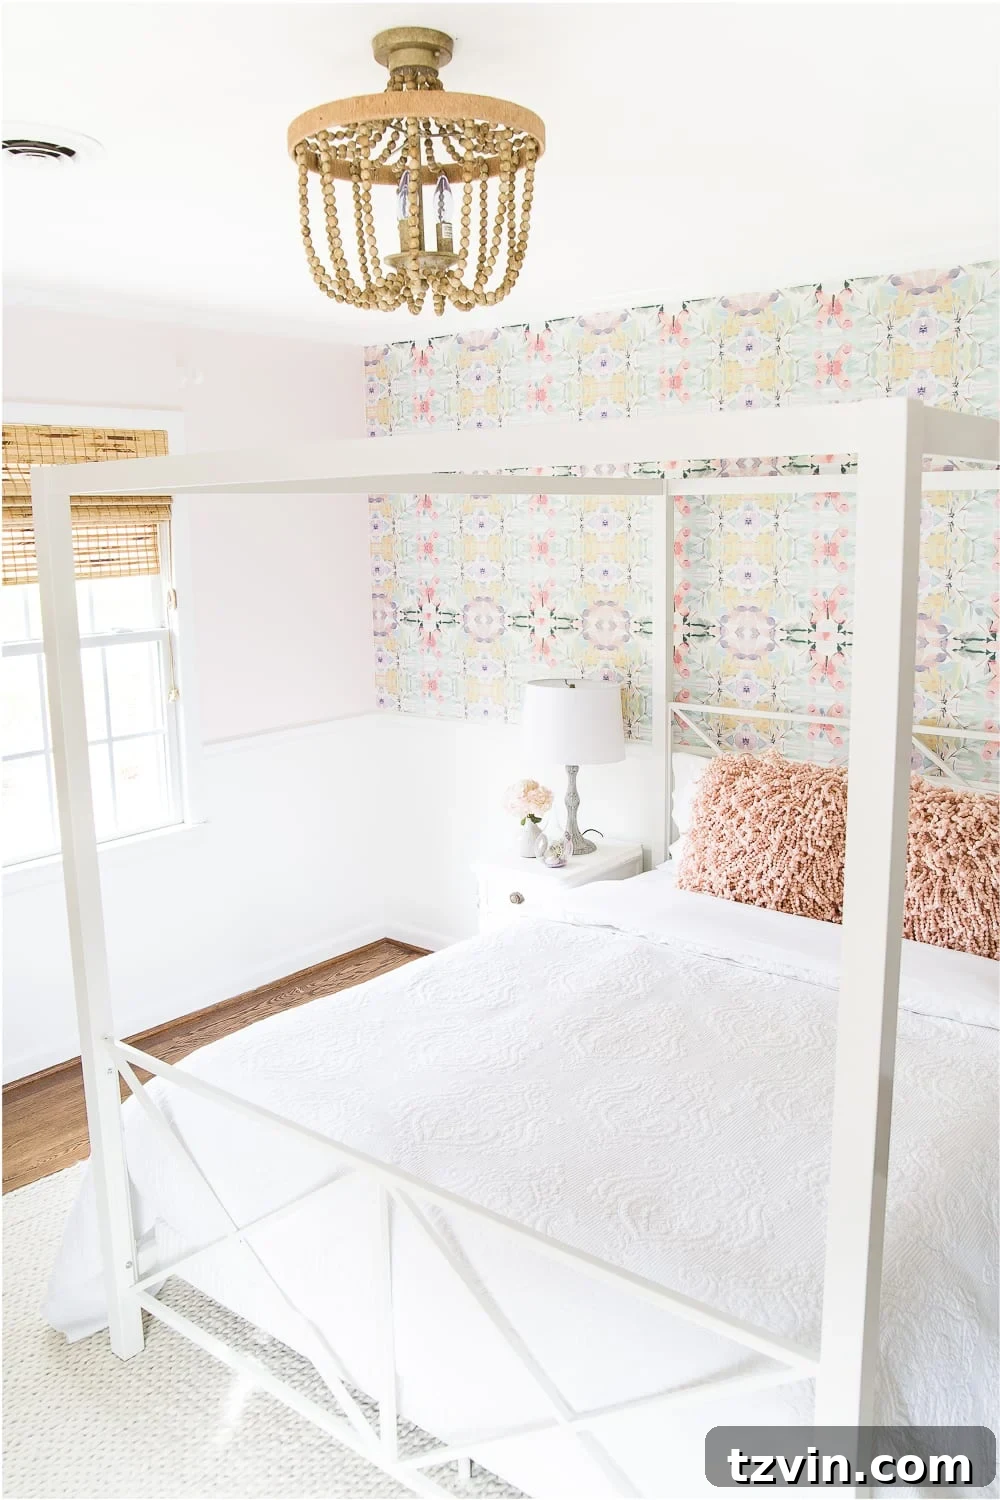
Curious about the elements that have brought Olivia’s dreamy bedroom to life? Here’s a comprehensive list of all the sources we’ve incorporated so far:
- Wall color: Behr My Sweetheart (A soft, inviting hue that provides a serene backdrop.)
- Trim color: Benjamin Moore Simply White (Crisp and clean, highlighting architectural details.)
- Door color: Benjamin Moore Wrought Iron (A striking, deep charcoal that adds sophisticated contrast.)
- Wallpaper (Adding texture and a delicate pattern for visual interest.)
- White metal canopy bed (The focal point of the room, evoking a sense of wonder and elegance.)
- Roman shades (Providing privacy and light control with a tailored, classic look.)
- Braided wool rug (Discovered during a major markdown Easter weekend – a true decor steal, adding warmth and softness underfoot.)
- Beaded semi-flush mount light (Purchased on sale with an extra 20% off, a beautiful and practical lighting solution for lower ceilings.)
- Quilt (A similar style that complements the room’s cozy and inviting atmosphere.)
- DIY nightstands (Our repurposed pieces, now perfectly suited for Olivia’s space.)
- DIY butterfly terrarium (A charming, handmade accent adding a touch of whimsy and nature.)
We’re absolutely thrilled with the progress in Olivia’s bedroom and can’t wait to unveil the complete transformation. Fingers crossed that the other side of the room comes together beautifully and swiftly in the coming weeks. Stay tuned for more updates on this exciting journey of creating a truly special space!
For even more inspiration and creative DIY ideas, be sure to check out the rest of this month’s amazing Trash to Treasure transformations from my talented blogger friends. You won’t believe what they’ve created from forgotten finds:
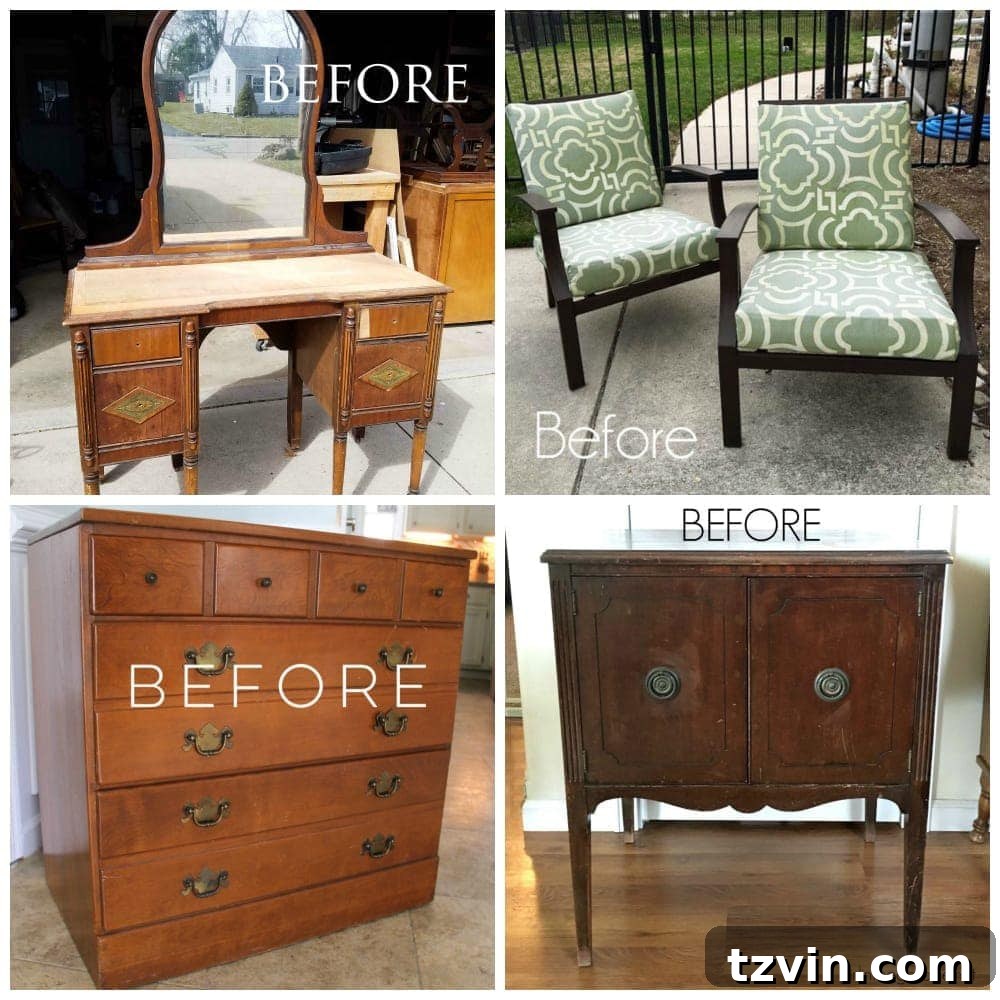
Explore these incredible projects, clockwise from the top left:
Prodigal Pieces – Black Antique Vanity | Confessions of a Serial DIYer – Outdoor Furniture Refresh | Girl in the Garage – Upcycled Record Cabinet Card Catalog | Artsy Chicks Rule – Coastal Blue Antique Walnut Gel Stain Dresser