
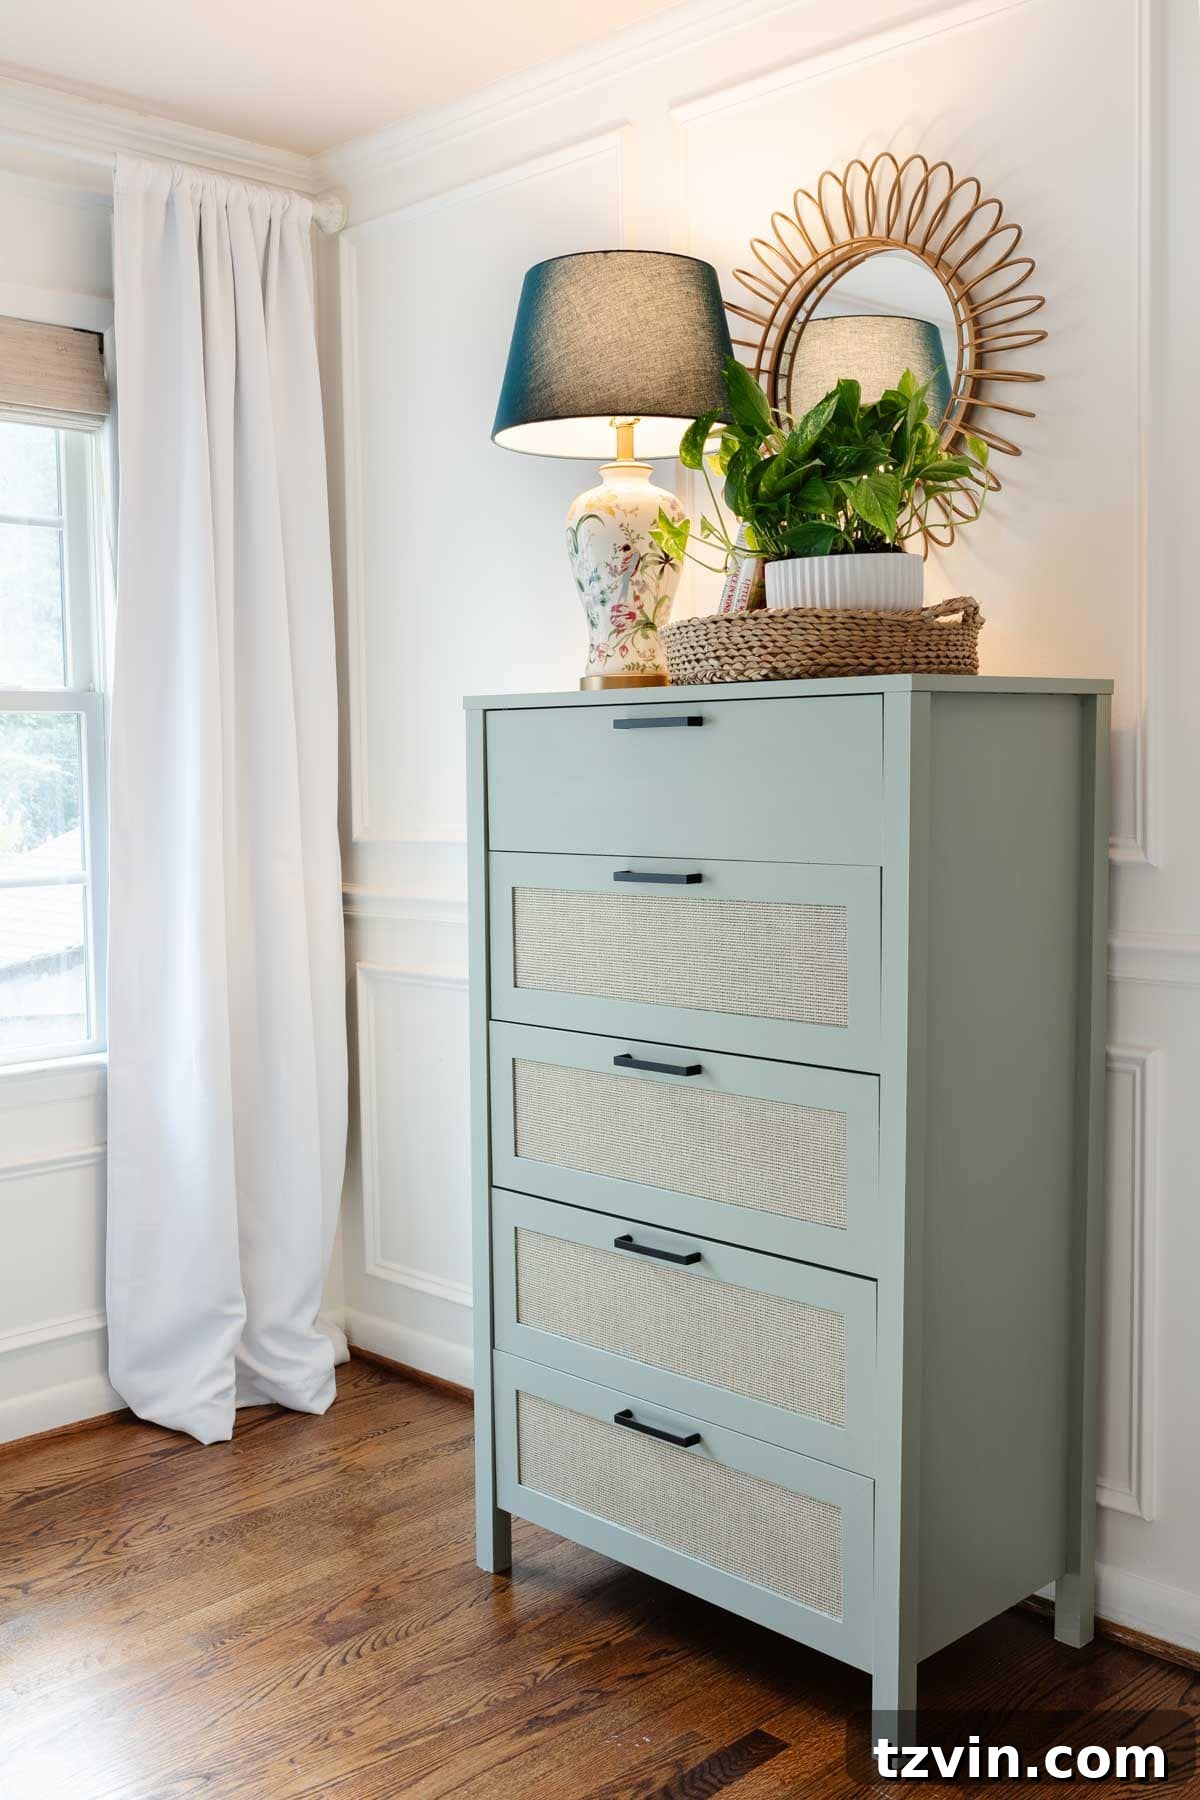
A simple step-by-step tutorial for how to paint laminate furniture and the best inexpensive kids’ room decor.
Revitalize Your Space: The Ultimate Guide to Painting Laminate Furniture for a Lasting Finish and Budget-Friendly Kids’ Room Decor
Embarking on a room makeover is always an exciting journey, and we recently thought we were nearing the finish line with Regan’s bedroom refresh. Yet, no room transformation feels truly complete without giving some love to key furniture pieces. During this latest project, a critical skill came to the forefront that I realized I hadn’t extensively covered before: mastering the art of how to paint laminate furniture.
Laminate furniture often presents a unique challenge for DIY enthusiasts. Its notoriously slick, non-porous surface makes paint adhesion a tricky beast. Many have experienced the frustration of watching their hard work literally melt away or chip off easily, leaving a less-than-desirable finish. Without the proper techniques and materials, paint can peel right up, diminishing the aesthetic and durability of your furniture makeover. But fear not! With the right approach, you can achieve a professional, lasting finish that will beautifully transform any laminate piece.
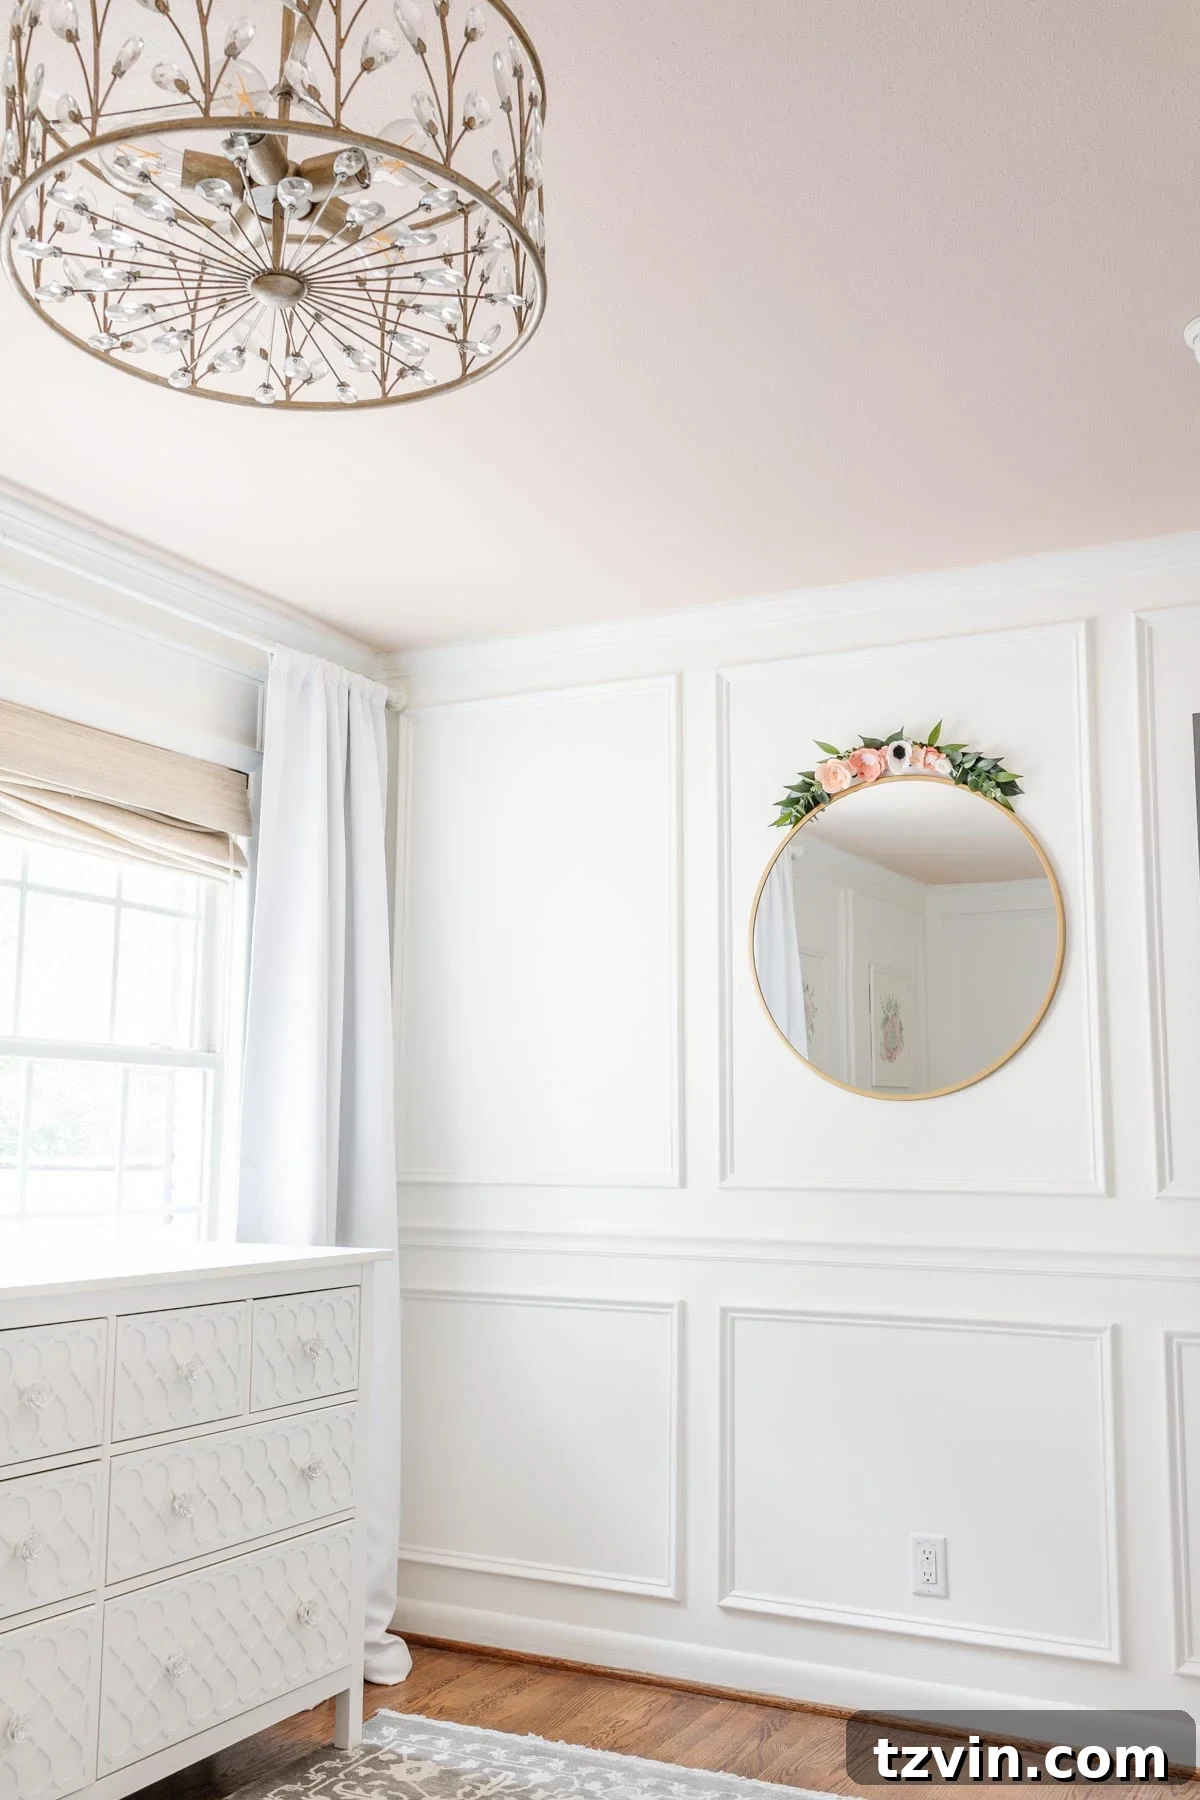
For Regan’s newly arranged bedroom, we needed a taller dresser to fit the refreshed layout, replacing the longer one we previously had. My goal was to find an affordable, stylish replacement that I could customize to perfectly match her room’s new aesthetic. This led me to an exciting find.
I managed to snag this incredibly inexpensive laminate dresser from Walmart. It was the perfect blank canvas for our project, offering great value without compromising on potential style. Walmart is consistently my go-to destination when I need cute, affordable furniture in a pinch, making it an excellent resource for budget-conscious home decorators.
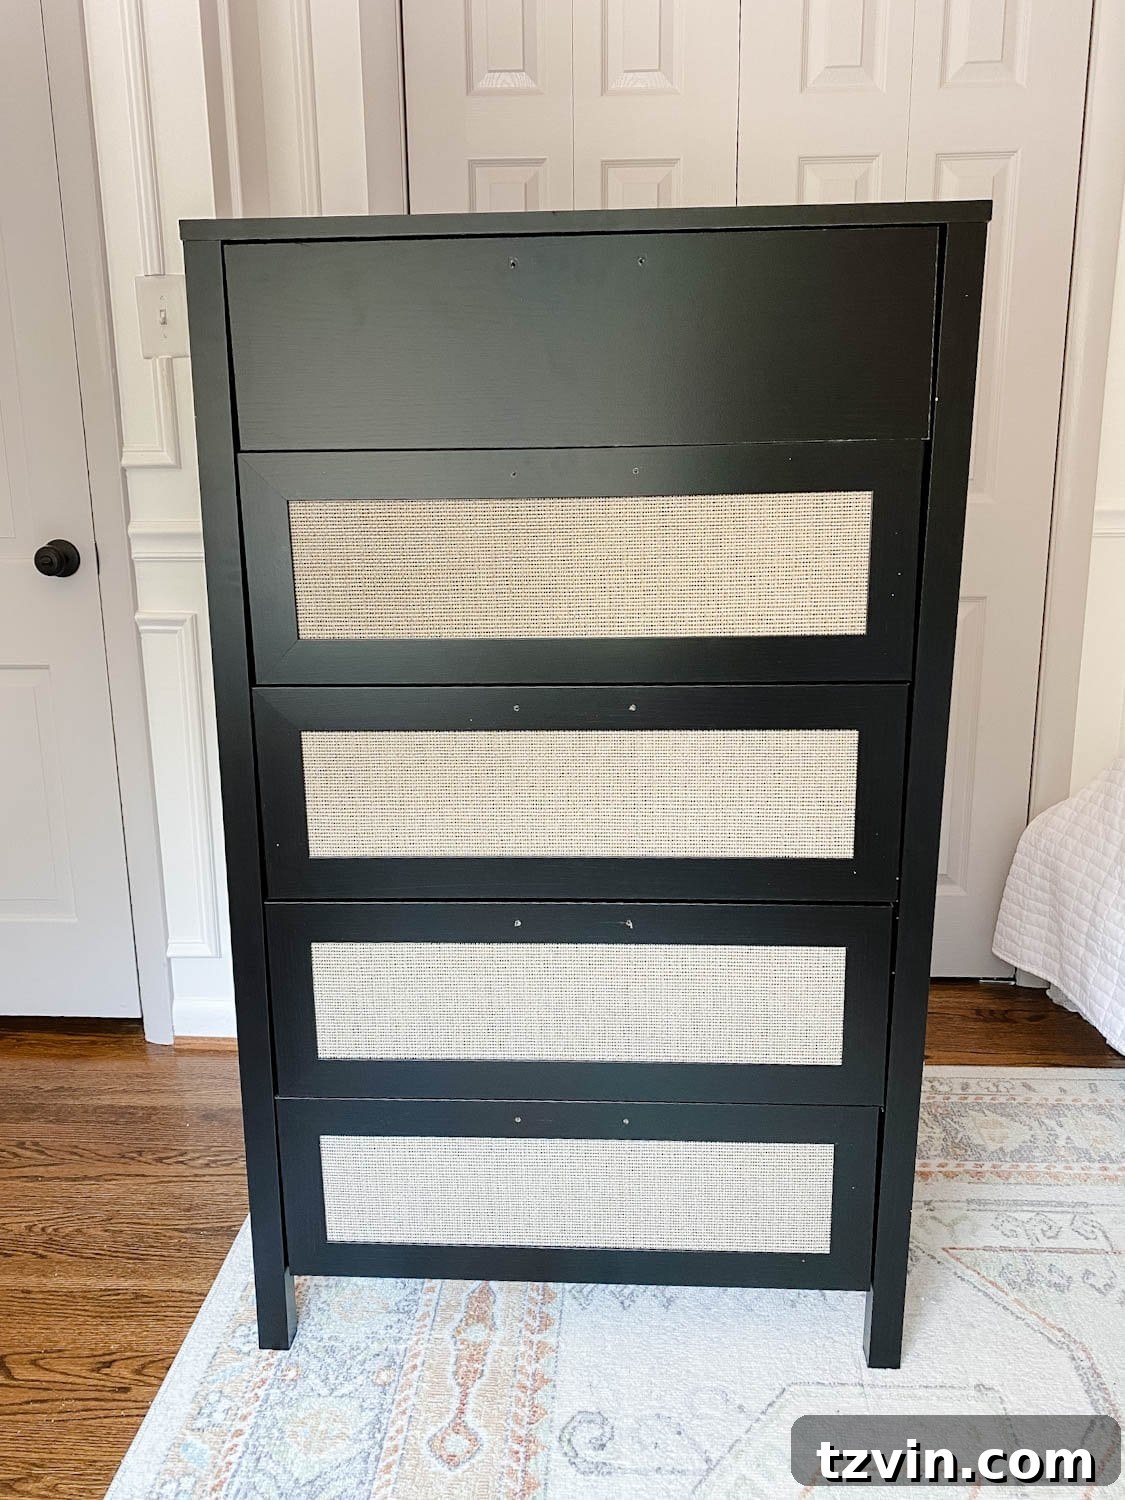
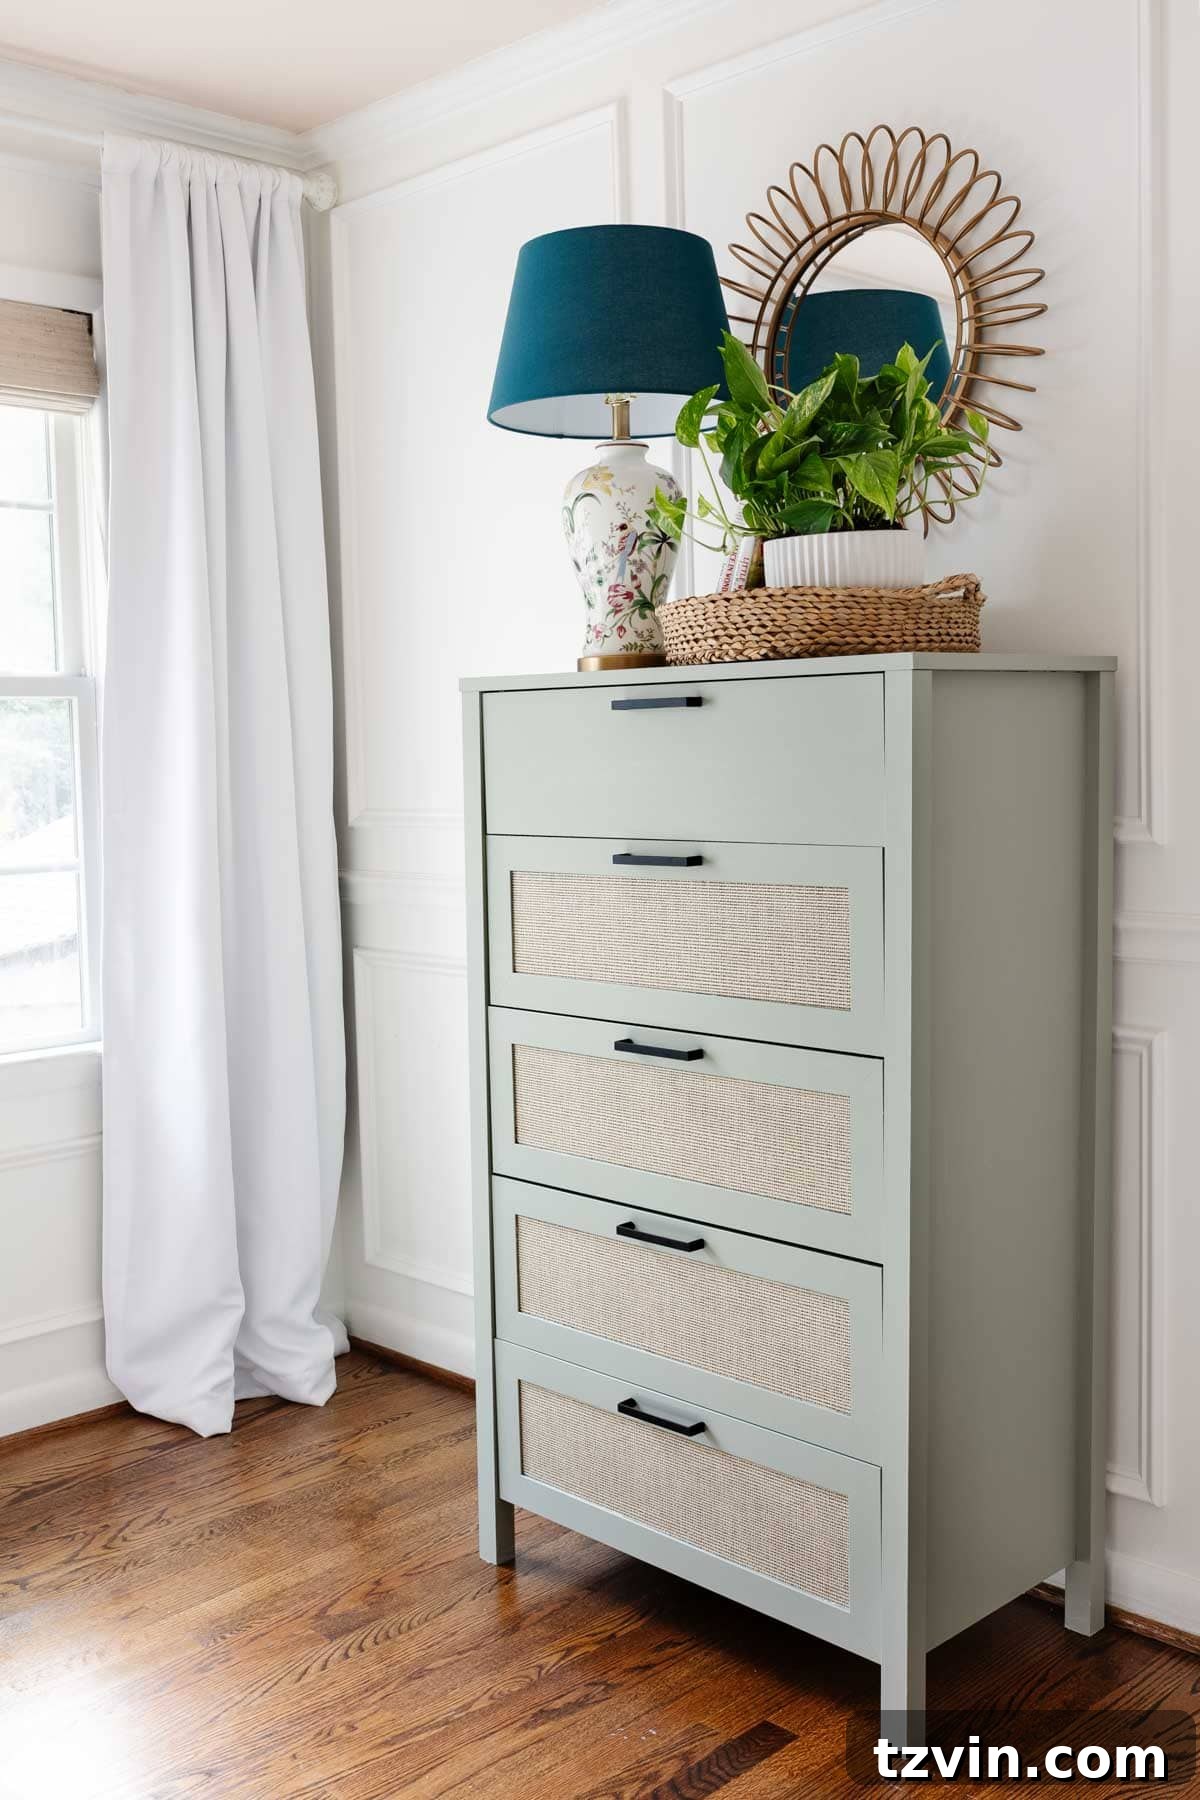
What truly caught my eye about this particular 5-drawer dresser was the charming faux cane webbing detail on its drawer fronts. This detail was a perfect complement to the real cane webbing on Regan’s nightstand chest, which we had recently brought into the room. The cohesion in design elements really ties the space together, creating a harmonious and stylish environment.
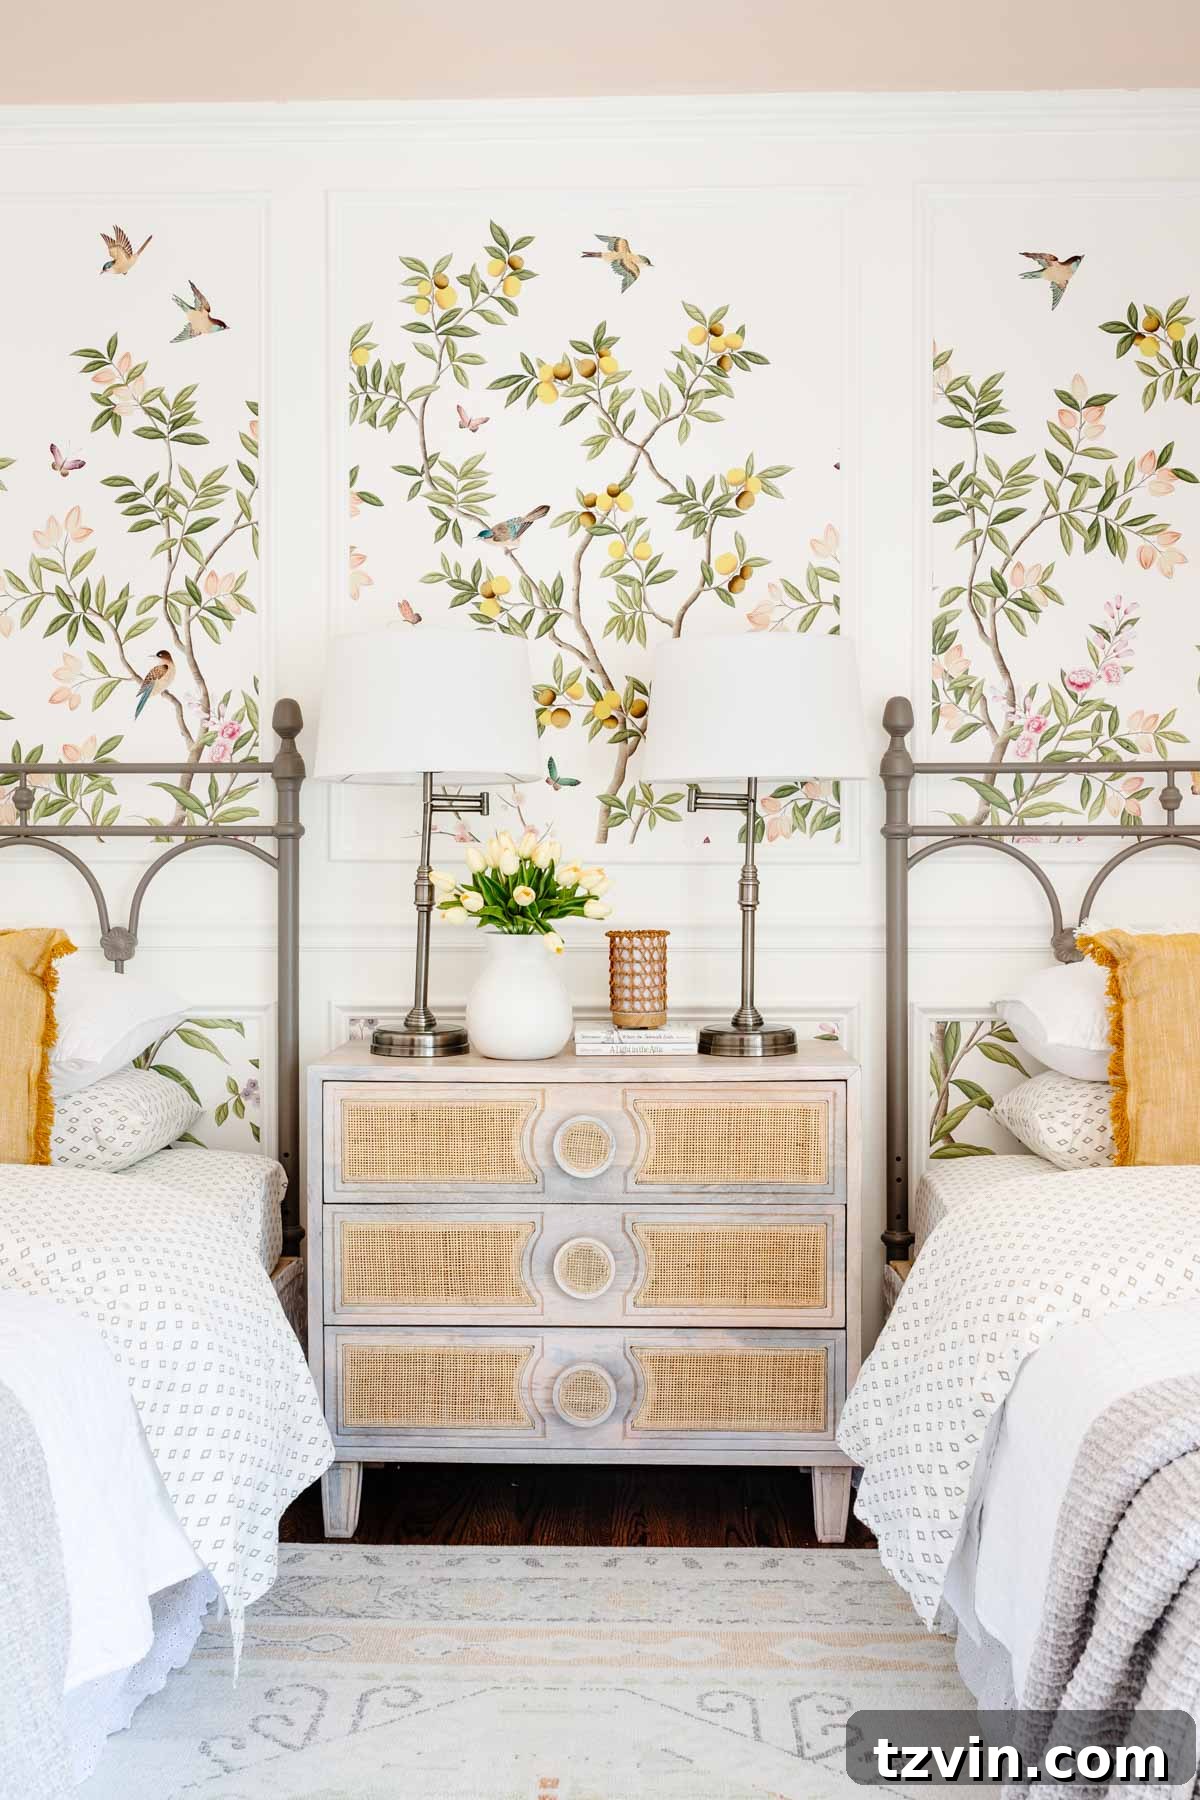
While the dresser’s design was ideal, its original black finish simply wouldn’t work with the soft, inviting palette of Regan’s room. A quick paint job was all it needed to transform it into a piece that felt perfectly at home in her sweet space. I must admit, I suspect this particular dresser might have had a slight mishap during shipping, as assembling it presented a couple of minor alignment challenges. However, I believe this was an isolated incident; I’ve seen many other bloggers successfully use this dresser without any issues. Ultimately, with a little perseverance, it still turned out wonderfully cute and functional.
This project isn’t just about painting furniture; it’s about unlocking the potential of affordable pieces to create personalized, high-end looks. By understanding the unique properties of laminate and applying the correct techniques, you can achieve results that are both beautiful and incredibly durable. Let’s dive into the essential steps and materials needed to ensure your laminate furniture makeover is a resounding success.
How to Paint Laminate Furniture: A Step-by-Step Guide for a Flawless Finish
Painting laminate furniture successfully hinges on proper preparation and choosing the right materials. Skipping these crucial steps is often why DIY laminate painting projects fail. Follow this guide to achieve a beautiful, long-lasting finish.
Essential Supplies for Painting Laminate Furniture
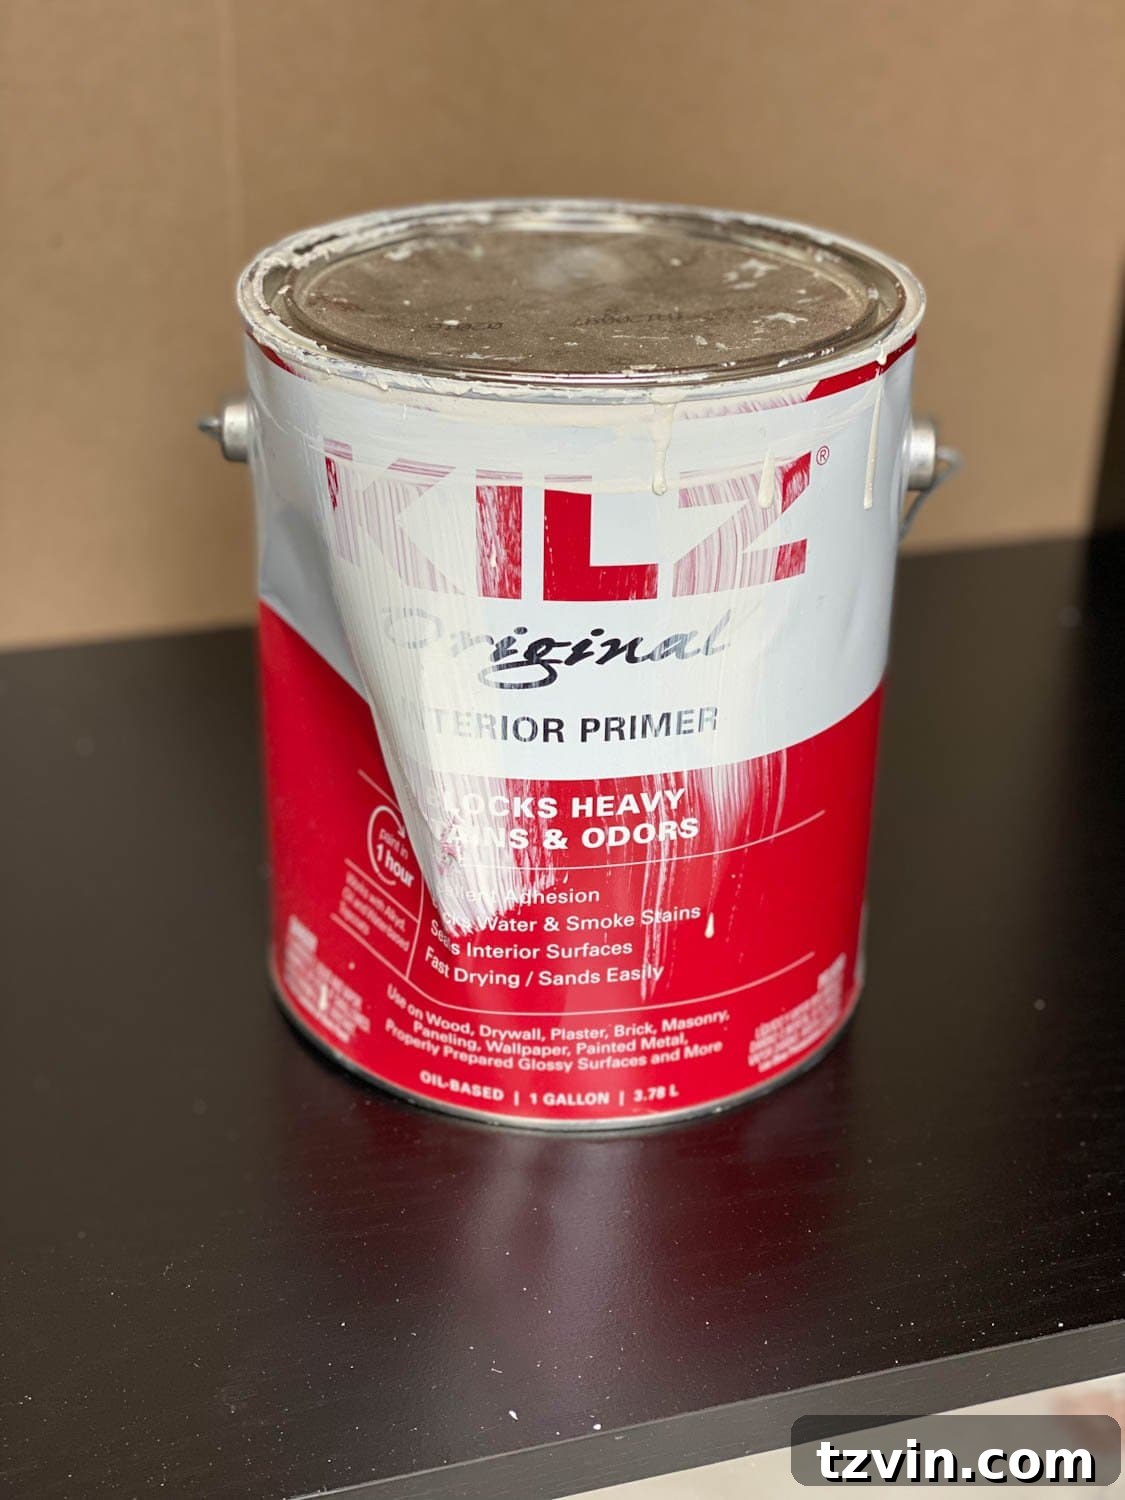
- Shellac-Based Primer: An absolute game-changer for laminate. Brands like Kilz Original Primer are highly recommended due to their superior adhesion properties on slick surfaces.
- Respirator Mask: Crucial for safety, especially when working with strong-fumed primers. Always prioritize personal protection.
- High-Quality Angled Paint Brush: A 1.5″ angled brush is ideal for precision and smooth application. I personally love this particular paint brush for its excellent control and streak-free finish.
- Fine-Grit Sandpaper (220-320 grit): Essential for creating a smooth surface and enhancing paint adhesion after priming.
- Durable Topcoat Paint: Opt for an acrylic-based paint or a waterborne alkyd-based enamel paint. These types offer excellent durability and a hard finish, which is vital for high-traffic furniture like a dresser.
- Cleaning Supplies: Degreaser, lint-free cloths, and warm water for thorough preparation.
- Drop Cloths or Cardboard: To protect your workspace from spills and drips.
- Painter’s Tape (optional): For clean lines if painting multiple colors or details.
Key Principles for Painting Laminate Furniture Successfully
Achieving a durable, chip-resistant finish on laminate requires adherence to three fundamental principles:
- Always use an oil-based or shellac-based primer: This is non-negotiable. These primers are specifically formulated to create a strong bond with slick, non-porous surfaces like laminate, preventing peeling and chipping.
- Paint in low humidity conditions: High humidity can prolong drying times and negatively affect paint adhesion and curing, leading to a less durable finish.
- Allow paint to thoroughly cure before heavy use: “Dry to touch” is not “fully cured.” Paint needs time to harden completely. This can take anywhere from a few days to several weeks, depending on the paint type and environmental conditions. Premature heavy use will result in damage.
Step-by-Step Guide to Painting Laminate Furniture
This can of primer has obviously seen a lot of action at our house, a testament to its effectiveness in countless furniture makeovers! 😉
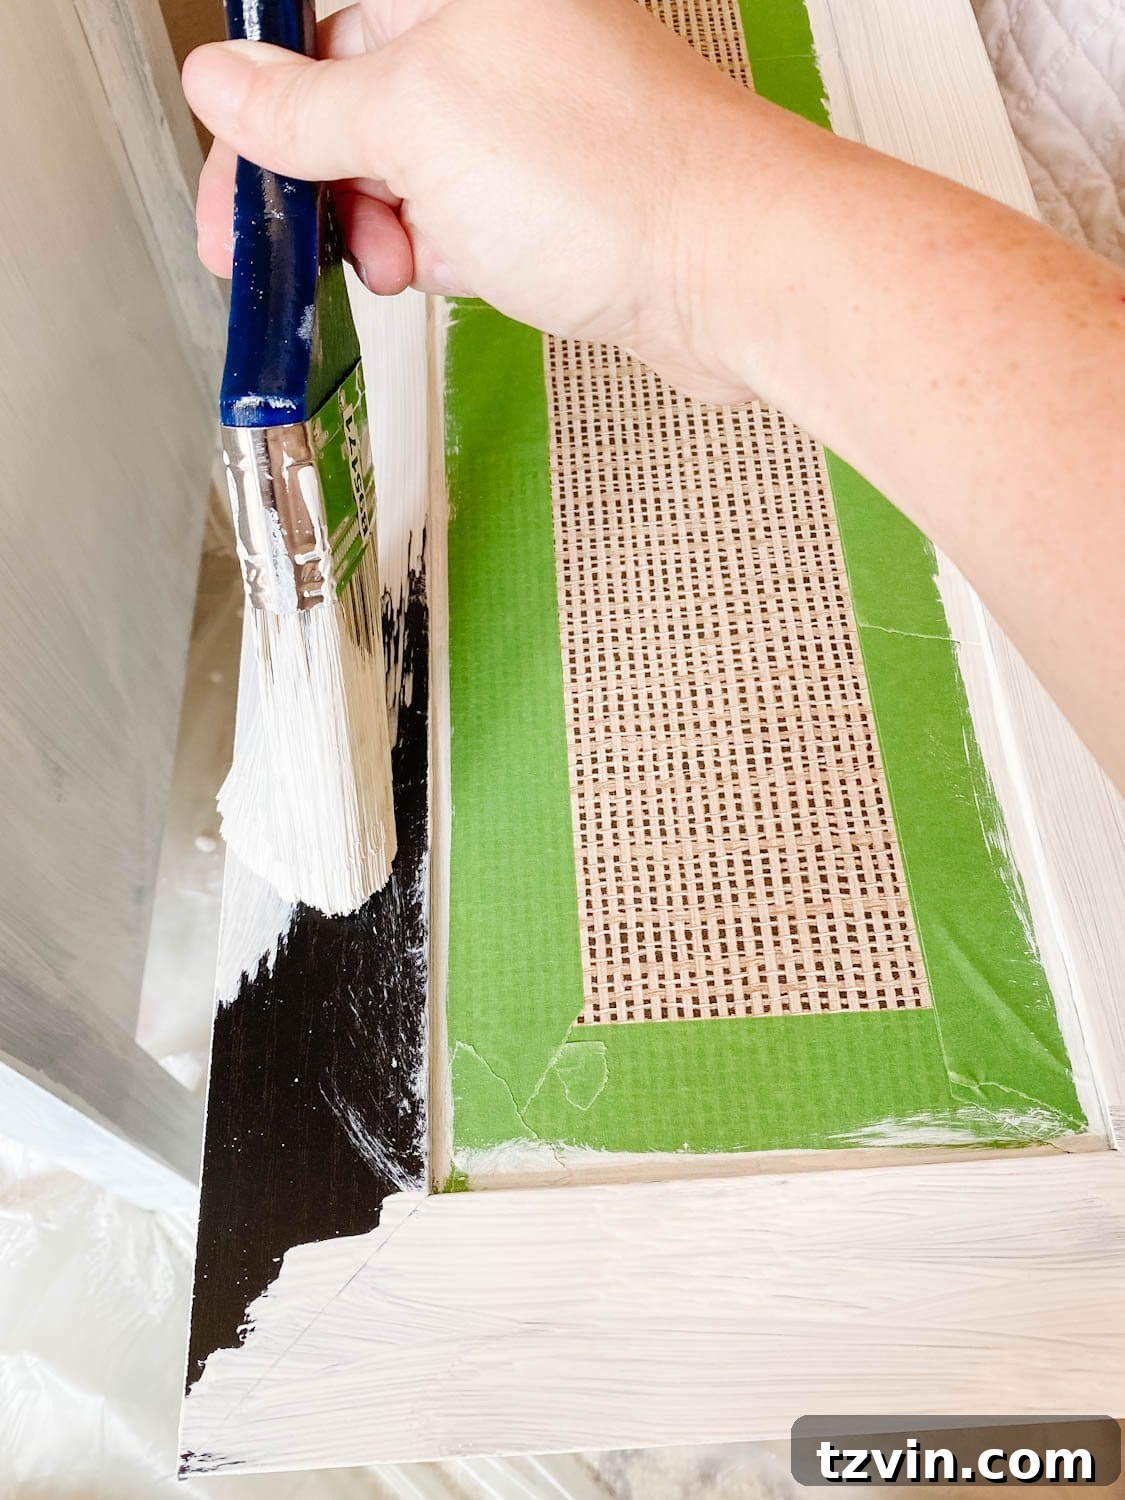
- Prepare the Furniture: Before you even think about primer, thoroughly clean your laminate furniture. Use a good degreaser or a mild soap and water solution to remove any dirt, grime, oil, or residue. Laminate surfaces can accumulate unseen oils that will interfere with paint adhesion. Rinse thoroughly with clean water and allow it to dry completely. If the furniture has hardware, remove it at this stage.
- Apply a Coat of Shellac-Based Primer: Once the furniture is clean and dry, apply an even coat of Kilz Original Primer (or any comparable shellac-based primer) all over the laminate surfaces. I used a high-quality brush to ensure smooth, consistent coverage. It’s generally not necessary to sand laminate furniture prior to applying a shellac-based primer, as its chemical properties are designed to bond exceptionally well to slick surfaces. However, for heavily worn or extremely shiny laminate, a very light scuff sand (220 grit) can offer a bit of extra grip, but it’s often not required with the right primer.
- Lightly Sand the Primed Surface: Once the primer is completely dry (check the manufacturer’s recommended drying time, usually a few hours), lightly sand the entire primed surface with fine-grit sandpaper (220-320 grit). This step is crucial for two reasons: it smooths out any minor brush strokes or imperfections from the primer and creates a finely textured surface, known as a “tooth,” which allows the topcoat paint to adhere even better. After sanding, wipe down the surface thoroughly with a lint-free cloth to remove all dust.
- Apply 1-2 Even Coats of Acrylic or Waterborne Alkyd Enamel Paint: Now comes the color! Apply your chosen acrylic-based or waterborne alkyd enamel paint in thin, even coats. Avoid applying thick coats, as this can lead to drips, uneven drying, and a weaker finish. Allow each coat to dry completely according to the manufacturer’s instructions before applying the next. For this project, I used some Fusion Mineral Paint I already had on hand in the beautiful color “Bellwood,” which provided excellent coverage and a lovely matte finish. Depending on the color and coverage of your paint, one or two coats should be sufficient.
- Ensure Safety by Anchoring: Especially for kids’ rooms, it is paramount to anchor dressers and other tall furniture to the wall using anti-tip kits. This simple step prevents tip-over accidents, ensuring the safety of your little ones.
- Allow for Full Curing: This is perhaps the most overlooked but critical step. While your paint may feel dry to the touch within hours, it needs significantly longer to fully cure and harden. This curing process can take several days to a few weeks. During this time, the paint reaches its maximum durability, making it resistant to scratches and chips. Avoid placing heavy objects, dragging items across the surface, or subjecting the furniture to hard use until it is fully cured. Patience at this stage will ensure your beautiful new finish lasts for years.
Important Safety Note: Shellac-based primers typically have strong fumes. Make sure to wear a respirator mask and work in a very well-ventilated space. I opened all the windows in the room and used a fan to ensure proper airflow during this step.
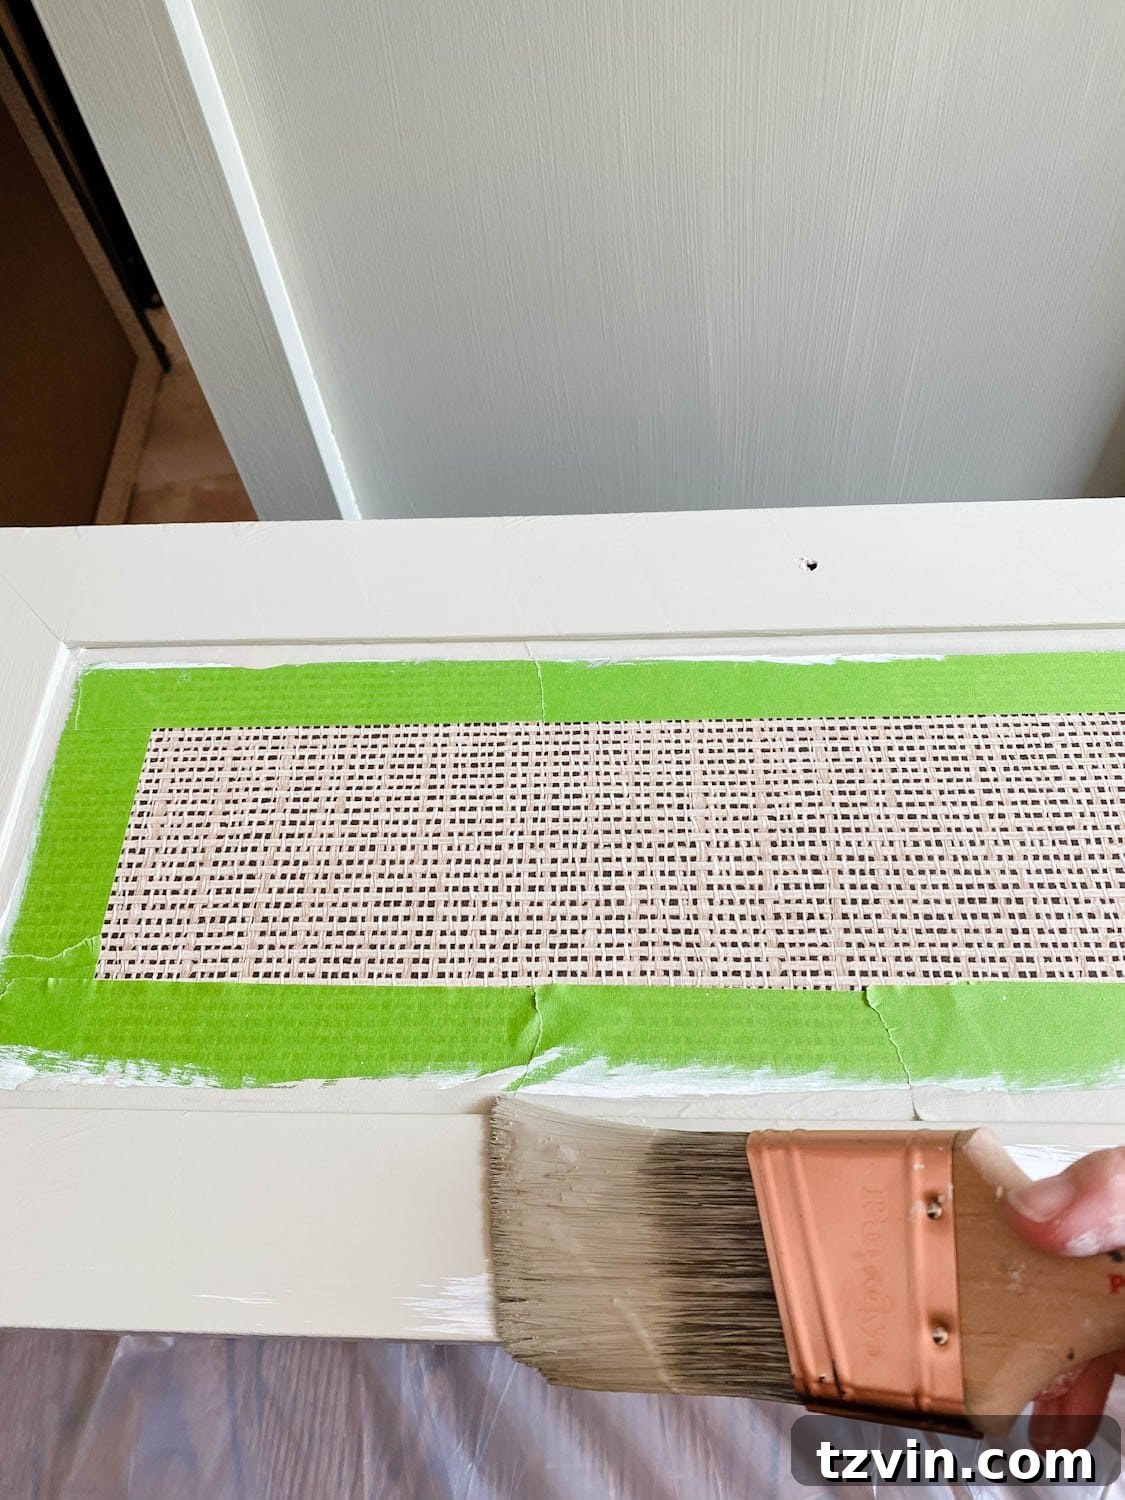
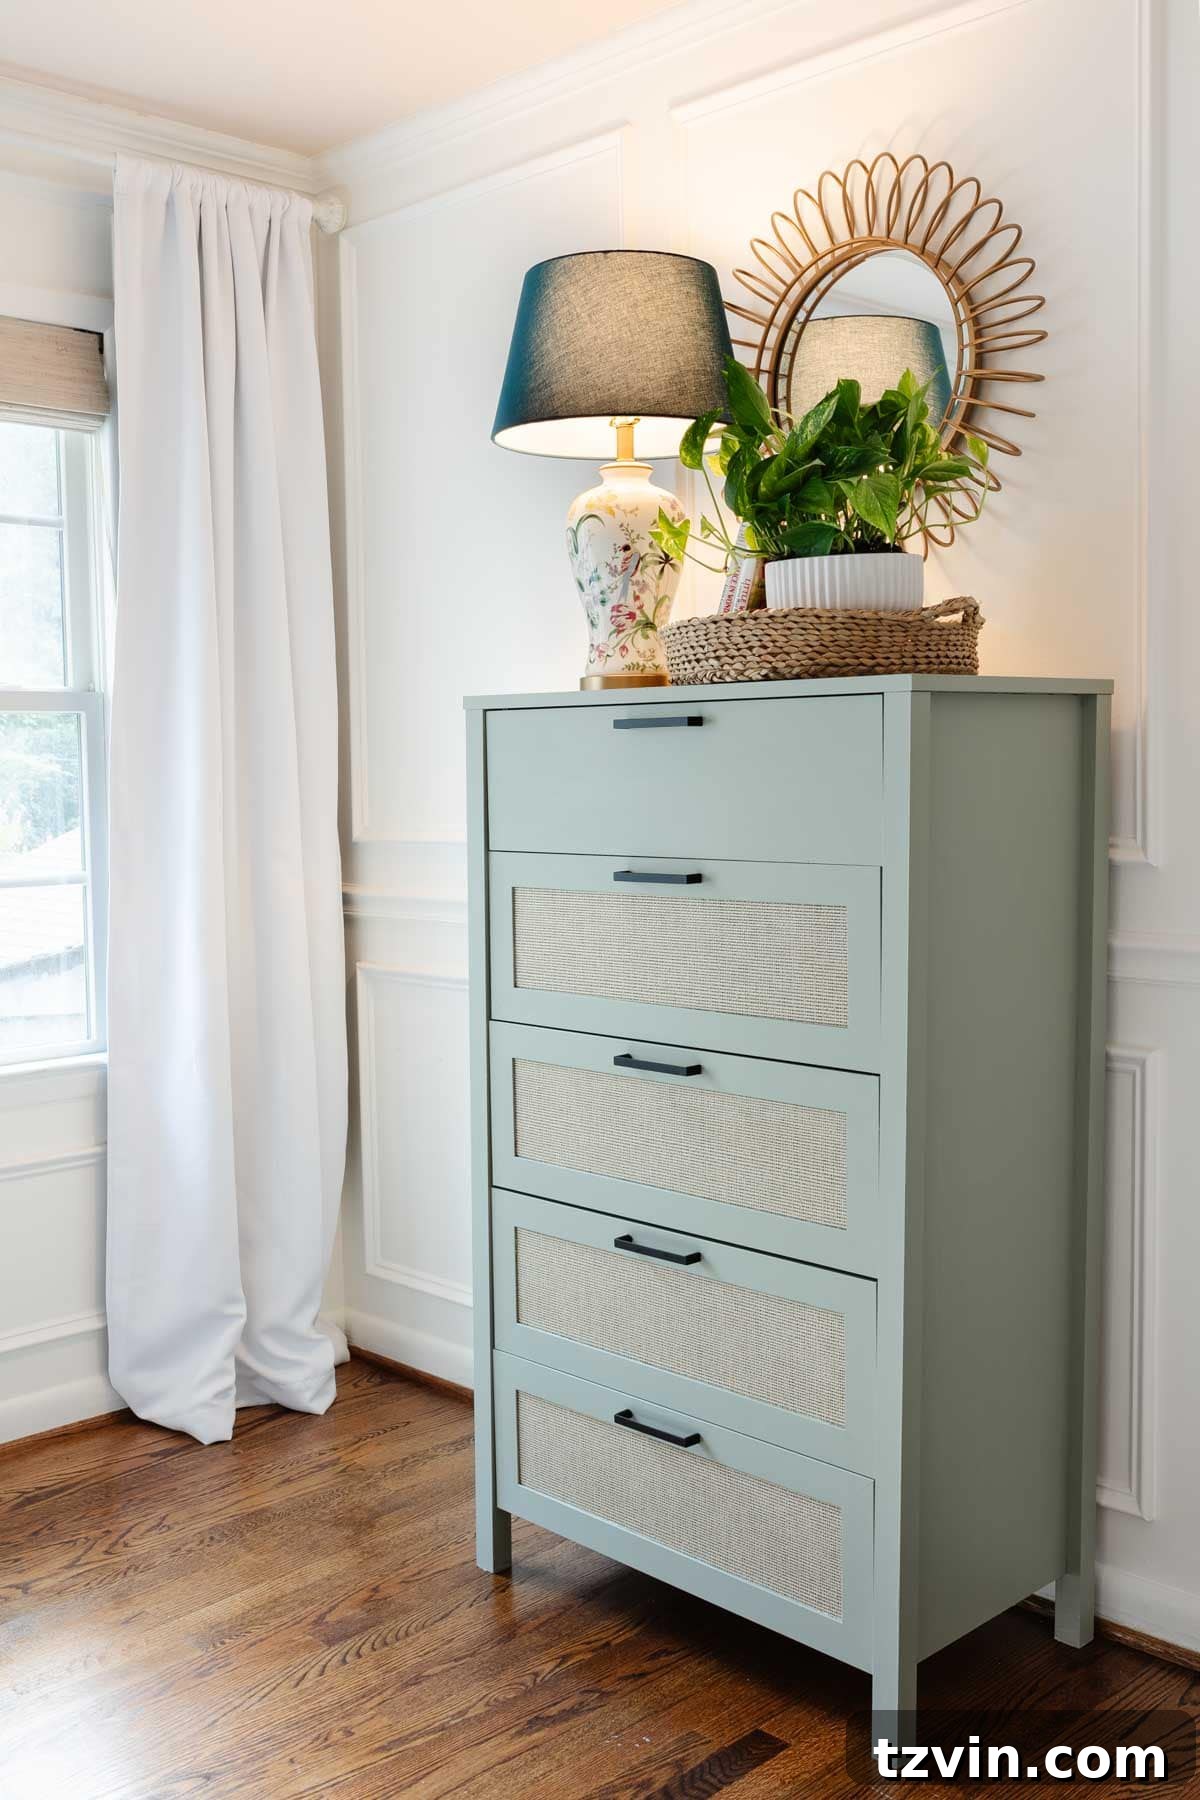
This laminate furniture paint job was surprisingly quick, with the main painting steps knocked out within a couple of hours (excluding drying and curing times). The transformation was instant and delightful. Look how incredibly cute it turned out!
Inexpensive and Charming Kids’ Room Decor Ideas
Beyond the furniture makeover, adding thoughtful and affordable decor can truly bring a child’s room to life. I adorned the top of the dresser with a few sweet finds from Walmart, proving that you don’t need to spend a fortune to create a magical space. Each piece was chosen to enhance the room’s cottagecore and chinoiserie inspired theme.
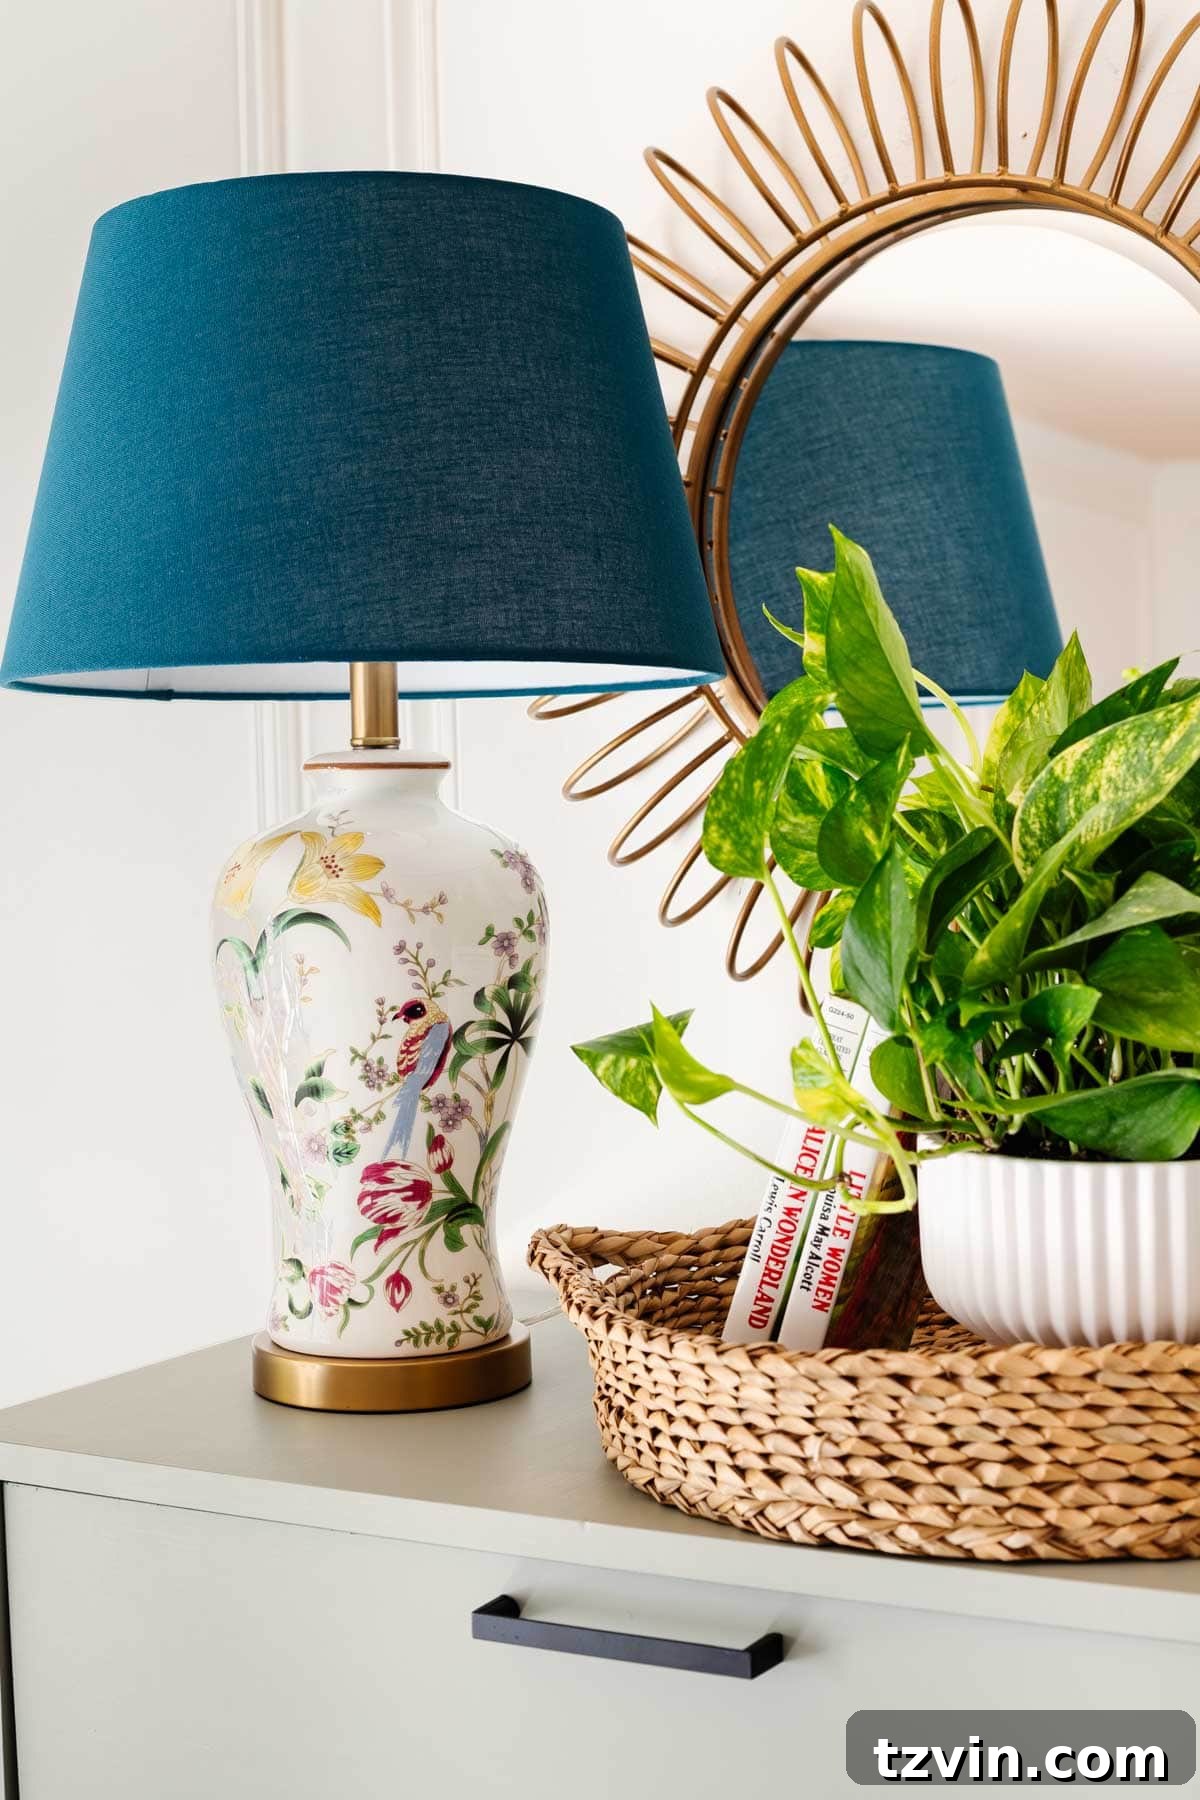
This delightful floral lamp works perfectly with Regan’s existing chinoiserie wallpaper, adding a touch of classic elegance and warmth. Lighting is essential for both function and ambiance, and this lamp provides both beautifully.
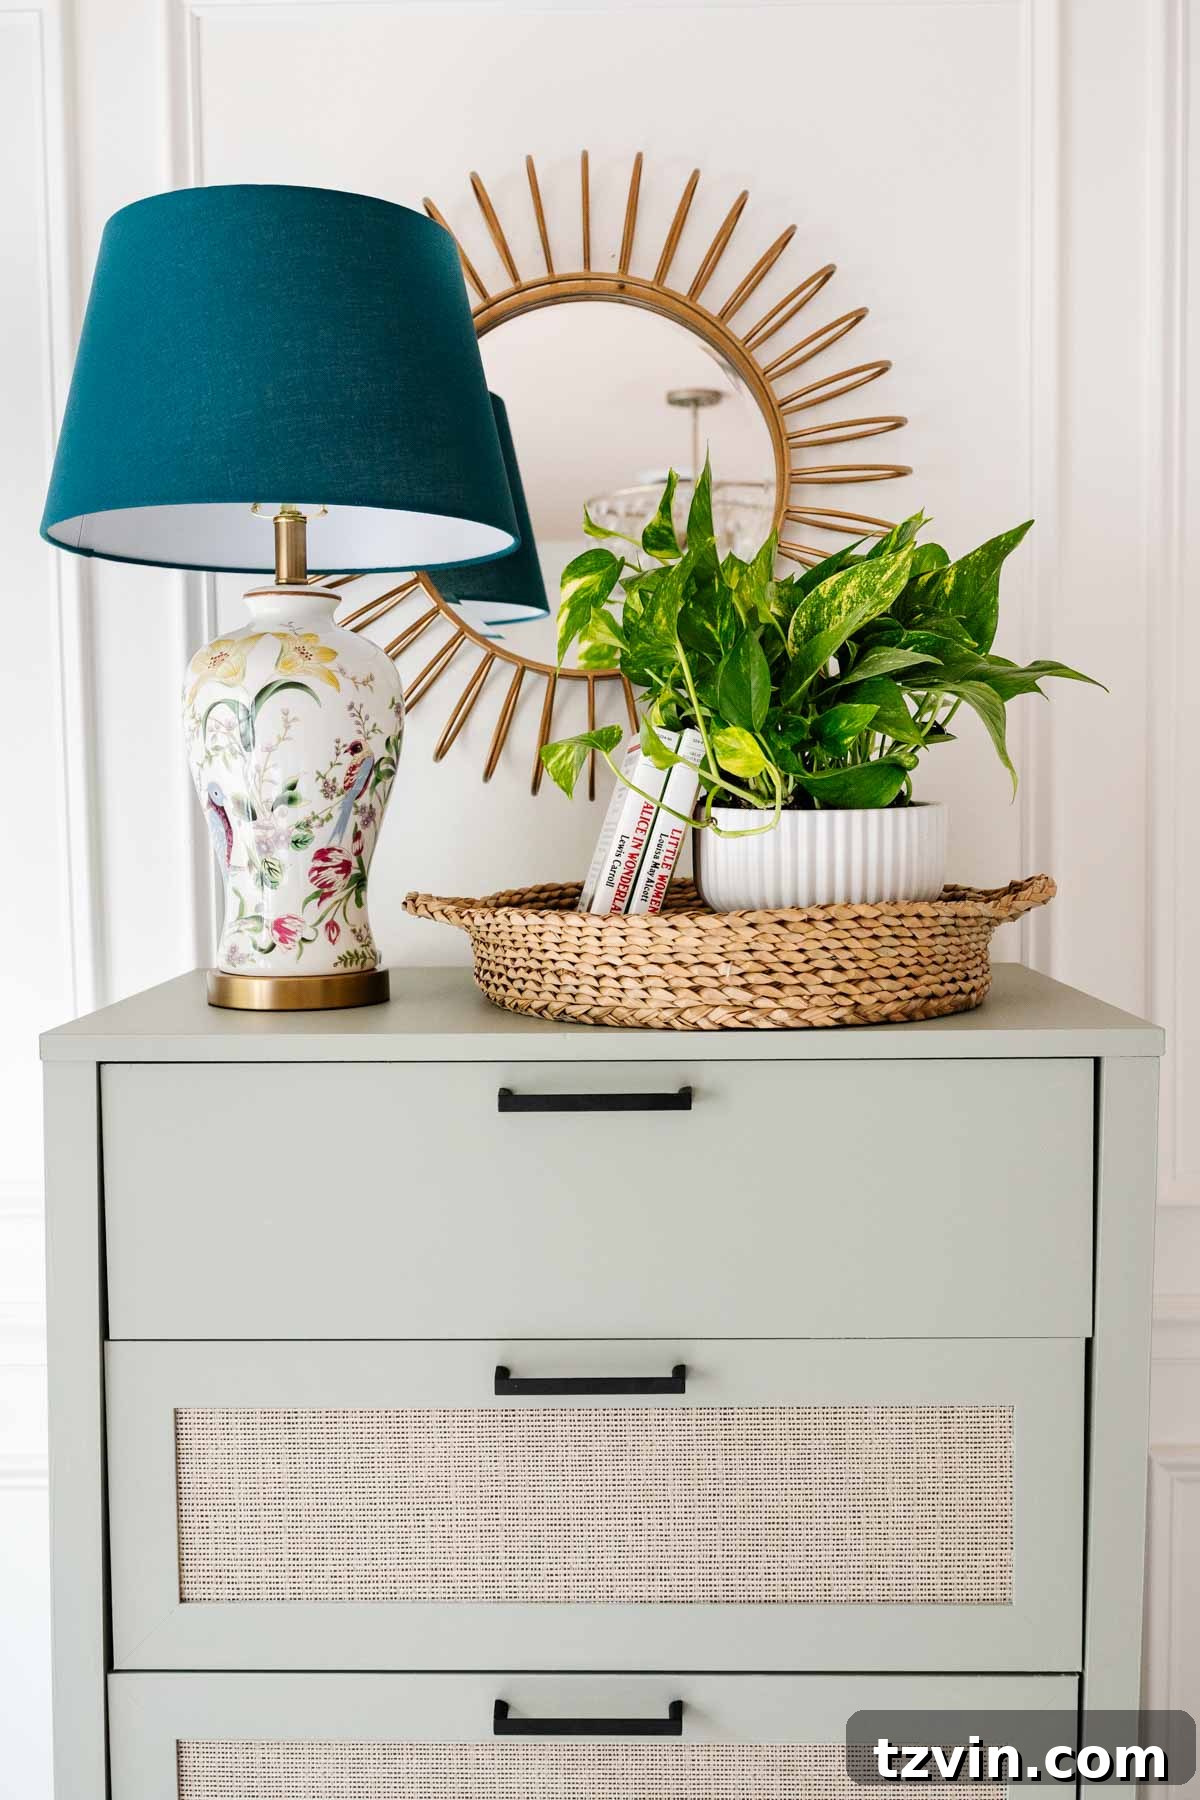
The sunburst mirror is one of my favorite finds for kids’ rooms. Its bright, radiating design feels incredibly cheerful and adds a playful yet sophisticated touch to the space, making it feel larger and more inviting.
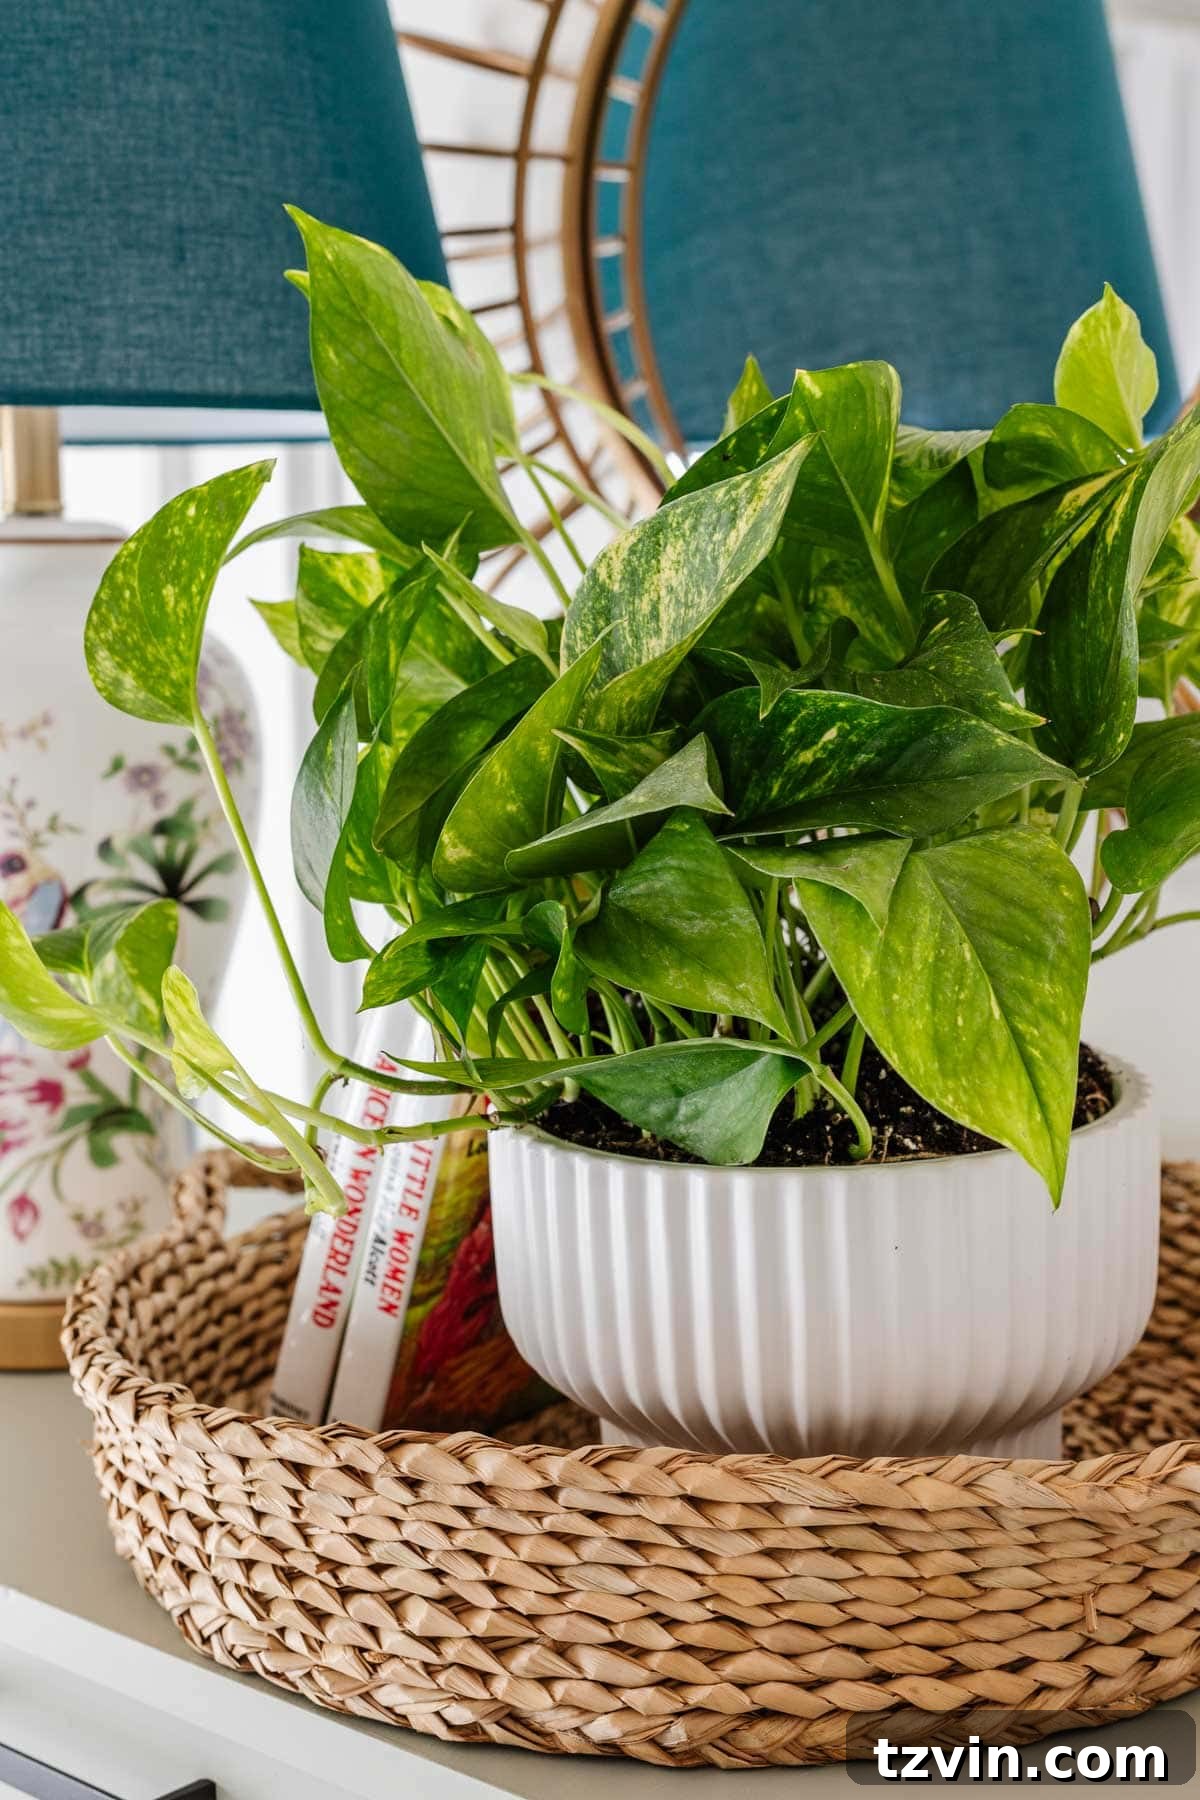
To inject a bit of natural life into the room, I incorporated a plant in this stylish fluted planter. Plants not only add greenery but also improve air quality, making the room feel fresher. Beside it, I used this practical basket tray, perfect for neatly containing storybooks, small toys, or any other odds and ends that tend to accumulate on dresser tops. It’s an ideal solution for maintaining a tidy and organized space, even in a busy kid’s room.
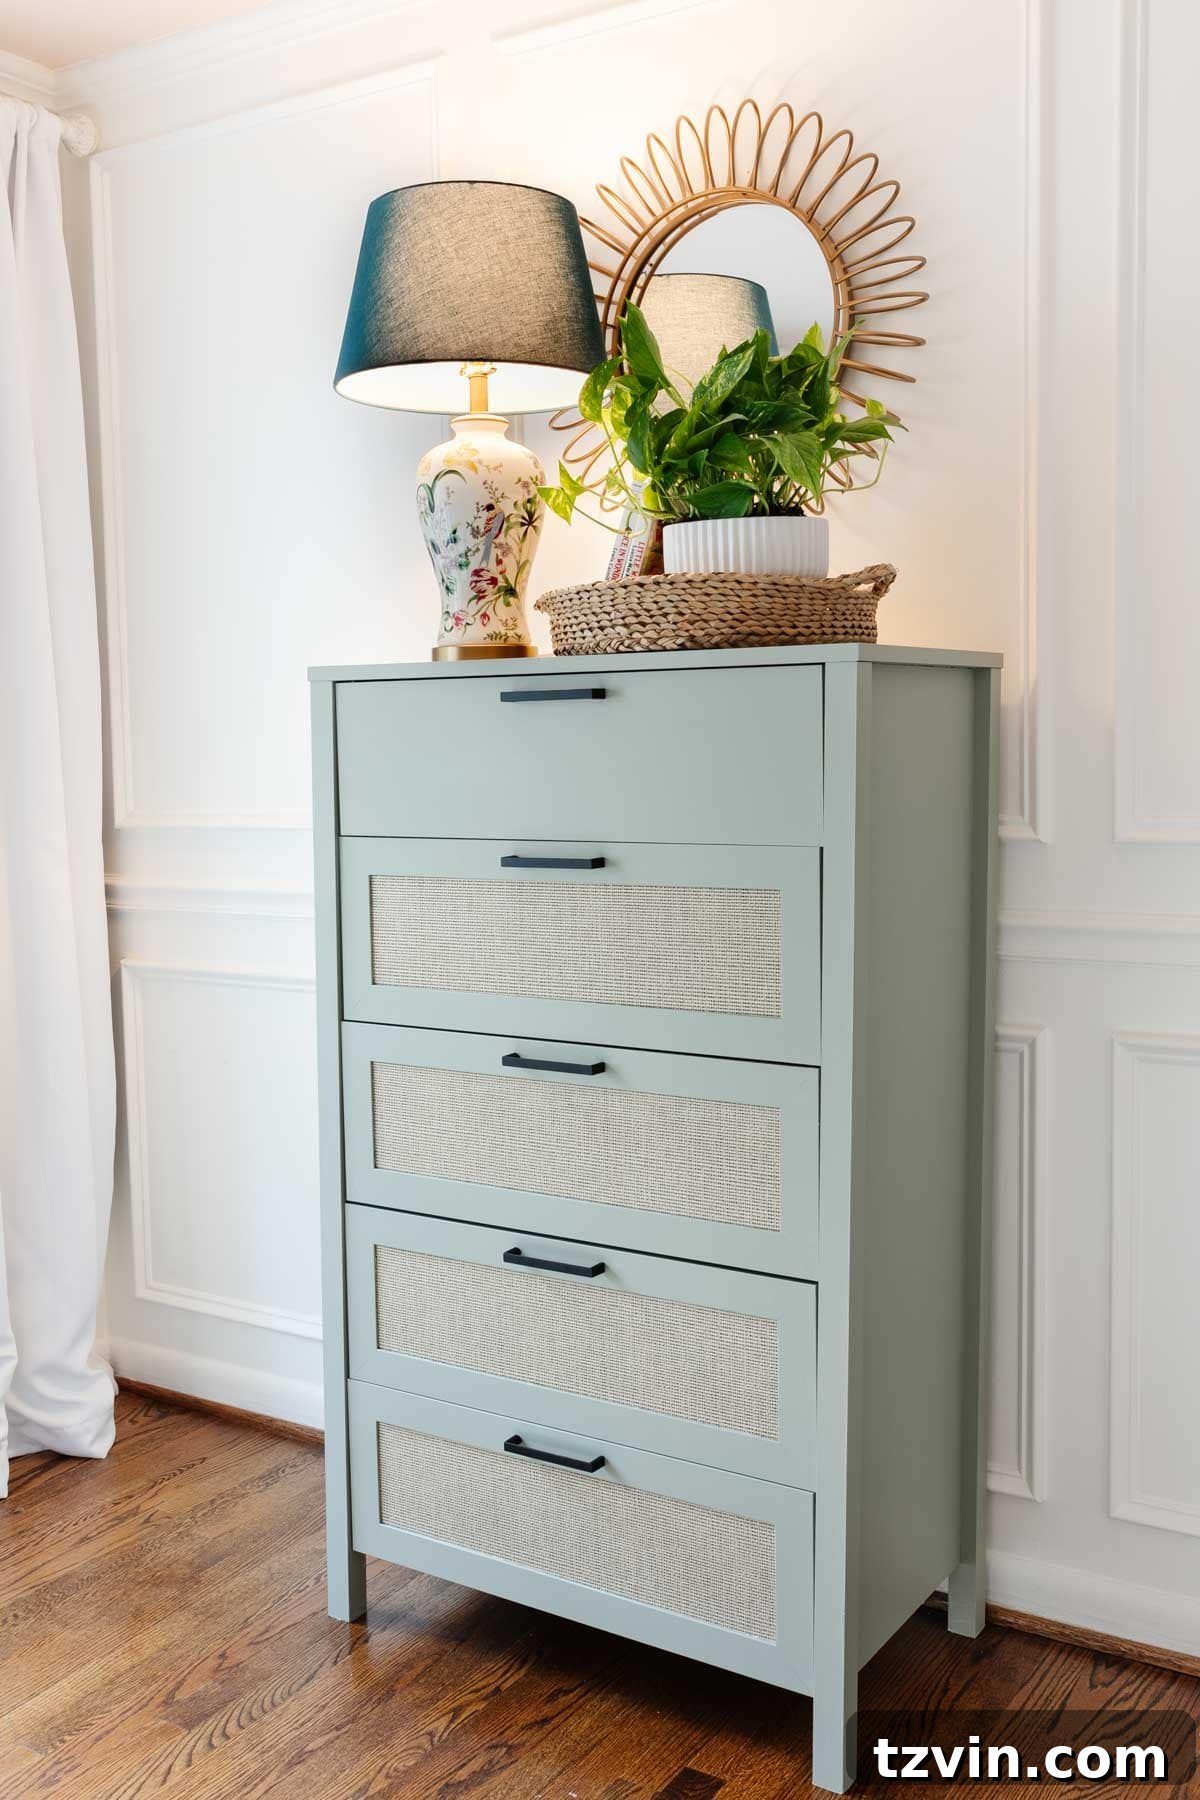
This corner of Regan’s room has truly become a precious and functional space. The newly painted dresser provides ample storage for her clothes, helping us stay organized now that we’re back in the full swing of school and all the daily routines that come with it. It’s rewarding to see how a little paint and thoughtful decor can create such a significant impact on both the aesthetics and functionality of a room.
In my quest for charming and budget-friendly kids’ room essentials, I’ve rounded up a few more vintage-inspired kids’ room decor items and furniture from Walmart Home that I absolutely adore. The “Little Seeds” line they carry is consistently one of my favorites for its blend of whimsical design and quality craftsmanship, perfect for creating enchanting children’s spaces without breaking the bank.
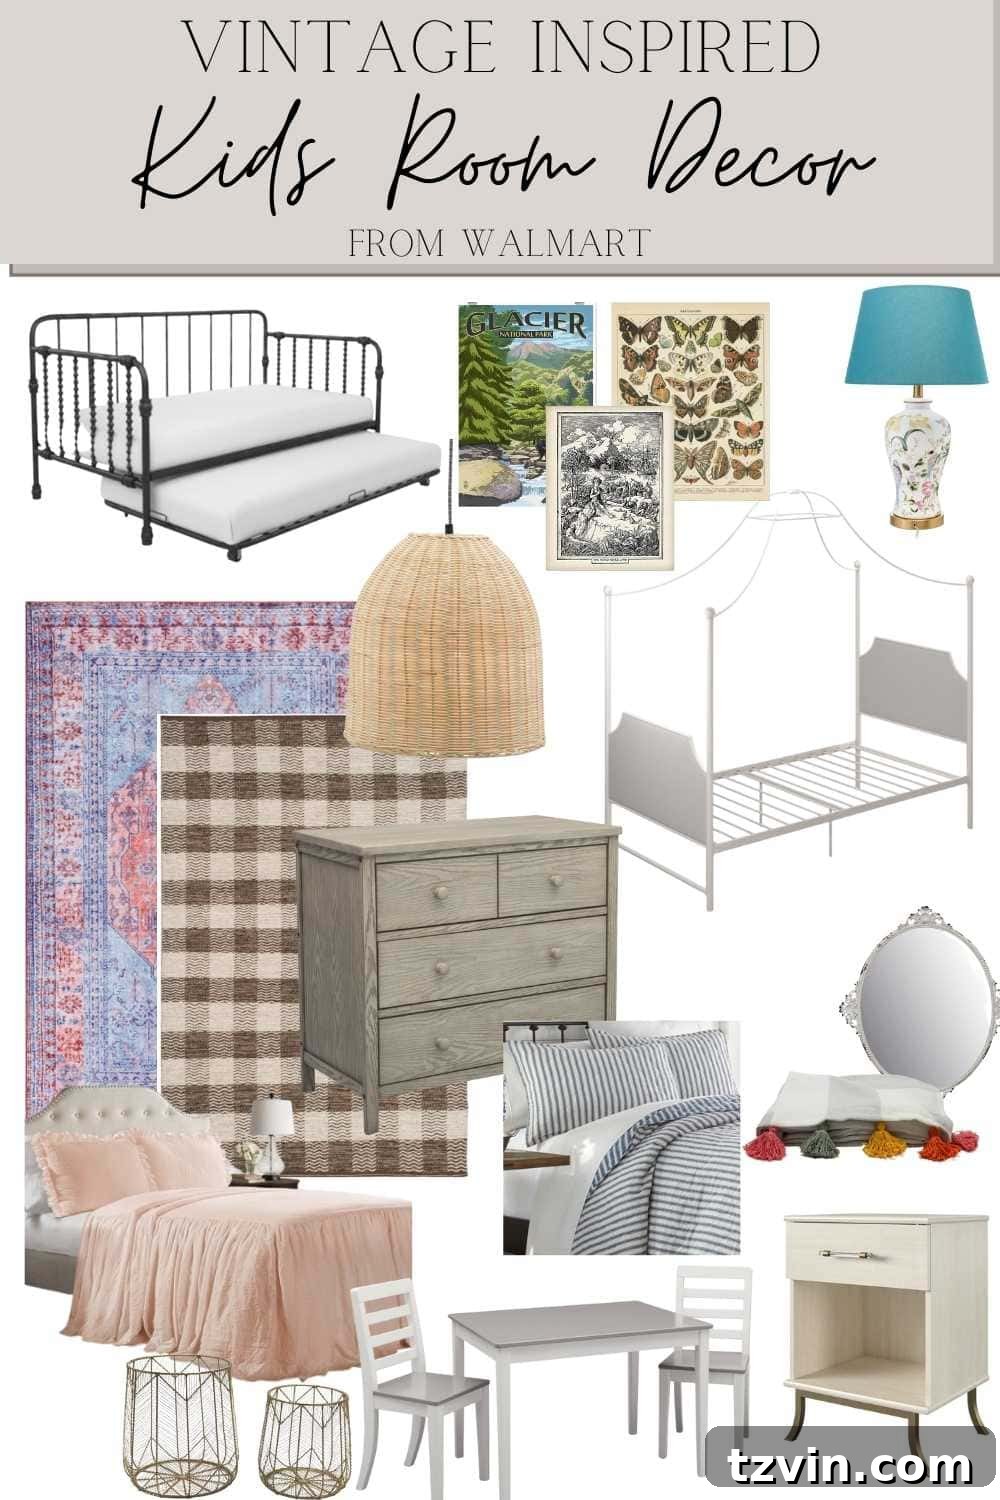
More Vintage Inspired Kids’ Room Decor & Furniture Finds
And with that, it’s official! Regan’s big girl bedroom transformation is finally complete. It’s a bittersweet moment, as she’s already decided she’s too big for snuggles in the rocking chair with me – a sentiment that tugs at the heartstrings a little. However, seeing her delight in her new, personalized space makes it all worthwhile.
Here’s to a beautiful big girl room, filled with countless new adventures and cherished memories ahead. May it be a place where she feels safe, inspired, and truly at home. We hope this comprehensive guide empowers you to tackle your own laminate furniture makeovers and create enchanting spaces for the little ones in your life!
If you want to save this post for later reference, you can easily pin it here:

Explore More DIY Furniture & Home Makeover Guides
If you enjoyed this tutorial and are looking for more ways to enhance your home with DIY projects, check out some of our other popular guides:
- Beginner’s Guide to Painting Furniture: Your ultimate starting point for any furniture painting project.
- Work Table Makeover & Customizing Unfinished Furniture: Learn how to transform basic unfinished pieces into custom treasures.
- How to Paint Kitchen Cabinets Like a Pro: Master the techniques for a flawless kitchen update.
- How to Restore Wood Outdoor Furniture: Bring your weathered outdoor pieces back to life.
- 10 Best Places to Buy Furniture Hardware: Discover where to find the perfect finishing touches for your furniture projects.