Create the Perfect Gallery Wall: DIY Tricks and Layout Ideas
How to Hang a Gallery Wall Like a Pro
Over the years, we’ve perfected the art of hanging gallery walls, and I’ve
discovered some simple, effective tricks. This guide shares those secrets,
ensuring your walls aren’t riddled with unnecessary holes.
Whether you’re looking to showcase family photos, favorite artworks, a mix
of both, or even non-framed items, a gallery wall adds personality to any
space.
Don’t be intimidated! This step-by-step guide will walk you through the
process of creating a professional-looking gallery wall.
Supplies You’ll Need
-
Picture frames and artwork: Gather the pieces you want
to display. Choose items that complement each other in style, color, and
theme. (See further down for more inspiration.) - Measuring tape: Essential for accurate measurements.
- Pencil: For marking the wall and tracing frames.
- Level: To ensure your gallery wall is straight.
-
Hammer and nails or wall anchors: Select appropriate
hanging hardware based on the weight of your frames and your wall type. -
Transparent tape: Helpful for planning and arranging
your gallery wall layout. -
Wrapping paper or kraft paper and scissors: For creating
frame templates.
Step 1: Create Frame Templates
Before, I’d try to eyeball gallery walls – a big mistake that often led to
walls full of holes. Now, I use a tried-and-true trick.
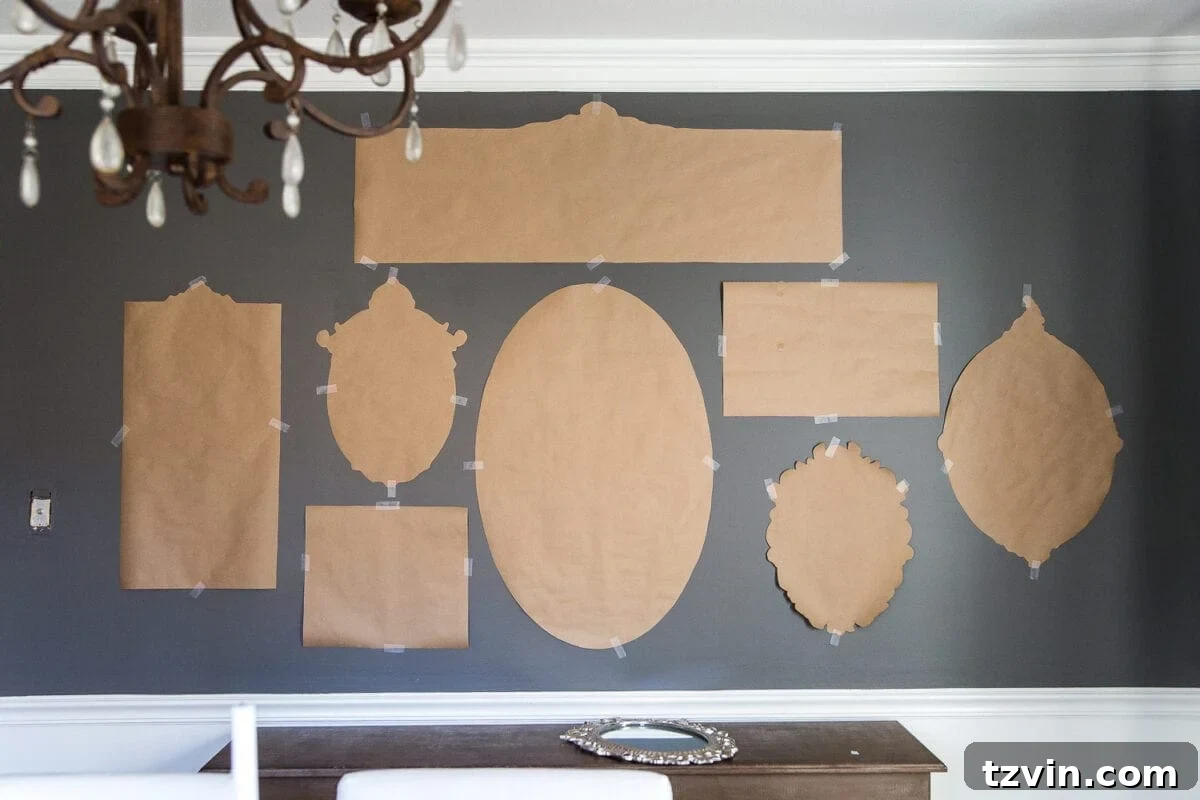
Make paper templates by tracing your picture frames or objects onto wrapping
or kraft paper. Be sure to mark the hanger locations on the paper as well.
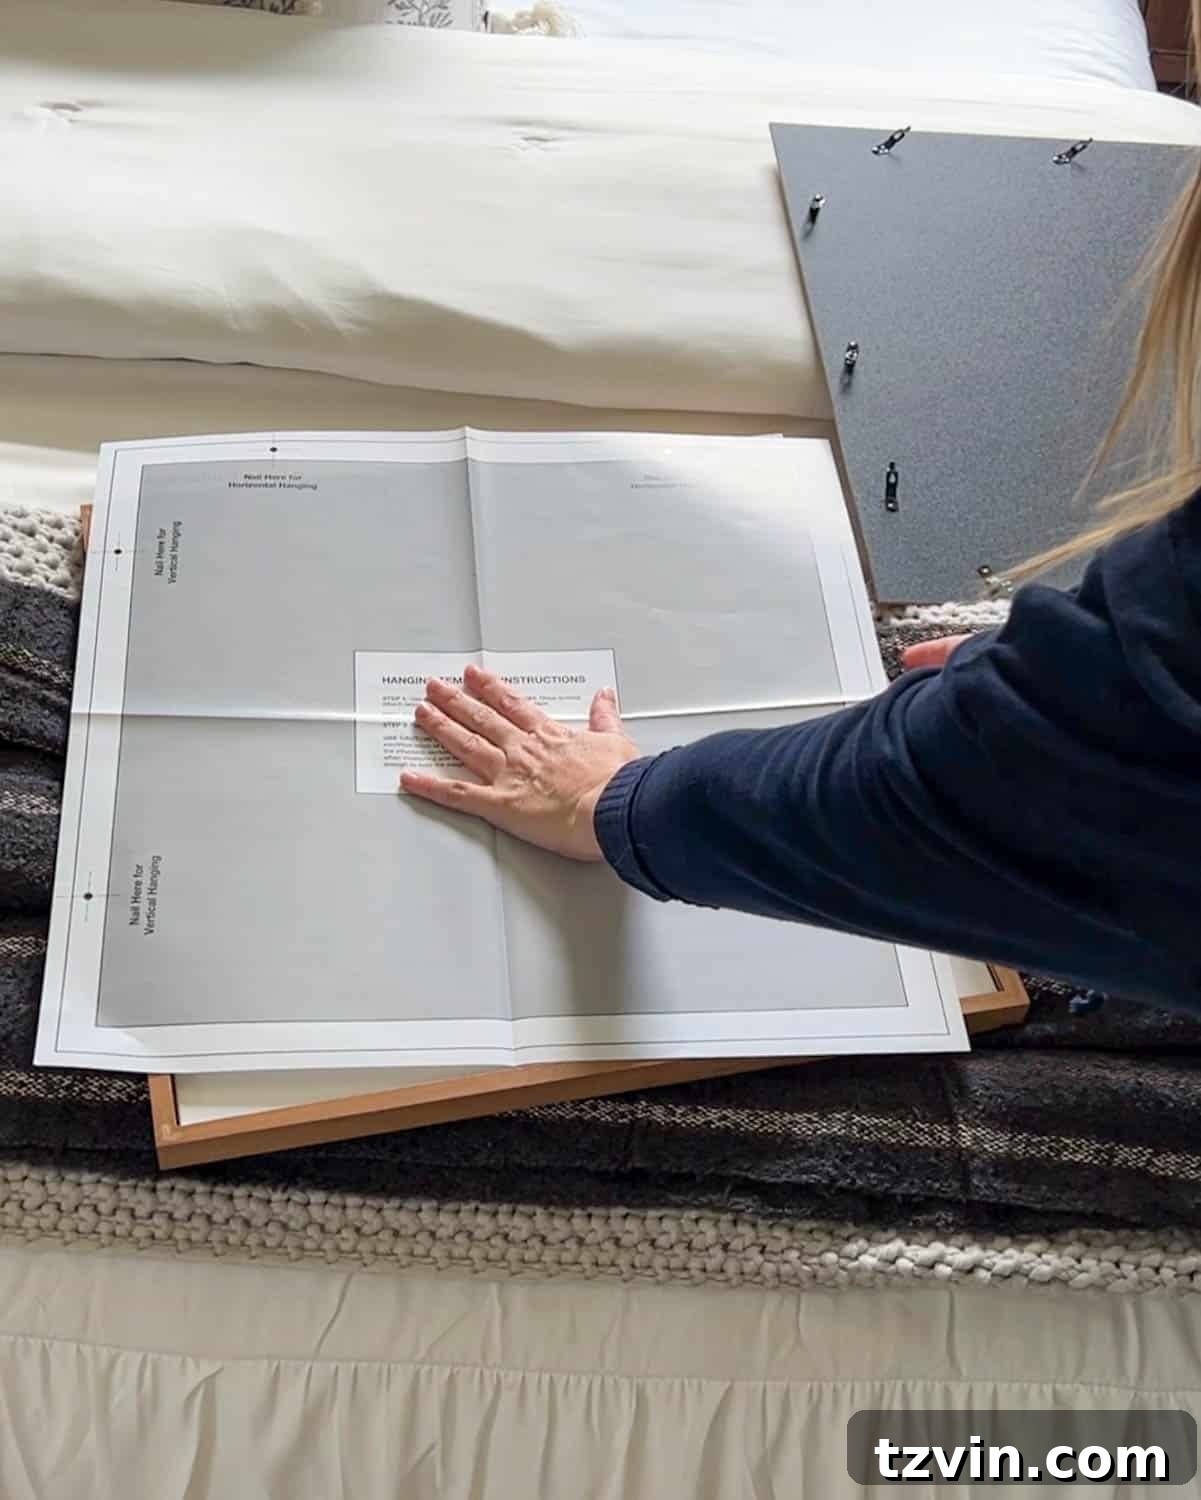
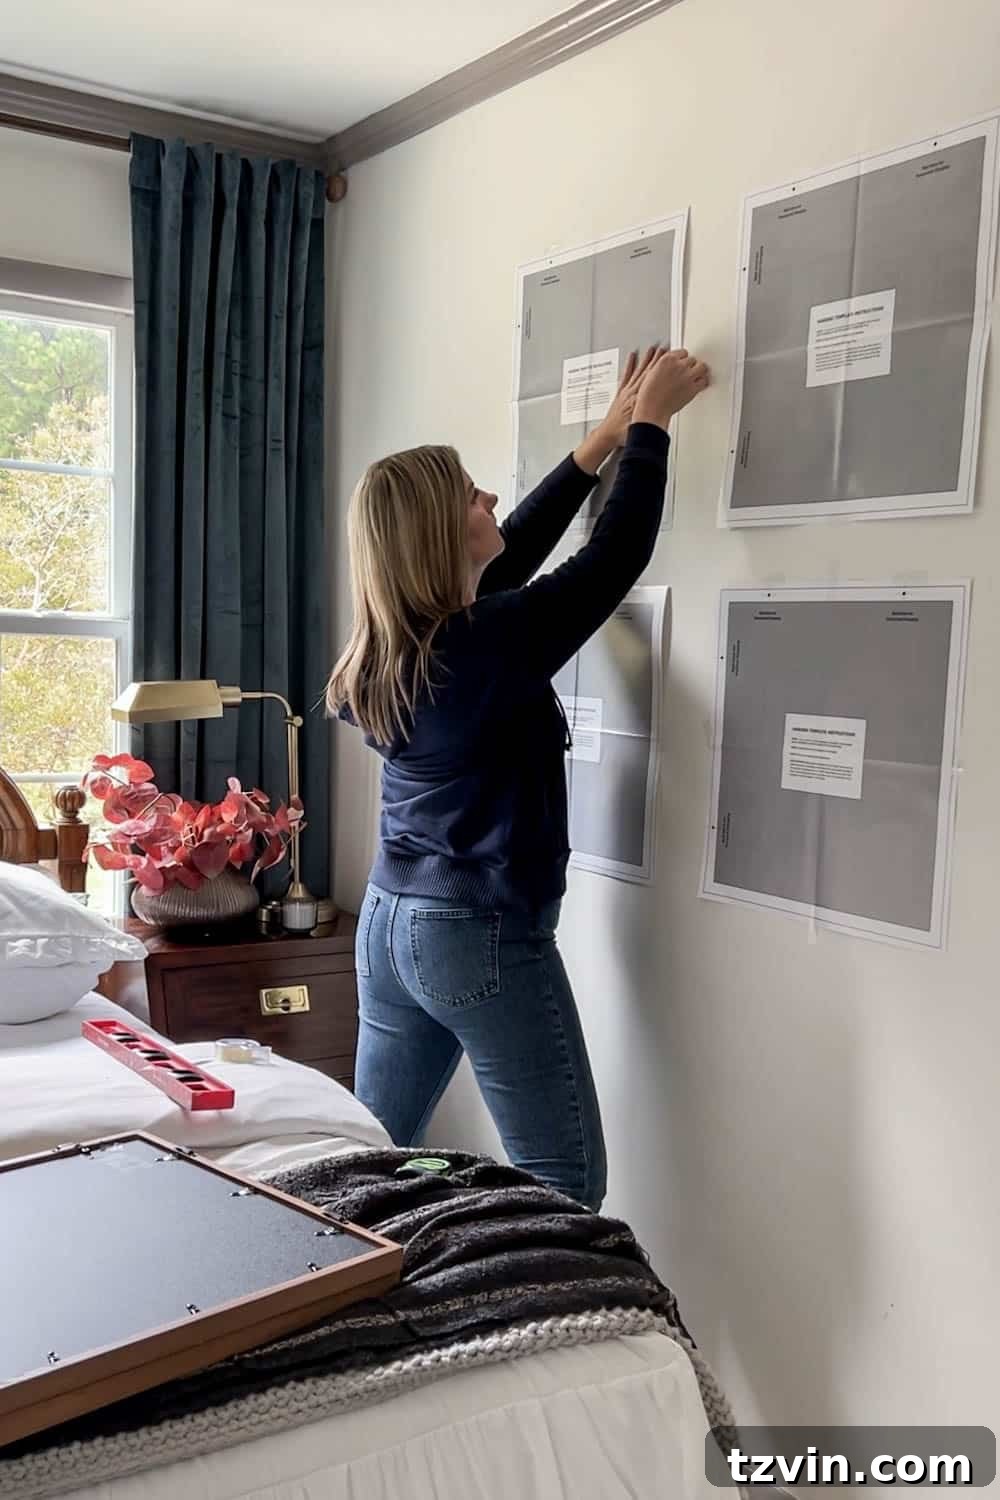
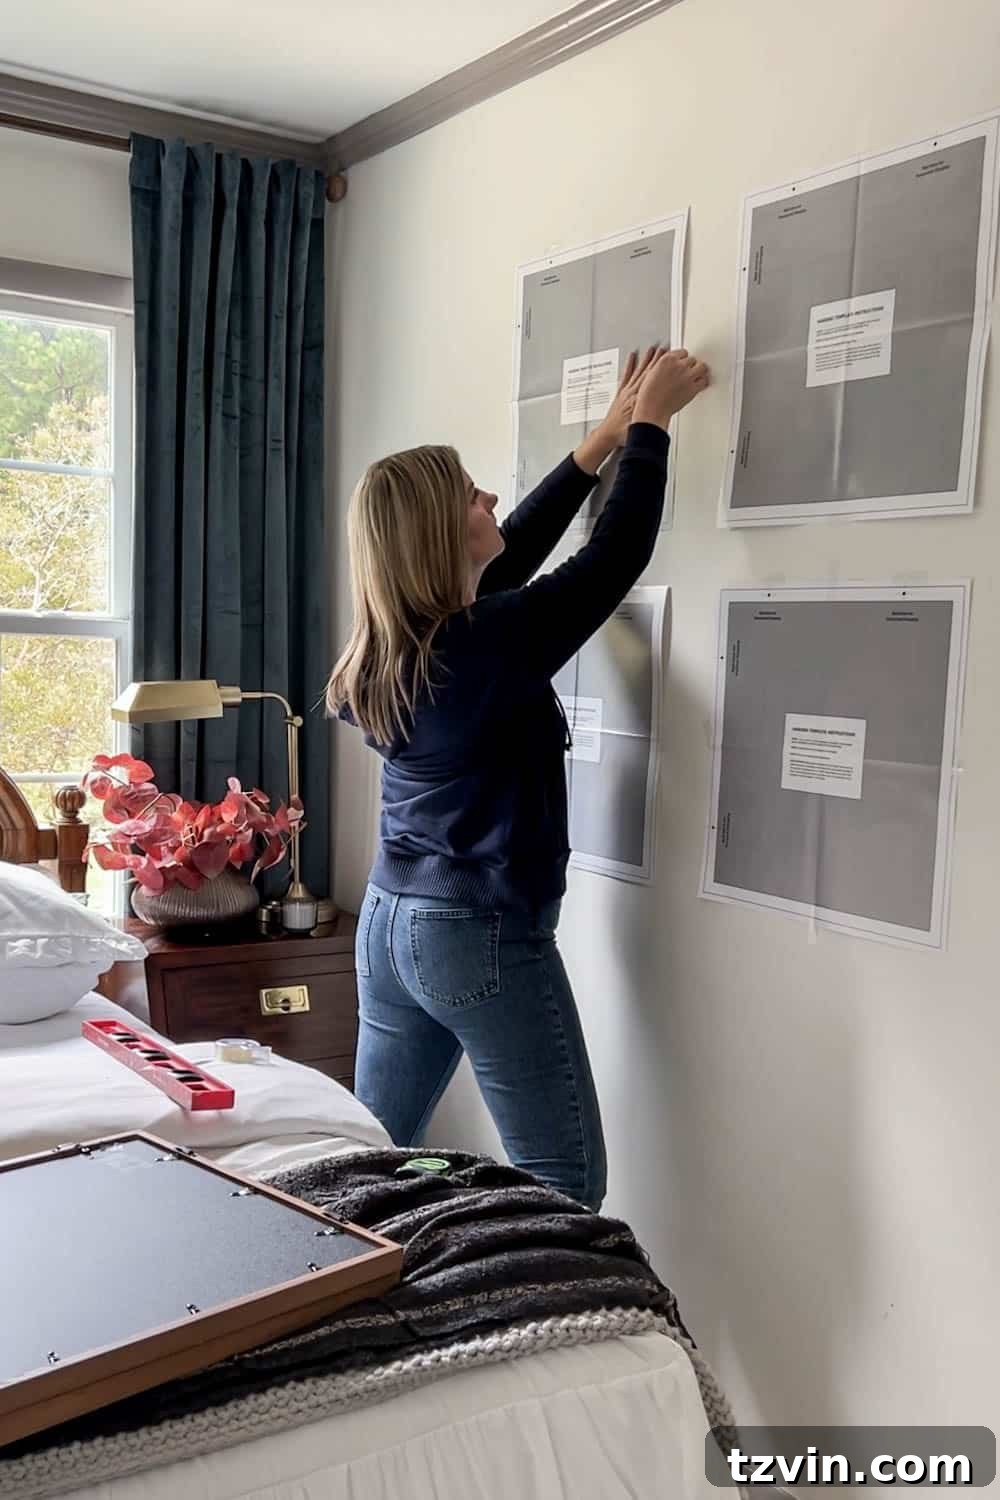
Frames with Templates
For convenience, consider frames that already come with templates.
You can also find pre-designed gallery wall systems with provided templates.
However, when using thrifted frames, tracing them on paper works perfectly.
Related: Where to Buy Vintage Art and Print Digital Art
Step 2: Test Layouts with Tape
I suggest using transparent tape for your templates.
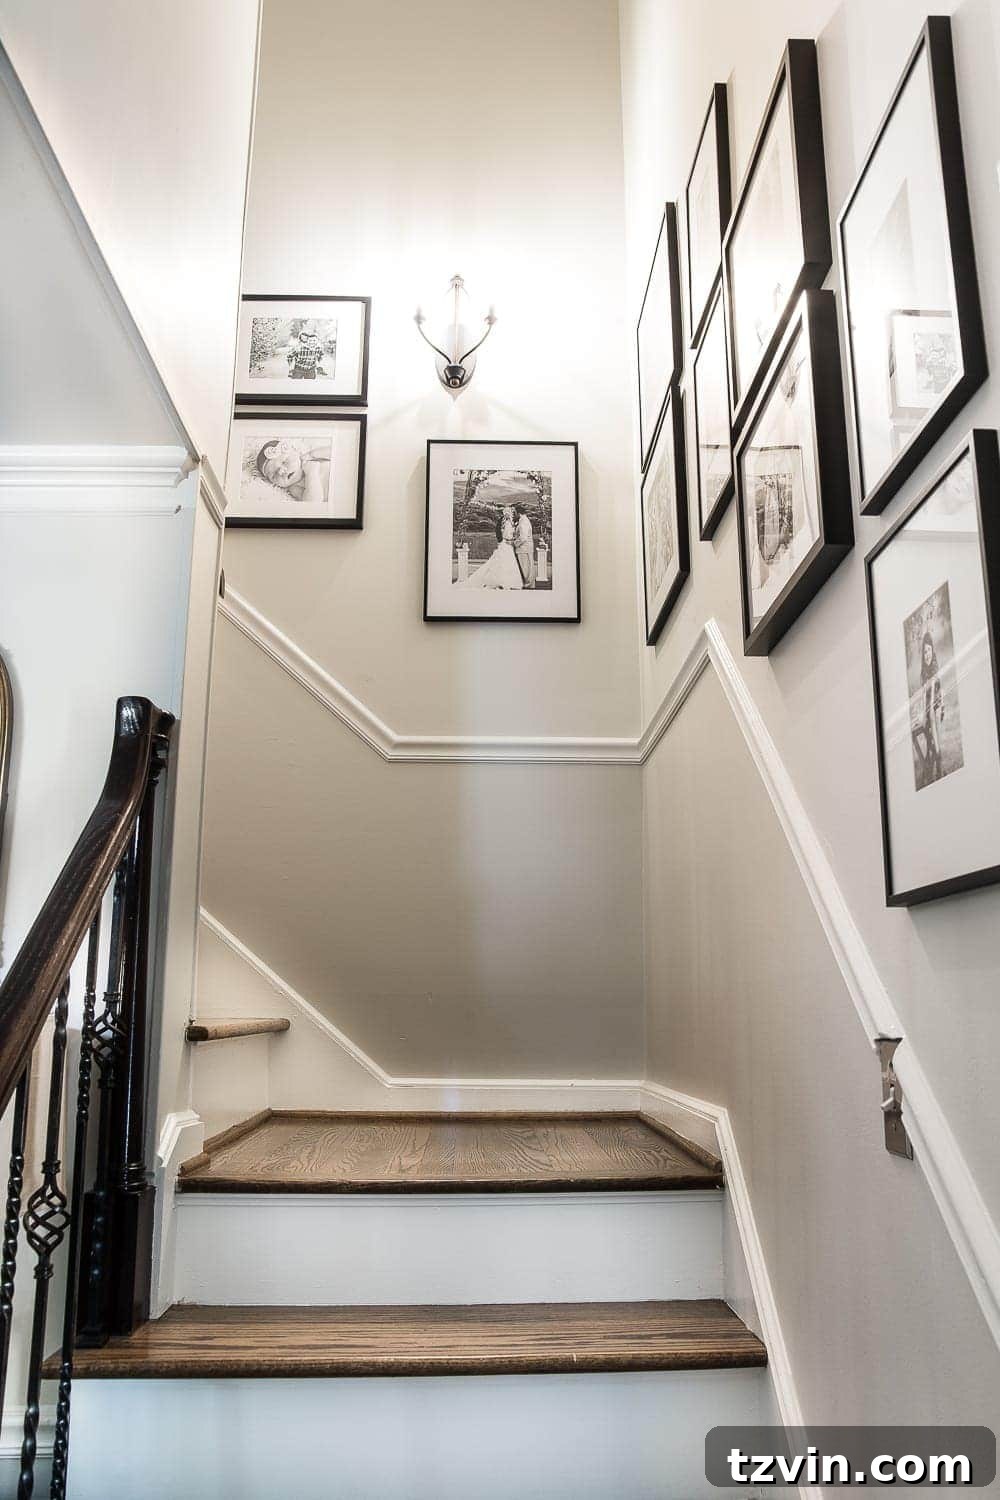
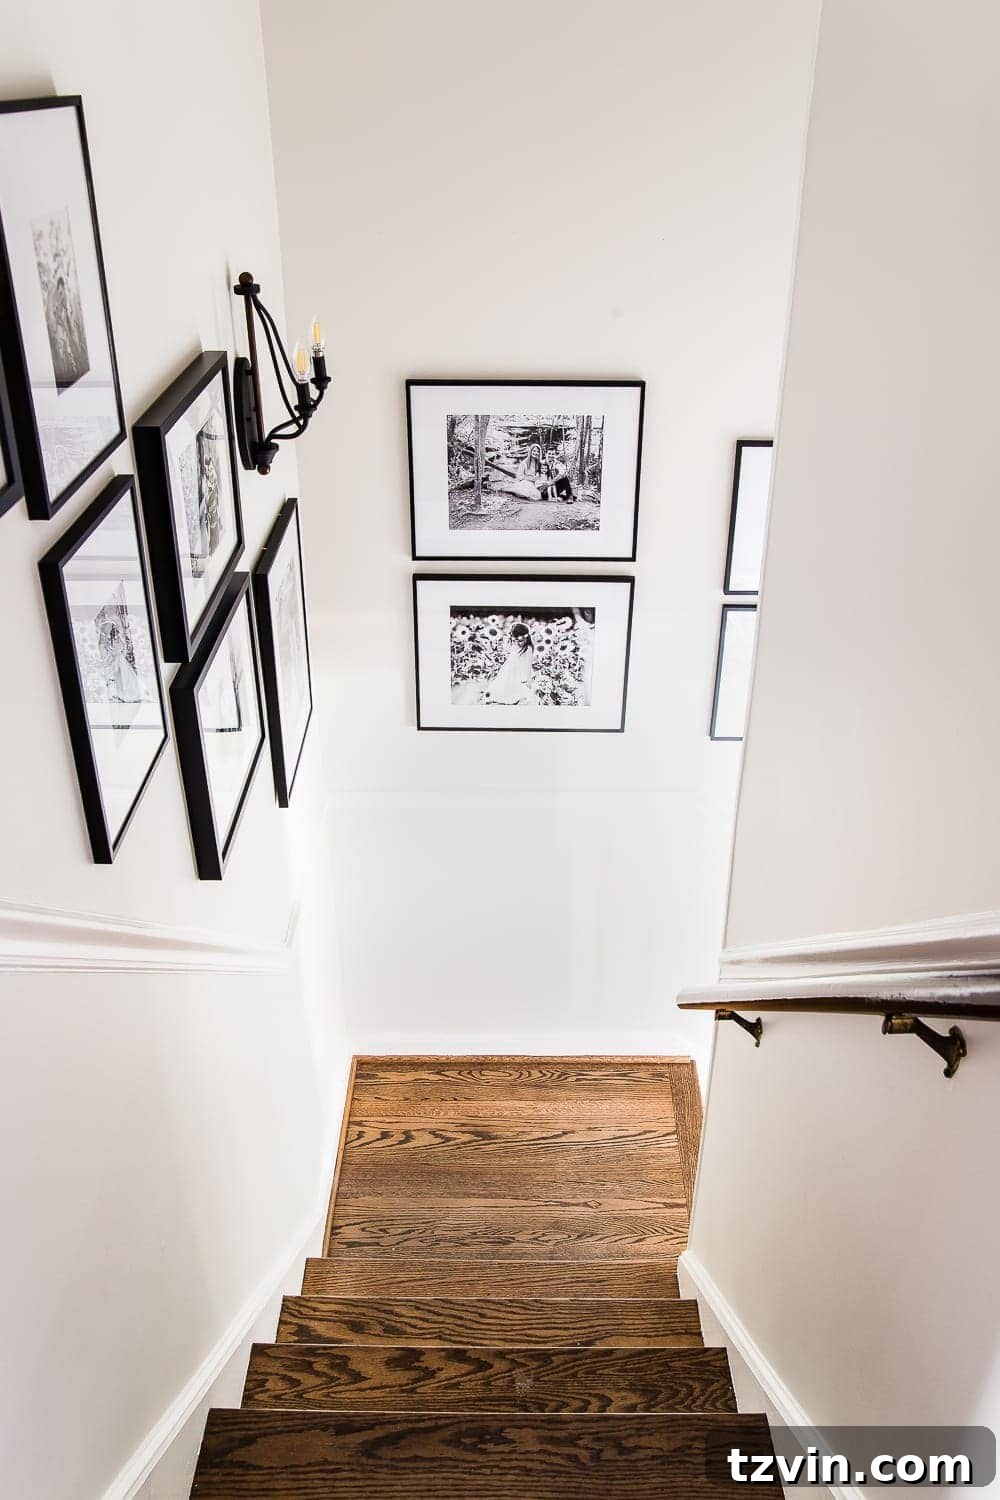
When planning a staircase gallery wall, a diagonal tape line can help guide
the placement of the frame corners.
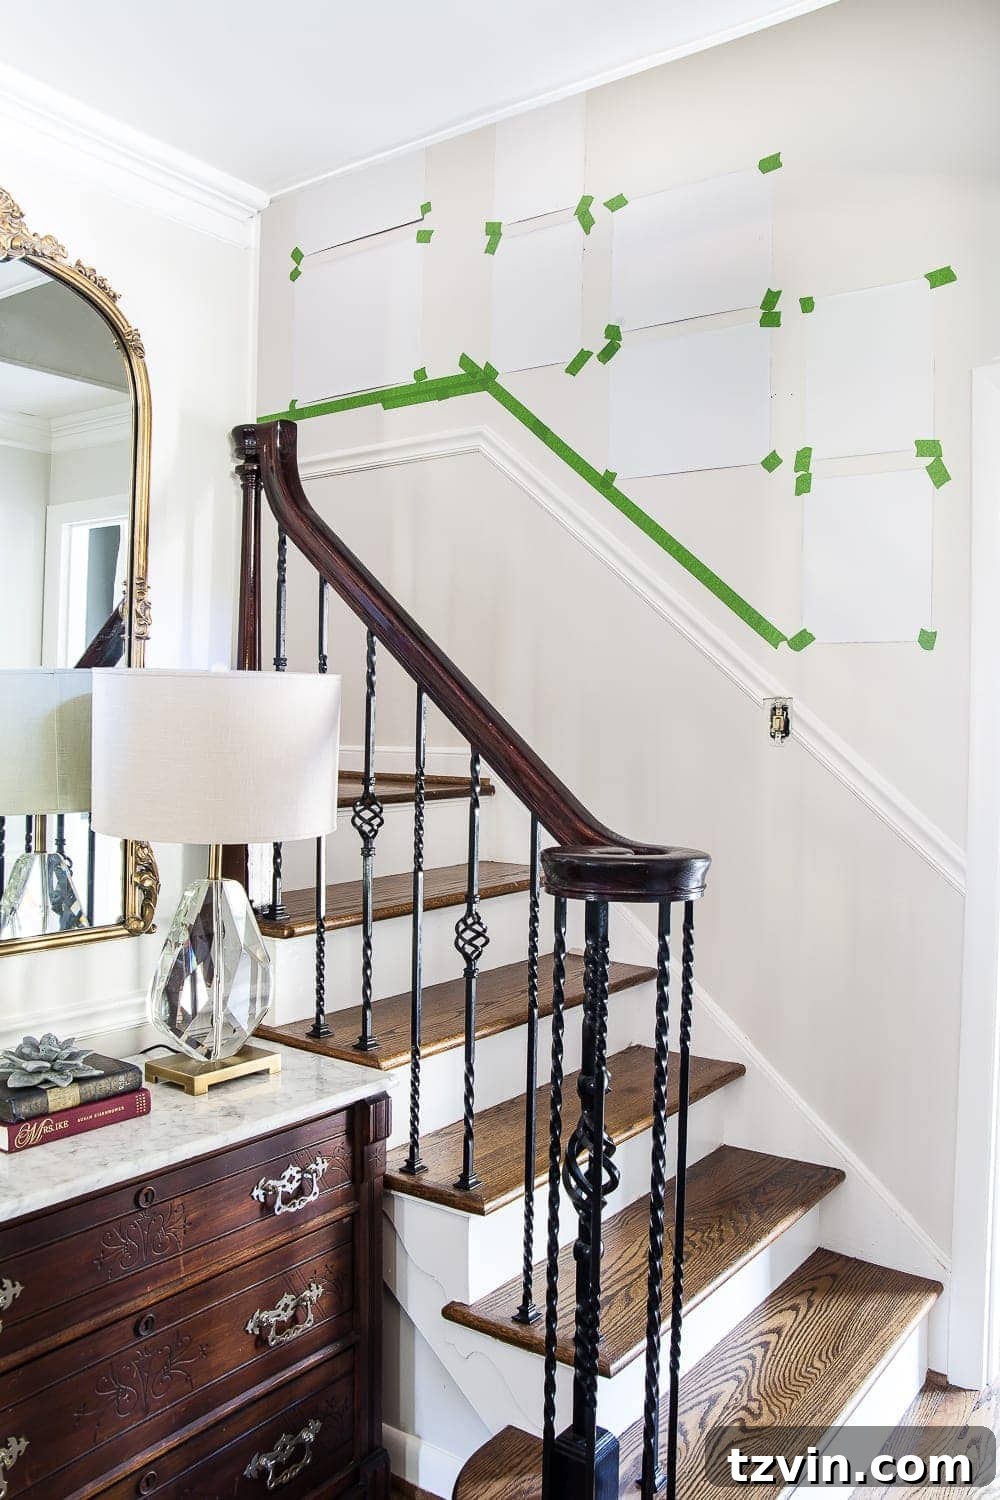
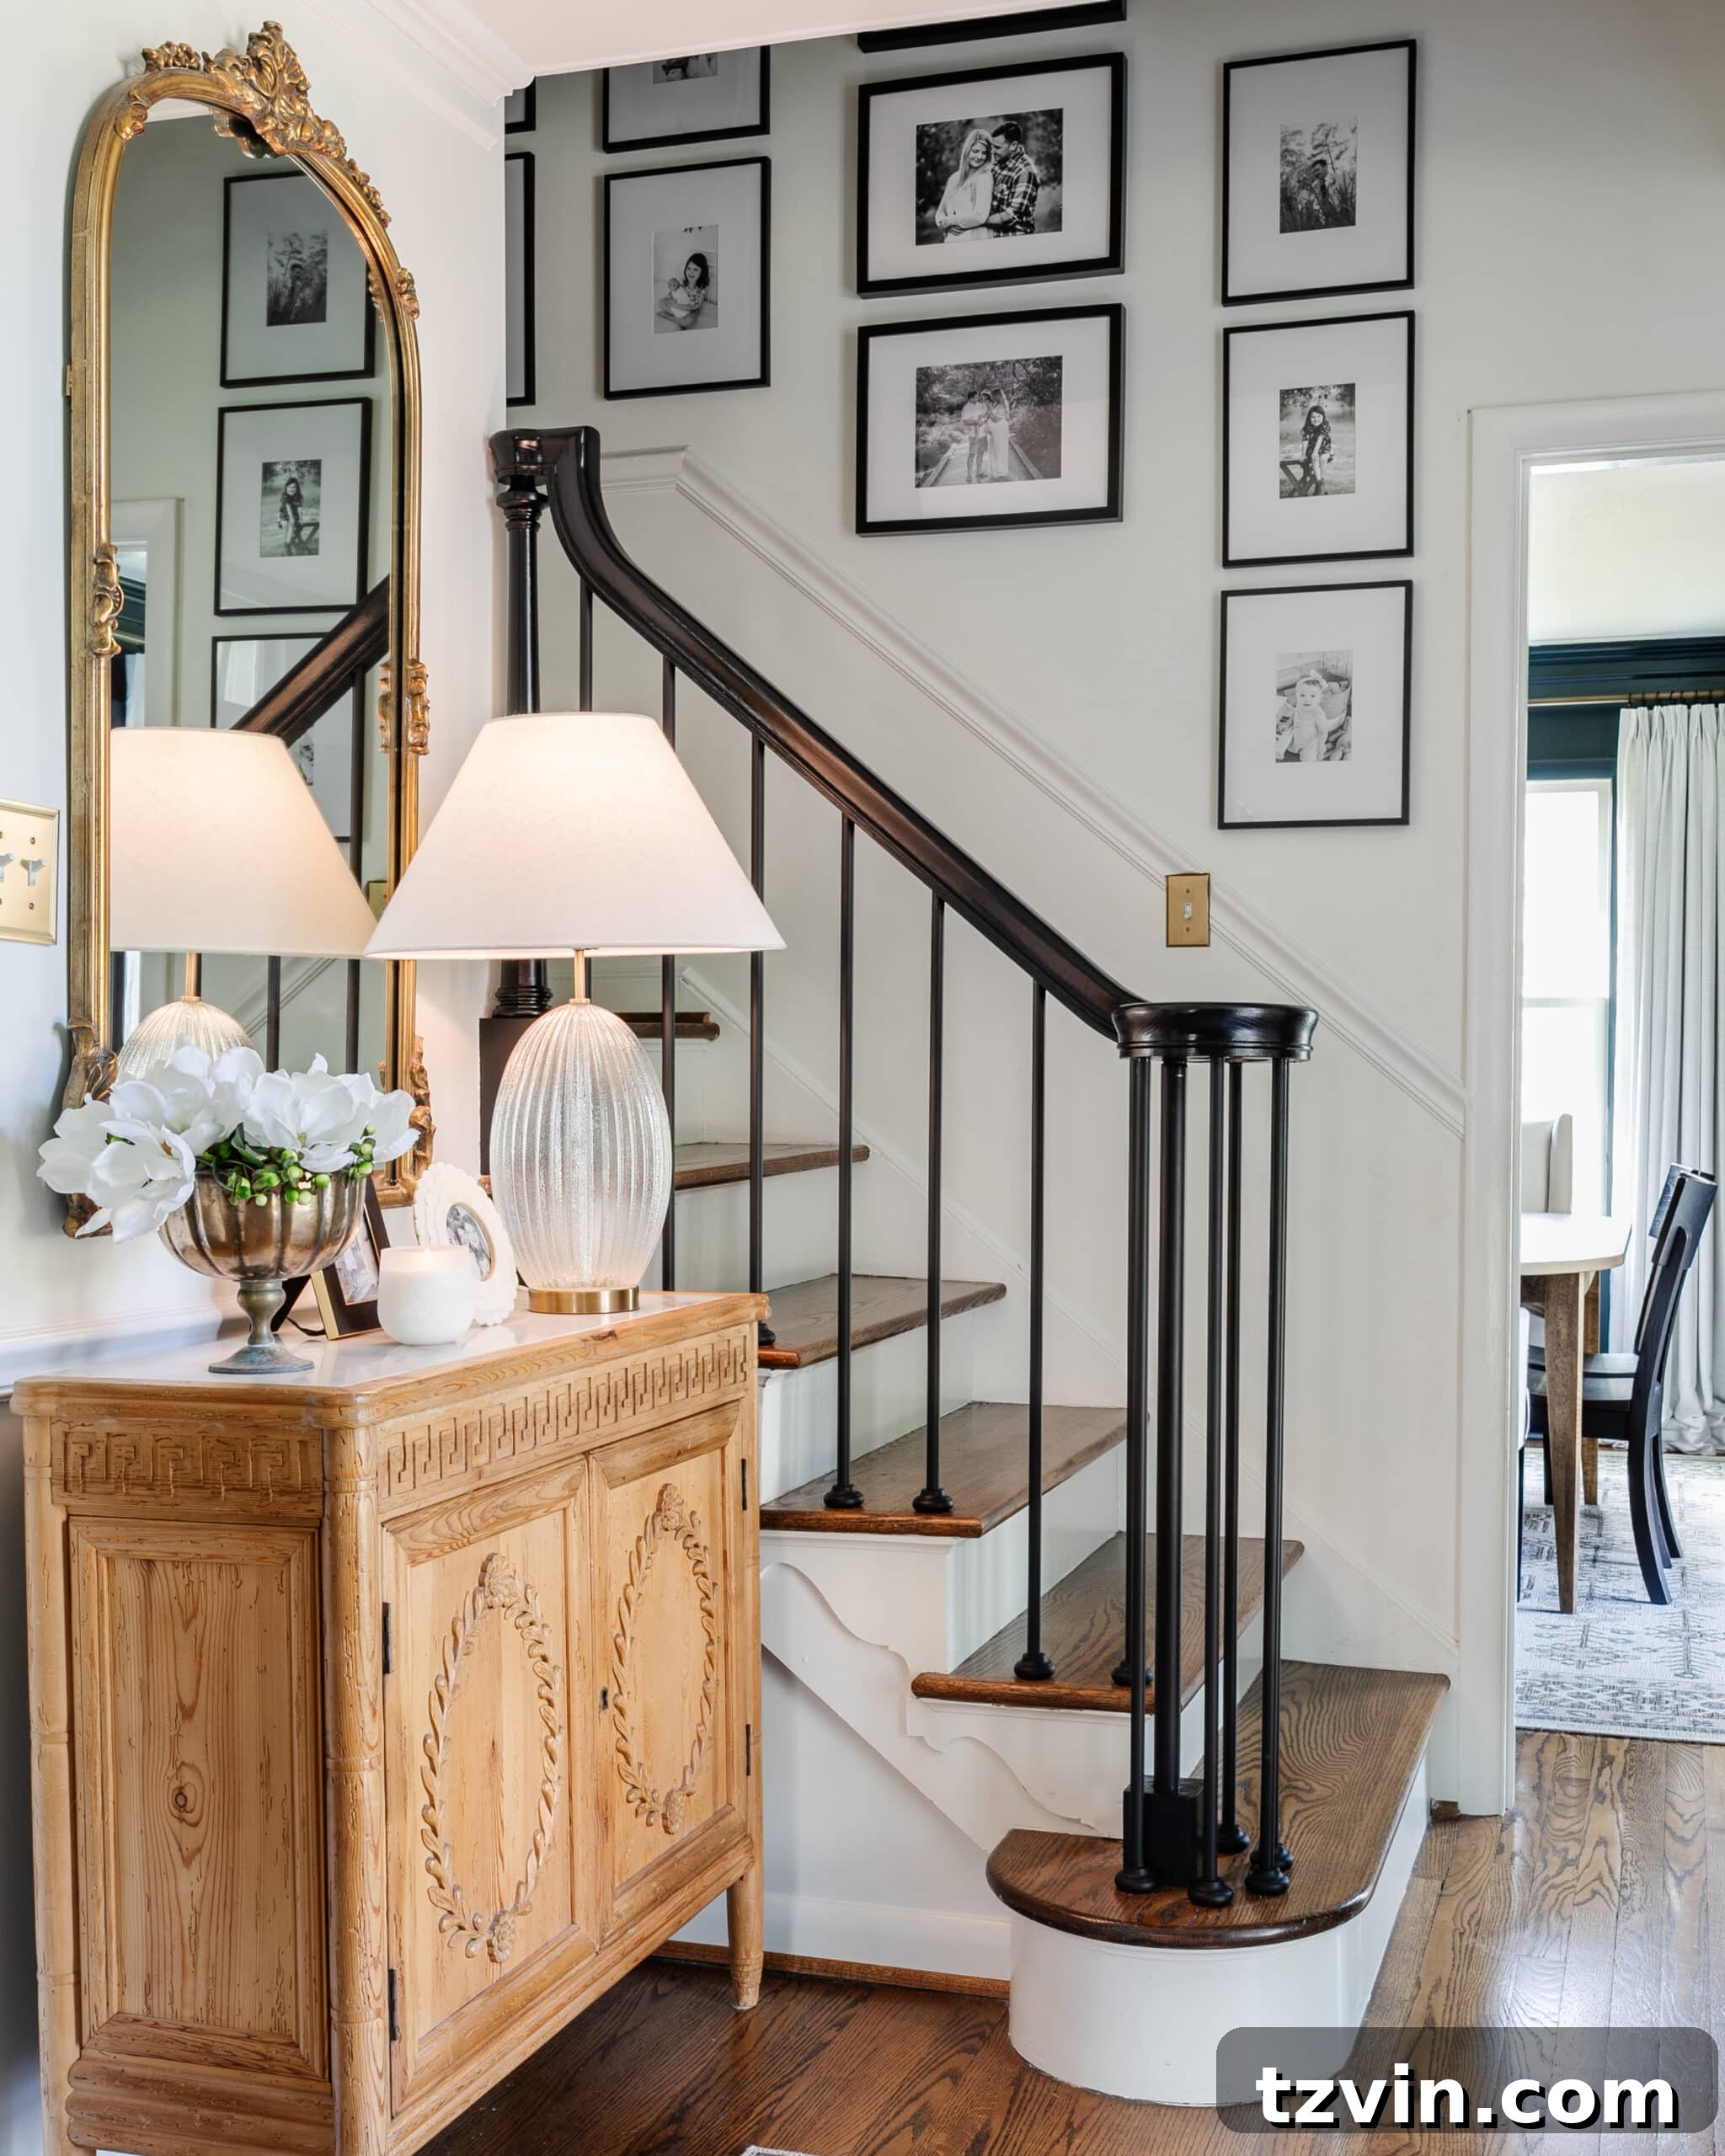
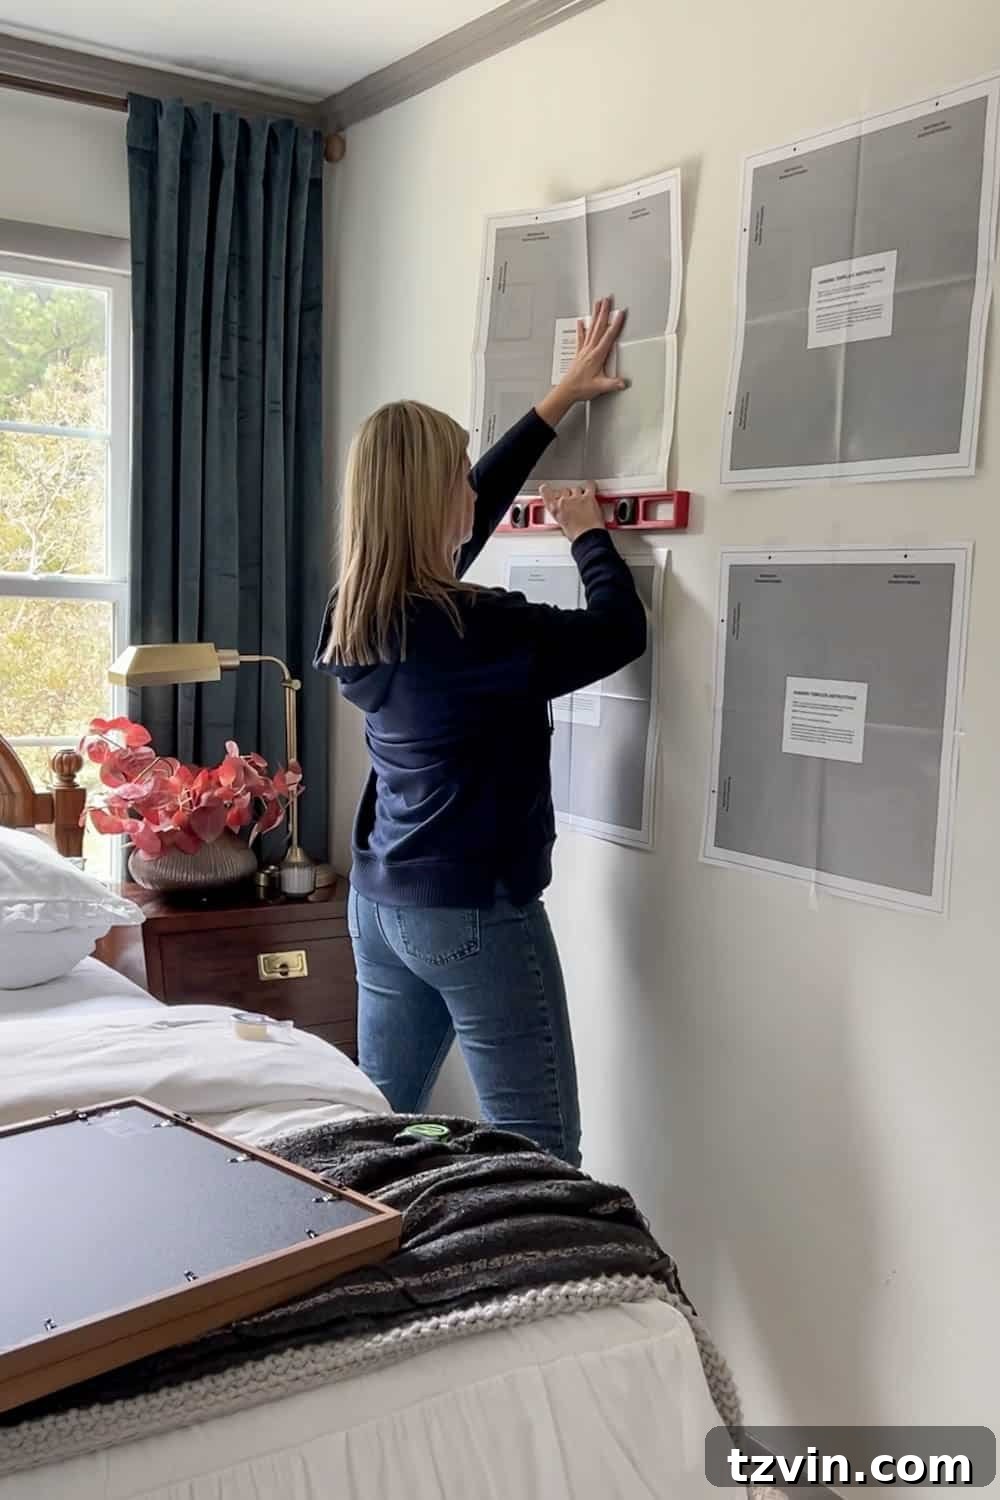
Using transparent tape on kraft paper templates, I was able to test and
refine the gallery wall arrangement.
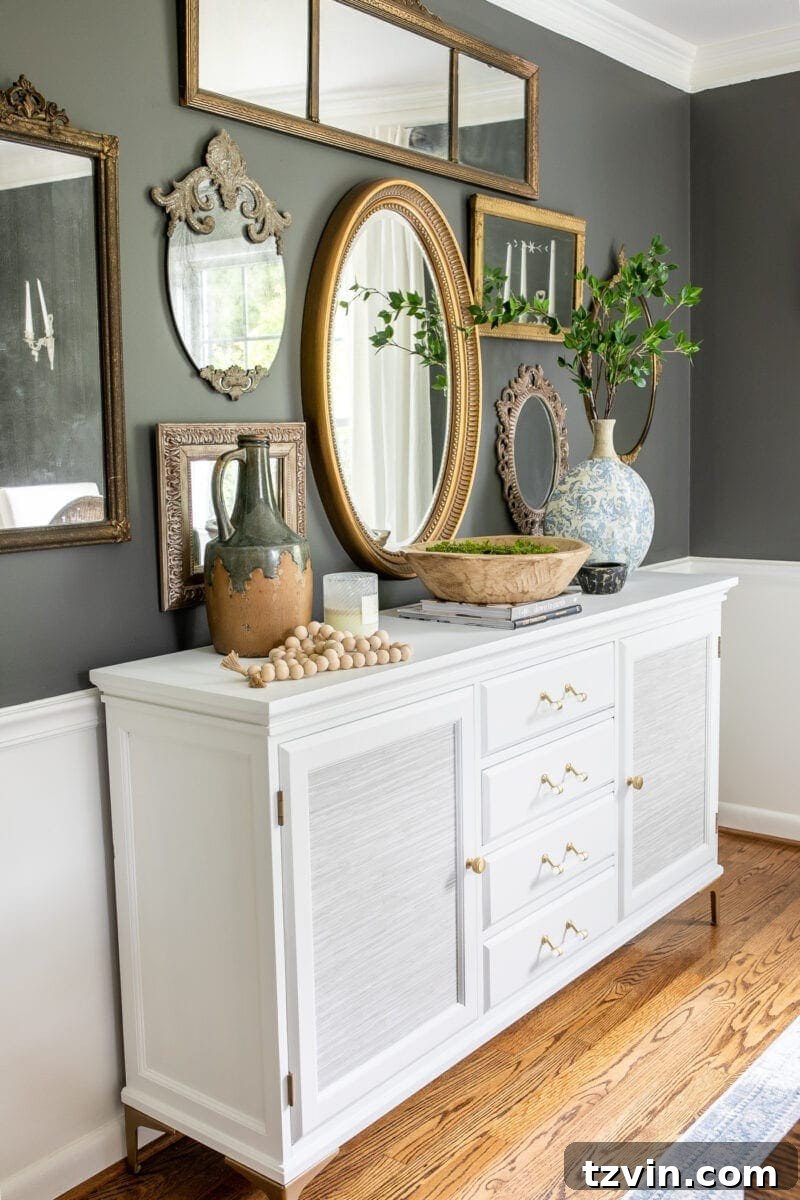
Tips for Choosing the Right Gallery Wall Layout
Start with Larger Pieces
To avoid a cluttered look, begin with larger frames. They provide a strong
foundation, especially with tall ceilings. 11×14, 16×20, and 20×24 frames
are great starting points, depending on your wall size.
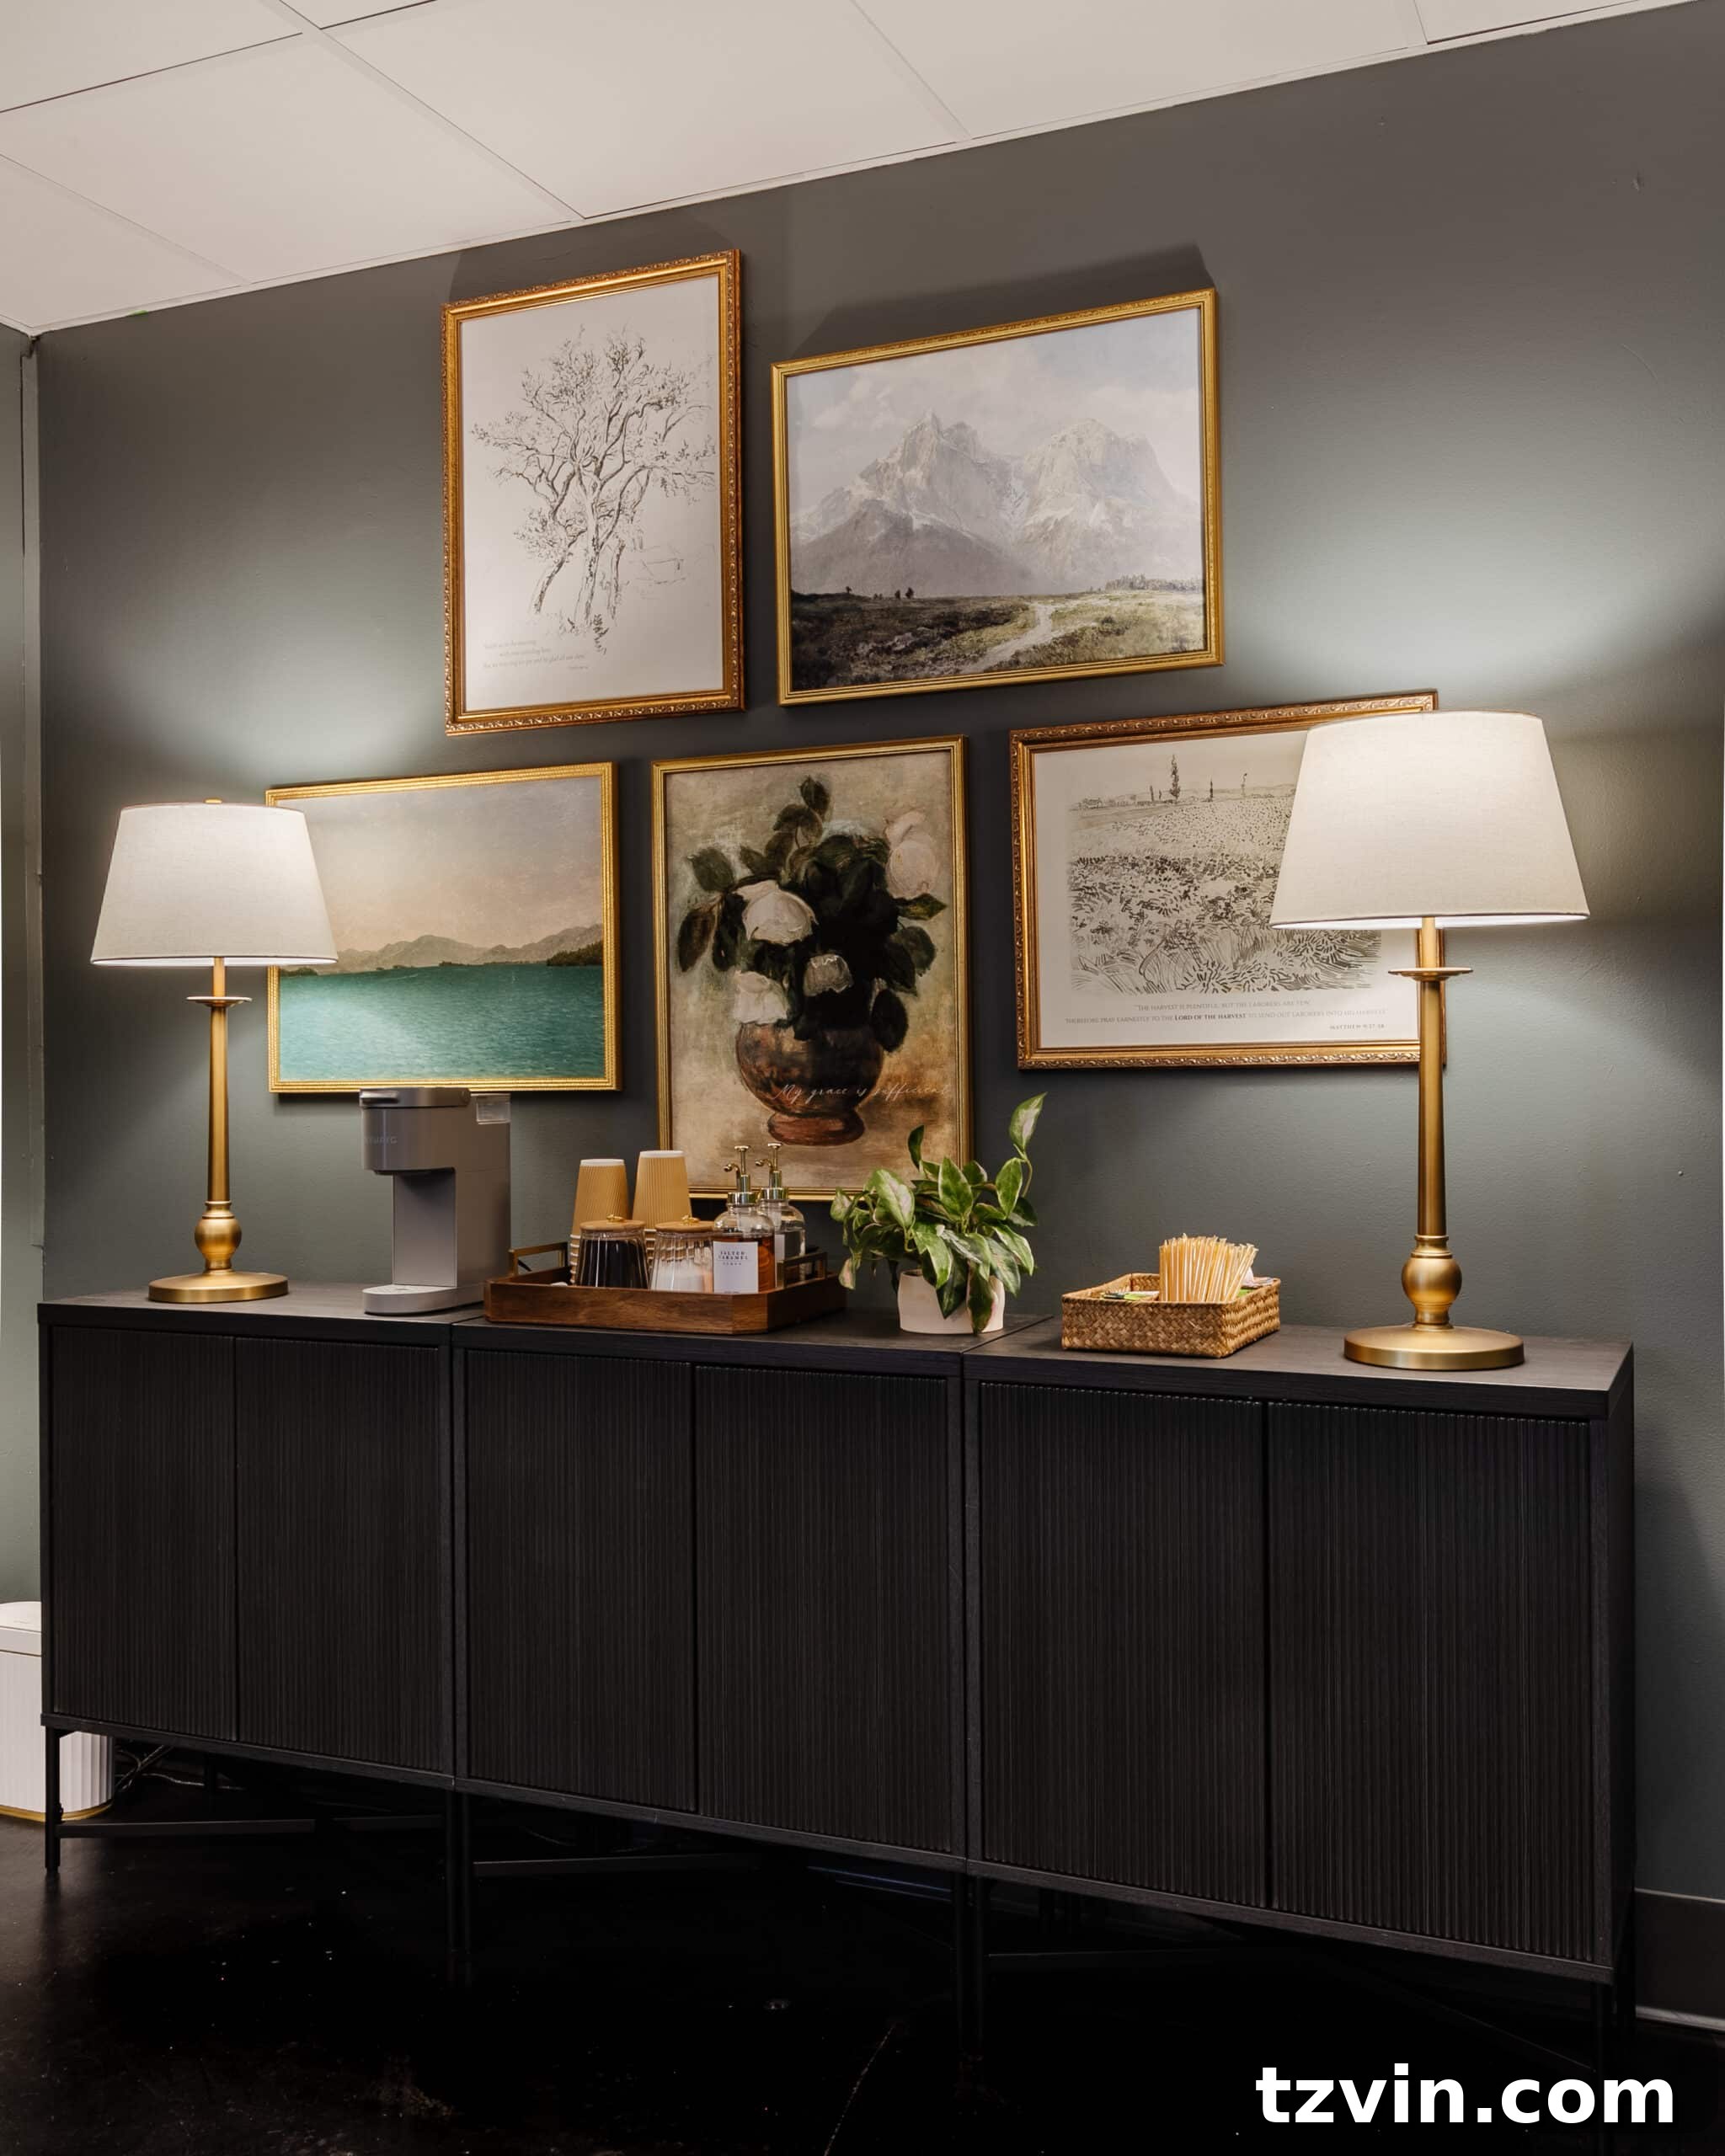
Fill In with Smaller Frames
Once you’ve placed your larger frames, fill in the gaps with smaller
ones.
For the stairway, I started with a template of a 16×20 frame.
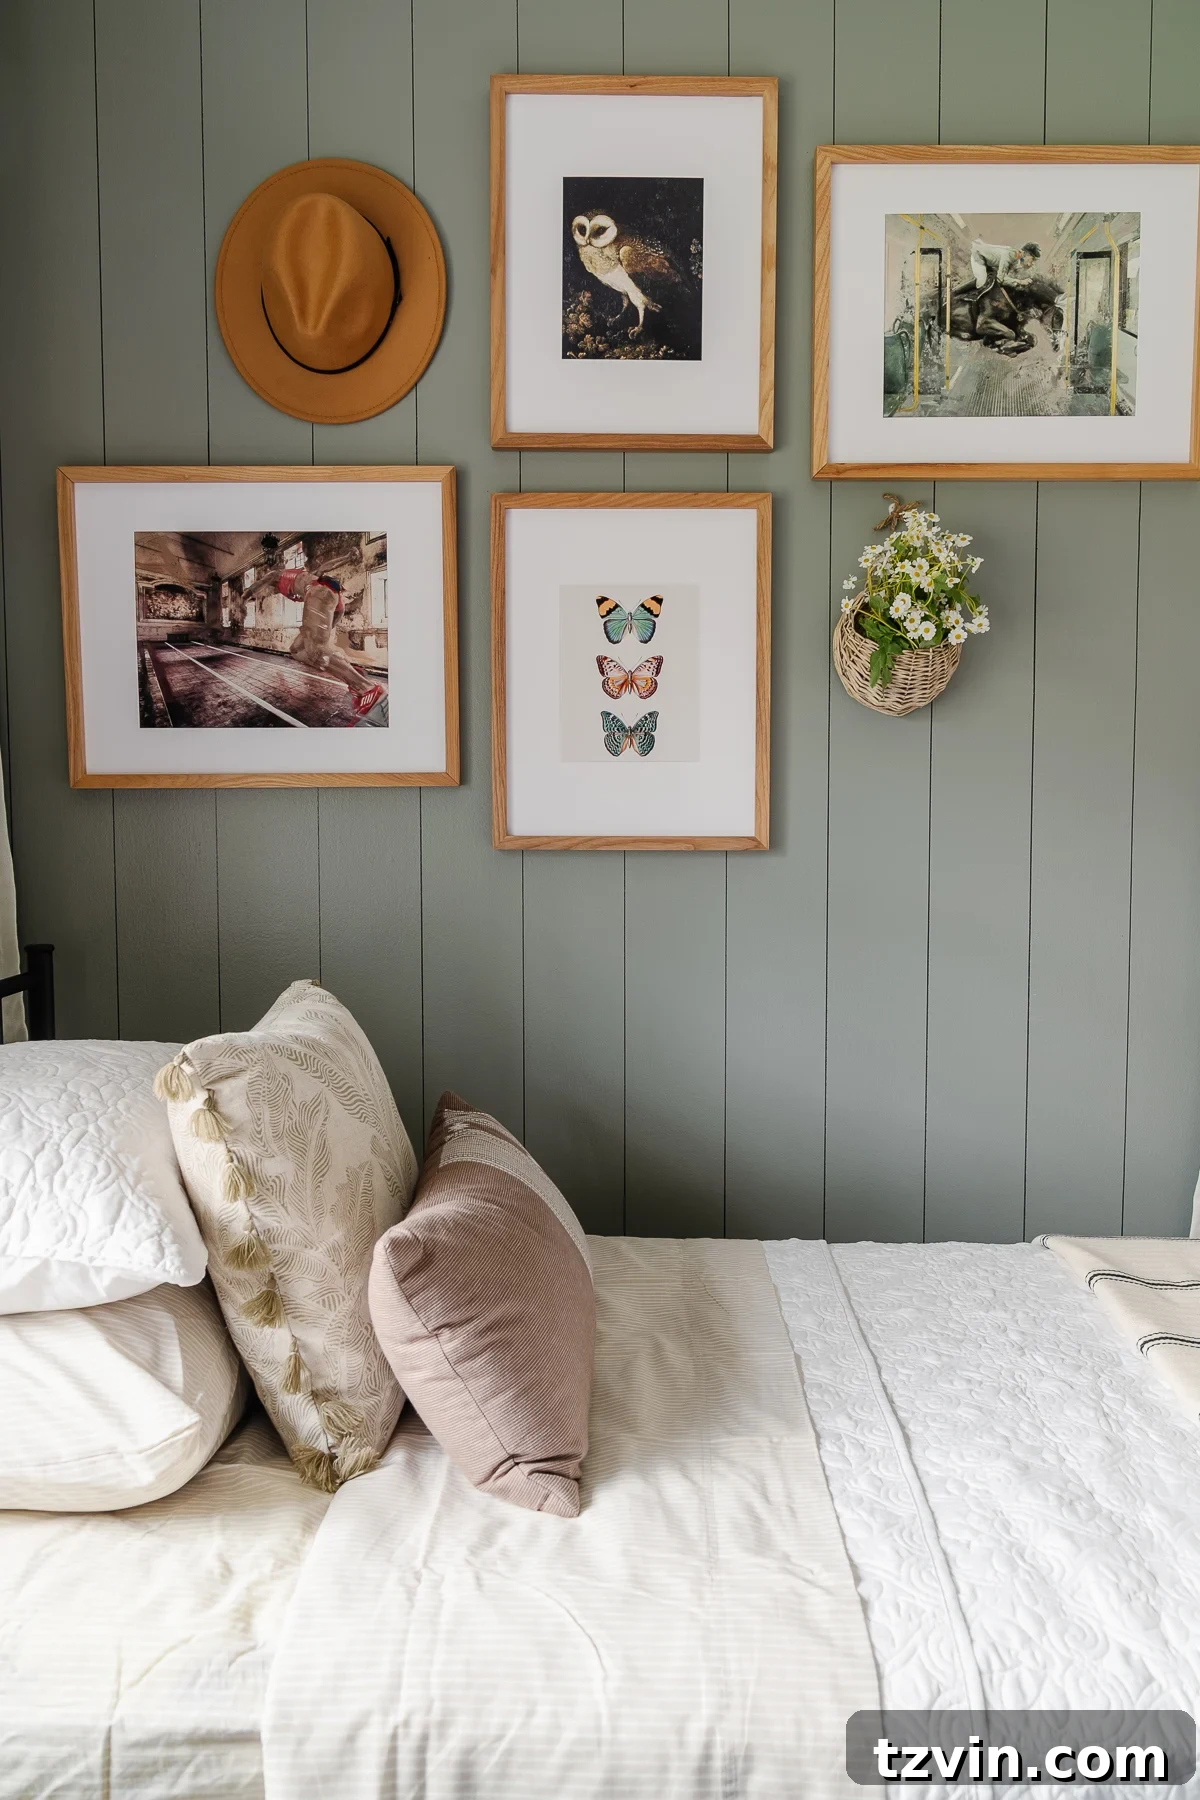
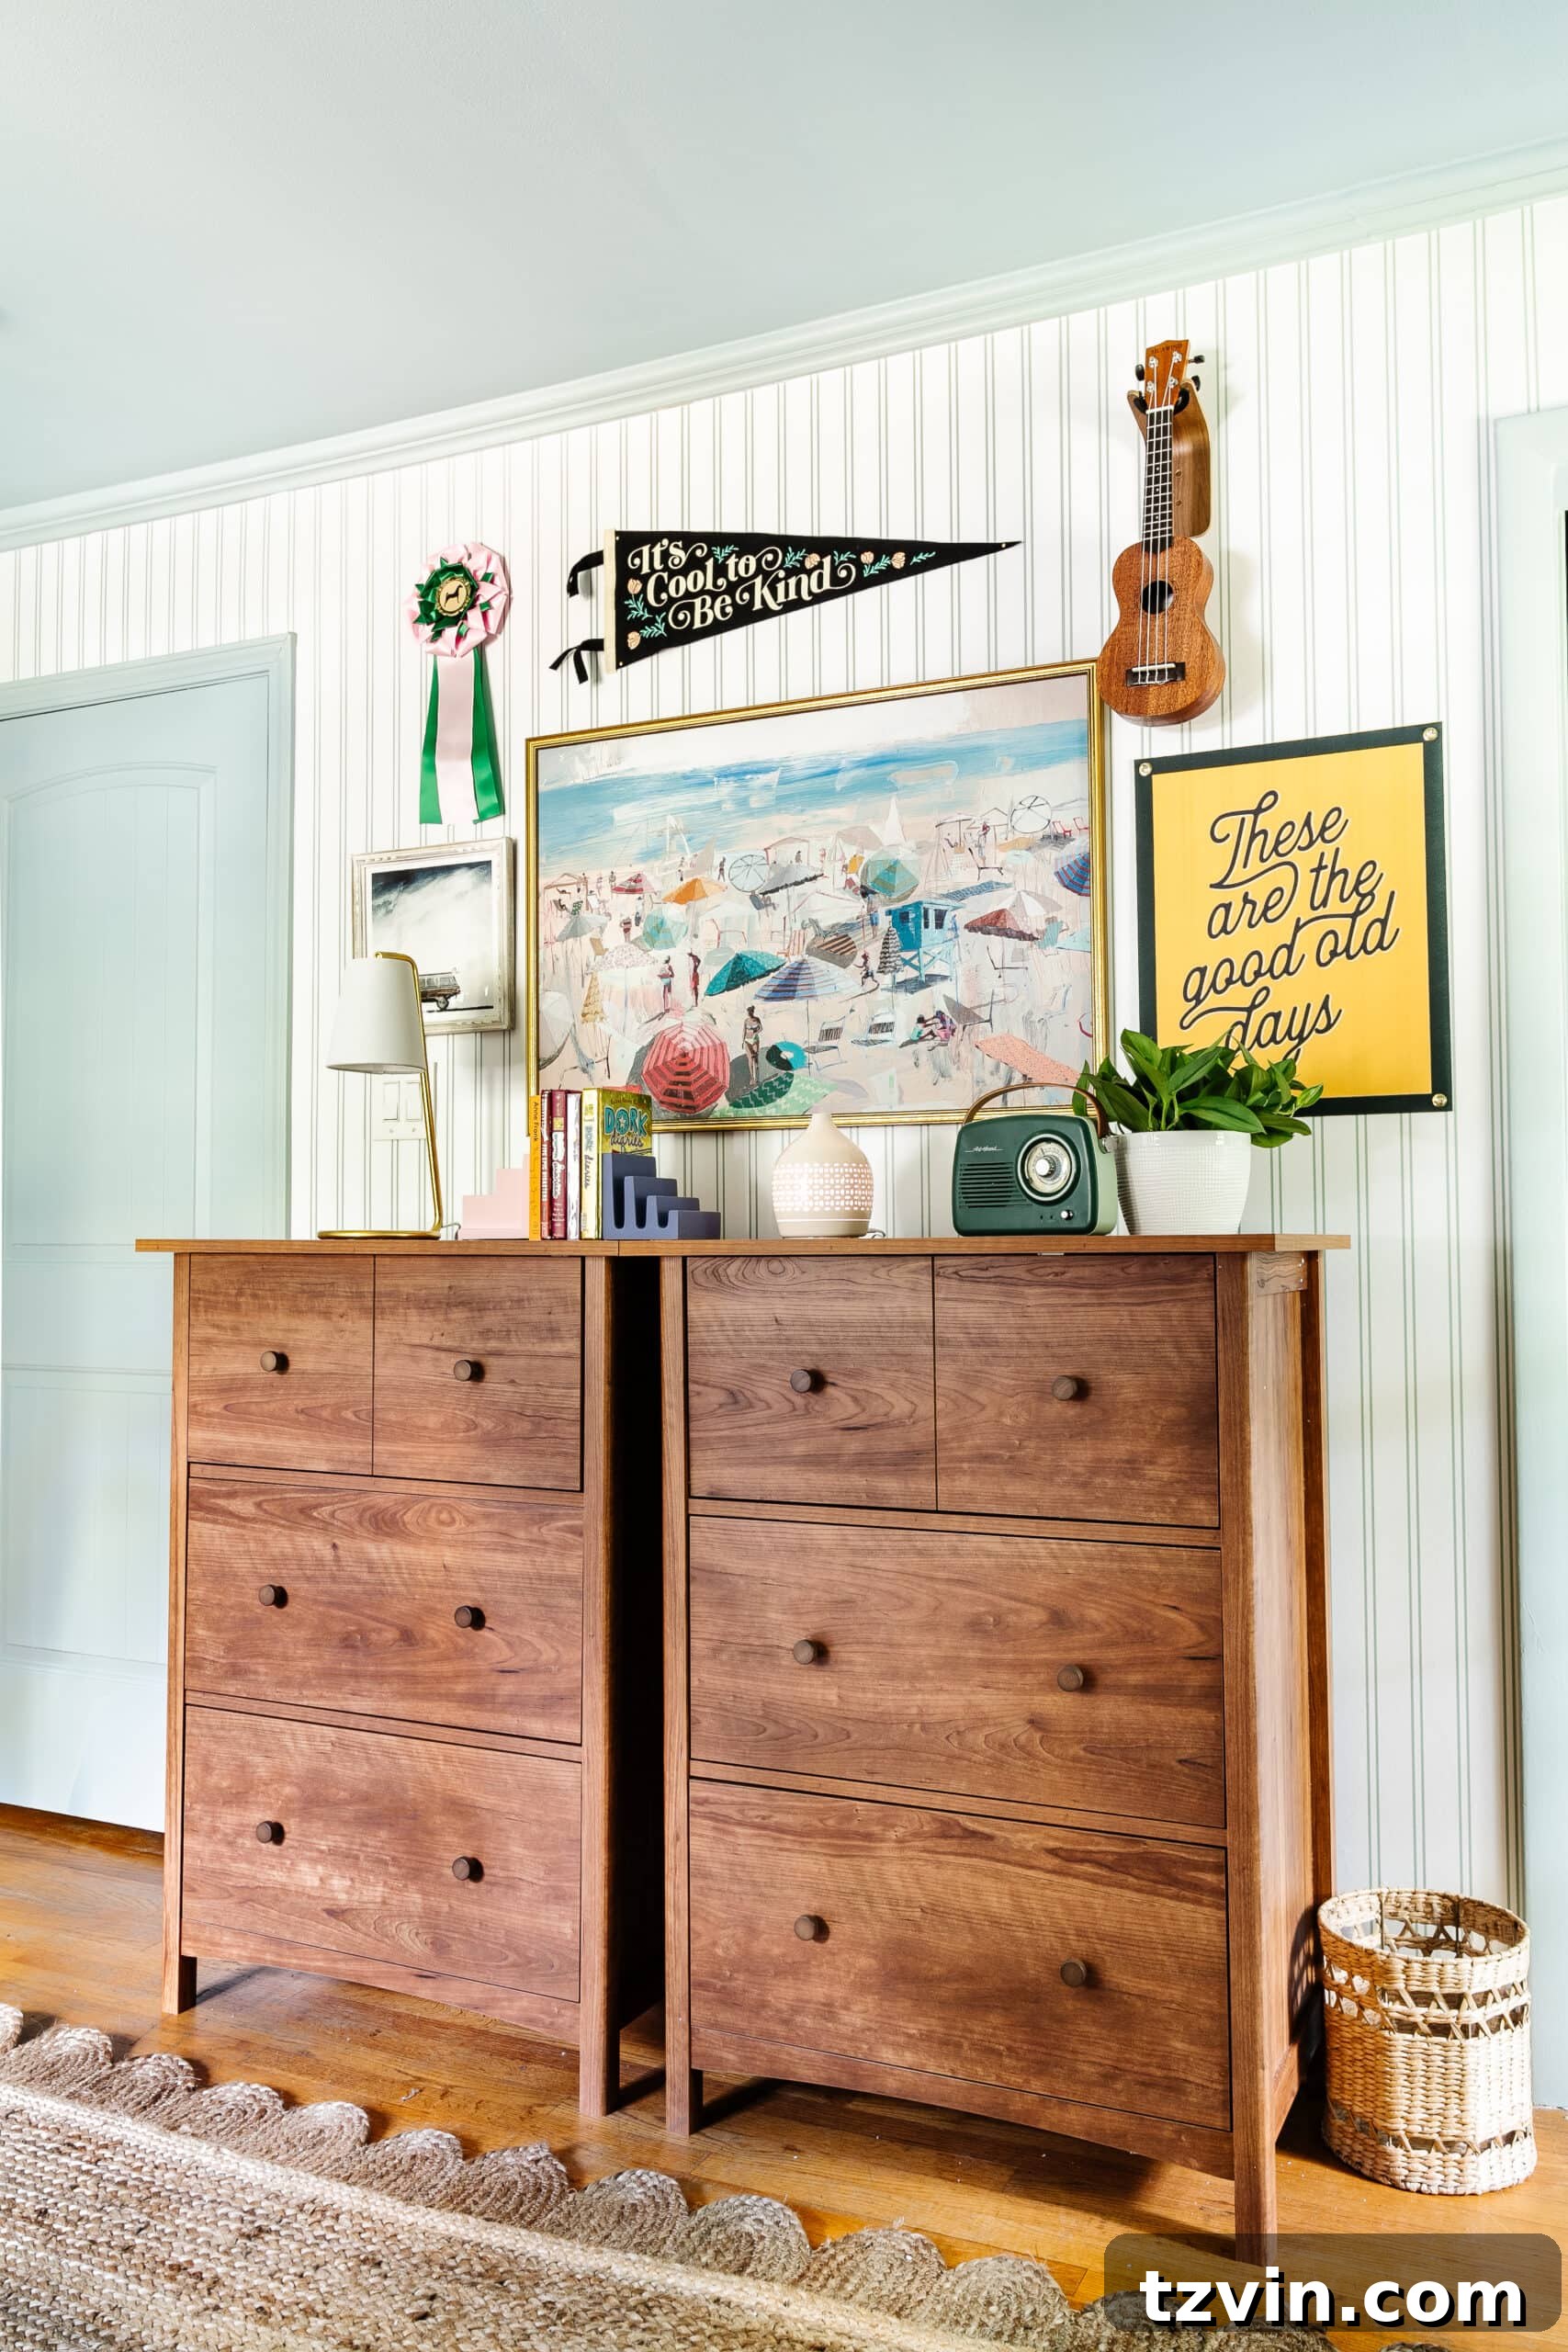
Incorporate Unframed Objects for an Eclectic Gallery Wall
Adding non-framed items brings personality to your wall decor, especially
in kids’ rooms.
In a gallery wall for teen girls, I included a hat and flowers.
In a beach-themed bunk room, I added a ukulele, pennants, and ribbon.
Unframed objects create an eclectic style.
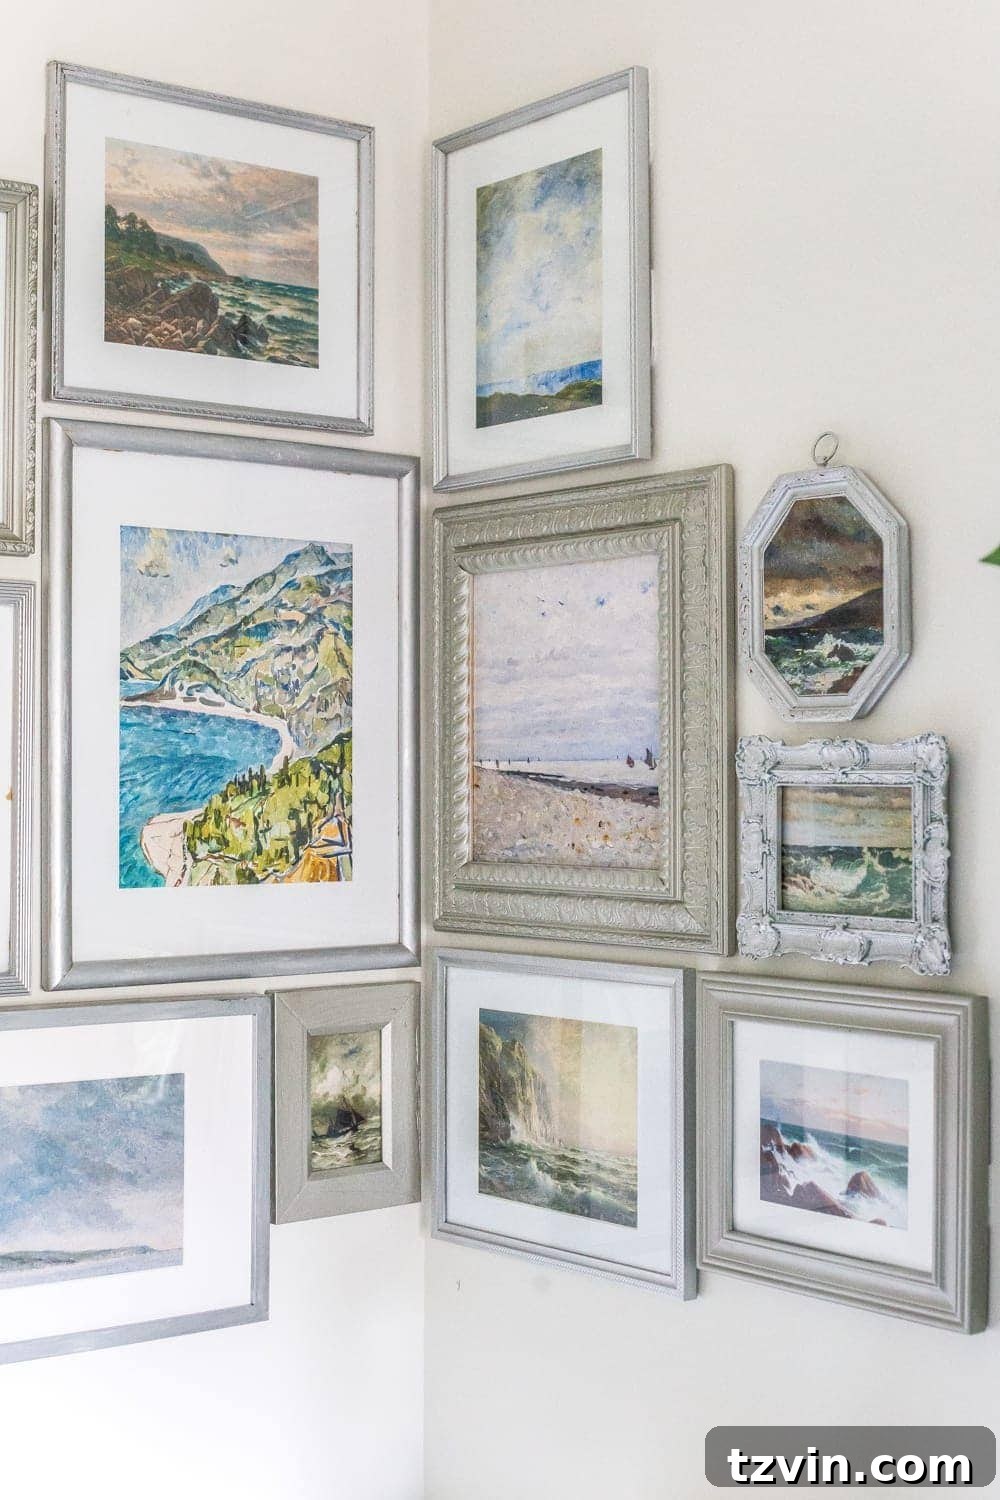
Focus on a Color Scheme
Stick to a consistent color palette, like monochromatic or a theme.
Using a limited color palette will prevent your gallery wall from looking
cluttered.
Black and white is a classic choice, but you can also choose pastels,
primary colors, or different shades of blue, based on your style.
Consistency makes the collection feel intentional.
Consider Matting
Mat your art or photos for a more polished look.
Matting adds importance to your art, especially when paired with black
frames. For a more traditional look, use ornate frames.
You can find matted frames at stores like IKEA, Target, or Walmart.
Alternatively, purchase pre-cut mats from craft stores.
I spray-painted some silver and gold frames matte black.
Gallery Wall Layout Ideas
Here are some layout ideas to inspire you:
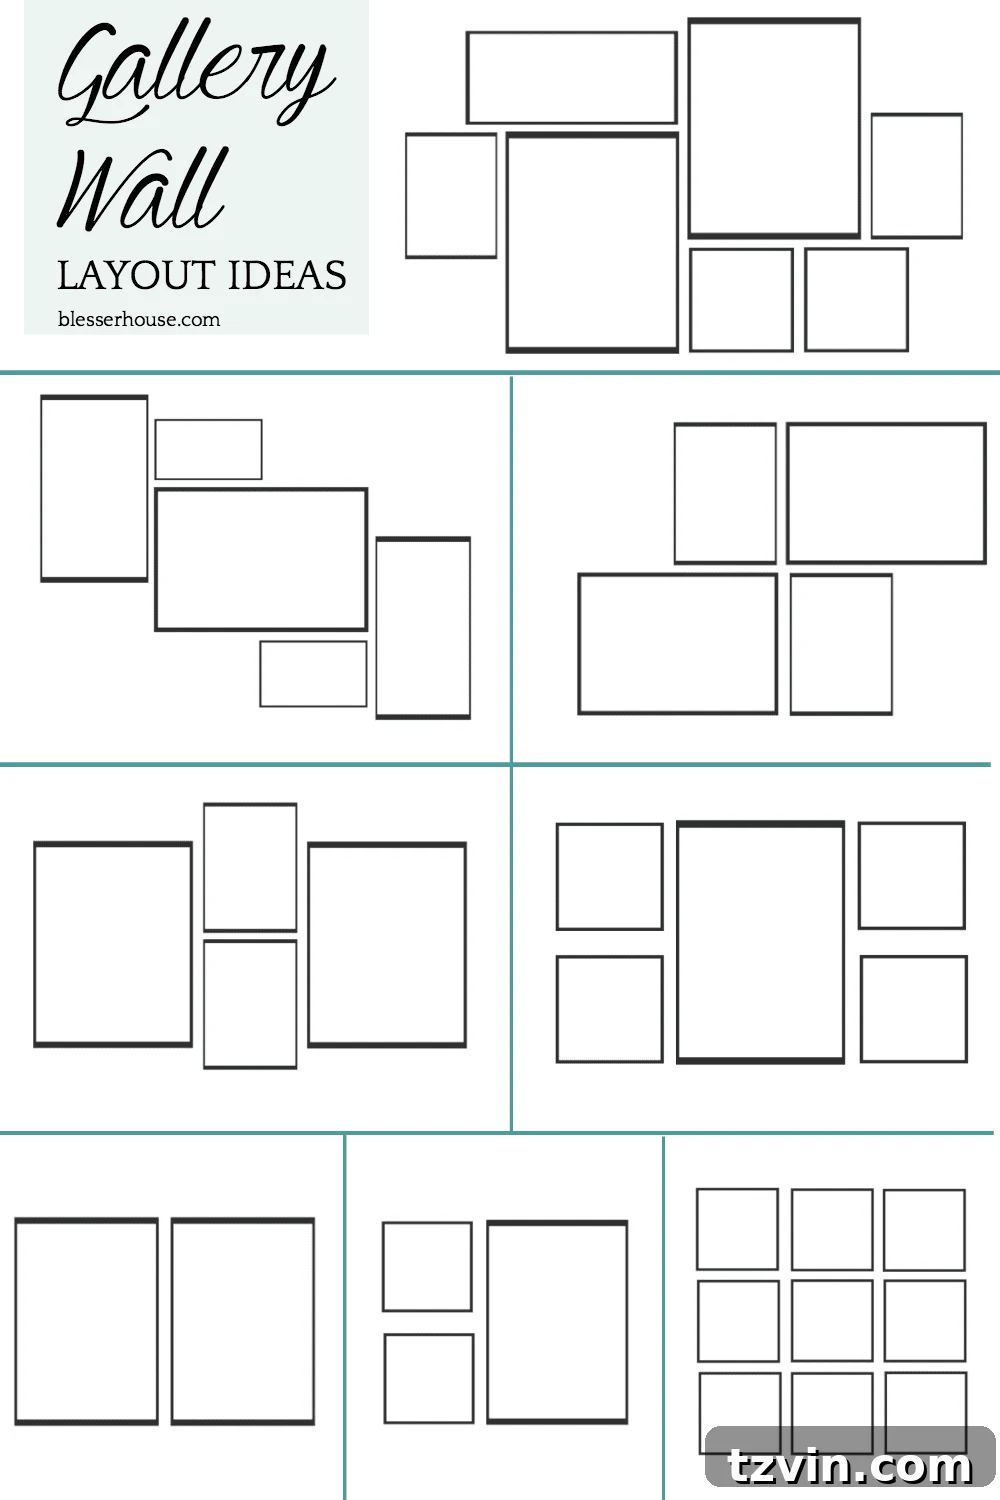
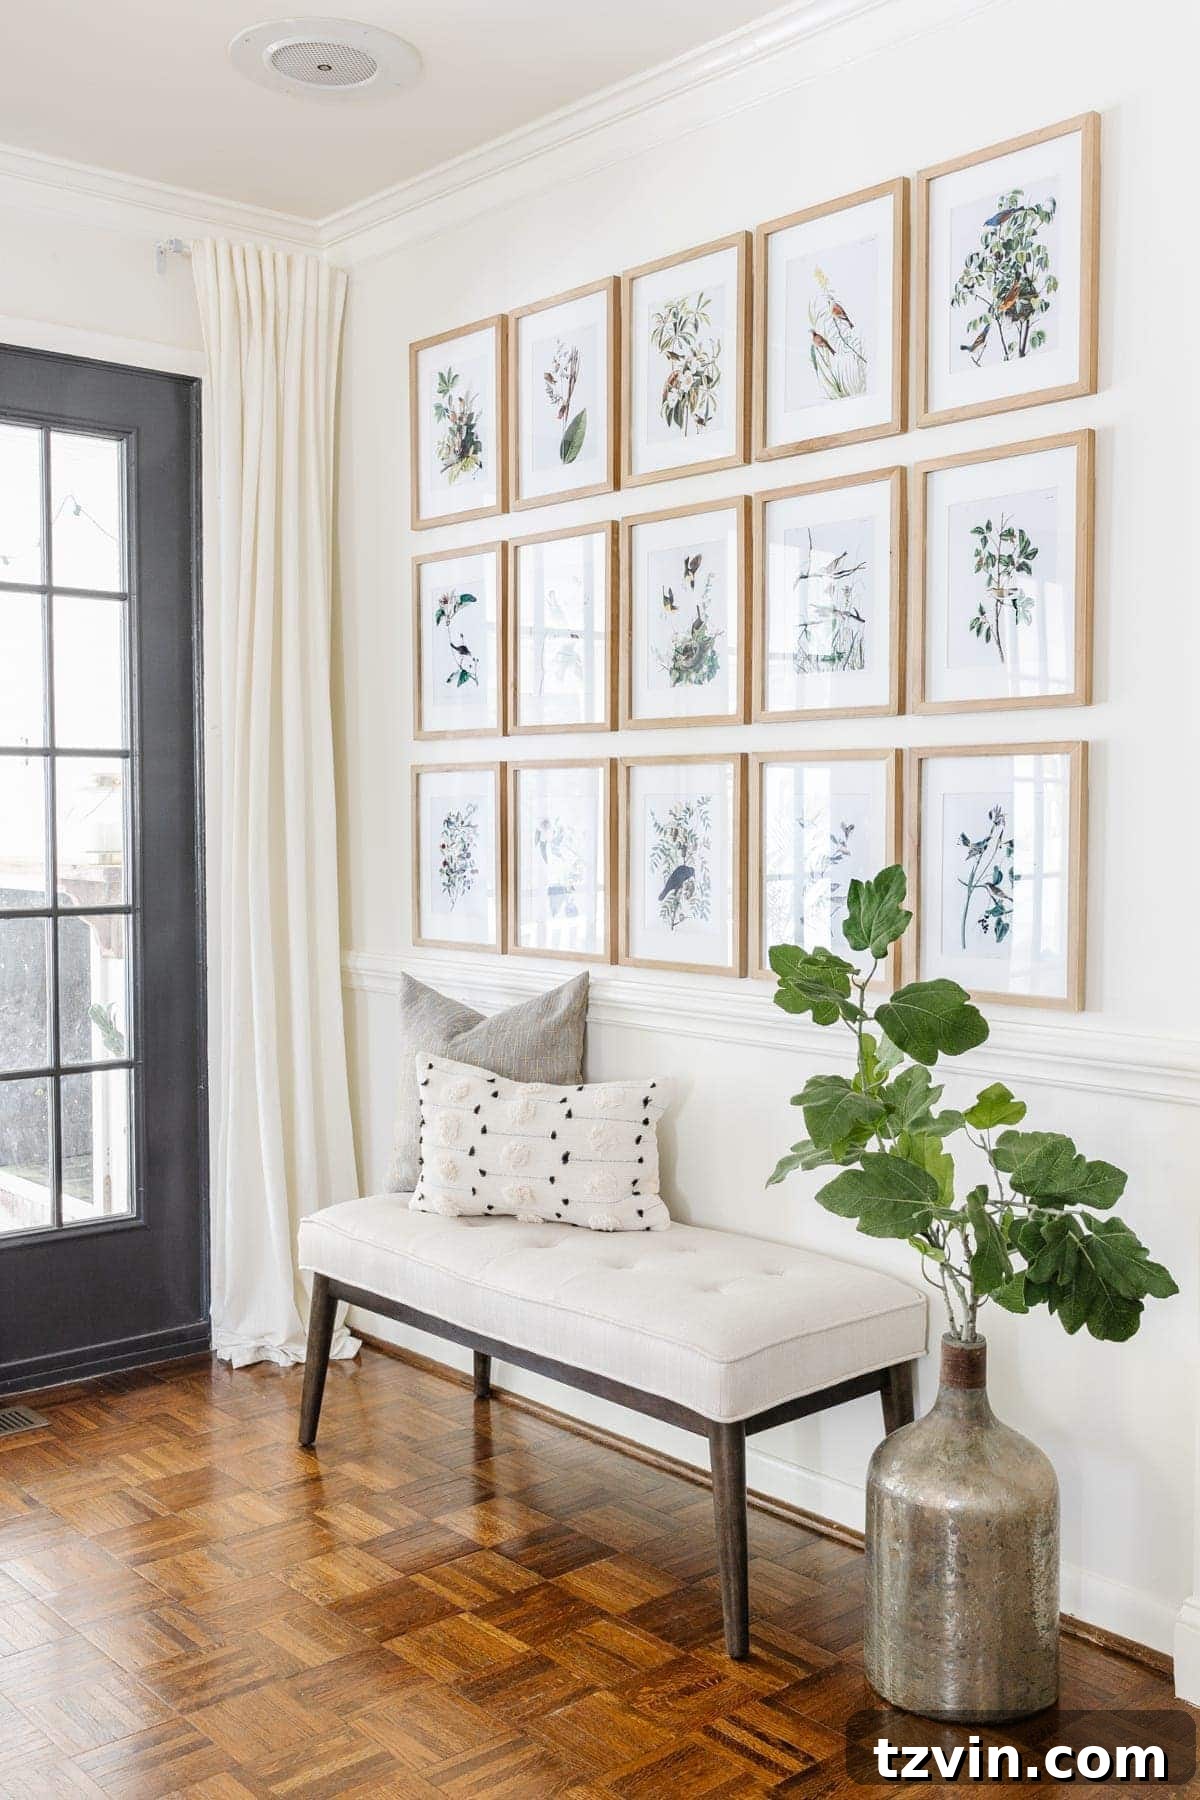
A simple grid is a great choice for a clean, minimalist gallery wall. Our
Audubon gallery wall in the living room is a classic example.
Related: 20 DIY Wall Decor Ideas
Step 3: Measure and Level
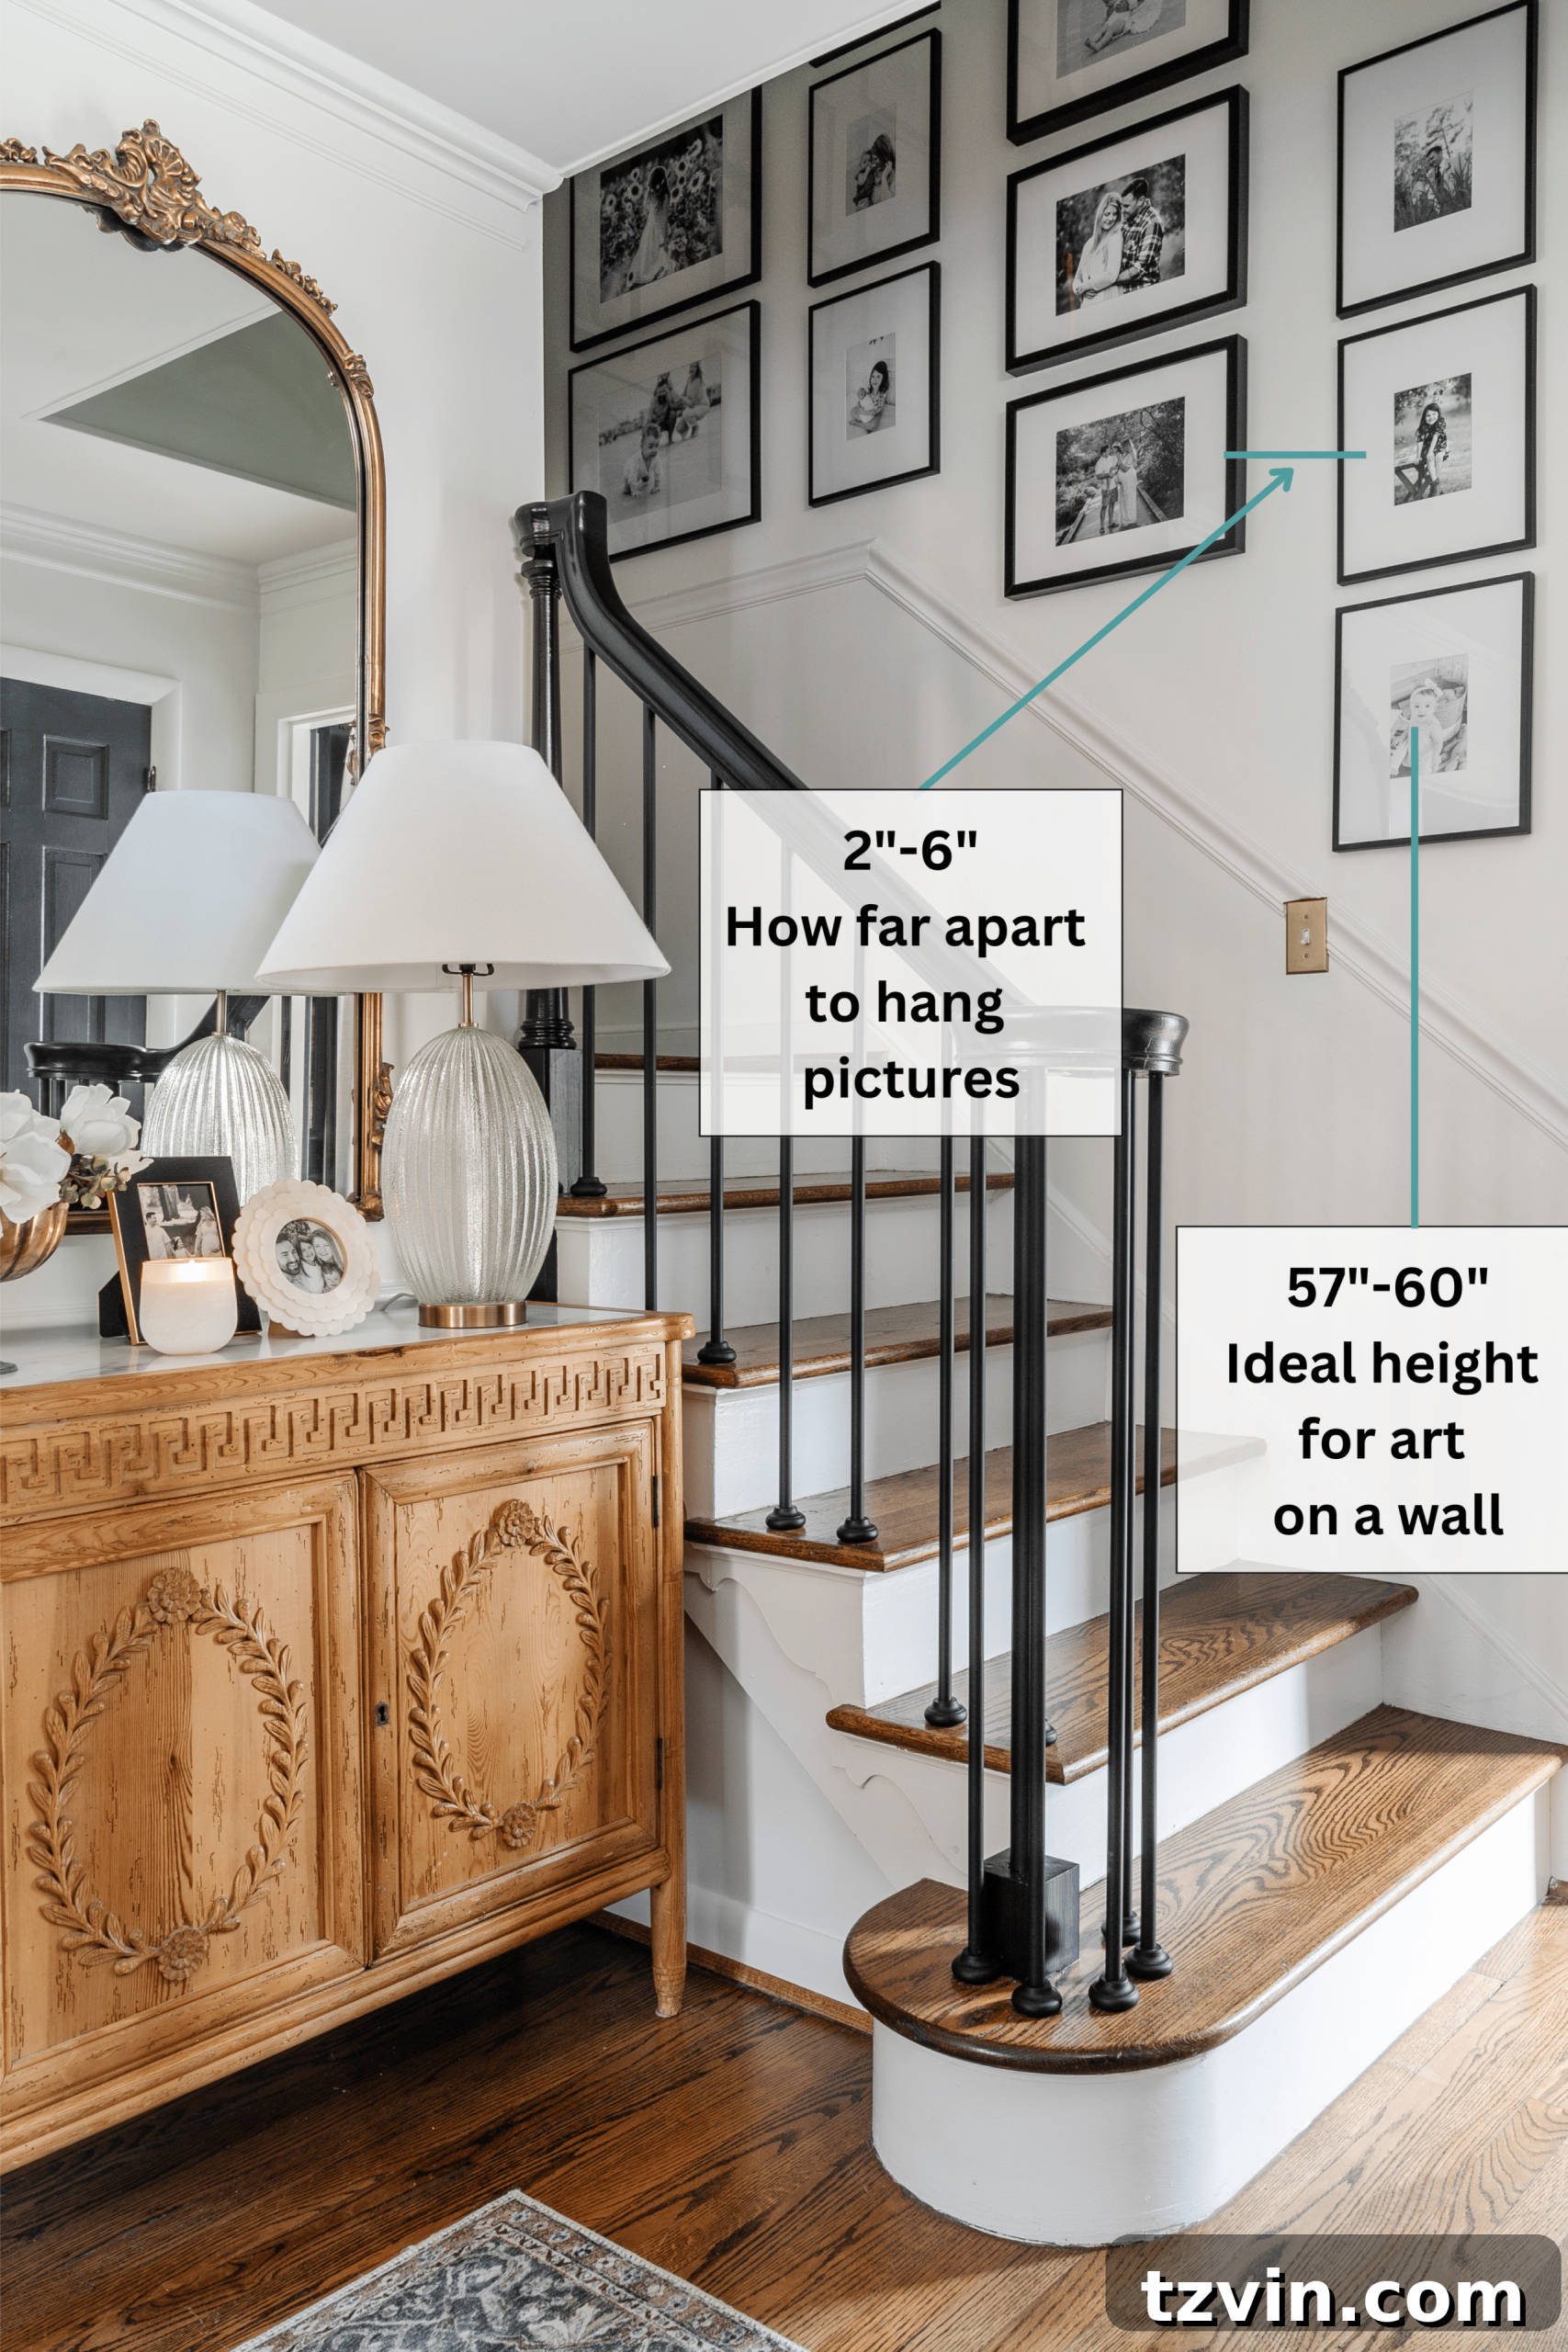
Maintain a consistent spacing of 2-6 inches between frames for an
intentional look.
Aim to center the gallery wall at eye level (approximately 60 inches from
the floor for most people).
Related: Mistakes People Make Hanging Picture Frames
Before hanging, use a level to ensure your layout is straight.
Step 4: Hang Your Frames
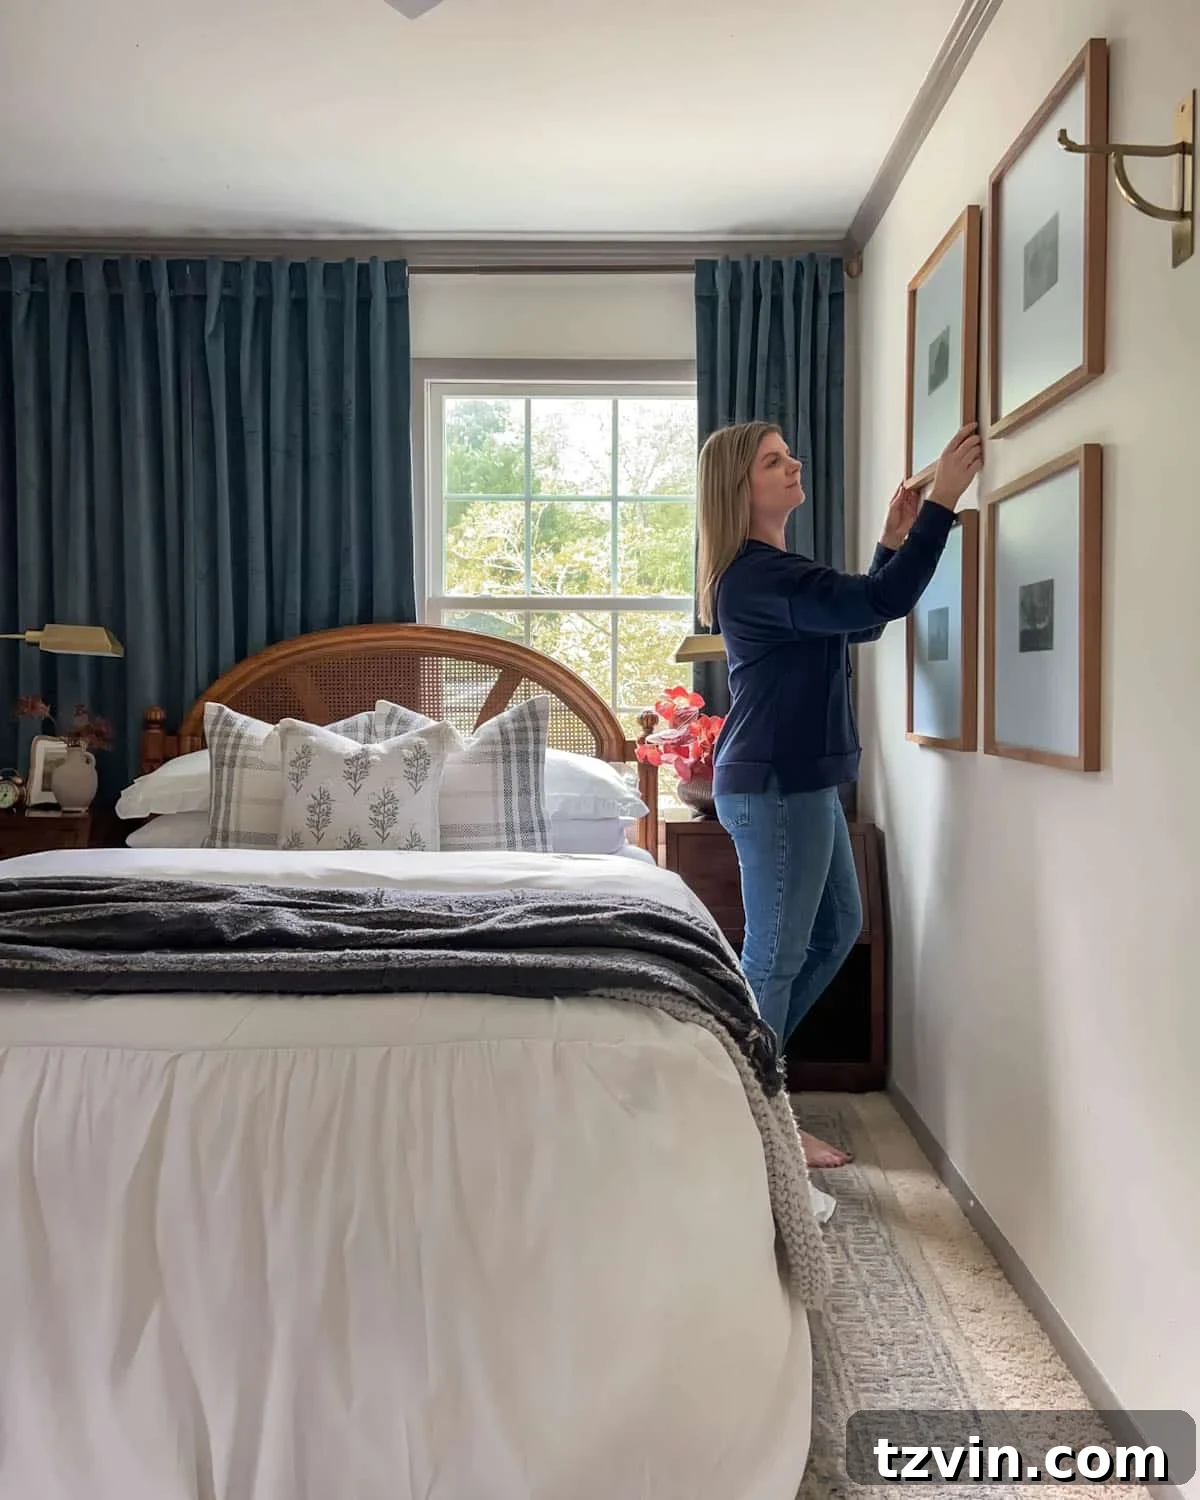
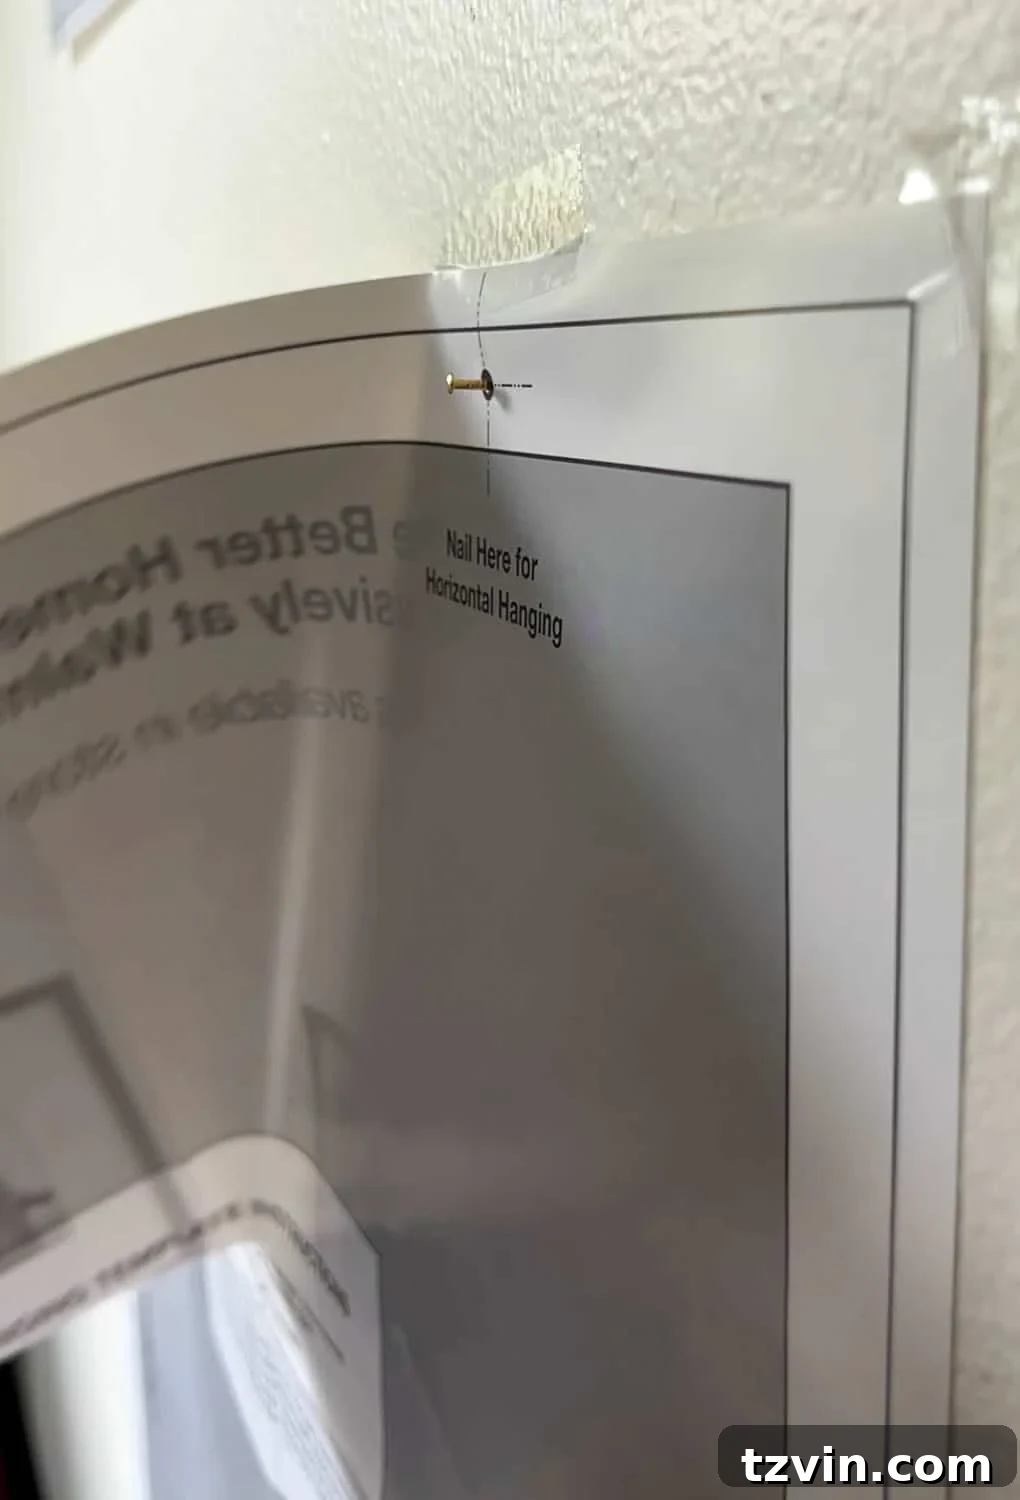
Paper templates are incredibly helpful here! Use the hanger markings to
hammer nails through the paper and into the wall.
Your nail will be in the perfect location for hanging.
Related: How to Install a Picture Light
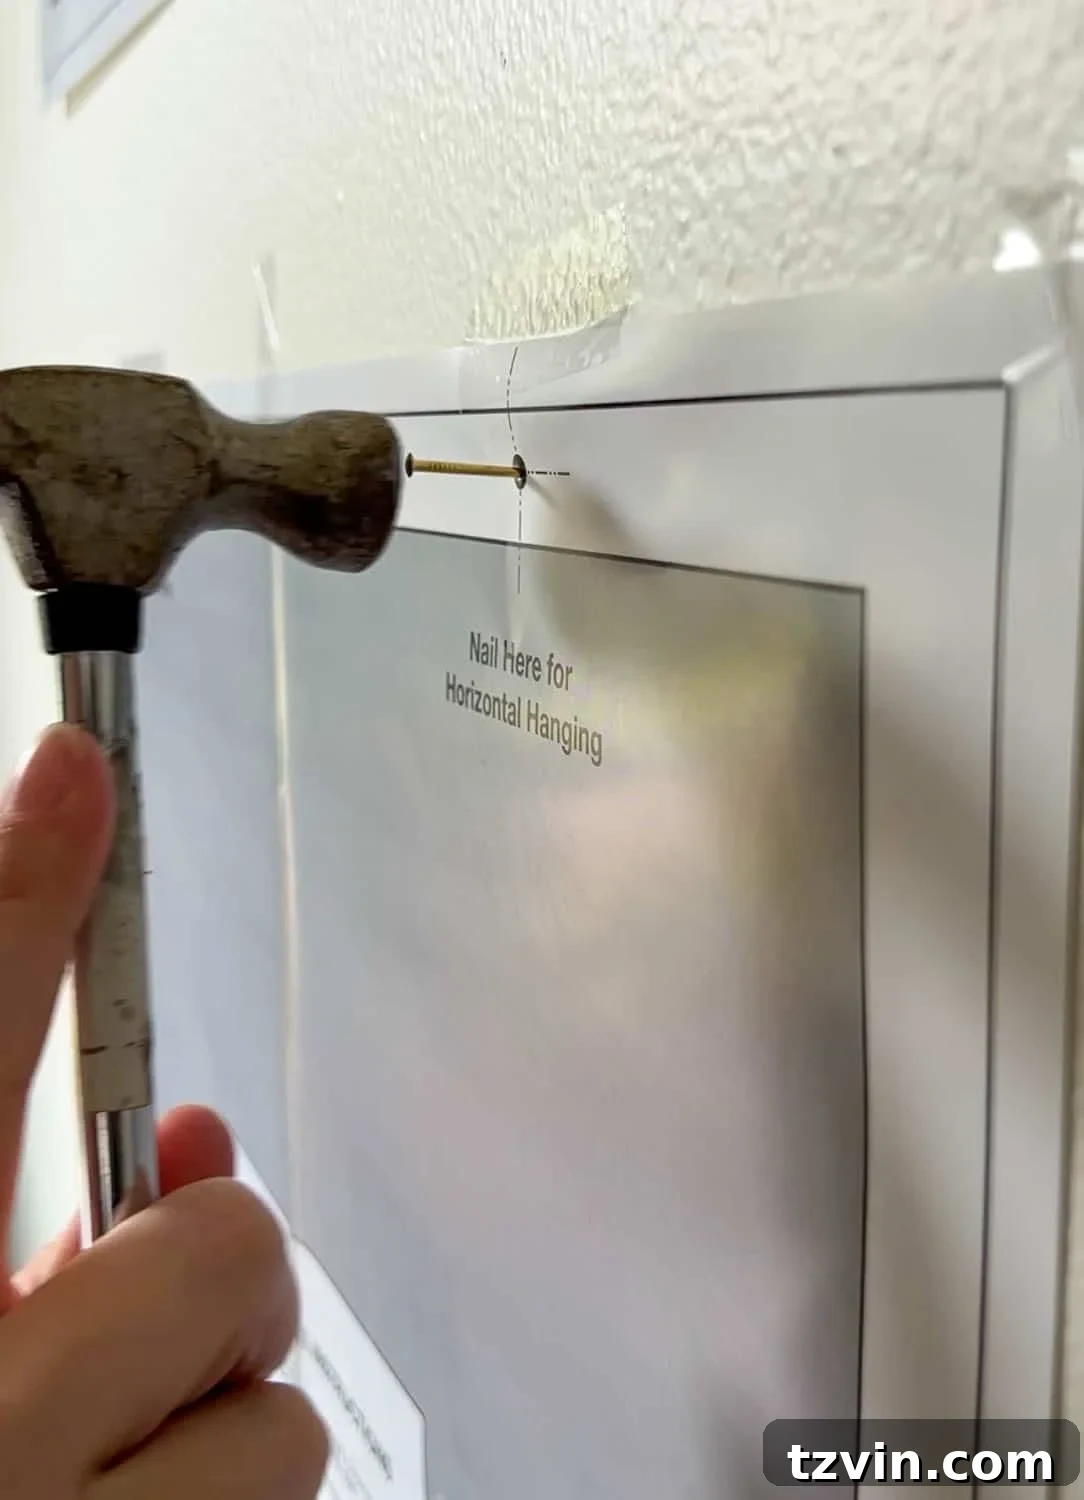
This is what a Walmart frame template looks like, but you can replicate
this process with your DIY templates.
More DIY Wall Decor & Gallery Wall Ideas
- 20 Creative DIY Wall Decor Ideas
- Audubon Bird Art Gallery Wall
- Pressed Leaf Gallery Wall
- Mirror Gallery Wall from Thrifted Frames
- Where to Buy Vintage Art and Print Digital Art
- DIY Large Wall Art Magnetic Memo Board
- DIY Large Scale Wall Art from a Shower Curtain
I love how gallery walls can preserve memories.
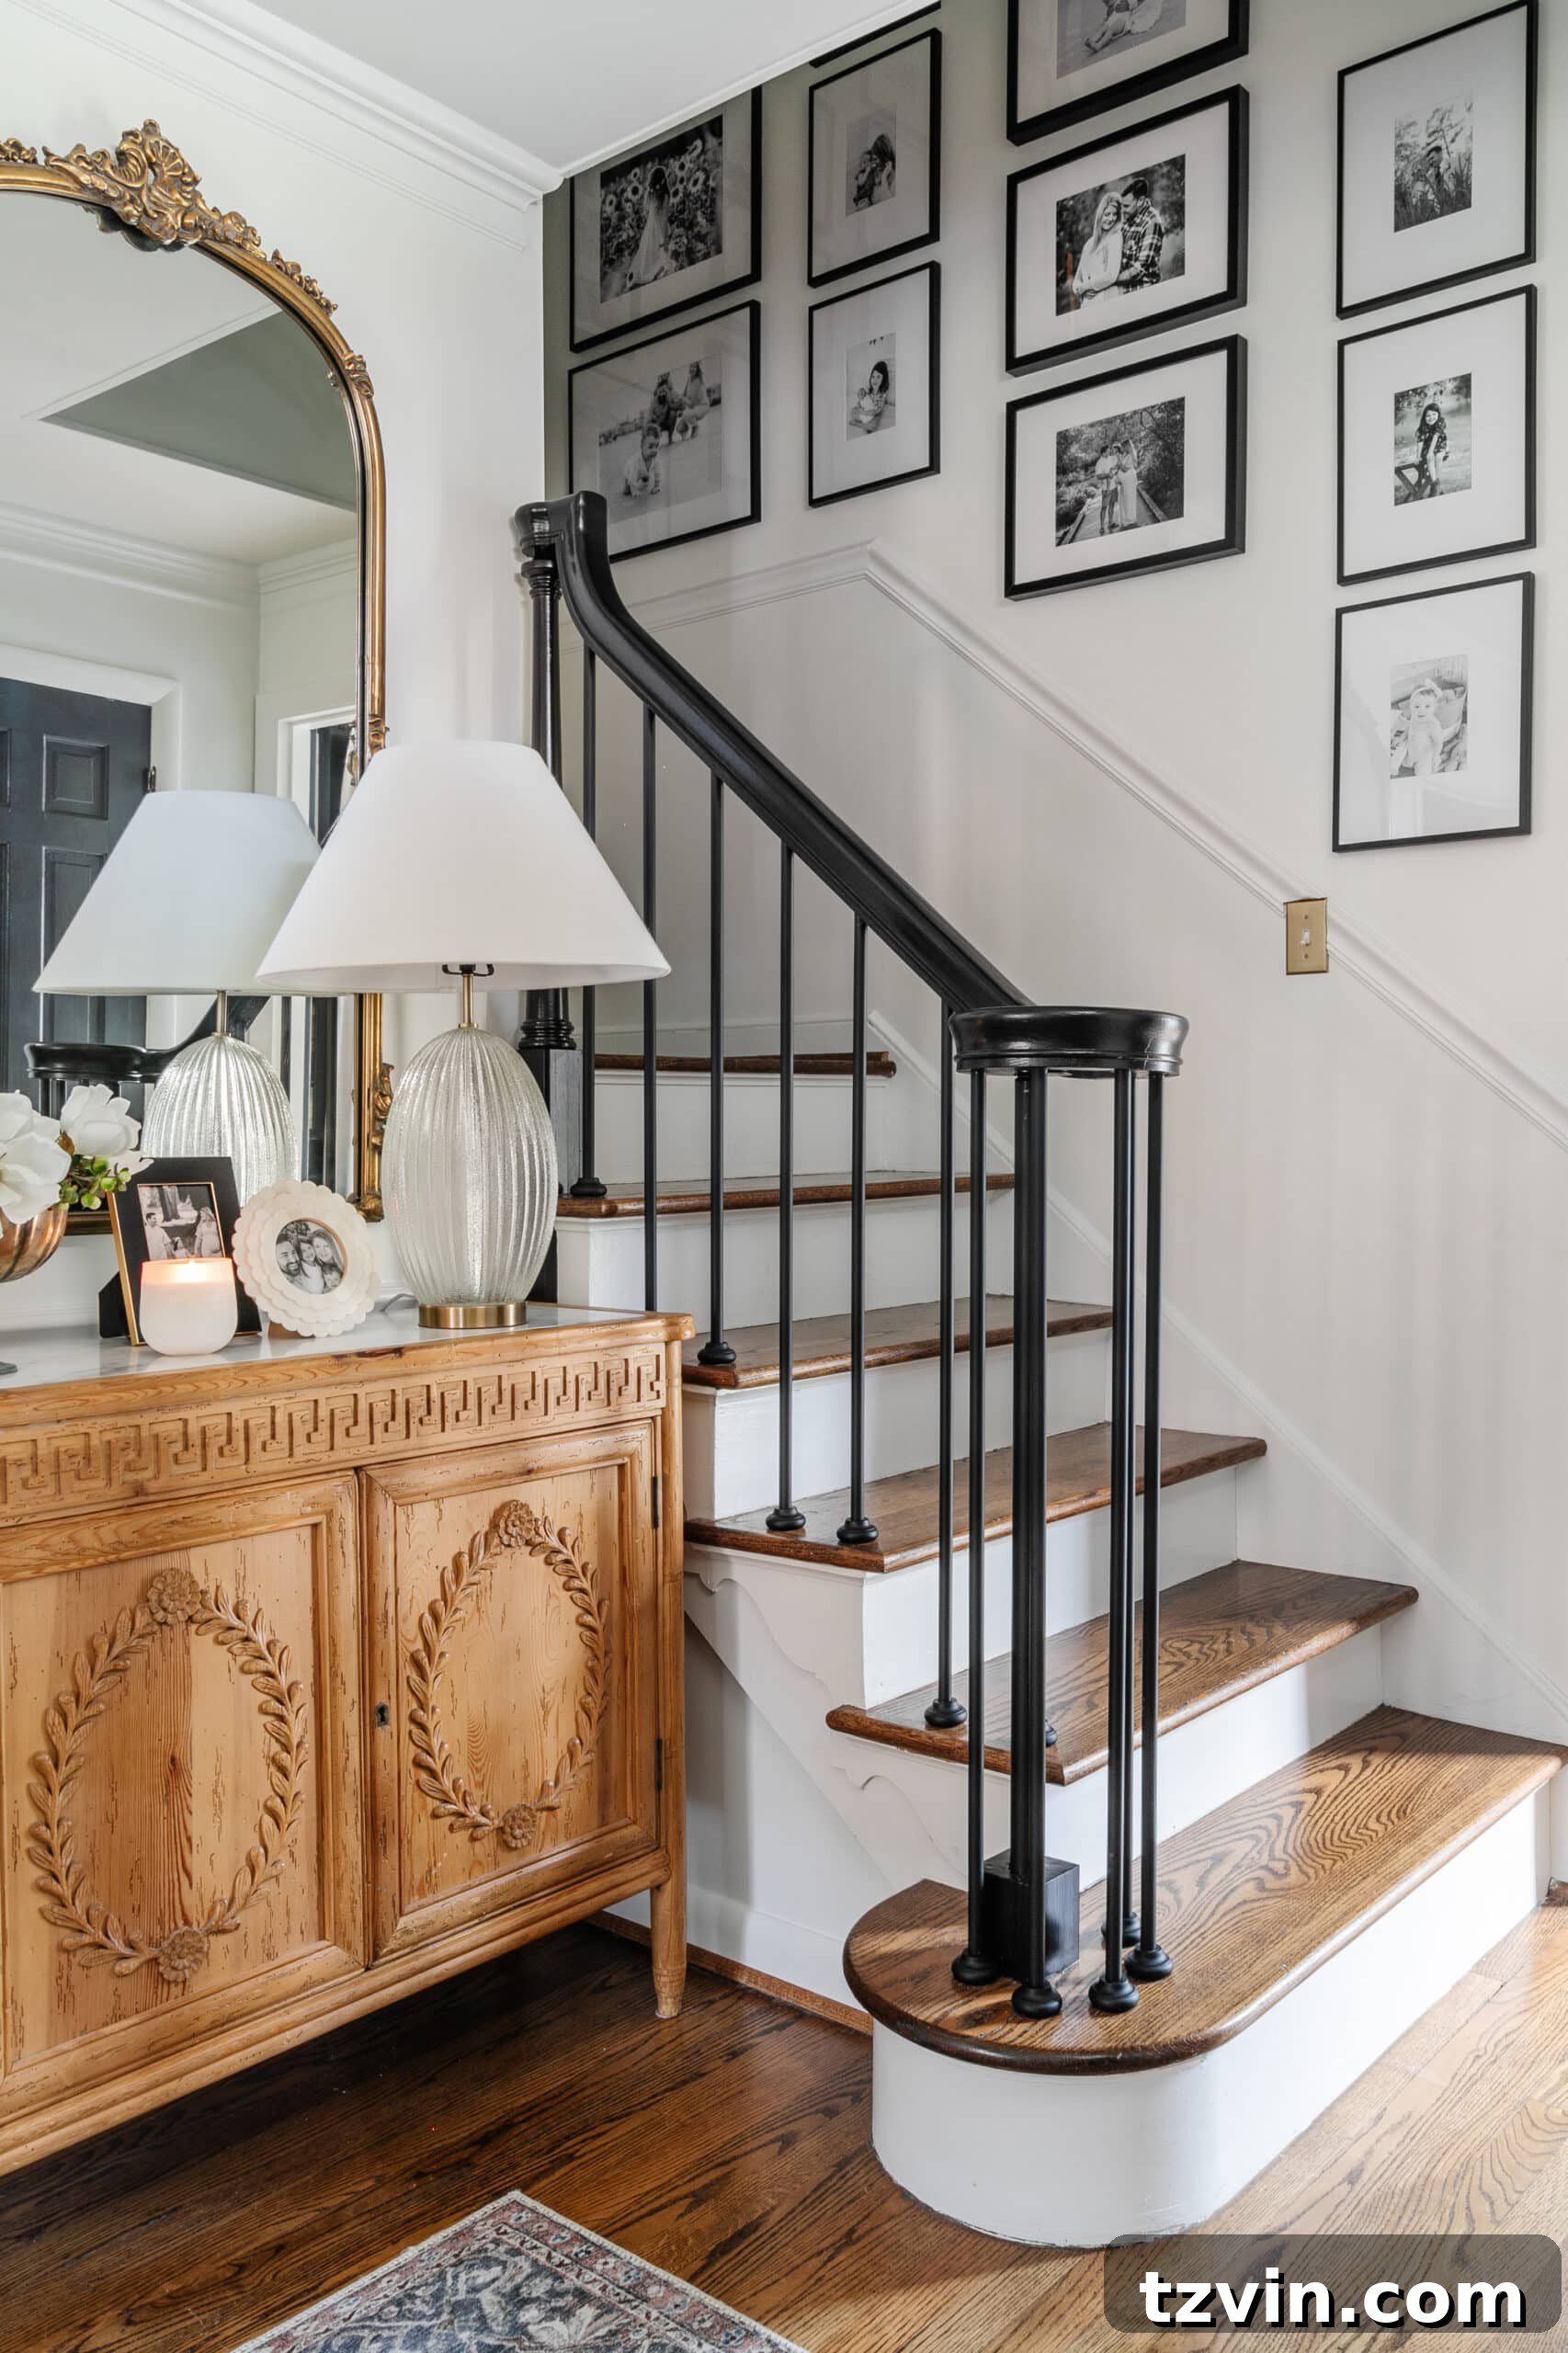
A gallery wall is a constant reminder of our favorite moments.
Do you have gallery wall tricks?
Once you start, it’s hard to stop.