Transform Your Home Office: A Step-by-Step Guide to Customizing Unfinished Solid Wood Furniture on a Budget
The pursuit of a perfectly functional and aesthetically pleasing home office is a common quest for many homeowners. Often, the centerpiece of this space is the desk – a crucial element for productivity and organization. For a long time, our home office lacked a truly dedicated workspace. The challenge? Finding a desk that was not only large enough to accommodate various tasks but also aligned with our specific design vision and, crucially, our budget.
The market is flooded with pre-made furniture, but finding that sweet spot of affordability, durability, and style can feel like an impossible puzzle. Mass-produced pieces often compromise on material quality, or their designs don’t quite fit the unique dimensions or aesthetic of a personalized space. It was during this extensive search for an ideal, budget-friendly work table that we discovered a game-changing solution: unfinished solid wood furniture.
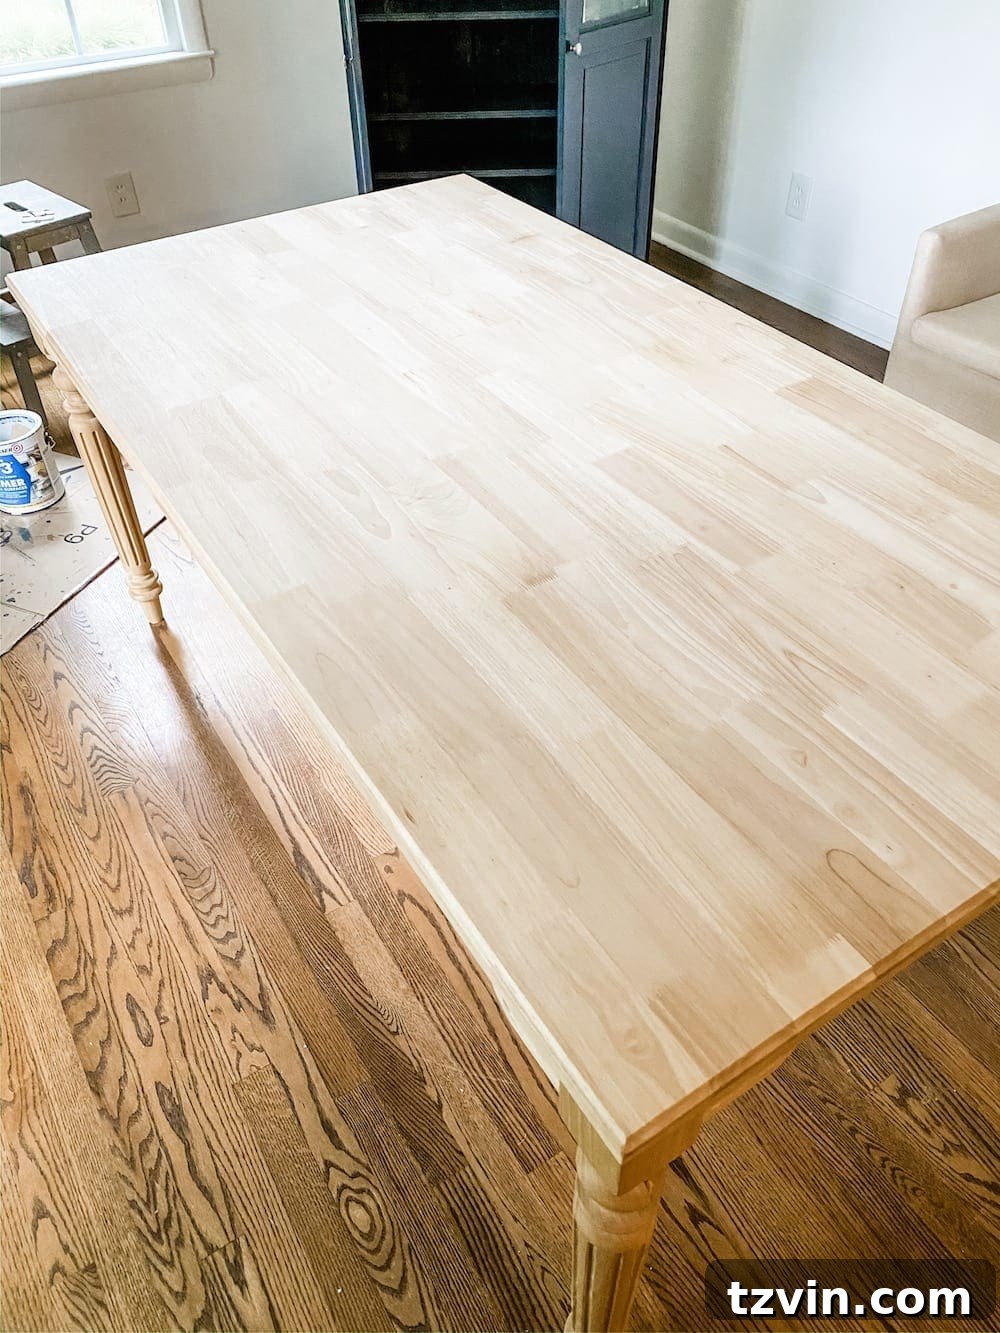
This discovery was a true “bingo!” moment. We found an unfinished solid wood desk that was incredibly affordable, promising longevity and endless customization possibilities. This approach offers the best of both worlds: the structural integrity and quality of solid wood without the premium price tag of a pre-finished, designer piece. It’s essentially like getting all the benefits of building custom furniture, but without the daunting task of starting from scratch.
UPDATE: Excited to see the full transformation? Check out the complete home office reveal here and get inspired!
The Unfinished Furniture Advantage: Why Solid Wood Customization is a Smart Choice
If you’ve never explored the world of unfinished furniture, now is the perfect time to consider it for your next home improvement project. It represents an exceptional value, offering a unique blend of quality, affordability, and creative freedom that finished pieces simply can’t match.
Here are several compelling reasons why unfinished solid wood furniture stands out:
- Budget-Friendly: One of the most significant advantages is the cost savings. Unfinished pieces are often considerably cheaper than their finished counterparts, allowing you to allocate more of your budget to other aspects of your home office makeover or future projects.
- Unleashed Customization: This is where unfinished furniture truly shines. You have complete control over the final look. Whether you envision a rich, dark stain, a vibrant pop of color with paint, or a distressed, farmhouse-inspired finish, the canvas is yours. This freedom ensures your furniture perfectly complements your existing decor and personal style.
- Superior Durability: Many unfinished furniture pieces, like our office desk, are crafted from solid wood. This material choice guarantees a sturdy, long-lasting product that can withstand daily use for years, unlike particle board or veneer alternatives that often quickly show wear and tear. Solid wood can also be refinished multiple times, extending its lifespan indefinitely.
- Quality Craftsmanship: Because the wood isn’t hidden under layers of paint or stain, you can often inspect the quality of the timber and joinery directly, ensuring you’re investing in a well-made piece.
- Personal Satisfaction: There’s immense satisfaction in knowing you’ve created a unique piece of furniture with your own hands. It transforms a functional item into a personal statement, adding character and warmth to your space.
Choosing Your Perfect Shade: The Stain Selection Process
With an unfinished desk ready for its transformation, the next crucial step was selecting the perfect stain. This is where personal preference and existing decor play a vital role. To ensure the best match, it’s always advisable to test a couple of stain options on an inconspicuous area of the furniture or on a scrap piece of the same wood type. This step prevents any unwelcome surprises and allows you to visualize the final result accurately.
After experimenting with a few shades, we returned to an old faithful, a color we consistently rely on for its timeless appeal and versatility: Minwax Special Walnut. This classic stain boasts a beautiful, warm brown tone that manages to look sophisticated and inviting in nearly any room, effortlessly complementing a wide array of color palettes and design styles.
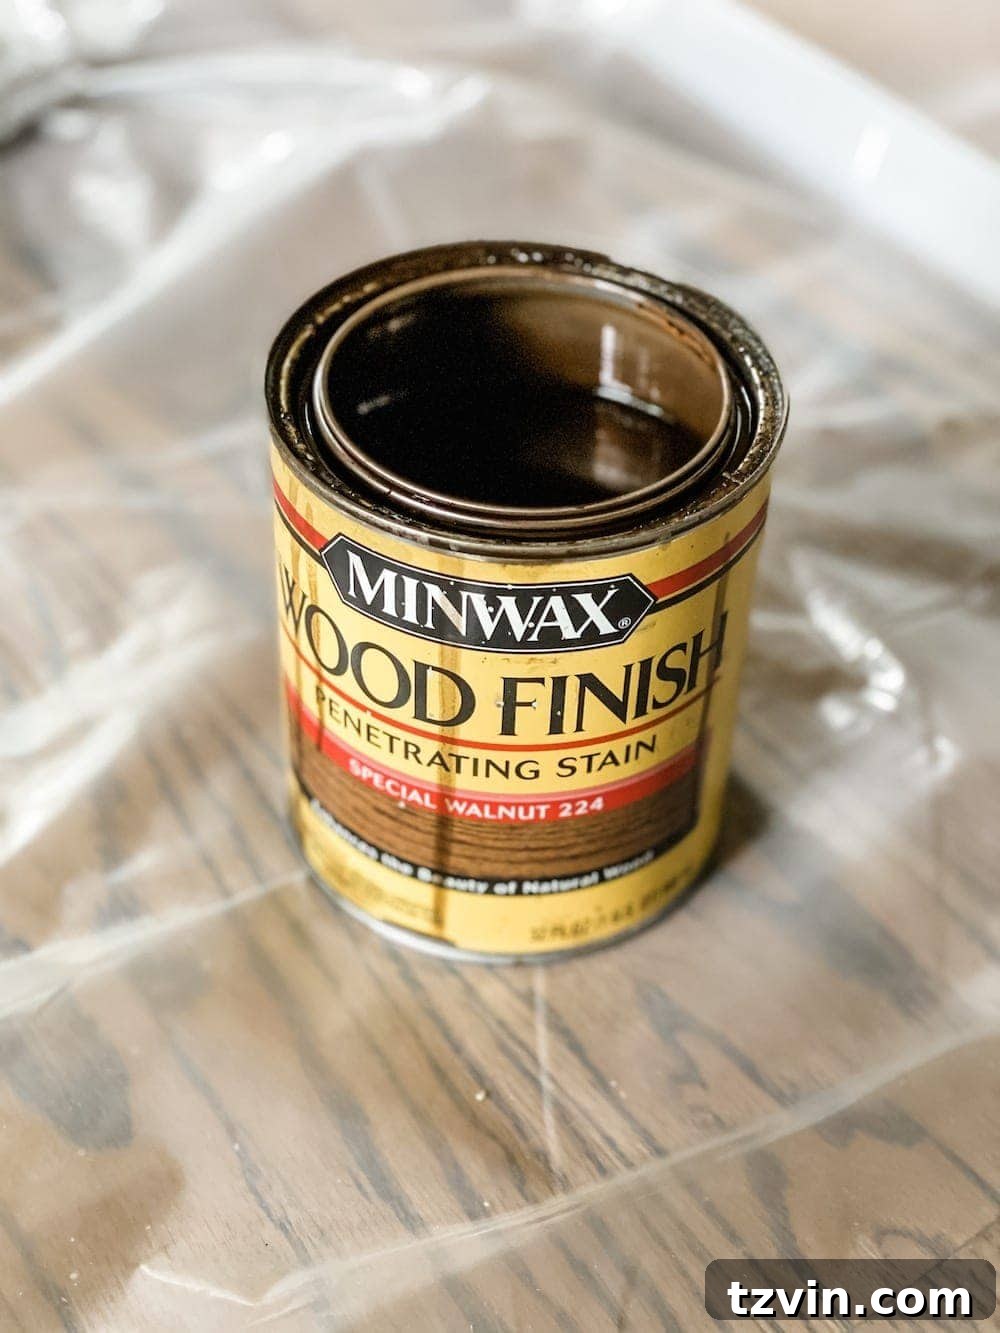
Its ability to highlight the natural grain of the wood without overwhelming it makes it an excellent choice for achieving a classic, elegant finish.
Preparation is Key: A Smooth Start to Staining
The success of any staining project hinges significantly on proper preparation. Rushing this stage can lead to an uneven, splotchy finish that detracts from the beauty of the wood. Unfinished furniture, while ready for customization, typically has a slight protective coating or mill marks from manufacturing that need to be addressed.
- Light Sanding: Begin by giving the entire piece a quick, light sanding. A fine-grit sandpaper (around 220-grit) is usually sufficient to smooth out any imperfections, open up the wood grain for better stain absorption, and remove any leftover residue. Always sand with the grain of the wood to avoid unsightly scratches.
- Thorough Cleaning: After sanding, it’s crucial to thoroughly clean the surface to remove all dust particles. A tack cloth or a vacuum cleaner with a brush attachment followed by a slightly damp, lint-free cloth works wonders. Ensure the wood is completely dry before proceeding.
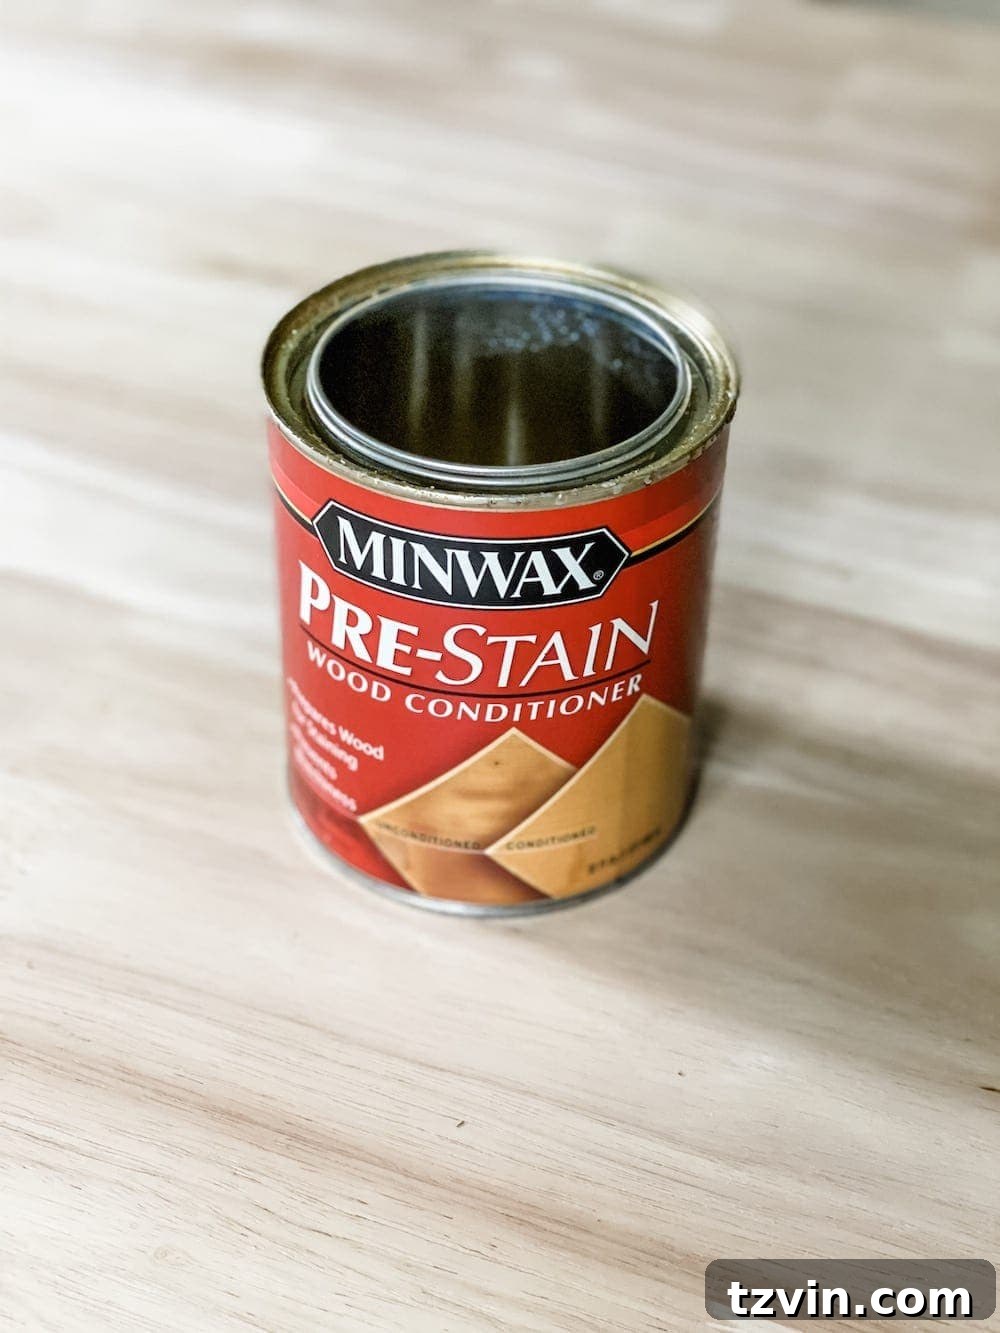
- Wood Conditioning: This step is often overlooked but is absolutely vital, especially for woods like pine, maple, or birch which can be prone to blotchiness. Applying a wood conditioner (pre-stain conditioner) helps to achieve an even stain by penetrating the wood fibers and preparing them for uniform absorption. Simply brush on a generous coat of the conditioner, let it sit for a few minutes (check product instructions for exact times), and then wipe away any excess with a dry, lint-free rag. This crucial step prevents the wood from looking splotchy and ensures a professional-grade finish.
Applying the Stain: Bringing Your Vision to Life
Once your wood is perfectly prepped and conditioned, it’s time for the exciting part – applying the stain! This is where you truly start to see your vision come to life.
- Application: Using a high-quality brush or a clean, lint-free rag, apply a generous coat of your chosen stain, such as Minwax Special Walnut, working in the direction of the wood grain. Ensure even coverage across the entire surface.
- Dwell Time: Allow the stain to penetrate the wood for 5-10 minutes. The longer you let it sit, the deeper and richer the color will be. Experiment with timing on an inconspicuous area if you’re unsure.
- Wiping Excess: After the desired dwell time, use a clean, dry, lint-free rag to wipe off any excess stain. Again, wipe with the grain. This step is crucial to prevent a sticky finish and achieve a smooth, even appearance.
- Repeat for Deeper Shade: If you desire a darker, more saturated color, allow the first coat to dry completely (as per product instructions, usually 4-6 hours) before applying a second coat. Repeat the application and wiping process until you achieve your preferred depth of color.
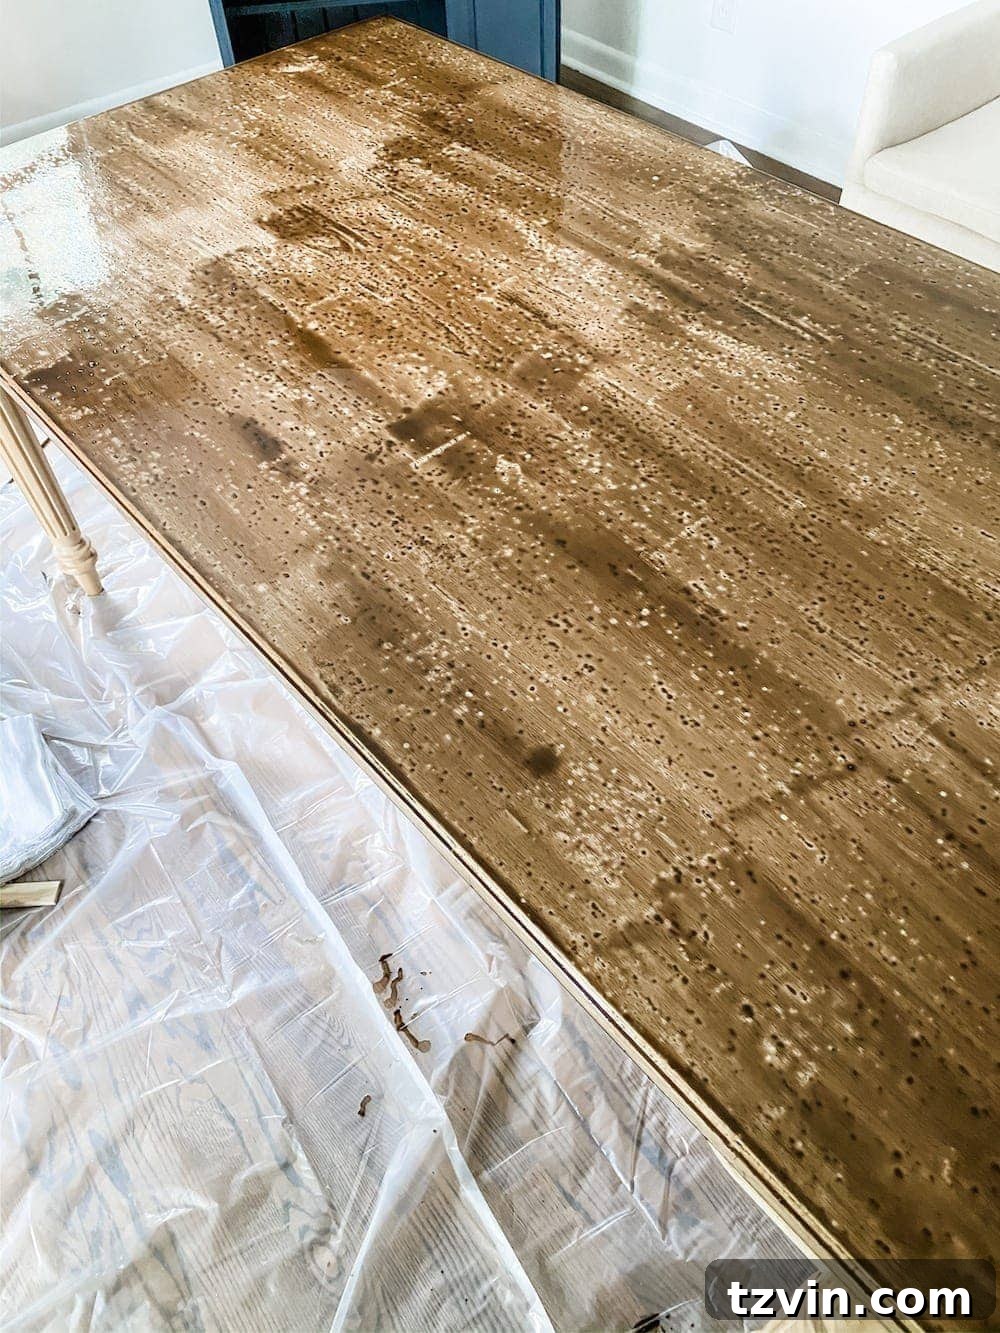
Protecting Your Masterpiece: The Polyurethane Finish
Staining the wood gives it color and enhances its natural beauty, but it doesn’t offer much protection against daily wear and tear. For a durable, long-lasting surface, applying a protective topcoat is essential. We chose a water-based polyurethane for this project.
Water-based polyurethanes are often preferred for several reasons:
- Non-Yellowing: Unlike oil-based polyurethanes, which tend to amber or yellow over time, water-based versions remain clear, preserving the true color of your stain. This is particularly important if you’ve chosen a lighter stain or want to maintain a crisp, modern look.
- Faster Drying Time: Water-based polys dry much faster, allowing you to apply multiple coats in a single day and finish your project sooner.
- Low Odor: They have a significantly lower odor compared to their oil-based counterparts, making them more pleasant to work with indoors.
- Easy Cleanup: Tools and brushes can be easily cleaned with soap and water.
Apply at least two to three thin coats of water-based poly, allowing each coat to dry completely according to manufacturer instructions. For an ultra-smooth finish, a very light sanding with a super-fine grit sandpaper (e.g., 320-400 grit) between coats can remove any dust nibs, followed by a thorough cleaning before the next application. This final protective layer ensures your beautifully stained desk will stand up to spills, scratches, and the rigors of a busy home office for years to come.
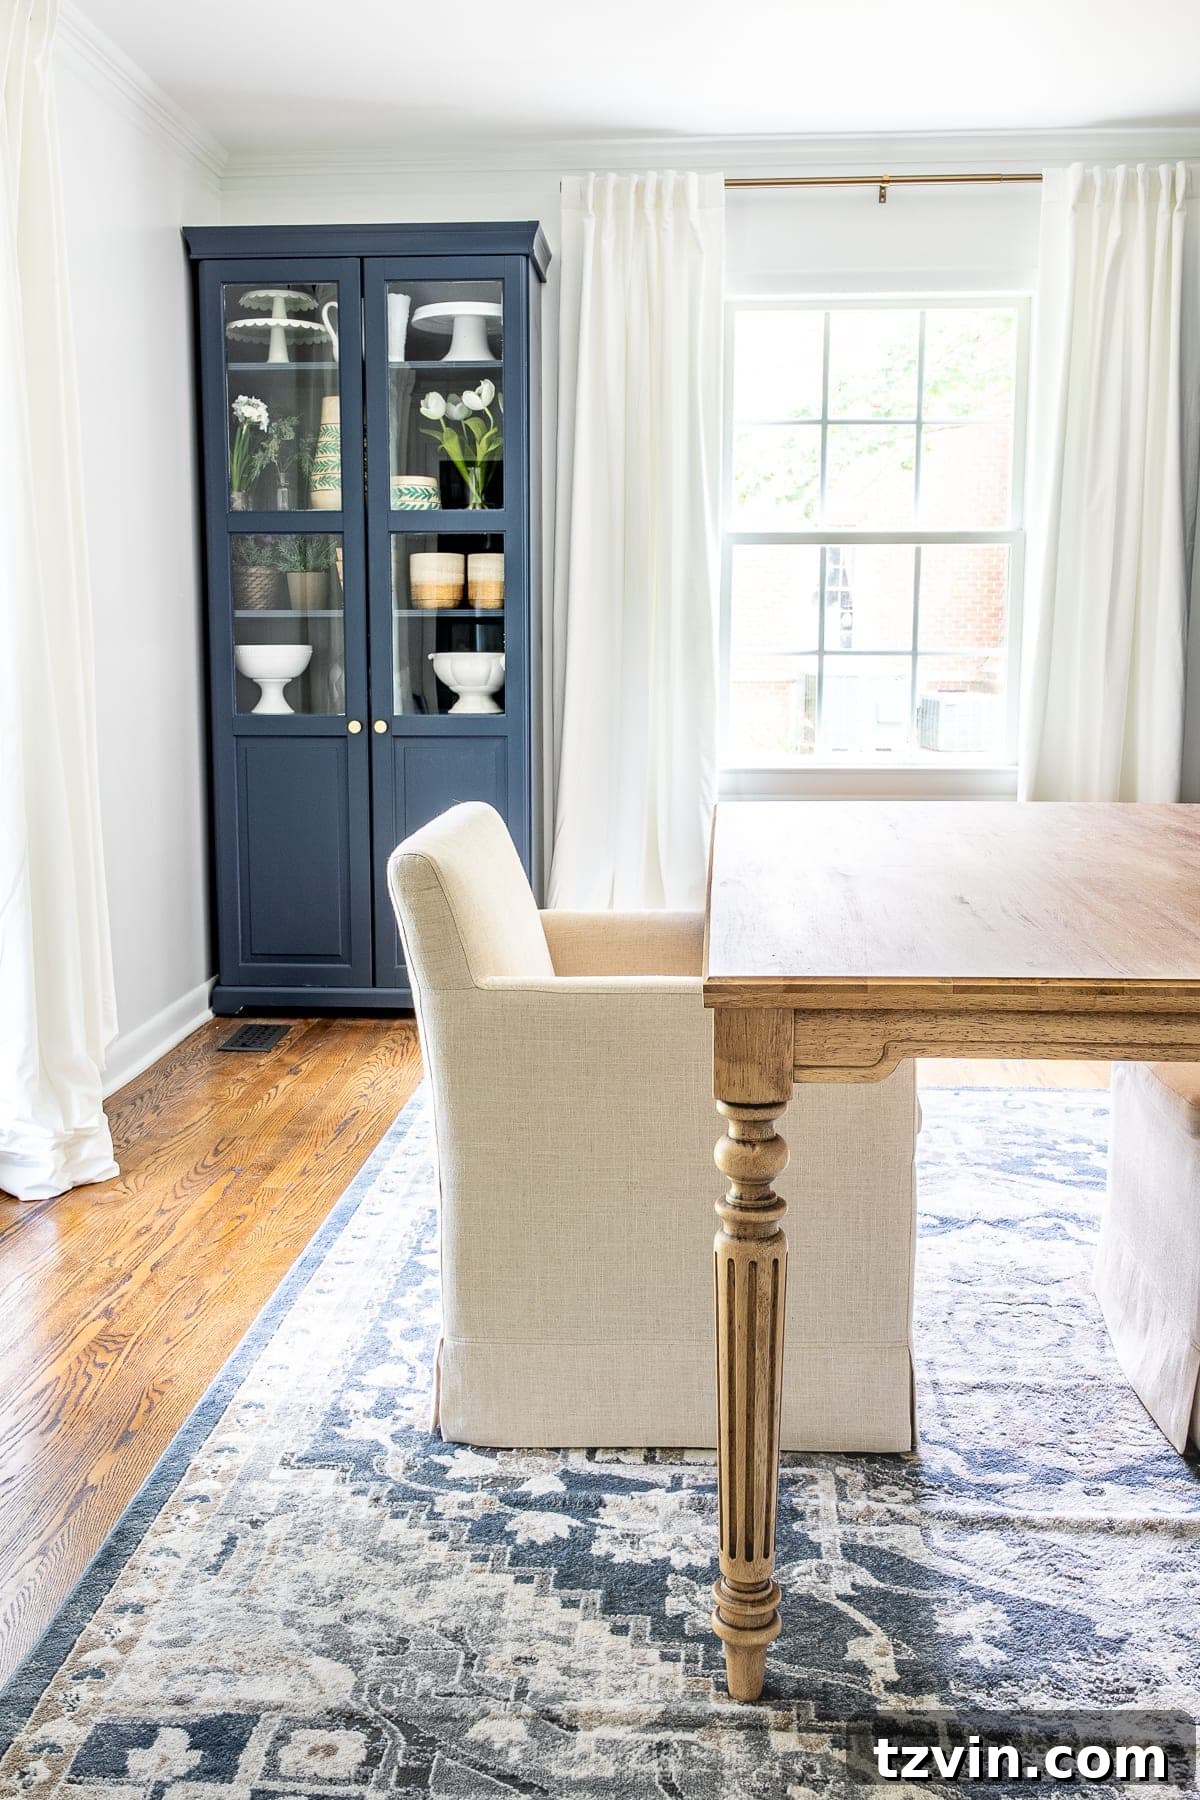
The Transformed Home Office: Beyond the Desk
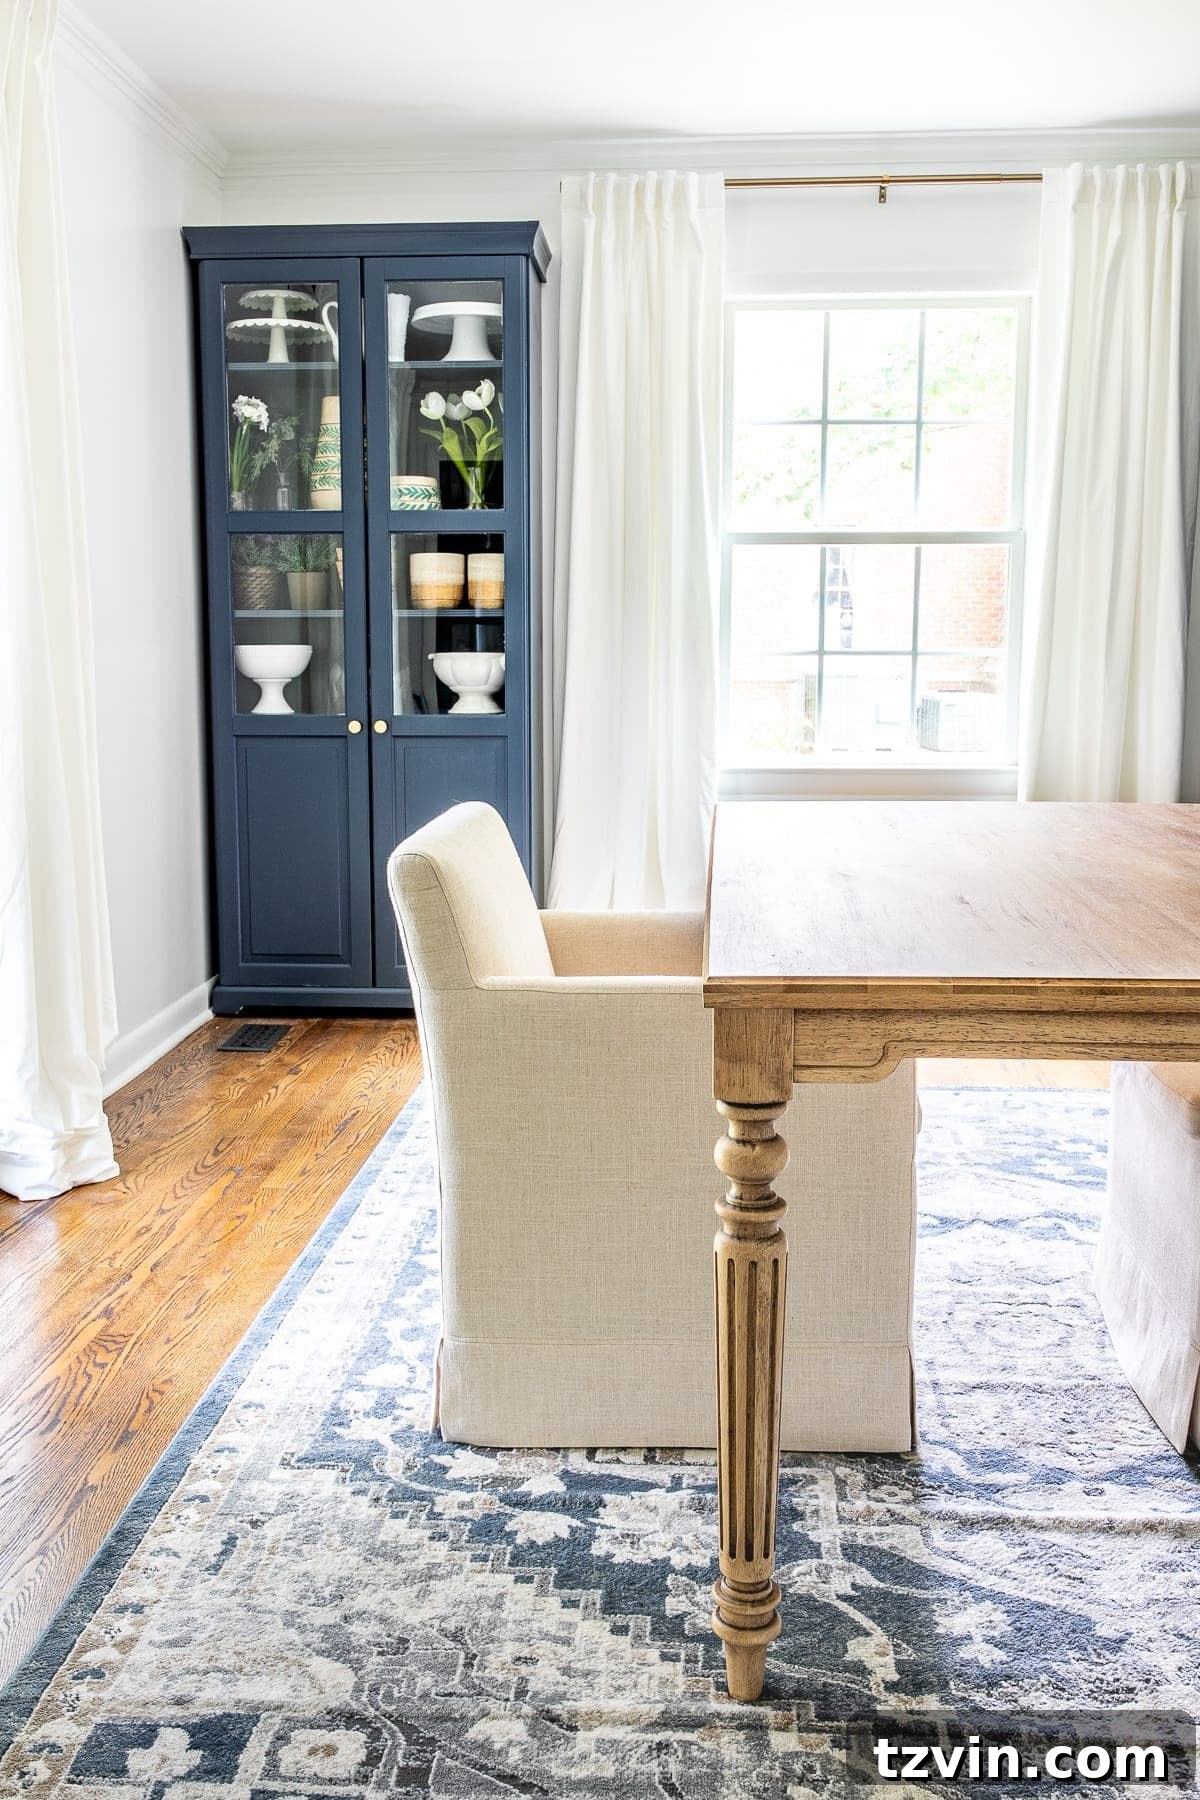
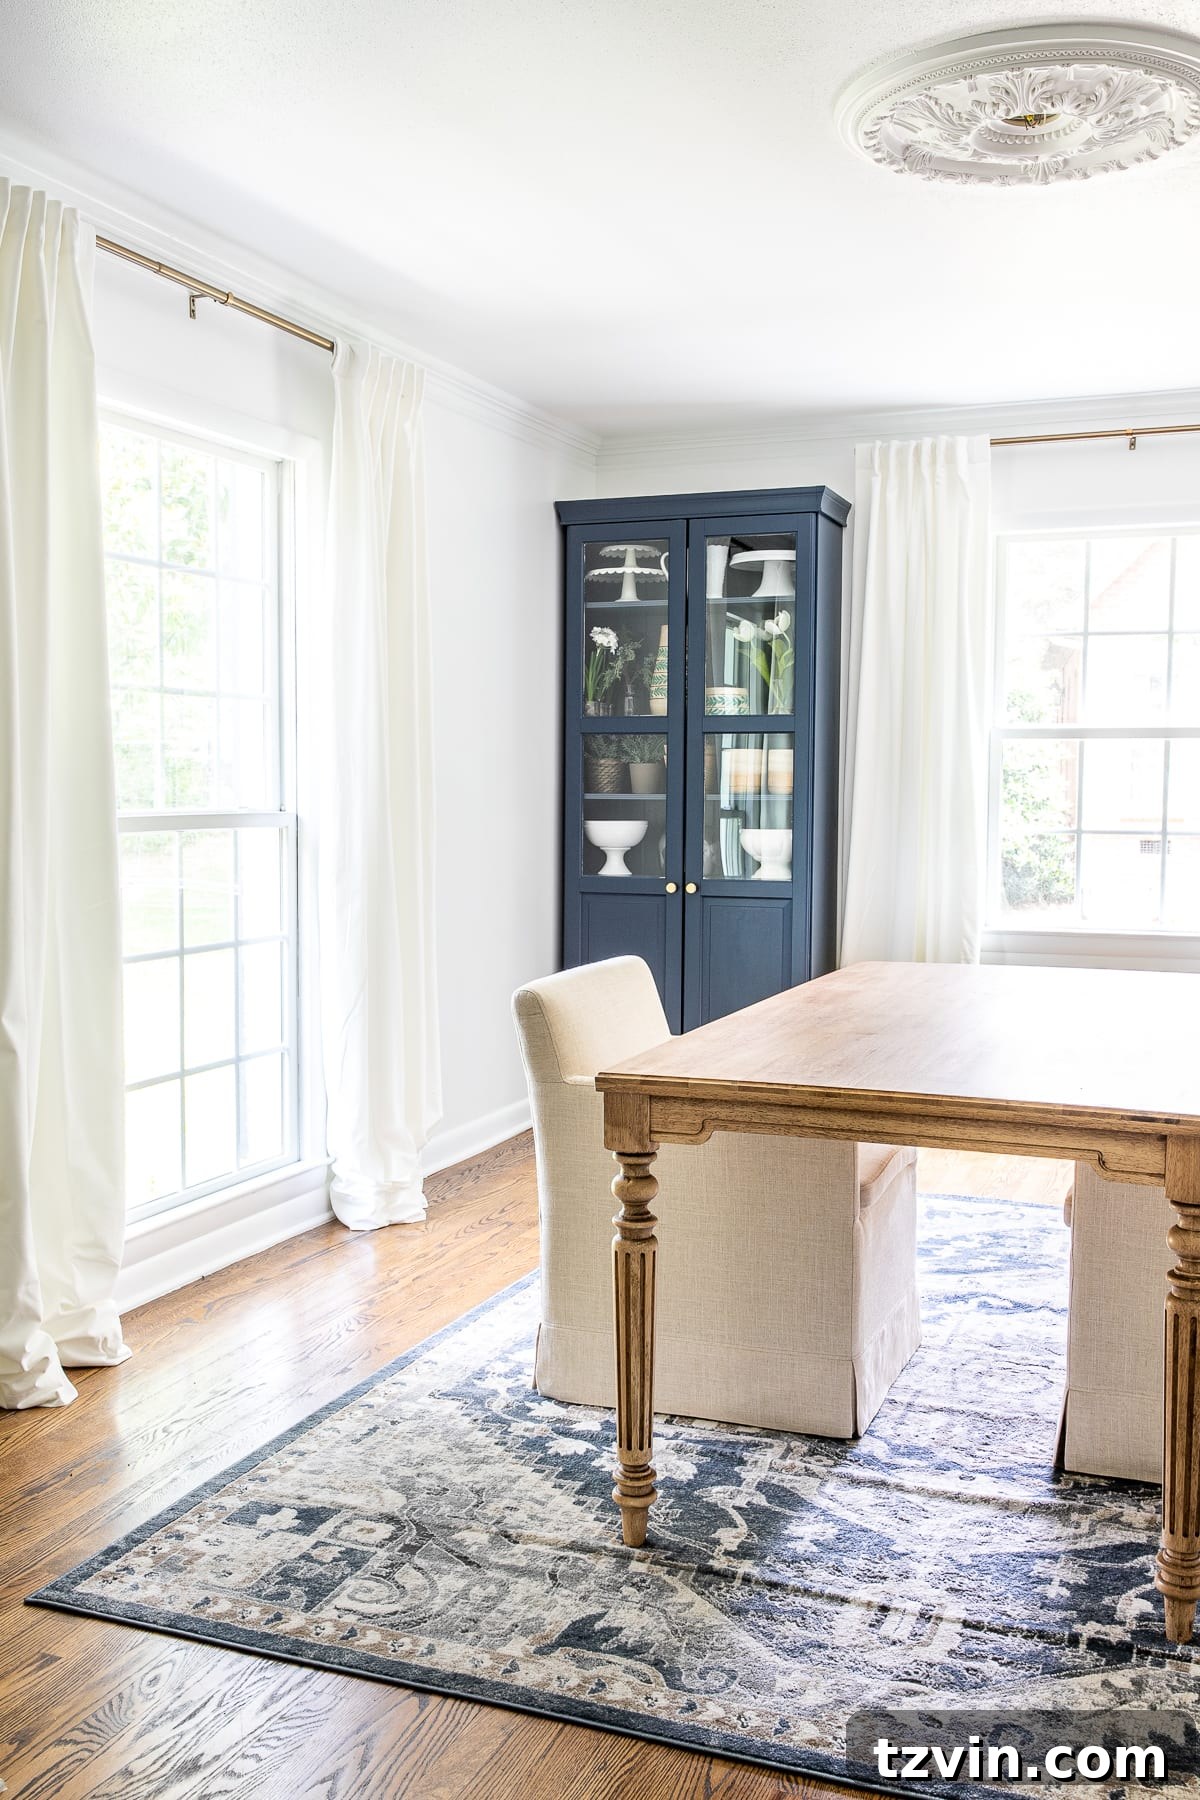
With the desk now officially transformed into a custom-stained masterpiece, our home office is truly taking shape. It’s incredible how one central piece of furniture can anchor an entire room’s design. The new desk, with its rich Special Walnut finish, immediately elevates the space, making it feel more professional and inviting. But a great office isn’t just about the desk; it’s about creating a cohesive, inspiring environment.
To complement the desk and complete the office aesthetic, we’ve carefully curated other elements:
- We rolled out this stylish area rug to define the workspace and add warmth underfoot.
- Comfort and mobility are key for long work sessions, so we added these versatile rolling armchairs, combining ergonomic function with elegant design.
- To soften the light and add a touch of sophistication, we hung these creamy white curtains, which perfectly complement the overall color scheme.
- These beautiful curtains are suspended on modern brass curtain rods, adding a subtle metallic accent that ties into other potential hardware in the room.
The final touches are quickly coming together. The elegant light fixture will be installed soon, casting a perfect glow over the workspace. Additionally, frosting film will be applied to the glass doors, adding a touch of privacy without sacrificing natural light. With these elements in place, the core of the office makeover will be complete, leaving only the delightful task of decorative styling.
Embrace the DIY Journey: Your Next Project Awaits
The satisfaction derived from customizing a piece of unfinished furniture is truly unparalleled. Not only do you save money and gain a durable, solid wood item, but you also infuse your personality and style directly into your home. This project proves that achieving a high-end, custom look doesn’t require a hefty budget or advanced carpentry skills. It simply requires a little vision, some quality materials, and the willingness to get creative.
Are you loving the transformation as much as we are? We certainly hope this project inspires you to look at unfinished furniture with new eyes, seeing it as a blank canvas for your own unique home improvement dreams. Whether it’s a desk, a bookshelf, or a dining table, the potential for customization is boundless.
While we’re on the subject of creating an inspiring workspace, do you have any favorite places for buying “pretty” office supplies? Sometimes, a little aesthetic boost in everyday items can be the extra productivity incentive we all need, don’t you think?
If you’re eager to embark on your own unfinished furniture customization journey, there are many fantastic budget-friendly options available. From simple side tables to more complex cabinetry, the possibilities are endless for creating pieces that perfectly suit your space and style.