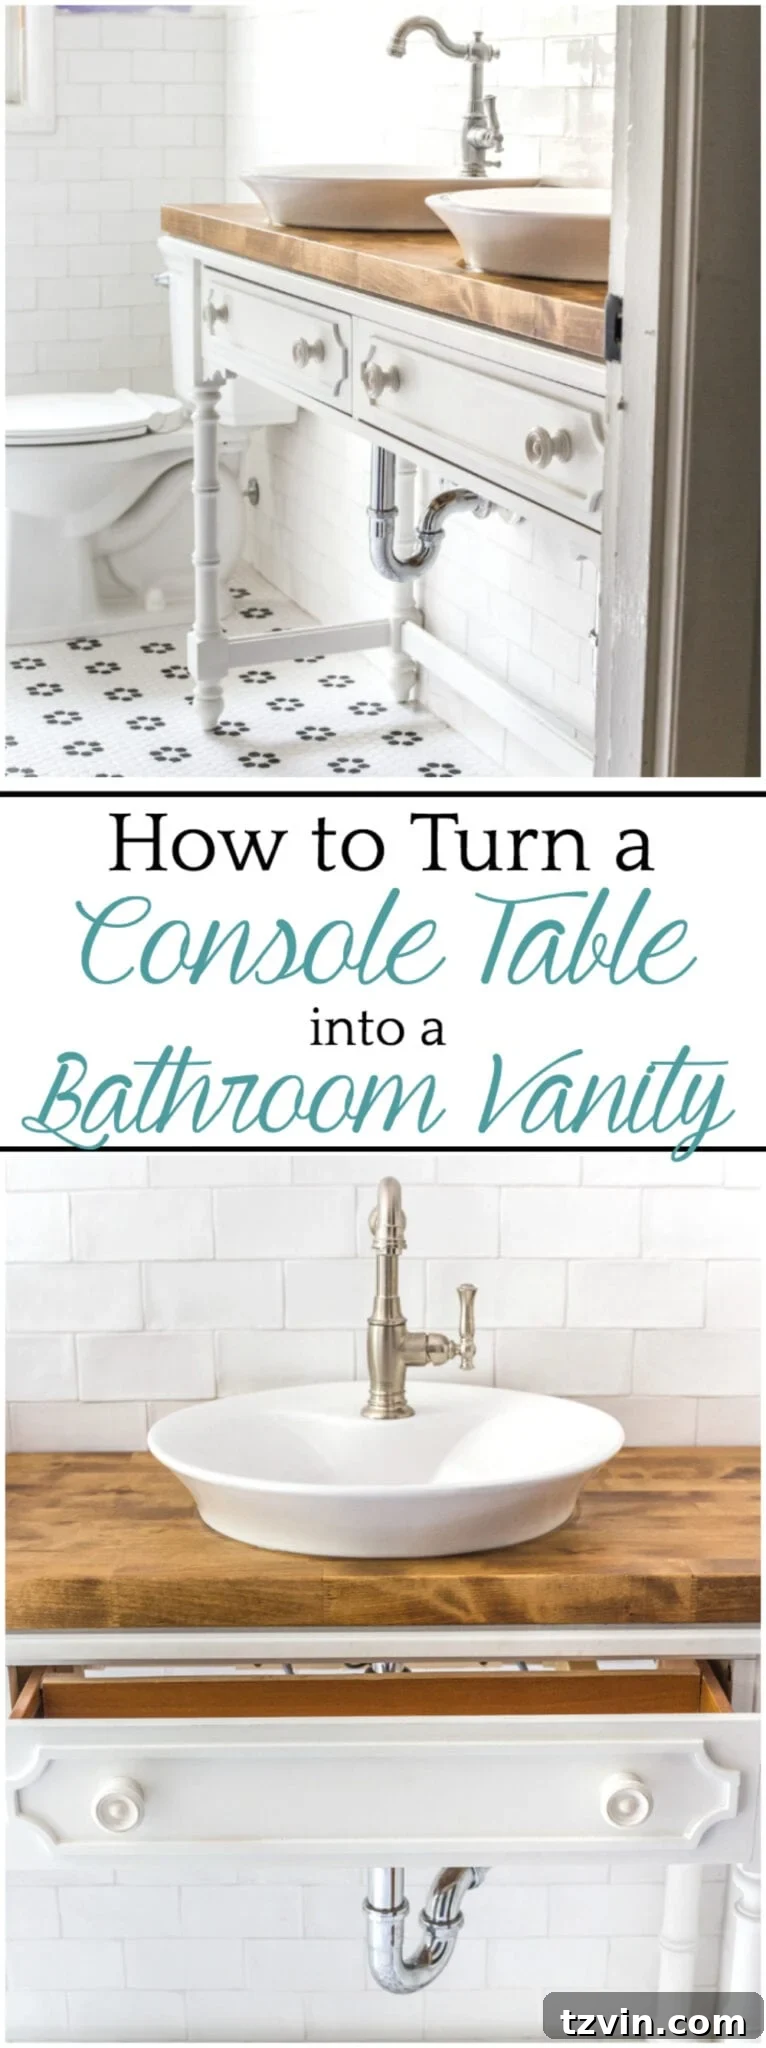
DIY Console Table to Bathroom Vanity: Repurpose Furniture for a Stylish & Functional Bathroom
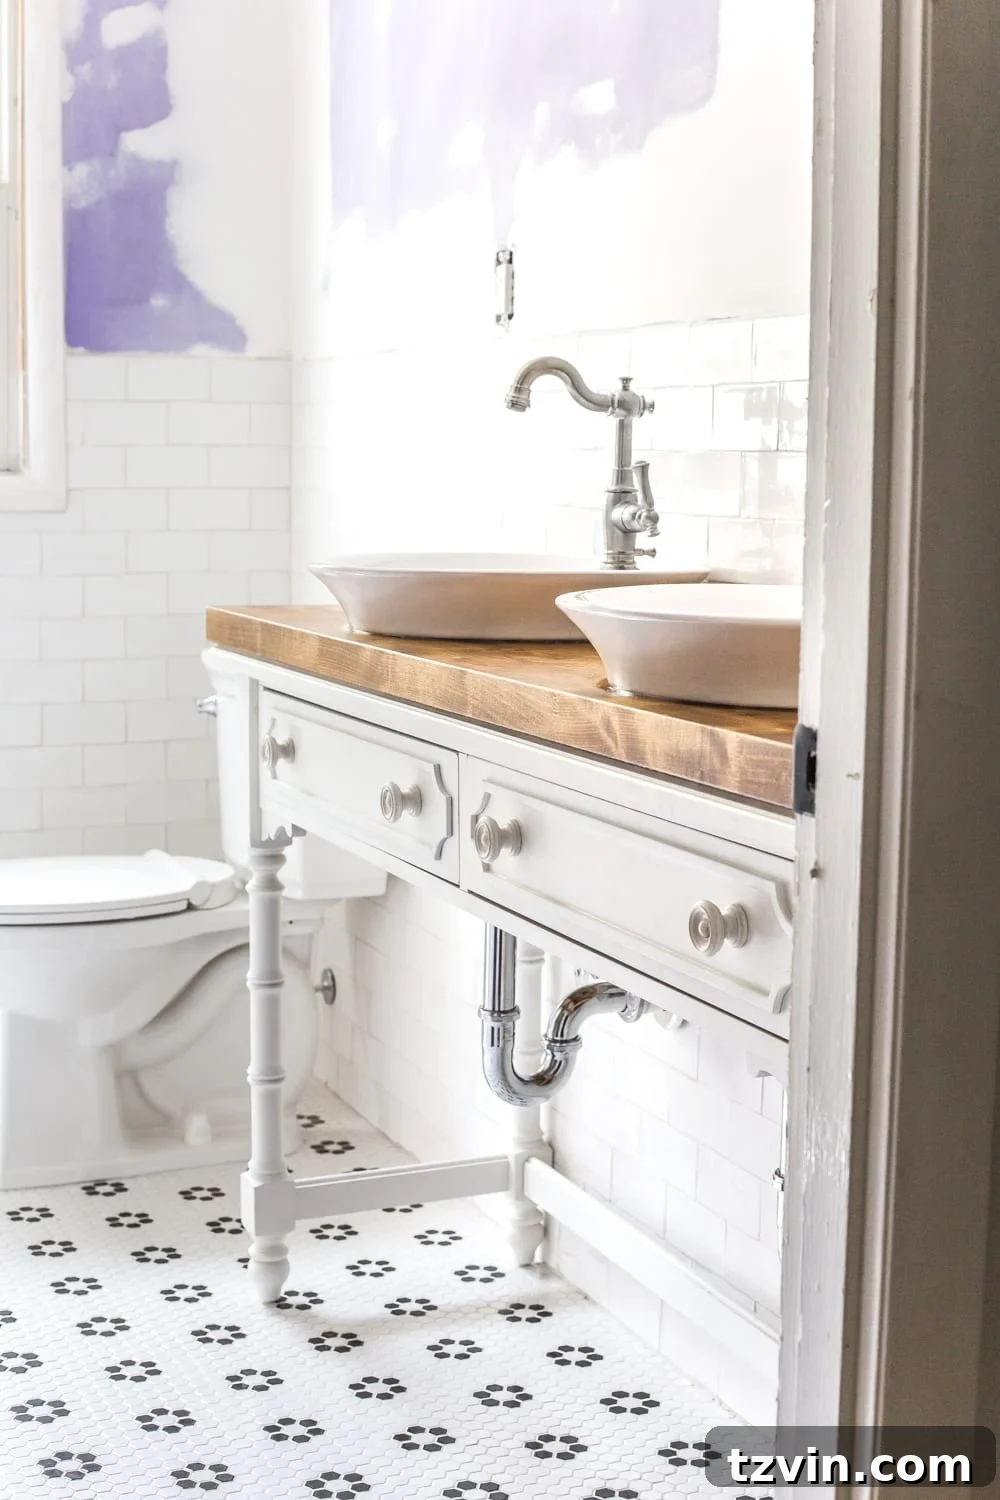
Welcome back to the #BlesserGirlyBathroom project! We’re thrilled to unveil one of the most exciting transformations yet: a charming console table repurposed into the cutest bathroom vanity you’ve ever seen. This project proves that with a little creativity and elbow grease, you can create a truly unique and functional piece that elevates your bathroom’s design. We couldn’t wait another second to share this step-by-step guide with you!
The entire bathroom is truly starting to take shape, and every new addition brings us closer to a complete and beautiful space.
(Some affiliate links are provided in this post. Full disclosure here.)
If you’ve been following our exciting renovation journey, you might recall these previous posts detailing our progress:
- Girls’ Bathroom Renovation Plans & Mood Board: Here, we laid out our vision, design choices, and the overall aesthetic we aimed for, setting the stage for this ambitious transformation.
- Demo: This post covered the initial, often messy, but always satisfying process of tearing out the old to make way for the new.
- Shower & Tub Install: A crucial step in any bathroom renovation, detailing the installation of the core bathing elements.
Since those early stages, we’ve made significant strides, and the beautiful tile floor has now been expertly installed, adding a stunning foundation to the space. The moment it was laid, we were completely head over heels!
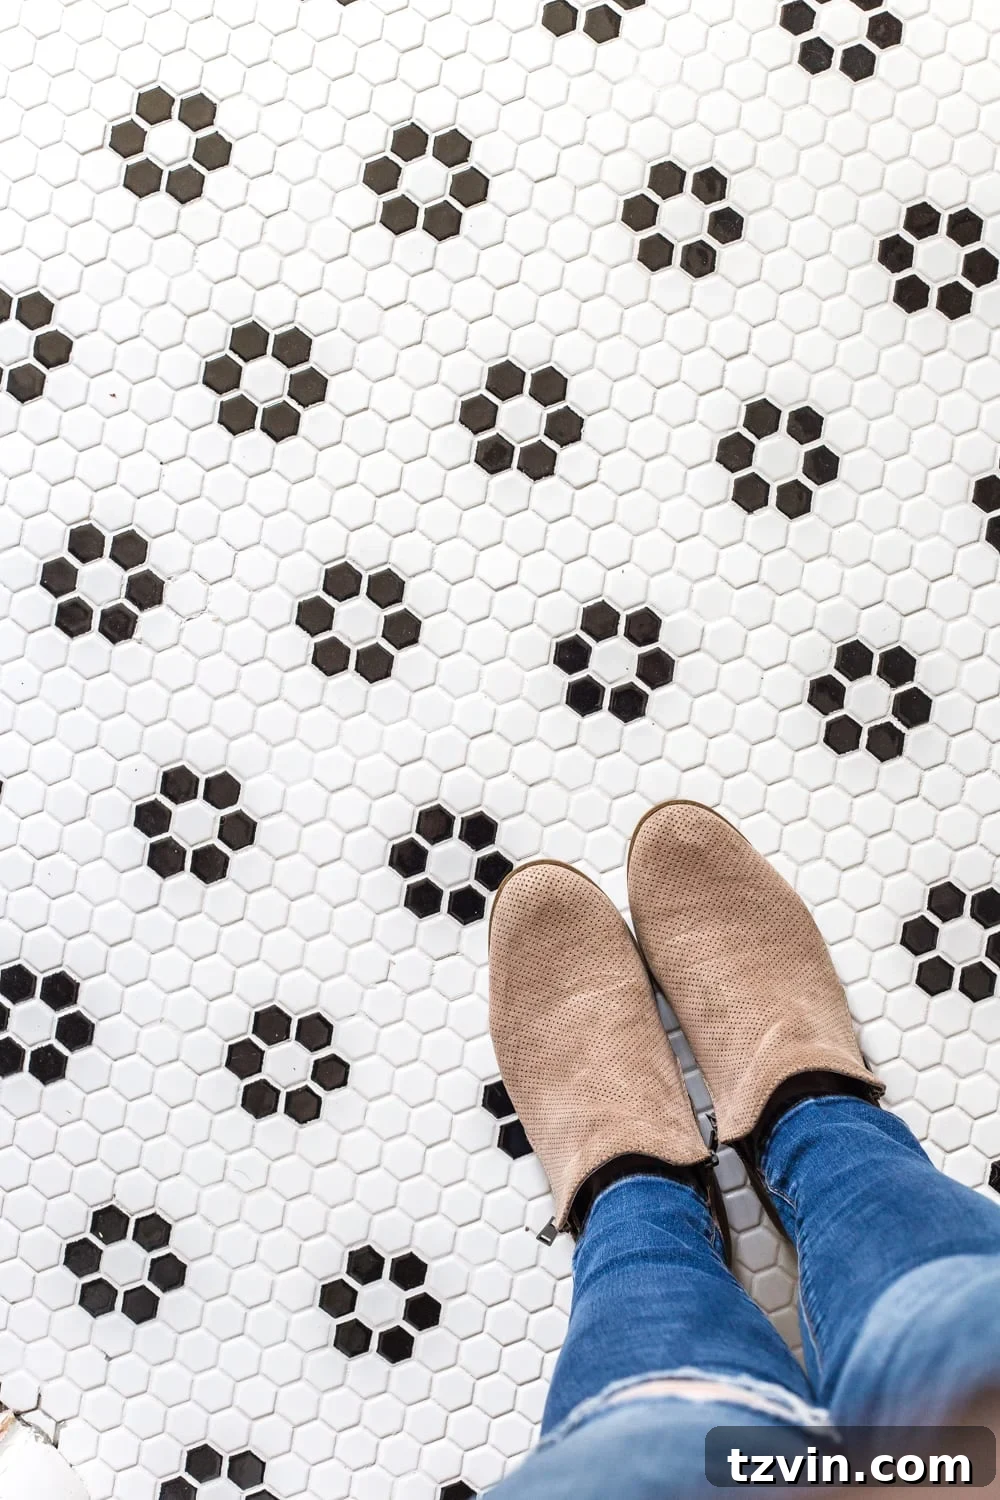
Our daughter, Olivia, deserves all the credit for this fantastic choice. She personally selected it because of its sweet, intricate hexagonal flower pattern. It’s clear the girl has impeccable taste! The tile adds a playful yet elegant touch that perfectly complements the vision for a bright and inviting girls’ bathroom.
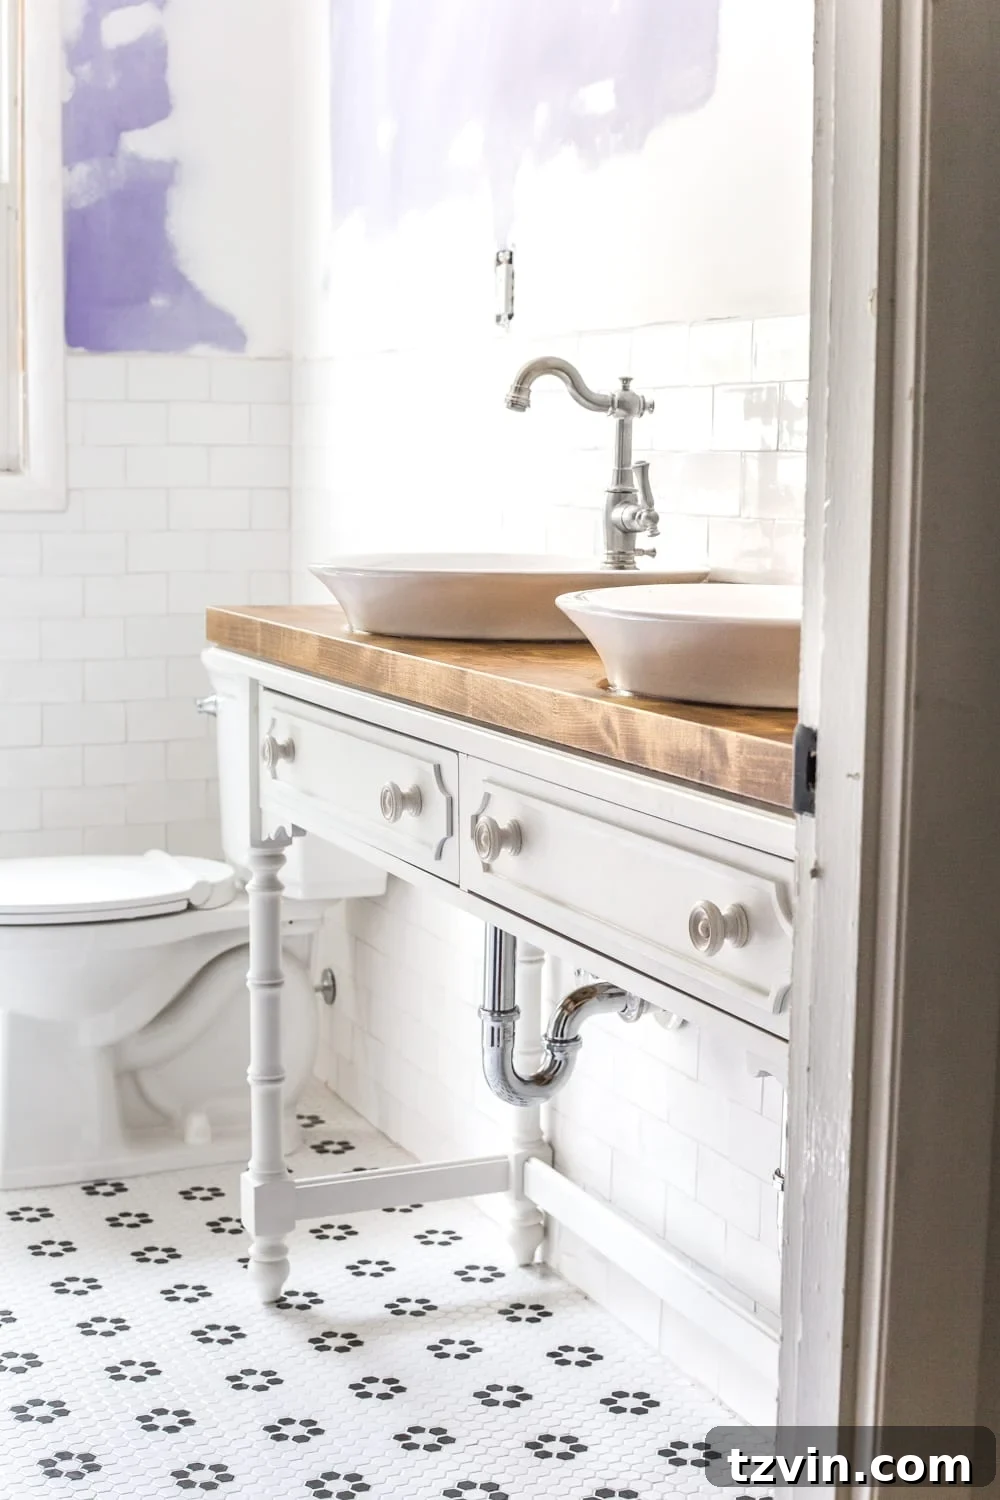
When it came to choosing a vanity, we knew an open table design, paired with vessel sinks, would be the ideal solution for our extremely narrow bathroom. Traditional bulky cabinets would have made the space feel even smaller and more cramped. Furthermore, since we already have a generously sized linen closet in the bathroom, additional closed storage wasn’t a necessity. This freed us up to focus on aesthetics and maximizing the feeling of openness.
After much searching, we stumbled upon this perfect console table. It met our exact dimensional requirements and boasted several critical features: fully functional drawers and a construction of solid wood with beautiful dovetail joinery. Knowing its robust build, we were confident it could easily support the weight of two vessel sinks and daily use without compromise. The intricate detailing on the table was absolutely flawless, adding character and charm that a standard vanity simply couldn’t. While it was a larger investment than we’d typically make for a regular console table, we firmly believed it was worth the splurge. The risk of using a table made from cheaper, less durable materials for a permanent bathroom fixture was simply not an option. This piece was meant to last and become a focal point.
Transforming a console table, dresser, or chest into a functional bathroom vanity can be a bit of a tricky process, especially when you want to preserve the integrity and functionality of existing features like drawers. Fortunately, my husband, Robert, is a master craftsman and meticulously documented his process while working on this stunning conversion in our garage. He put together a comprehensive tutorial to guide you through every step.
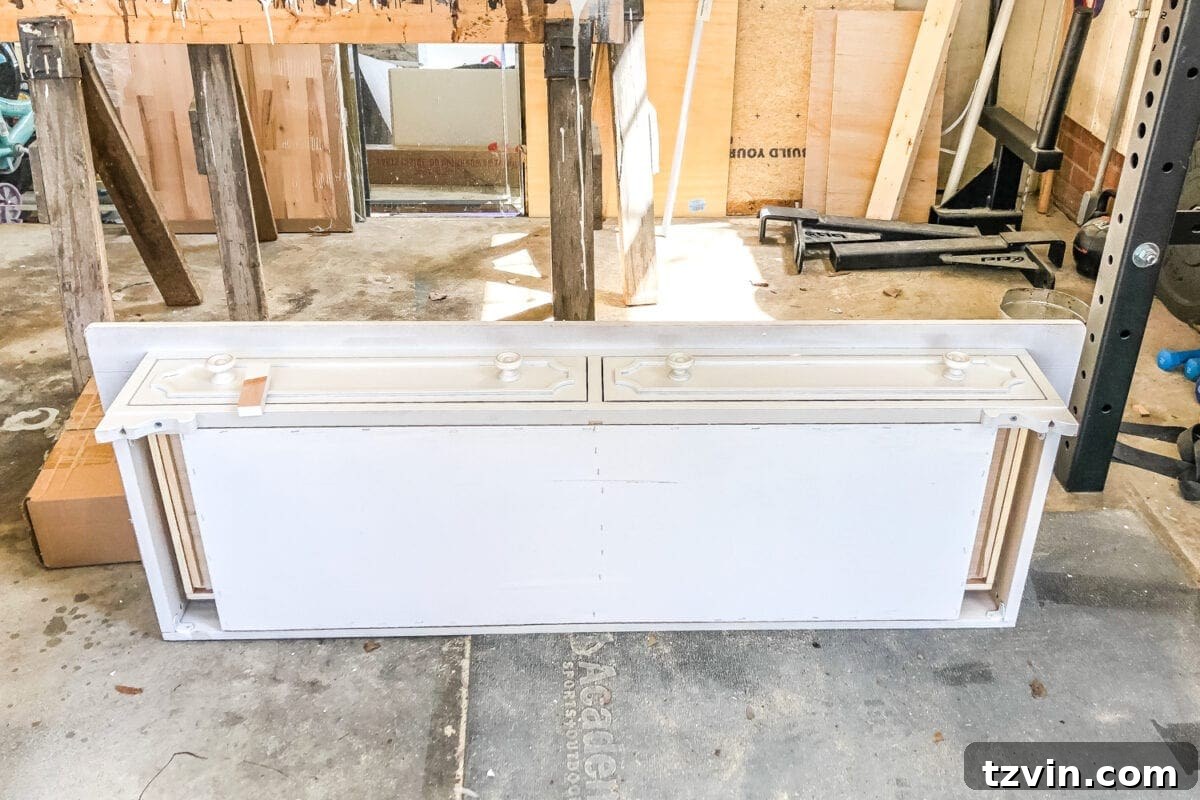
DIY Guide: Converting a Console Table into a Bathroom Vanity
This detailed guide will walk you through transforming an ordinary console table into an extraordinary bathroom vanity, complete with functional drawers. This project is perfect for those looking to add a personalized touch to their bathroom while maximizing space and retaining useful storage.
Essential Supplies and Tools:
Gathering the right tools and materials is the first crucial step to ensure a smooth and successful DIY bathroom vanity conversion. Here’s what you’ll need:
- Jigsaw: Indispensable for making curved cuts, particularly for the sink drain holes, and precise cuts for drawer modifications.
- Power Drill: Essential for pilot holes, driving screws, and general assembly throughout the project.
- Circular Saw: Best for making long, straight cuts, especially if you need to modify the table’s structure or trim the butcher block countertop.
- Finishing Nail Gun: For securely attaching smaller pieces of wood, like drawer modifications or stoppers, with a clean finish.
- Sink Template: Usually provided by the manufacturer with your vessel sink. This is critical for accurately marking the cut-out area.
- Vessel Sink(s): The star of your new vanity. We opted for this specific model, chosen for its aesthetic and size compatibility.
- Pencil: For marking all measurements and cut lines with precision.
- Butcher Block Countertop (optional): While you can use the original table top, we chose butcher block for a durable, water-resistant surface and a specific aesthetic.
- Stain of Choice (optional): To match or enhance the wood grain. We achieved our desired look using Minwax Special Walnut and Weathered Oak for a rich, layered effect.
- Spar Urethane in Satin Finish: Absolutely vital for waterproofing the wood surfaces, especially the countertop, to protect against moisture in a bathroom environment.
- 2 Stain/Poly Brushes: One for stain, one for polyurethane, to ensure smooth and even application.
- Clear Silicone Caulk: For sealing gaps between the countertop and wall, providing a watertight seal and a professional finish.
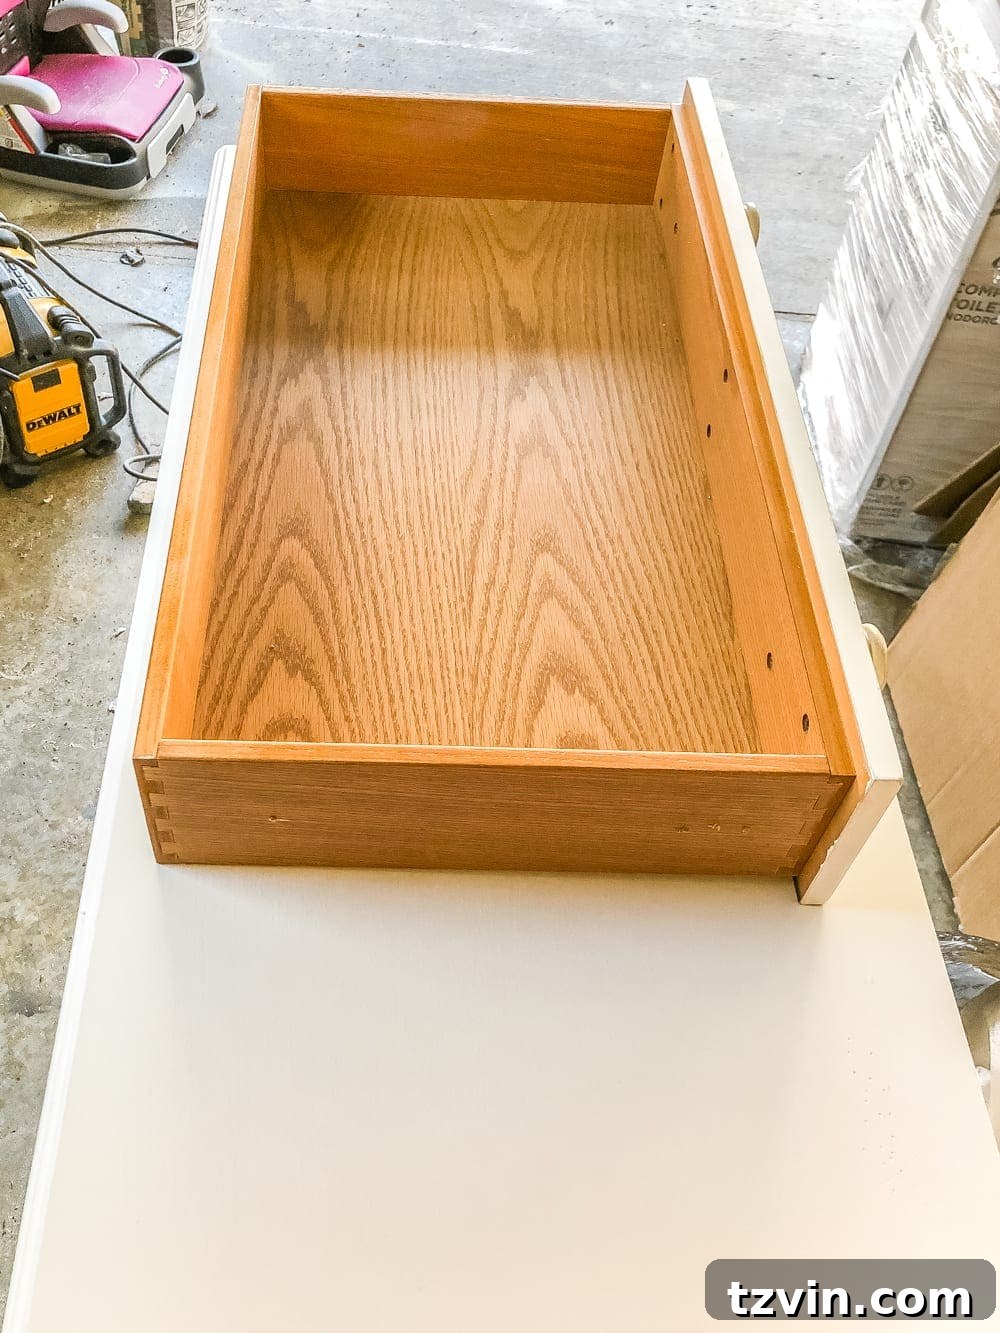
The Step-by-Step Conversion Process:
One of the primary reasons we specifically selected this console table was the presence of functional drawers. Our hope was to maintain some precious storage space for everyday essentials like toothpaste, hairbrushes, and eventually, a small collection of makeup, all within easy reach. This required careful planning and modification to ensure the drawers would still operate smoothly around the new plumbing.
1. **Prepare the Table Base:** Begin by carefully removing any existing boards or structural elements from directly underneath the table’s top surface. Use a pry bar and hammer or mallet for this task. This step is critical to create clearance for the sink basin and the necessary plumbing connections that will run beneath it. Ensure you work gently to avoid damaging the surrounding table structure.
2. **Decide on Drawer Functionality:** This is a pivotal decision point. You need to decide if you want to retain the full functionality of the console table’s drawers or convert them into decorative false fronts.
* **If you opt for false drawers:** This is the simpler route. You can merely cut out the back and bottom of the drawer box with a circular saw, then reattach the drawer front to the table frame as a fixed, decorative panel. This provides the aesthetic of drawers without the need for intricate modifications for plumbing.
* **If you desire functional drawers (as we did):** Proceed to the next step. This requires more precise work but maximizes your storage potential.
3. **Measure for Drain Clearance:** To keep the drawers functional, you must account for the sink’s drain and associated plumbing. Pull out each drawer completely. Then, measure the distance from the back wall of the bathroom to where the sink’s drain will be positioned. Use this measurement to mark the new, shallower depth your drawer will need to be. This precise marking ensures enough space for the drainpipe to pass through without obstructing the drawer’s movement.
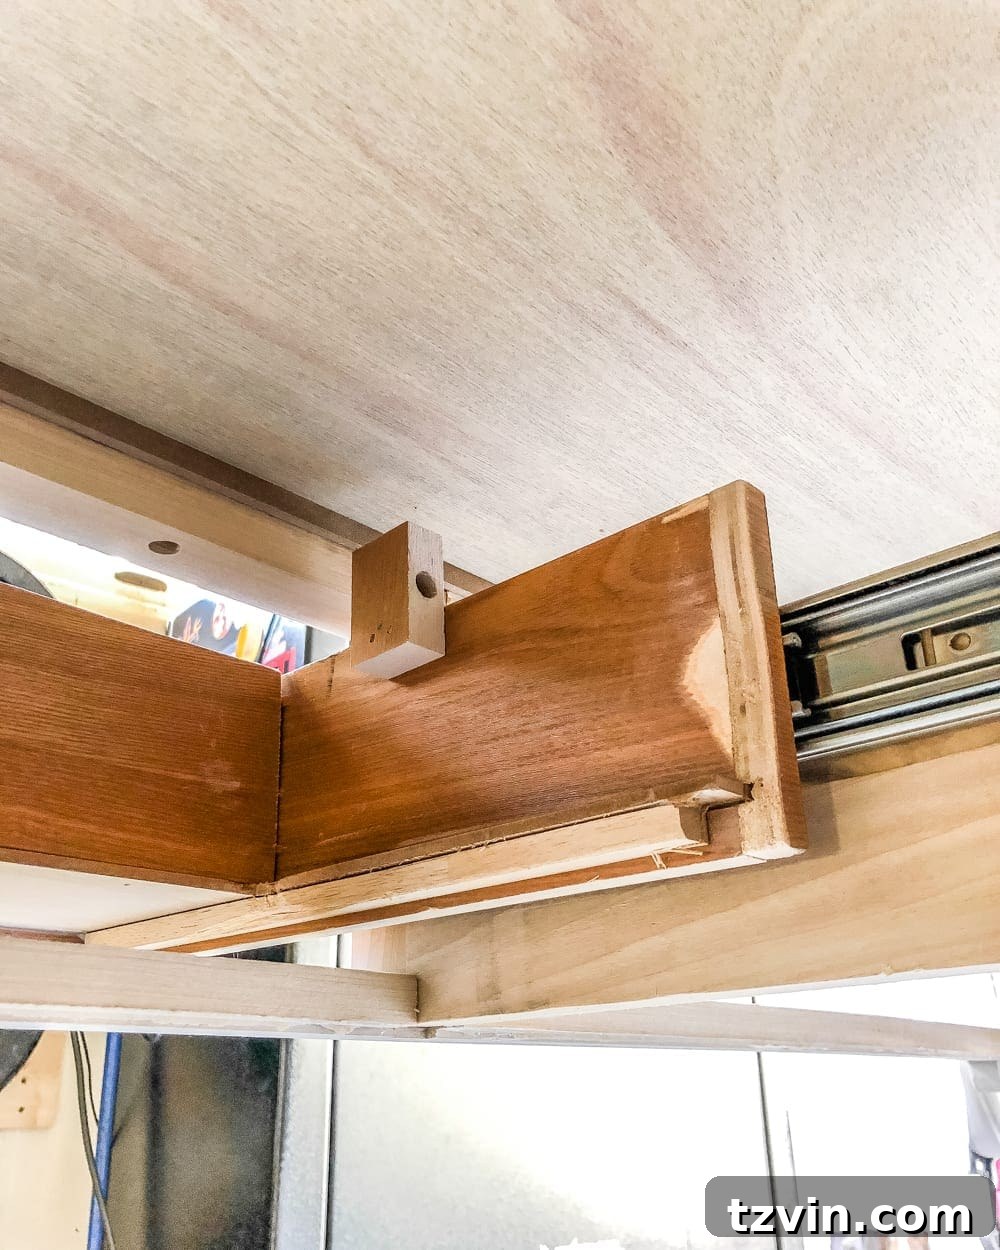
4. **Modify the Drawers:** With your new depth measurements marked, use a jigsaw to carefully cut off the back and bottom sections of the drawer box. It’s crucial to leave the side panels of the drawer completely intact, as these provide the structural support and allow the drawer to slide along its runners. Take your time to make clean, straight cuts.
5. **Reattach the Drawer Back:** Once the excess material is removed, move the detached back piece of the drawer forward to your desired, shallower drawer depth. Securely nail it into place on each side with finishing nails. This effectively shortens the drawer, creating the necessary clearance for plumbing while preserving its storage capability.
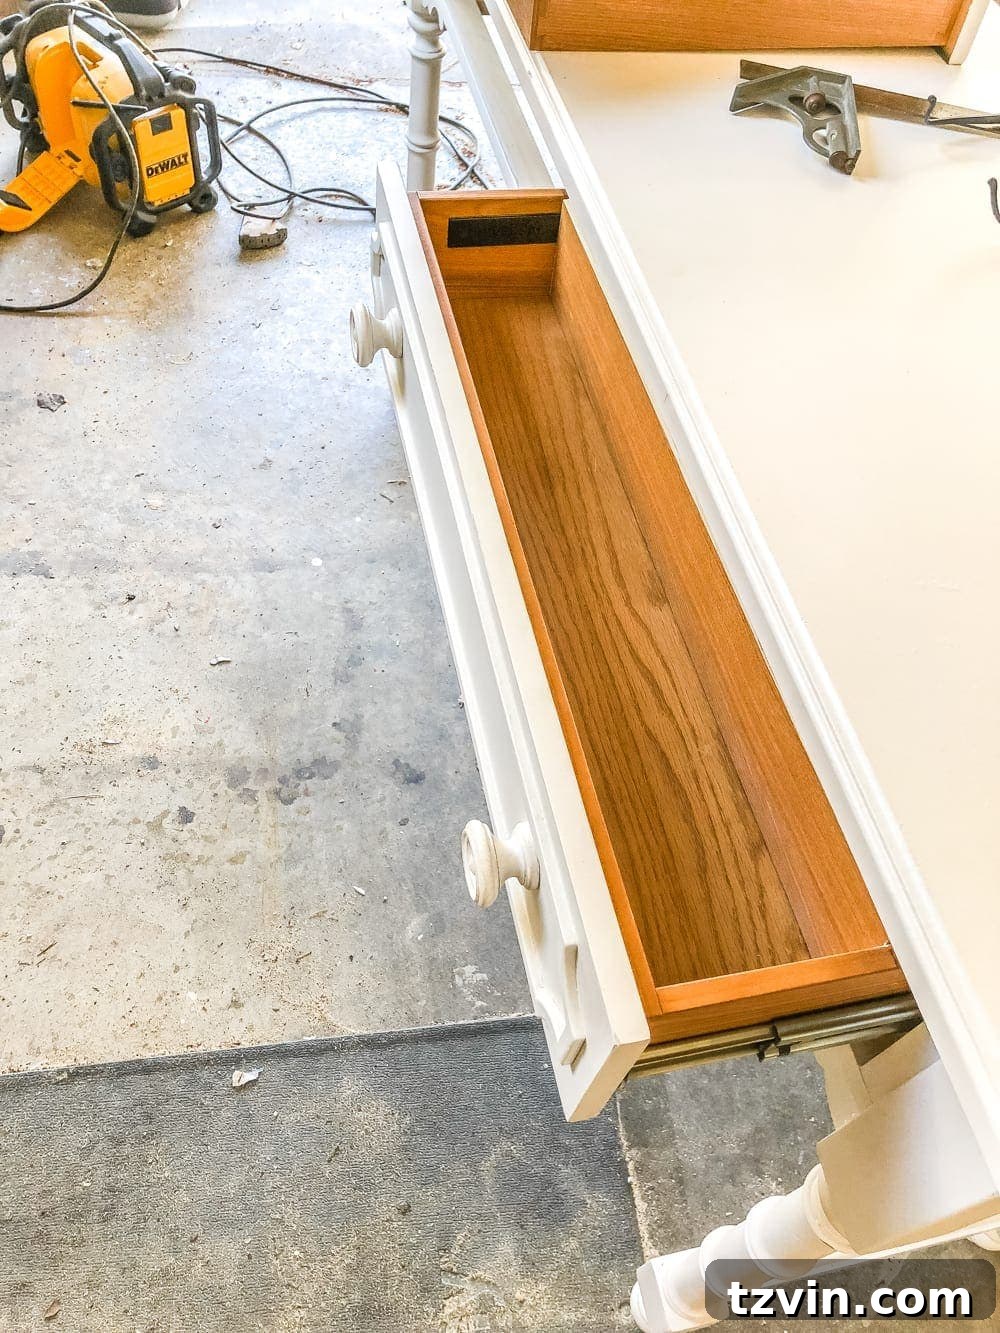
6. **Install Drawer Stoppers:** To prevent the newly modified drawers from pulling out too far and potentially falling or jamming, create simple drawer stoppers. Use a scrap piece of wood, roughly 1″x2″ in size, and nail it to the inside of the table frame on either side of the drawer opening. Position these stoppers so they catch the front lip of the drawer, allowing it to open to a functional extent without over-extending.
7. **Prepare Sink Templates:** Most vessel sinks come with a paper template for making the required cut-outs. If your sink did not include one, you can easily create your own. Simply trace the exact bottom perimeter of your vessel sink onto a piece of sturdy cardboard. This homemade template will ensure accurate sizing for your countertop openings.
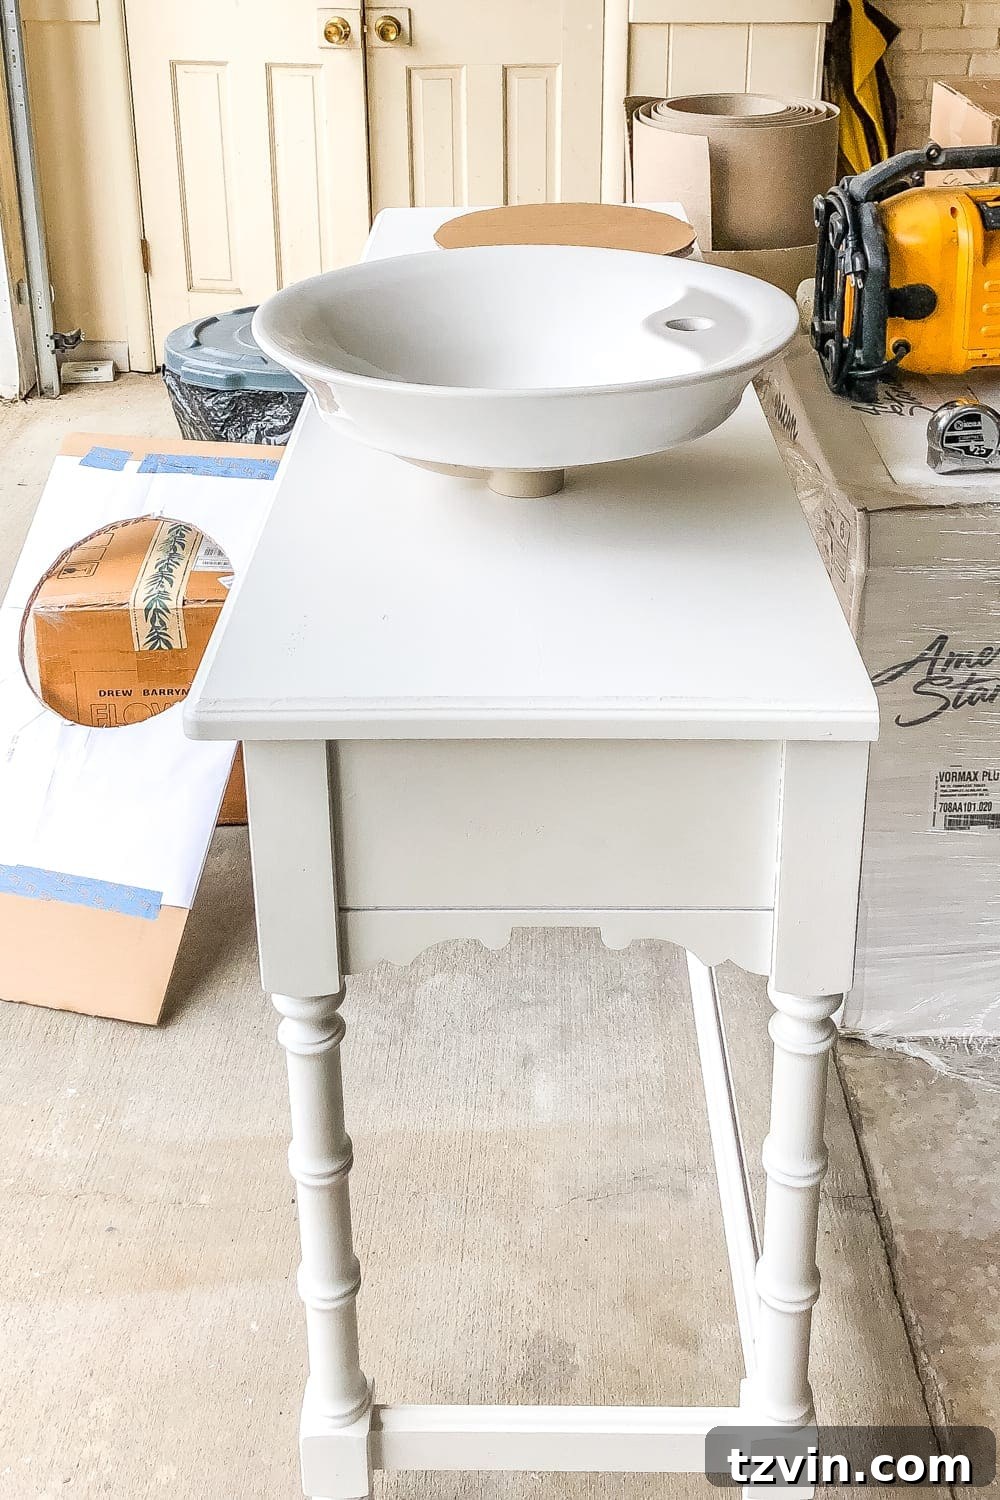
8. **Mark Sink Locations:** Carefully position your sink template(s) on the console table’s surface (or your chosen butcher block countertop) where you intend to place your vessel sinks. Ensure they are centered and spaced appropriately for both aesthetics and functionality. Trace around the templates with a pencil to clearly mark the cut lines.
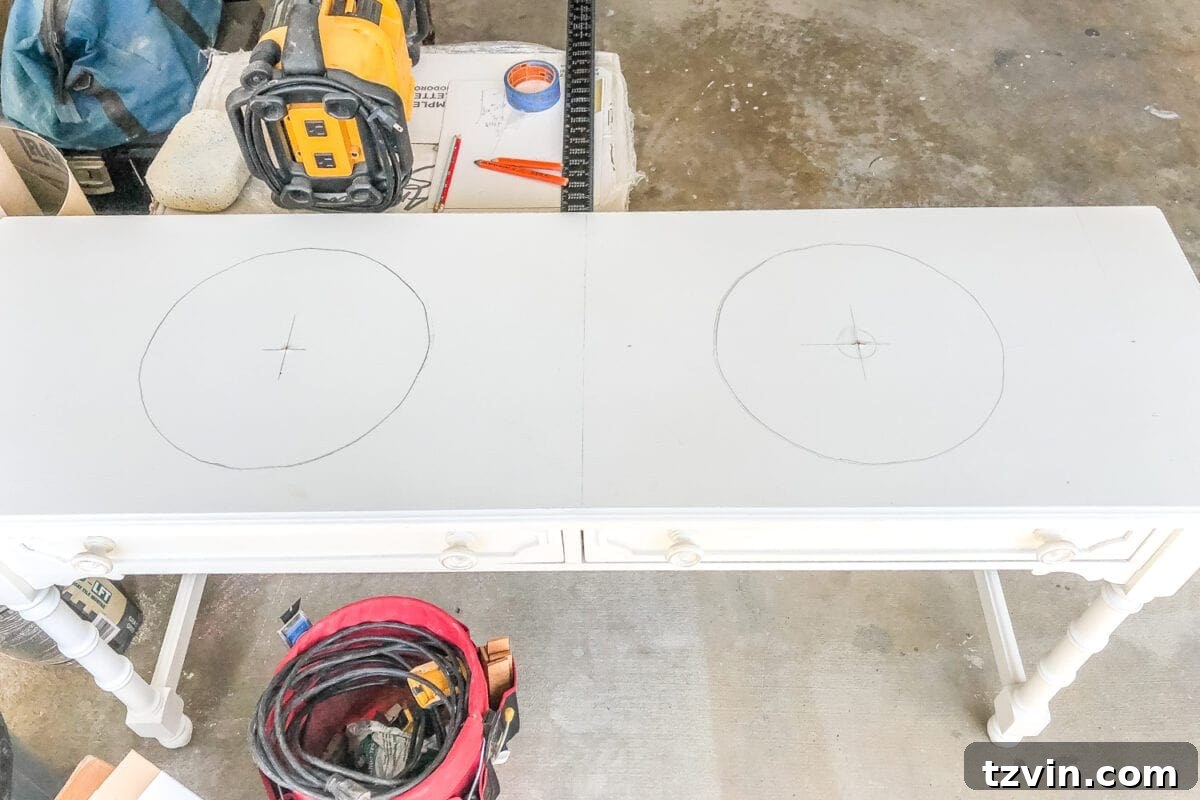
9. **Cut Sink Holes:** Using your jigsaw, meticulously cut out the traced circles for the sink holes. For a cleaner start, you might drill a pilot hole inside the marked circle to insert the jigsaw blade. Take your time, following the lines precisely, to ensure a snug fit for your vessel sinks.
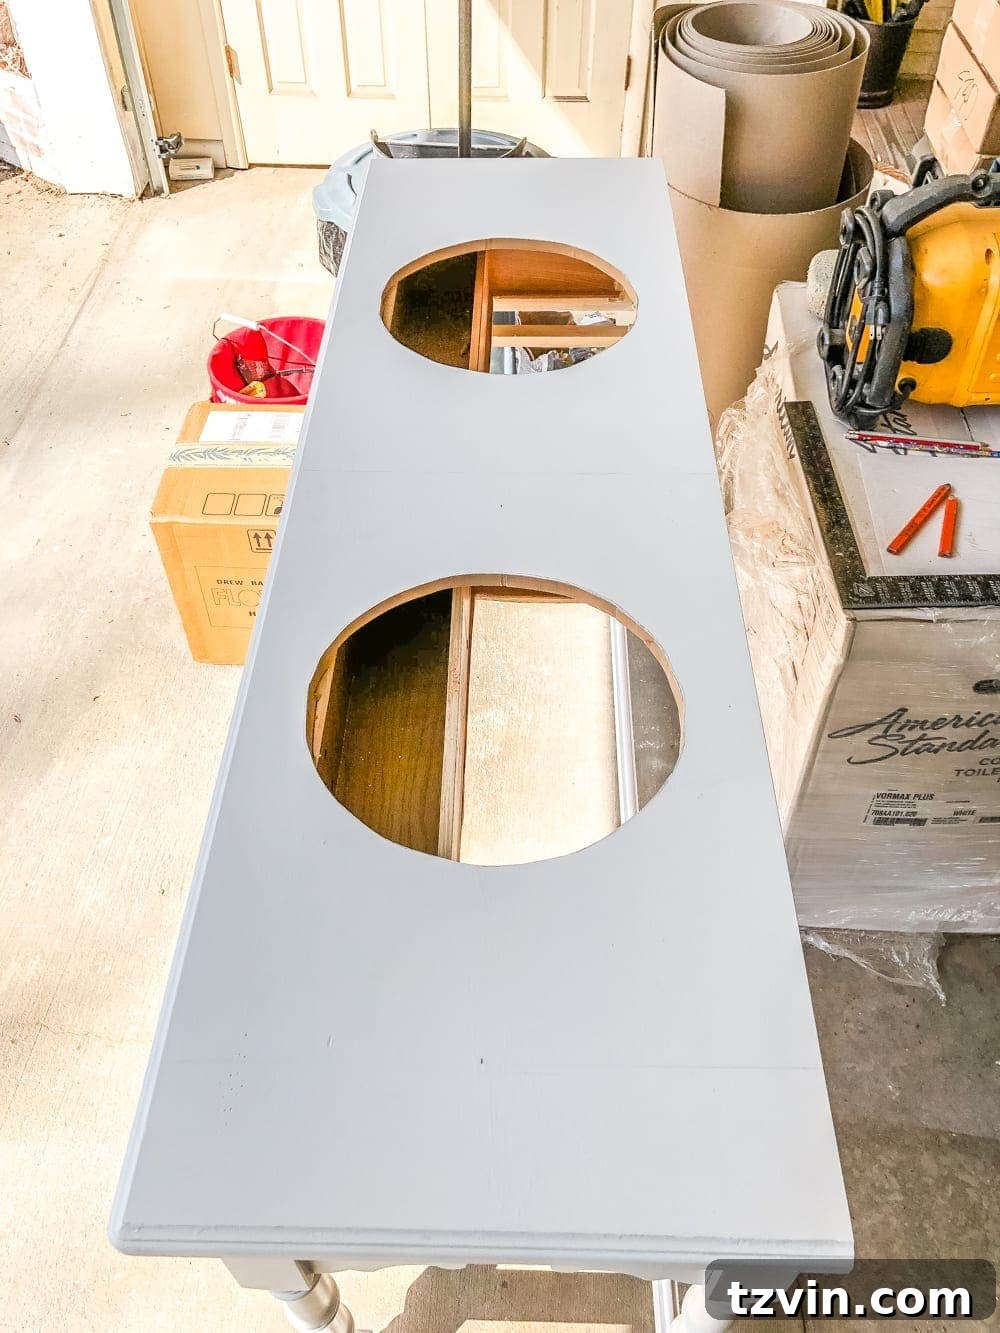
10. **Prepare Butcher Block Countertop (if applicable):** If you’ve chosen to use a separate butcher block countertop (as we did), repeat the template-tracing and cutting steps on the butcher block as well. This ensures that the sink openings align perfectly between the table base and the new countertop.
(You might notice our “sick ride” in the background – a little garage humor!)
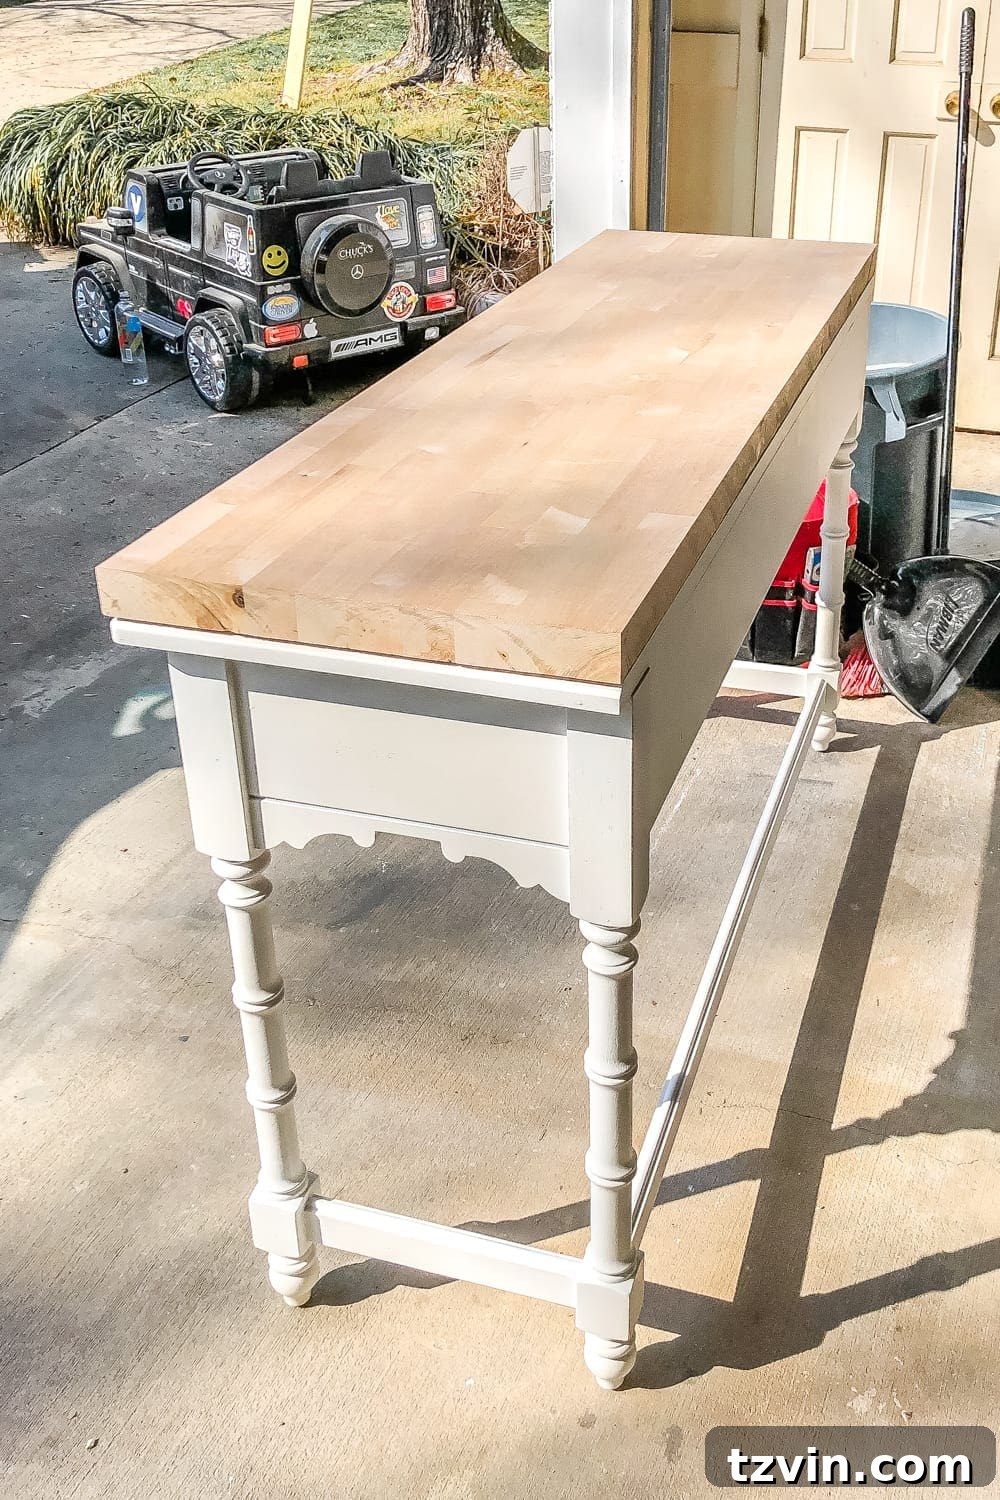
11. **Test Fit Components:** Before any permanent installation, always perform a dry run. Place the butcher block countertop (if using) onto the console table base, then set the vessel sinks into their respective cut-outs. This allows you to verify that all cuts are accurate and that the sinks sit properly. It’s a crucial step to catch any potential alignment issues early.
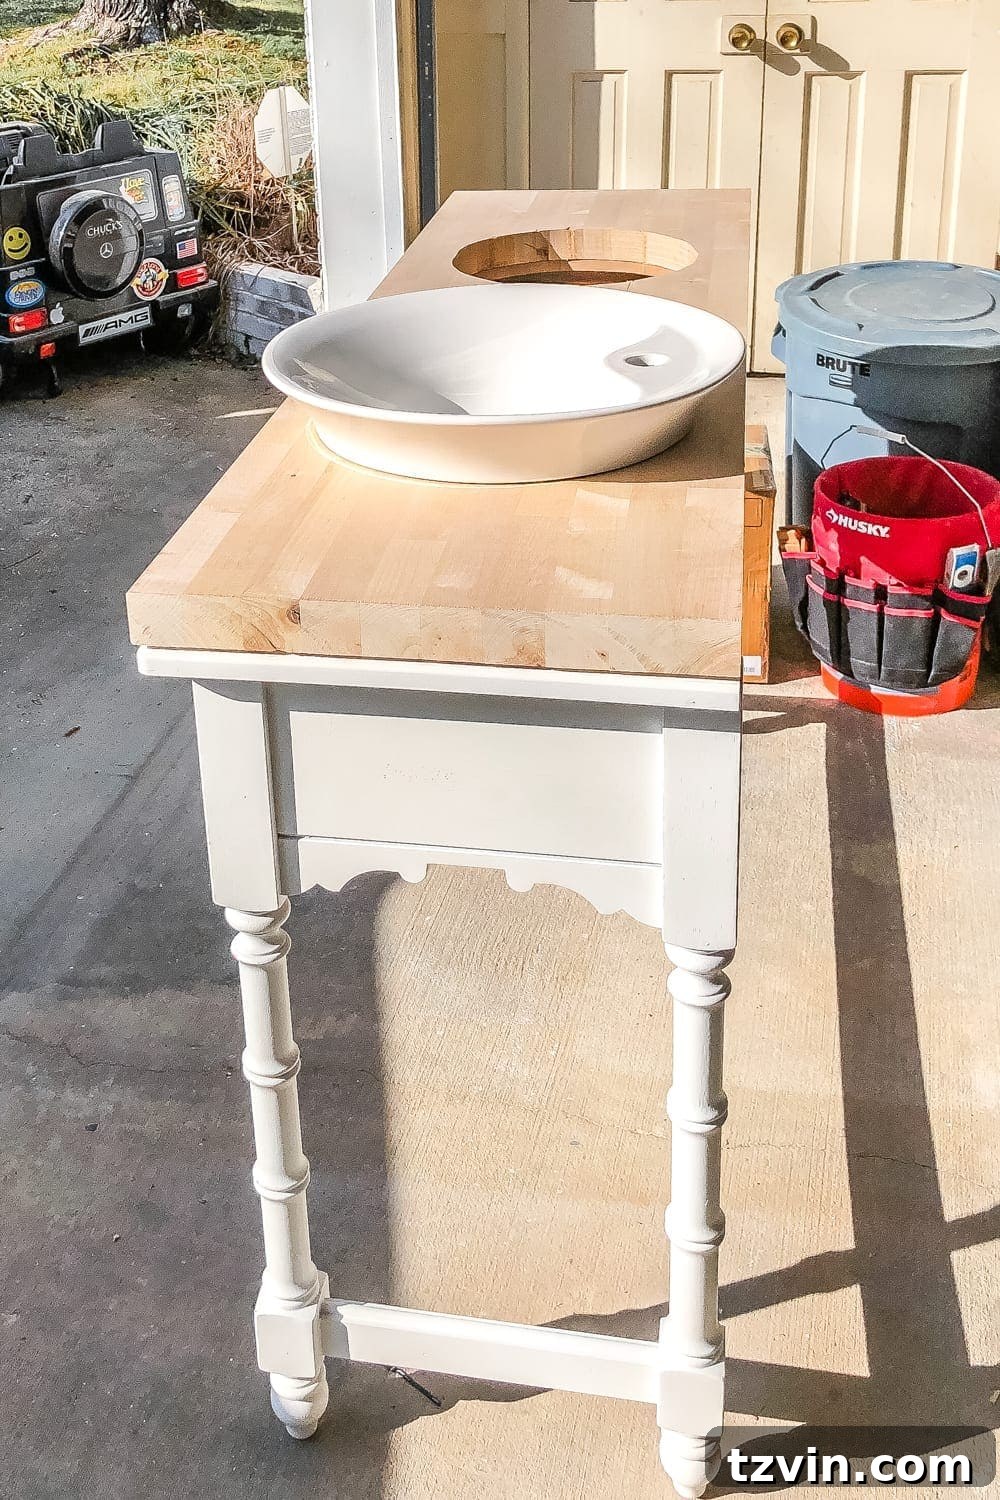
12. **Stain and Waterproof the Countertop:** This step is essential for durability in a moisture-rich bathroom environment. Before moving the vanity into the bathroom, we undertook the important, albeit messy, task of staining and waterproofing the butcher block. We applied two coats of Minwax Special Walnut stain to achieve a rich, warm tone. Following this, we applied four generous coats of Spar Urethane in a satin finish. Spar Urethane is specifically designed for marine applications and offers superior waterproofing, protecting the wood from splashes, humidity, and general wear and tear. Now, the girls can have their Barbie doll pool parties in the sinks without us worrying about water damage to the beautiful countertop!
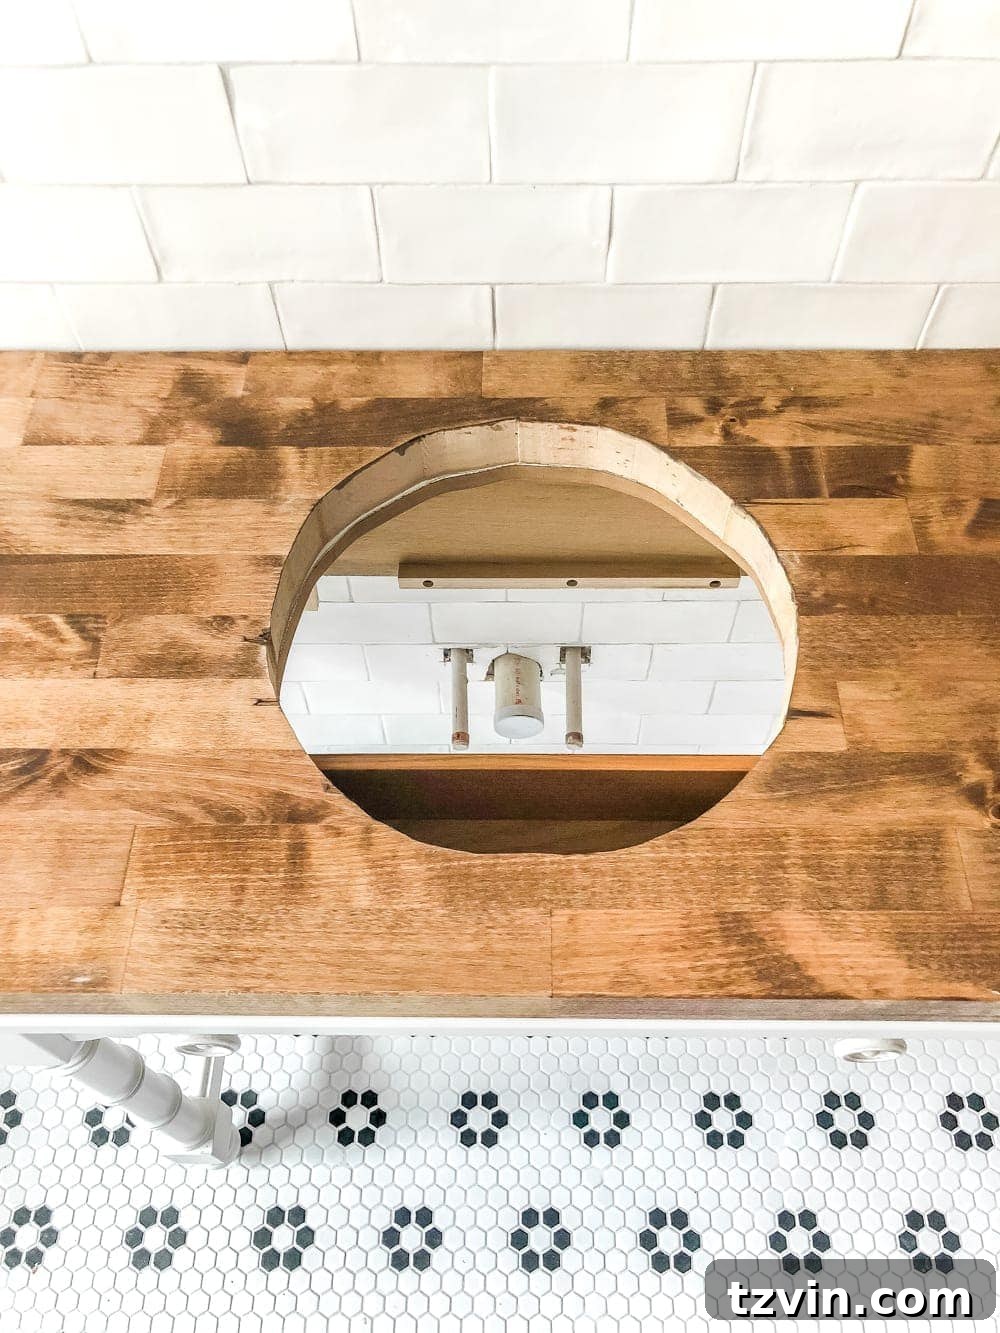
13. **Seal with Silicone Caulk:** Once the vanity is in its final position in the bathroom, apply a bead of clear silicone caulk along the back and side edges where the countertop meets the wall. This creates a watertight seal, preventing moisture from seeping behind the vanity and protecting your walls from water damage. A smooth, even bead will also give a professional, finished look.
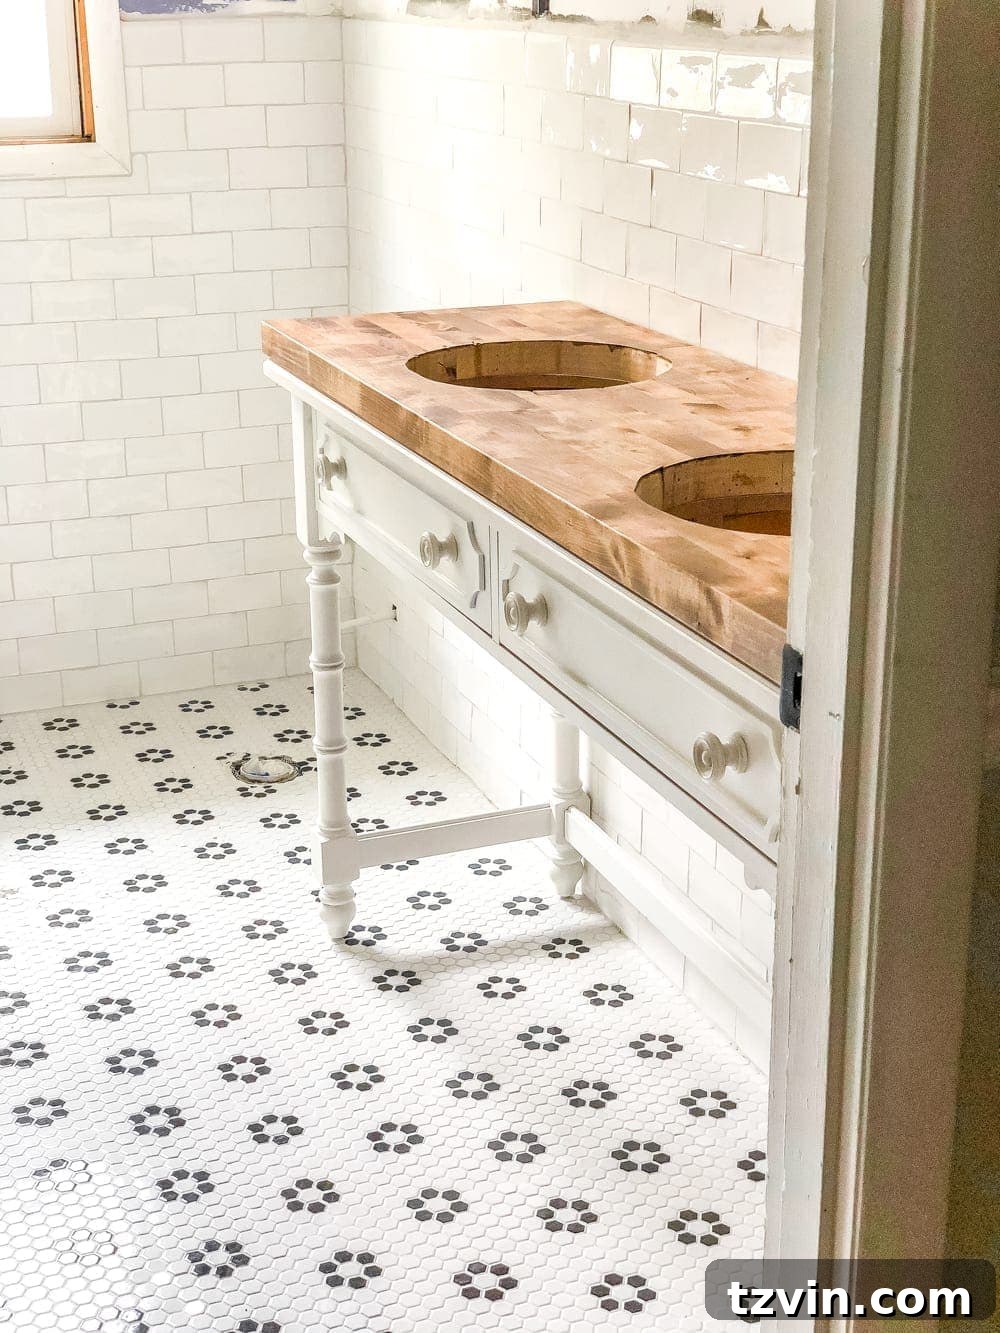
14. **Install Sinks and Plumbing:** Finally, follow your vessel sink manufacturer’s specific installation instructions for placing the sinks into the countertop openings and connecting the plumbing (faucets, drains, and supply lines). This step typically involves securing the sinks to the countertop and ensuring all connections are leak-free. Once complete, your stunning, custom-built vanity is ready to use!
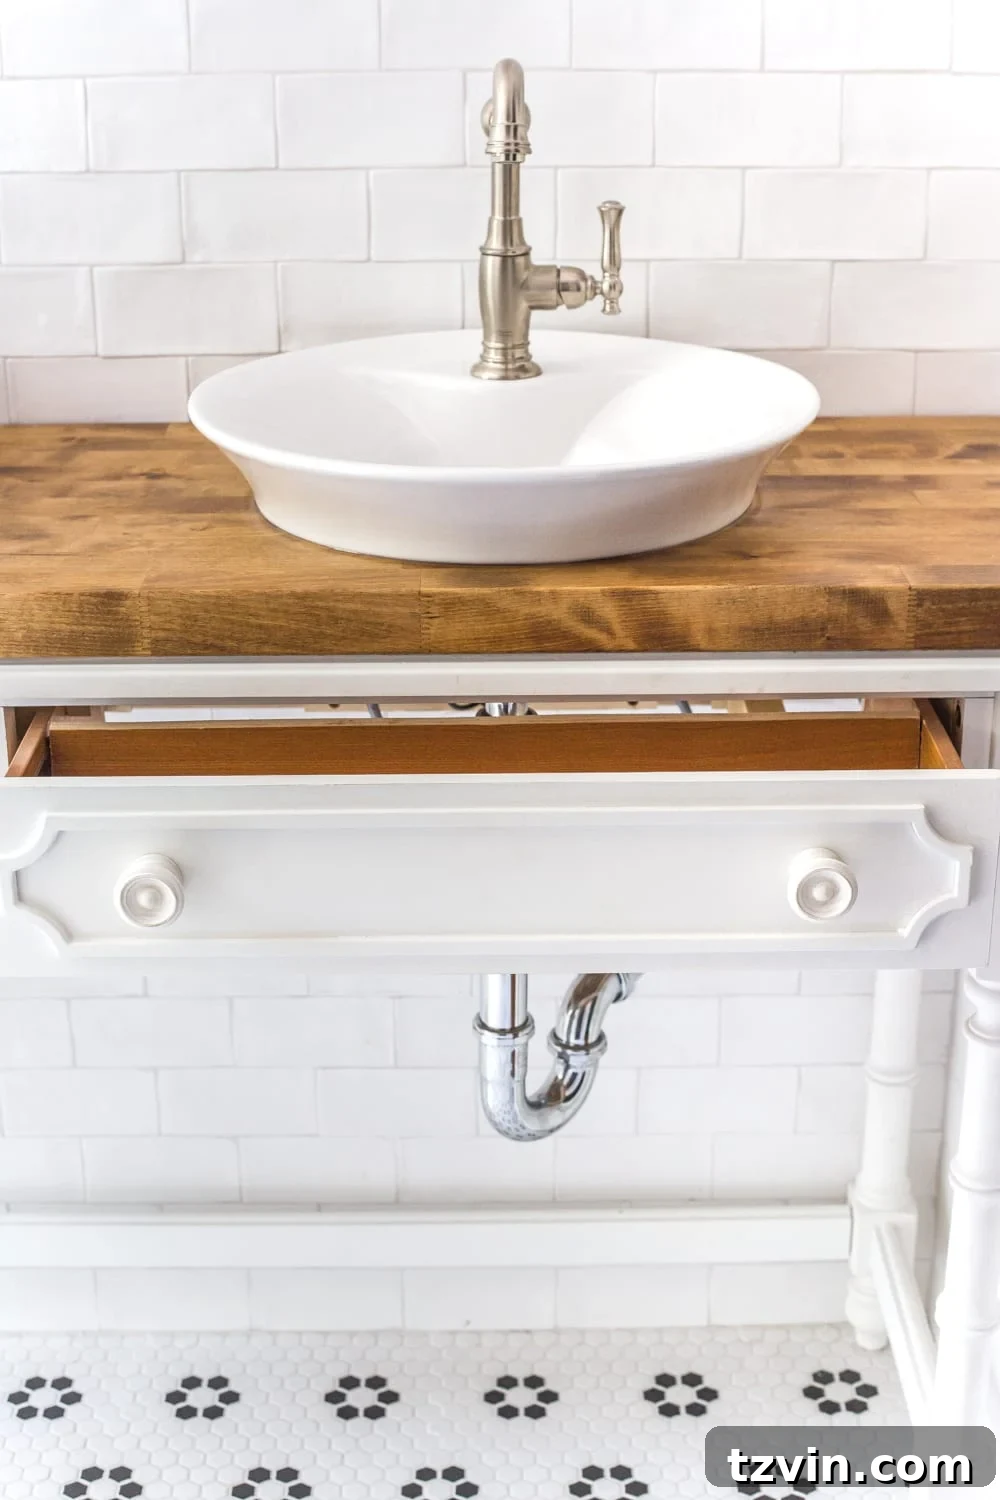
The result is absolutely perfect! The repurposed console table adds an incredible amount of character and warmth to the bathroom, making it feel less like a utilitarian space and more like a carefully curated room. The functional drawers are a game-changer, providing essential storage without sacrificing the open feel we desired for the narrow layout.
Our next steps in the #BlesserGirlyBathroom project involve painting the walls to complete the color scheme, installing the carefully chosen light fixtures, hanging elegant mirrors above each sink, and adding decorative elements that reflect the girls’ personalities. We’ll also be adding a couple of practical step stools for easy access to the sinks and a chic storage basket underneath for fresh towels. Oh, and a thorough organization of the linen closet is definitely on the to-do list!
Currently, our entire second floor bears the chaotic signs of an active renovation, looking as though a tornado passed through! However, we know all this craziness will be incredibly worth it when we see the finished, beautiful bathroom.
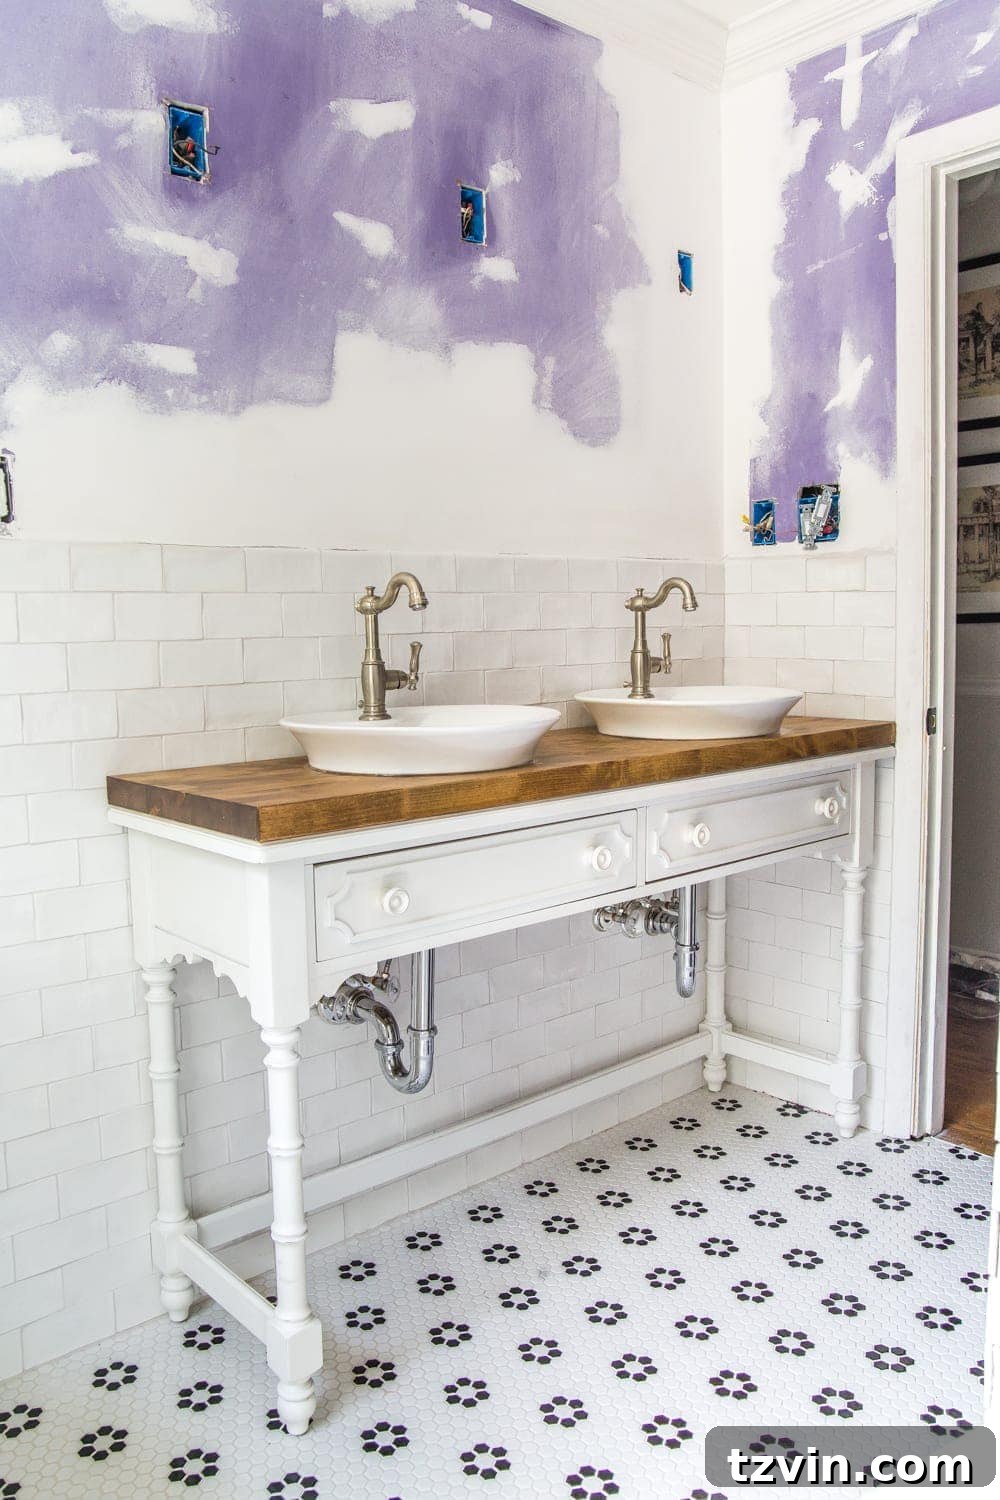
After seeing how wonderfully this console table transformed, I’m convinced I want to use repurposed furniture as bathroom vanities from now until the end of time. It injects so much unique fun and character that simply can’t be achieved with off-the-shelf vanities. Each piece tells a story and adds a layer of depth to the design.
We’re crossing our fingers and toes that the very next time you see this space, it will be fully finished and ready for its grand reveal! Stay tuned for more updates on this exciting home renovation project.
If you found this tutorial inspiring and want to save it for your own future DIY projects, you can easily pin it here: