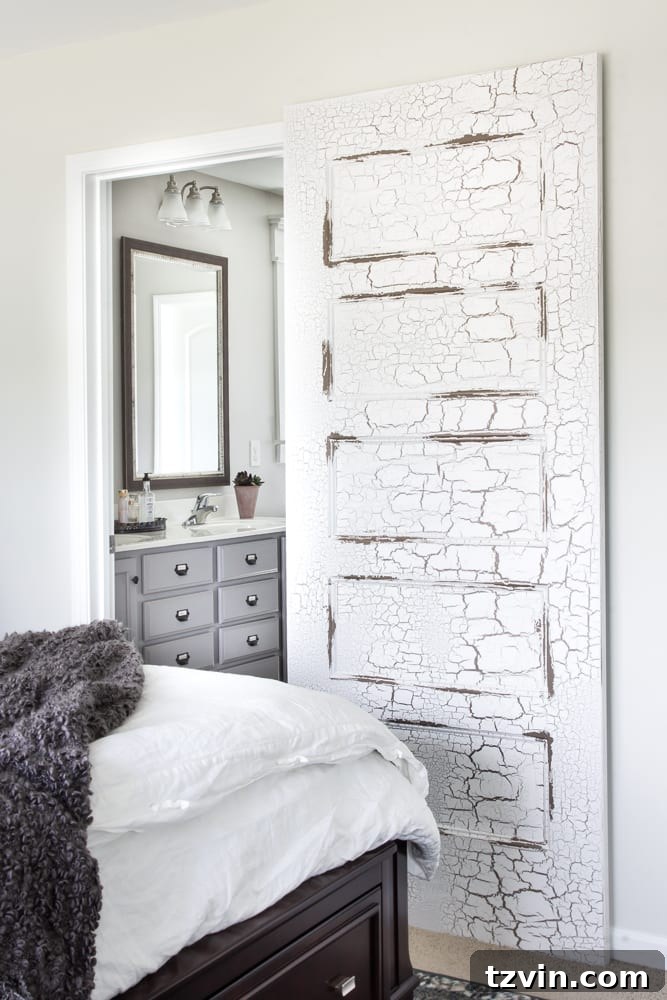
Transform Your Hollow Core Doors: Achieve a Stunning Chippy Paint Finish for Farmhouse Charm
Every DIY journey has its unexpected turns, its triumphs, and yes, its undeniable “flops.” Today, we’re diving into one such adventure that began with high hopes and ended with a complete pivot – all for the sake of a perfectly chippy, distressed door that would breathe rustic modern life into our master bedroom.
The Grand Plan Gone Awry: Our Initial Door Dilemma
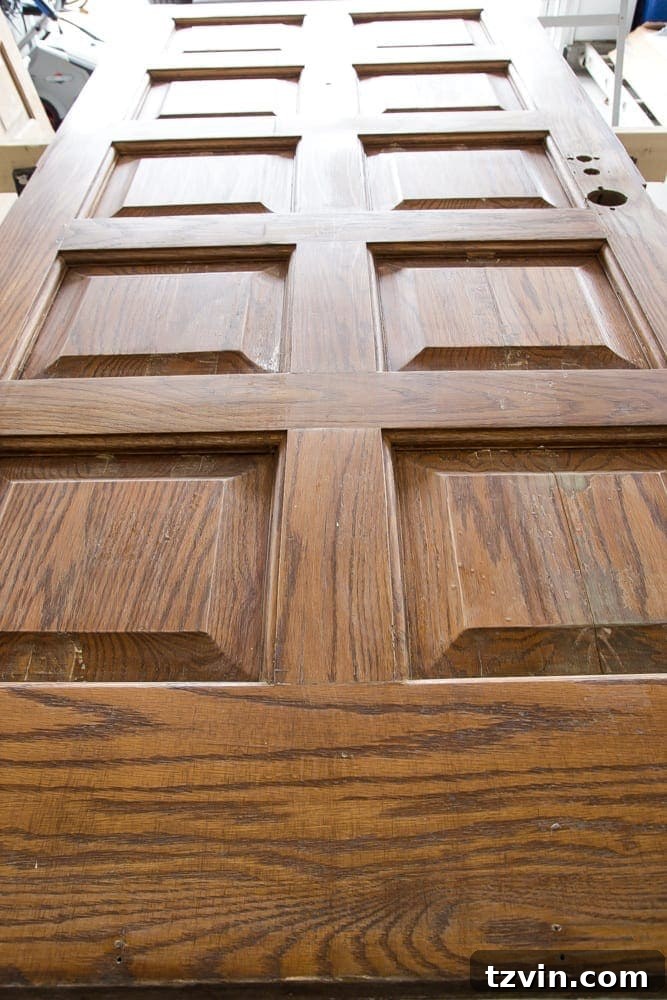
Let me take you back a couple of months, right when we were deep in the throes of our master bedroom makeover. My vision for this space involved incorporating reclaimed elements, natural textures, and a touch of farmhouse elegance. I believed I’d struck gold when I stumbled upon a pair of antique, solid oak doors on Craigslist – a mere $10 each! A steal, I thought, for that authentic, sturdy wood grain I so desperately craved. Little did I know, this “treasure” would soon become a significant test of patience and persistence.
My initial excitement led me down a path of arduous labor. Hours were spent tirelessly with varnish stripper, followed by what felt like an eternity of sanding with my palm sander. My arms ached, my fingers felt numb, and the air was thick with the scent of chemicals and sawdust. Yet, despite the immense effort, a closer inspection revealed the harsh truth: these doors were simply not suitable. They were riddled with cracks, evidence of years of wear and neglect, and their solid oak construction meant each door weighed an astounding 200 pounds. While I knew they were heavy going into it, my stubborn determination and a touch of DIY optimism had convinced me I could make them magically work.
UPDATE: See our full master bedroom makeover reveal here and witness the final transformation!
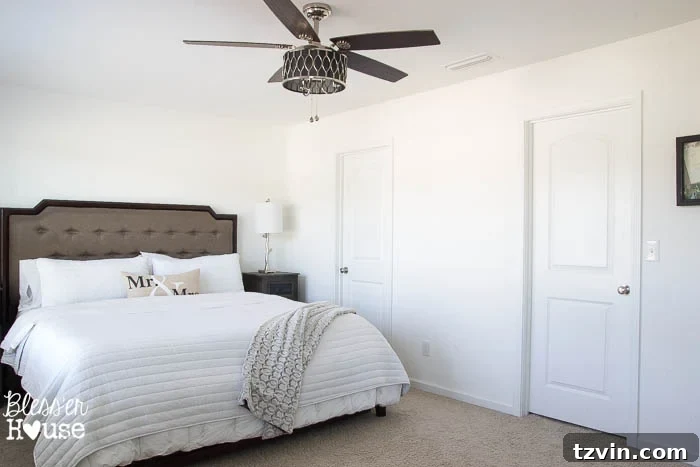
The primary objective for new doors in our master bedroom was to install them on a sliding track, a practical solution for our room’s awkward door configuration. The thought of mounting these colossal, 200-pound oak slabs onto a track filled me with dread. I was almost certain they would rip right out of the drywall, jeopardizing not just our renovation efforts but also the structural integrity of the wall itself. It was a disheartening realization, but it paved the way for a much-needed “Plan B.”
Embracing Plan B: The Unexpected Potential of Hollow Core Doors
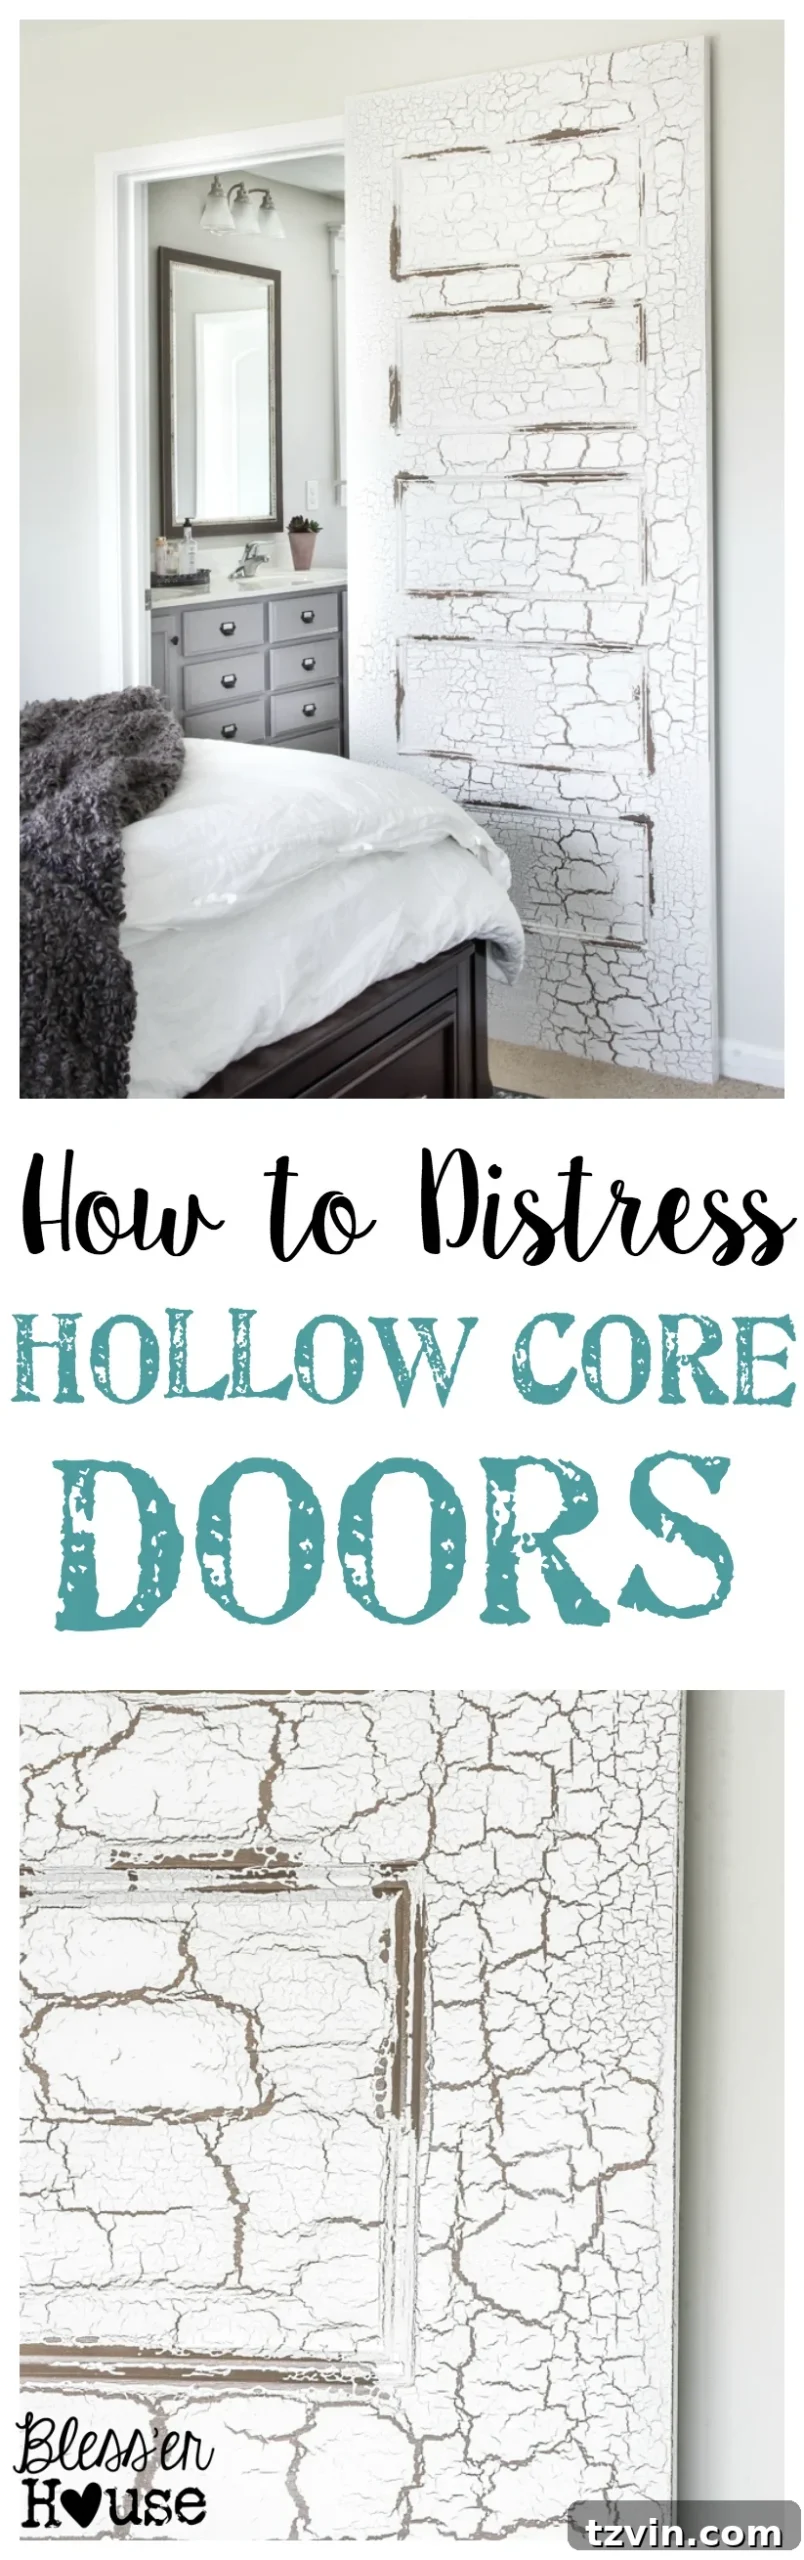
With the dream of solid oak antique doors shattered, I had to rethink my approach. My new target: hollow core doors. These lightweight, budget-friendly doors, often viewed as merely a step above cardboard, hardly screamed “farmhouse elegance.” However, I decided to embrace their simplicity and transform them into something truly special. Since achieving that coveted deep wood grain was no longer an option, I set my sights on creating an authentic, textured chippy paint finish – a look that would perfectly complement our rustic modern aesthetic.
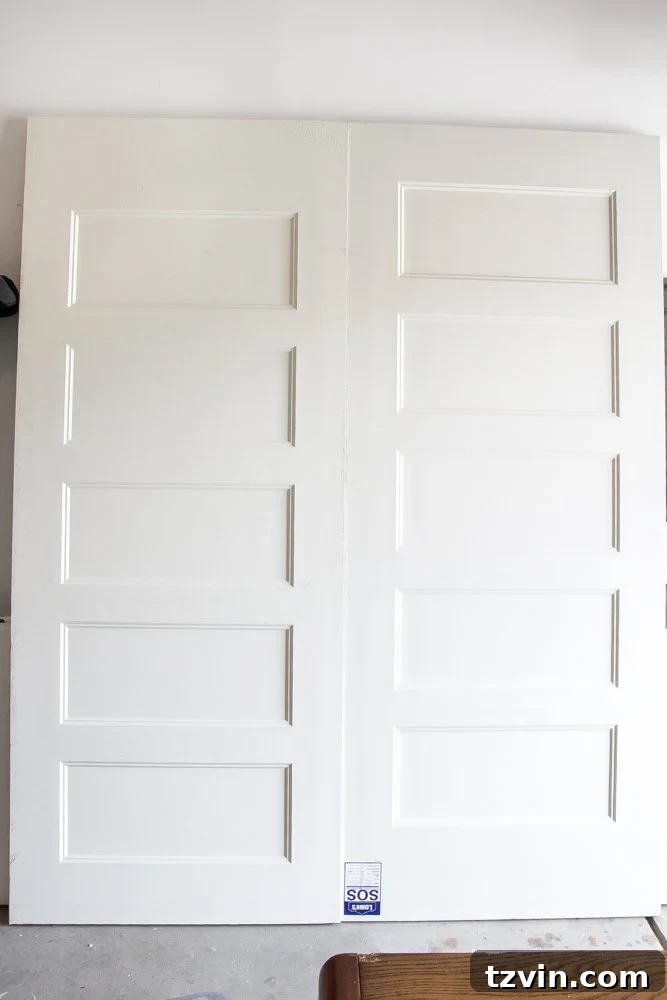
Creating a chippy paint finish on hollow core doors presents a unique challenge. Unlike solid wood, these doors lack natural texture and don’t typically age or “chip” in an authentic way. The key was to simulate that natural wear and tear, giving the illusion of layers of old paint revealing a sturdy wood base beneath. It required a bit of ingenuity and a layered approach, but the results were well worth the effort, coming as close to the “real deal” as possible.
DIY Door Makeover: Step-by-Step Guide to a Chippy Paint Finish
Ready to give your own hollow core doors a stunning farmhouse-inspired distressed look? Here’s a detailed breakdown of the steps I followed to achieve this beautiful chippy paint finish. This technique adds character and depth, transforming ordinary doors into statement pieces.
Supplies You’ll Need:
(Affiliate links are provided below for your convenience, allowing you to easily find the products I used. For more information regarding affiliate disclosures, please see my full disclosure here.)
- Fusion Mineral Paint in Algonquin (for the base coat, simulating wood)
- Crackle Medium (I used CraftSmart from Michaels, but any reputable brand will work)
- Vaseline (for targeted distressing)
- Fusion Mineral Paint in Casement (for the top coat, a creamy white)
- Quality Paint Brush (This one is my personal favorite for smooth application)
- Paint Sprayer (I highly recommend this model from HomeRight – it made the top coat a breeze!)
- Hollow Core Doors of your choice (I found my 5-panel doors at Lowe’s during a sale – always look for discounts!)
- Clean Rags
Step 1: Applying the Base Coat (The “Wood” Layer)
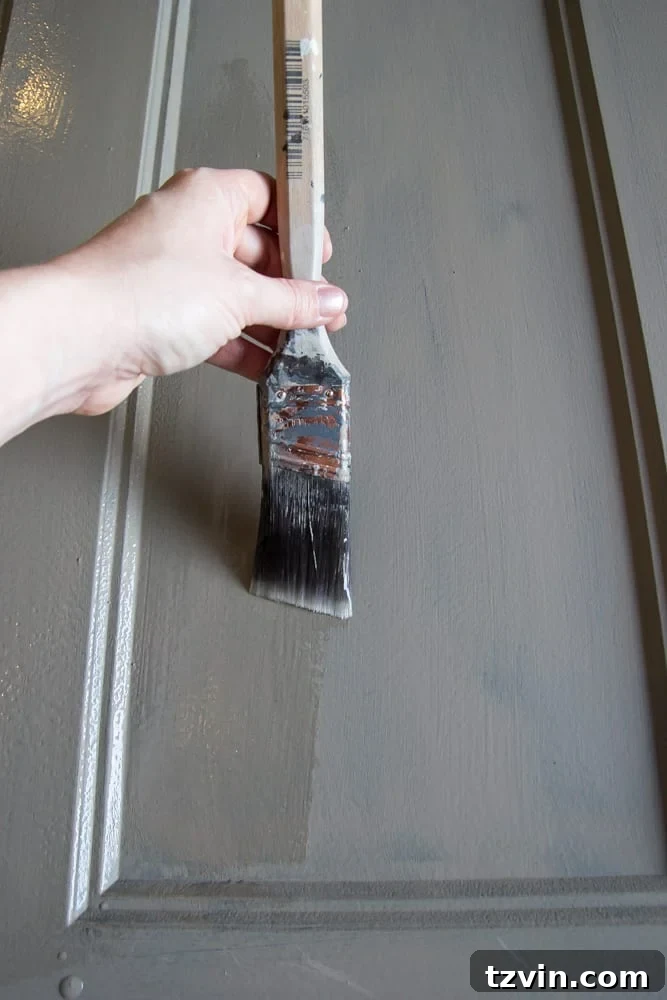
To create the illusion of a solid wood door beneath the distressed paint, I started by applying a single coat of Fusion Mineral Paint in “Algonquin.” This warm, earthy brown shade provides the perfect foundation, mimicking the natural tone of aged wood. While I opted for a paintbrush for this initial layer, a paint sprayer could also be used if preferred. Since this was purely a base layer meant to show through the chippy topcoat, I only applied one coat, focusing on good coverage rather than absolute perfection. Let this coat dry completely before moving on.
Step 2: Unleashing the Crackle Medium
Once the “Algonquin” base was thoroughly dry, I brushed on the clear crackle medium. The thickness of this application directly impacts the size and prominence of your cracks – a thicker coat will result in larger, more dramatic cracks. I applied it quite generously to achieve a significant distressed effect. It’s crucial to lay your door flat during this step to ensure an even application and prevent any drips or puddles, which could disrupt the crackle pattern. Always follow the specific instructions provided on your crackle medium product for best results. I let the crackle medium dry completely, which typically took about 2-3 hours.
Step 3: Strategic Distressing with Vaseline
For an extra touch of authentic wear, I used my fingers to lightly rub a small amount of Vaseline onto specific edges and raised areas of the door panels. These are the spots where paint would naturally rub off and chip away over time due to handling and age. This step is key to creating a truly organic distressed look.
Step 4: The Game-Changer – Applying the Top Coat with a Paint Sprayer
This is where the magic truly happens, and my trusty paint sprayer became an indispensable tool. If you’ve never used a paint sprayer before, prepare for a revelation – it can drastically cut down on painting time and deliver a flawlessly smooth finish. It literally saved me an hour of hand-painting per door, a huge time-saver that I plan to leverage for our upcoming kitchen cabinet makeover!
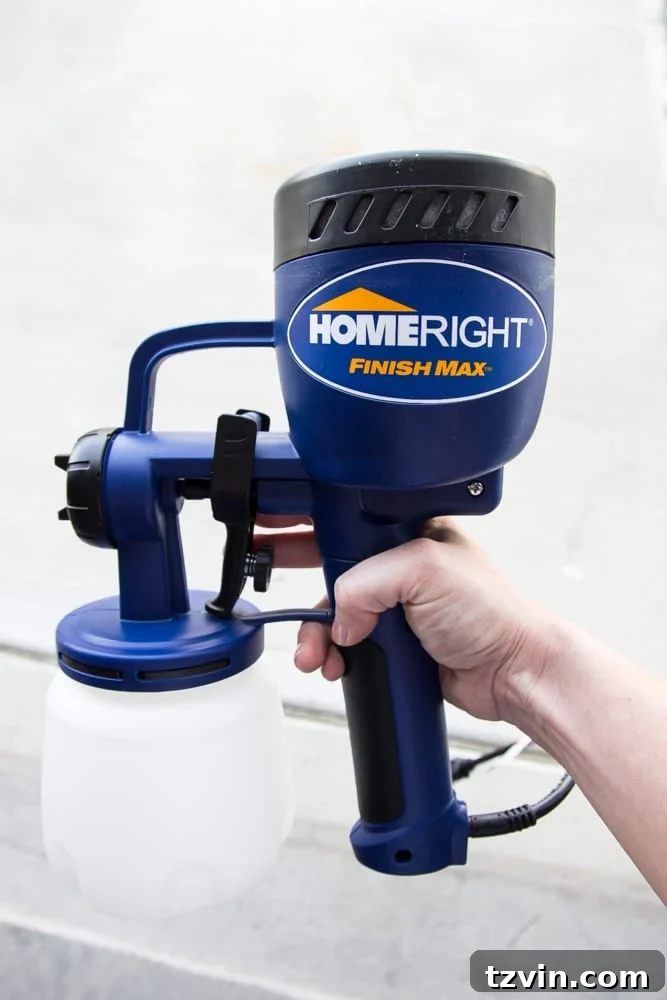
A paint sprayer is particularly beneficial when working with crackle medium. Over-brushing paint on top of crackle medium can prevent it from working correctly, resulting in a gunky, uneven texture rather than the desired cracks. Conversely, trying to achieve even coverage with a single brush stroke (which is often recommended for crackle medium) can leave visible, unsightly brush marks on larger surfaces like doors. The sprayer bypasses both these problems, providing a smooth, even application without disturbing the crackle base.
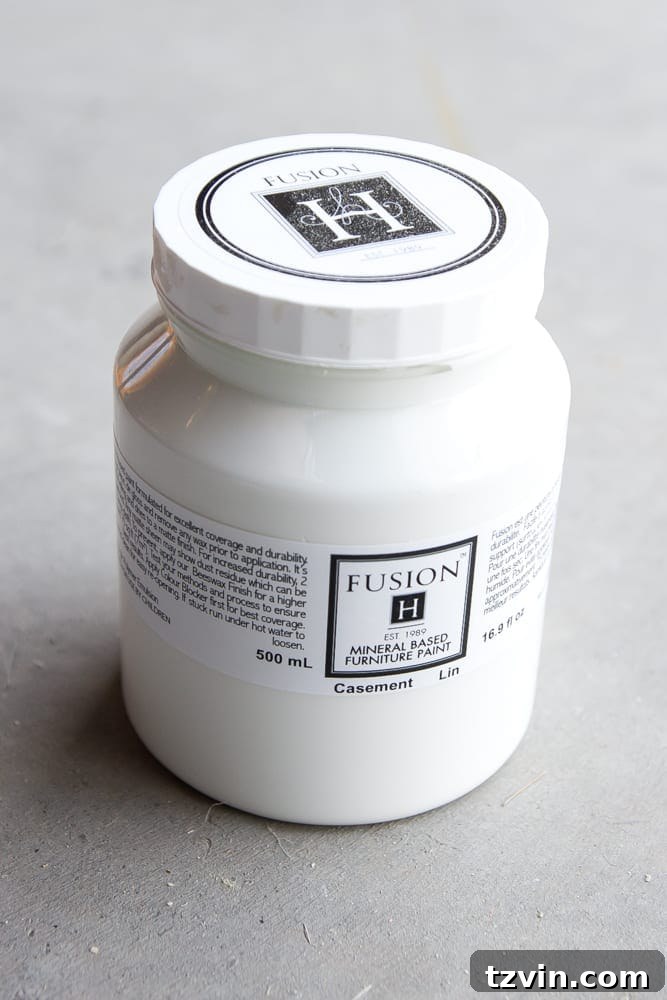
I filled the sprayer’s paint chamber with an entire 500mL bottle of Fusion Mineral Paint in “Casement,” a beautiful creamy white, thinning it with about 10% water for optimal spray consistency. This quantity was just enough to cover one door, front and back, with a single, thick coat. If you’re new to paint sprayers, I highly recommend practicing with water first on a scrap piece of cardboard to get a feel for the tool and ensure you can achieve a steady, even stream before moving on to your project. I applied one fairly thick coat of the “Casement” to ensure excellent coverage, knowing a second coat wouldn’t be possible due to the crackle medium. Then, I simply watched in anticipation as the crackle effect began to appear before my eyes within minutes – truly a magical transformation!
Step 5: Revealing the Distress
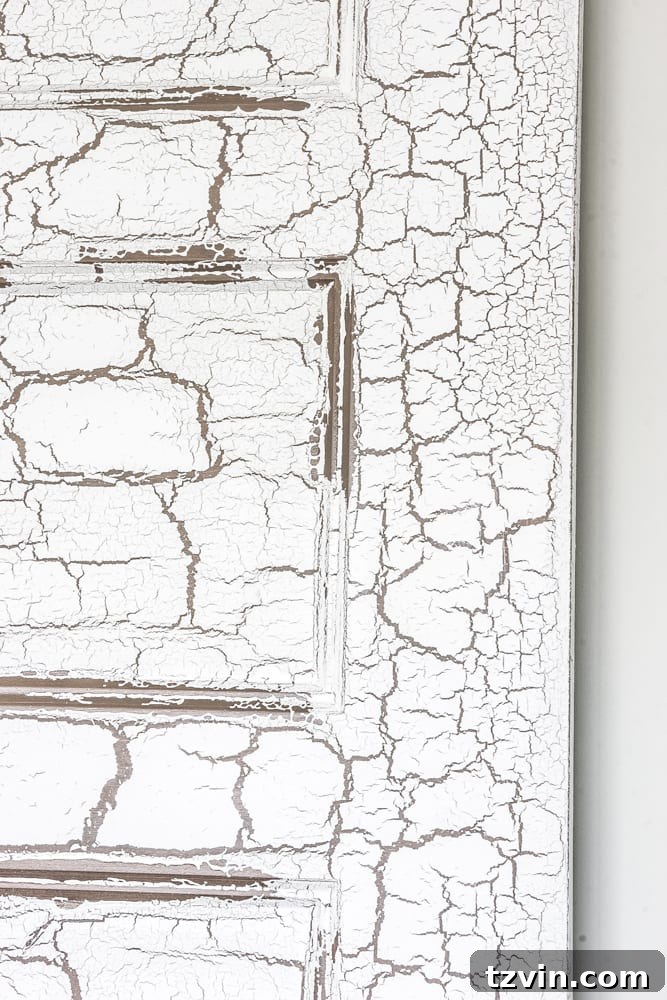
Once the top coat was completely dry and the crackle effect fully developed, I took a clean rag and gently wiped away the Vaseline from the panel edges. This simple action immediately revealed the warm “Algonquin” brown base coat underneath, creating those perfectly aged, chippy spots that give the doors their authentic distressed character.
The Final Reveal: Bringing Farmhouse Charm to Our Master Bedroom
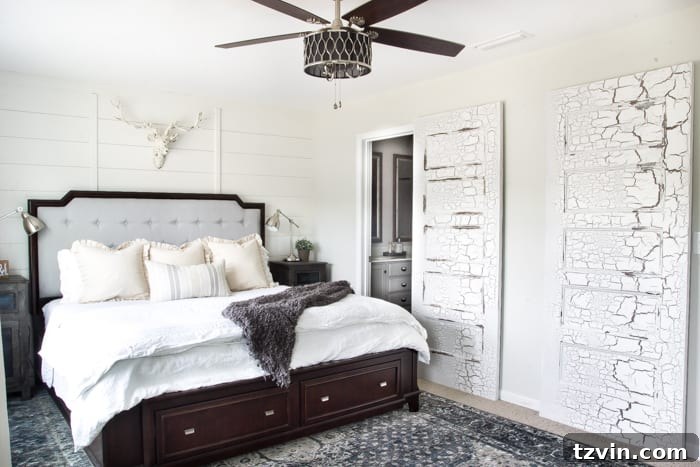
After a journey of trial, error, and a complete change of plans, I couldn’t be happier with how these distressed hollow core doors turned out. The chippy paint finish adds an incredible amount of character and warmth, perfectly aligning with the rustic modern farmhouse aesthetic we envisioned for our master bedroom. It’s truly rewarding to take something as basic as a hollow core door and transform it into a piece that looks authentically aged and full of charm.
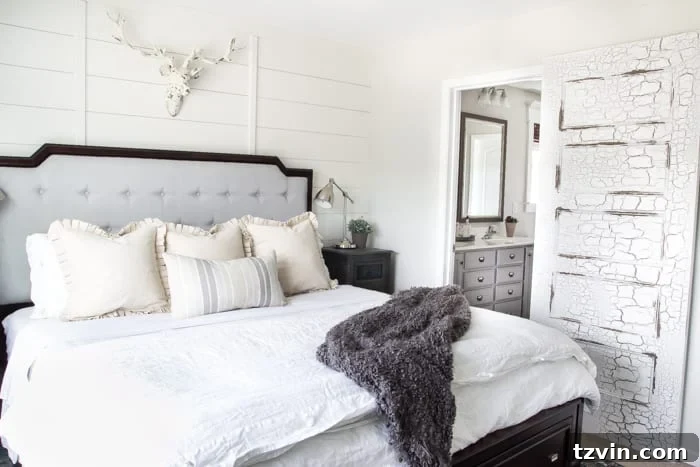
Our next exciting step is to install these beautifully distressed doors on a barn door track. This functional and stylish solution will finally resolve the persistent “traffic jam” caused by our bathroom door constantly clashing with our shower door – a daily struggle for Robert, Olivia, and me! The combination of the chippy texture on the doors and the sleek industrial feel of the metal track will undoubtedly elevate the room’s design, bringing in just the right touch of farmhouse personality. While this bedroom makeover ended up leaning a little more modern than my initial plan, I’ve truly fallen in love with the outcome.
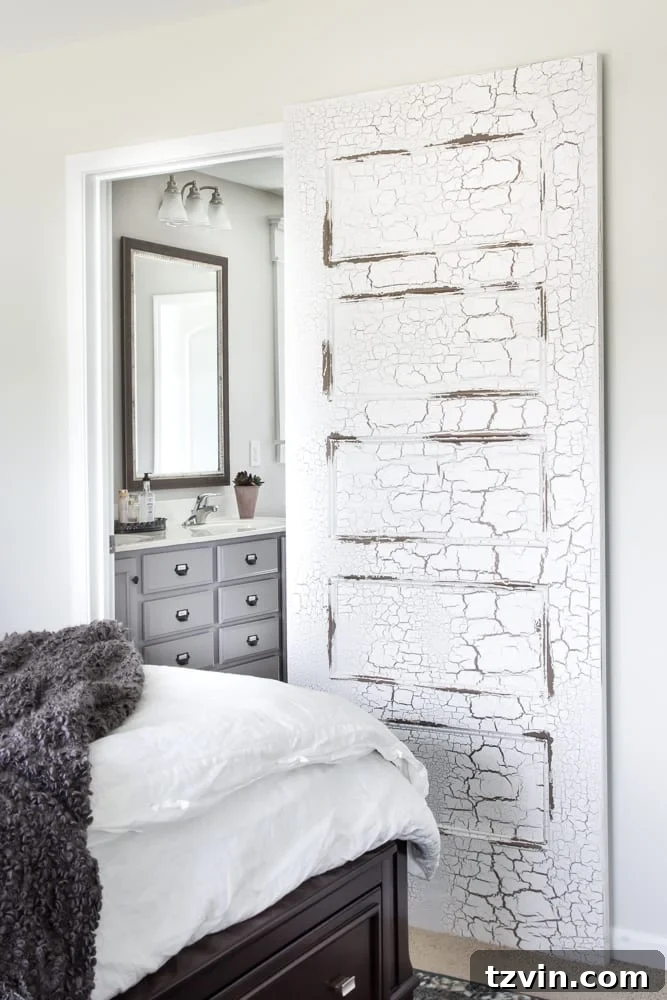
So, what are your thoughts on this DIY door transformation? Do you love the perfectly chippy, aged look? Or do you think we’re successfully fooling anyone into believing these aren’t just humble hollow core doors? After several attempts to find the perfect door solution for this space, I’m simply thrilled that this project is finally complete and looks exactly as I envisioned.
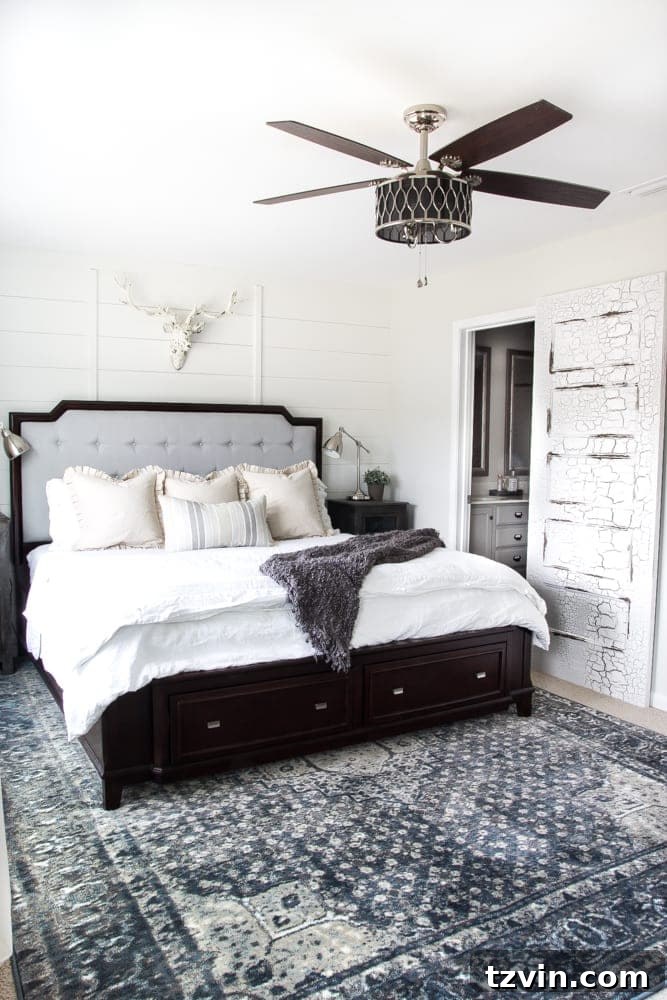
Transforming an ordinary hollow core door with a chippy paint finish is a fantastic way to add character and farmhouse charm to any room on a budget. It’s a testament to how creative DIY solutions can overcome unexpected challenges and lead to truly beautiful results.
If you’ve been following along with our master bedroom makeover or want to catch up on the full journey, don’t miss these other exciting projects and design plans from the beginning:
- Master Bedroom Design Plan: Setting the Vision
- The Savvy Trick to Getting Designer Paint Colors for Less
- Our DIY Planked Board and Batten Focal Wall Reveal
- Quick and Easy Dresser Makeover: A Simple Update
- 3 Must-Do Tricks to Upgrade Plain Windows for Added Style
- Choosing the Perfect Blue Vintage Rug for Our Bedroom
- DIY Metal Industrial Initial Sign: Adding a Personalized Touch
If this tutorial inspires you to distress your own hollow core doors and infuse your home with that sought-after chippy charm, be sure to pin this post for future reference! It’s a rewarding project that truly elevates the character of your living space.
P.S. I want to extend a huge thank you to all of you for your incredibly kind words following last week’s e-course launch! Your support means the world. I truly hope you’re enjoying it and finding it valuable. Have any of you completed it yet? What were your key takeaways or favorite parts? I’d love to hear your thoughts!