The Ultimate Beginner’s Guide to DIY Tools: Essential Power, Manual, and Painting Equipment
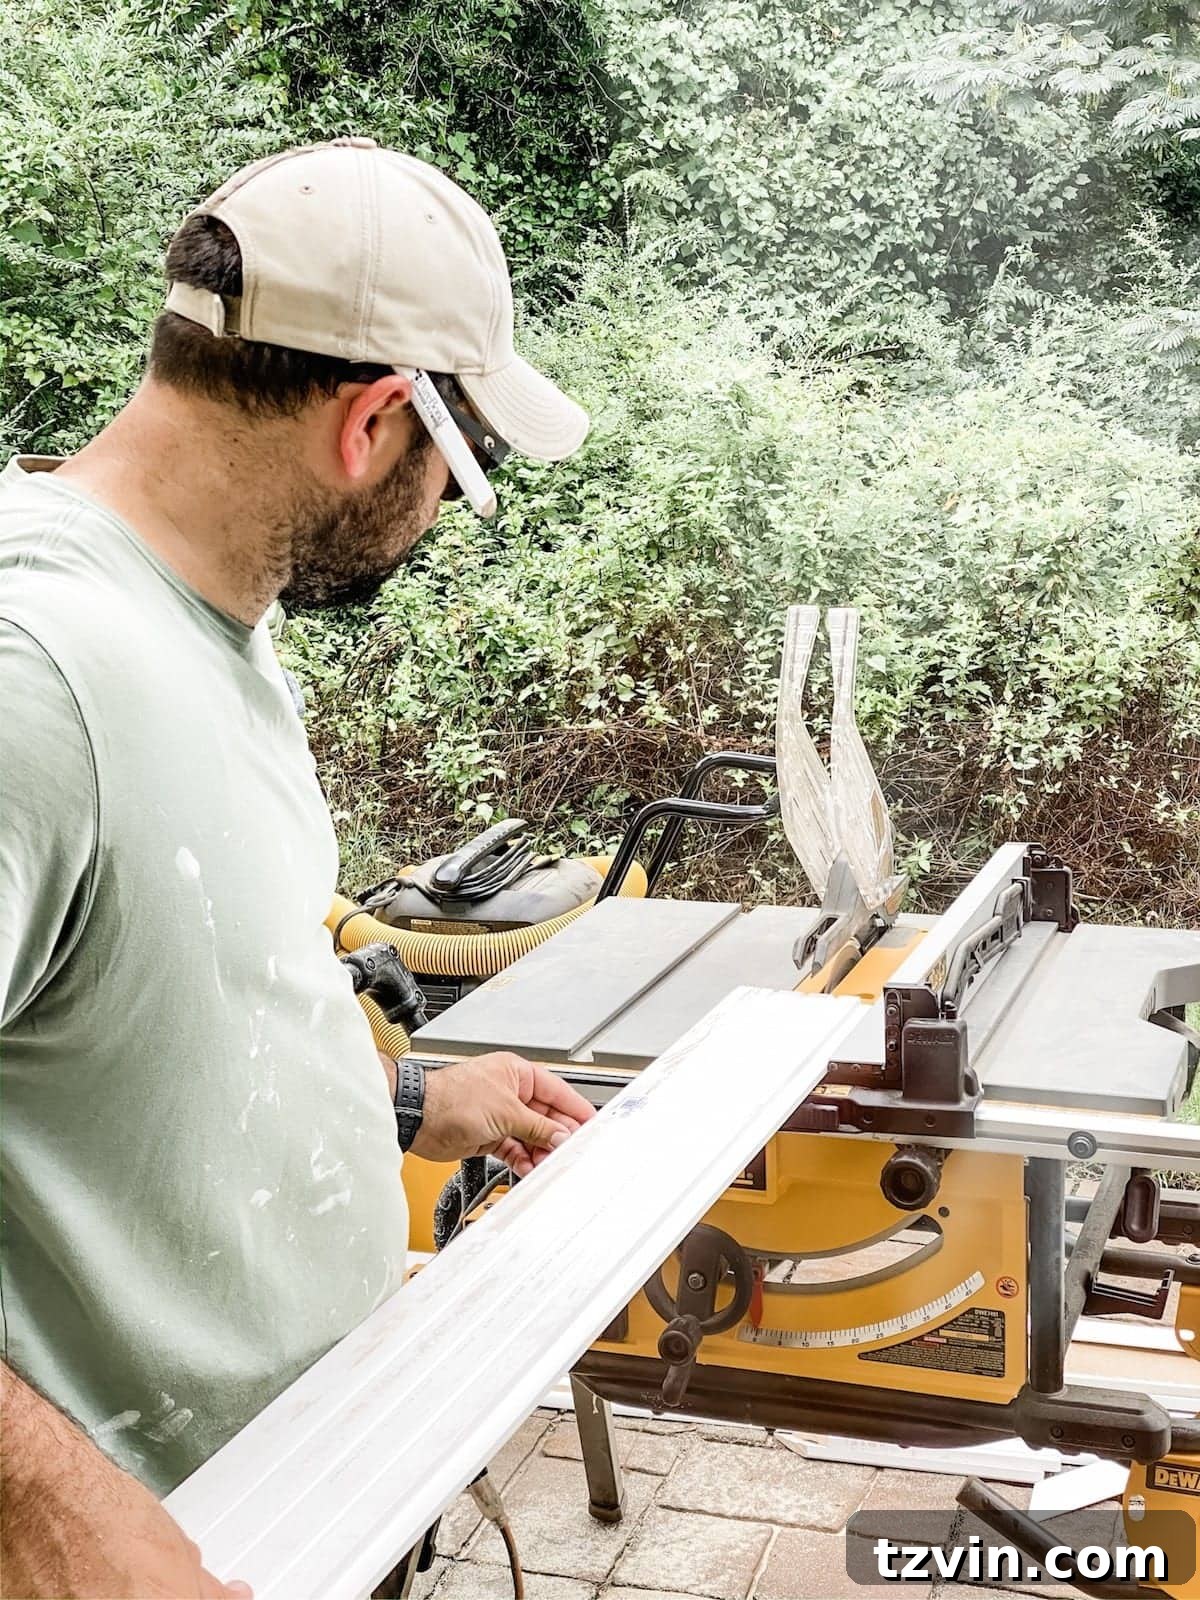
Stepping into the world of DIY can feel overwhelming, especially when faced with the vast array of tools available. For many, the mere thought of operating a power saw or handling a nail gun brings a rush of intimidation. Seven years ago, I was exactly there – a complete novice who had never held a saw, let alone understood the purpose of many common workshop tools. My only real exposure to power tools was watching Tim “The Tool Man” Taylor on Home Improvement, where he often turned everyday tools into comical, over-the-top contraptions. That feeling of being intimidated by tools? It was a massive understatement.
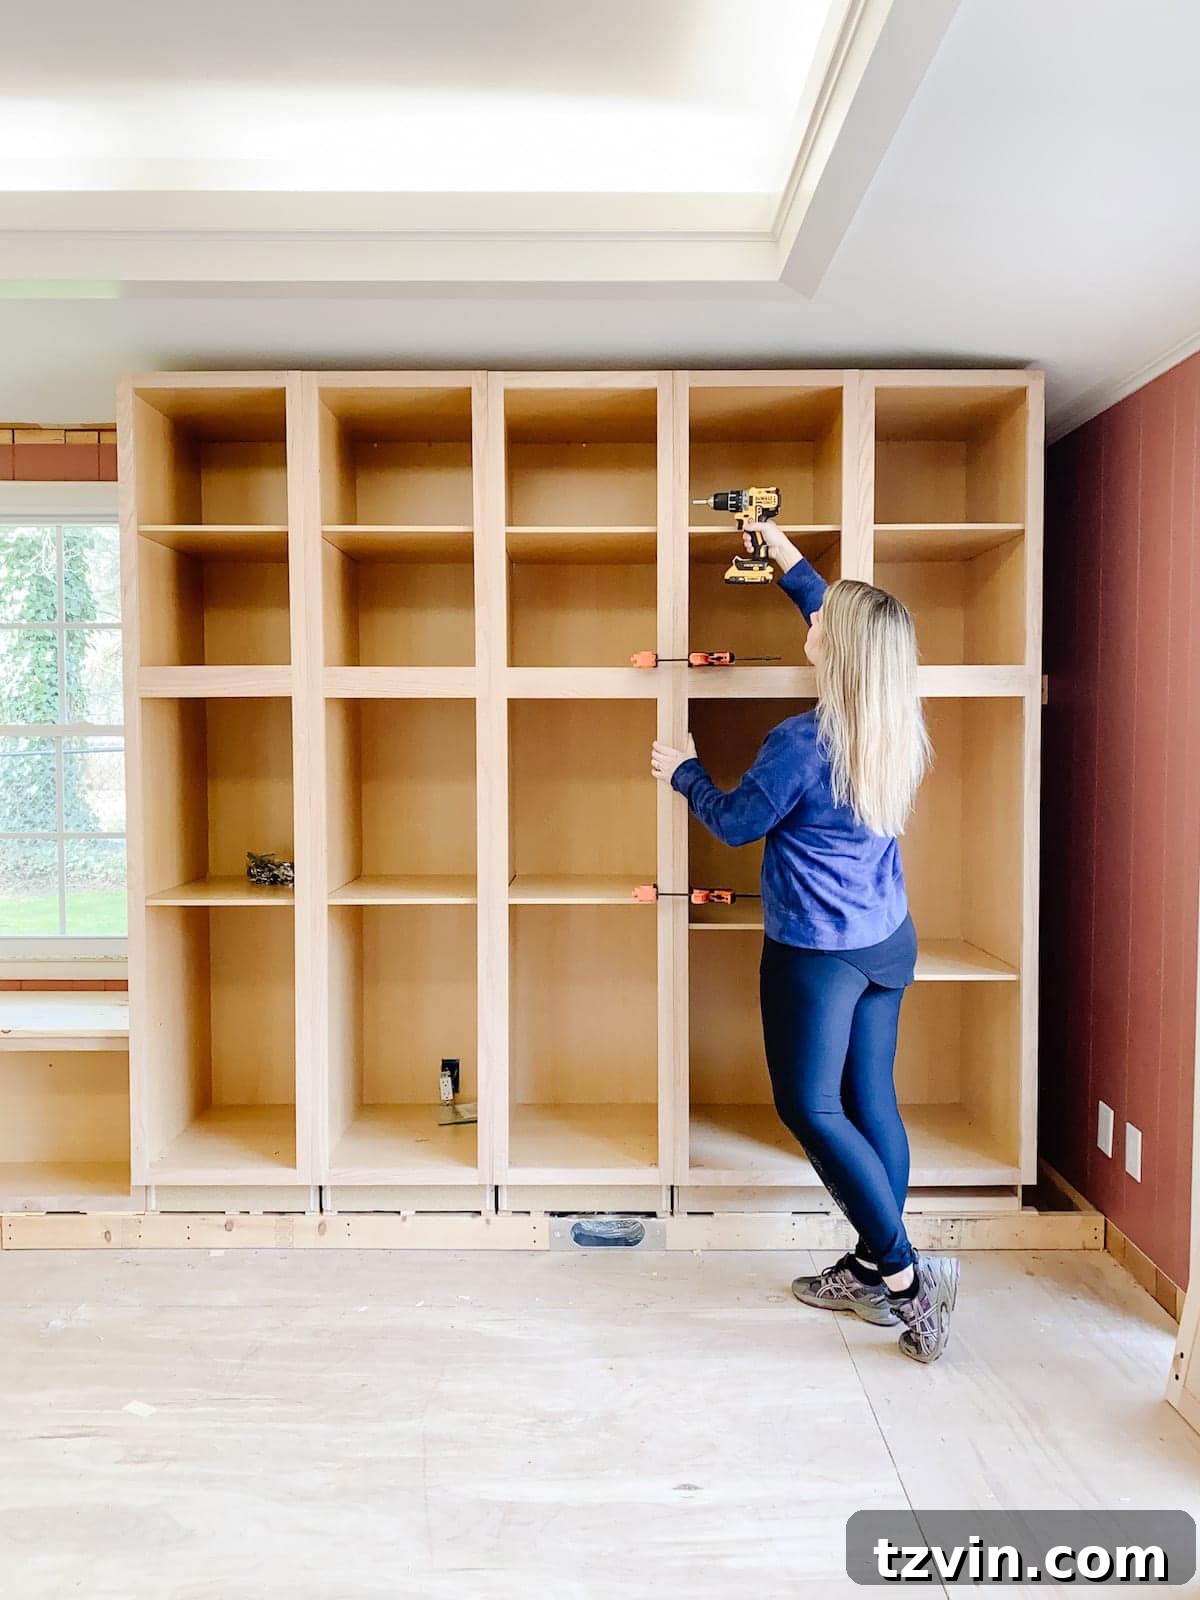
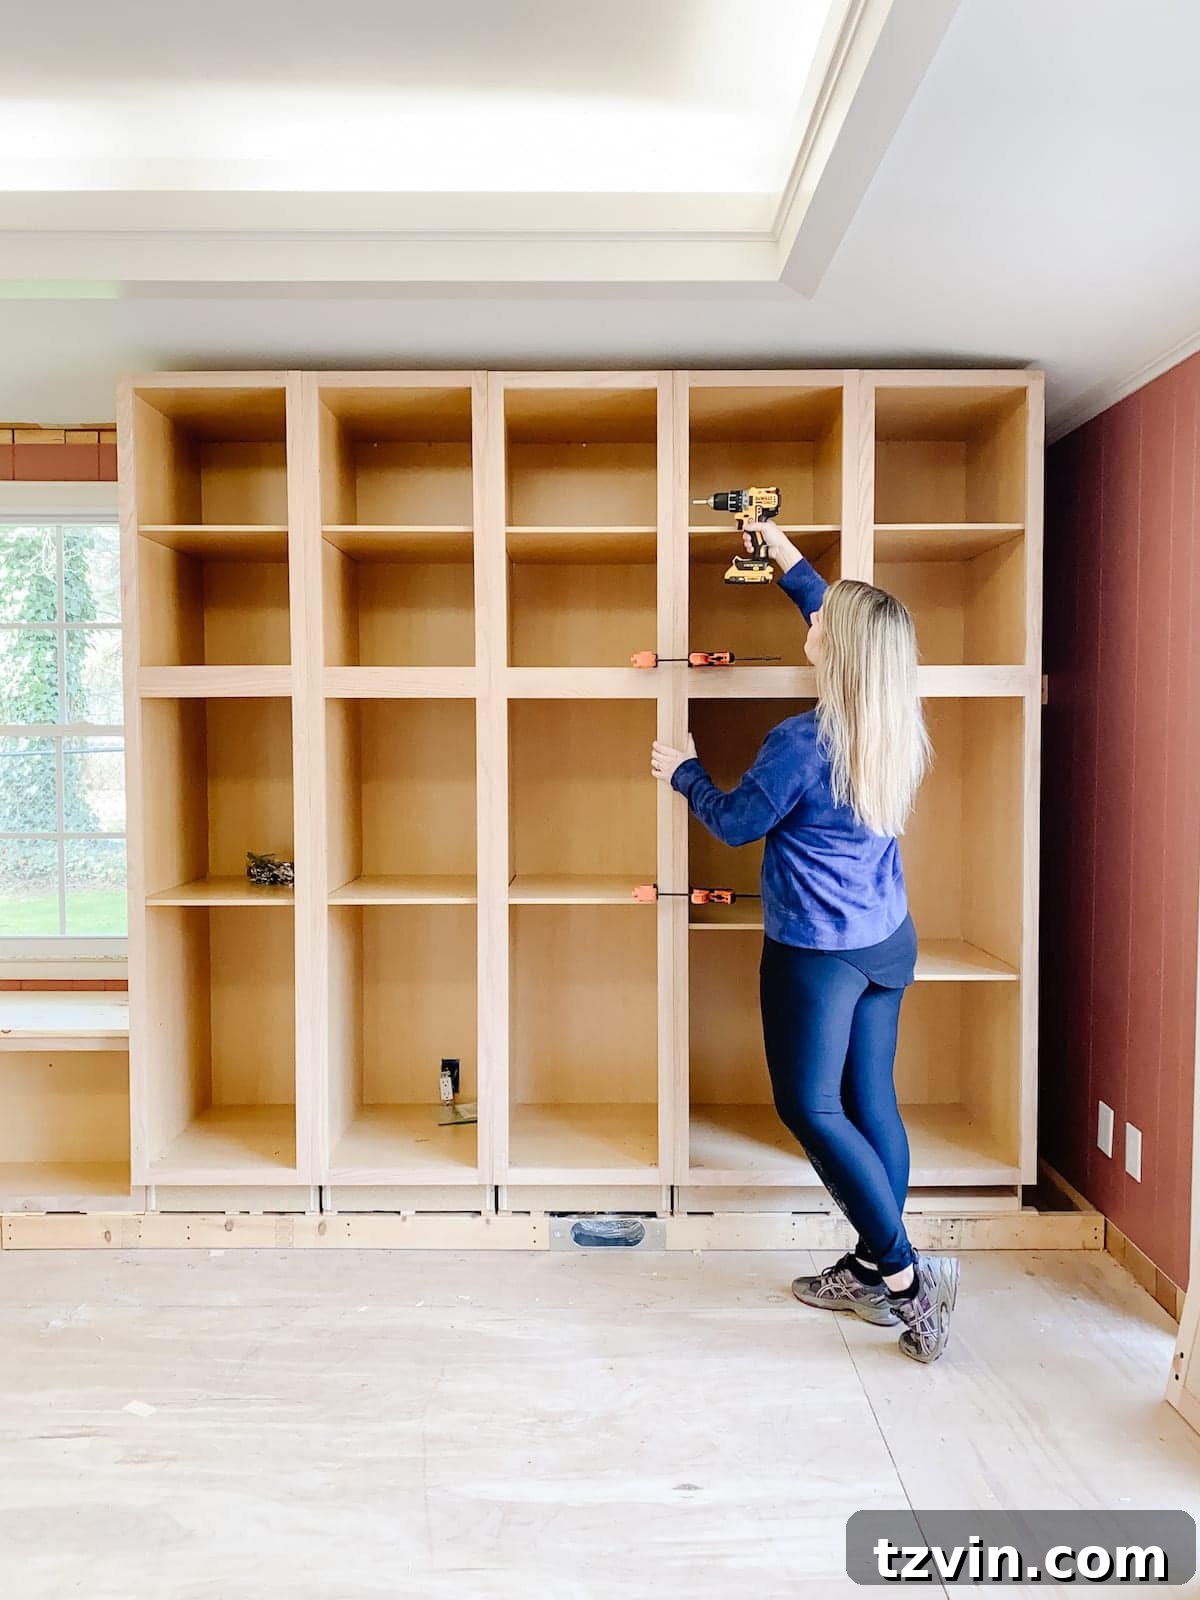
While my husband, Robert, remains the more advanced DIYer in our dynamic duo, my journey from tool-fearing beginner to confident home improvement enthusiast has been incredibly rewarding. I’ve reached a point where I can confidently tackle numerous projects on my own, having conquered many of my initial fears. Recently, as Robert and I worked on the built-in cabinets for our Carney project, I realized this was the perfect opportunity to share my experience and compile a comprehensive guide for anyone looking to start their own DIY adventure but feeling completely overwhelmed by tools.
Why Embrace DIY? The Power of Making and Saving
Before diving into the tools themselves, it’s worth reflecting on why DIY is such a fulfilling endeavor. Beyond the obvious financial savings, DIY projects offer a unique sense of accomplishment and creative expression. You gain the ability to customize your home exactly to your taste, learn valuable new skills, and foster a deeper connection with your living space. From simple repairs to ambitious renovations, the journey of DIY empowers you to transform ideas into tangible results, building confidence with every successful project. It’s about more than just saving money; it’s about personal growth and the immense satisfaction of saying, “I made this!”
Conquering Tool Intimidation: Your First Steps into DIY
The first hurdle for many aspiring DIYers is overcoming the initial fear and intimidation associated with tools. It’s a completely normal feeling, but it’s one that can be easily overcome with the right approach. Remember, every expert started as a beginner. The key is to approach learning with patience, prioritize safety, and build your skills gradually.
How to Learn to Use Tools as a Beginner: Practical Strategies
Embarking on your DIY journey requires a structured approach to learning. Here are some of my best tips to help you get started:
1. Harness the Power of YouTube.
YouTube is an invaluable resource for learning how to operate virtually any tool. I’ve personally learned a tremendous amount by watching video demonstrations. When searching, use specific phrases like “How to Use a Porter Cable Nail Gun” or “Beginner Guide to Circular Saws” to find precise, step-by-step instructions. Look for channels that offer clear visuals, detailed explanations, and safety tips. Many experienced DIYers and professionals share their knowledge freely, providing an accessible learning platform right at your fingertips.
2. Seek Mentorship from Experienced Friends or Family.
There’s no substitute for hands-on guidance. If you’re fortunate enough to have a friend or family member with construction or DIY experience, don’t hesitate to ask them for help. Robert’s dad, with his decades of construction knowledge, has been an incredible mentor, teaching us countless tricks and techniques over the years. Learning from someone experienced not only accelerates your skill development but also provides immediate feedback and safety supervision, building your confidence in a secure environment. Consider local workshops or community centers if personal mentorship isn’t an option.
3. Make Safety Your Absolute Priority.
Before you even pick up a tool, commit to making safety your number one concern. Always wear appropriate personal protective equipment (PPE), which includes safety glasses, work gloves, and hearing protection, especially when operating power tools. Familiarize yourself with each tool’s safety features and read the manufacturer’s manual thoroughly before use. Understand how to properly hold, operate, and store your tools. Always keep your hands clear of blades and nailers, and maintain a tidy and well-lit workspace to prevent accidents. A safe DIYer is a confident and effective DIYer.
4. Start Small and Build Momentum.
Don’t jump straight into renovating your entire kitchen. Instead, choose a beginner-level, low-intensity DIY project that feels manageable and attempt it. Starting with simpler tasks allows you to get comfortable with basic tools and techniques without the pressure of a complex outcome. Each successful small project will boost your confidence and prepare you for more challenging endeavors. The goal is to gradually expand your skill set and tackle increasingly intricate tasks.
Recommended Beginner-Level DIY Projects to Practice With:
These projects are excellent for honing basic tool skills and building confidence:
- Wood Candlestick Holder: Great for learning basic cutting and sanding.
- Bathtub Tray: Introduces simple joinery and finishing techniques.
- Shower Curtain “Canvas” Art: A creative project that might involve basic framing or mounting skills.
- DIY Cutting Boards from Scrap Wood: Excellent for practicing straight cuts, sanding, and applying food-safe finishes.
- DIY Art Ledge: Teaches measuring, cutting, and secure wall mounting.
- DIY Bench: A more involved project that builds on foundational woodworking skills.
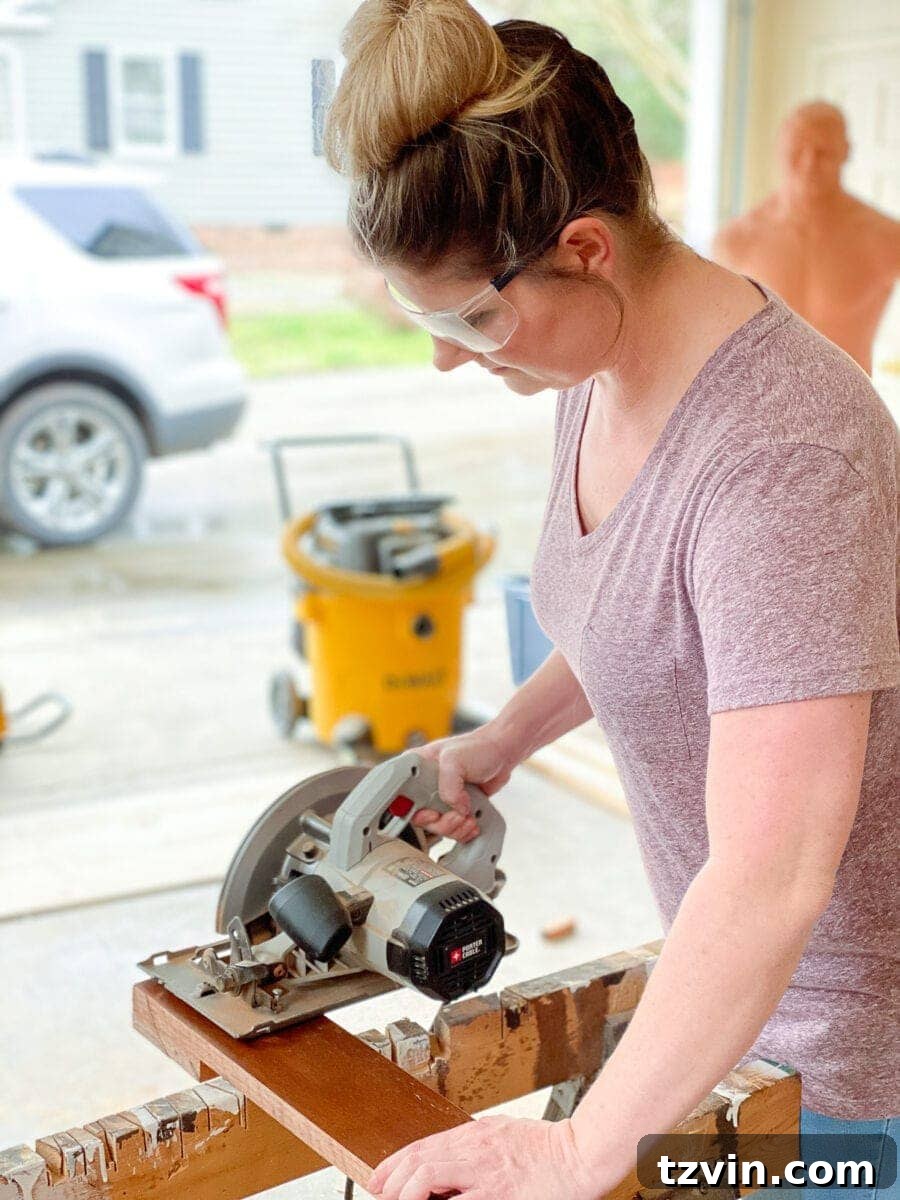
The Best Tools for a Beginner DIYer: Your Essential Toolkit
Building your toolkit doesn’t mean buying everything at once. Start with versatile, essential tools that will cover a wide range of common home improvement tasks. Here’s a breakdown of my favorite tools, categorized for clarity, that are perfect for any beginner DIYer.
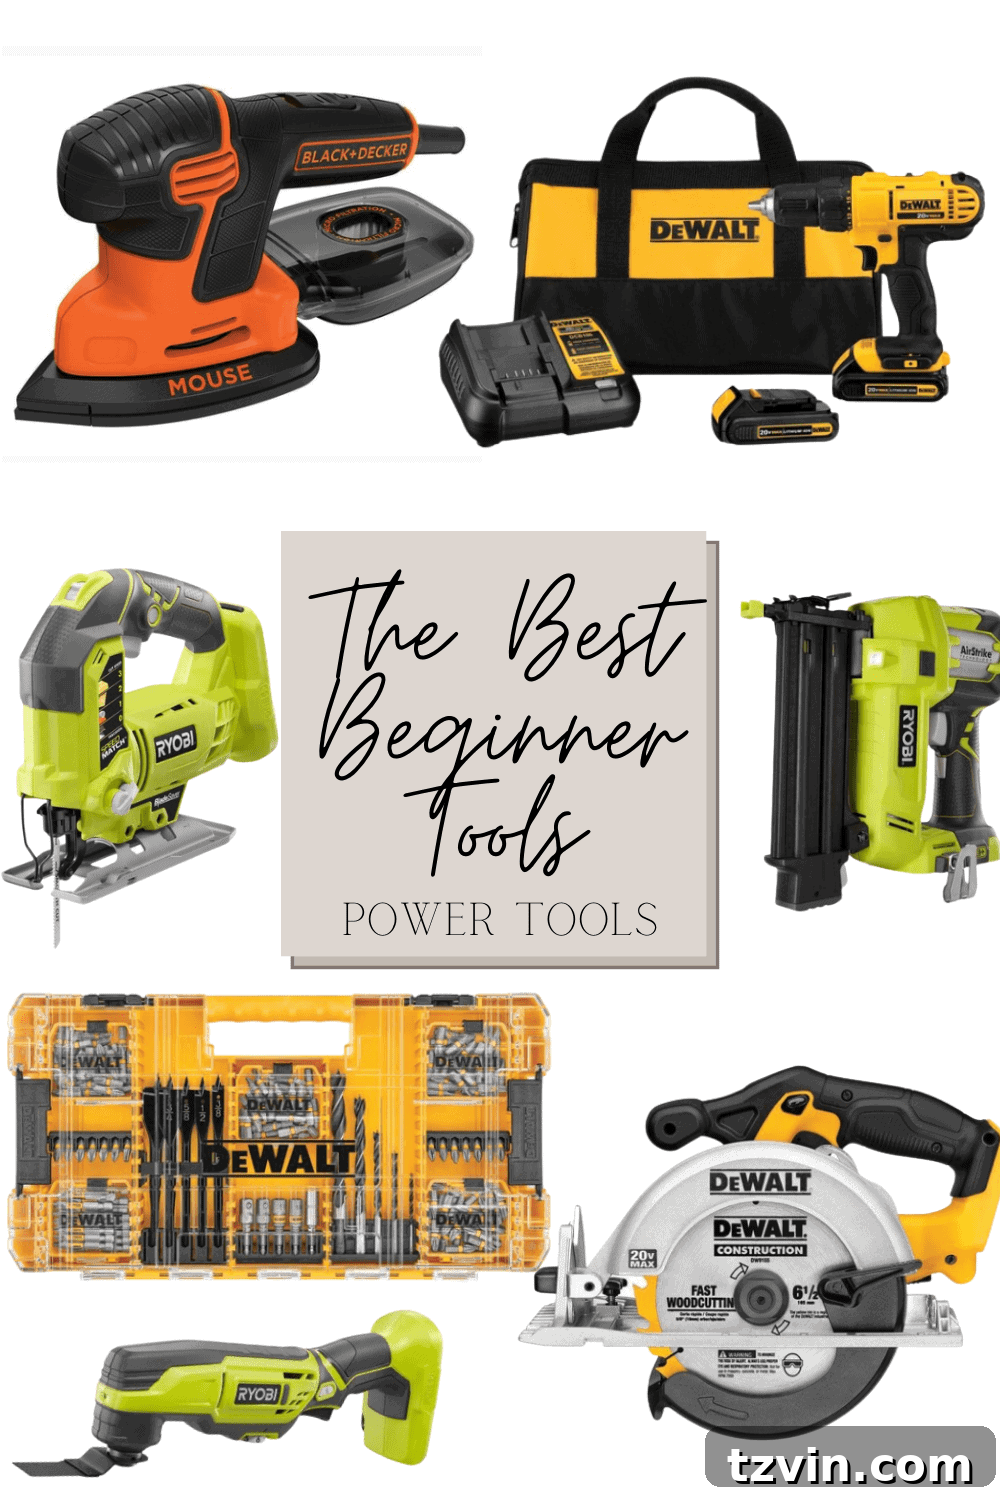
Essential Power Tools for Beginners
Power tools can seem daunting, but these selections are incredibly user-friendly and offer a significant boost in efficiency and capability for various projects.
1. Mouse Sander
This compact sander is ideal for detail work and smaller projects. If you plan on refinishing furniture, smoothing edges, or prepping surfaces for paint, a mouse sander will always come in handy. Its small size allows it to get into tight corners where larger sanders can’t reach, making it perfect for intricate sanding tasks.
2. Cordless Drill
Arguably the most indispensable power tool, a cordless drill will be used on 99% of your DIY projects. It’s essential for drilling holes (for screws, pilot holes, etc.) and driving screws. Opt for a cordless model for maximum portability and convenience. Look for one with adjustable torque settings, which helps prevent over-driving screws or stripping screw heads. This is the first power tool any DIYer should acquire.
3. Drill Bit Set
A good drill is only as versatile as its bit set. This comprehensive set will provide you with various drill bits for different materials (wood, metal, plastic) and screwdriver bits for driving various types of screws (Phillips, flathead, Torx, square drive). Having a versatile set ensures you’re prepared for almost any fastening or drilling task.
4. Jigsaw
For beginners, a jigsaw is often the least intimidating of all saws and serves as the perfect introduction to power cutting. Jigsaws are fantastic for making curved cuts, intricate shapes, and cut-outs in smaller pieces of wood, plywood, or even some plastics. They are highly maneuverable and excellent for detailed woodworking jobs where precision and unique shapes are required. Always secure your workpiece with clamps before cutting with a jigsaw.
5. Circular Saw
A circular saw is a versatile workhorse for making straight cuts in larger materials like plywood, dimensional lumber, and sheet goods. It’s relatively inexpensive compared to other saws and offers powerful performance for breaking down materials efficiently. Always use a straight edge guide or a speed square as a guide for perfectly straight cuts, and secure your wood with saw horses and clamps to ensure stability and safety during operation. This tool will significantly speed up projects requiring repetitive straight cuts.
6. Cordless Brad Nailer (Nail Gun)
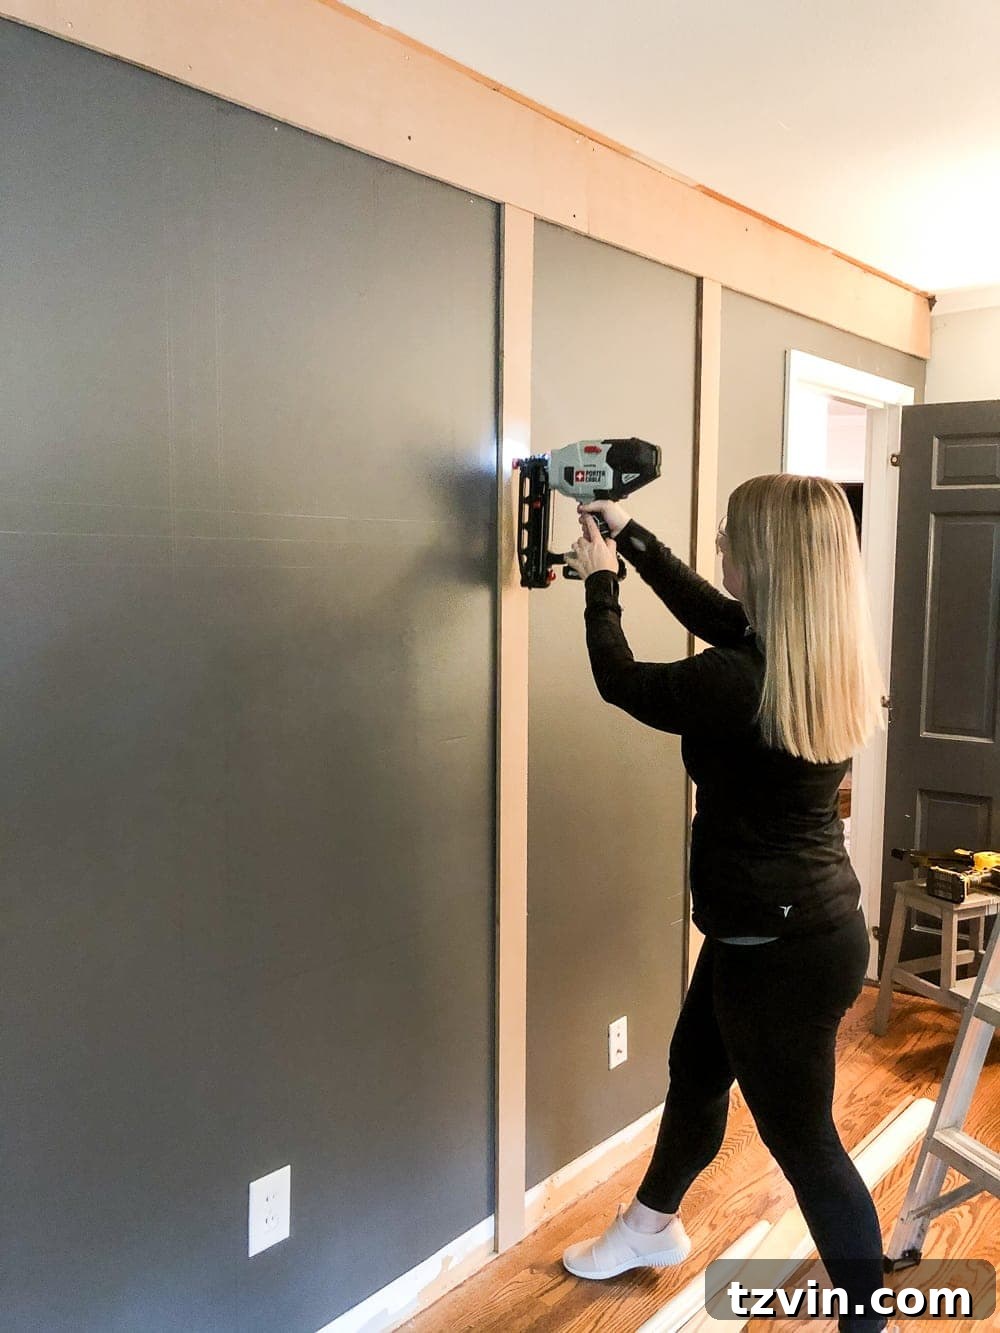
If you ever plan on installing decorative trim, shiplap, board and batten, or molding, a cordless brad nailer will quickly become your best friend. This tool allows for fast, precise, and secure fastening of trim pieces without the need for a hammer, significantly speeding up finishing work. The small head of brad nails makes them easy to conceal with wood filler, leaving a professional finish. The cordless feature provides unparalleled mobility around your project.
7. Oscillating Multi-Tool
This compact and incredibly versatile tool is a problem-solver for a myriad of odd jobs around the house. It’s truly “multi” for a reason! An oscillating multi-tool excels at tasks like trimming door casings for new flooring, precisely taking out old moldings, removing old caulk or grout, and even scraping paint. With various attachments, it can cut, sand, scrape, and grind in tight, awkward spaces where other tools simply cannot reach. Its versatility makes it a valuable addition to any beginner’s toolkit.
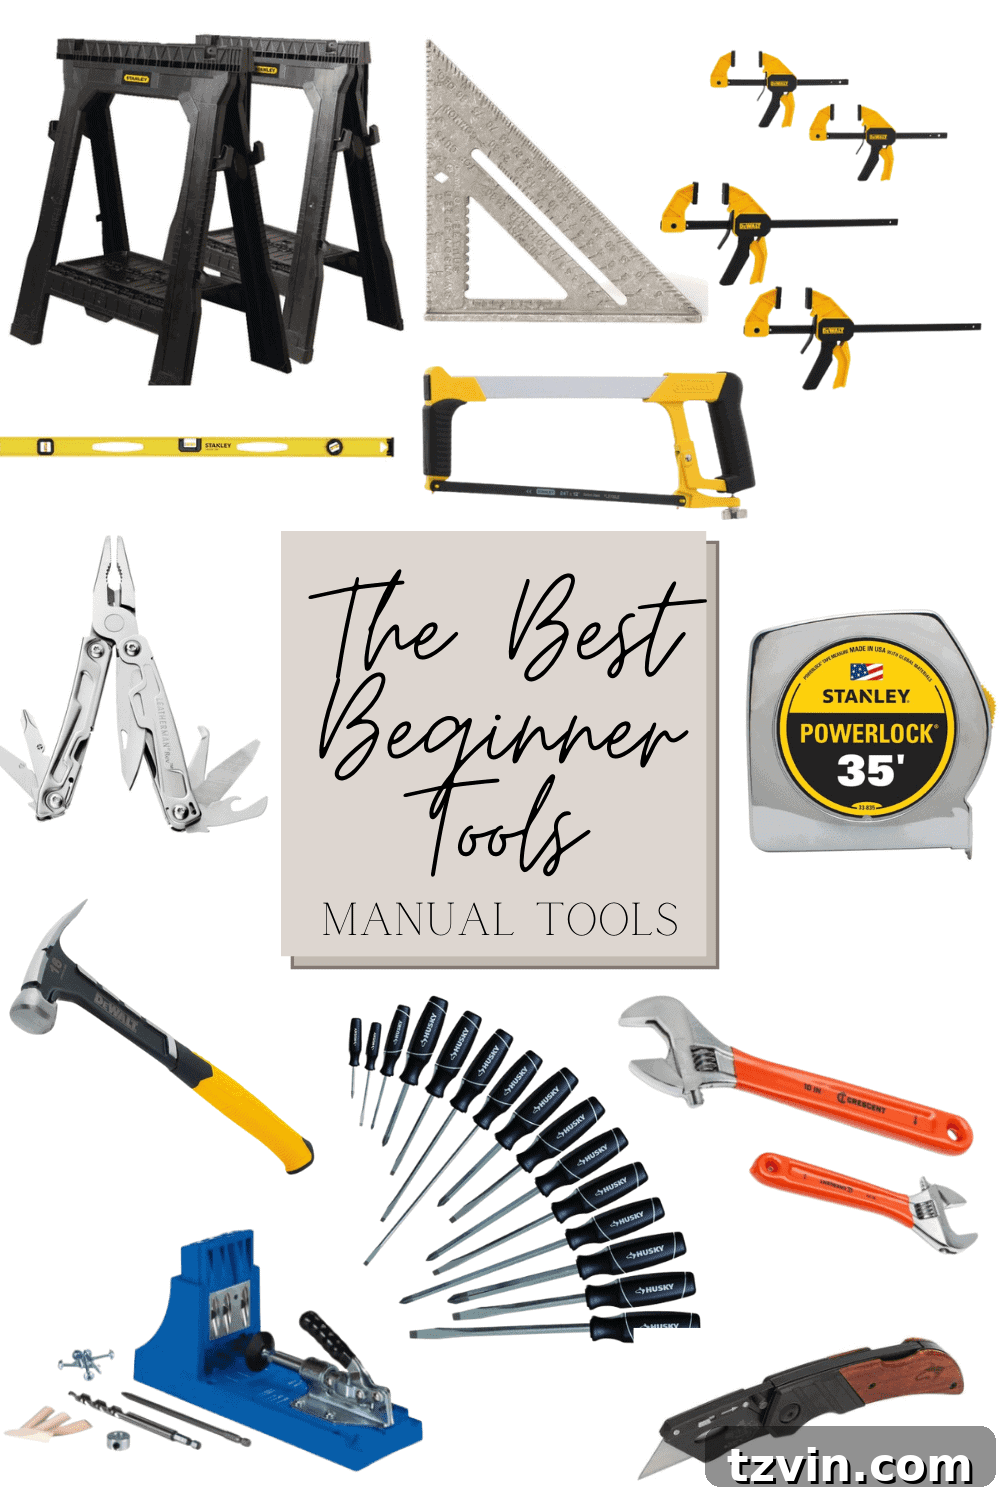
Essential Manual Tools for Beginners
While power tools offer speed, manual tools are the foundation of any DIY project, providing precision, control, and versatility for countless tasks where electricity isn’t available or necessary.
1. Utility Knife: Indispensable for cutting materials like cardboard, drywall, insulation, and scoring lines. Always use a fresh, sharp blade for safety and efficiency.
2. Screwdriver Set: A basic set with Phillips and flathead screwdrivers in various sizes is crucial for manual fastening and loosening. Even with a drill, sometimes a manual touch is needed for delicate work.
3. Hammer: The quintessential tool for driving nails, prying, and general demolition. A claw hammer is the most versatile type for beginners.
4. Tape Measure: Essential for accurate measurements. Always remember the carpenter’s adage: “Measure twice, cut once.” A self-locking tape measure is particularly convenient.
5. Speed Square: A triangular square used for marking and checking 90-degree and 45-degree angles, and as a guide for straight cuts with a circular saw or utility knife.
6. Level: Ensures that everything you install or build is perfectly straight, whether it’s hanging a picture or installing shelves. A 2-foot level is a great starting point.
7. Clamps: Crucial for holding workpieces securely while cutting, drilling, gluing, or fastening. F-clamps and C-clamps are versatile choices.
8. Hand Saw: For quick, simple cuts where a power saw might be overkill or inaccessible. Useful for trimming small pieces of wood or branches.
9. Multi-tool (Manual): A compact tool that combines several functions like pliers, screwdrivers, and a knife into one portable unit, great for quick fixes on the go.
10. Kreg Jig: This innovative tool allows you to create strong, hidden pocket-hole joints quickly and easily. It’s a game-changer for building furniture, cabinets, and frames, giving projects a professional look without visible fasteners.
11. Adjustable Wrench: Perfect for tightening or loosening nuts and bolts of various sizes without needing a full set of fixed wrenches.
12. Saw Horses: Provide a stable, elevated surface for cutting, painting, and assembling projects, effectively creating a portable workbench.
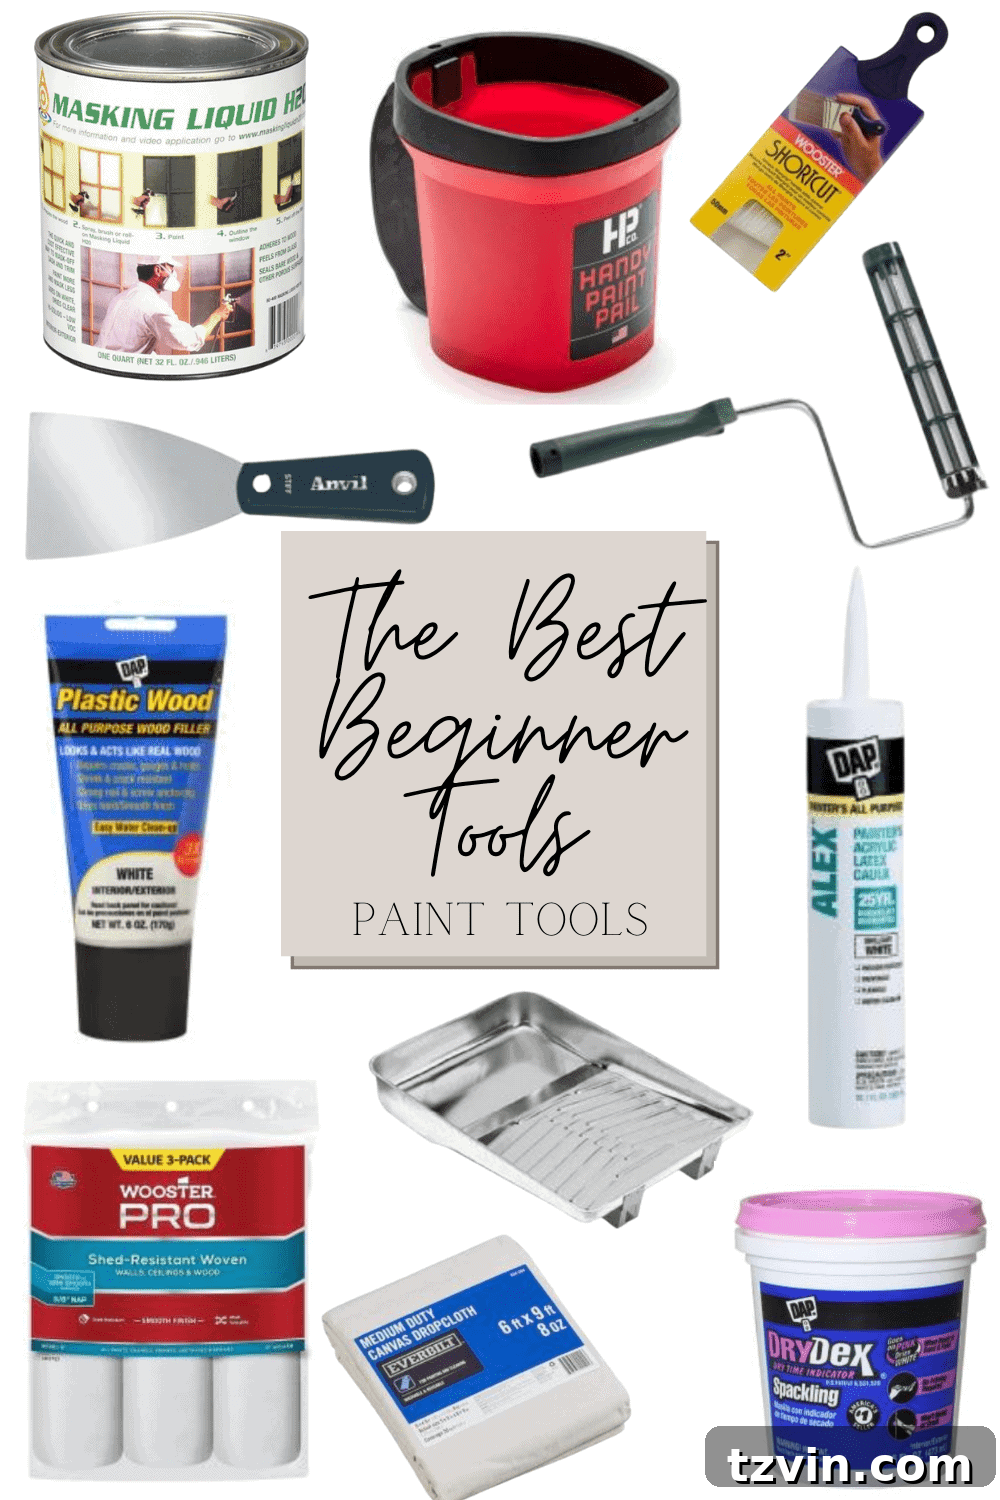
Essential Paint Tools for Beginners
A good paint job can transform a space, and having the right tools makes all the difference in achieving a professional finish, even for beginners.
1. 2″ Angled Sash Brush: The ideal brush for “cutting in” around trim, ceilings, and corners, allowing for precise lines and control.
2. Handy Pail and Liners: A comfortable, ergonomic pail with liners makes carrying paint and cutting in much easier and less messy.
3. Frog Tape: Known for its PaintBlock Technology, this tape creates super sharp lines, preventing paint bleed and giving your edges a crisp, professional finish.
4. Spackle: Used for filling small holes, cracks, and imperfections in drywall and plaster before painting.
5. Wood Filler: Essential for repairing holes, gouges, and cracks in wood surfaces, providing a smooth base for paint or stain.
6. Putty Knife: Perfect for applying spackle, wood filler, and scraping off old paint or caulk. A flexible blade is often preferred.
7. All-Purpose Caulk: Used to seal gaps between baseboards, trim, and walls, or around windows and doors, creating a seamless, finished look and preventing drafts.
8. Roller Frame and Covers: For efficient and even application of paint to large surfaces like walls and ceilings. Choose roller covers appropriate for your paint type and surface texture.
9. Canvas Drop Cloth: A durable, reusable option for protecting floors and furniture from paint drips and spills. Superior to plastic sheets as it absorbs paint rather than letting it pool.
10. Paint Tray and Liners: Provides a convenient surface for loading your roller with paint and helps manage excess. Liners make cleanup a breeze.
11. Masking Liquid: An alternative to tape for masking windows or intricate surfaces, it applies as a liquid and peels off once dry, offering protection without complex taping.
Finding Inspiration and Community
Beyond acquiring tools, staying motivated and continually learning is crucial. The DIY community, especially on platforms like Instagram, is a fantastic source of encouragement and practical knowledge. Follow these talented Instagrammers for tool tips, project ideas, and plenty of DIY encouragement:
- @jenwoodhouse
- @philip_or_flop
- @angelarosehome
- @frills_and_drills
- @farfromcypress
- @vintagerevivals
- @makingprettyspaces
These creators often share behind-the-scenes glimpses, detailed tutorials, and innovative uses for various tools, proving that anyone can tackle home projects with a little guidance and gumption. Don’t be afraid to engage with the community, ask questions, and share your own progress!
Start Your DIY Journey Today!
The journey into DIY might seem daunting at first, but with the right mindset, a commitment to safety, and a foundational set of tools, you can transform your home and unlock a rewarding new hobby. Remember to start small, leverage available learning resources, and don’t be afraid to make mistakes – they are part of the learning process. The satisfaction of creating something with your own hands is truly unparalleled.
As for me, I cannot WAIT to finish these built-ins this week because they’re going to be SO GOOD! More on that soon. What other tools or tips would you add to this list for fellow beginners? Share your insights and let’s inspire each other to build, create, and renovate!