
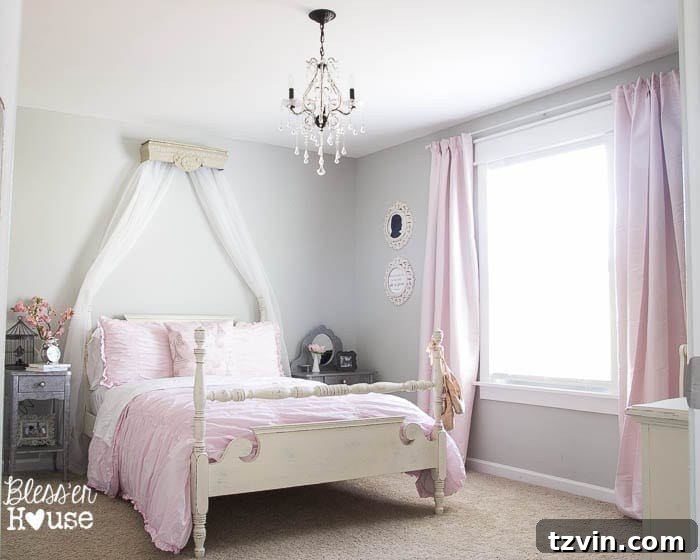
Crafting a Dream: The Ultimate DIY Canopy for a Magical Kids’ Bedroom
Every child dreams of a magical space, a cozy corner where imagination can soar and stories come to life. In Olivia’s room, we’ve been on a journey to infuse that very magic, one heartwarming project at a time. From the elegance of a DIY ballet barre that encourages grace and movement, to the artistic flair of an oversized sheet music art piece that adds a unique personal touch, each addition has contributed to a space brimming with character and charm. Just yesterday, witnessing Olivia’s little cousins revel in a delightful dress-up session within her room, reaffirmed the joy and wonder these projects bring.
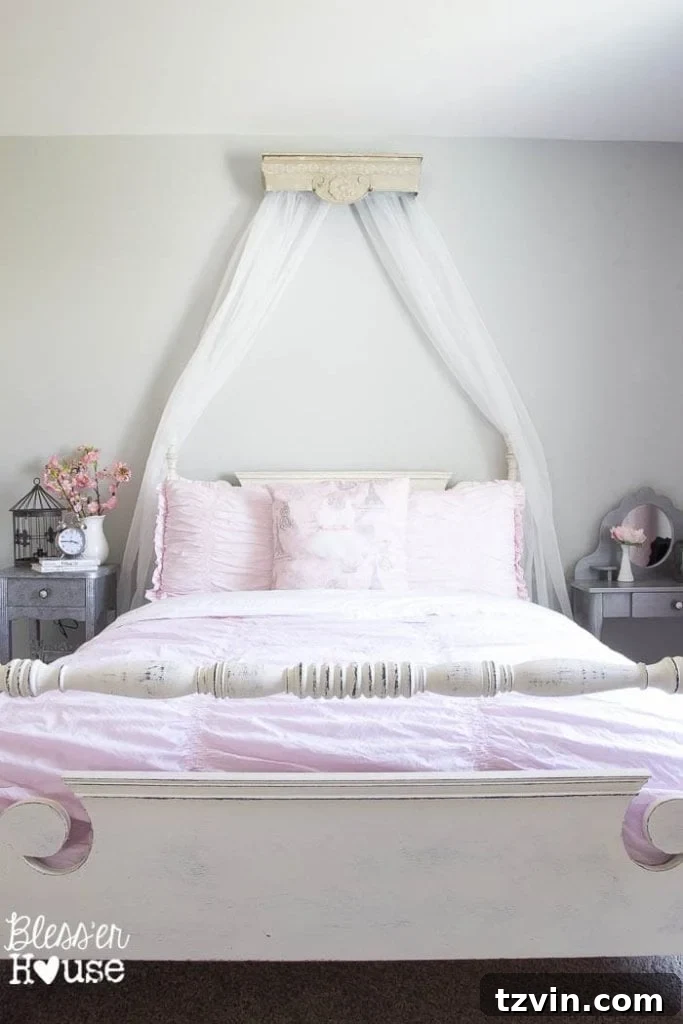
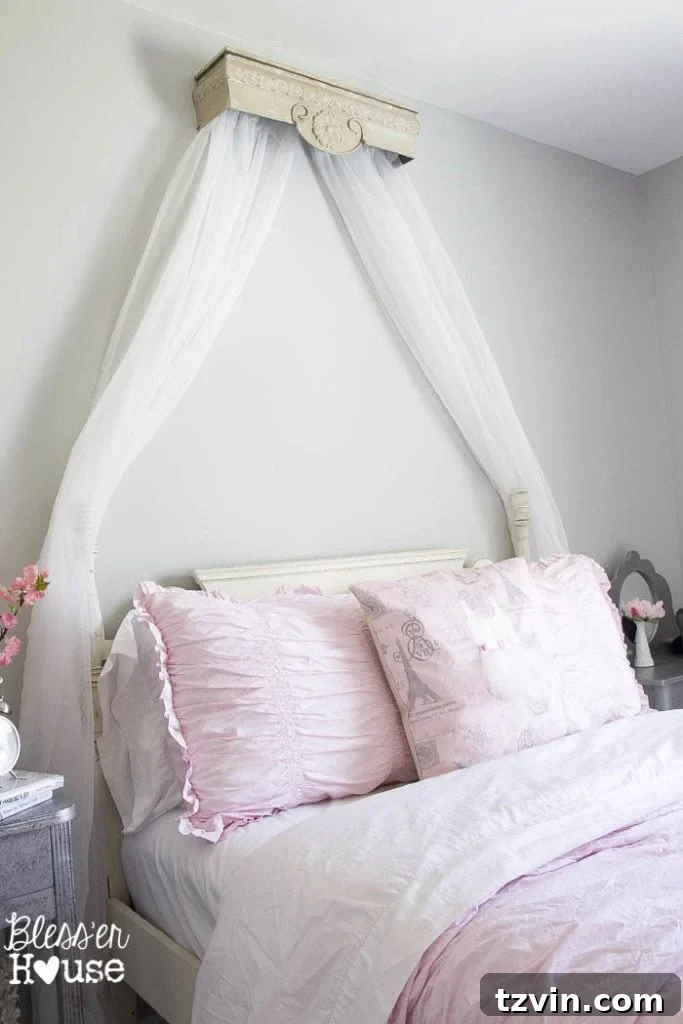
Among these cherished creations, a recent DIY project stands out, not only for its enchanting appeal but also for its incredible value: a stunning DIY canopy crown. This clever hack allowed us to achieve a luxurious look, saving a remarkable $250 compared to a similar high-end version from RH Baby and Child. It’s a testament to the power of creative repurposing and budget-savvy decorating, proving that an extraordinary children’s room doesn’t require an exorbitant price tag.
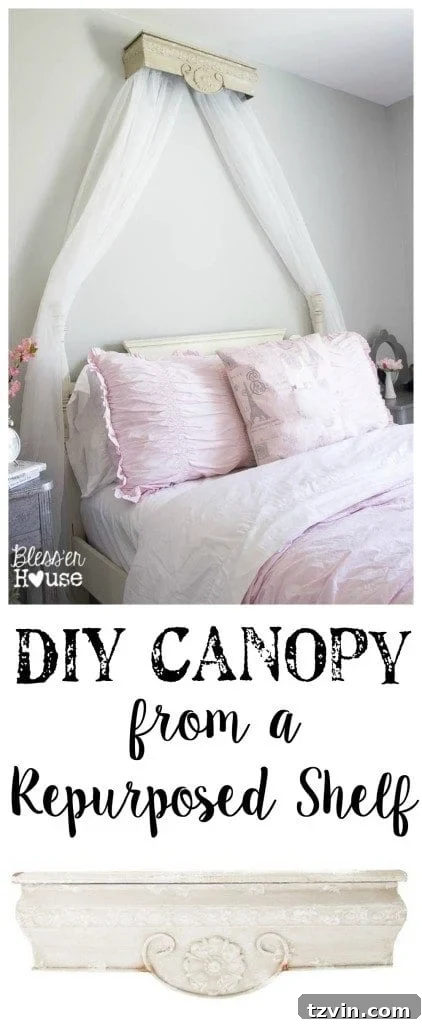
The Inspiration: A Shelf Transformed into a Canopy Crown
The idea of incorporating a canopy into Olivia’s bedroom design had been a persistent thought from the very beginning. Canopies instantly evoke a sense of coziness, wonder, and elegance, transforming an ordinary bed into a princess-like retreat or a secret hideaway. However, the price tags associated with many pre-made canopies I encountered were often prohibitive, causing me to pause and reconsider.
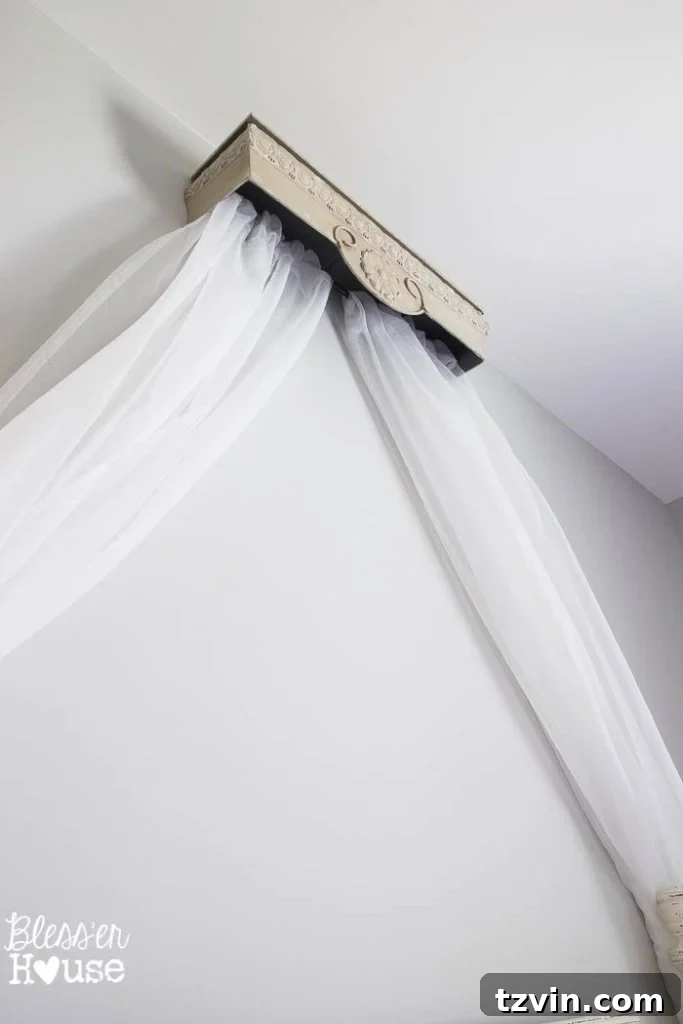
The breakthrough came during a casual stroll through Hobby Lobby. My eyes landed on a charming little shelf – simple, elegant, and perfectly sized. In that moment, inspiration struck like a lightning bolt: this wasn’t just a shelf; it was the potential crown for a beautiful canopy! The thrill of this discovery was amplified by the fact that the shelf was already marked 50% off, and I had a coupon to sweeten the deal even further. It was a true “bam!” moment, confirming that sometimes the most brilliant solutions are found in unexpected places and at incredible prices.
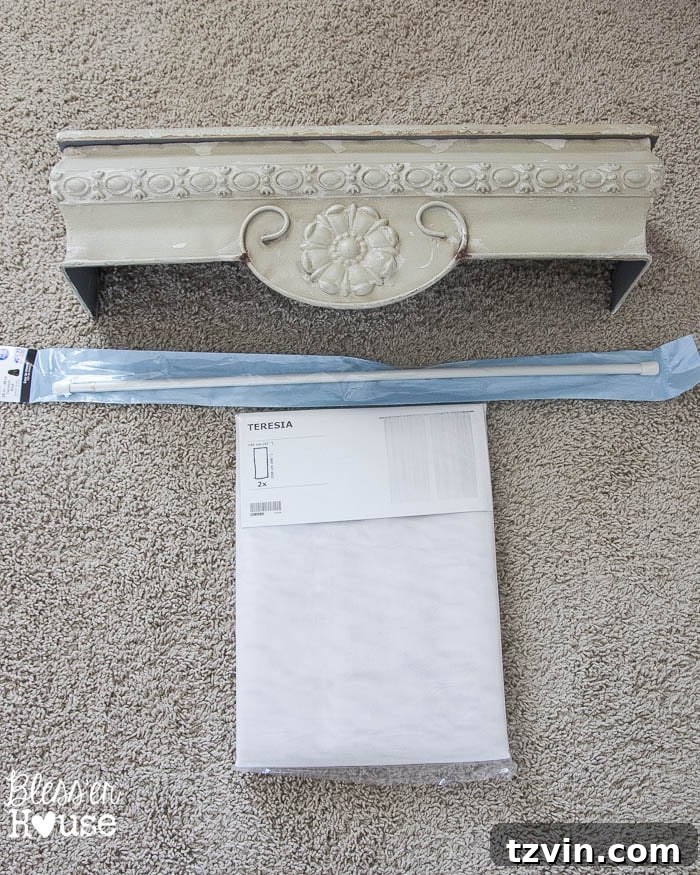
Gathering Your Materials: Simple & Affordable
Creating this dreamy canopy was surprisingly straightforward and incredibly budget-friendly. The key components were minimal, making this an accessible DIY project for anyone looking to add a touch of magic to a child’s room without breaking the bank. Besides the repurposed shelf, which became our canopy’s crown, I sourced sheer Teresia curtains from Ikea. These curtains are perfect for canopies as their lightweight, flowing fabric creates an ethereal, soft look that diffuses light beautifully. A simple tension rod completed the material list, providing the structure to hang the curtains securely underneath the shelf. In total, this entire canopy project cost approximately $45, a fraction of what a ready-made version would typically demand.
Choosing the Right Components:
When selecting your materials, consider these tips:
- The Shelf: Look for a shelf with decorative elements or a clean, classic design that complements your room’s aesthetic. Size matters – ensure it’s wide enough to comfortably hang curtains without looking cramped. Think beyond its original purpose; a simple mantelpiece or even a decorative wall bracket could work.
- Sheer Curtains: Sheer curtains offer that signature soft, dreamy look. Opt for a length that allows them to puddle gently on the floor or just graze it, depending on the desired effect. White or light pastels are classic choices for a serene bedroom, but don’t hesitate to experiment with colors that match your existing decor. Ensure you purchase at least two panels for a full, luxurious drape.
- Tension Rod: A sturdy tension rod is essential for supporting the curtains. Measure the width of your shelf opening to ensure you get the correct size. The beauty of a tension rod is that it’s easy to install and remove, and it won’t damage your shelf.
Step-by-Step Installation: Quick, Easy, and Secure
The actual installation of Olivia’s canopy was remarkably quick, a true testament to the simplicity of this DIY design. My husband, Robert, handled the initial setup, ensuring a stable and safe foundation for the canopy. First, he carefully selected the perfect spot on the wall, centered directly above the bed. Locating wall studs is crucial for securely mounting any shelf, especially one that will support curtains. Using a stud finder, he marked the stud locations, ensuring the screws would bite into solid wood rather than just drywall. A level was then used to ensure the shelf was perfectly horizontal before drilling pilot holes and fastening it to the wall. This attention to detail guarantees a professional finish and long-lasting stability.
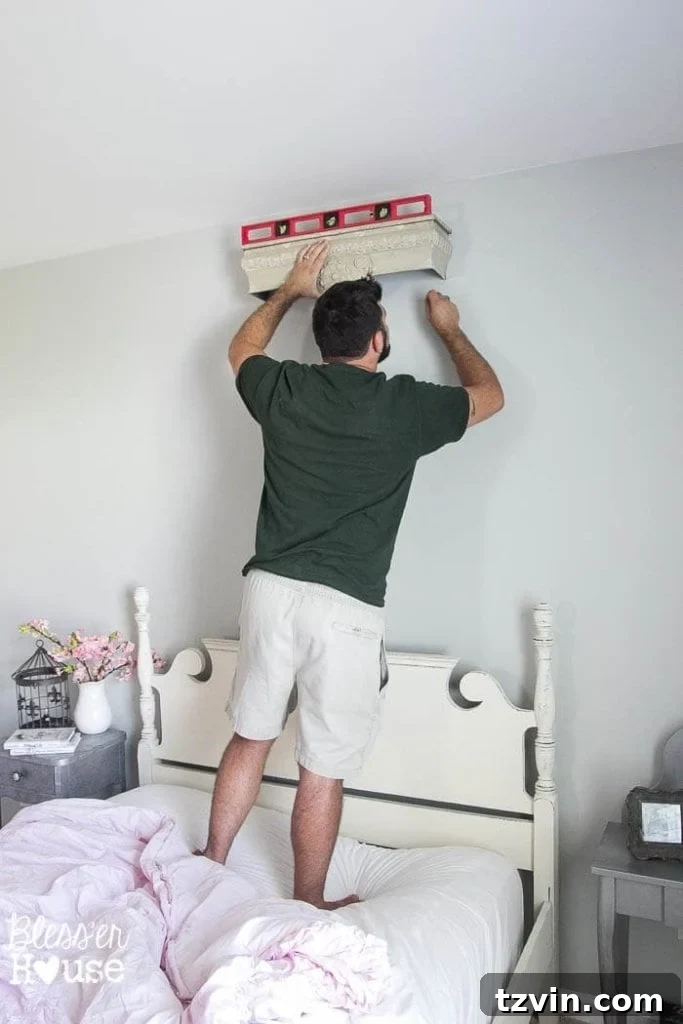
Once the shelf was firmly in place, the rest of the canopy came together in a flash. I simply slid the sheer curtain panels onto the tension rod, gathering them slightly for a fuller look. Then, with a gentle push, I tightened the tension rod so that it fit snugly underneath the shelf, between its side supports. The natural drape of the sheer fabric instantly transformed the simple shelf into an elegant canopy crown, providing a soft, whimsical frame for Olivia’s bed. The entire process, from start to finish, took a mere 15 minutes – an incredibly small investment of time for such a dramatic and delightful room transformation.
The “Princess” Approval: A Child’s Joy
The true measure of any child’s room project is their reaction, and Olivia’s response to her new canopy was nothing short of priceless. Her exact words, uttered with wide-eyed wonder, were “Ooooh princess!” It was the perfect affirmation, confirming that we had successfully created the magical, dream-like space we envisioned. That simple exclamation encapsulated all the effort and creativity, making every minute spent on the project completely worthwhile. It’s moments like these, seeing the pure joy and imagination spark in a child’s eyes, that truly make DIY home decor so rewarding.
Completing the Look: Window Treatments and Beyond
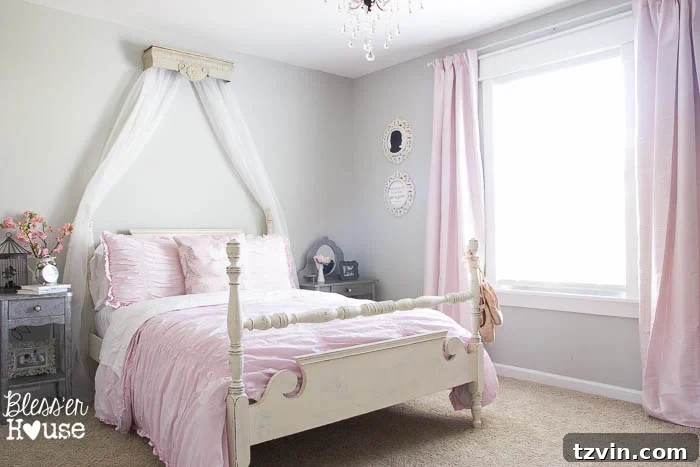
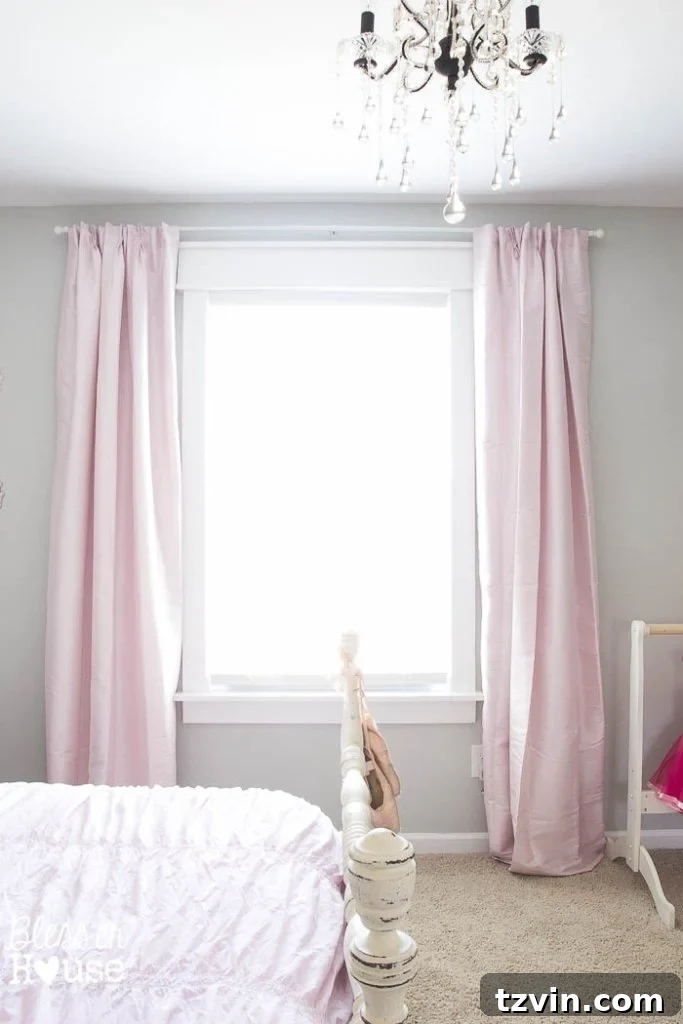
While the canopy was a major focal point, we also seized the opportunity to address another crucial element of the room’s design: the window treatments. Curtains play a significant role in defining a room’s aesthetic, controlling light, and adding warmth. Finding the perfect shade of pink to coordinate with Olivia’s existing bedding proved to be a delightful challenge – something subtle and sophisticated, far from a “Pepto Bismol pink.” After some searching, I finally stumbled upon a gorgeous pair at Target. While they were a bit more of an investment than I typically make for curtains, their beautiful fabric and generous fullness were exactly what the room needed. Sometimes, a small splurge on key textiles is entirely justified when it perfectly completes the vision for a space.
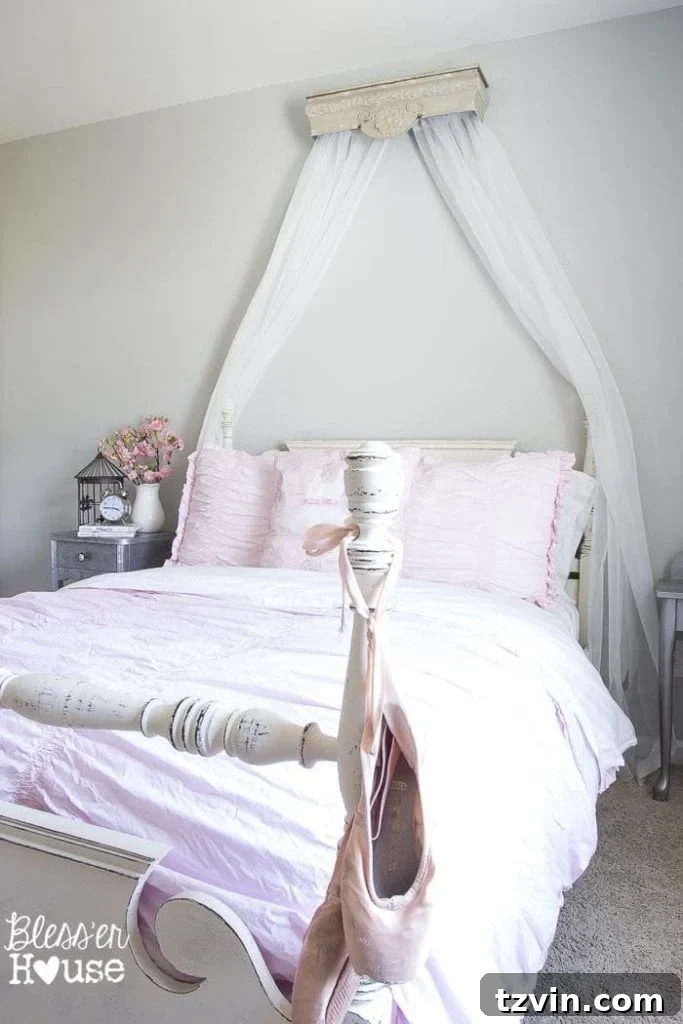
Adding a personal touch above the headboard is another exciting prospect for Olivia’s room. Just last week, during a trip to Myrtle Beach, I stumbled upon an exquisite piece of art that promises to be the perfect accent for that space. I’m bursting with excitement to share it with you all very soon, as it’s sure to tie the room’s aesthetic together beautifully. These smaller, carefully chosen elements often provide the finishing touches that make a room feel truly complete and personalized.
The Magic of Architectural Details: DIY Window Trim
It’s truly remarkable how much larger and more substantial the window in Olivia’s room appears now compared to when we first began this room makeover. This transformation is largely thanks to the strategic combination of DIY molding and thoughtfully chosen curtains. Simple architectural details like window trim can have a profound impact on a room’s perceived size and elegance. By adding trim, we visually expanded the window frame, creating a more finished and custom look. Paired with full, flowing curtains, the window now commands attention and floods the room with soft light, proving that even subtle DIY enhancements can yield truly magical results in home design.
Bringing It All Together: A Dream Bedroom Nears Completion
With the stunning canopy in place, the beautiful window treatments hung, and plans for captivating wall art, Olivia’s bedroom is truly coming together beautifully. The space feels cohesive, personal, and imbued with that desired sense of childhood wonder. The final touch we’re eagerly anticipating is the addition of an area rug, which will anchor the space, add texture, and provide a soft landing for playful feet. Once that’s in place, this delightful room will be largely complete, a perfect example of how thoughtful DIY projects can create a truly custom and cherished environment for a little one.
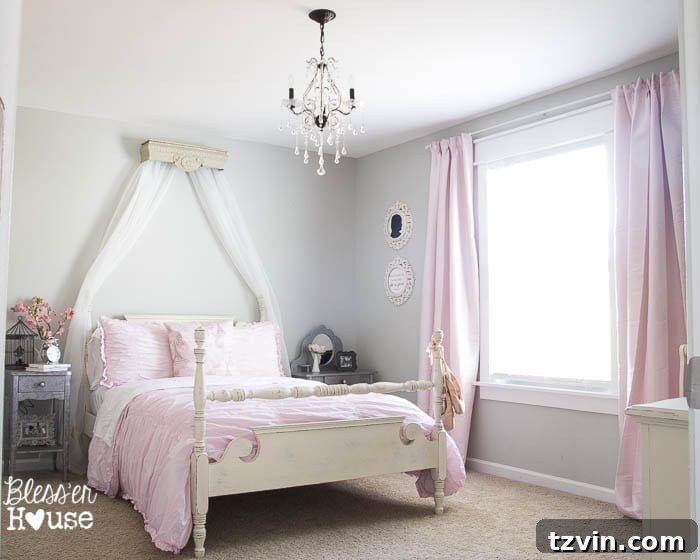
For a comprehensive look at the entire room’s transformation, be sure to check out the full bedroom makeover reveal here!
Your Turn: Adding the Final Flourishes
As we near completion, a lingering design question remains: should we add framed art on either side of the newly installed canopy? Part of me loves the clean, uncluttered look of the current blank spaces, allowing the canopy to truly shine as the room’s centerpiece. However, another part wonders if a carefully chosen pair of framed prints could enhance the charm without overwhelming the delicate aesthetic. The jury is still out in our household! What are your thoughts? Do you prefer a minimalist approach, or would you introduce more visual interest with additional wall decor?
In the meantime, the excitement is palpable! Olivia is eagerly anticipating her first “princess sleepover” this week, an event her cousins are just as thrilled about. And truthfully, I’m right there with them, channeling my inner Buddy the Elf. My plan? “First, we’ll play tea party for two hours, then we’ll make a blanket fort fit for royalty, next we’ll devour a whole roll of Tollhouse cookie dough as fast as humanly possible, and then, only then, will we snuggle into our cozy new canopy nook.” It’s going to be a night filled with laughter, imagination, and cherished memories in her beautifully transformed room.

Stay Connected for More DIY Inspiration!
Follow Bless’er House on your favorite platforms for daily doses of home decor ideas, budget-friendly DIY projects, and room transformations:
Facebook | Pinterest | Instagram | Twitter | Google+ | Bloglovin | Hometalk