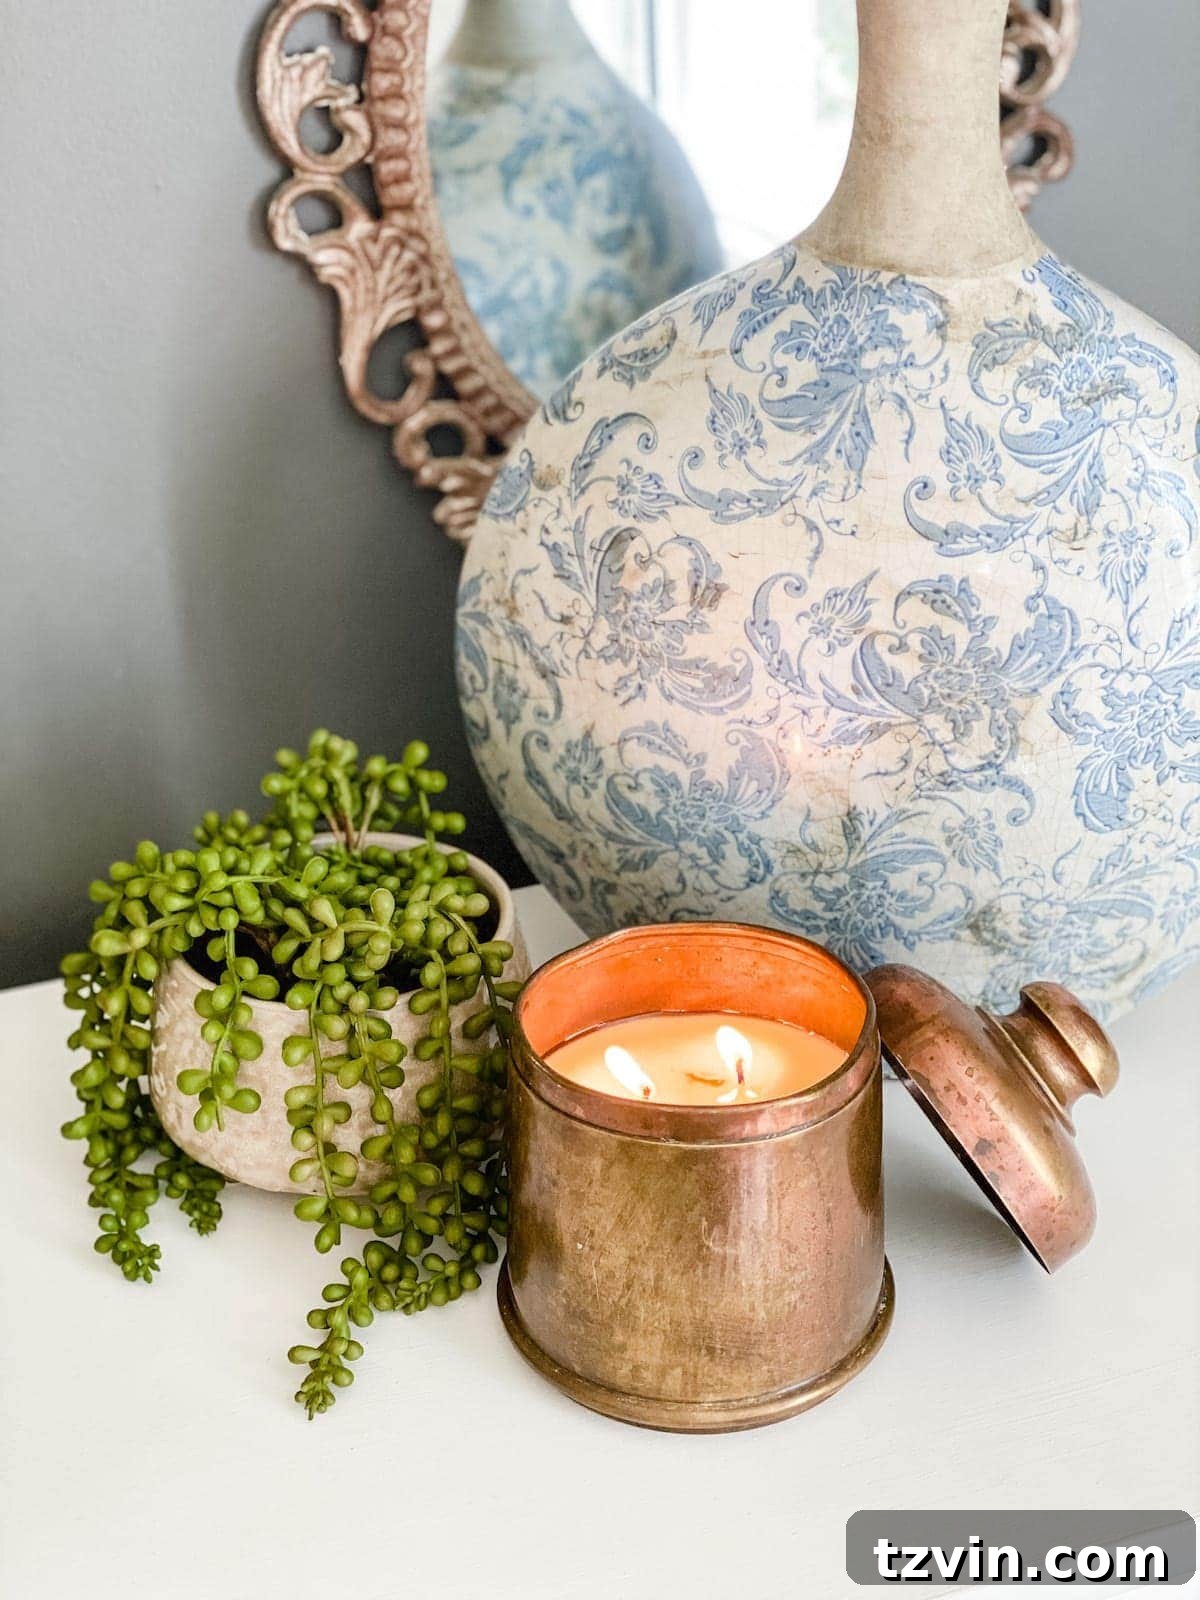
Transforming Treasures: How to Craft Unique DIY Candles from Thrifted & Vintage Vessels
Embark on a delightful journey of creativity and sustainability by learning how to make your own DIY candles from charming thrifted or vintage vessels. Imagine finding that perfect antique tea canister, a quaint ceramic cup, an elegant glass jar, or a rustic wooden bowl at a local thrift store, knowing it’s destined for a beautiful second life as a captivating candle. This guide will walk you through the simple yet rewarding process of upcycling these forgotten treasures into bespoke home decor pieces or thoughtful handmade gifts.
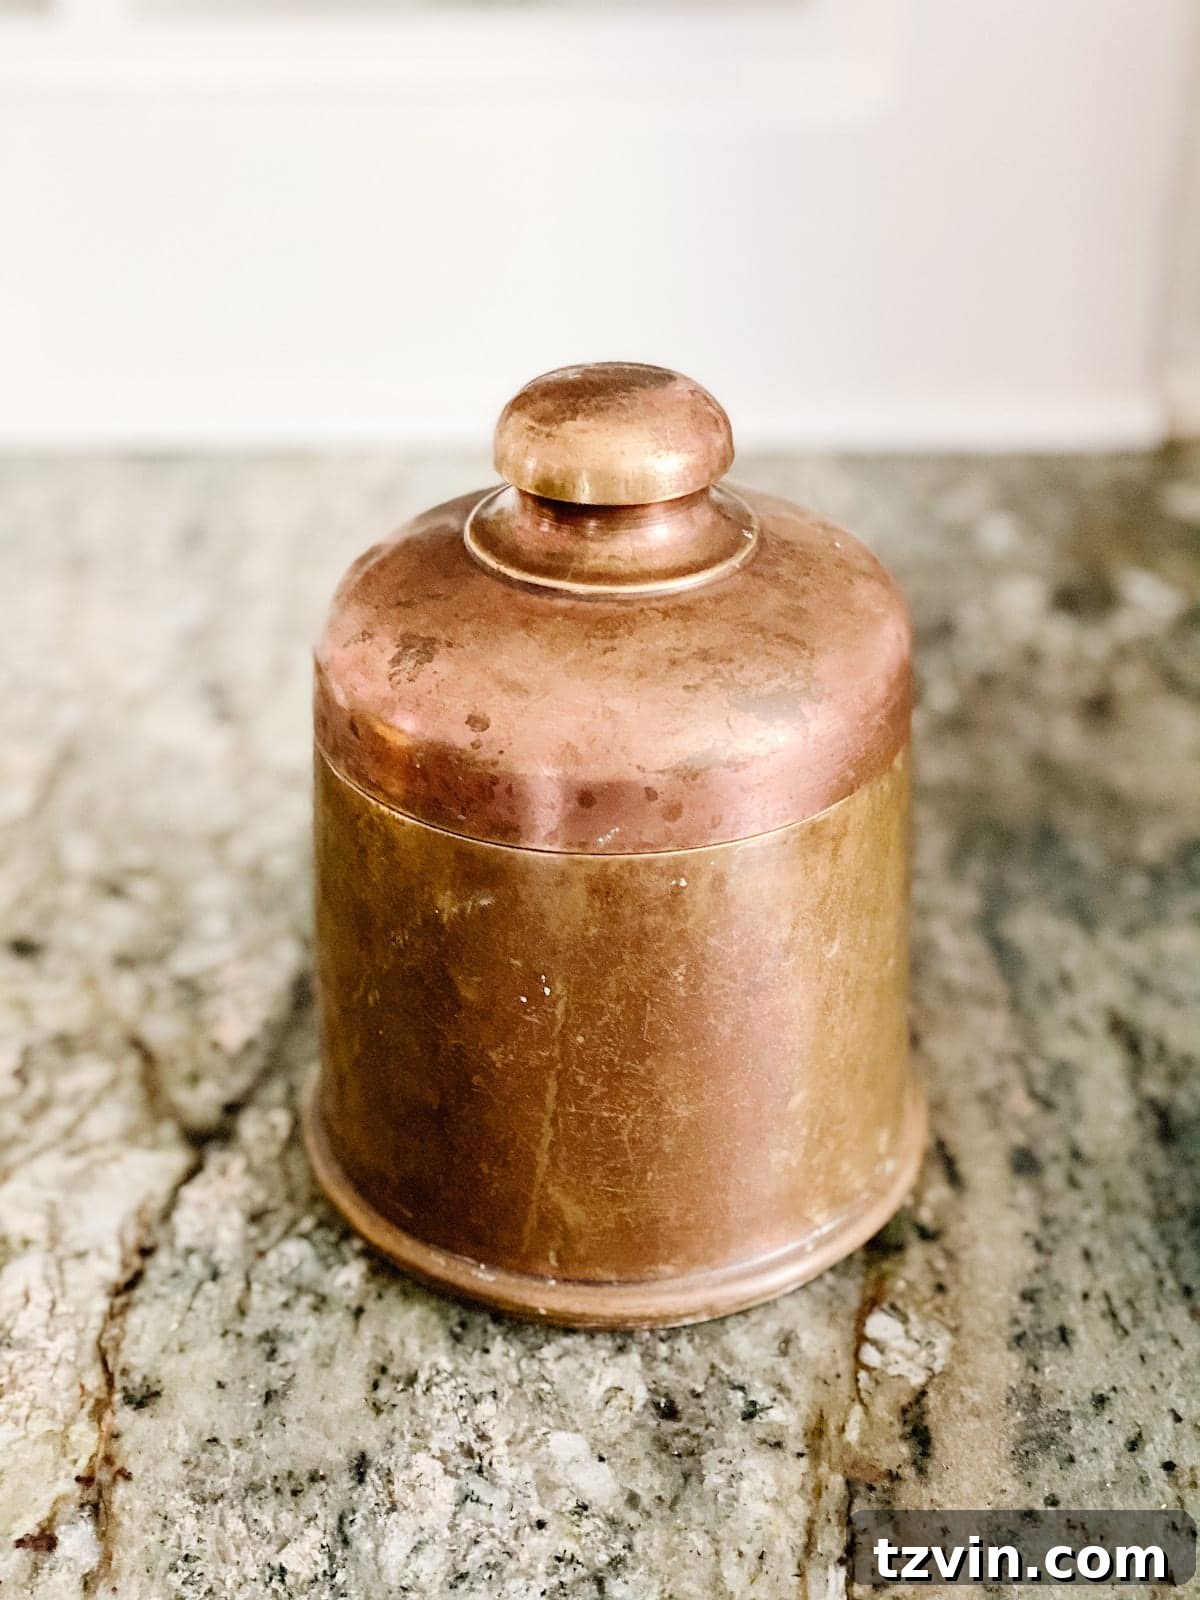
There’s a unique joy in the hunt – scouring antique shops and thrift stores for those hidden gems. Whether it’s a perfectly aged brass tea canister with a beautiful patina, a delicate porcelain teacup, or a sturdy candy jar, each piece holds its own story and character, just waiting to be rekindled. This isn’t just a craft; it’s a mission to rescue and repurpose, adding a touch of personalized charm to your living space.
The Inspiration Behind Upcycled Candle Making
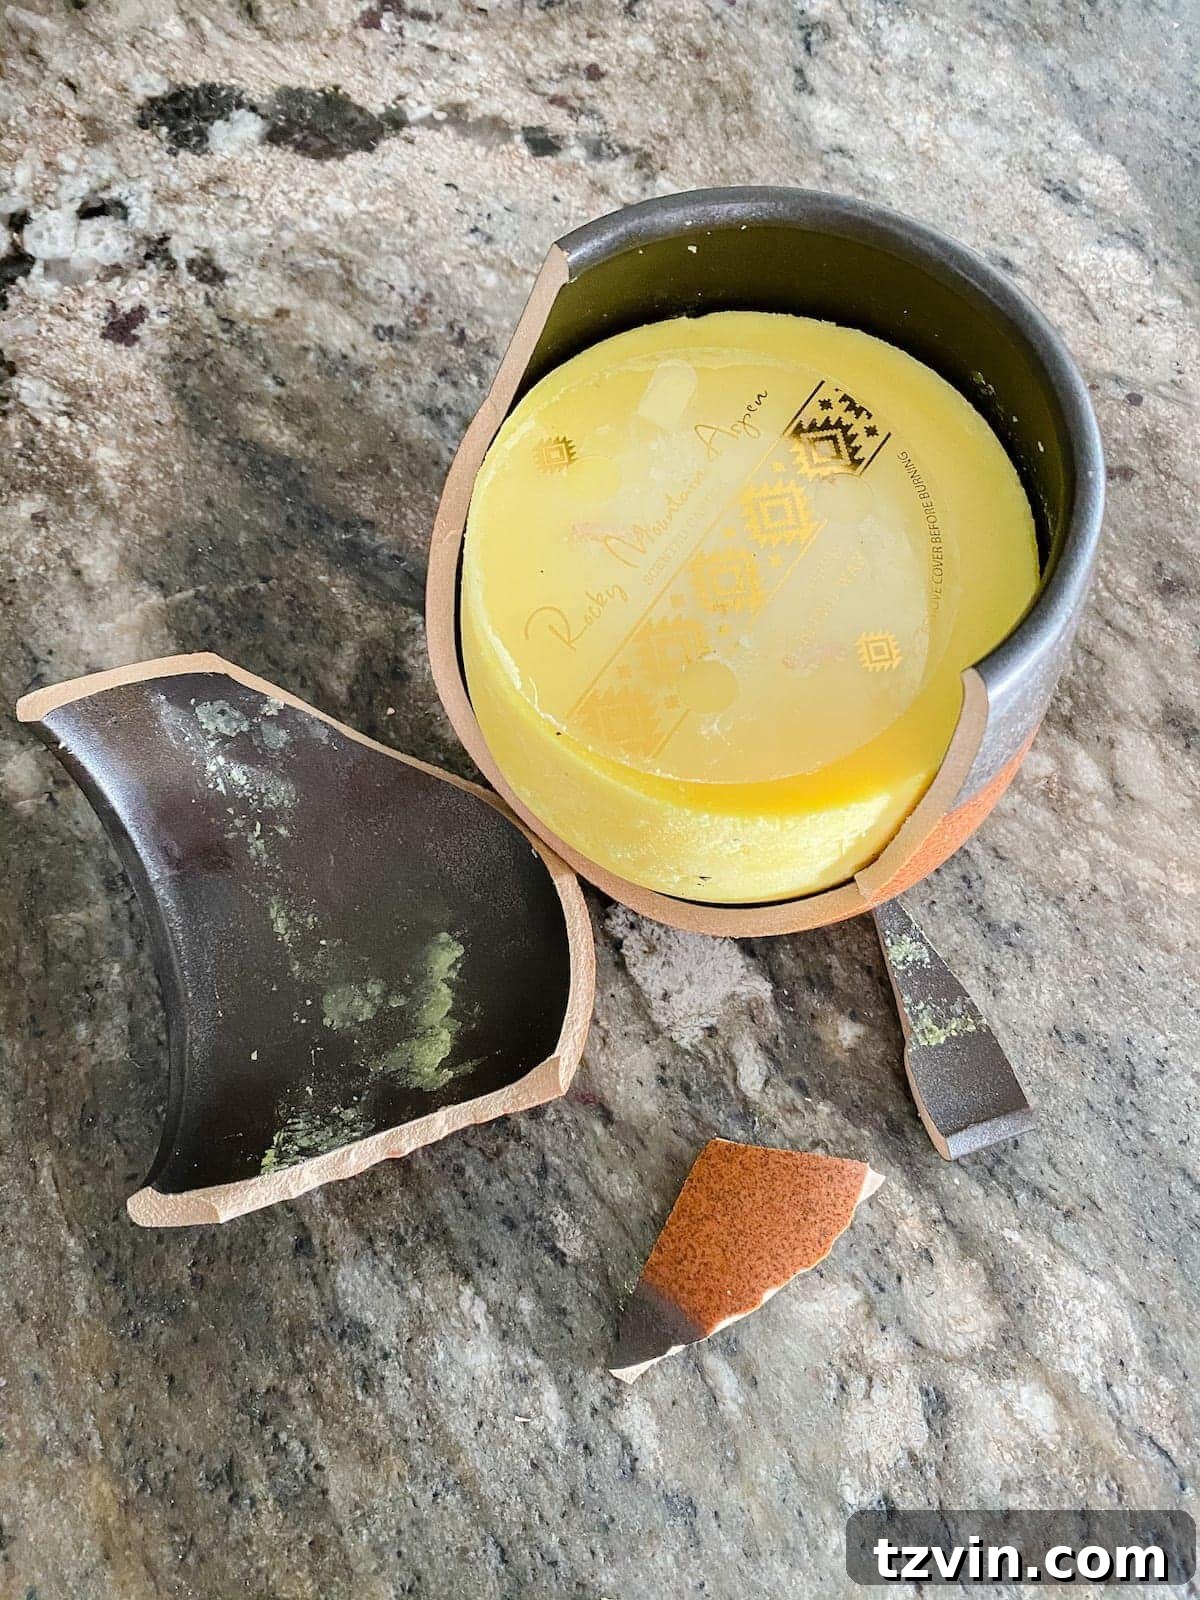
My own journey into this rewarding craft began with a classic “lemons into lemonade” moment. A beloved candle arrived broken in shipping, its beautiful wax scattered and its vessel damaged. Instead of seeing a loss, I saw an opportunity. With a bit of ingenuity, that broken candle’s wax was melted down and poured into a newly discovered, perfectly patinated brass tea canister from a recent thrifting adventure. The result? A stunning, unique candle that was even more special than the original, infused with the story of its transformation.
This project was also inspired by incredible artisans who create candles in vintage vessels. Companies like Antique Candle Co. craft breathtaking candles in similar antique containers, but they often sell out incredibly fast, making it challenging to snag one. Learning to make your own provides a fantastic Plan B, allowing you to replicate that coveted aesthetic and personalize it to your taste. Plus, it’s an incredibly satisfying creative outlet that results in a functional and beautiful item for your home or to share with loved ones.
Beyond candles, the world of thrift store DIY is vast and exciting. You can find a plethora of other creative thrift store DIY project ideas here to fuel your crafting passions. If you’re ready to transform those overlooked containers into captivating candles, read on for a detailed guide.
Why Make Your Own Upcycled Candles?
The appeal of making your own candles, especially from upcycled materials, extends beyond just saving money. It’s a craft that offers numerous benefits:
- Sustainability and Eco-Friendliness: By repurposing vintage vessels, you’re reducing waste and giving new life to items that might otherwise end up in a landfill. It’s a step towards more sustainable living.
- Uniqueness and Personalization: No two thrifted vessels are exactly alike, ensuring your candles are truly one-of-a-kind. You can choose scents, wax types, and vessel styles that perfectly match your home decor or the recipient’s taste.
- Cost-Effective Decor: High-quality, uniquely designed candles can be expensive. DIYing allows you to create luxurious-looking candles at a fraction of the cost, making stylish home accents more accessible.
- Mindful and Therapeutic Hobby: The process of melting wax, selecting fragrances, and carefully pouring can be a meditative and calming activity, offering a wonderful break from daily stresses.
- Thoughtful Handmade Gifts: A handmade candle in a beautiful vintage vessel makes an incredibly personal and cherished gift for friends, family, teachers, or hostesses. It shows effort, care, and creativity.
Choosing the Perfect Vessel for Your DIY Candle
The beauty of this project lies in the endless possibilities for vessels. When selecting your container, keep these considerations in mind:
- Material: Opt for heat-safe materials like ceramic, glass, metal (like brass, copper, tin), or stoneware. Avoid plastics or highly flammable materials.
- Stability: Choose a vessel with a stable base that won’t easily tip over.
- Size and Shape: Consider the size of the wick you’ll need (larger vessels require thicker wicks or multiple wicks for an even burn). A wider opening is easier to pour into and ensures the wax melts evenly across the surface.
- Aesthetics: Look for pieces that resonate with your style – whether it’s a rustic enamel mug, a delicate teacup, a sleek modern jar, or an ornate candy dish. The charm of vintage items often comes from their unique patinas and designs.
- Cleanliness: Ensure the vessel is thoroughly cleaned and dried before use. Any residue can affect the candle’s burn or appearance.
From antique coffee tins to decorative ceramic bowls, the world is your oyster when it comes to finding the perfect container for your next DIY candle project.
Essential Supplies for Your Candle Crafting Adventure:
Gathering your materials is the first exciting step in bringing your vision to life. Here’s what you’ll need:
- Soy Wax Flakes: Soy wax is a popular choice for its clean burn, natural origin, and excellent scent throw. It’s also biodegradable and easy to clean up. Alternatively, you can use wax from old, half-used, or broken candles you already have on hand, embracing the spirit of recycling.
- Medium-Sized Candle Wicks: The wick size is crucial for an even burn. A wick that is too small will cause “tunneling” (only burning down the center), while a wick that is too large will create too much flame and soot. Medium wicks are a good starting point for most average-sized vessels.
- Hot Glue Gun or Double-Sided Sticky Tape: Essential for securely adhering the wick to the bottom center of your vessel, ensuring it stays in place during the wax pour and burn.
- Optional: Candle Fragrance Oil: Elevate your candle with a delightful scent. High-quality fragrance oils designed for candles provide a strong, consistent aroma. You can also use essential oils for a more natural fragrance, keeping in mind that some essential oils may not retain their scent as strongly when burned.
- Wick Holders: These handy tools keep your wick perfectly centered and upright while the wax sets. If you don’t have specialized holders, household items like chopsticks, pencils, pens, or even straws taped together can work just as effectively.
- A Microwave or Double Boiler: For safely melting your wax. A double boiler method (a heat-safe bowl set over a pot of boiling water) is often preferred as it provides gentle, even heating, preventing the wax from overheating.
- A Dish Towel or Newspapers: To protect your work surface from any spills or drips, making cleanup much easier.
- Metal Butter Knife or Stirring Spoon: Ideal for stirring the melting wax and mixing in fragrance oils. Metal is easy to clean and won’t melt in hot wax.
- Candle Vessel of Your Choice: This is where your thrifting finds shine! Options include brass tea canisters, charming candy dishes, delicate tea cups, vintage bowls, glass jars, antique coffee tins, and countless other unique containers.
- Scissors: For trimming your wick to the appropriate length.
The Step-by-Step Guide to Crafting Your DIY Candle
Now that you have all your supplies, let’s dive into the creative process of making your very own upcycled candle. Follow these steps carefully for a beautiful and safe result.
Step 1: Prepare Your Vessel and Melt the Wax
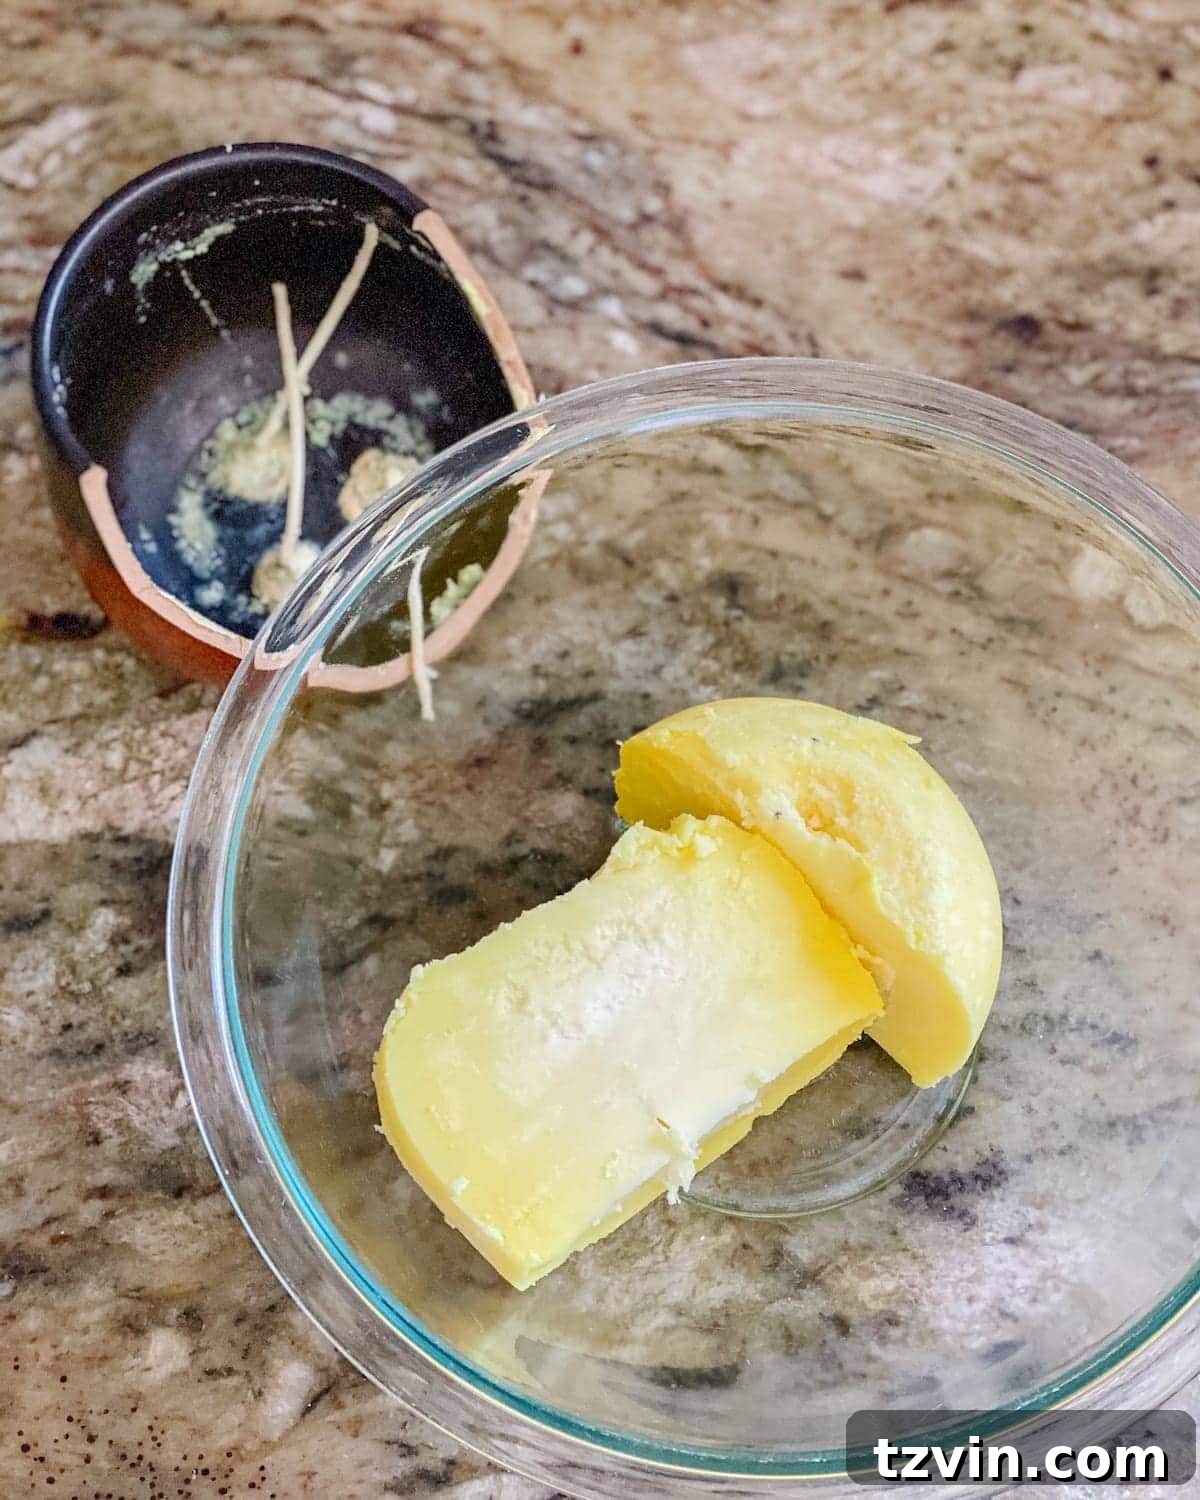
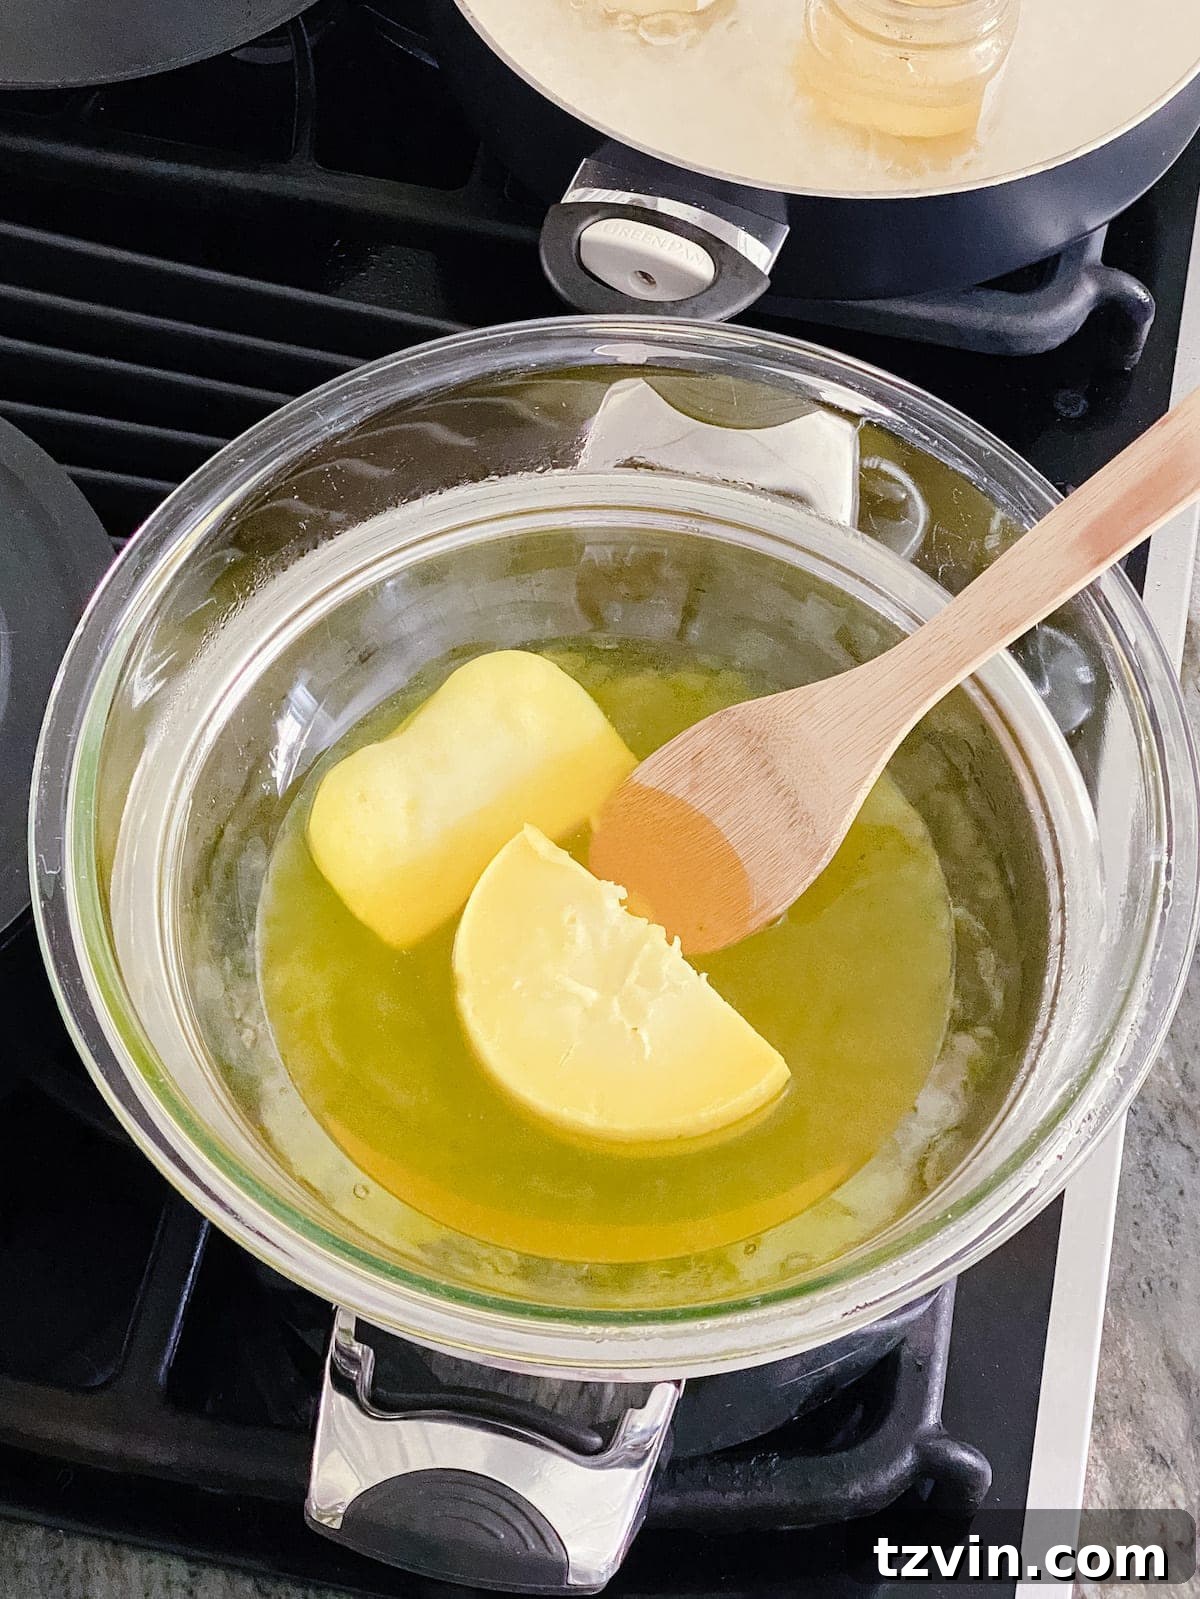
Begin with a thoroughly clean and dry canister or chosen vessel. Any moisture or debris can affect the candle’s quality. Next, it’s time to melt your wax. If using a double boiler, place your wax flakes in a heat-safe bowl that fits snugly over a saucepan containing a few inches of simmering water. The steam from the boiling water will gently melt the wax. Stir the wax continuously with your metal knife or spoon until it is completely liquid and smooth. If using a microwave, melt the wax in short intervals (30-60 seconds), stirring in between, until fully melted. Be cautious not to overheat the wax, as this can reduce its scent throw and potentially cause discoloration.
Step 2: Secure Your Wick
Once your wax is melting, ensure your wick is perfectly straight. Apply a small dab of hot glue to the metal base (or “wick tab”) of the wick, or use a piece of double-sided sticky tape. Carefully center the wick at the very bottom of your chosen canister or vessel, pressing down firmly to secure it. A perfectly centered wick is essential for an even burn and to prevent the flame from getting too close to the vessel’s sides.
Step 3: Position the Wick Holder
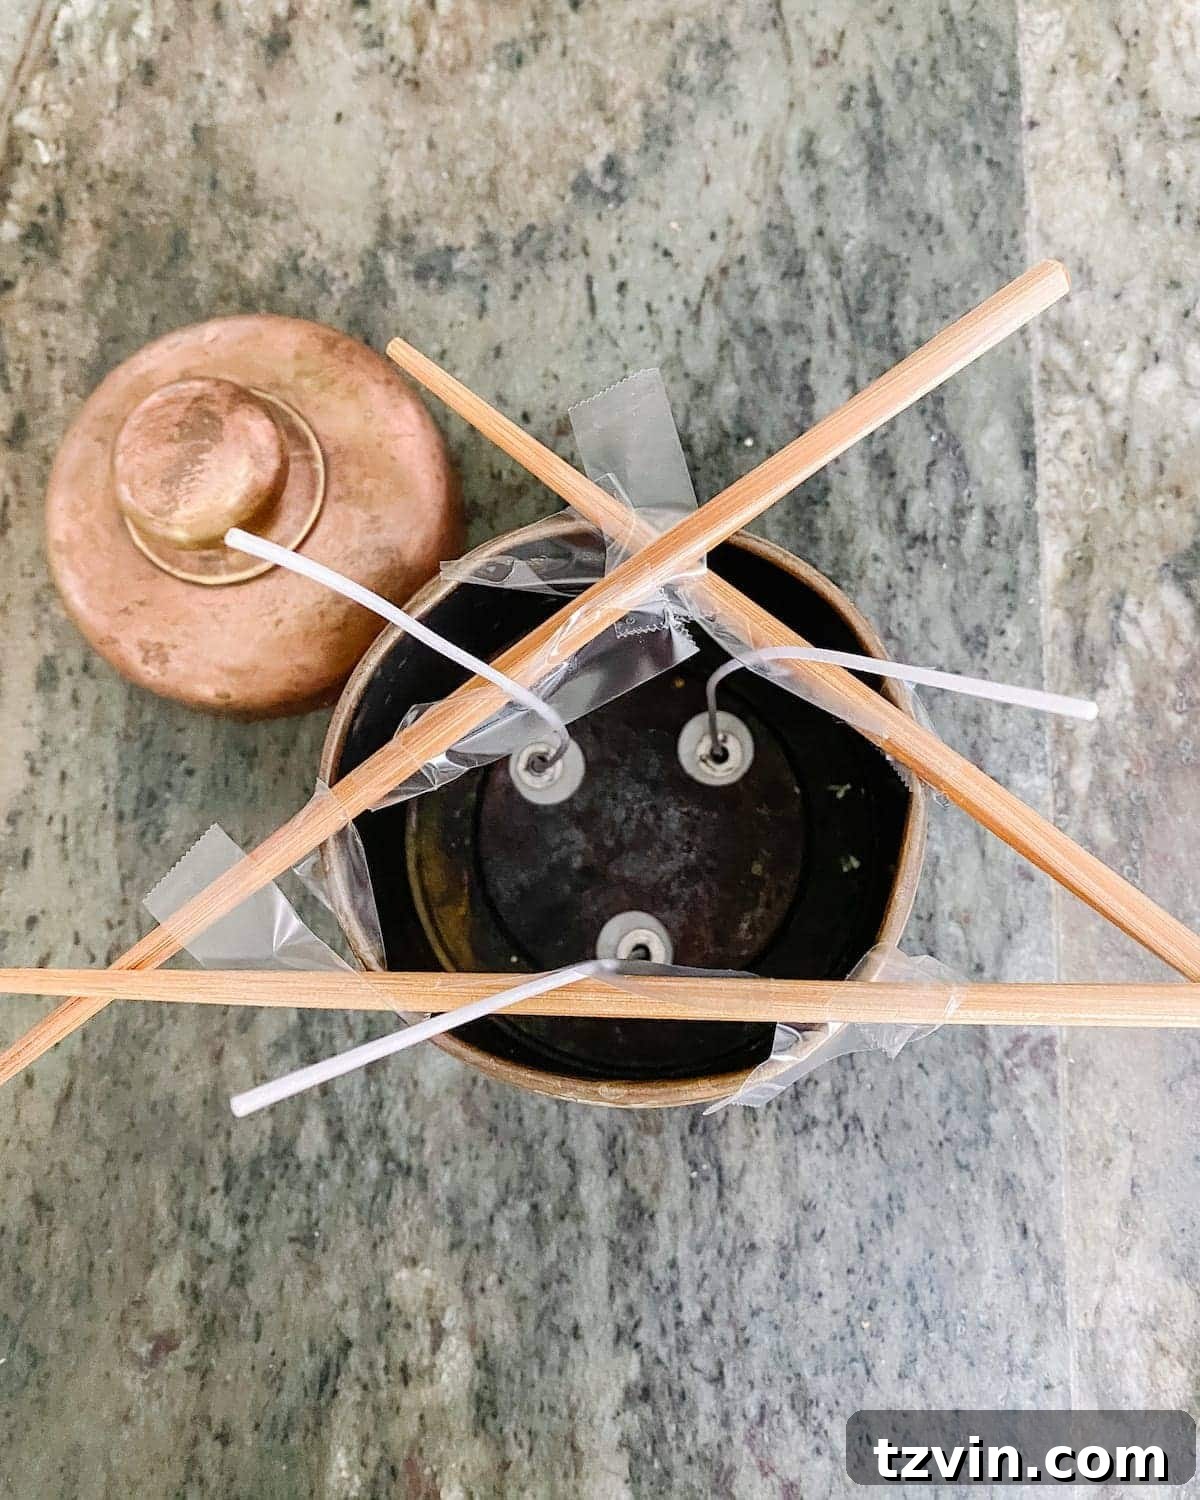
To keep your wick upright and perfectly centered while the wax cools, thread it through a specialized wick holder. If you’re using household alternatives like chopsticks or pencils, place them across the rim of your vessel and tape the wick to the center of them. This ensures the wick remains taut and straight, preventing it from shifting as you pour the wax.
Step 4: (Optional) Add Fragrance
If you’re adding fragrance, now is the time! Once your wax is fully melted but has cooled slightly (ideally to around 180-185°F or 82-85°C for soy wax, though “just cooled slightly” works for simpler projects), add your chosen fragrance oil. A general guideline is about 1/4 ounce (approximately 7-8 ml) of fragrance oil per 8 ounces of wax. Use a dropper or measuring spoon for accuracy. Stir the fragrance into the melted wax gently but thoroughly for at least 2 minutes to ensure it’s evenly dispersed. If your wax was already scented (like from a broken candle), you can skip this step.
Step 5: Pour the Melted Wax
Carefully pour the melted wax into your prepared canister. Pour slowly and steadily to avoid creating air bubbles. Fill the vessel, leaving about a half-inch to an inch of space from the rim. Ensure the wick remains perfectly centered throughout the pouring process.
Step 6: Cool, Trim, and Enjoy!
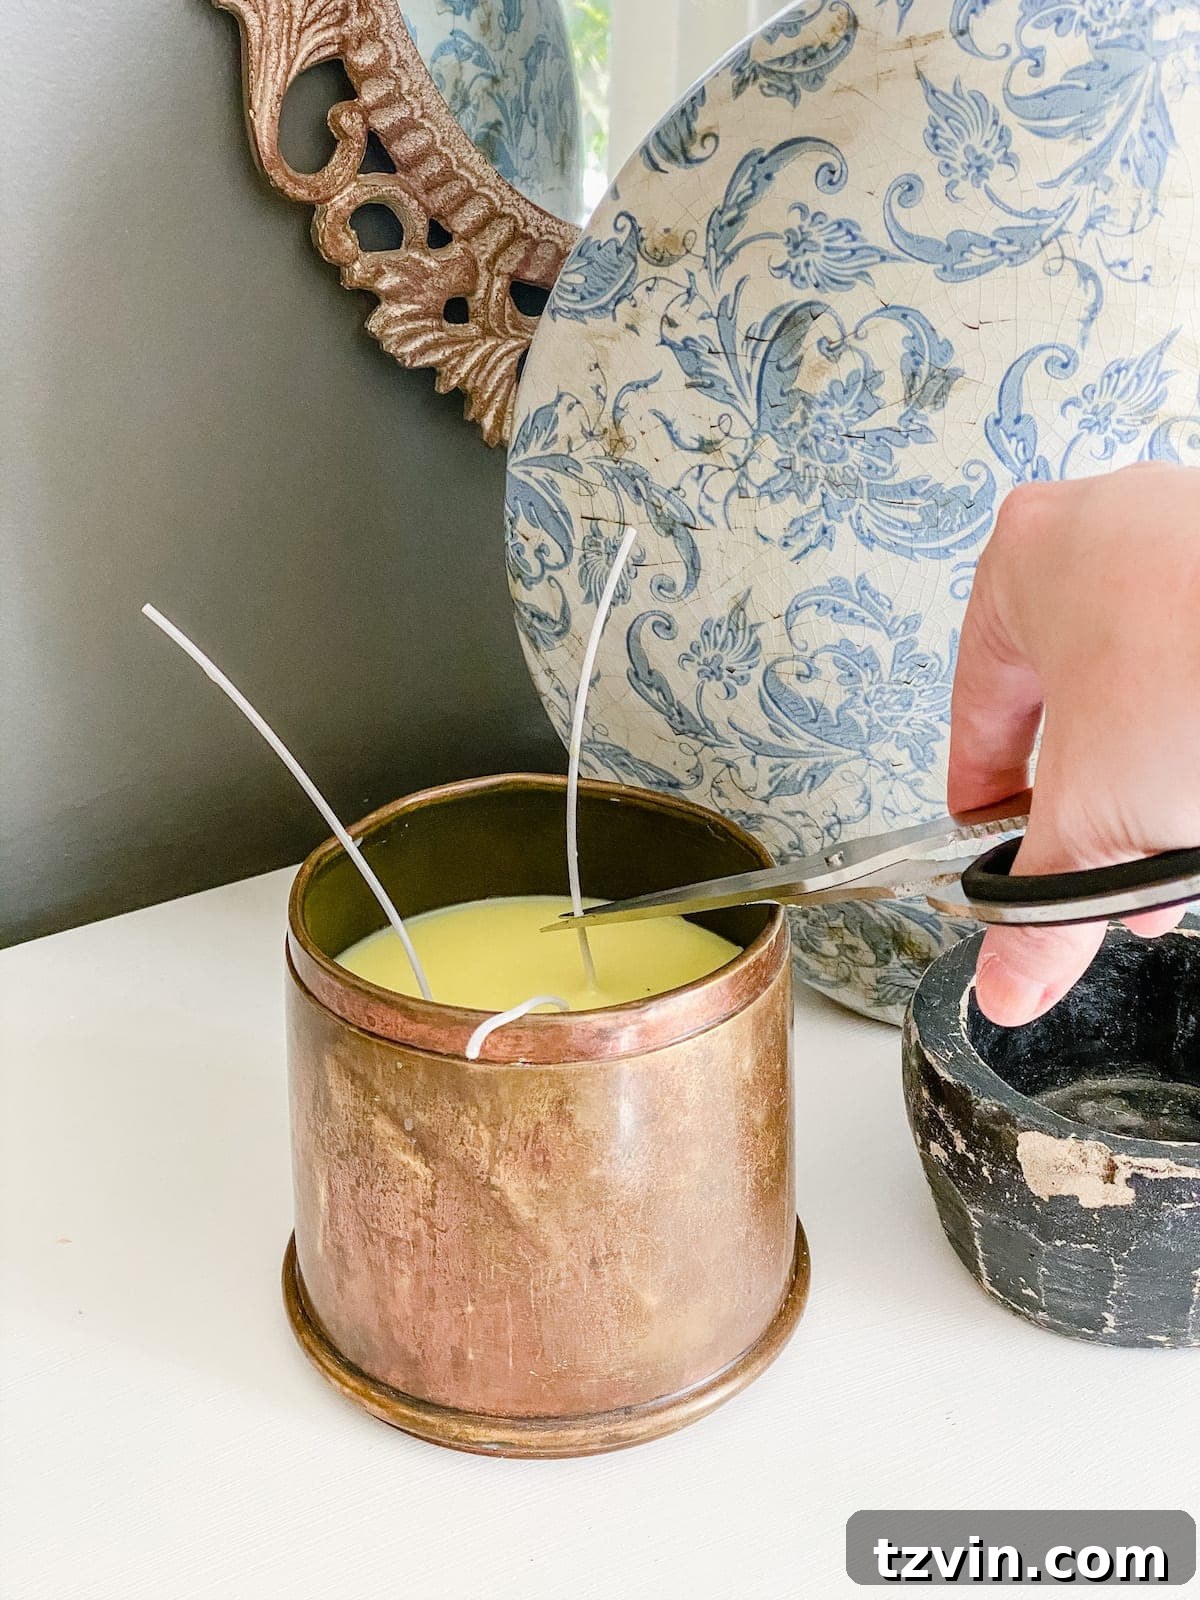
Allow the wax to cool and harden completely, which typically takes a couple of hours, but larger candles may need longer (up to 24 hours). Avoid disturbing the candle during this crucial hardening phase. Once the wax is solid, carefully remove the wick holder. Using scissors, trim the wick to about half an inch above the surface of the wax. This is essential for a clean, even burn and to prevent excessive soot. For best results and optimal scent throw, it’s often recommended to “cure” soy wax candles for 24-48 hours before the first burn. Then, light your beautiful, handmade candle and enjoy the ambiance!
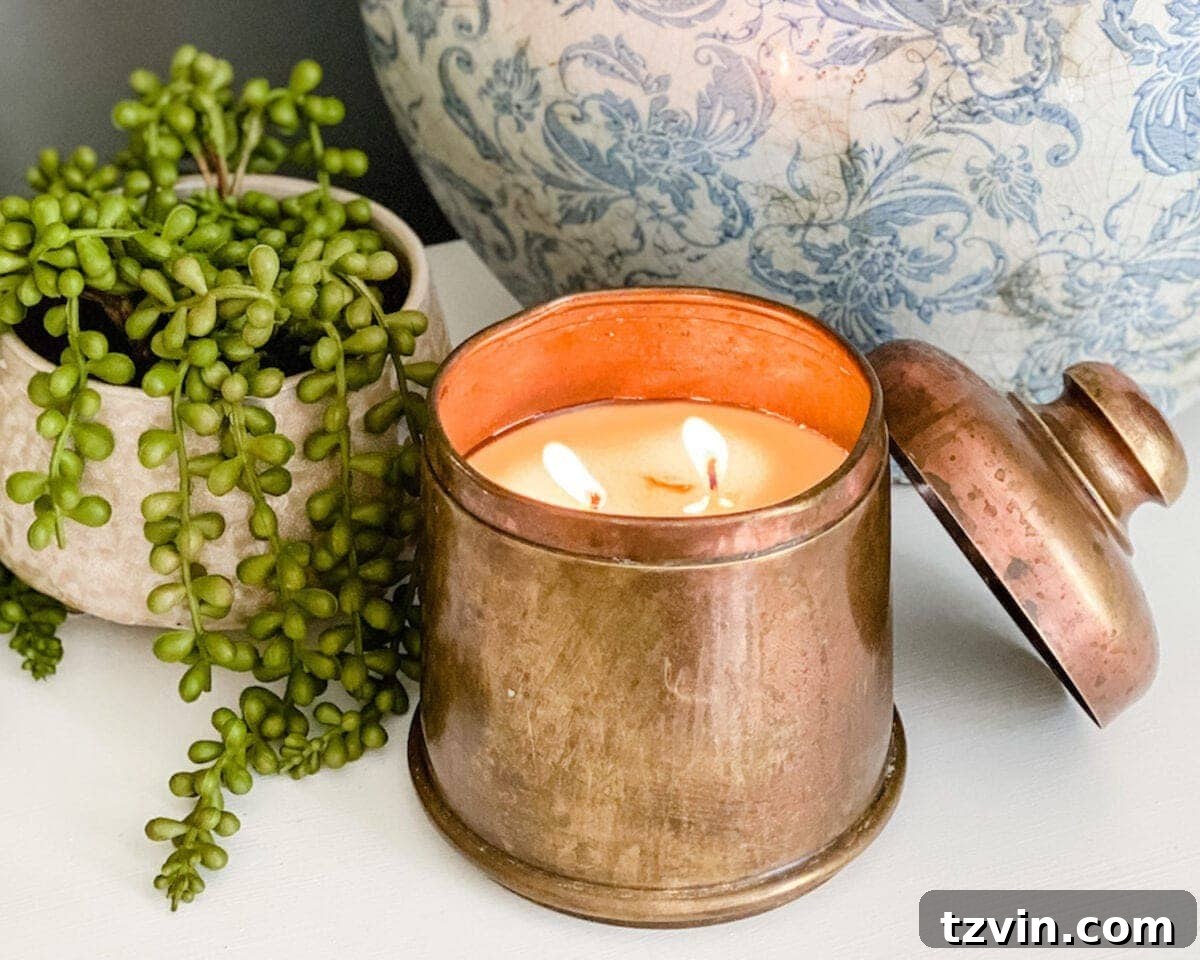
The Perfect Finish: A Stunning & Thoughtful Creation
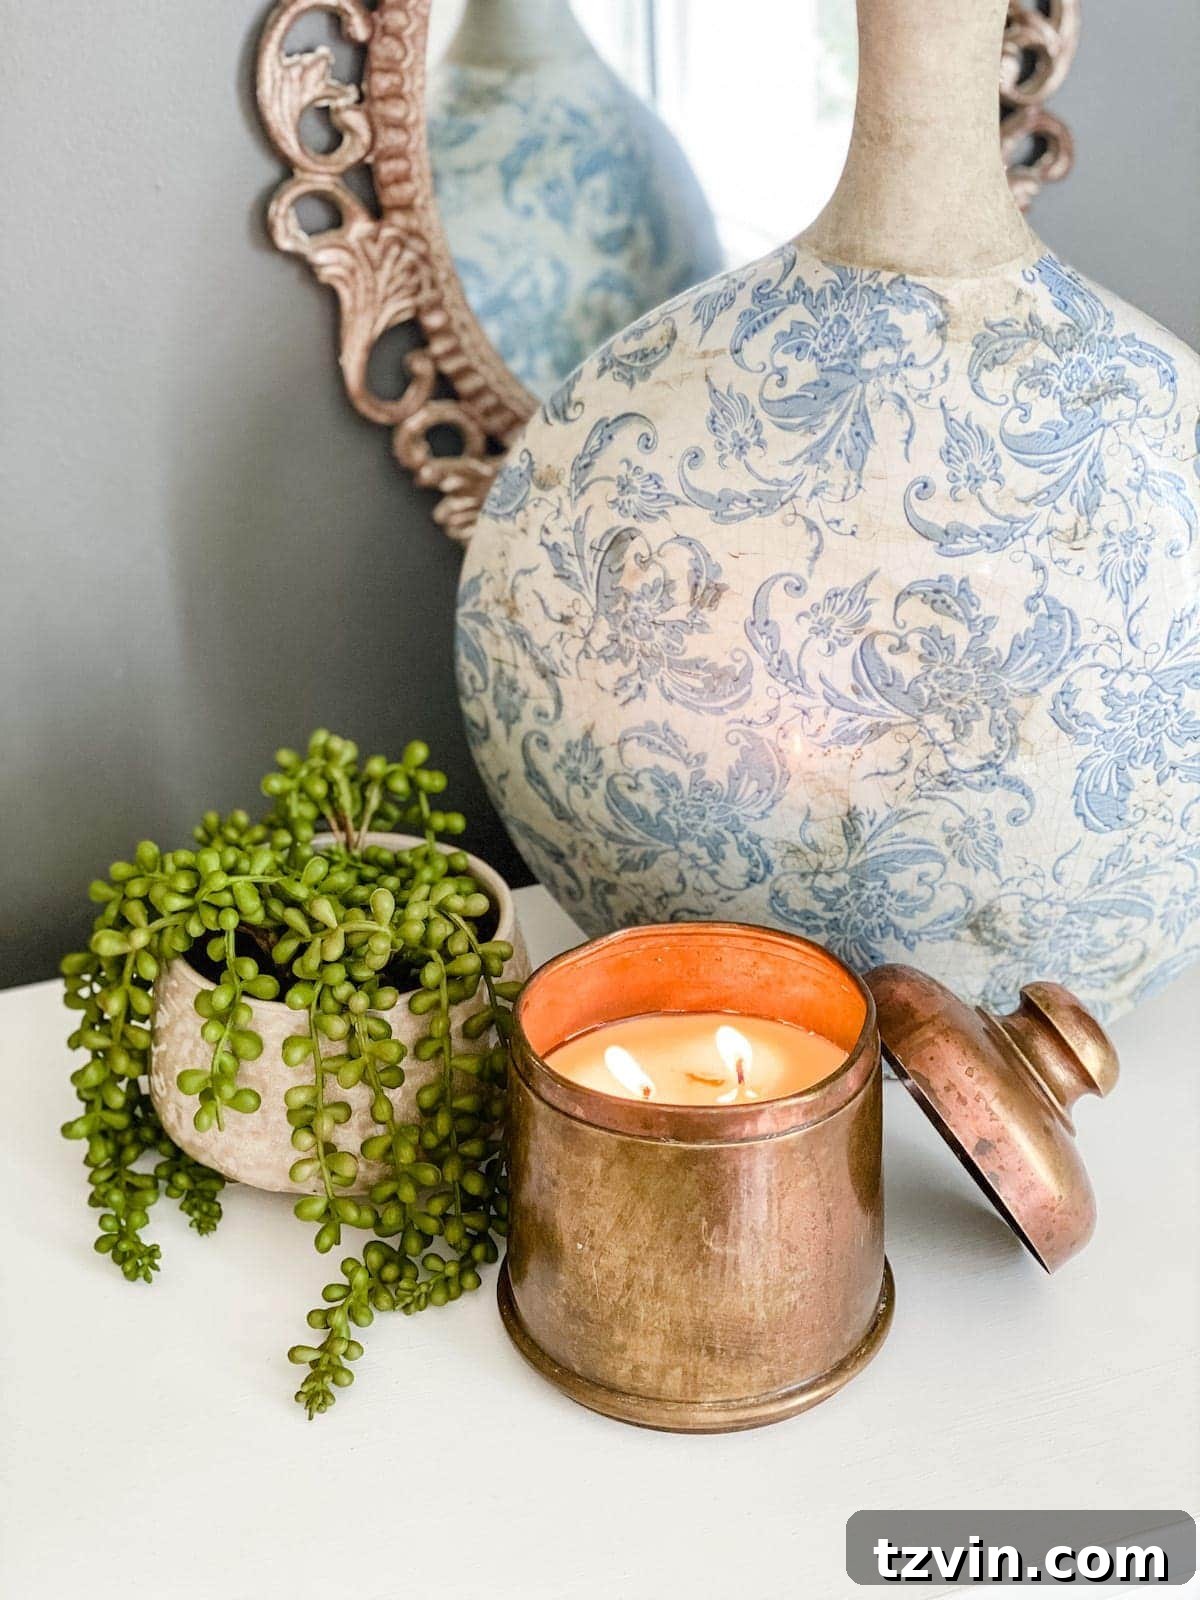
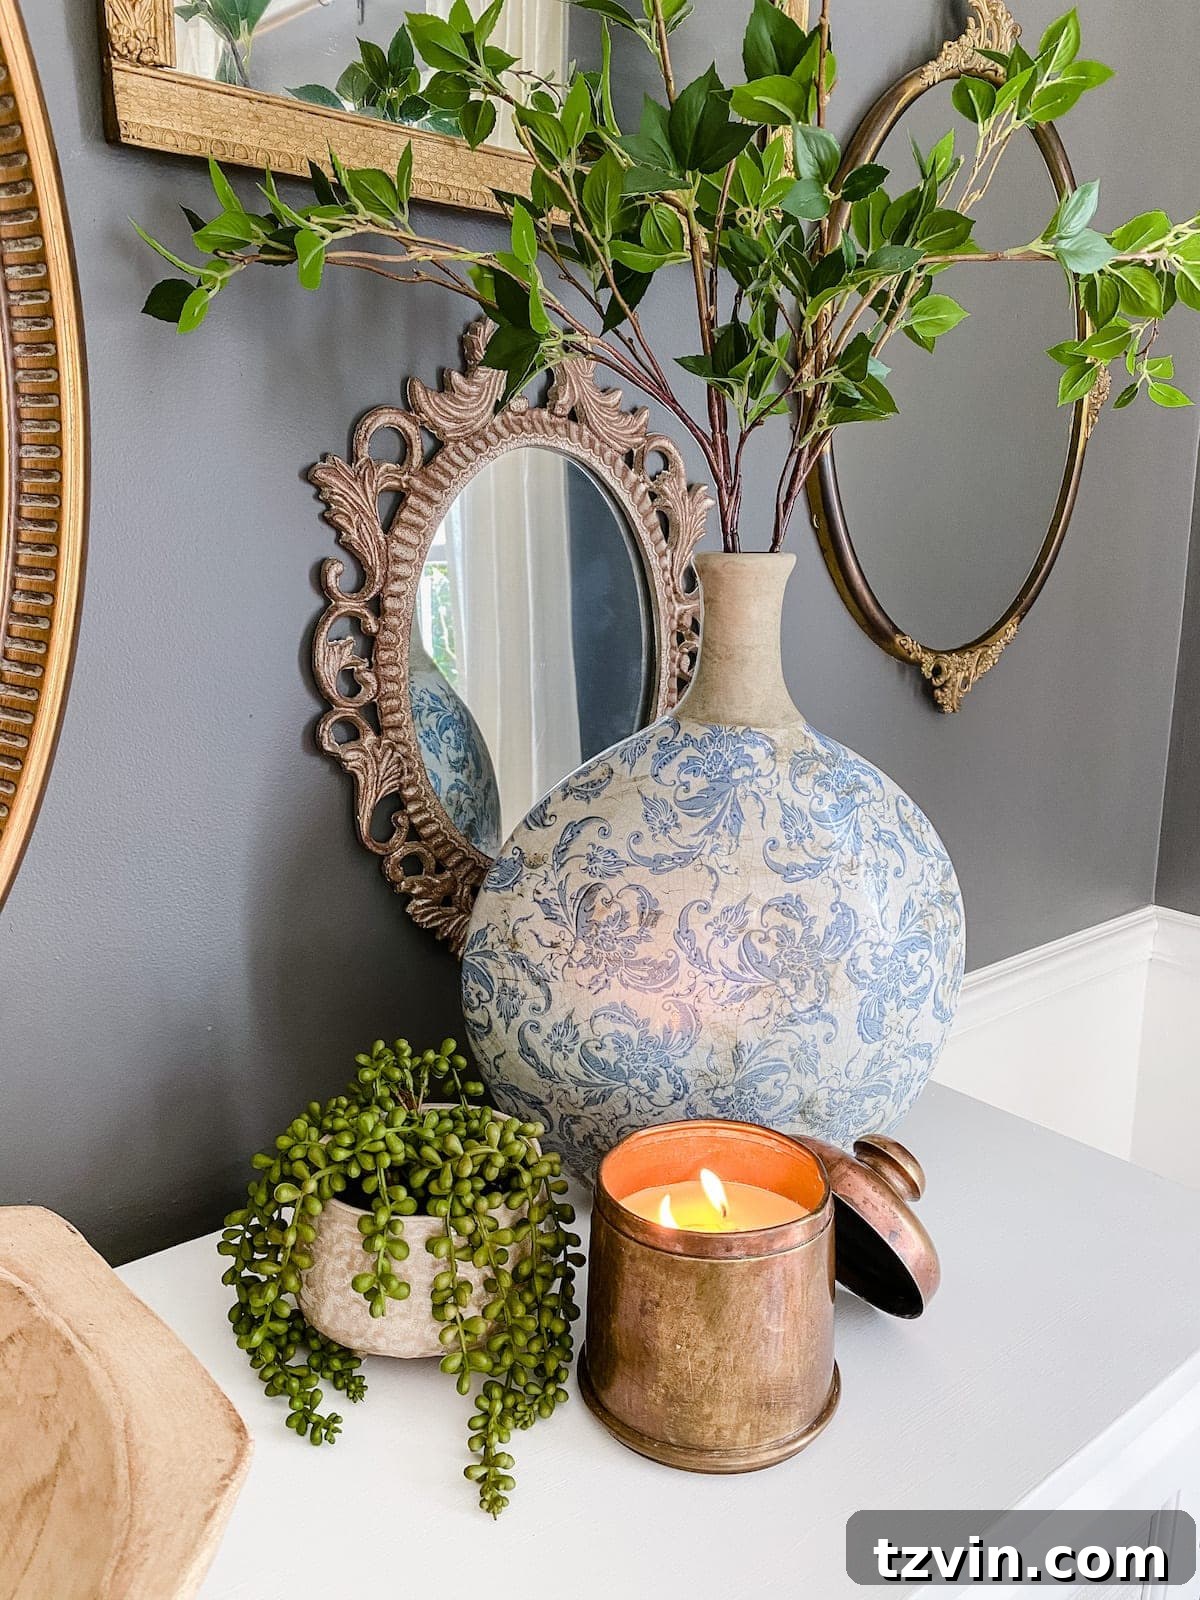
The transformation is truly remarkable! Your thrifted vessel now holds a radiant new purpose, emanating warmth and charm. These DIY candles are not only a wonderful addition to your own home decor, but they also make the sweetest and most thoughtful gifts. Imagine presenting a unique, handcrafted candle in a vintage teacup to a friend, or a beautifully scented one in an antique candy dish to a beloved teacher or hostess. The personal touch and effort invested make these gifts truly memorable and cherished.
Important Candle Safety Tips
While DIY candles are incredibly rewarding, safety should always be your top priority:
- Always place burning candles on a stable, heat-resistant surface away from anything flammable.
- Never leave a burning candle unattended, especially around children or pets.
- Keep the wick trimmed to 1/4 inch before each burn to prevent excessive flames and soot.
- Do not burn a candle for more than 4 hours at a time.
- Discontinue use when only 1/2 inch of wax remains in the bottom of the vessel to prevent the vessel from overheating and potentially cracking.
Embrace the joy of creation and the satisfaction of repurposing with this simple yet impactful DIY project. Happy thrifting and happy crafting!
Expand Your Creativity with More Thrift Store DIY Ideas:
If you’ve enjoyed transforming vintage vessels into candles, you’ll love these other innovative thrift store DIY projects to further personalize your home and flex your creative muscles:
- DIY Designer Knock-Off Textile Art: Turn an old rug into a sophisticated piece of wall art.
- Thrifted Sheet Music Gallery Wall: Create elegant and unique wall decor using vintage sheet music and thrifted frames.
- DIY Hobnail Vase: Transform a plain glass vase into a charming hobnail-inspired piece with a simple technique.
- Footed Grasscloth Buffet Makeover: Give an outdated piece of furniture a luxurious, modern update with grasscloth and new feet.
- DIY Antique Mirrors from Thrifted Frames: Learn how to convert ordinary picture frames into vintage-style antique mirrors for a touch of timeless elegance.