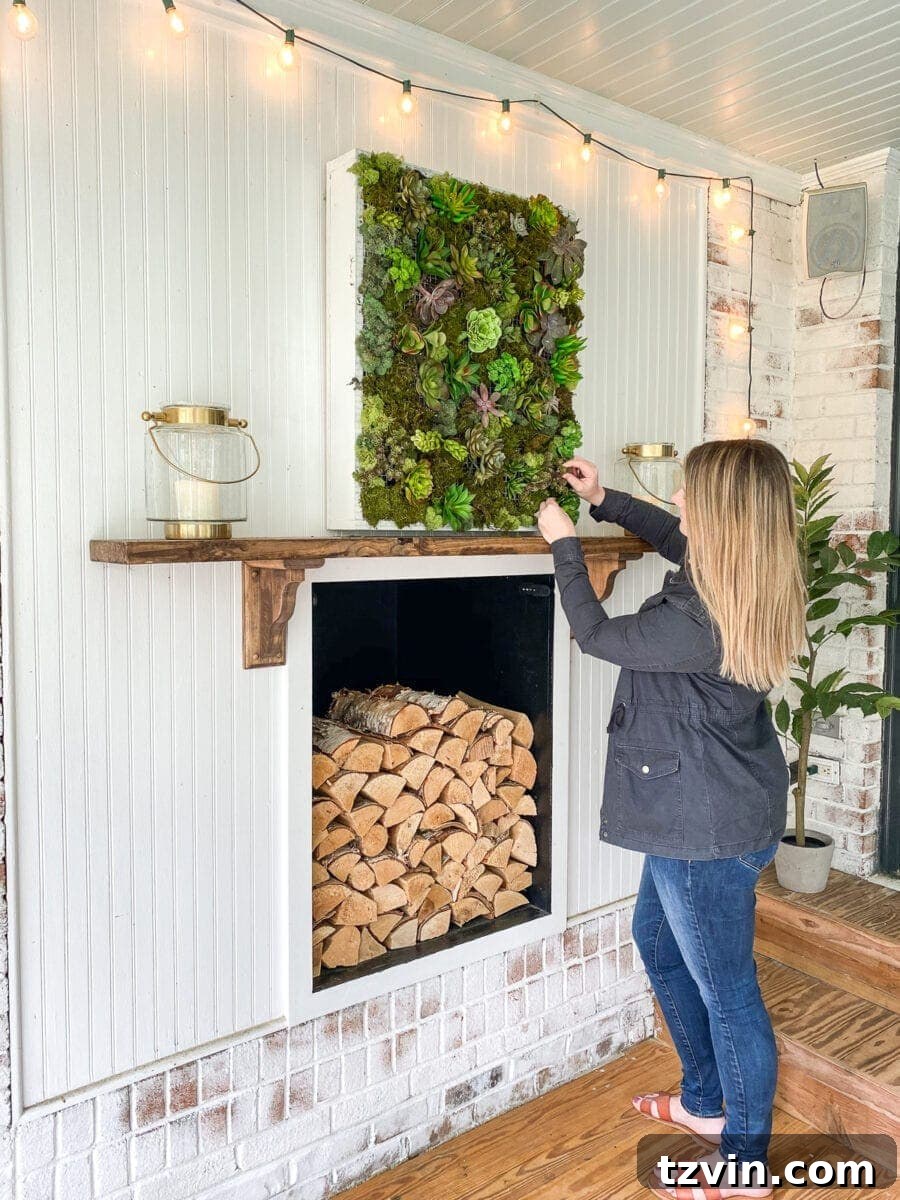
DIY Vertical Wall Planter: Transform Scrap Wood into a Stunning Succulent Garden (Indoor & Outdoor)
There’s immense satisfaction in crafting beautiful home decor from materials you already possess. This guide will walk you through creating a charming wall planter, perfect for showcasing succulents both indoors and outdoors, using readily available scrap wood, lush moss, and vibrant succulents. It’s an ideal project for embracing spring or summer gardening, offering a creative outlet and a touch of green to any space.
In a world increasingly focused on sustainability and mindful living, upcycling materials not only reduces waste but also infuses your home with unique character and a personal touch. We recently discovered the potential in some wood scraps from a previous furniture makeover – specifically, the bottom boards from our “Betty White” buffet project. What was once destined for the trash can now be transformed into a stylish home for a living wall of greenery, breathing new life into forgotten materials.
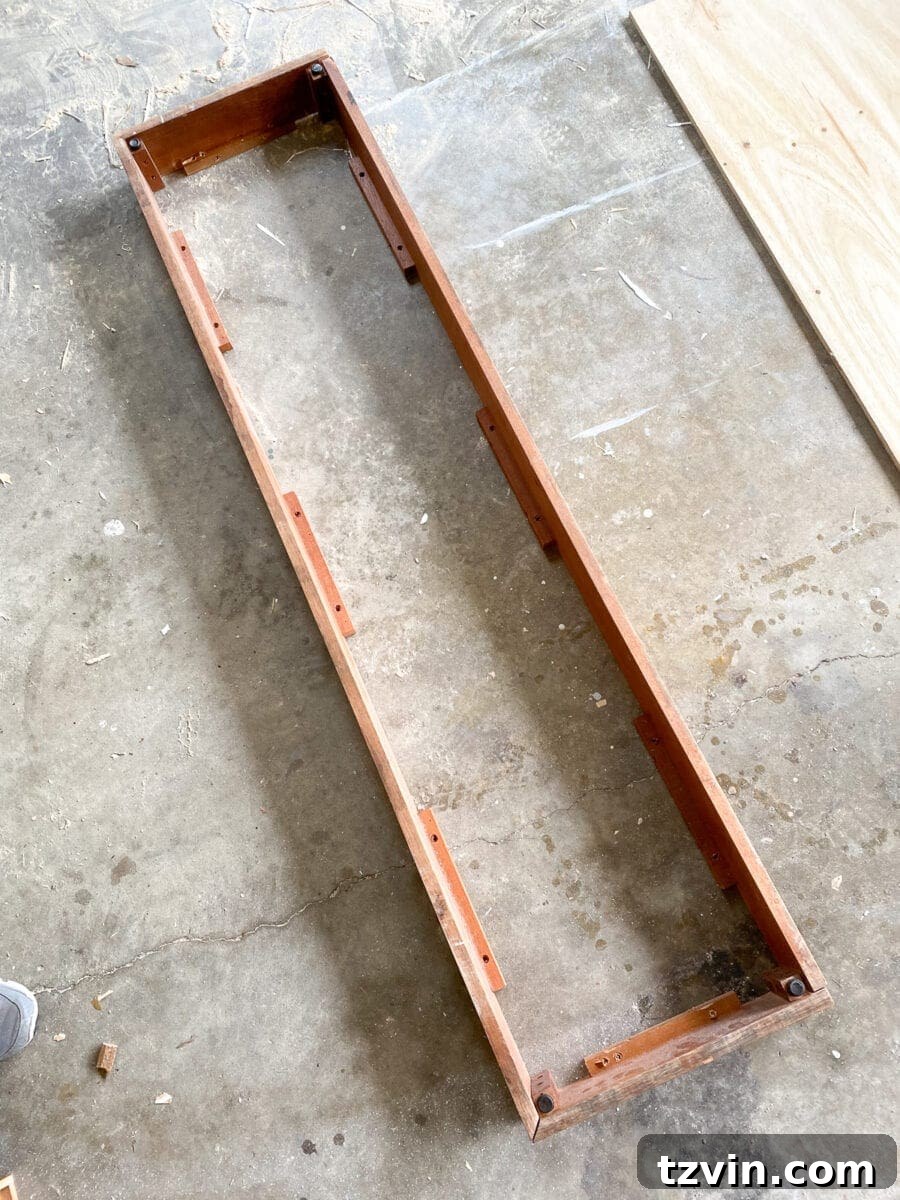
Our inspiration for this project stemmed from a desire to refresh our back porch, transforming it into a vibrant oasis. The boards, initially cut to shorten the buffet for new legs, presented themselves as perfect candidates for a succulent wall planter. This project is a fantastic way to bring the essence of an outdoor garden into your living space or to enhance your existing patio or balcony. As spring bursts forth, bringing a bit of the garden indoors or adorning your outdoor spaces with custom-made planters can truly uplift your spirits.
Currently, our back porch is undergoing a seasonal transition. While it might look a little sparse right now…
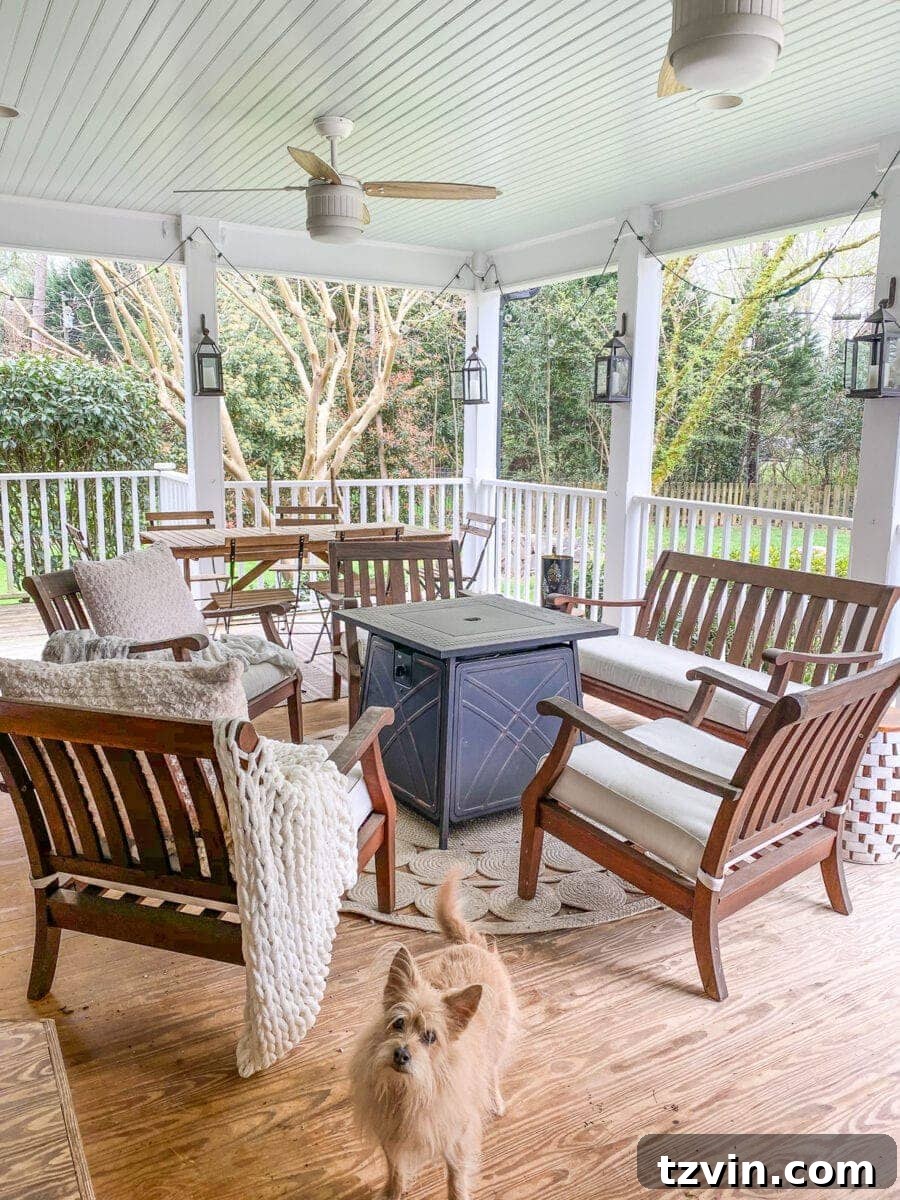
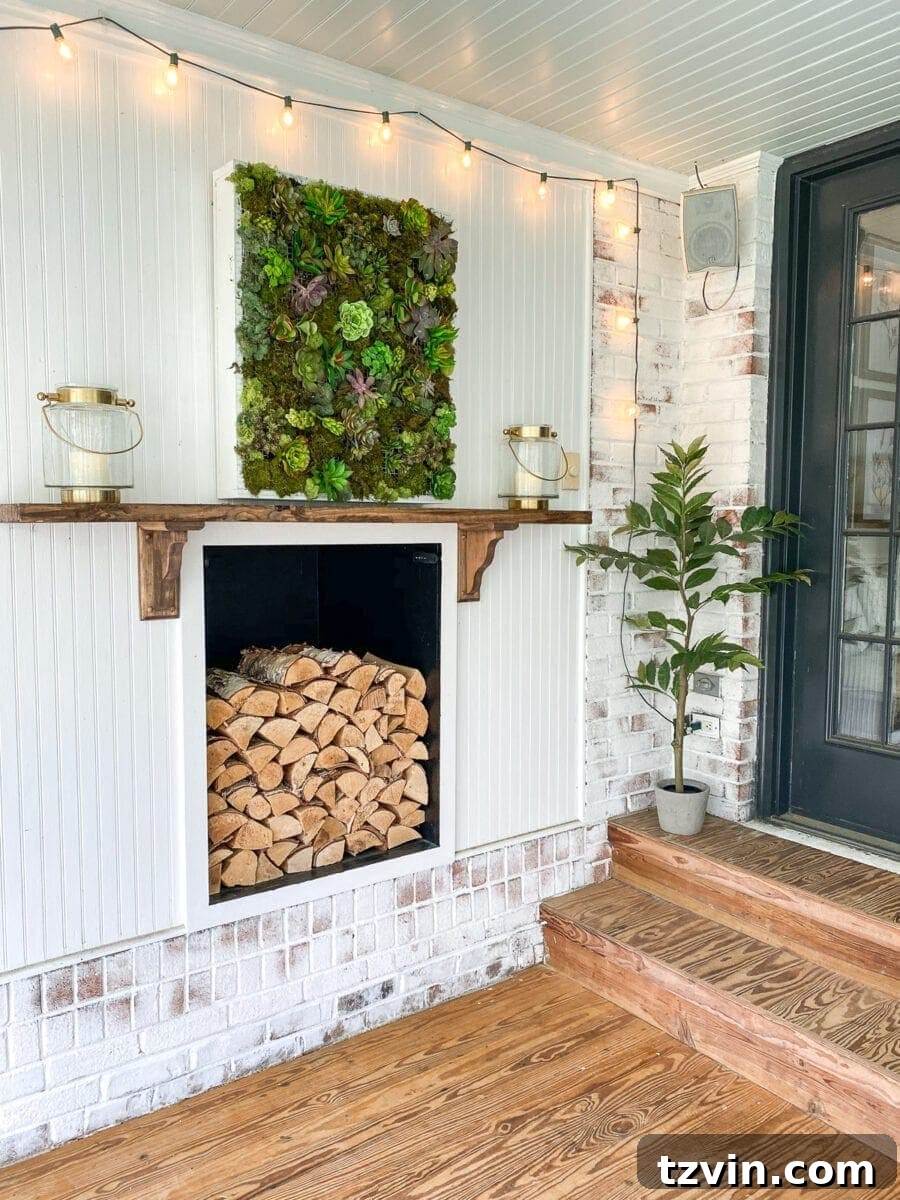
…we’re eagerly preparing it to return to its full, welcoming glory this coming weekend. Imagine it looking something like this once our DIY wall planter finds its home:
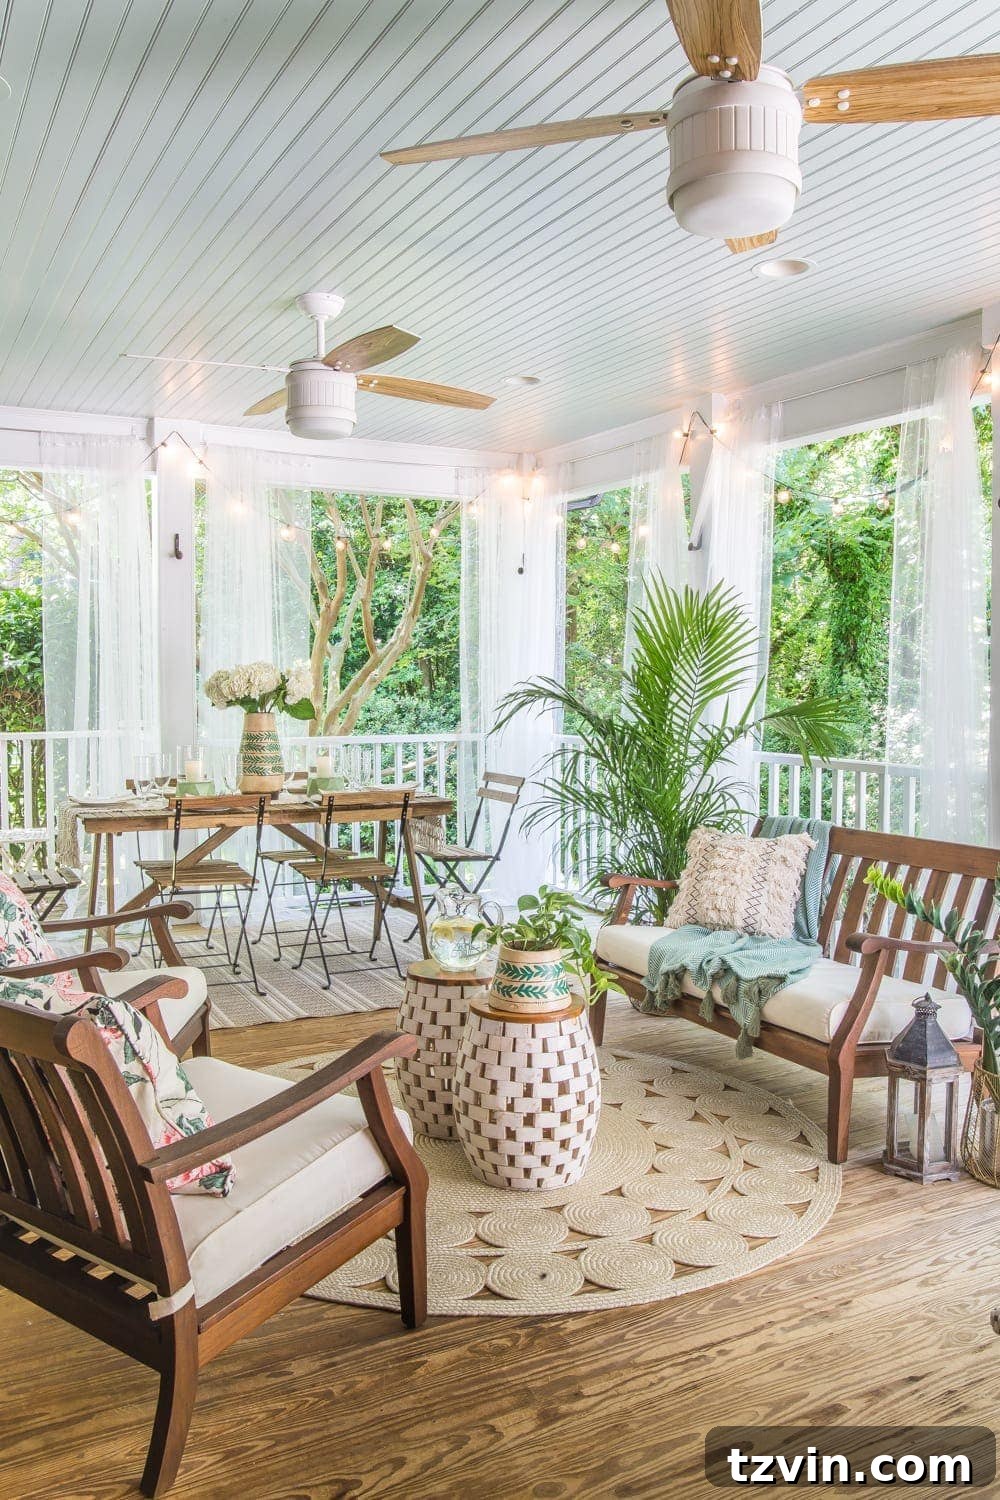
And what better way to celebrate spring than by cultivating a little garden, even if it’s a vertical one, when outdoor activities are still a bit restricted? This project offers a tangible connection to nature and a rewarding sense of accomplishment.
DIY Vertical Wall Planter: A Step-by-Step Guide
(Please note: Some affiliate links are provided below for your convenience. Full disclosure information can be found here.)
Creating your own vertical wall planter is a straightforward and enjoyable process. It allows for significant customization, making it a perfect fit for any aesthetic or space. Before you begin, gather all your materials to ensure a smooth workflow.
Supplies You’ll Need:
- Scrap Wood Boards: Utilize any available wood scraps. The size and type of wood are flexible; common choices include pine or cedar. For reference, our boards were approximately the size of 1×4 lumber, ideal for a sturdy frame.
- 1/2″ Thick Plywood Scrap: This will serve as the backing for your planter, providing a solid base for the structure and a surface for mounting.
- #8 1/2″ Wood Screws: Essential for securely assembling the wood components.
- Roll of 1/2″ Steel Hardware Cloth: This mesh material will hold the soil and plants in place while allowing roots to grow through.
- Small Plastic Drop Cloth: Crucial for lining the planter box to retain moisture and protect the wood from rot.
- Hangman Hanger (or alternative hanging kit): Choose a sturdy hanging system appropriate for the weight of your finished planter filled with soil and plants.
- Circular Saw: For precise and efficient cutting of your wood boards and plywood.
- Power Drill: Necessary for pre-drilling pilot holes and driving screws.
- Heavy Duty Stapler: To secure the plastic liner and hardware cloth within the planter box.
- Hammer: For flattening any sharp edges of the hardware cloth and general assembly.
- Wire Snips: Specifically designed for cutting the steel hardware cloth cleanly and safely.
- Scissors: For trimming the plastic drop cloth.
- Measuring Tape: For accurate measurements to ensure a well-proportioned planter.
- Carpenter Square: To ensure your cuts and assembly angles are perfectly square.
- Pencil: For marking cutting lines and screw placement.
- Spray Paint or Wood Stain with Paint Brush: To finish and protect your wood, matching it to your desired aesthetic.
- Potting Soil: Choose a well-draining soil mix, especially if using succulents. A succulent-specific mix is ideal.
- Succulents or Plants of Your Choice: Consider a variety of succulents for visual interest. Alternatively, small herbs or low-maintenance plants can work. For a zero-maintenance option, you could use artificial plants.
- 1-2 Packs of Moss: Spanish moss or sheet moss works well to fill gaps and add a natural, decorative touch.
- Hot Glue Gun: For temporarily securing the moss.
Construction Steps:
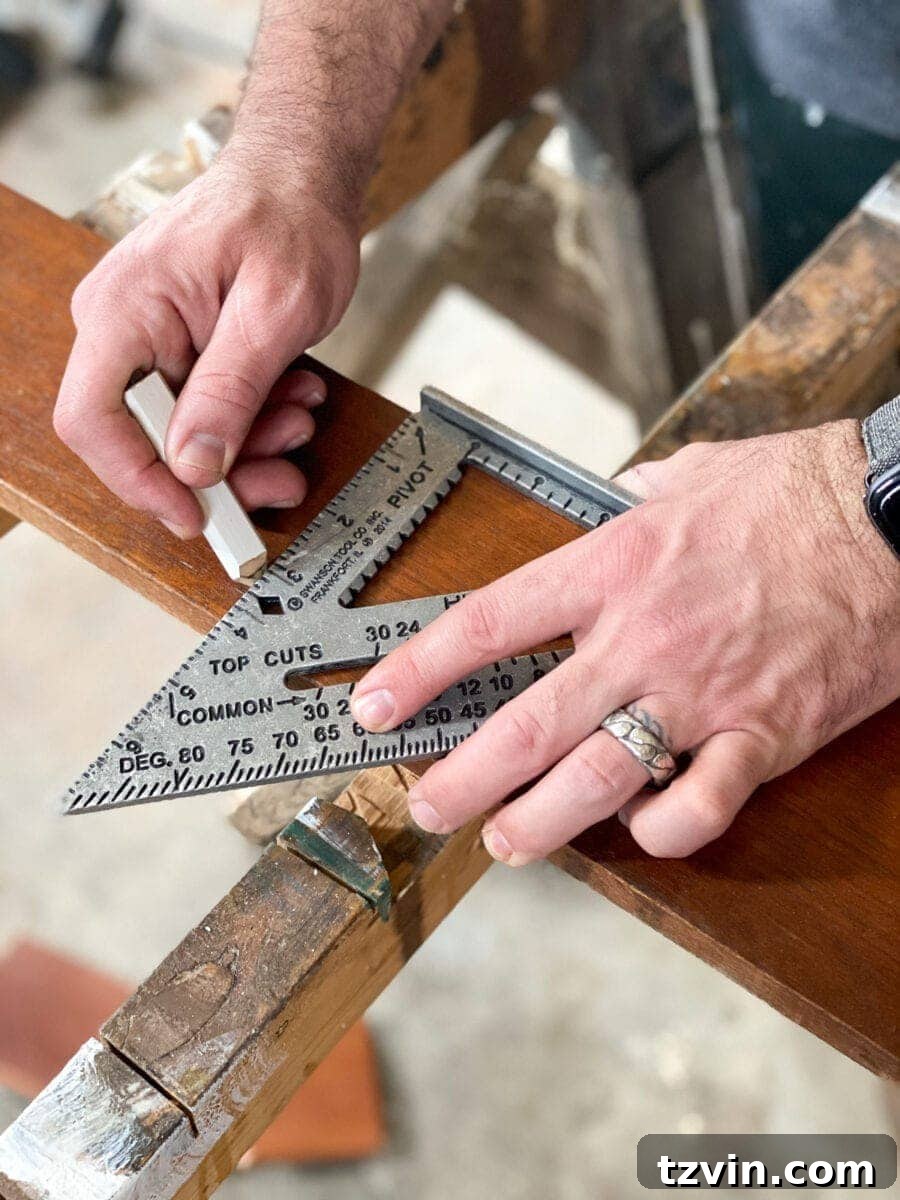
1. Plan Your Planter’s Dimensions: The first step is to visualize and determine the ideal size for your wall planter. Consider the available space where it will hang and how many succulents you wish to display. Once decided, use your measuring tape and pencil to accurately mark your 1×4 boards and the 1/2″ plywood according to these dimensions. Precision here will ensure a professional-looking finished product.
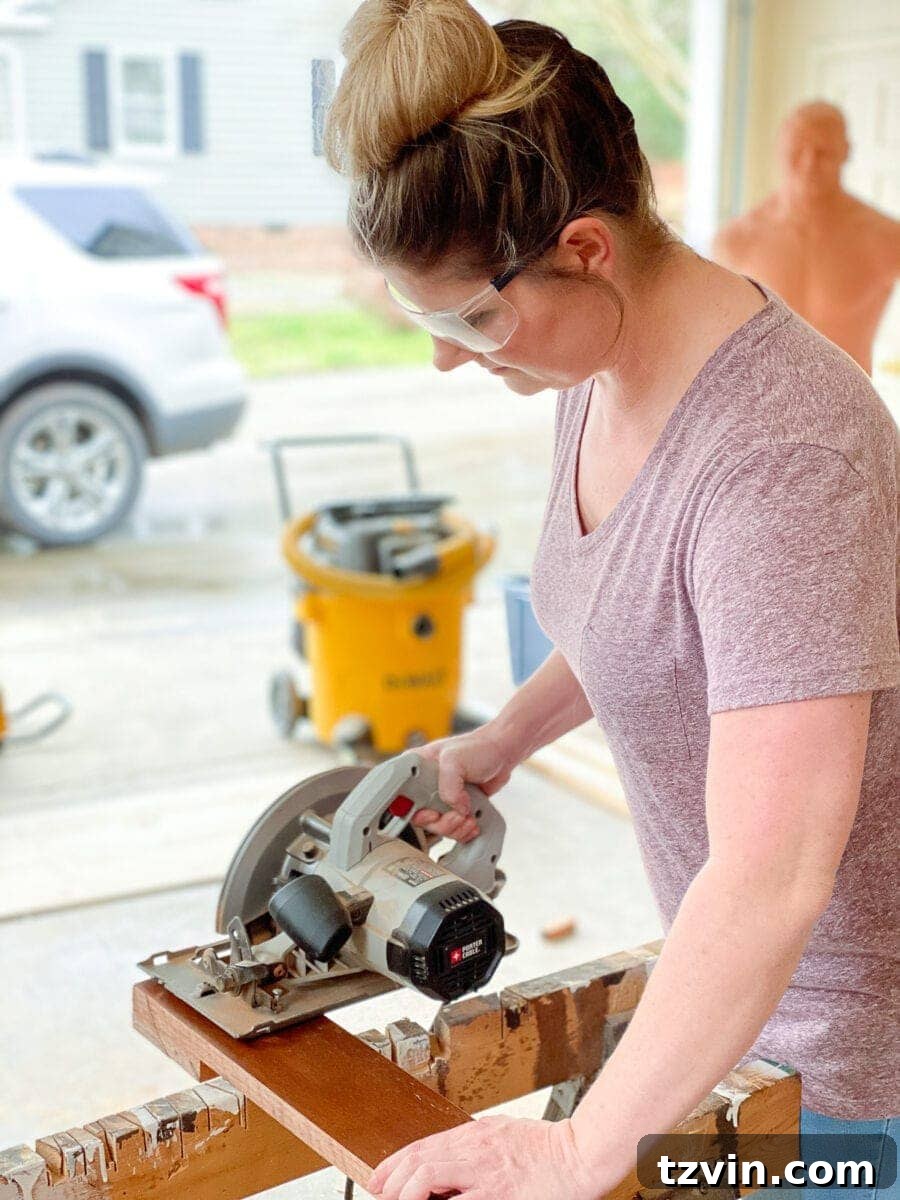
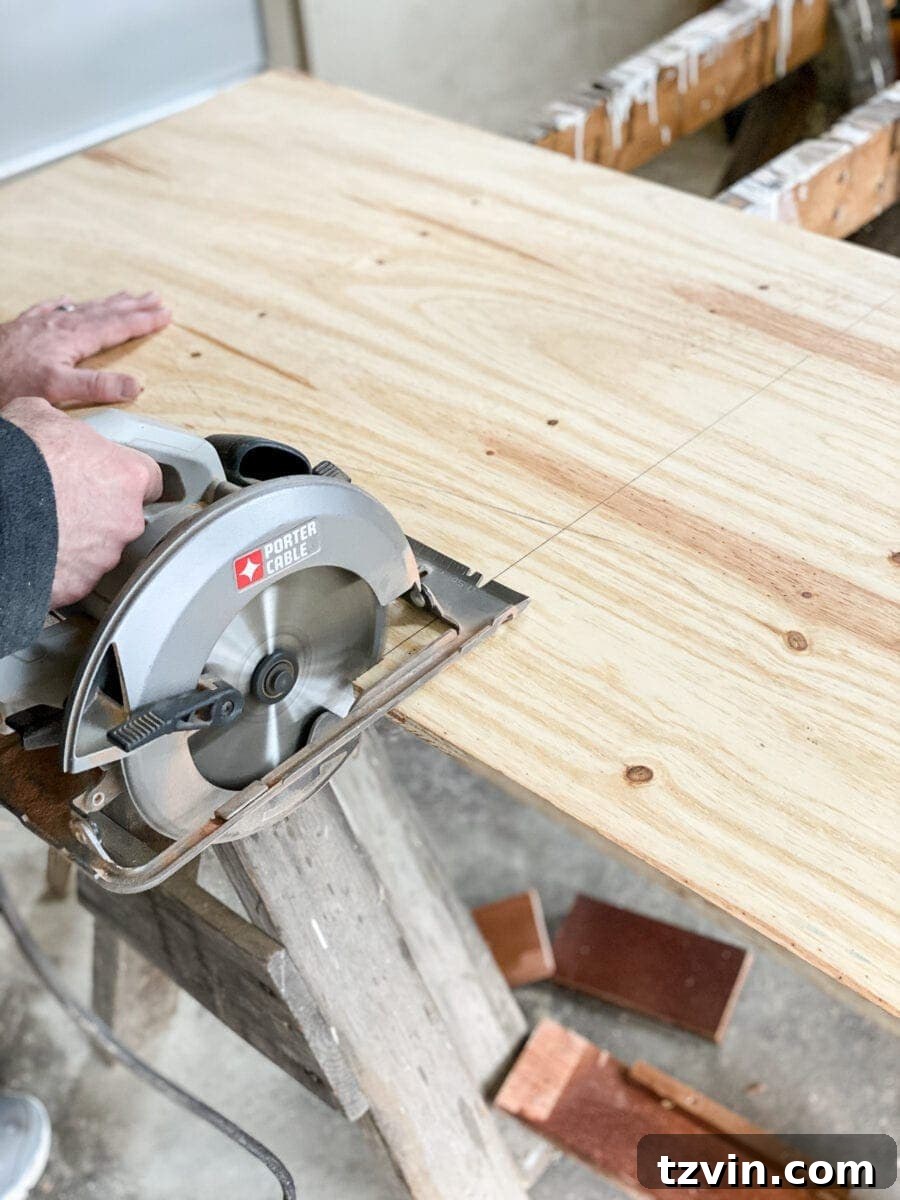
2. Execute Your Cuts with Precision: With your measurements marked, it’s time to cut the 1×4 pieces and the plywood using your circular saw. Always prioritize safety when operating power tools; wear appropriate eye and ear protection, and ensure your work area is clear. You might notice our resident garage supervisor, “Gummy Bob” (our boxing dummy), keeping a watchful eye in the background. He definitely adds a unique charm to our workshop!
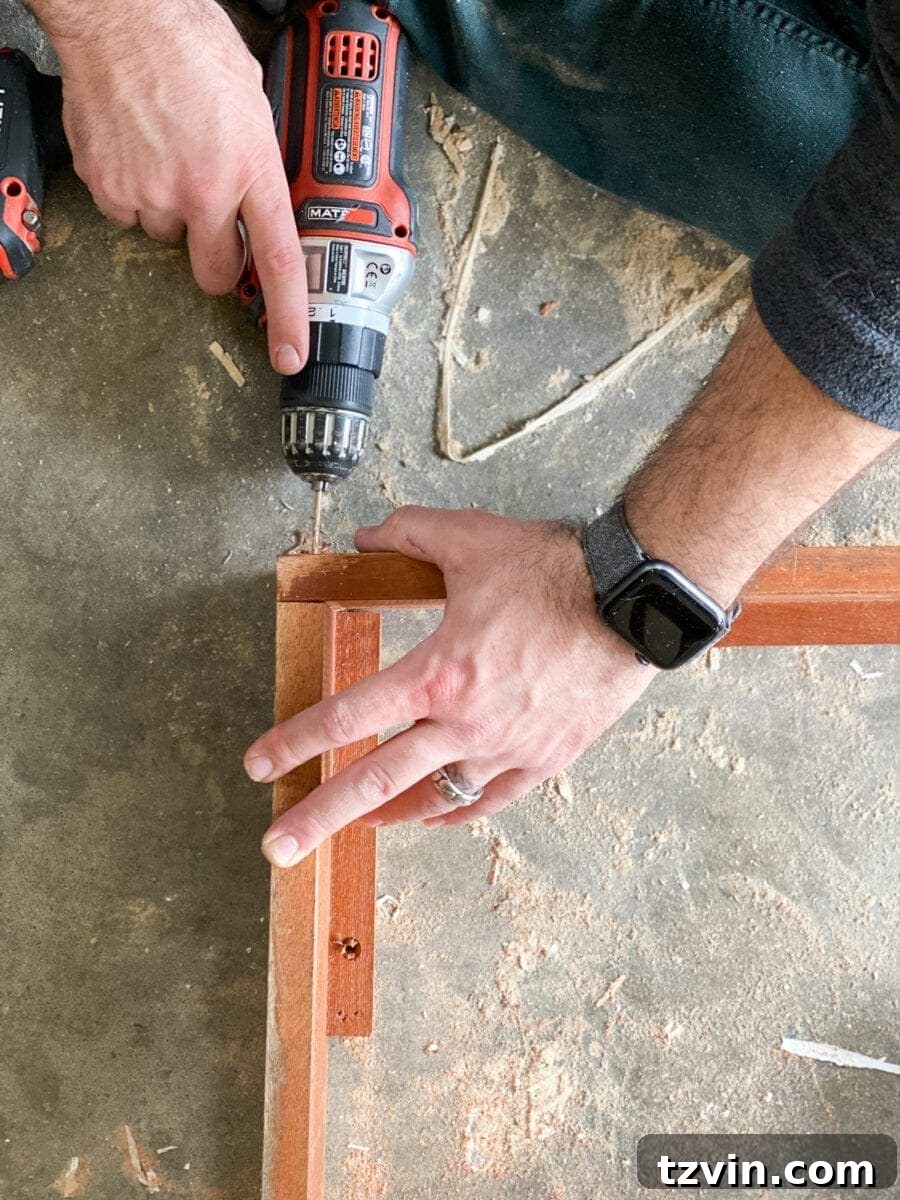
3. Assemble the Planter Box Frame: Take your cut 1×4 pieces and assemble them into a square or rectangular box shape, forming the main frame of your planter. Before driving screws, use your power drill to create pilot holes at each corner. This crucial step prevents the wood from splitting, especially when working with scrap wood that might be dry or brittle. Once the pilot holes are drilled, secure the corners firmly with your wood screws, ensuring the frame is rigid and square.
4. Secure the Plywood Backing: Once your wooden box frame is assembled, position your cut plywood piece onto one side of the frame. This plywood will form the back of your wall planter. Align it carefully, ensuring all edges are flush. Then, use wood screws to attach the plywood securely to the frame. This creates a solid base and the necessary structure for hanging and holding the soil.
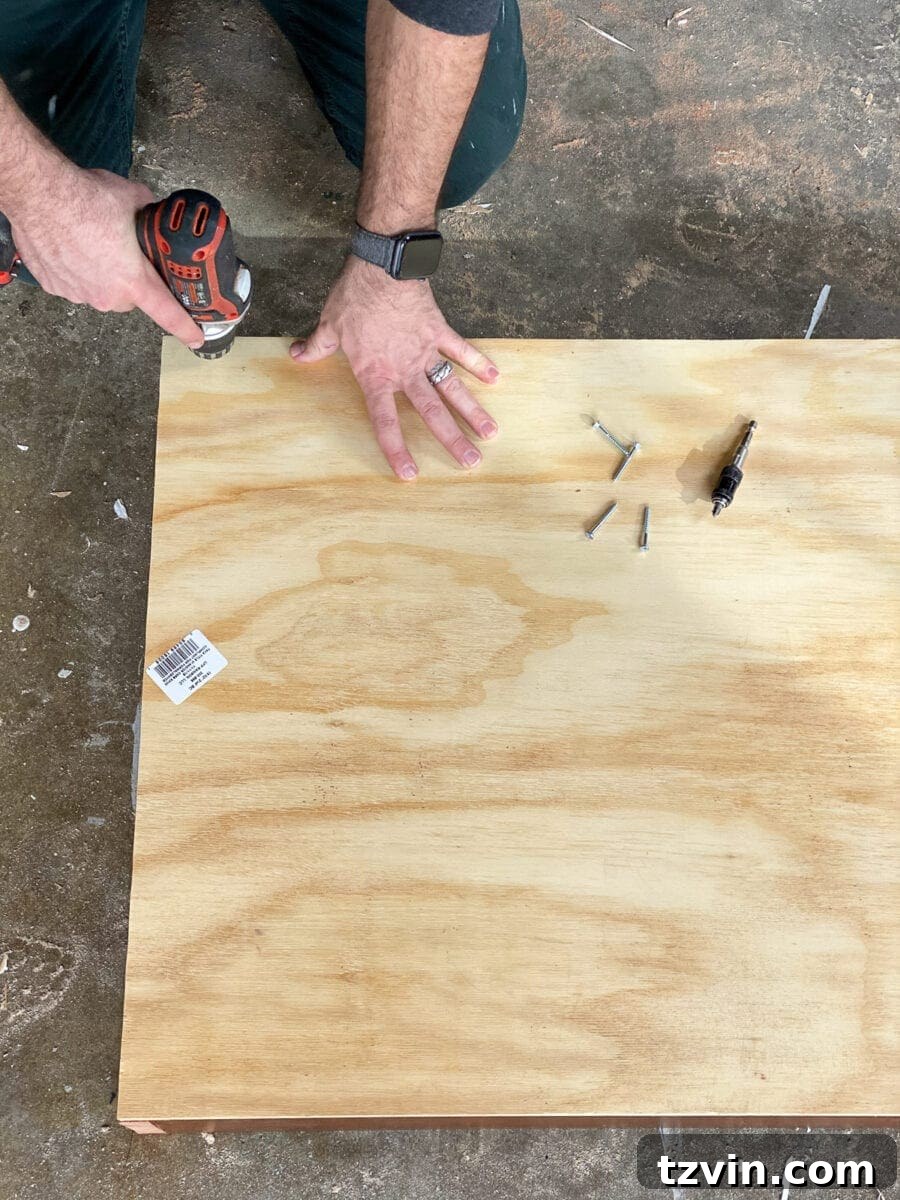
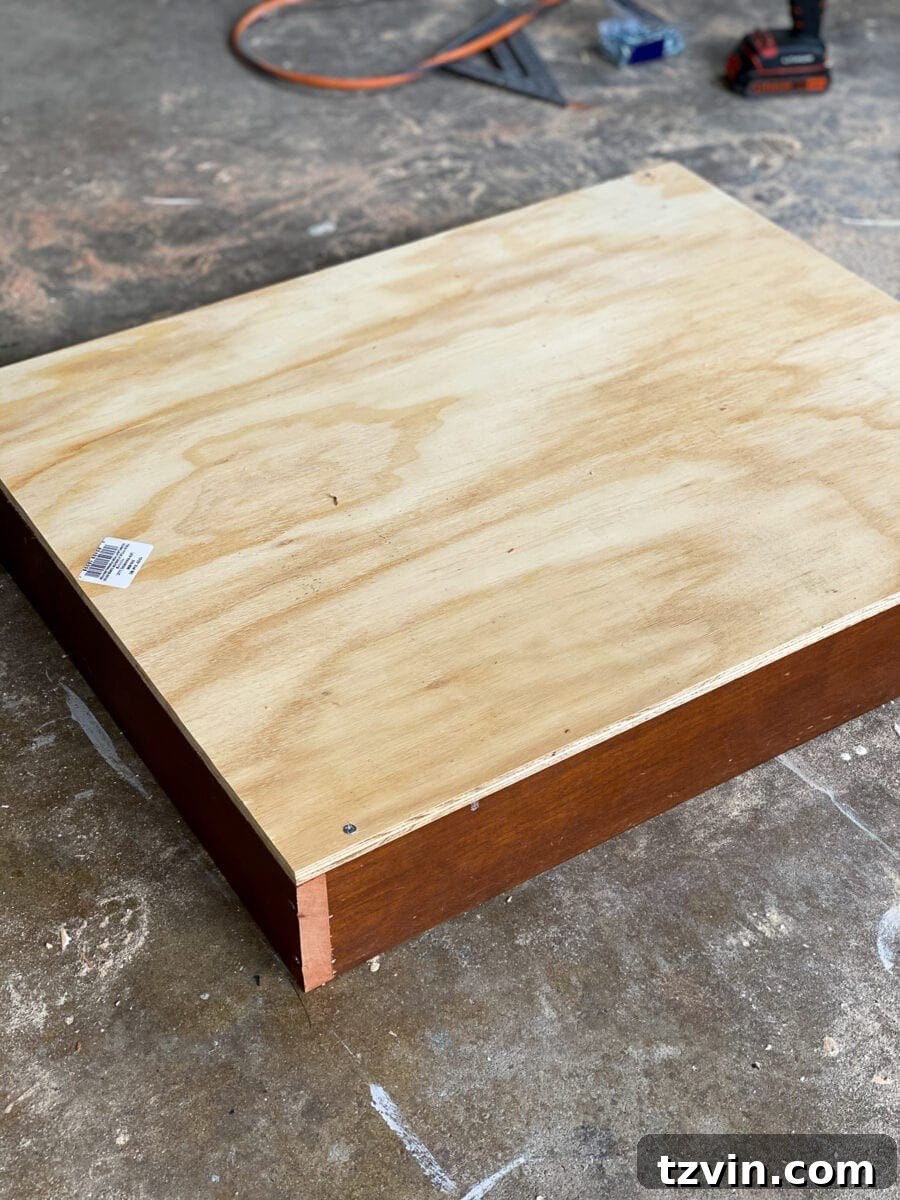
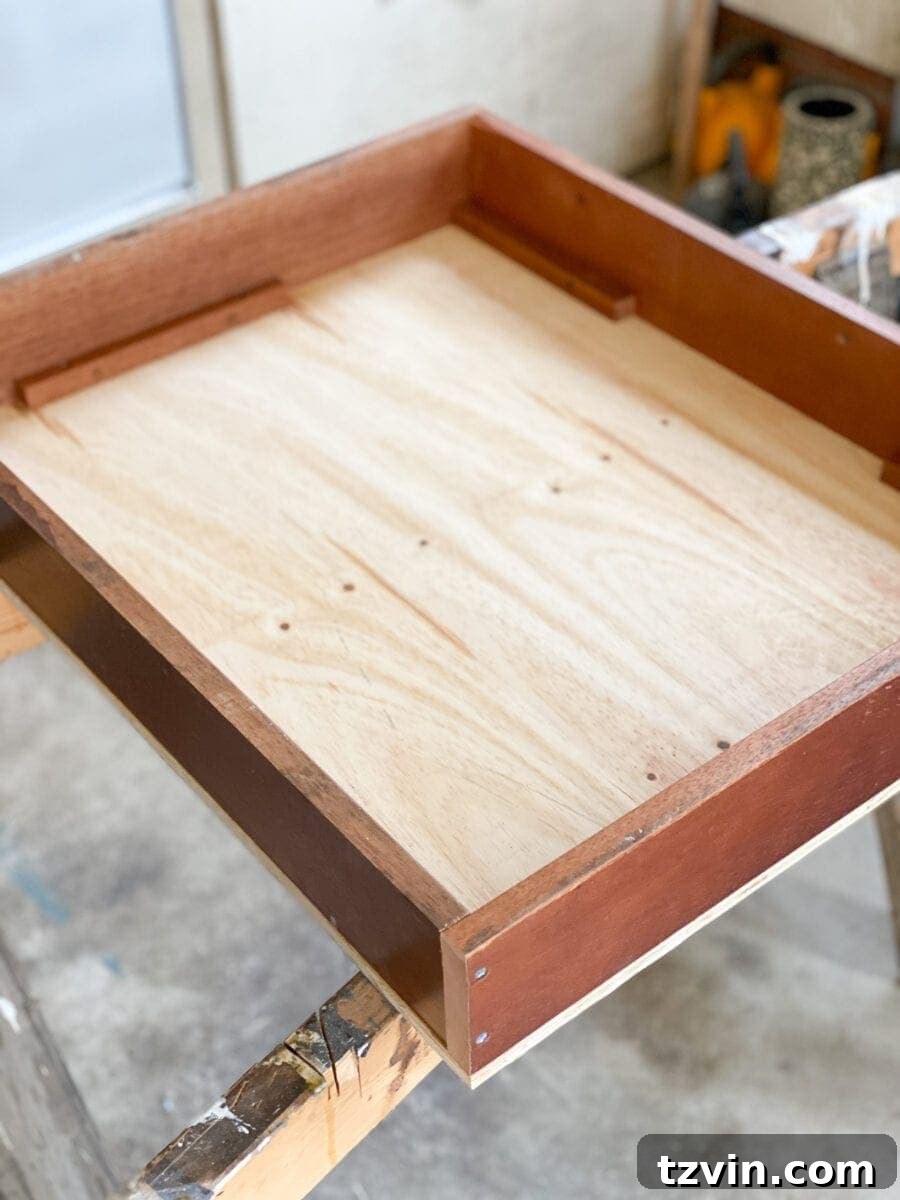
5. Finish the Wood (Optional First Pass): At this stage, you have the option to stain or paint your wooden box. If you plan to spray paint the entire unit, including the hardware cloth later, you can skip this step for now. However, if you prefer a stained look or a painted finish for just the wood, now is a good time to apply it, allowing for thorough drying before proceeding to the next steps. This initial finish helps protect the wood and establishes your desired aesthetic.
6. Line the Box with Plastic: Flip your planter box so that the plywood backing is facing up, making the open side accessible. Spread your small plastic drop cloth inside the box, ensuring it covers the entire interior surface. This liner is vital for preventing soil from leaching out and protecting the wood from moisture, which can lead to rot over time. Make sure there’s enough excess plastic to fold over the edges for stapling.
7. Secure the Plastic Liner: Using your heavy-duty stapler, securely attach the edges of the plastic drop cloth to the interior walls of the wooden box. Ensure the plastic is taut and wrinkle-free to create a snug, protective barrier. Work your way around the perimeter, placing staples every few inches for robust attachment. This step is critical for the longevity of your planter, especially if it will be exposed to moisture outdoors.
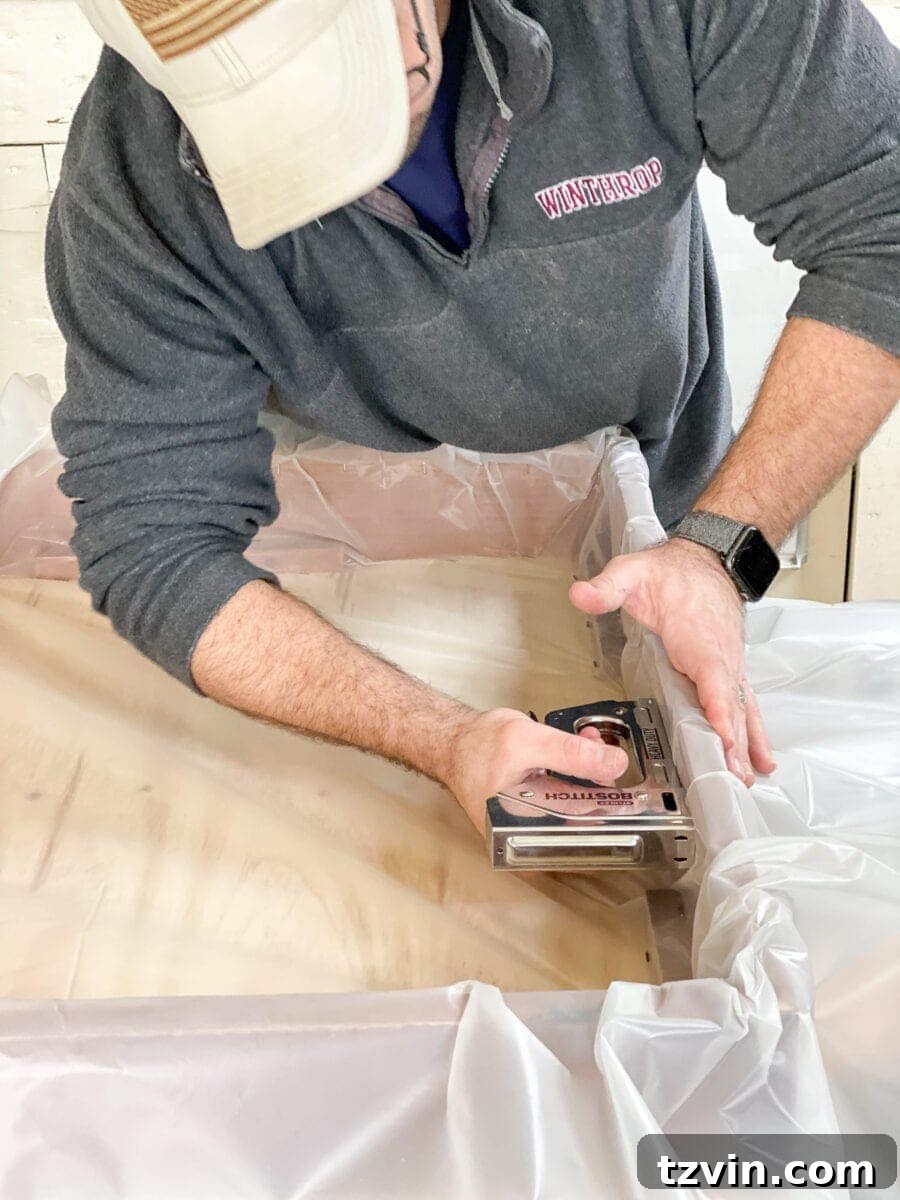
8. Trim Excess Plastic: With the plastic liner securely stapled, use your scissors to carefully trim away any excess plastic that extends beyond the top edge of the wooden box. Aim for a neat, flush finish that won’t interfere with the hardware cloth placement in the next step. A clean trim ensures the planter looks tidy and professional.
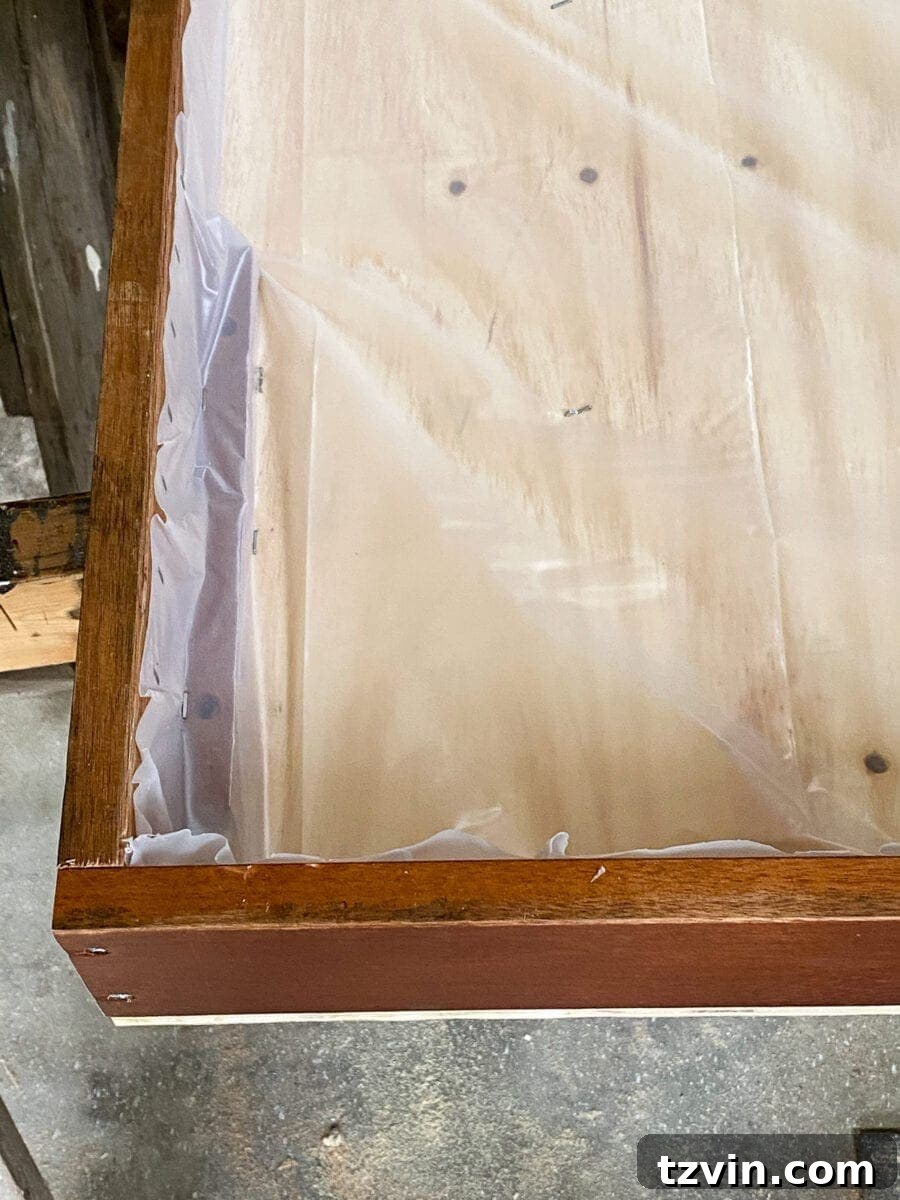
9. Install the Steel Hardware Cloth: Unroll the 1/2″ steel hardware cloth and position it over the open side of your planter box, on top of the plastic liner. Ensure it covers the entire opening. Using your heavy-duty stapler, firmly attach the hardware cloth around the edges of the box. The hardware cloth acts as a grid, holding the soil in place while providing openings for your plants. Be generous with staples to ensure it is very secure.
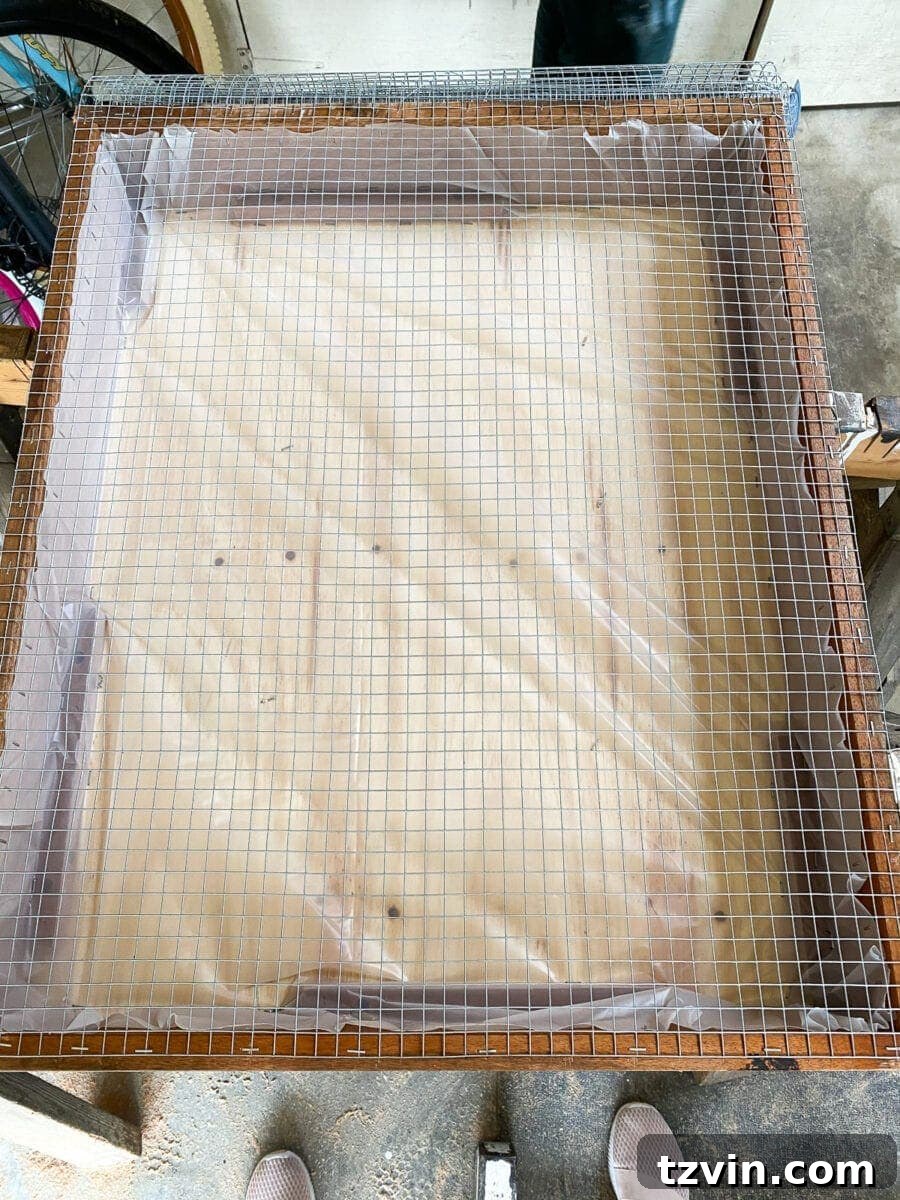
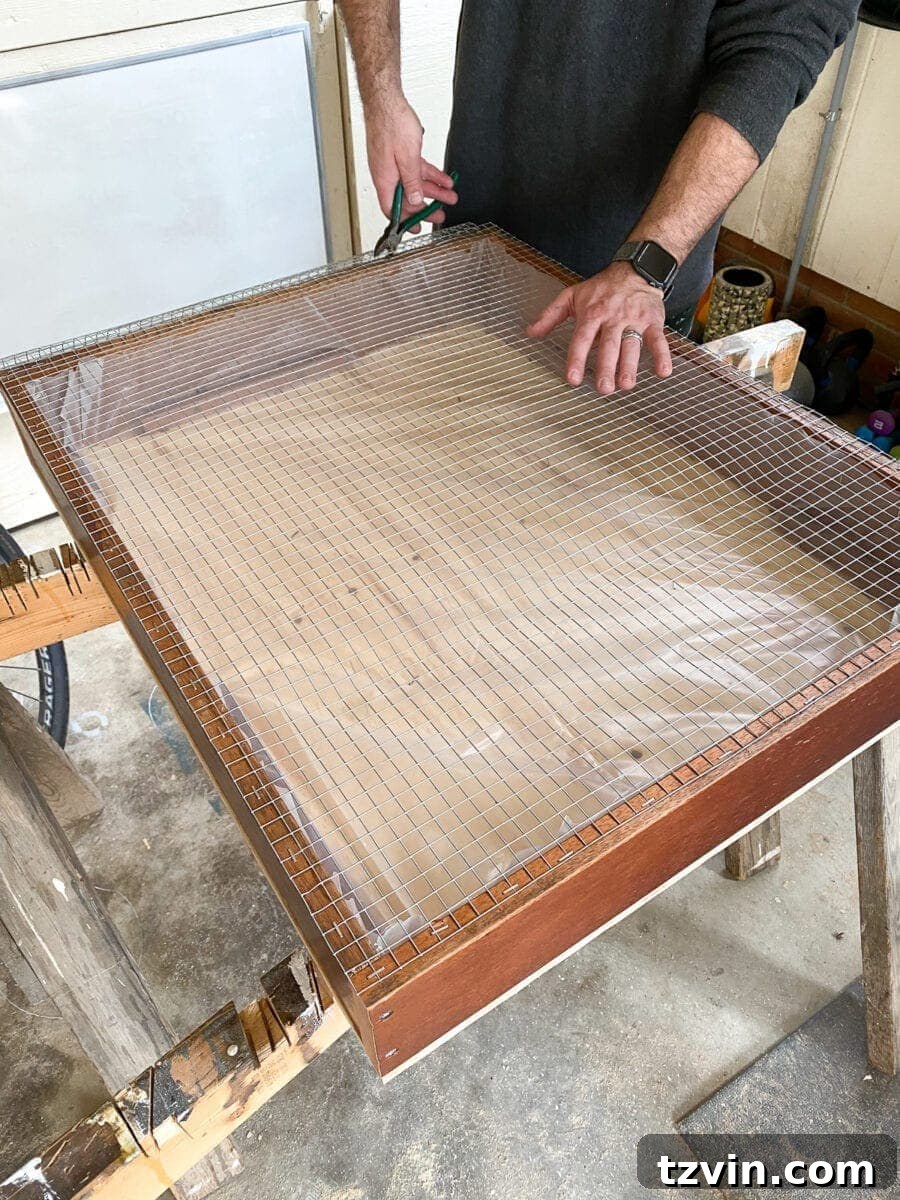
10. Finish the Hardware Cloth Edges: Use your wire snips to carefully trim any excess hardware cloth that extends beyond the staples or edges of the box. After trimming, thoroughly inspect all edges for any sharp wires that might be sticking up. Use your hammer to gently flatten down any errant wires, ensuring the surface is safe to handle and won’t snag anything or anyone.
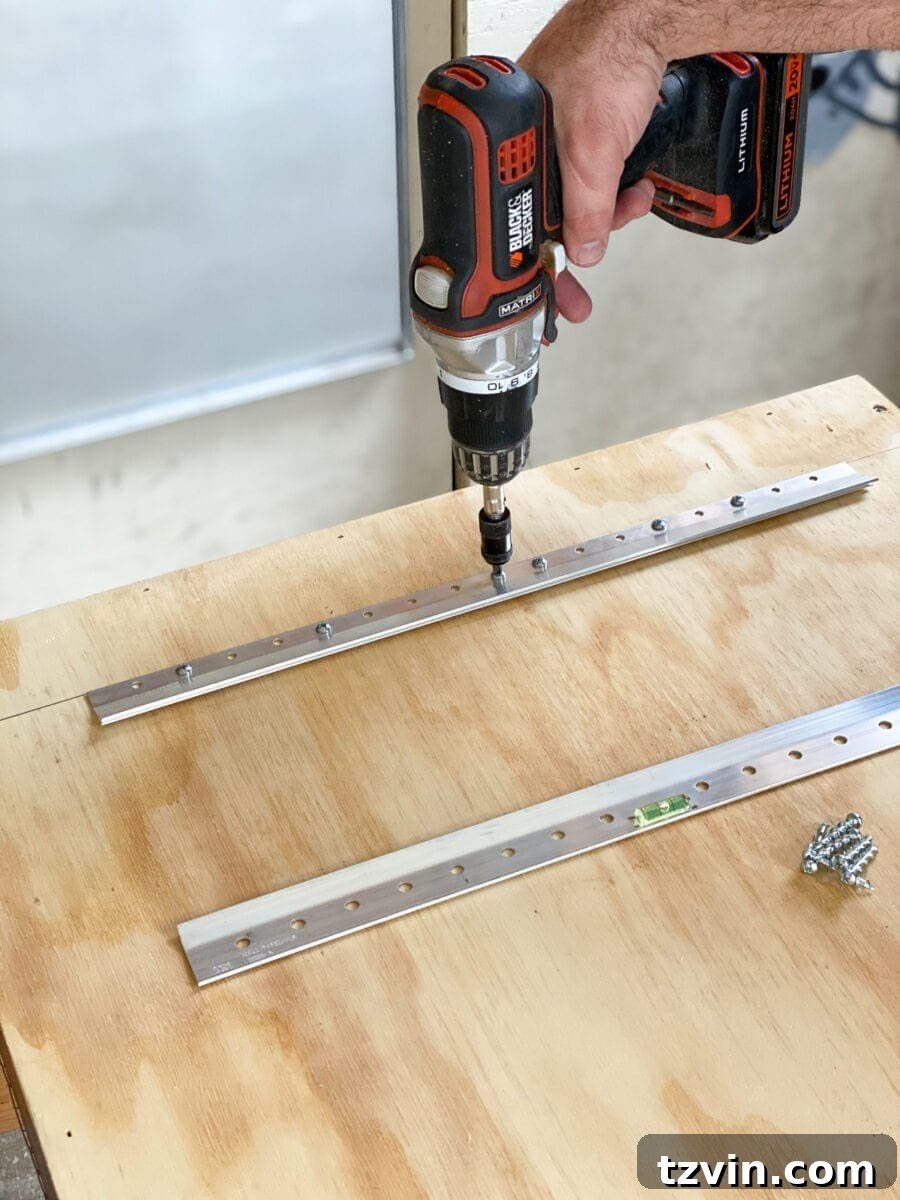
11. Attach the Hanging Kit: Flip the box over again, with the plywood backing facing up. This is the side that will be against the wall. Carefully measure and mark the center or desired placement for your hanging kit. Attach the Hangman hanger or your chosen hanging hardware according to its instructions. Ensure it is securely fastened, as it will need to support the full weight of the planter, soil, and plants.
12. Final Wood Finishing (if not done previously): If you opted to spray paint the entire planter, including the hardware cloth, now is the time to apply your desired color. Ensure even coverage and allow it to dry completely. A good paint or stain finish will not only enhance the aesthetic but also provide an additional layer of protection against the elements, especially for outdoor use.
13. Fill with Potting Soil: Carefully fill the planter box with potting soil. For succulents, a specialized succulent and cactus mix is highly recommended as it provides superior drainage, preventing root rot. Once filled, gently shake the box to settle the soil and redistribute it evenly. Ensure the soil is full right up to the top of the box, level with the hardware cloth, as it will compress slightly over time.
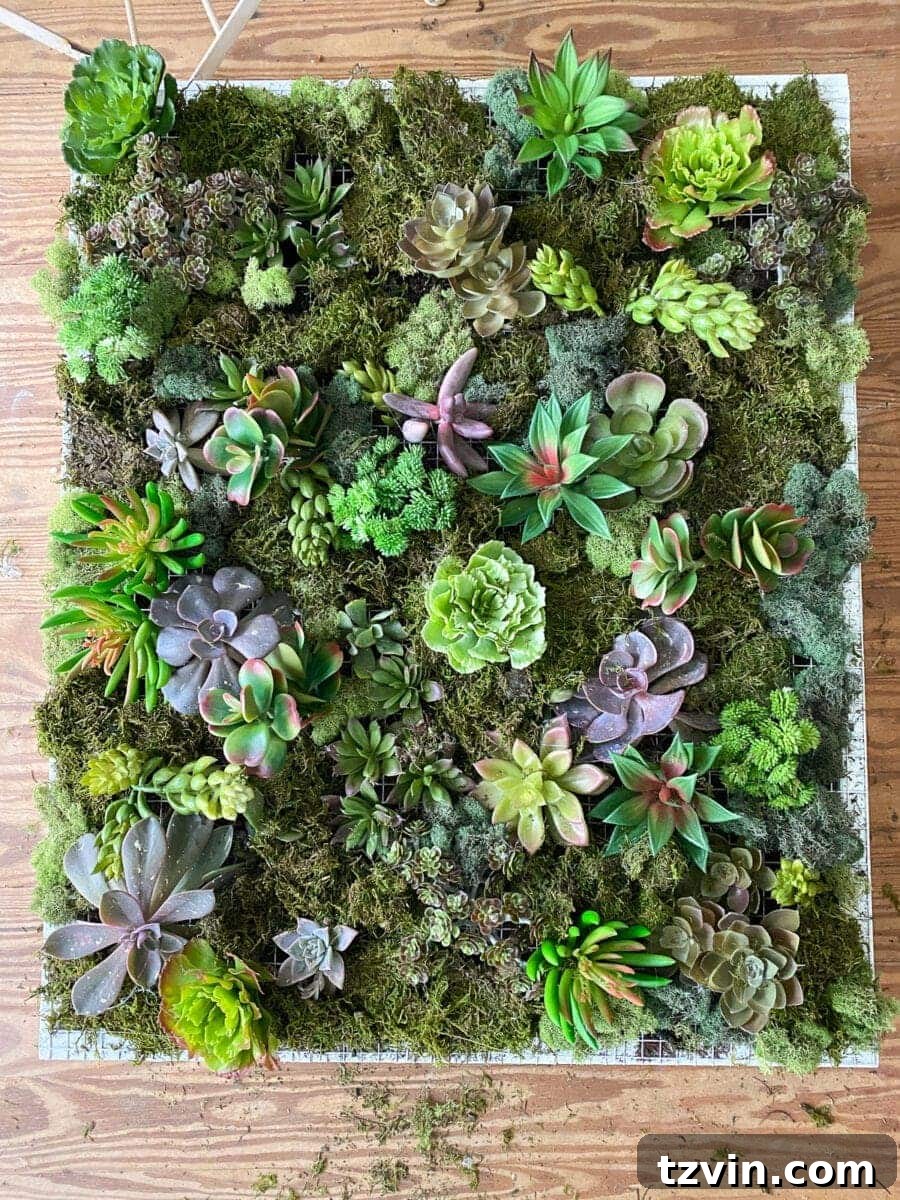
14. Plant Your Succulents: This is where your vertical garden truly comes to life! Gently trim any excess roots from your succulents if they are overgrown. Then, carefully insert the roots of each succulent through the openings in the hardware cloth and into the potting soil. Arrange them aesthetically, considering their size, color, and growth patterns. Don’t be afraid to experiment with different layouts until you achieve a look you love. Allow adequate spacing for growth.
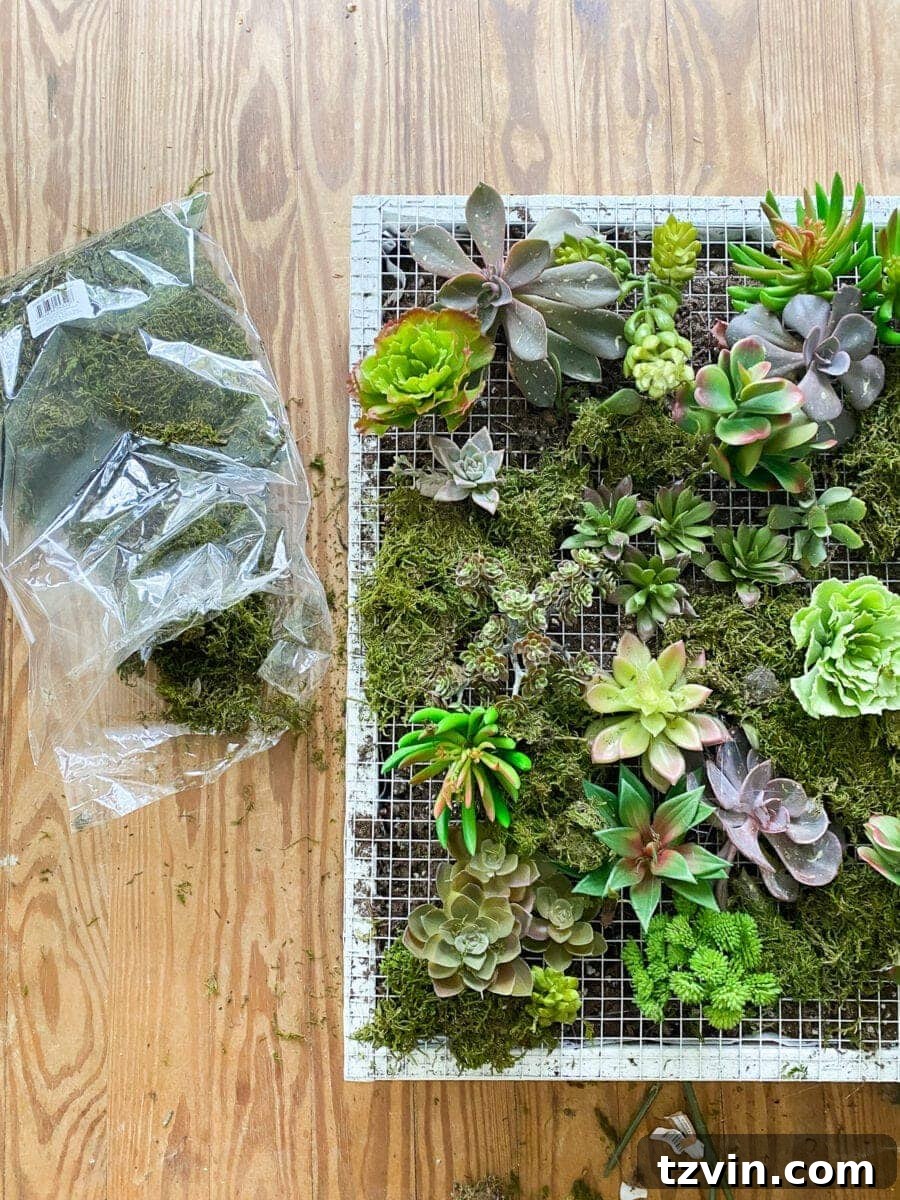
15. Add Moss for Aesthetics and Moisture: To give your planter a finished look and to temporarily help retain a bit of moisture around the shallow-rooted succulents, fill in any remaining spaces between the plants with moss. You can use a few dabs of hot glue on the hardware cloth to keep the moss in place. As your succulents grow and spread, they will naturally fill these gaps, at which point you can remove the moss if desired. The moss also adds a beautiful textural contrast to the succulents.
Caring for Your Vertical Succulent Planter:
Now that your beautiful wall planter is complete, proper care will ensure your succulents thrive. Succulents are generally low-maintenance, but a vertical setup requires specific attention:
- Watering: Water thoroughly but infrequently. Allow the soil to completely dry out between waterings. For vertical planters, this might mean watering more often than in a traditional pot due to increased air circulation. A good indicator is when the soil feels dry to the touch several inches down. You can mist the moss lightly between waterings for aesthetic purposes, but avoid overwatering the succulents.
- Light: Most succulents require plenty of bright, indirect sunlight for at least 6 hours a day. Place your planter in a location where it will receive ample light. If indoors, a south-facing window is often ideal. If outdoors, ensure it gets morning sun and some afternoon shade to prevent scorching in intense heat.
- Drainage: While the plastic liner protects the wood, the hardware cloth doesn’t provide traditional drainage holes. Be mindful not to overwater, as excess water can sit at the bottom of the liner, leading to root rot. Tilting the planter slightly after watering can help drain any excess.
- Rotation: To encourage even growth and prevent your succulents from stretching towards the light (etiolation), rotate your planter periodically, especially if it’s indoors or receives light from only one direction.
- Pest Control: Keep an eye out for common succulent pests like mealybugs or aphids. Address any infestations quickly with appropriate organic pest control methods.
Isn’t it wonderful how a few pieces of scrap wood and a handful of succulents can create such a charming focal point? Our back porch was certainly in need of a refresh with the warmer weather arriving, and this DIY project provided the perfect motivation to kickstart our outdoor decorating efforts. It’s truly amazing what you can achieve by looking at everyday items with a creative eye.
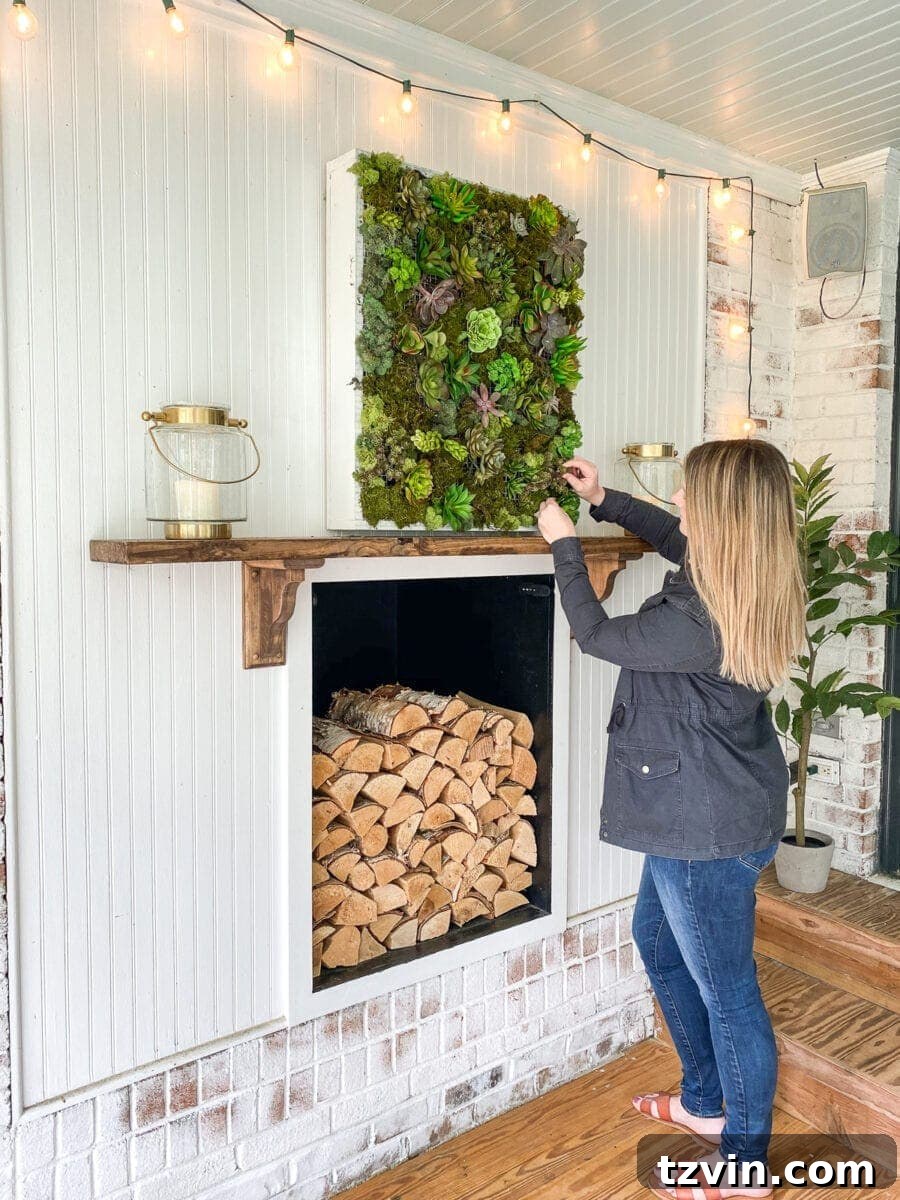
The satisfaction of transforming discarded materials into something beautiful and functional is unmatched. This project is a testament to the power of upcycling and the joy of DIY. Not bad for using what we already had on hand, wouldn’t you agree?
Are you currently working on any creative projects using materials you already have? Sometimes, the most ingenious ideas spring from the simple need to make do with what’s available. As the old adage goes, “Necessity is the mother of invention.” Embrace your inner inventor and see what beautiful creations you can bring to life from forgotten treasures. Happy gardening and happy crafting!