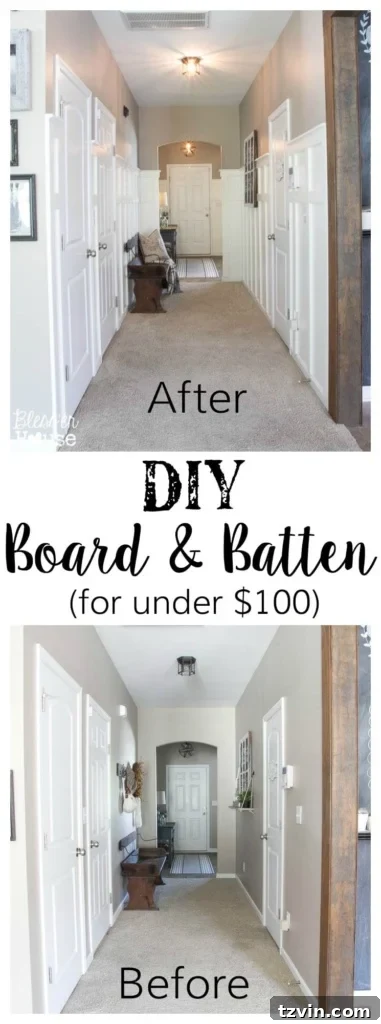
Welcome, fellow DIY enthusiasts! It’s an incredibly exciting day as we unveil the grand finale of our DIY board and batten project! If you’ve been following along, you might recall the initial steps of our foyer makeover and the comprehensive details shared in part one of our DIY board and batten guide. Today, we’re diving into the thrilling conclusion, revealing how paint utterly transformed this space.
From Drab to Dreamy: Our Foyer’s Journey to Board and Batten Bliss
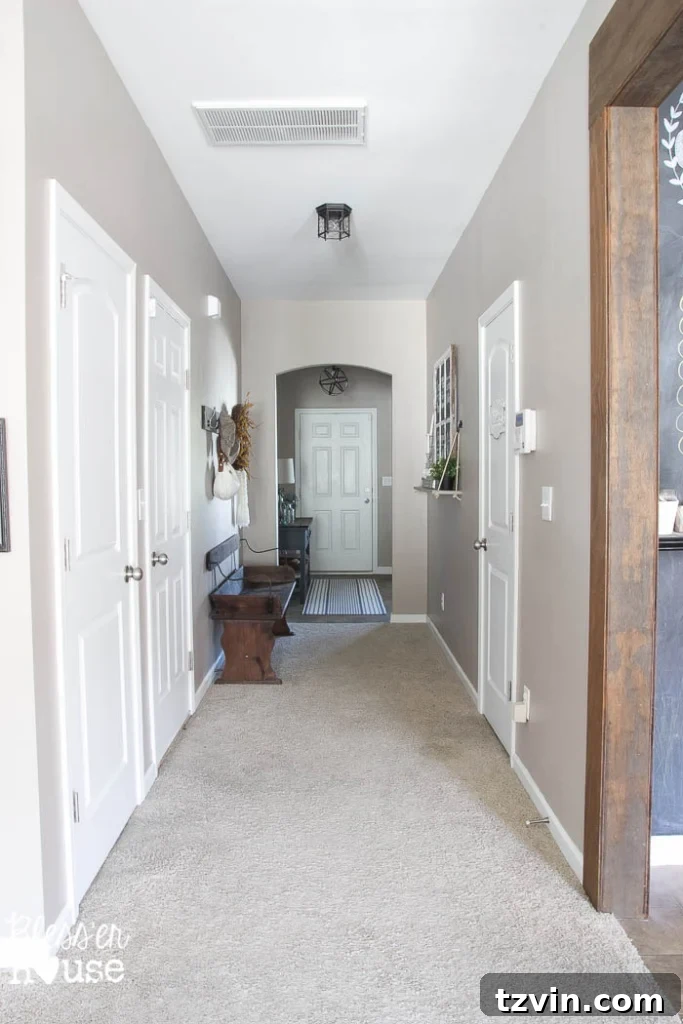
I’m absolutely thrilled with how this transformation turned out! The journey from a dull, uninspired entryway to a space brimming with character has been nothing short of amazing. Just last week, our foyer presented a very different picture:
While our beloved DIY shiplap wall undeniably added a wonderful touch of character, the area around our front door remained strikingly plain and builder-grade. It lacked the warmth, style, and welcoming appeal we envisioned for the entrance to our home.
Our hallway, connecting the foyer to the living room, faced a similar challenge. It felt dark, somewhat one-dimensional, and devoid of any real “wow” factor. With minimal natural light, it desperately needed a visual uplift to brighten and define the space.
The Canvas Awaits: Prepping for a Flawless Finish
By Sunday, our newly installed board and batten was in place, a fresh, bare canvas just begging for a beautiful coat of paint. This was the moment where meticulous preparation truly paid off, laying the groundwork for a smooth, professional-looking finish that would define the entire project.
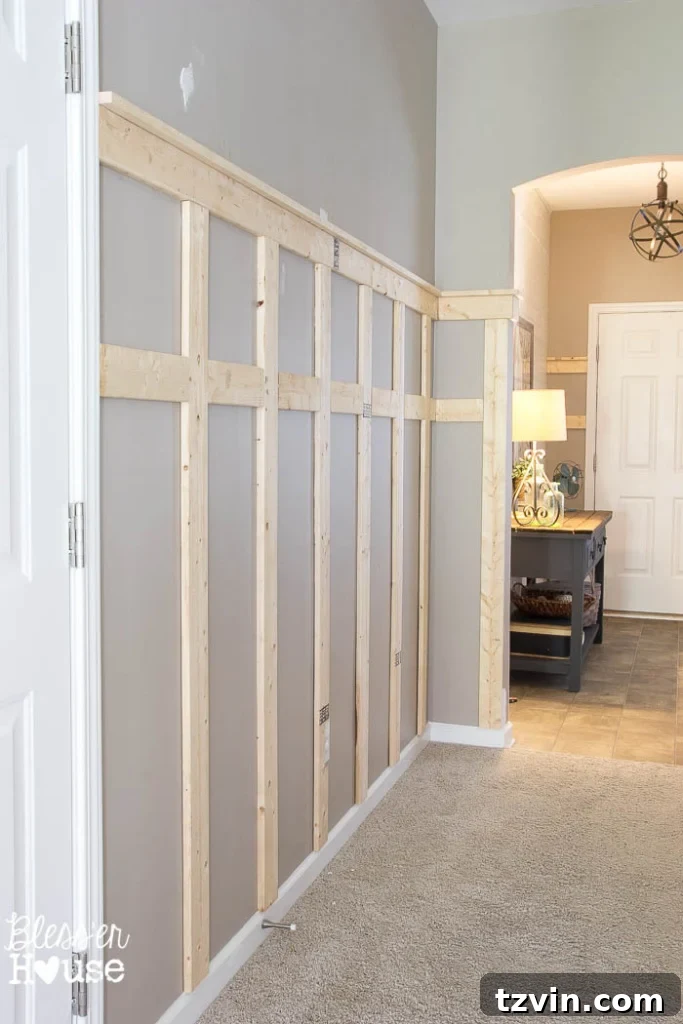
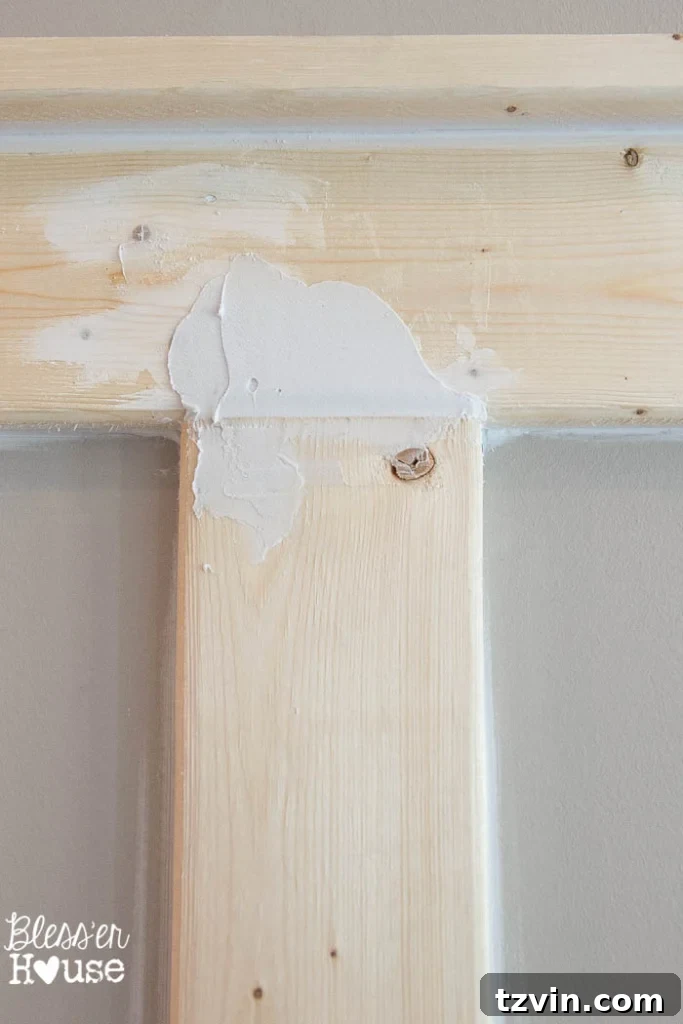
Our crucial next step involved detailed spackling, caulking, and sanding. We diligently filled all wood knots, visible seams where boards met, and any nail holes to ensure an impeccably smooth surface. This meticulous attention to detail is paramount for achieving a high-quality, seamless finish that makes the board and batten look custom-built rather than a DIY project.
I captured this next shot just before the sanding process. A vital reminder: sanding isn’t optional, friends; it’s absolutely essential for that professional, glass-like finish you’re aiming for!
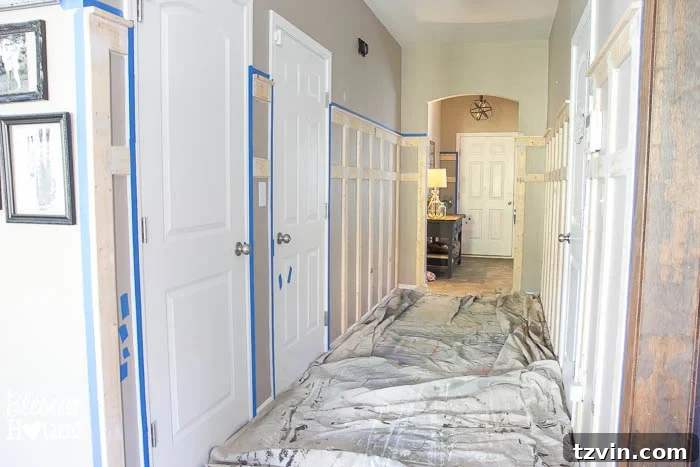
Once all the patching and smoothing were complete, we moved on to taping our existing trim. Protecting adjacent surfaces ensures crisp lines and a tidy finish, which is crucial when dealing with a significant paint job like this. It’s a step that can feel tedious, but it saves immense time and effort in corrective work later.
Even our little Olivia lent a helping hand! Can you spot those charming little tape pieces adorning the wall? She affectionately calls them her “stickers.” Bless her heart, she’s already a budding DIY assistant!
The Power of Paint: Discovering Glidden Duo Paint + Primer
A huge thank you goes to Glidden Paint for generously sending over a gallon of paint for this project! This was my very first experience using Glidden Paint Duo Paint + Primer, and having tried numerous other brands over the years, I can confidently say I am thoroughly impressed and completely sold on this product.
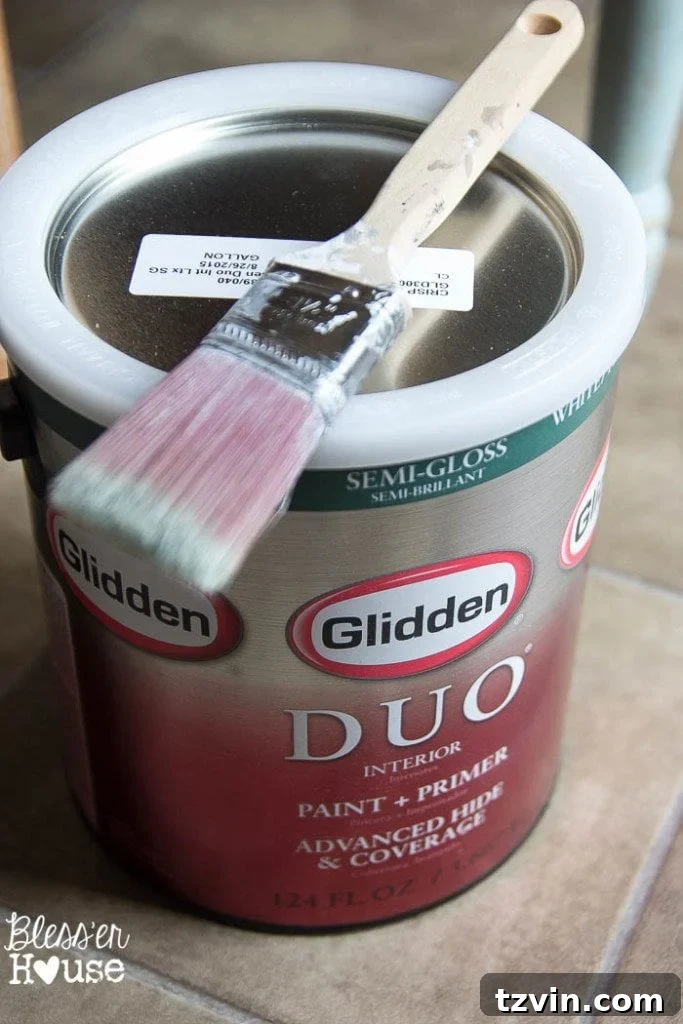
As those of you who have followed my projects know, staying within budget is always a top priority for me. It’s a core philosophy of my DIY approach – proving that beautiful home transformations don’t require breaking the bank. Glidden paint consistently offers an affordable price point, yet its performance defied all expectations of a “cheap” paint. I was genuinely delighted by the exceptional coverage it provided, and the resulting finish was remarkably smooth and professional. Coupled with a high-quality paint brush (mine has seen its fair share of projects!), the difference in application and finish quality is truly noticeable.
For this project, I chose the elegant shade “Crisp Linen White” in a semi-gloss finish. This particular combination was selected to brighten the formerly dark space and to provide a subtle sheen that enhances the architectural details of the board and batten, making it feel fresh, clean, and utterly inviting.
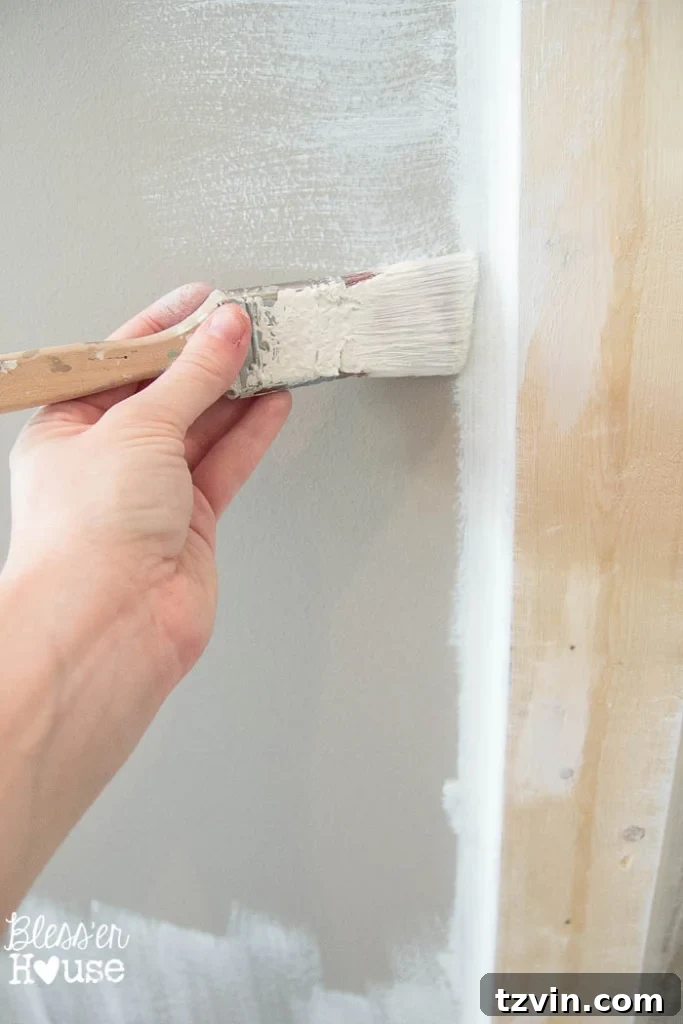
I began by carefully painting the trim first, using a technique of feathering out the edges as I went. This method helps to avoid harsh paint lines, ensuring a seamless blend when transitioning to the broader wall surfaces. It’s a small detail that contributes significantly to the overall polished appearance of the finished project.
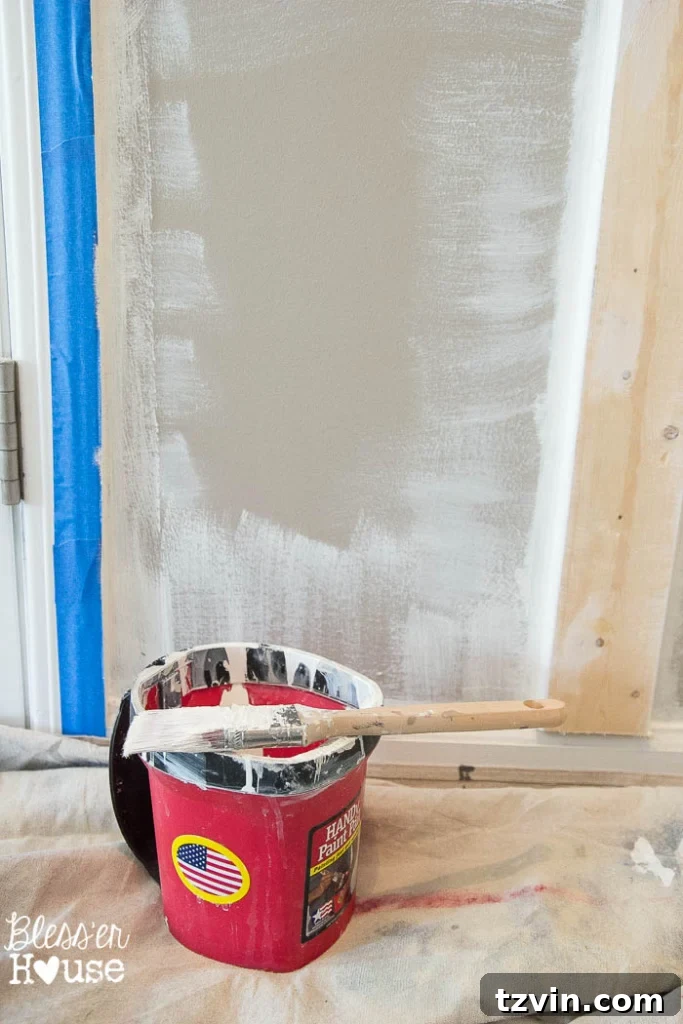
As always, my loyal supervisor Lola was right by my side. She’s become my trusty naptime DIY buddy, providing quiet companionship (and occasional judgmental glances) during my creative endeavors.

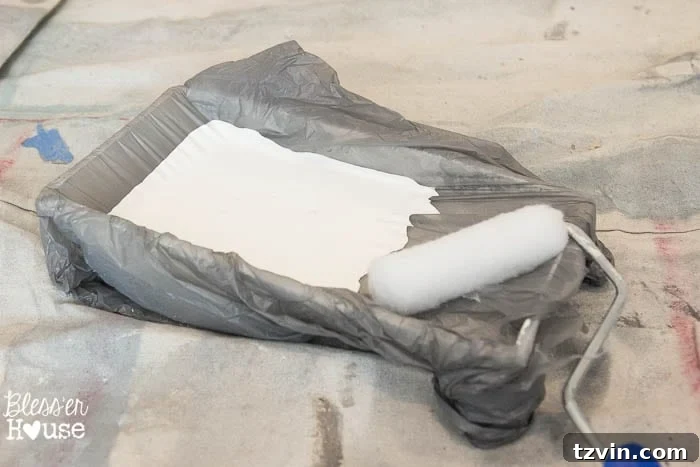
Once the trim was perfectly painted, I switched to a mini roller to efficiently apply paint to the broader wall sections between the battens. A mini roller is fantastic for getting into tighter spaces and achieving a smooth, even finish without drips or roller marks.
Here’s a little DIY hack I swear by for quick clean-up: using a plastic grocery bag as a paint tray liner. It makes disposal incredibly easy, saving precious time and effort when you’re done painting.
Low VOC Benefits: A Breath of Fresh Air
One of the most appreciated features of this Glidden paint is its low VOC (Volatile Organic Compound) formulation. Thankfully, this meant no strong, unpleasant chemical odors permeating our entire house. It truly had virtually no smell at all, making the painting process much more enjoyable and healthier, especially when working indoors. This is a significant consideration for families and those sensitive to paint fumes.
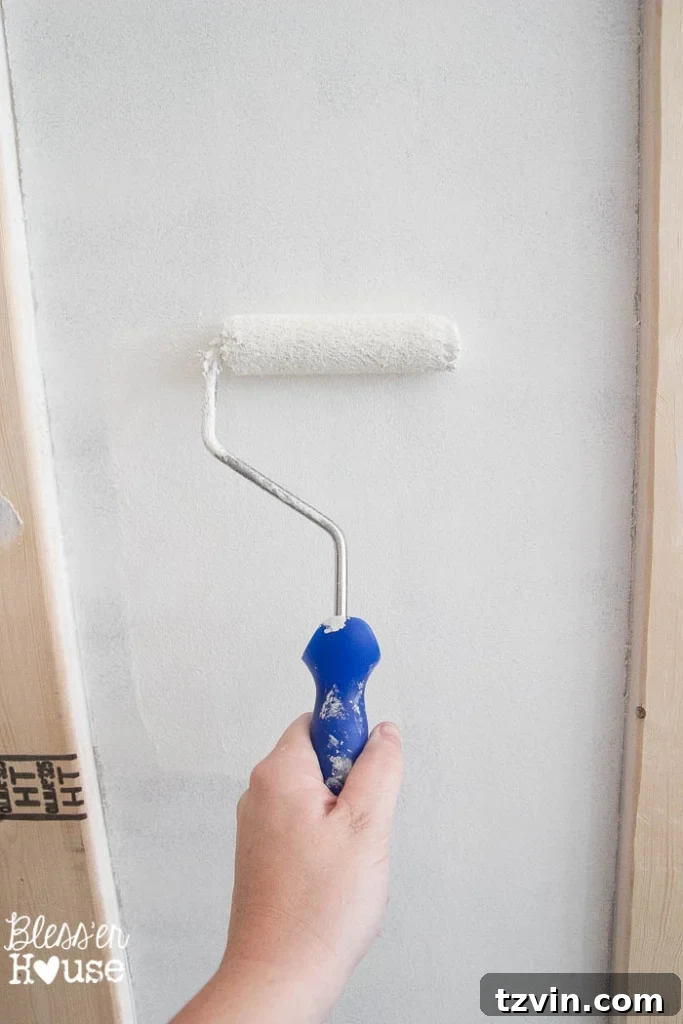
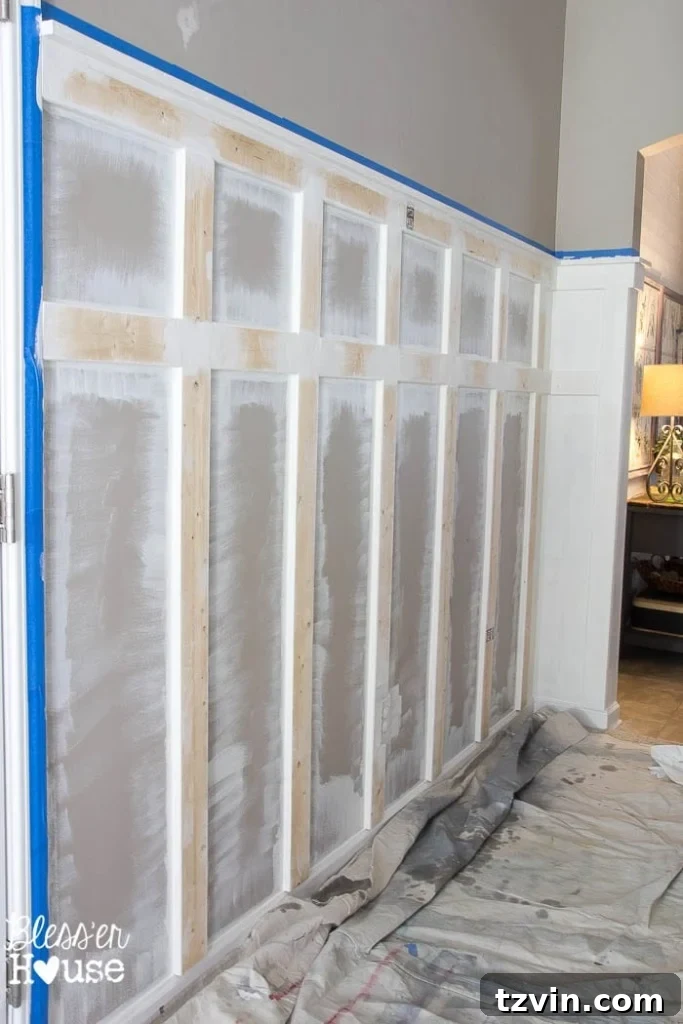
Given that I was painting directly over a rather dark wall color and raw wood, I opted for two coats of paint to ensure optimal coverage and a truly opaque finish. Despite needing two applications, the paint dried remarkably quickly. As soon as I completed one coat across the entire area, I was able to immediately start on the second, significantly speeding up the overall painting timeline. Even after meticulously painting our entire hallway and foyer, including all those intricate trim details, I still had a cup or two of paint remaining in the gallon can – a testament to Glidden’s excellent coverage. For those who like to do their homework, Glidden’s Ratings and Reviews site offers numerous insights from other DIYers, which I always find helpful.
The Grand Reveal: A Foyer Reimagined
The entire process, though admittedly tedious with all the prep work and precise painting, was absolutely worth every moment. I am utterly in love with our hallway now! It has been transformed from a forgotten pass-through into a vibrant, intentional part of our home’s design.
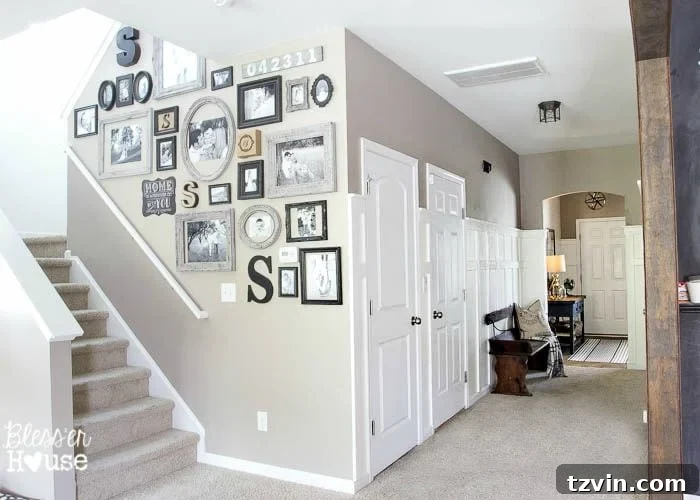
It’s finally a space that Robert and I are incredibly proud of. More importantly, it flows seamlessly and beautifully into the rest of our house, creating a cohesive and inviting atmosphere from the moment you step through the front door. The Crisp Linen White paint has truly brightened and expanded the feel of the area.
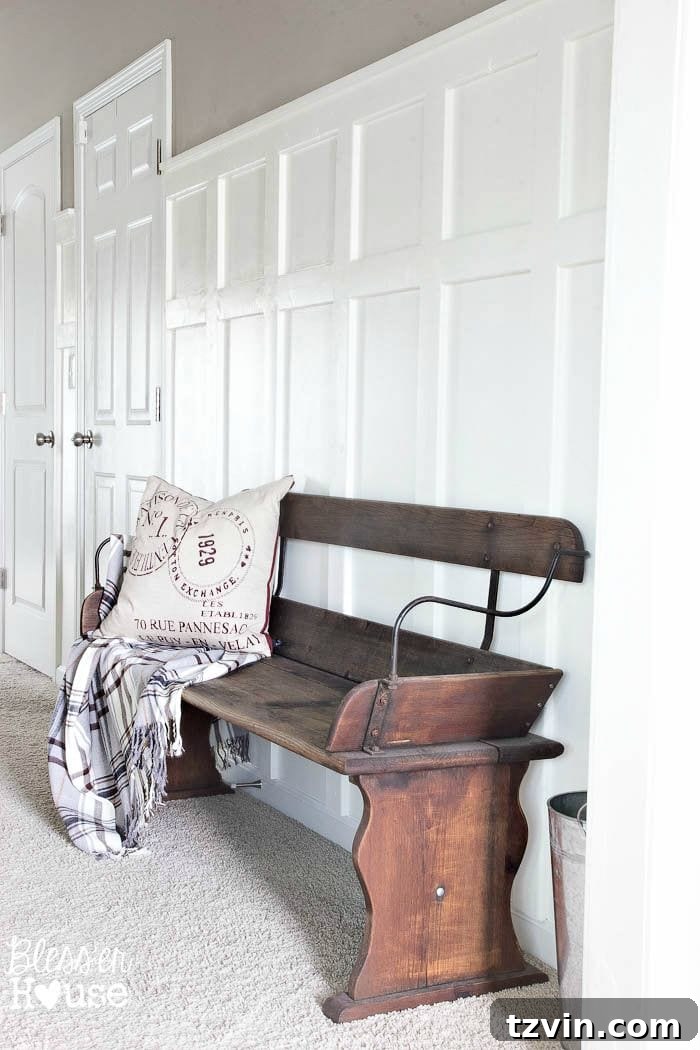
The board and batten adds an immense amount of charm, beautifully complementing our affordable $80 wood beam doorway. These two DIY elements work in harmony, creating a cohesive modern farmhouse aesthetic that feels both custom and incredibly inviting. It’s a testament to how small, budget-friendly projects can have a monumental impact on your home’s character and perceived value.
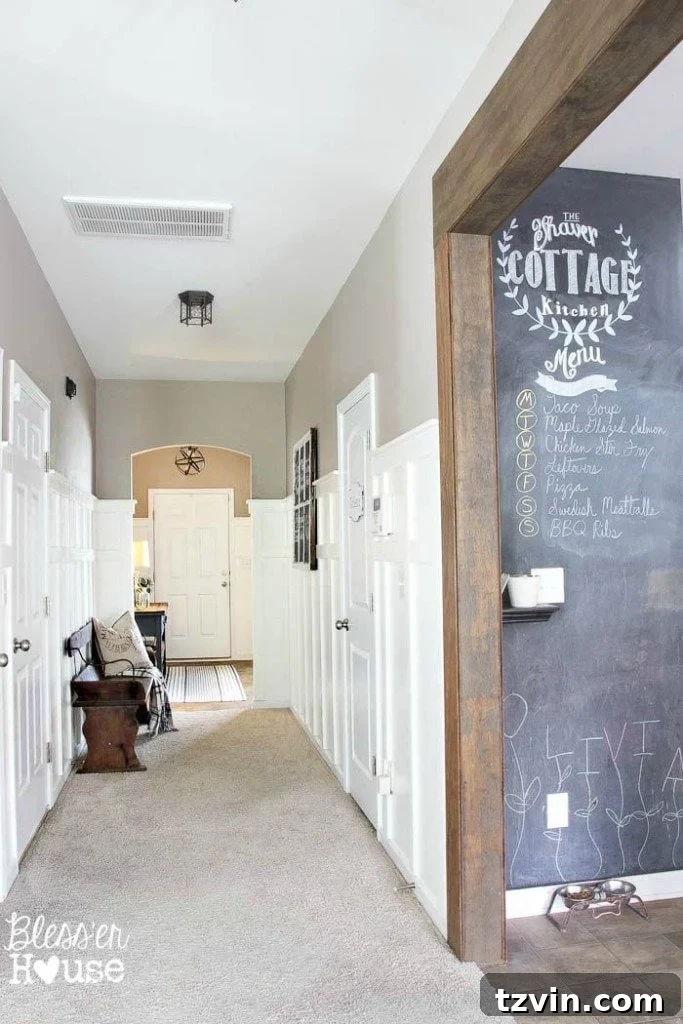
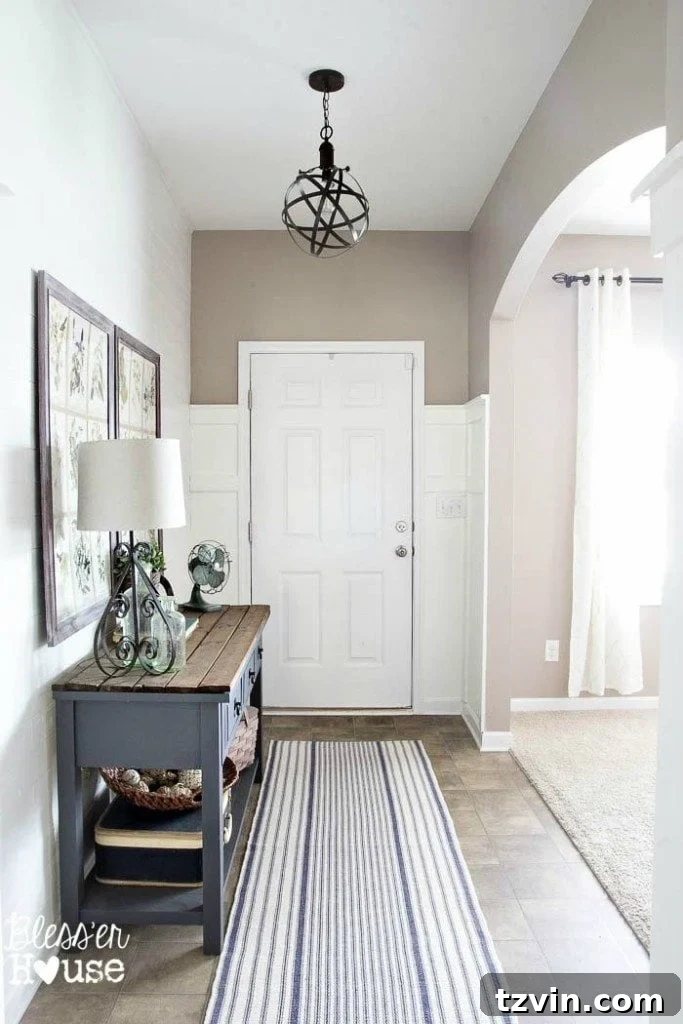
Our next exciting project on the to-do list involves tackling that front door. It’s currently a plain white, and we’re eager to give it a fresh coat of color that truly pops against the new board and batten. What color do you think would be best? I’m currently leaning towards something in the gray or blue family, but I’m open to suggestions! Let me know your thoughts in the comments below.
A Look Back: The Incredible Transformation Since Day One
For a truly striking comparison, let’s take a moment to revisit a real “before” picture. This photo was captured on closing day in December 2013, providing a stark contrast to where we are today.
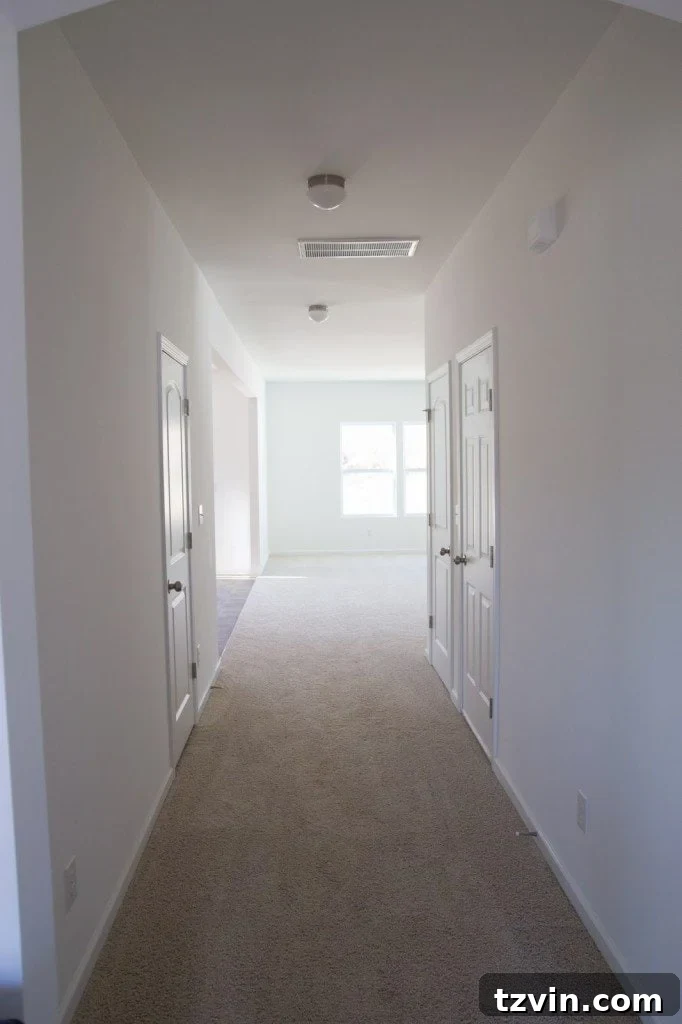
It’s truly remarkable to see how far we’ve come in less than two years. These before and after shots aren’t just about aesthetics; they represent countless hours of hard work, creative problem-solving, and the pure joy of making a house a home, one DIY project at a time. This board and batten project is a significant milestone in our home’s evolution.
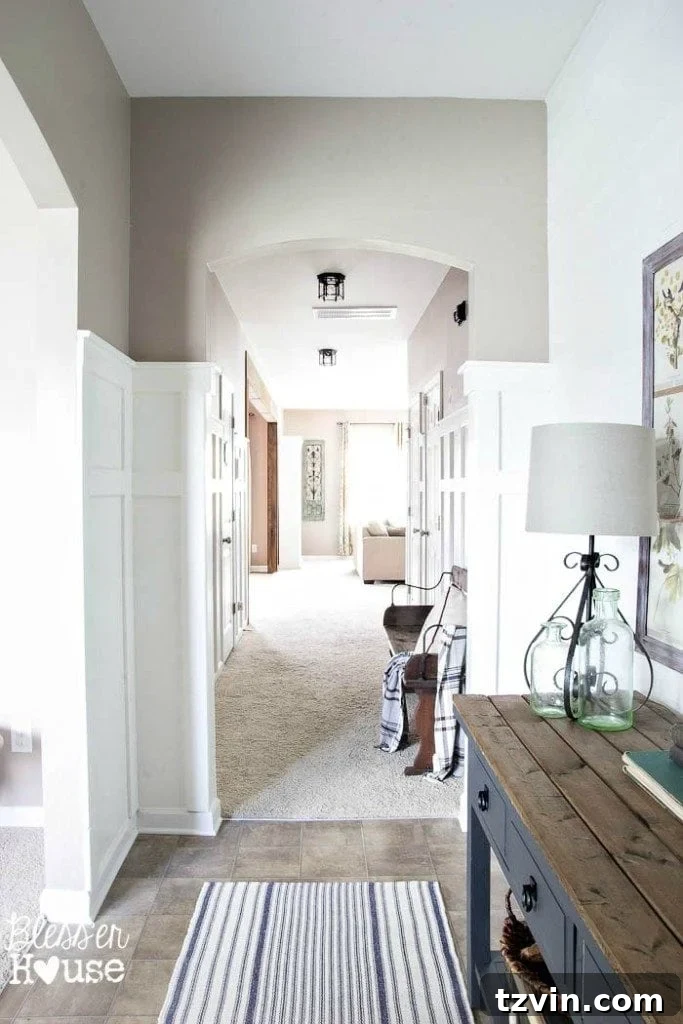
Our cherished $35 wagon bench, a fantastic Craigslist find, now truly pops with vibrant elegance against our shiny new, crisp white trim. It’s moments like these, where existing pieces find new life within a refreshed space, that truly bring a home together.
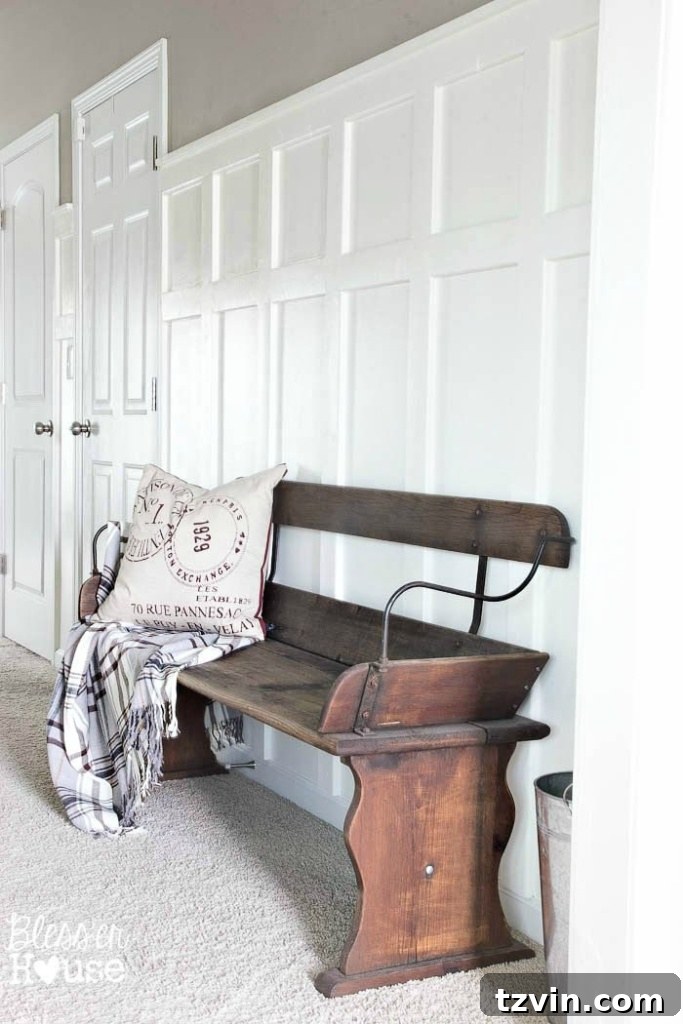
Looking ahead, we plan to enhance this inviting corner even further by adding some stylish hooks above the bench – perfect for coats and bags – and a piece of art that complements the modern farmhouse aesthetic. These small additions will not only add functionality but also infuse more personality into this welcoming space.
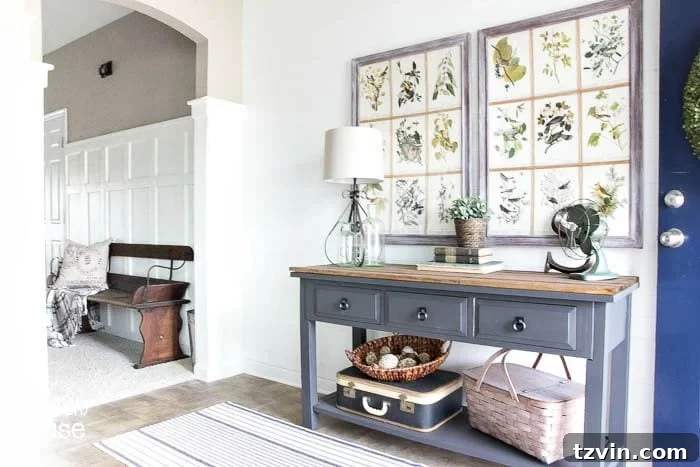
If you’re feeling inspired to tackle your own DIY board and batten project and transform your space, be sure to pin this post for future reference. It’s a fantastic, budget-friendly way to add architectural interest and character to any room!