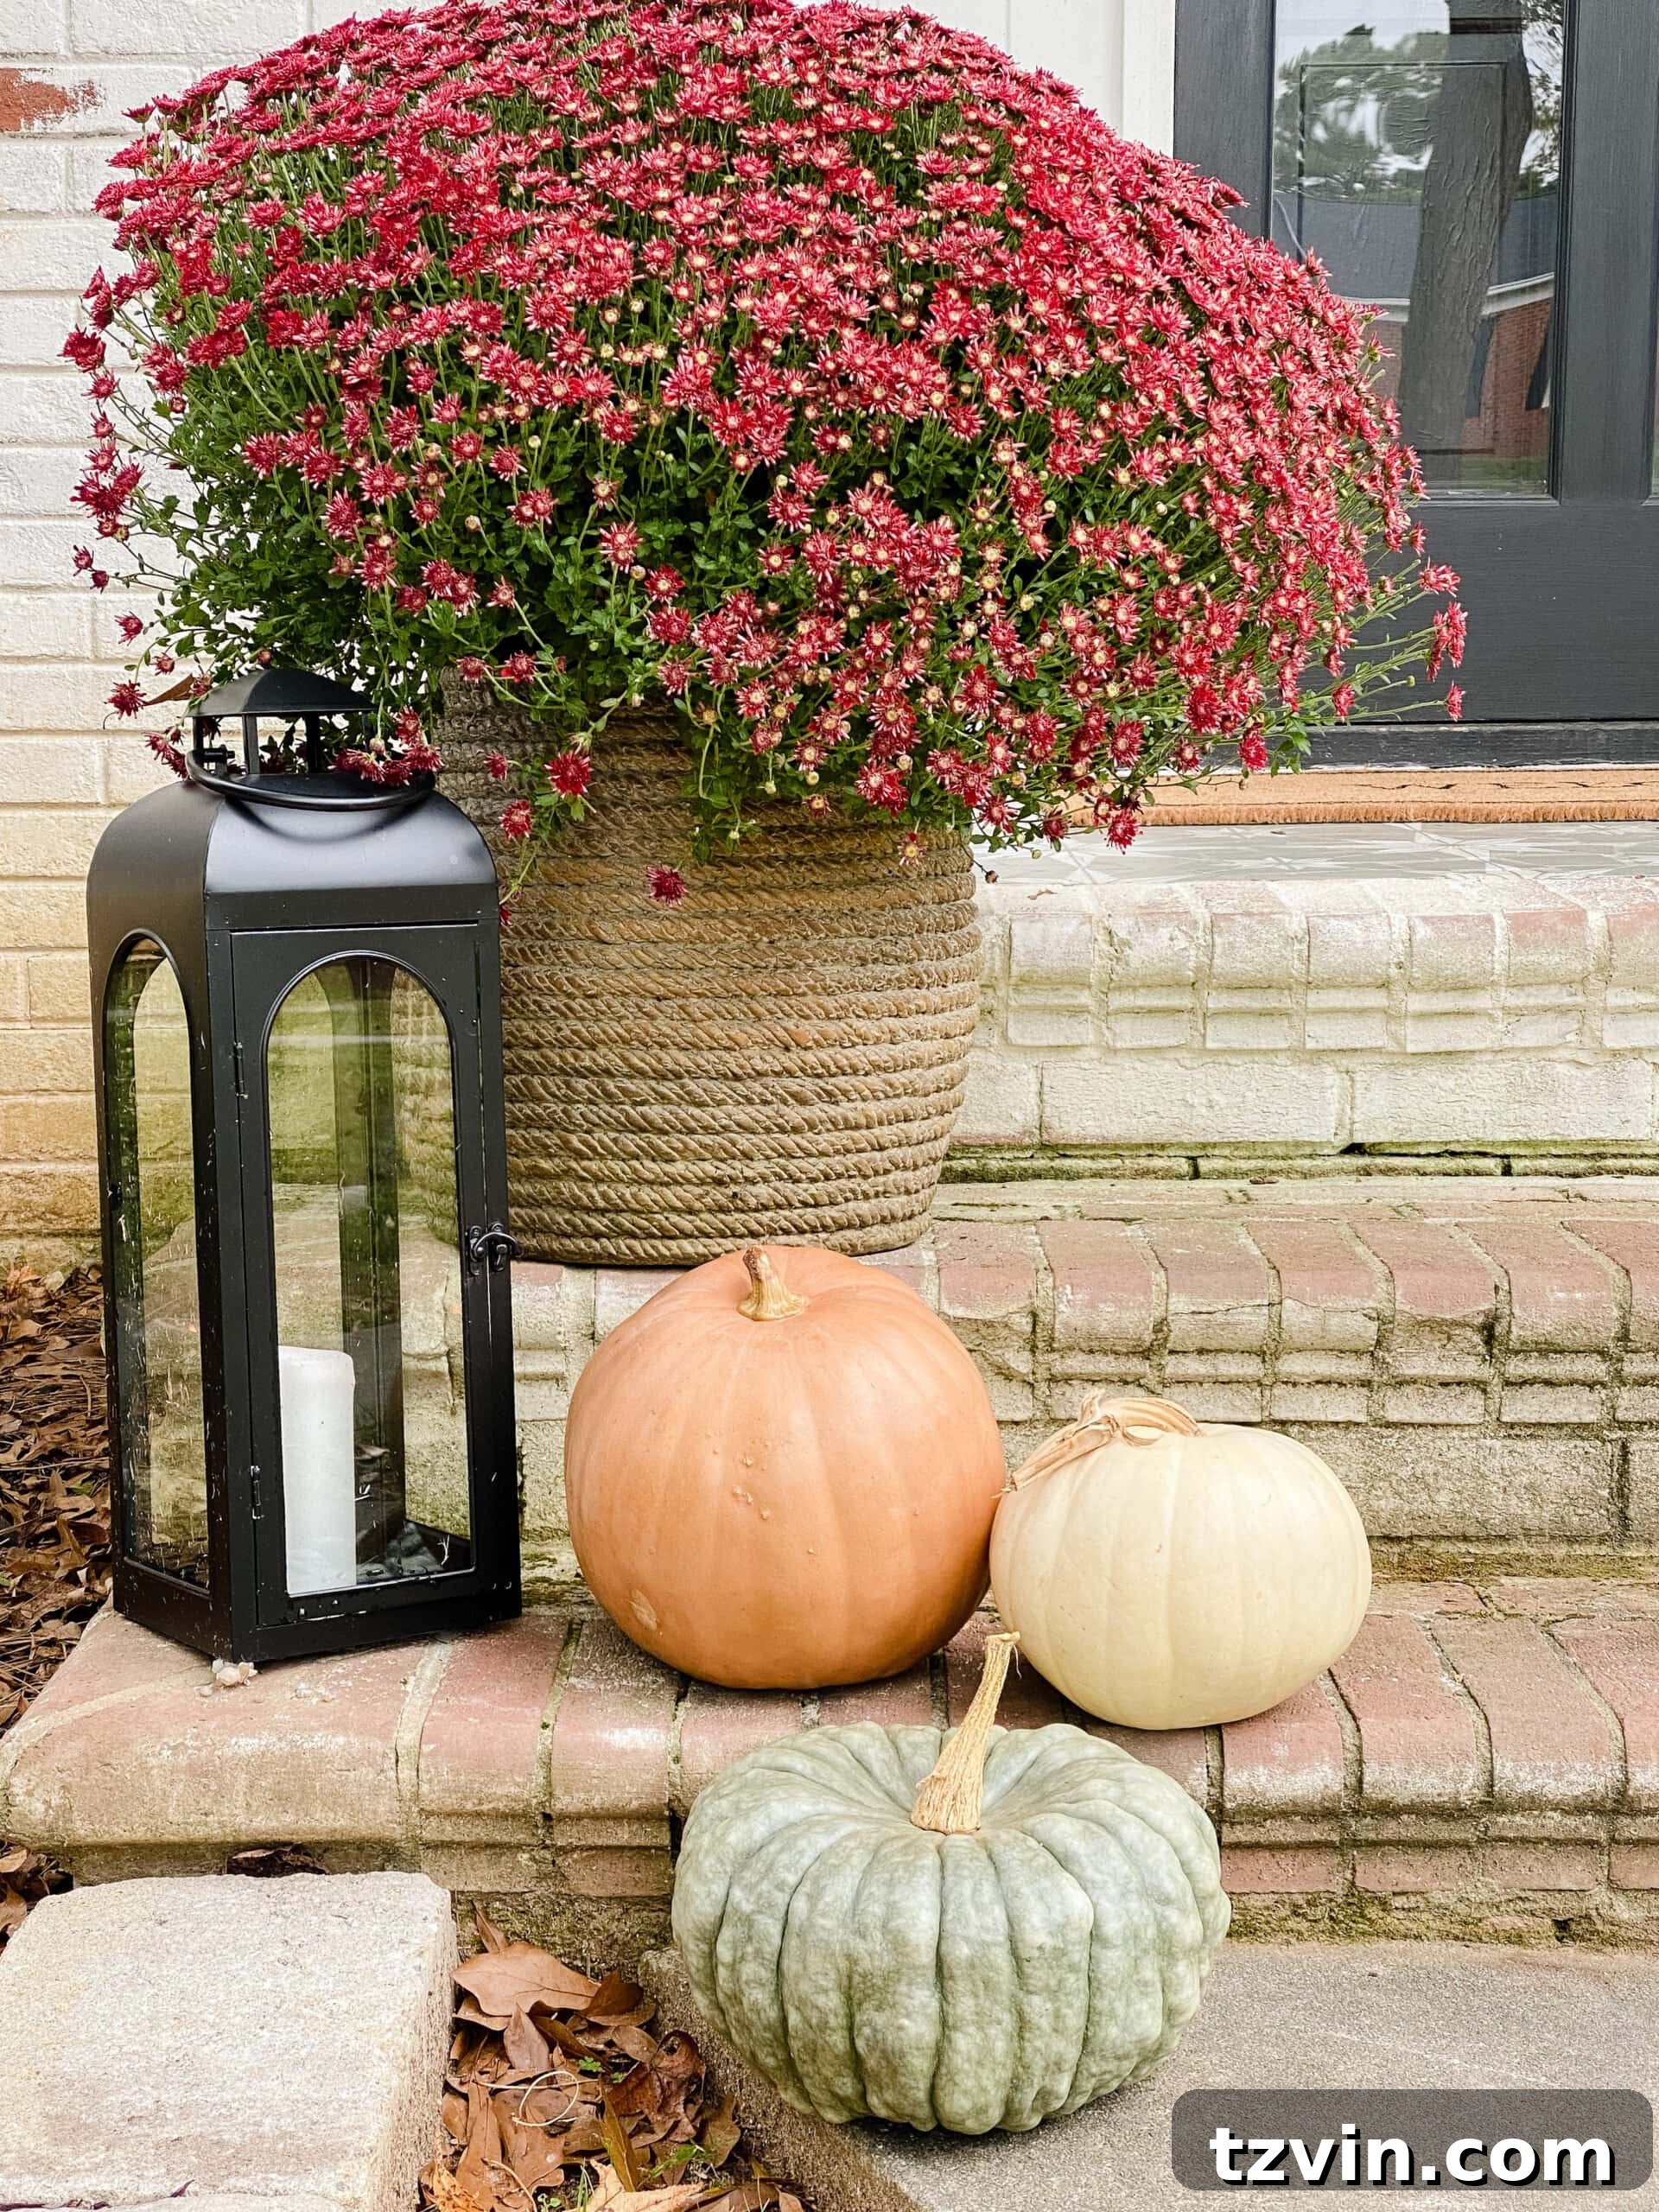
The Ultimate One-Minute Trick to Keep Your Pumpkins from Rotting This Fall
There’s nothing quite like the vibrant hues of autumn, and for many, decorating with pumpkins is an essential part of embracing the season. The sight of plump, colorful pumpkins adorning a front porch instantly signals fall’s arrival, creating a warm and inviting atmosphere. However, the joy of a beautifully decorated autumn porch can quickly diminish when those gorgeous gourds begin to soften, shrivel, and ultimately rot, often much sooner than anticipated. This is especially true in regions prone to extreme weather conditions, where heat, humidity, and sudden downpours can accelerate decomposition, leaving you with a less-than-picturesque display.
For years, I struggled with this very dilemma in the challenging climate of the Carolinas. My carefully selected pumpkins, meant to last through Halloween and beyond, would frequently succumb to the elements within days, sometimes weeks, of being placed outdoors. The frustration of seeing a beautiful seasonal display turn into a mushy, moldy mess was a recurring autumn disappointment. I experimented with various methods – from careful selection to strategic placement – but nothing seemed to truly extend the life of my pumpkins against the relentless Southern heat and humidity.
Then, a few months ago, a simple yet intriguing suggestion popped up on my Instagram page. Several followers enthusiastically recommended a “one-minute trick” involving a common household item for preserving pumpkins. Naturally, my skepticism was high. Could a solution so easy truly tackle the formidable forces of nature? As a dedicated enthusiast of all things home and garden, I felt it was my duty to put this viral tip to the ultimate test. I was determined to verify its efficacy before sharing it with confidence.
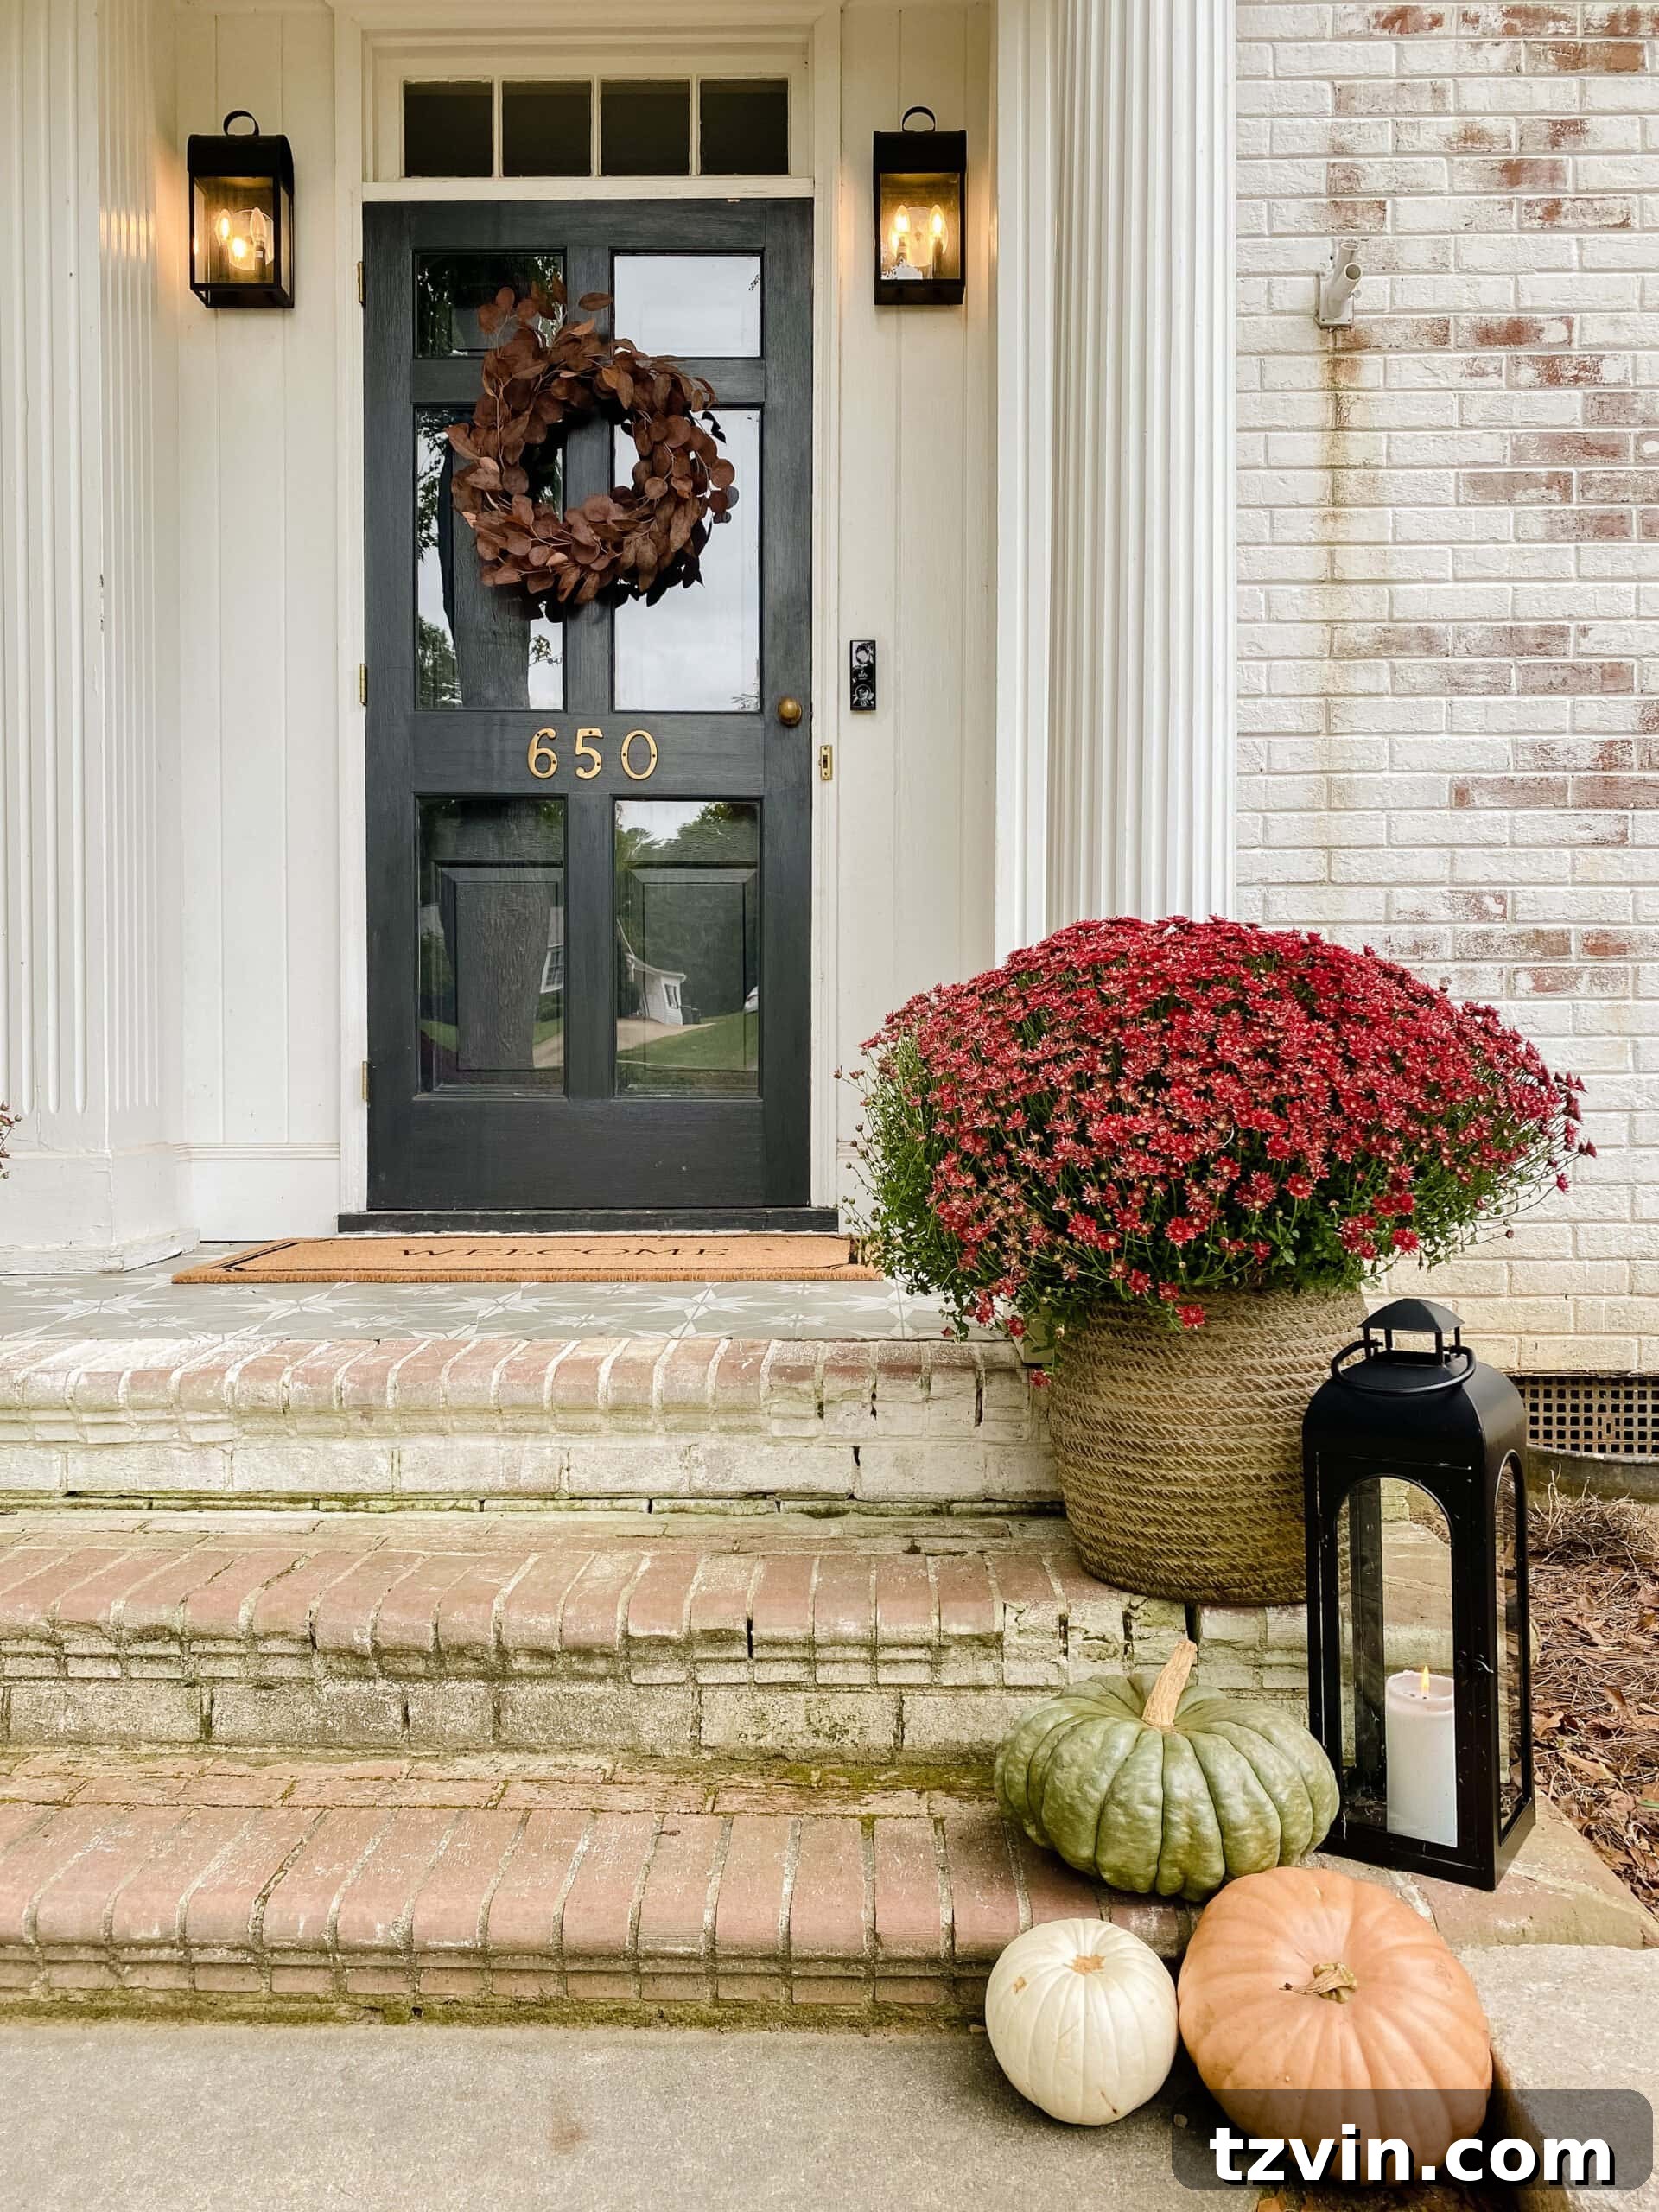
The results, dear readers, were nothing short of astonishing! Lo and behold, the unassuming hero in this pumpkin preservation saga is none other than ordinary floor wax! Yes, the very same product you might use to bring a shine to your floors holds the key to extending the life of your beloved autumn gourds.
My experiment involved applying this simple trick to several pumpkins and leaving them exposed to the full brunt of our Carolina weather. For three weeks, these treated pumpkins endured scorching 90-degree blazing sun, followed by a relentless five-day rainy spell, typical of our unpredictable autumns. While untreated pumpkins would have surely softened, molded, and collapsed under such conditions, the floor wax-treated pumpkins remained as pristine and firm as the day I placed them on our porch steps. This outcome was truly remarkable, given our region’s notorious reputation for rapidly decomposing outdoor decorations. It was clear: this easy, quick trick works wonders for keeping pumpkins from rotting.
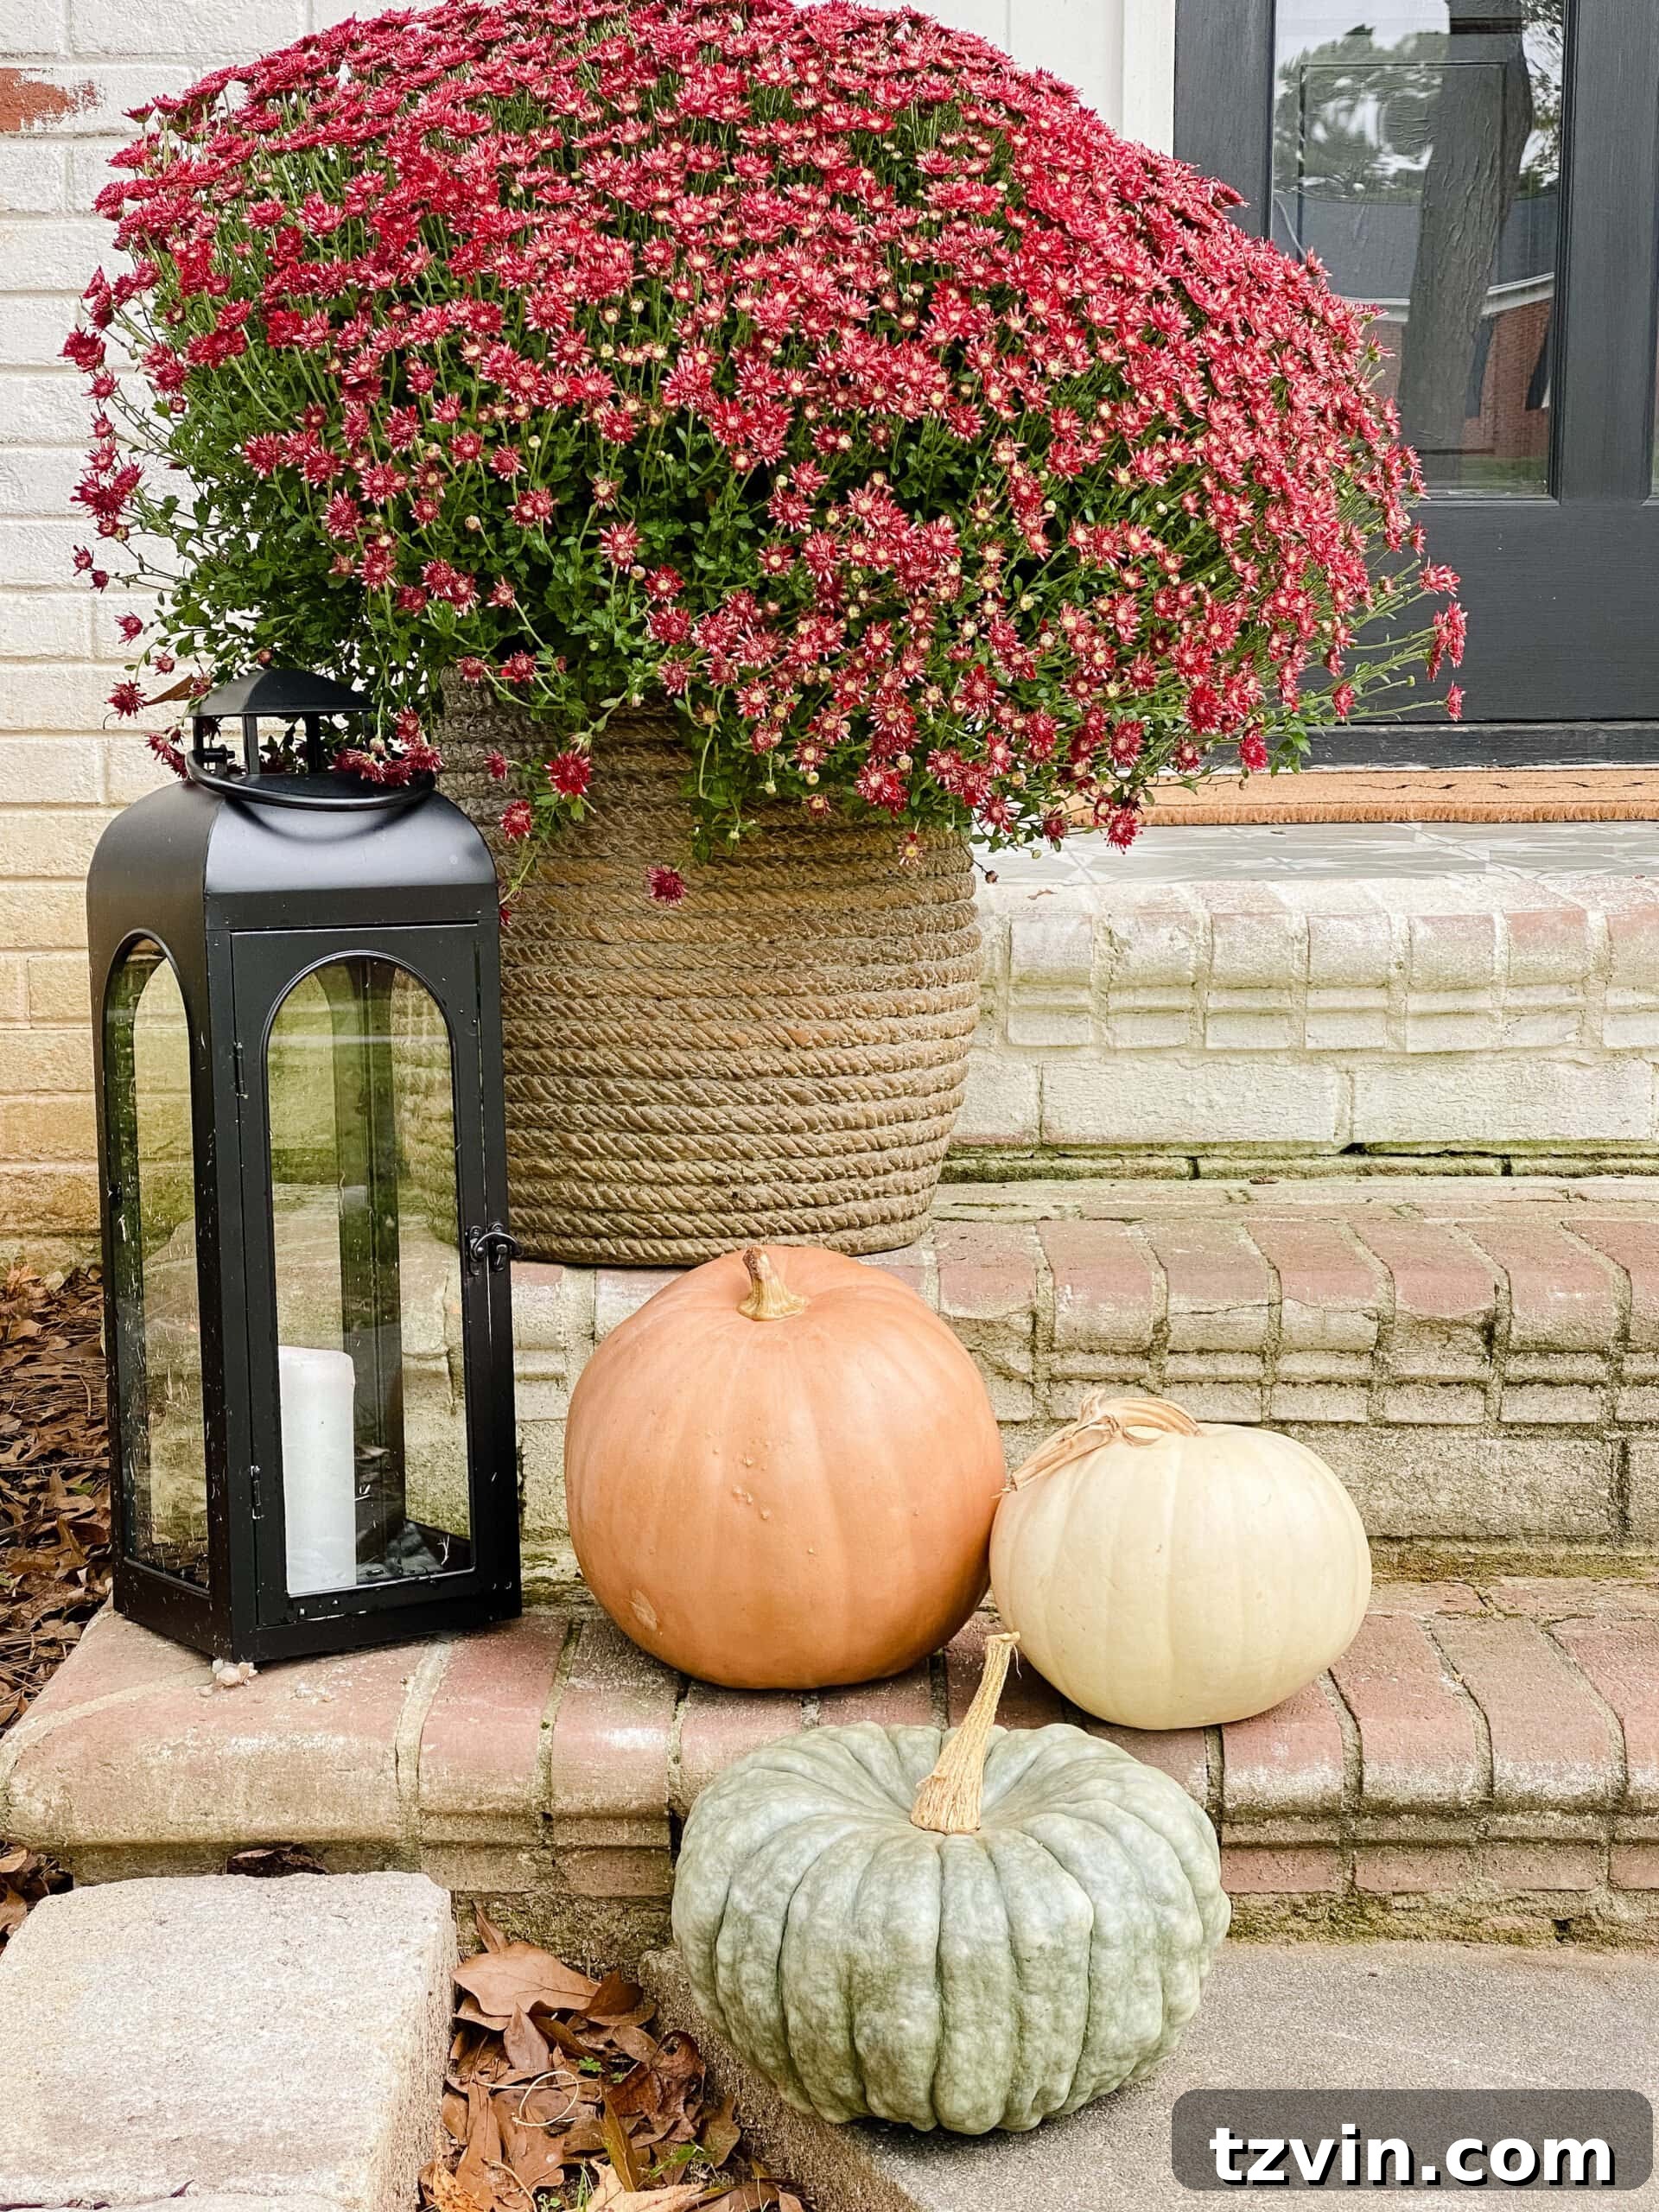
Such longevity is virtually unheard of in our climate without some form of intervention. This simple act of preserving pumpkins has transformed my fall decorating experience, allowing me to enjoy my seasonal displays for much longer. Now, let’s dive into the specifics of how you can achieve the same impressive results and keep your pumpkins looking fresh and festive throughout the autumn season.
How to Keep Pumpkins from Rotting: Your Step-by-Step Guide
Understanding why pumpkins rot is key to appreciating the effectiveness of this trick. Pumpkins, like all organic matter, are susceptible to decomposition primarily due to moisture, bacteria, fungi, and insect activity. When a pumpkin is placed outdoors, its skin is constantly exposed to humidity, rain, and fluctuating temperatures. Microscopic cracks and pores in the pumpkin’s surface allow moisture to seep in, creating an ideal breeding ground for mold, mildew, and bacteria. Furthermore, insects can bore into the pumpkin, accelerating internal decay. The sun’s UV rays can also weaken the skin, leading to soft spots and eventual collapse. Floor wax acts as a protective barrier, effectively sealing the pumpkin’s pores and creating a waterproof shield against these external threats, thereby significantly extending its life.
Supplies for Long-Lasting Pumpkins
Gathering your materials is the first, easy step in preserving pumpkins. You’ll likely find most of these items already in your home, making this an incredibly convenient and budget-friendly DIY project for fall decor.
- Clean Rag: Opt for a soft, clean cloth that won’t scratch the pumpkin’s surface. Microfiber cloths or old cotton t-shirts work perfectly. Ensure it’s free of any debris that could transfer to your pumpkin.
- Floor Wax: This is the star of our show! Any liquid floor wax (not paste wax or furniture polish) designed for hard floors will work. These products are formulated to create a durable, protective, and often shiny finish, which is exactly what we need for our pumpkins. Make sure it’s a wax that dries clear.
- Fresh Pumpkins: Choose healthy, unblemished pumpkins from your local pumpkin patch or grocery aisle. Look for ones that are firm to the touch, with no soft spots, cuts, or obvious signs of decay. A strong, intact stem is also a good indicator of a healthy pumpkin.
- Optional: Gloves: While floor wax is generally safe, wearing gloves can protect your hands and make cleanup easier.
- Optional: Mild Soap & Water: For initial pumpkin cleaning, if necessary.
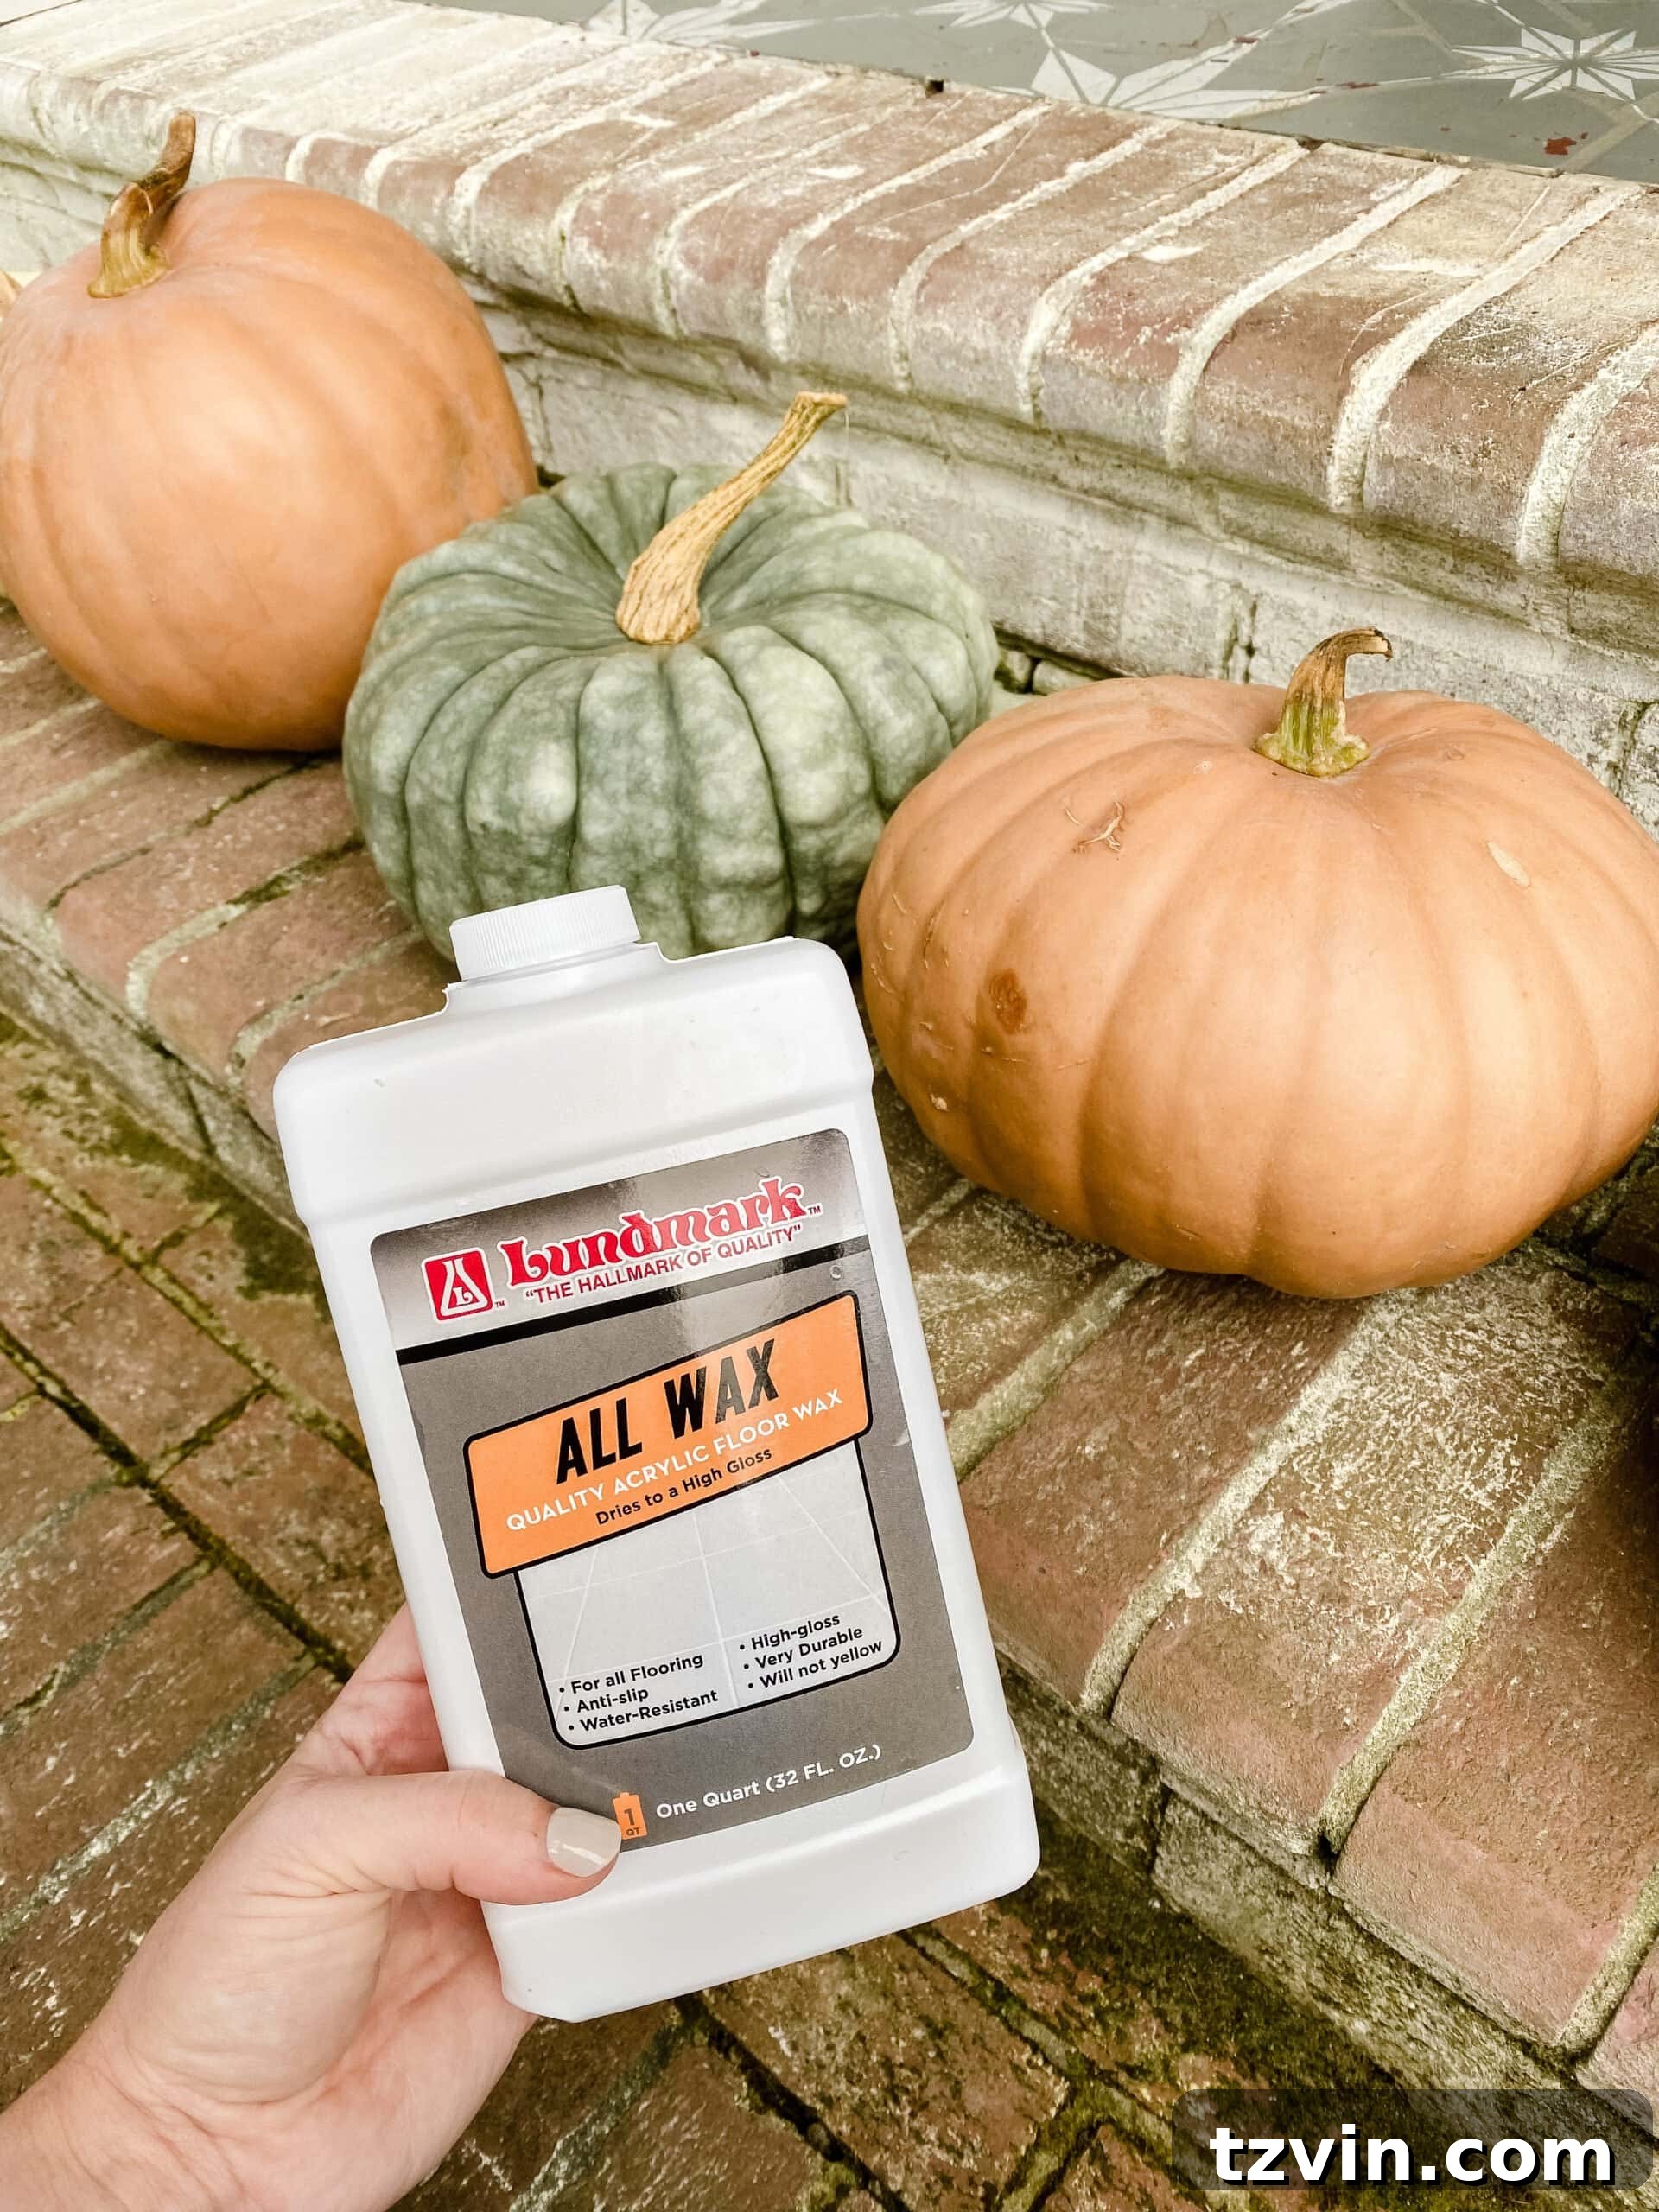
Steps to Preserve Your Pumpkins with Floor Wax
This process is incredibly straightforward and takes mere minutes, making it a truly quick trick for extending pumpkin life.
- Prepare Your Pumpkin: Before applying the wax, ensure your pumpkin is clean and dry. Gently wipe down the pumpkin with a clean, damp cloth to remove any dirt, dust, or lingering sap from the patch. For heavily soiled pumpkins, a very mild soap solution can be used, but rinse thoroughly and ensure the pumpkin is completely dry before proceeding. Any moisture trapped under the wax could encourage rot.
- Dampen Your Rag: Lightly dampen a clean rag with water. The rag should be just moist, not dripping wet. This slight dampness helps in the smooth and even application of the floor wax.
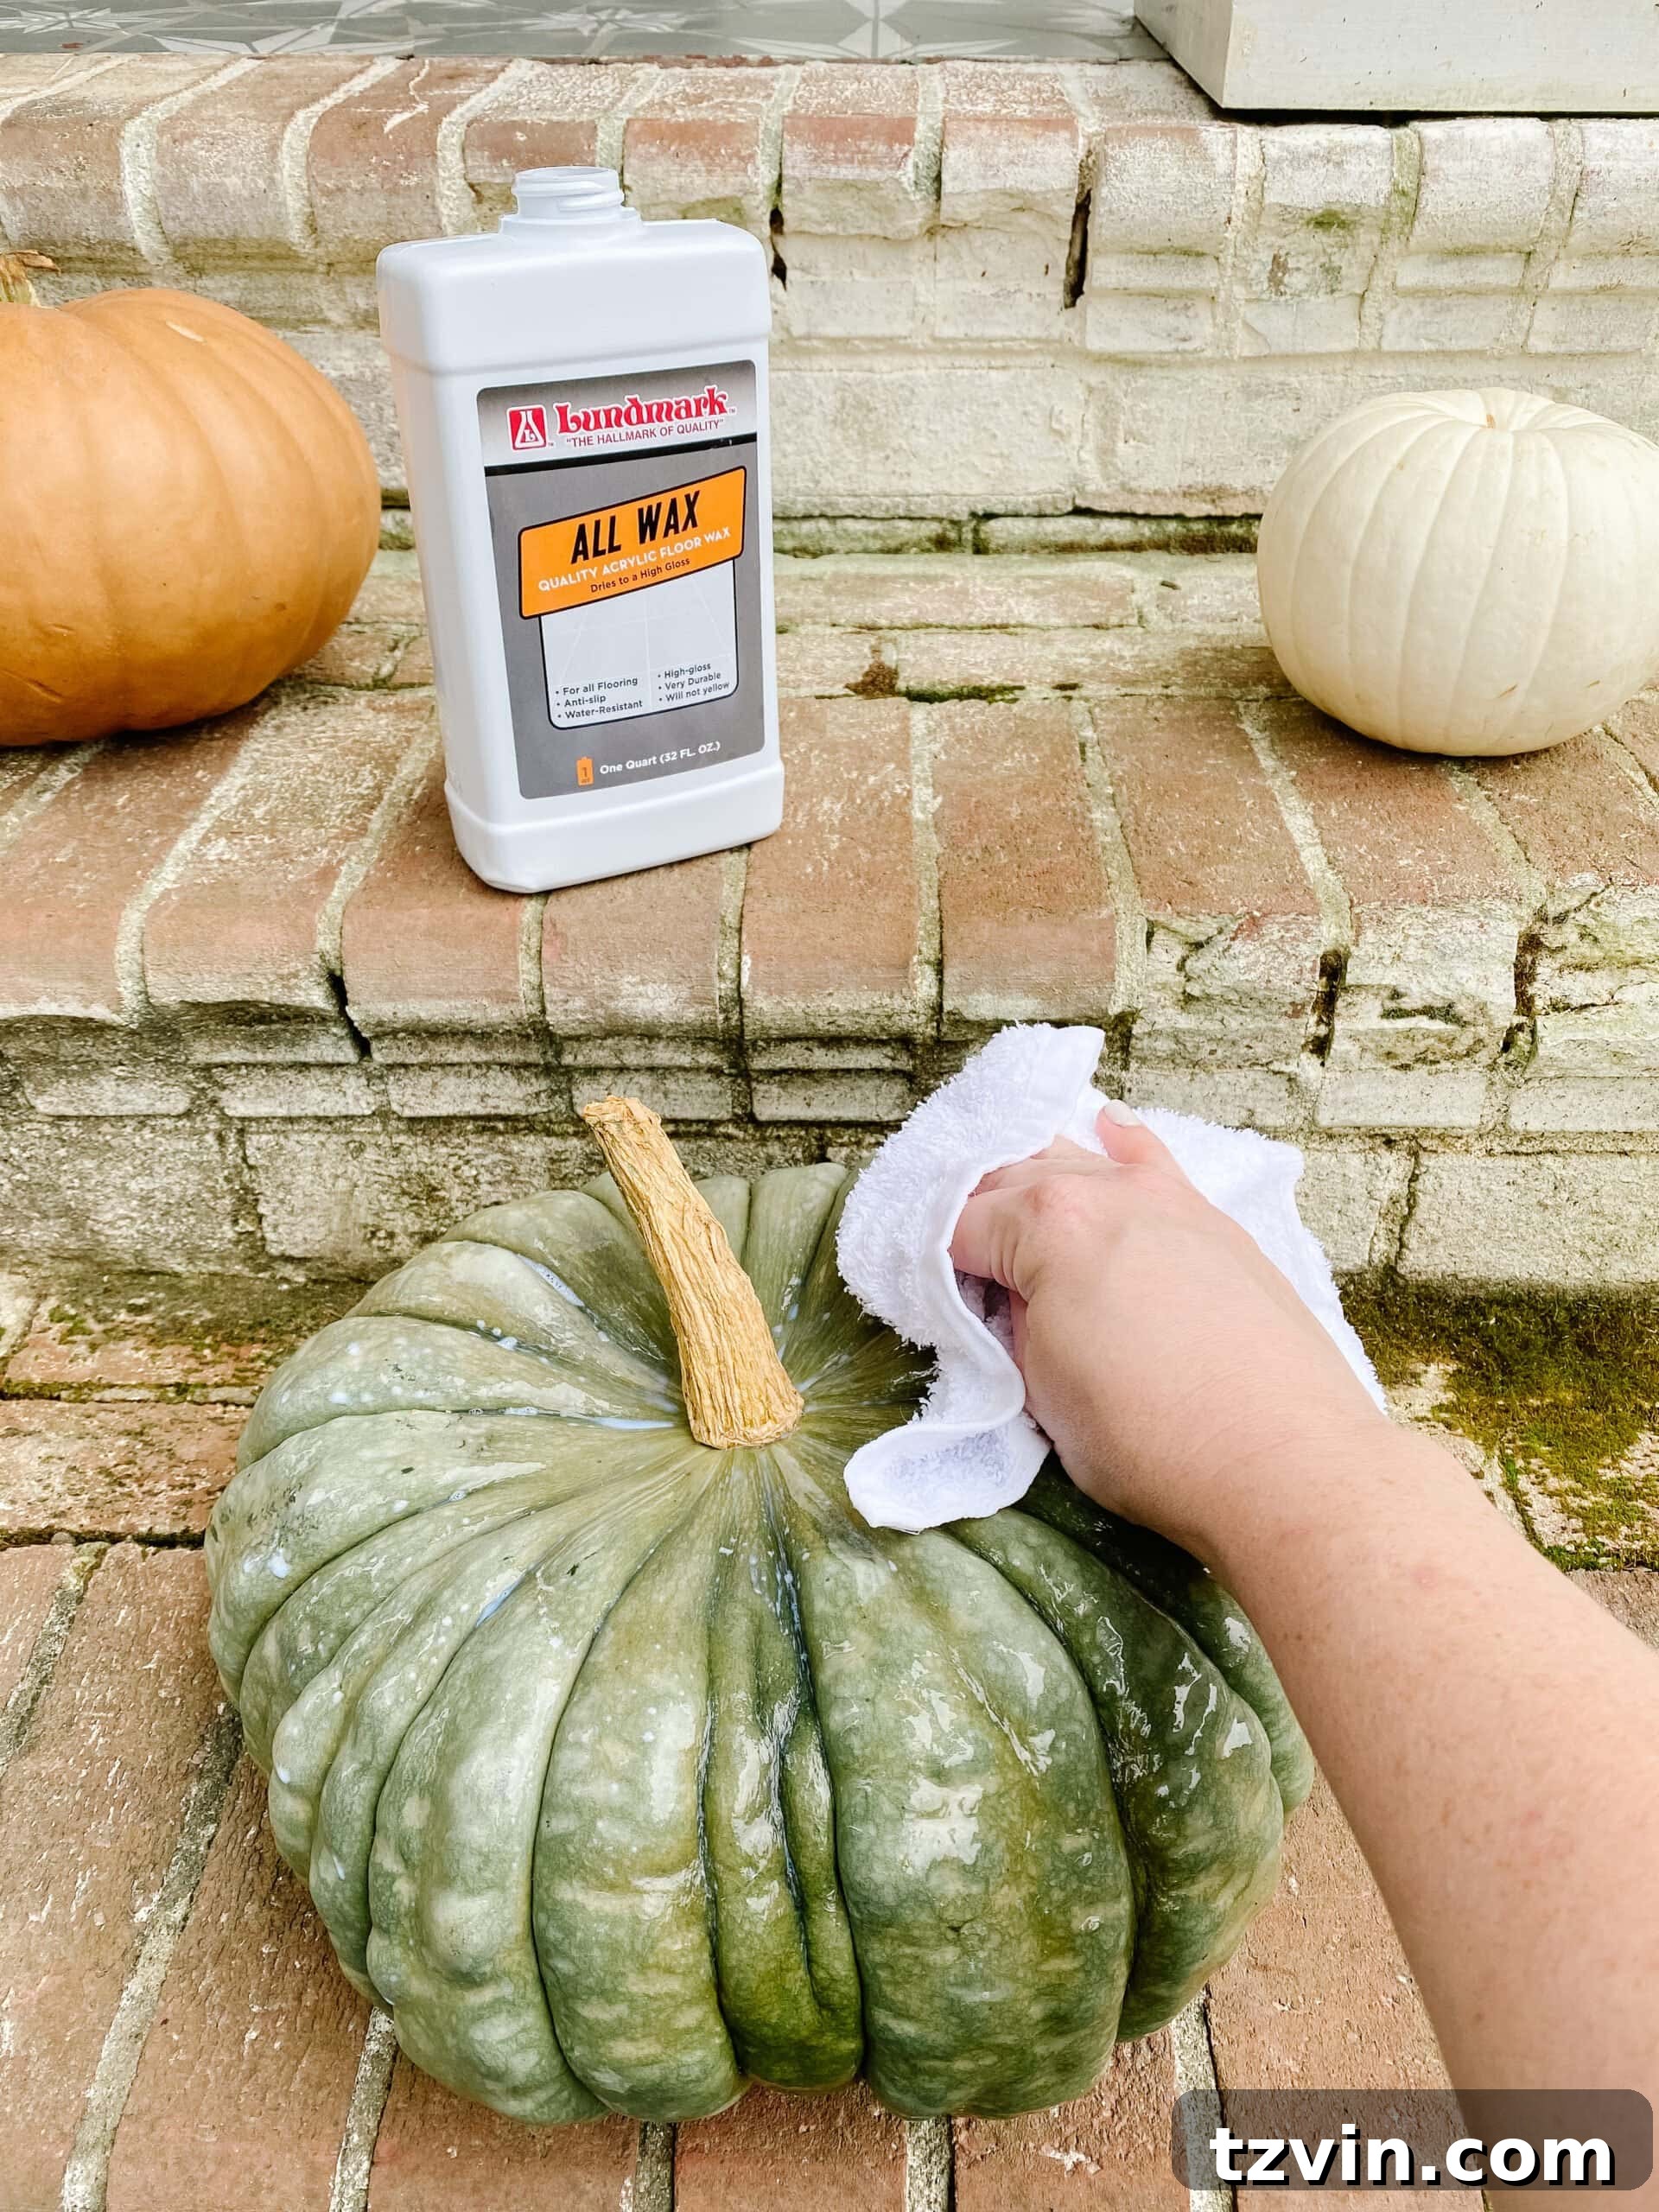
- Apply the Floor Wax: Pour about a tablespoon or two of liquid floor wax directly onto the damp rag. You don’t need excessive amounts; a little goes a long way.
- Rub Generously: With the wax-covered rag, begin rubbing the floor wax all over the pumpkin’s surface. Pay special attention to thoroughly coat every inch, including the bottom, the area around the stem (which is often a weak point for rot), and any natural crevices or indentations. The goal is to create a thin, even, protective layer that seals the pumpkin’s skin. Don’t forget the stem itself – protecting it can help prevent moisture from entering.
- Let Dry: Once coated, place the pumpkin in a well-ventilated area to dry completely. This usually takes about 15-30 minutes, depending on the humidity and how much wax was applied. The wax will form a clear, protective barrier that hardens as it dries. You can gently touch it to check for tackiness; once it’s smooth and dry, it’s ready.
- Display Your Preserved Pumpkins: Once completely dry, your freshly preserved pumpkins are ready to be proudly displayed on your porch, steps, or anywhere you wish to “gussy up” for fall. Enjoy your beautifully enhanced and protected autumn decor!

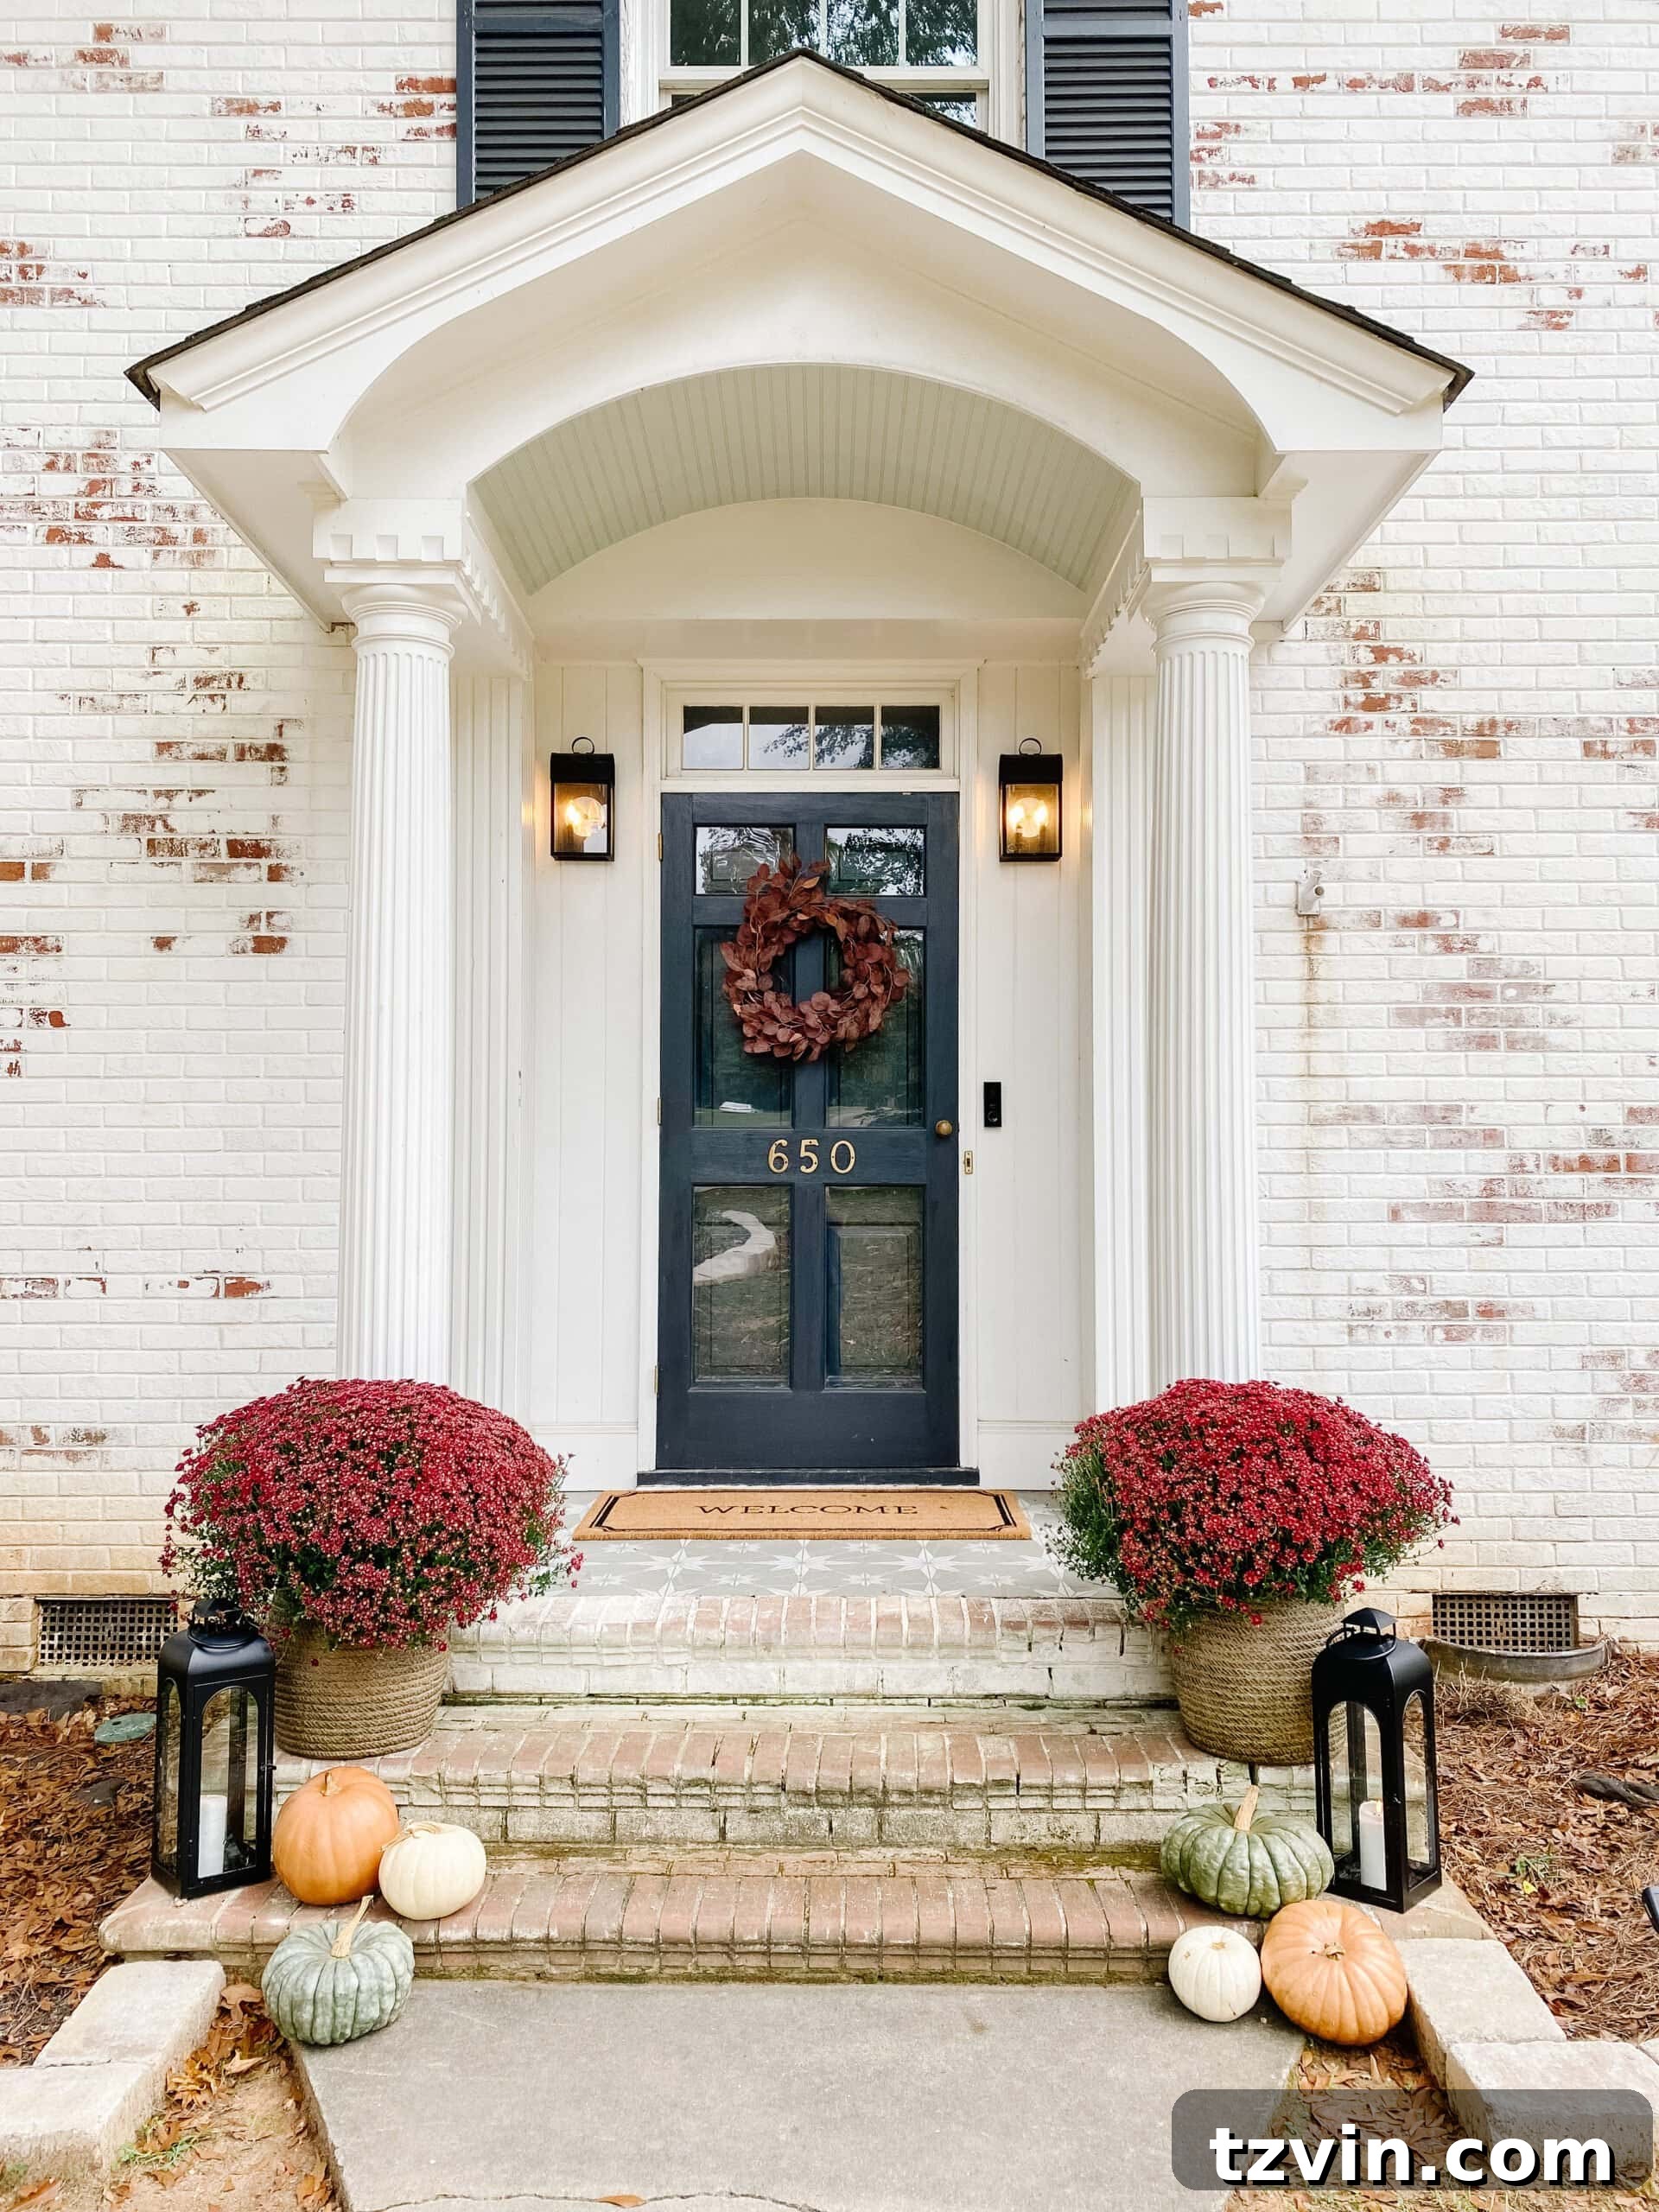
Shop our porch favorites to complete your fall look!
Welcome Mat | Rope Planters (similar) | Lanterns | Wreath | Lights | Stenciled Porch Floor | Brick Limewash
While my beautiful mums, on the other hand, might still suffer a slow, suffocating death due to my self-proclaimed title as the “worst plant mama in the world,” at least my pumpkins now stand a fighting chance! This simple floor wax trick dramatically extends their lifespan, allowing them to last around 4 weeks, or even longer in milder climates. This means more enjoyment from your autumn decor and less frequent trips to replace rotting gourds.
An added bonus of this pumpkin preservation method is the beautiful, subtle sheen the wax imparts to the pumpkins. It enhances their natural colors and textures, making them look even more vibrant and appealing. This protective layer not only fends off decay but also gives your fall display an extra touch of polish and sophistication, ensuring your pumpkins are not just long-lasting but also extra pretty.
Floor Wax vs. Other Pumpkin Preservation Methods
You might be wondering about other popular methods for how to keep pumpkins from rotting. While options like bleach and petroleum jelly exist, the floor wax method offers unique advantages that make it superior for ease and effectiveness.
- Bleach Solution: Many guides suggest soaking pumpkins in a bleach and water solution. This method works by killing bacteria and mold on the surface. While effective against microbial growth, it doesn’t create a strong physical barrier against moisture ingress or insect damage. It can also be messy, potentially discoloring your porch, and requires careful handling due to the nature of bleach. The protection offered is often temporary, as new microbes can colonize the surface once the bleach dries.
- Petroleum Jelly/Vaseline: Applying petroleum jelly to pumpkins creates a barrier that can seal pores and prevent moisture loss. It’s relatively easy to apply and helps keep the pumpkin hydrated. However, petroleum jelly can be quite sticky, attracting dust and dirt, which can make the pumpkin look messy over time. It also doesn’t provide the same durable, hard-shell protection against impacts or prolonged heavy rain that floor wax does, and it lacks the attractive sheen.
- Acrylic Spray/Sealant: Various clear acrylic sprays or sealants are available that can protect pumpkins. These typically form a strong, waterproof layer. While highly effective, they can be more expensive, require good ventilation during application due to fumes, and might not always offer a natural-looking finish. For those seeking an eco-friendlier or more readily available solution, floor wax often wins out.
In comparison, the floor wax method strikes a perfect balance. It’s inexpensive, readily available, simple to apply, and forms a clear, durable, protective, and water-resistant layer that significantly extends the pumpkin’s life. Plus, it naturally enhances the pumpkin’s appearance with a lovely, subtle shine, making it an all-around winner for DIY pumpkin preservation.
Additional Tips for Maximizing Pumpkin Longevity
Beyond the floor wax trick, a few other practices can contribute to even longer-lasting pumpkin displays:
- Choose Wisely: When selecting your pumpkins, opt for ones that are firm, heavy for their size, and free of any soft spots, bruises, or cuts. A healthy, intact stem is also crucial, as it’s a natural entry point for bacteria.
- Handle with Care: Be gentle when transporting and placing your pumpkins. Any bumps or drops can create unseen damage that compromises the skin and accelerates decay.
- Strategic Placement: While floor wax offers excellent protection, placing your pumpkins in a location that receives good air circulation and some shade during the hottest parts of the day can further extend their life. Avoid direct contact with damp soil or grass if possible, as this can still draw moisture into the pumpkin’s underside.
- Regular Inspection: Even with treatment, it’s a good idea to periodically check your pumpkins. If you notice any small soft spots developing, you can sometimes dab them with a little extra wax or even clear nail polish to try and reseal the area.
So, have you ever tried this incredible trick before? It’s genuinely a game-changer for anyone who loves decorating with pumpkins but loathes the inevitable rot. This simple, quick, and highly effective method for preserving pumpkins means you can enjoy your beautiful autumn displays for weeks longer, without the hassle or expense of constant replacement. Embrace the fall season with confidence, knowing your porch will look perfectly festive and fresh, all thanks to a humble bottle of floor wax!