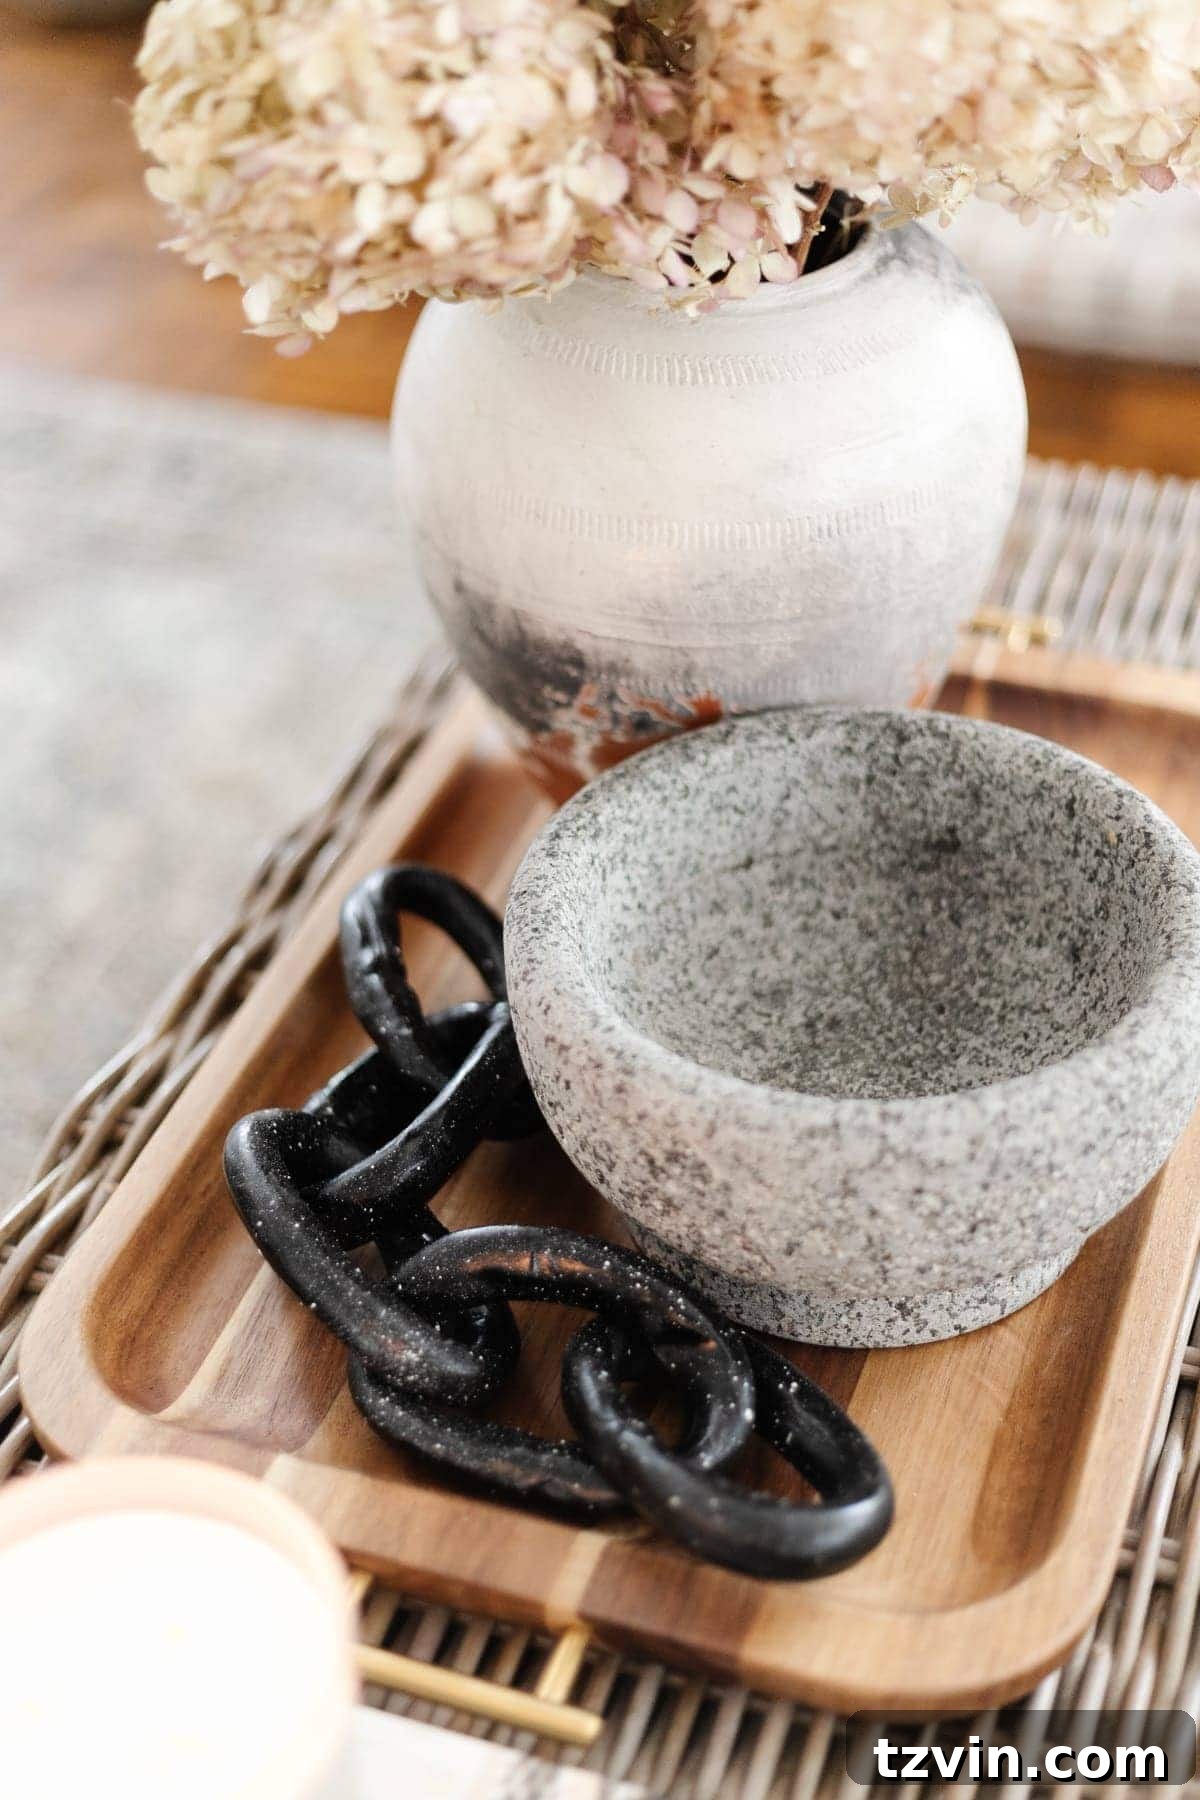
Unlock Designer Style: Craft Your Own Decorative Clay Chain for Elegant Home Decor
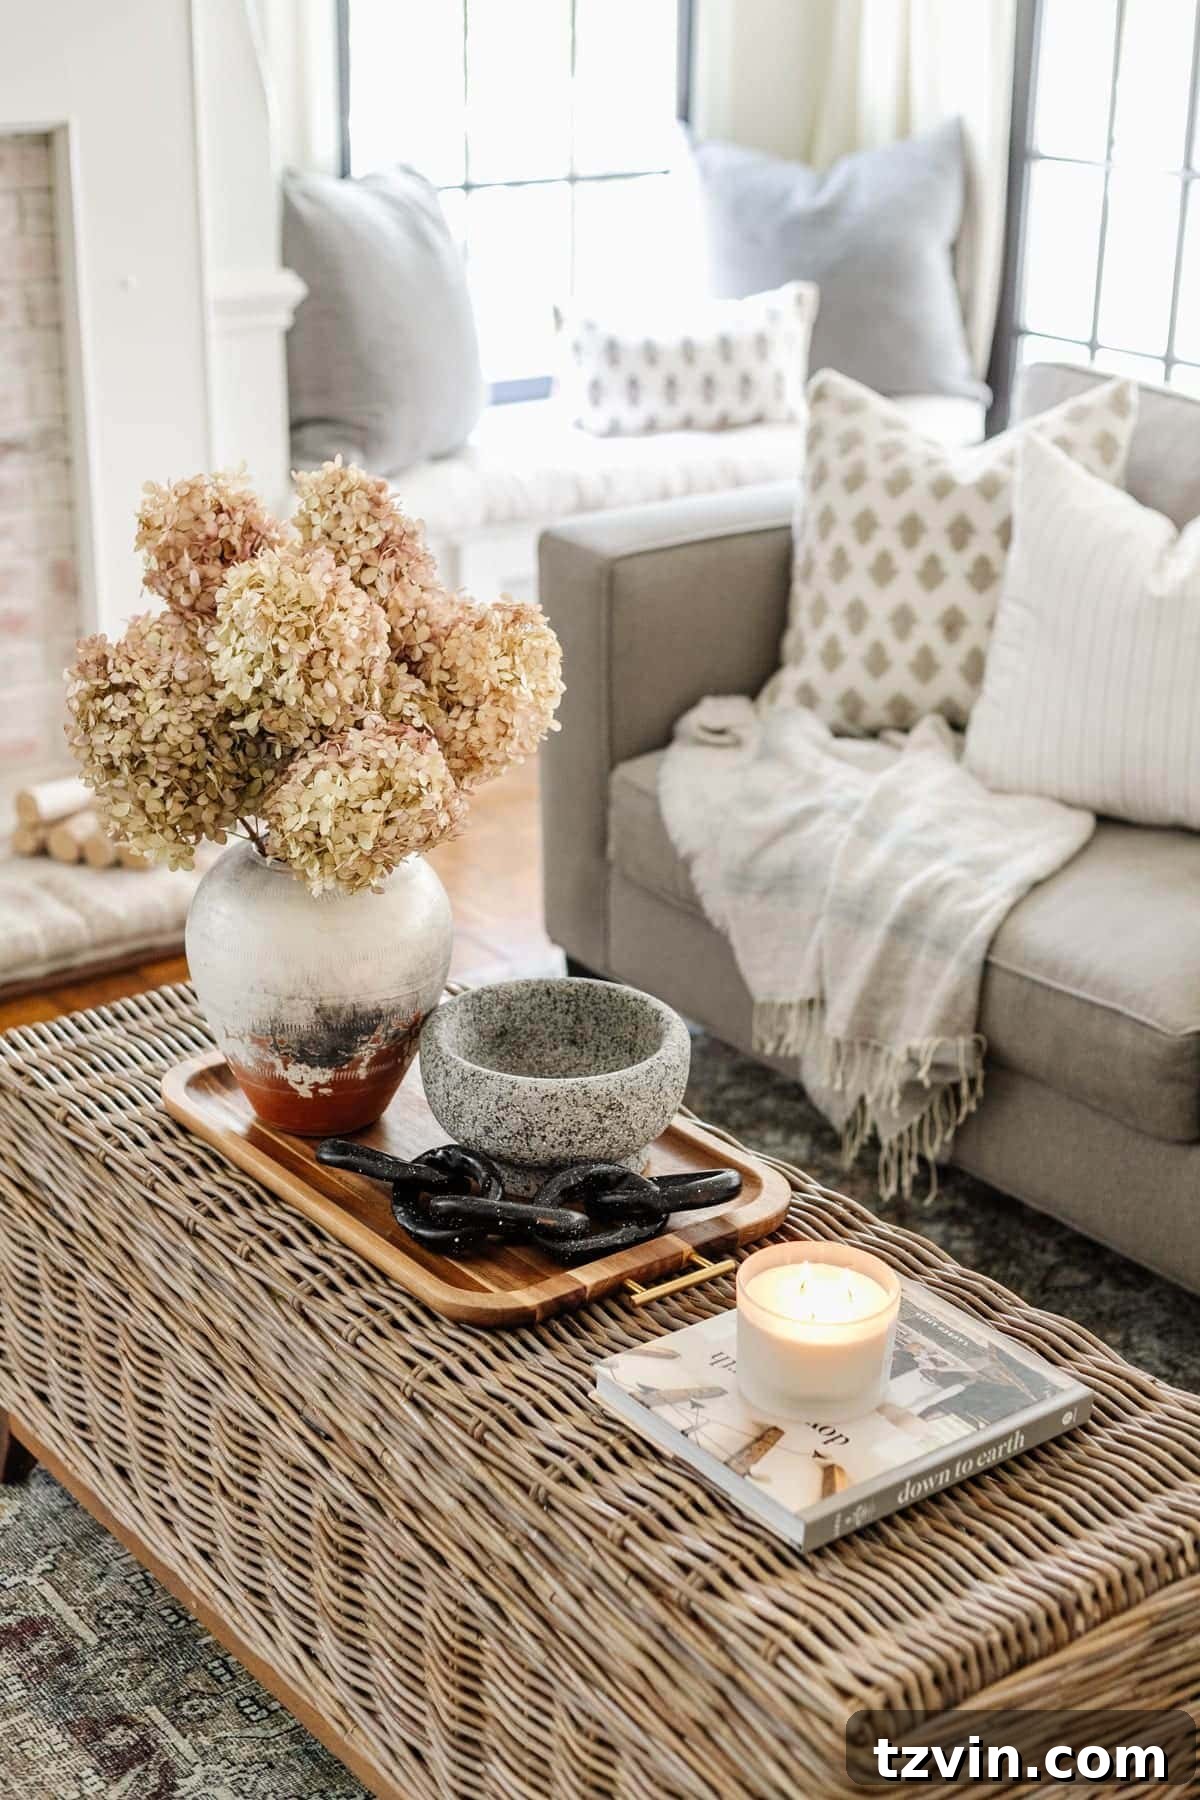
There’s a captivating charm to designer home decor. The way a perfectly placed sculptural object can elevate a space, adding a touch of sophistication and intrigue, is undeniable. Whether it’s a meticulously curated coffee table, an elegantly styled dresser, or a thoughtfully adorned entryway console, these seemingly random decorative pieces often serve as essential elements in completing a room’s aesthetic. They invite the eye, spark conversation, and reflect the homeowner’s personal style.
However, the journey to achieving that coveted designer look often comes with a hefty price tag. We’ve all seen those stunning, minimalist decorative objects that catch our eye in high-end catalogs or boutique stores – a chic horse head statue, an oversized pair of dice, or a striking sculptural chain. While these items possess an undeniable coolness and an artistic flair, their cost can quickly deter even the most enthusiastic home decorator. The thought of spending hundreds of dollars on a single decorative piece, no matter how stylish, can be a tough pill to swallow.
For instance, the trend of decorative chains has exploded in popularity, becoming a staple in modern, Scandinavian, and even bohemian interior design. These intriguing links, often crafted from wood, ceramic, or metal, offer a unique texture and form that breaks the monotony of traditional decor. They drape elegantly across surfaces, adding a dynamic, sculptural element that instantly elevates a tabletop or shelf. But when you start browsing, you quickly discover that many of these coveted pieces range from $50 to an astonishing $200 or more. Consider options like this, this, or this – the prices can be prohibitive for those decorating on a budget.
This is where the magic of DIY comes in. What if you could replicate the sophisticated appeal of a designer decorative chain for a fraction of the cost? The answer lies in a surprisingly versatile and affordable material: air dry clay. With just a few simple supplies and a creative spirit, you can craft a stunning, sculptural object that looks every bit as high-end as its expensive counterparts. Forget the guilt of overspending; embrace the satisfaction of creating beautiful home decor with your own hands.
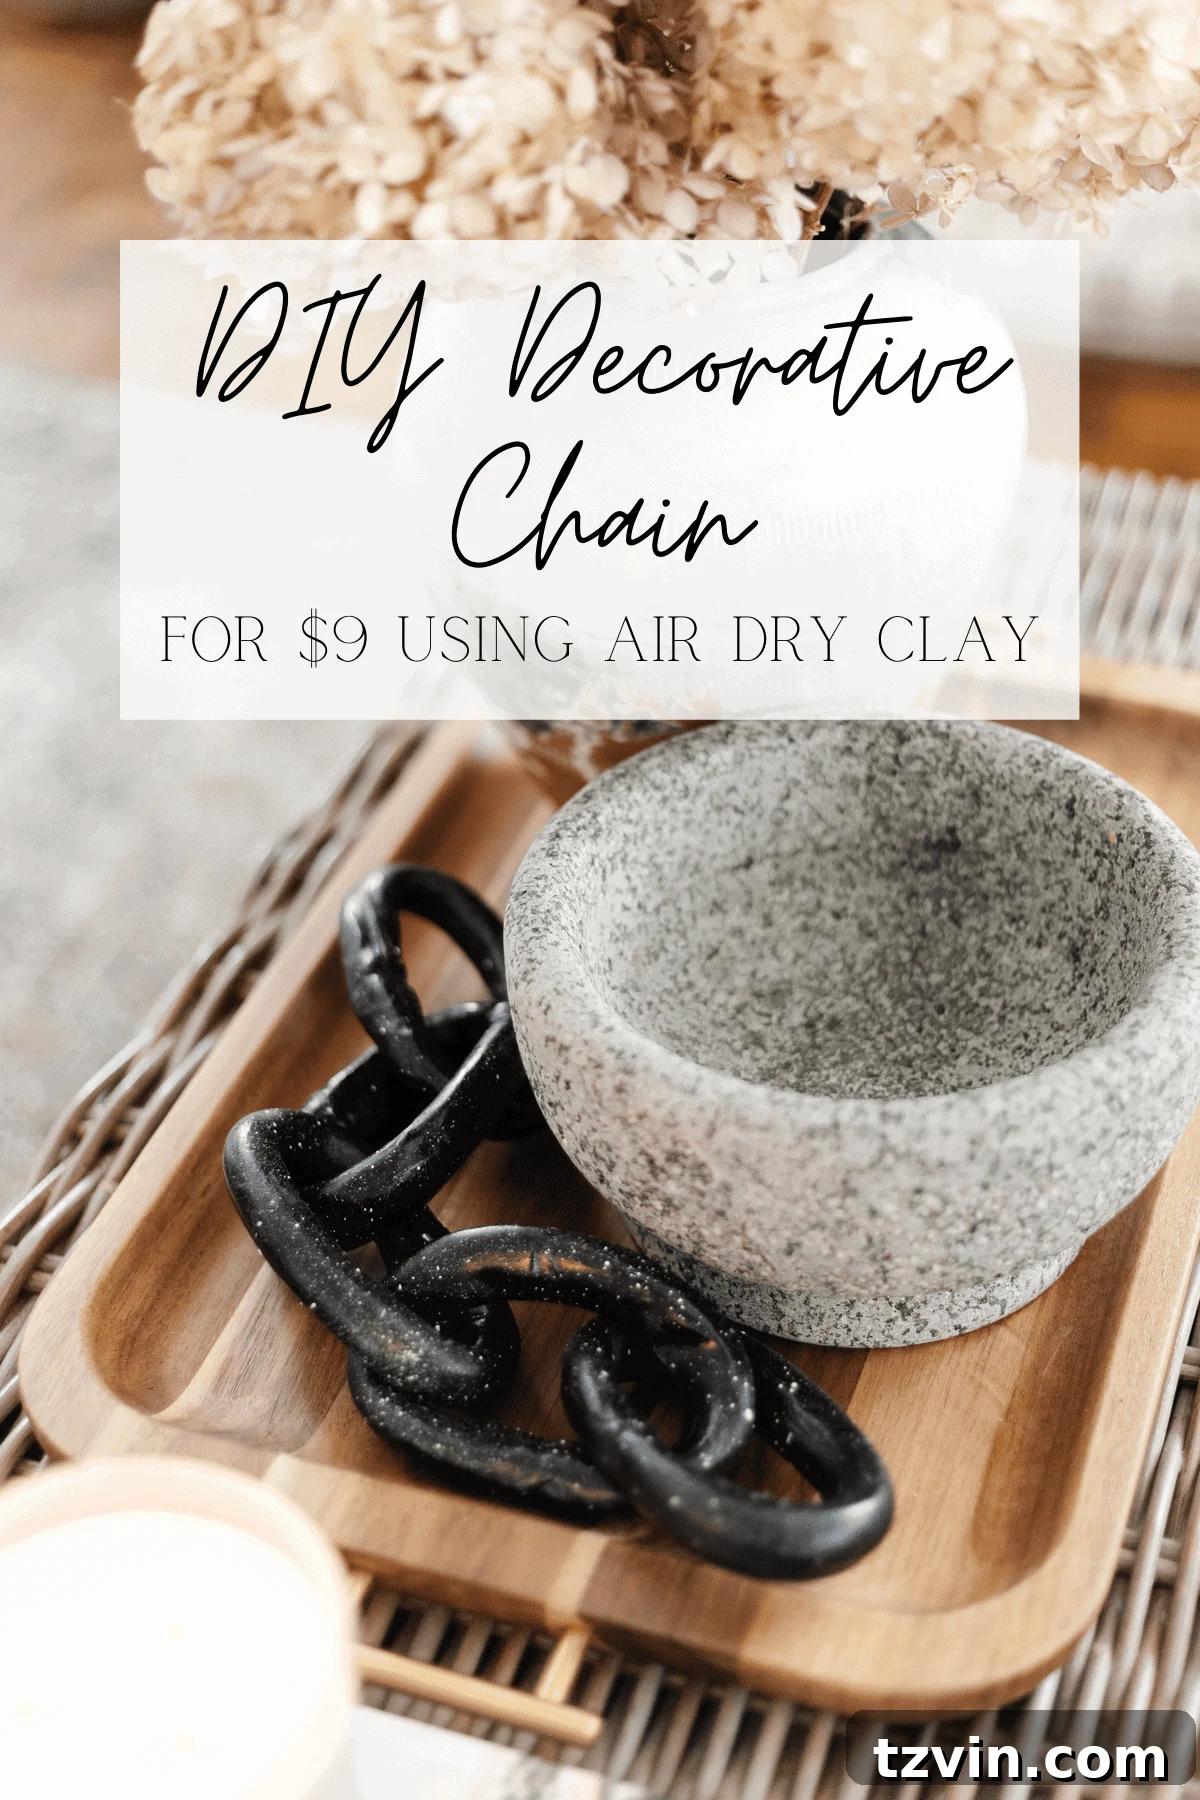
This project is not only incredibly budget-friendly, costing around $9 for the main material, but it’s also wonderfully rewarding. Even if you consider yourself less than artistic (like drawing stick figures), you might be surprised by what you can achieve. The beauty of handmade items lies in their unique character and slight imperfections, which often add to their charm rather than detract from it. Let’s dive into creating your very own designer-inspired decorative chain.
Coffee Table | Tray | Rug | Bowl | Book | Candle | Pillow
DIY Decorative Chain from Air Dry Clay: Your Guide to High-End Home Decor
Creating this eye-catching decorative chain is a straightforward process that requires patience, especially during the drying phases, but very little artistic skill. Air dry clay is forgiving, easy to manipulate, and doesn’t require a kiln, making it perfect for beginners and seasoned crafters alike. Follow these steps to transform a simple lump of clay into a chic home accessory.
Gather Your Essentials: Supplies for Your Clay Chain Project
Before you begin, ensure you have all your materials ready. The beauty of this project is its simplicity and reliance on readily available items.
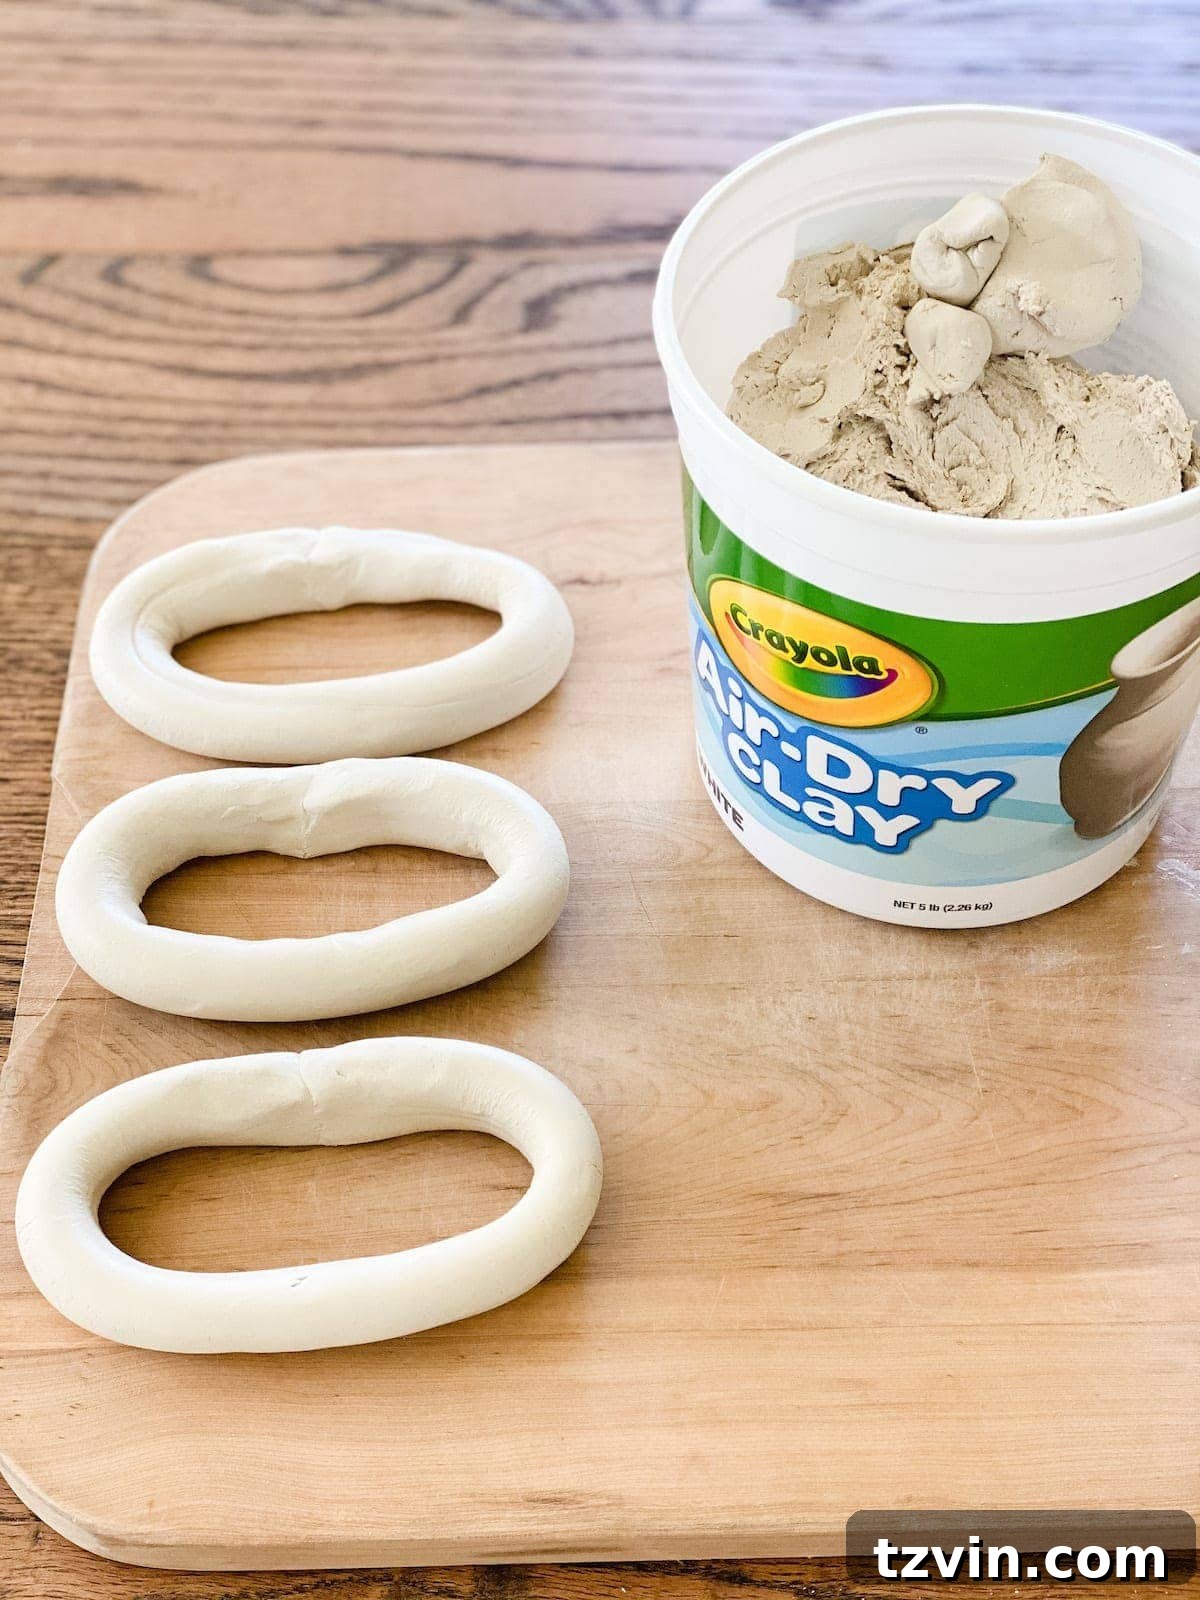
- Air Dry Clay: A bucket of air dry clay is your primary material. It’s inexpensive and easy to work with, hardening simply by exposure to air.
- Blunt Knife: A butter knife or a plastic knife works perfectly for cutting and shaping the clay without sharp edges.
- Cup of Water: Essential for smoothing joints and helping clay pieces adhere seamlessly.
- Black Satin Spray Paint: This will serve as the base coat, providing a sleek, dark foundation for your faux stone finish. Black acrylic paint can also be used.
- White Acrylic Paint: Used for creating the speckled granite or stone effect.
- Large/Medium Sized Craft Brush: Ideal for applying the white paint splatters.
- Optional: Gloves (for painting), baking sheet (for oven drying).
Crafting Your Designer Dupe: The Step-by-Step Process
Follow these detailed instructions to sculpt and finish your decorative chain, achieving a sophisticated look that will fool even the most discerning eye.
- Prepare Your Clay: Start by dividing your air dry clay into three equal, baseball-sized amounts. This ensures consistency in the size of your initial links. Knead each portion slightly to make it more pliable.
- Roll Out Your First Link: Take one portion of clay and begin rolling it between your hands or on a clean, flat surface to form a “snake” shape. Aim for an even thickness throughout, similar to a thick marker or a small rolling pin.
- Trim and Shape: Once your clay snake reaches approximately 8-10 inches in length, use your blunt knife to carefully trim off any uneven ends. This creates clean edges for joining.
- Form the First Loop: Lightly moisten the cut ends of the clay snake with a few drops of water using your finger. Gently press the ends together to form a closed loop. Spend a moment smoothing the joint with damp fingers to ensure a seamless connection and prevent cracks once dry. This is crucial for a professional finish.
- Refine the Loop Shape: Carefully shape the clay loop into an oval. The goal is to create consistent, pleasing oval links. Set this first link aside on a flat, non-stick surface (like parchment paper or a cutting board).
- Dry the Initial Links: Repeat steps 2-5 for the remaining two baseball-sized clay portions, creating two more oval links. Allow all three finished oval shapes to dry completely for at least 24 hours. Drying them individually and flat at this stage is vital to prevent warping and ensure they maintain their desired shape before being interlinked. This step ensures structural integrity for the entire chain.
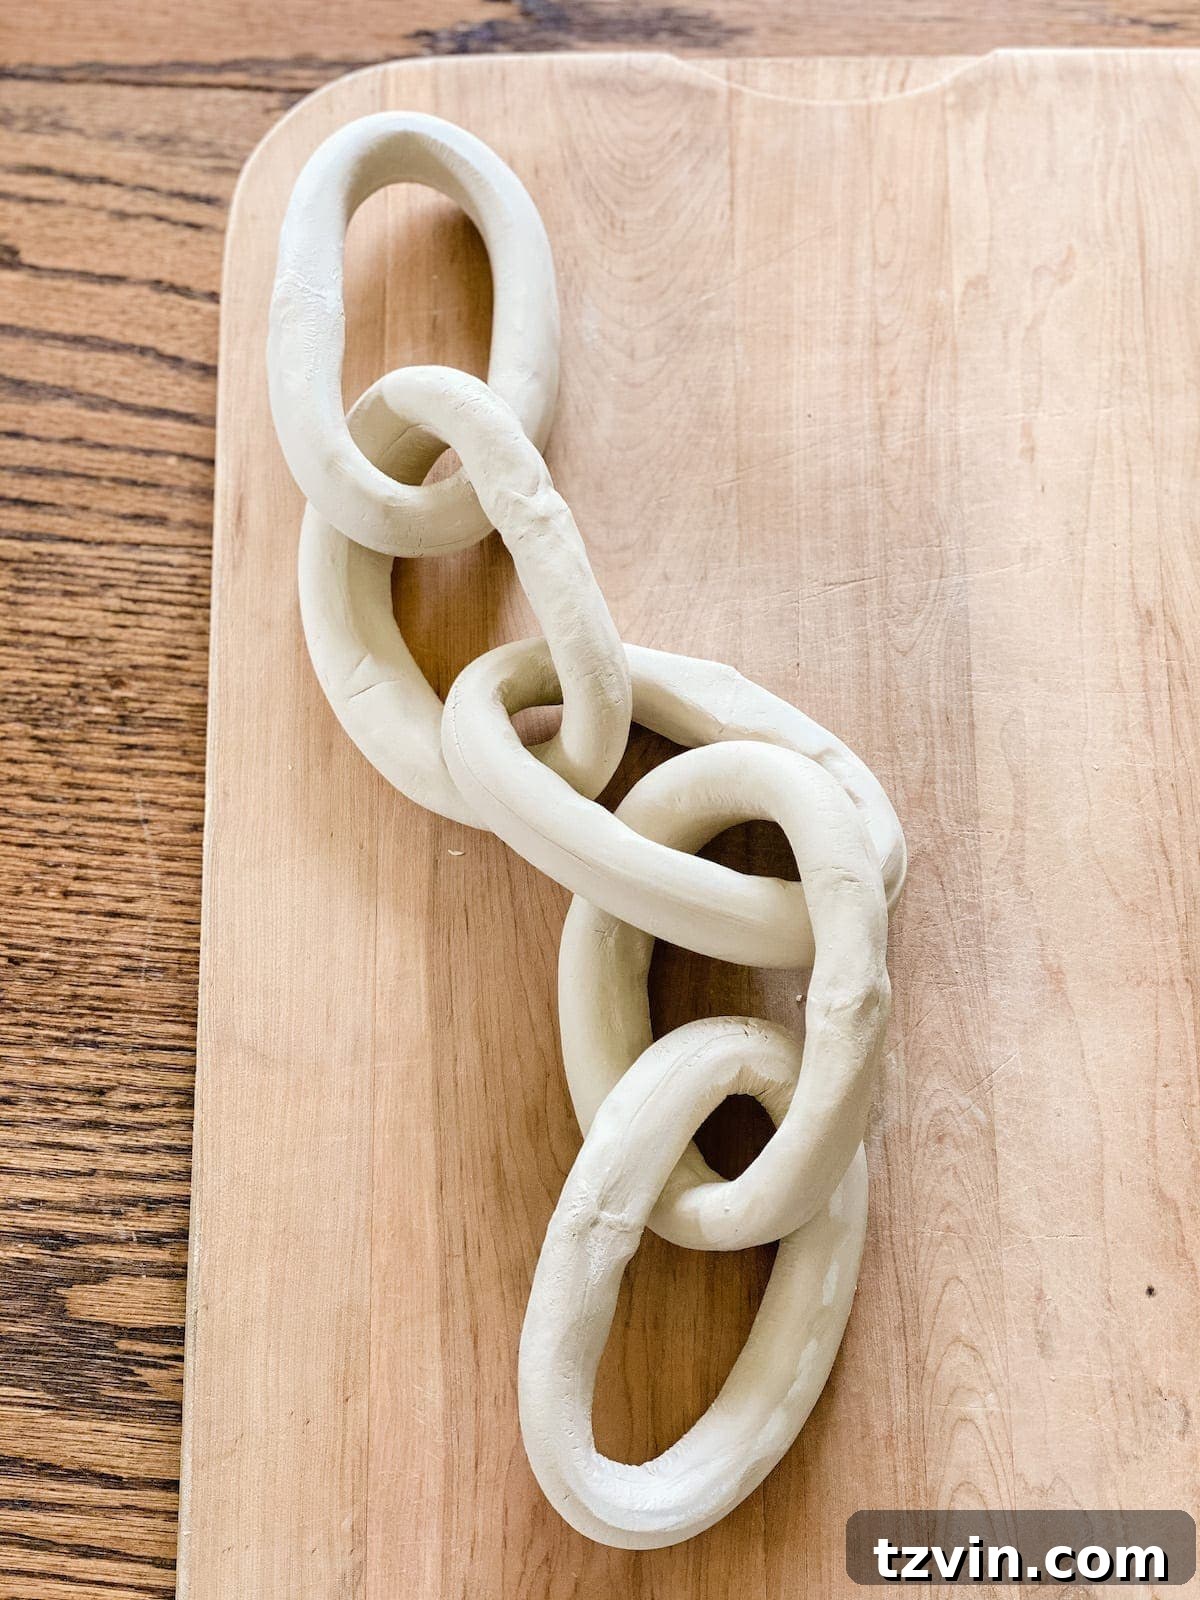
- Prepare More Clay for Interlinking: Once the first three links are dry, take two more baseball-sized pieces of fresh clay. Repeat steps 1-3, rolling them into “snake” shapes and trimming the ends, but do not join them yet.
- Interlink and Form: Now, carefully thread one of your new “snake” shaped clay pieces through one of the *already dried* clay loops. Once threaded, moisten the ends of the new clay snake and join them together, just as you did in step 4, to create a new, interlocked link. Smooth the joint thoroughly.
- Complete the Chain and Dry: Repeat step 8 with your last “snake” shaped clay piece, linking it through another dried loop until you have a beautiful 5-link chain. Once all links are connected and smoothed, allow the entire chain to dry completely for one to two full days. Air drying is essential, but if you wish to speed up the process, you can place the chain on a baking sheet in a cold oven. Set the temperature to 200 degrees Fahrenheit (approximately 93 degrees Celsius) and bake for no more than 15 minutes. Exceeding this time or temperature could cause the clay to burn or crack. Always ensure the clay is cool to the touch before proceeding.
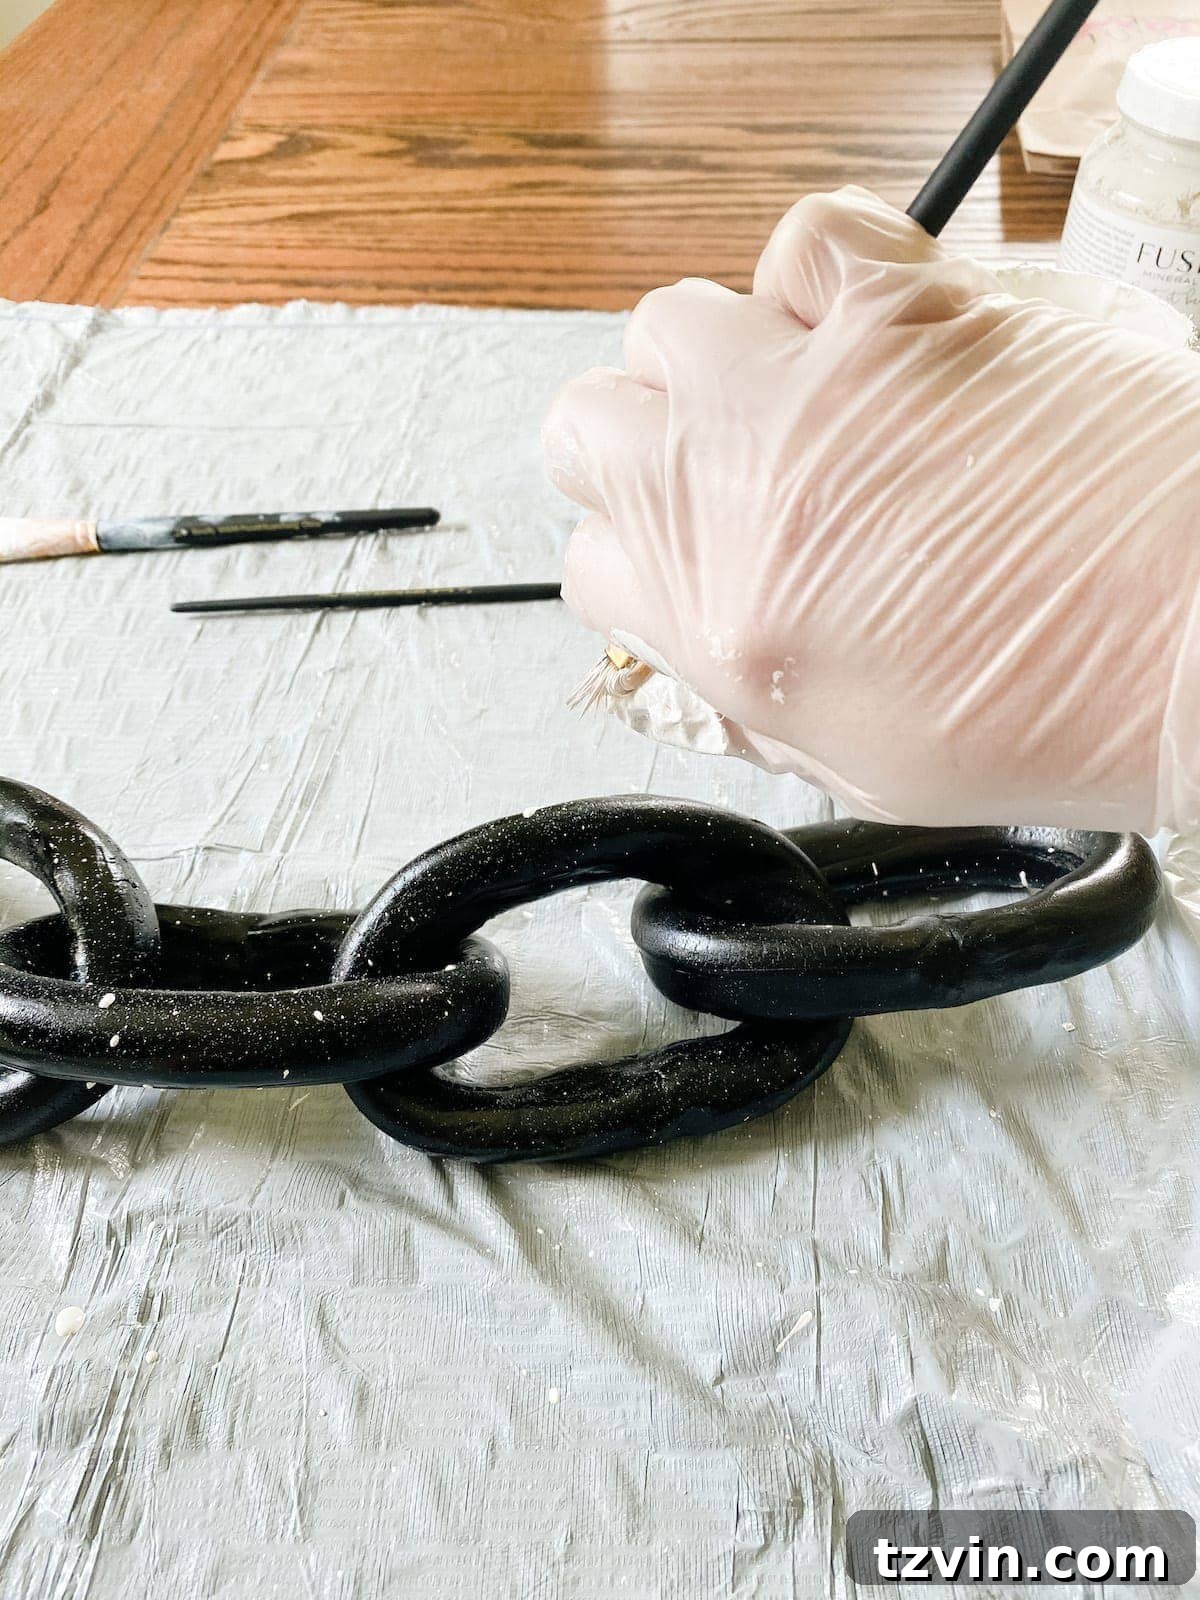
- Achieve a Sophisticated Base Coat: Once the clay chain is fully dry and hard, it’s time for painting. In a well-ventilated area, spray paint the entire chain black with your satin spray paint. Apply even, thin coats to avoid drips. Allow one side to dry completely before flipping it over and spray painting the other side. This ensures full, consistent coverage. Let it dry thoroughly according to the paint manufacturer’s instructions.
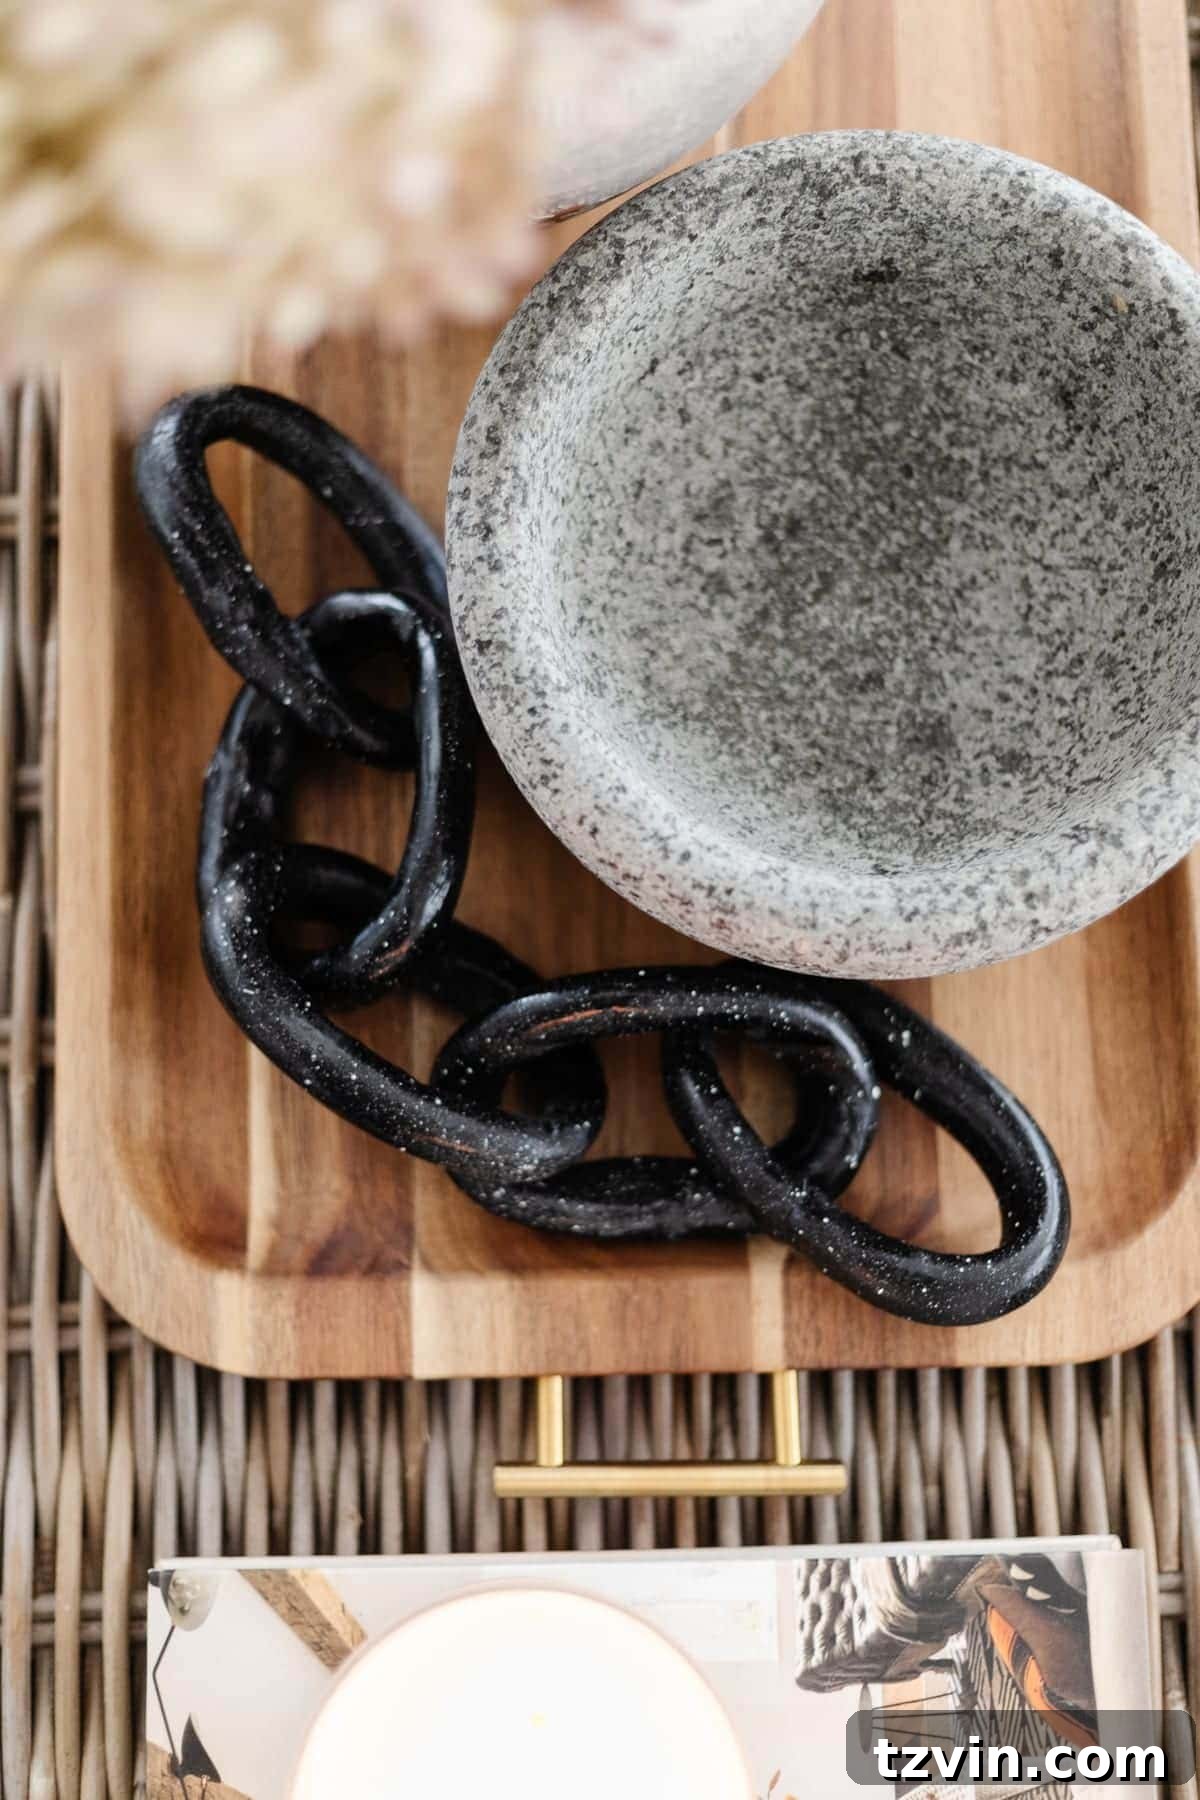
- The Faux Stone Effect: Now for the creative touch that transforms your chain into a designer piece. Dip your medium-sized craft brush into the white acrylic paint. Tap off any excess paint on the edge of the container or a paper towel – you want tiny flecks, not large drops. Wearing gloves is highly recommended for this step as it can get messy! Hold the brush a few inches above the black-painted chain. Using your finger, gently press down on the bristles of the brush, causing the white paint to splatter randomly onto the black surface. This technique creates a beautiful, realistic granite or stone effect. For any accidental large splotches of white paint, a small paintbrush spritzed with black spray paint (or dabbed with black acrylic paint) can be used for careful touch-ups.
And just like that, your designer-inspired decorative chain is complete!
Styling Your Masterpiece: Incorporating Your DIY Chain into Your Home Decor
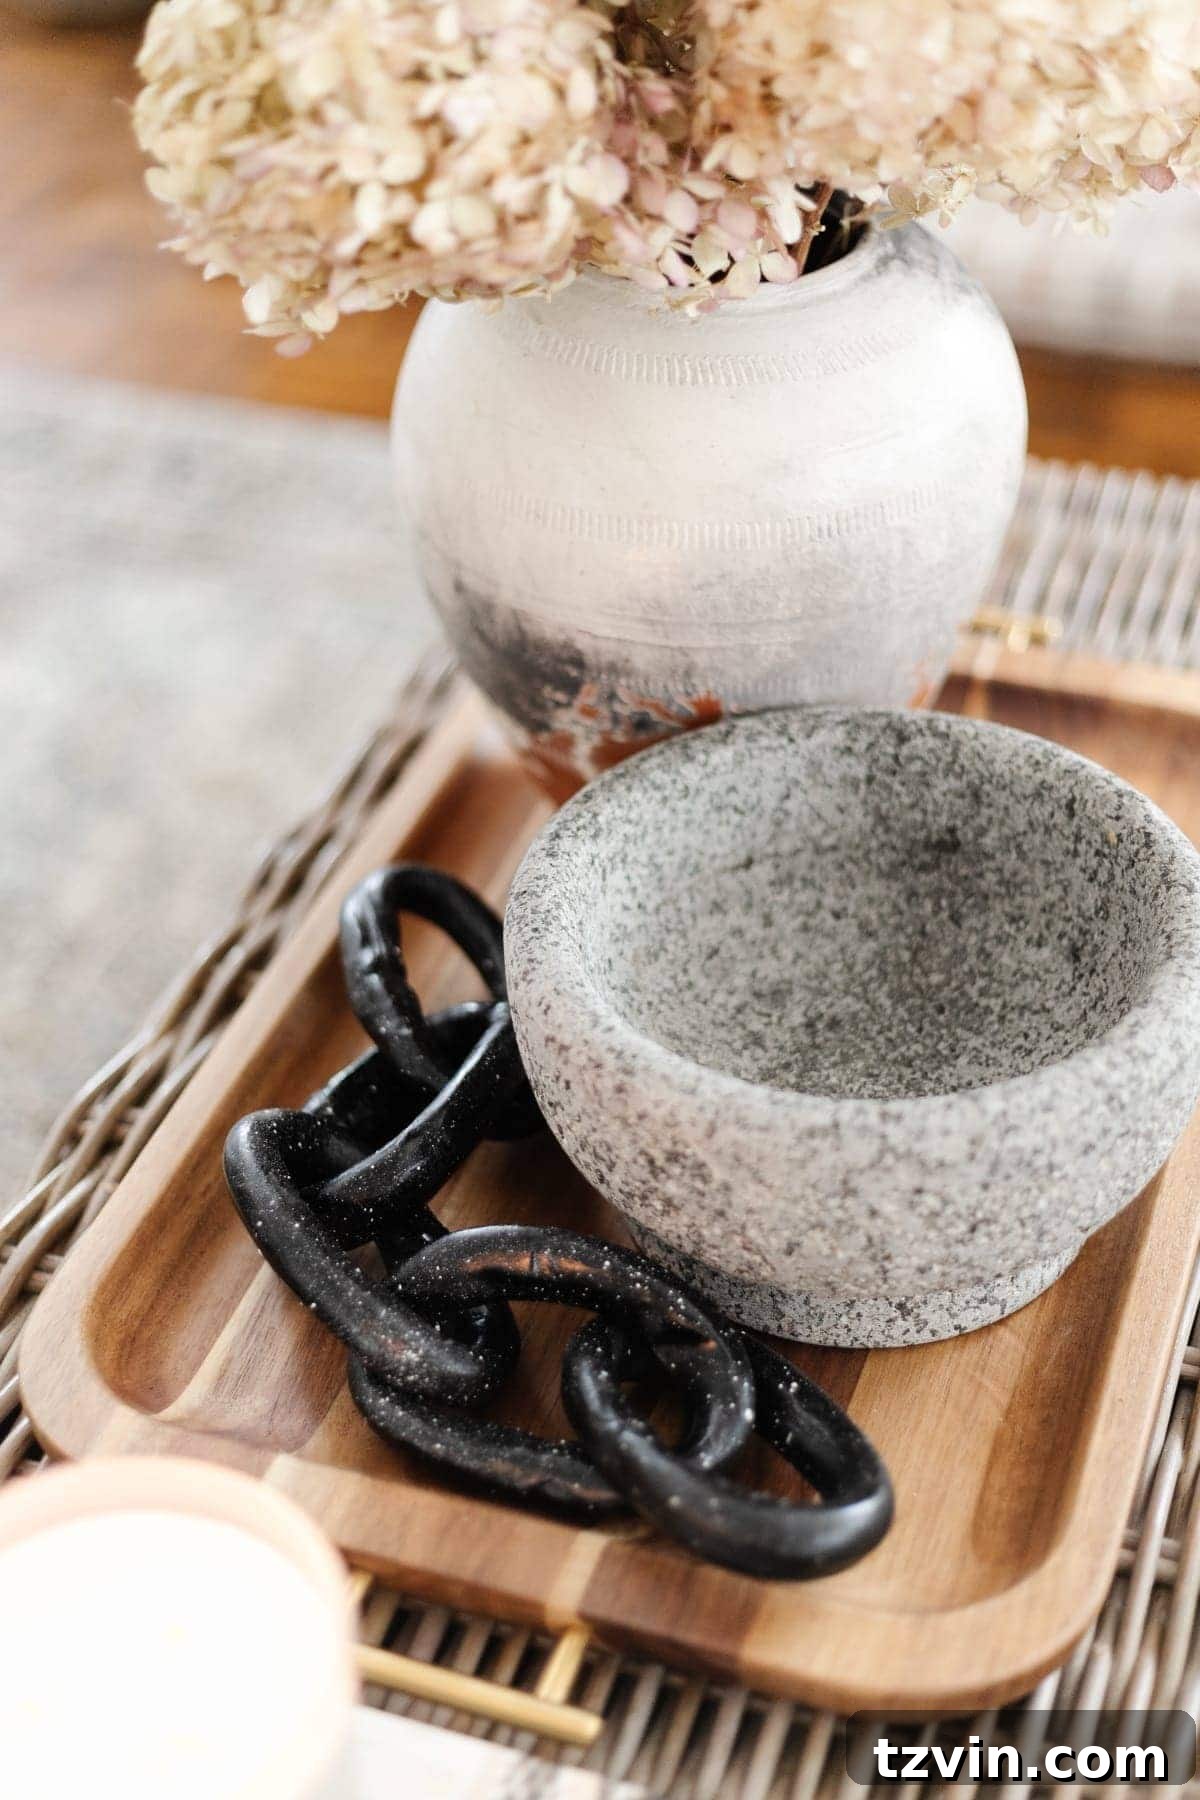
The finished chain, with its beautiful faux stone texture, can instantly elevate various surfaces in your home. Its sculptural form makes it a versatile decor piece that can be styled in numerous ways to suit your personal aesthetic:
- Coffee Table Centerpiece: Drape it casually across a stack of coffee table books or place it within a decorative tray alongside a candle or a small vase of dried botanicals for a sophisticated focal point.
- Bookshelf Styling: Weave it through a collection of books or nestle it among other decorative objects on open shelving to add visual interest and a touch of modern artistry.
- Entryway Console: Place it strategically on an entryway table next to a bowl for keys or a framed photograph, creating an inviting and stylish welcome.
- Dresser or Nightstand: Use it to add a sculptural element to your bedroom decor, breaking up flat surfaces and introducing texture.
- Office Desk: Even in a home office, this chain can serve as an elegant paperweight or a unique decorative accent, bringing a touch of personality to your workspace.
The subtle imperfections that arise from handmade craftsmanship are part of its unique charm, lending it an authentic, artisanal feel that mass-produced items often lack. Considering the significant savings – potentially $90 or more – this project offers an incredible return on effort. Not only do you get a beautiful, on-trend decor piece, but you also gain the immense satisfaction of creating it yourself.
Beyond the Chain: Exploring Air Dry Clay’s Potential
With leftover air dry clay, the possibilities are endless! This versatile material lends itself to a myriad of creative projects. Consider crafting minimalist vases, sculptural bowls, abstract art pieces, or even decorative coasters. The internet is brimming with ingenious air dry clay ideas that have emerged over the past year, inspiring countless DIY enthusiasts to explore its potential. From simple trays to intricate ornaments, air dry clay offers an accessible entry point into the world of sculptural art.
If you’re seeking more DIY knock-off ideas to elevate your home decor on a budget, explore these inspiring projects:
- DIY Concrete Equestrian Statuette
- DIY Gold Leaf Sculptures
- Leaf Silhouette Art Knock Off
- DIY Candles from Repurposed Candy Jars
- 3 Items You Can Repurpose Into DIY Throw Pillows